Introduction
Easy Easter crafts bring a special charm to your home. They allow you to decorate your space with personalized touches that celebrate the joy of the season. These crafts are simple enough for you to make at home, even with children or beginners.
From colorful eggs to festive wreaths, this article explores a variety of creative ideas. You will learn how to use everyday materials to create decorations that make your home warm and welcoming. Get ready to enjoy crafting that adds fun and beauty to Easter celebrations.
Choosing the Right Materials for Easter Crafts
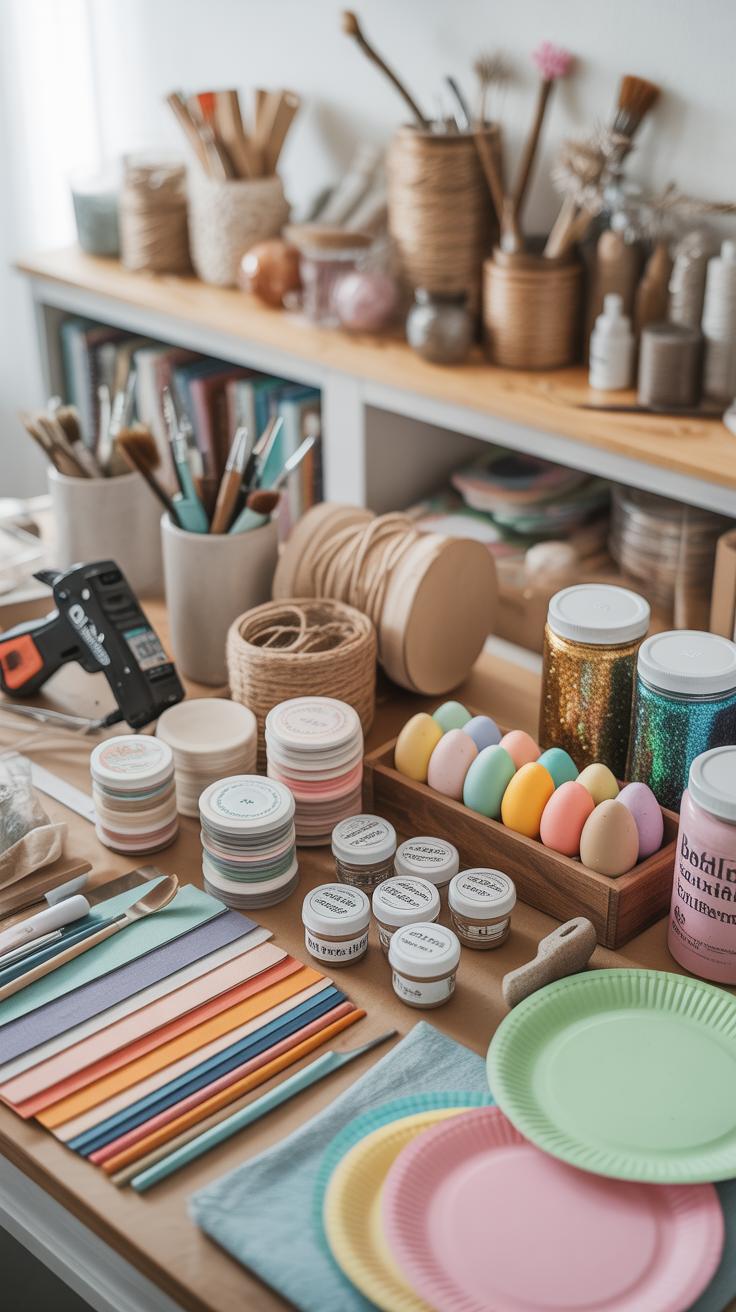
When picking materials for your Easter crafts, start simple. You usually need a handful of basics: paper, glue, scissors, and some colors. Craft paper or even simple printer paper works fine. Glue can be a school glue or a glue stick—both do the job, depending on the project.
Scissors might sound obvious, but having a pair that’s comfortable to hold makes crafting way easier, especially with kids involved. And colors? Watercolors, markers, or crayons are all good options, whatever’s around. Natural items like twigs, leaves, or even flowers add a charming touch if you’re in the mood for something a bit different.

Most of these are easy to find around the house or at local stores. Sometimes, just a quick trip to a dollar store can fill your craft box without much fuss. If you’re like me, I always end up raiding the kitchen or garden for natural bits—it’s surprising how much you can gather in ten minutes.
Using Household Items in Easter Decorations
Household items can be great for Easter decor, often without extra cost or effort. That empty jar from last week’s jam? It can become a vase for spring flowers or a candle holder with a ribbon tied around it.
Old magazines bring color and texture. You can cut images or patterned papers and turn them into paper eggs or bunnies. Buttons, those little round things scattered everywhere, are perfect for eyes or decoration on paper crafts.
Fabric scraps? Don’t toss them. Small pieces can make adorable bows or tiny nests. Even egg cartons from the kitchen help craft mini baskets or chick holders. It’s a chance to look around your home and think creatively—what might seem like clutter might just be a crafting goldmine.
Selecting Safe and Kid-Friendly Craft Supplies
When making crafts with children, safety shouldn’t get overlooked, even if you’re in a hurry. Non-toxic glue is the way to go. It sticks well and comes off skin easily, which means fewer tears when little hands get a bit messy.
Washable colors make cleanup easier. Kids don’t always care about where paint lands, so knowing it washes out reduces stress for everyone. Avoid sharp tools; instead, pick scissors designed for kids—they cut well without the same risks.

It’s tempting to grab whatever is closest, but taking the extra minute to check labels on supplies can make a big difference. Sometimes, choosing safer options means your child can join the fun without issues. Honestly, I’ve learned this the hard way after one too many sneaky snacks with glitter glue on their fingers.
Decorating Easter Eggs Simply and Creatively
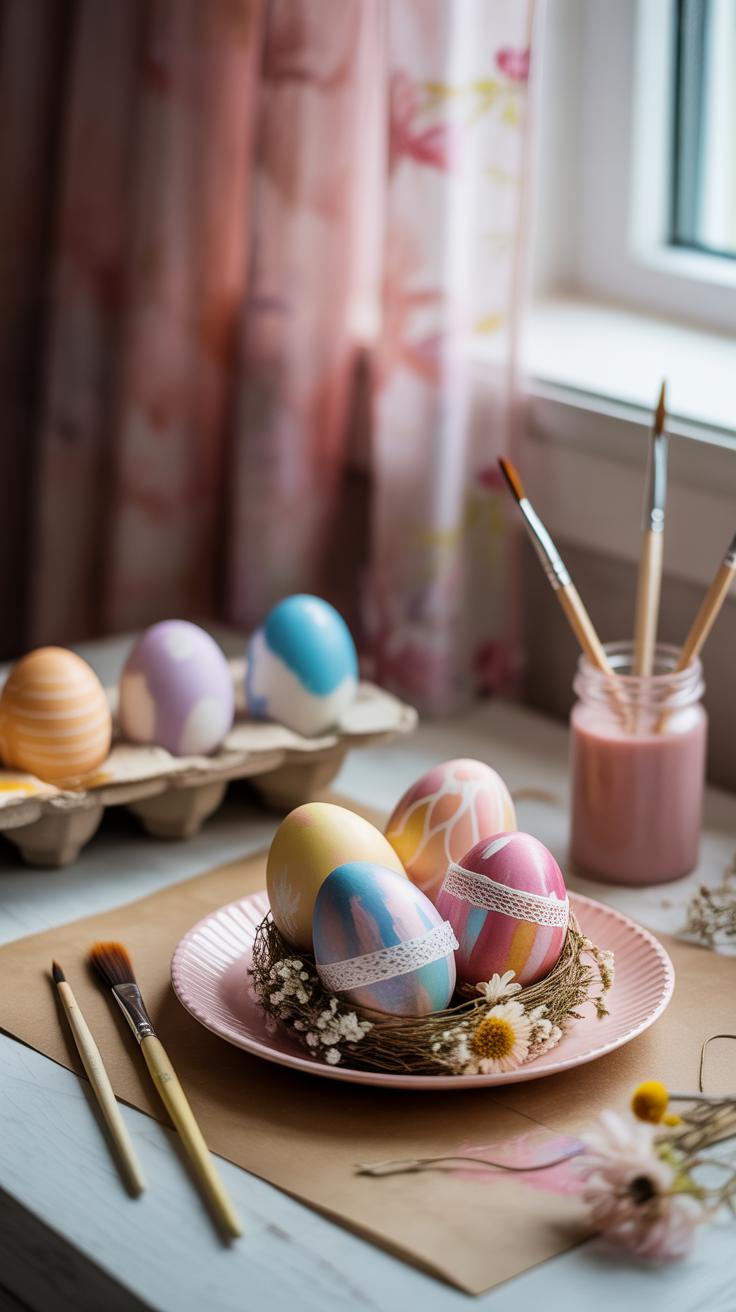
Decorating Easter eggs at home doesn’t have to be complicated or messy. Sometimes, the simplest methods yield the most charming results. For example, painting eggs with a few basic colors can create striking patterns without much effort. You might try stripes, dots, or even little faces using acrylic paint. It’s easy to do and lets anyone, even kids, join in.
If you prefer a less hands-on approach, stickers are a great way to add quick decoration. You can find Easter-themed stickers or use simple shapes like stars and hearts. They stick right on and make the eggs pop instantly—no drying time needed. Believe me, this approach worked well for my niece who’s not very patient with crafts.
On the other hand, natural dyes provide a chance to experiment a bit, using things already in your kitchen. Onion skins, turmeric powder, and even coffee grounds can color eggs gently and safely. It’s a slower process but watching the colors develop feels almost like a tiny science experiment. If you’re into organic or non-toxic options, these are definitely worth a try.
Natural Egg Dye Ideas

Using natural ingredients to dye eggs is a curious and pleasant way to explore Easter craft. You can make homemade dyes from simple kitchen staples:
- Beet juice turns eggs a deep pink or red. Simmer chopped beets in water for about 30 minutes, strain, add a tablespoon of vinegar, then soak your eggs for one to two hours.
- Spinach can give a subtle green tint. Boil fresh or frozen spinach for 15 minutes, strain, mix in vinegar, and dye eggs the same way.
- Coffee or strong tea creates warm brown tones. Brew a strong batch, cool it down, add vinegar, and soak the eggs for a couple of hours. The result is a lovely, earthy shade.
Try mixing these colors with different soaking times to see various shades. It’s a bit unpredictable, but that’s part of the charm. Plus, you can use leftover dye for paper crafts too.
Fun Painting and Sticker Decorating
Painting on eggs is surprisingly fun and straightforward. Start with a plain egg—either hard-boiled or emptied, your choice. Use small brushes or even cotton swabs to paint stripes, dots, or zigzags. If you feel adventurous, you can draw simple shapes like flowers or bunnies.
Stickers make decorating foolproof. For children especially, this method avoids mess and frustration. Pick out colorful or themed stickers, press them onto the eggs, and voilà—instantly festive eggs. You could also mix painting with stickers for more interesting designs.
When I last helped my kids with this, they loved layering stickers over painted eggs—it was like mixing old school craft with new ideas. Maybe you’ll find your own combination that clicks. Decorating eggs can be as relaxed or detailed as you like.
Making Easter Wreaths from Simple Supplies

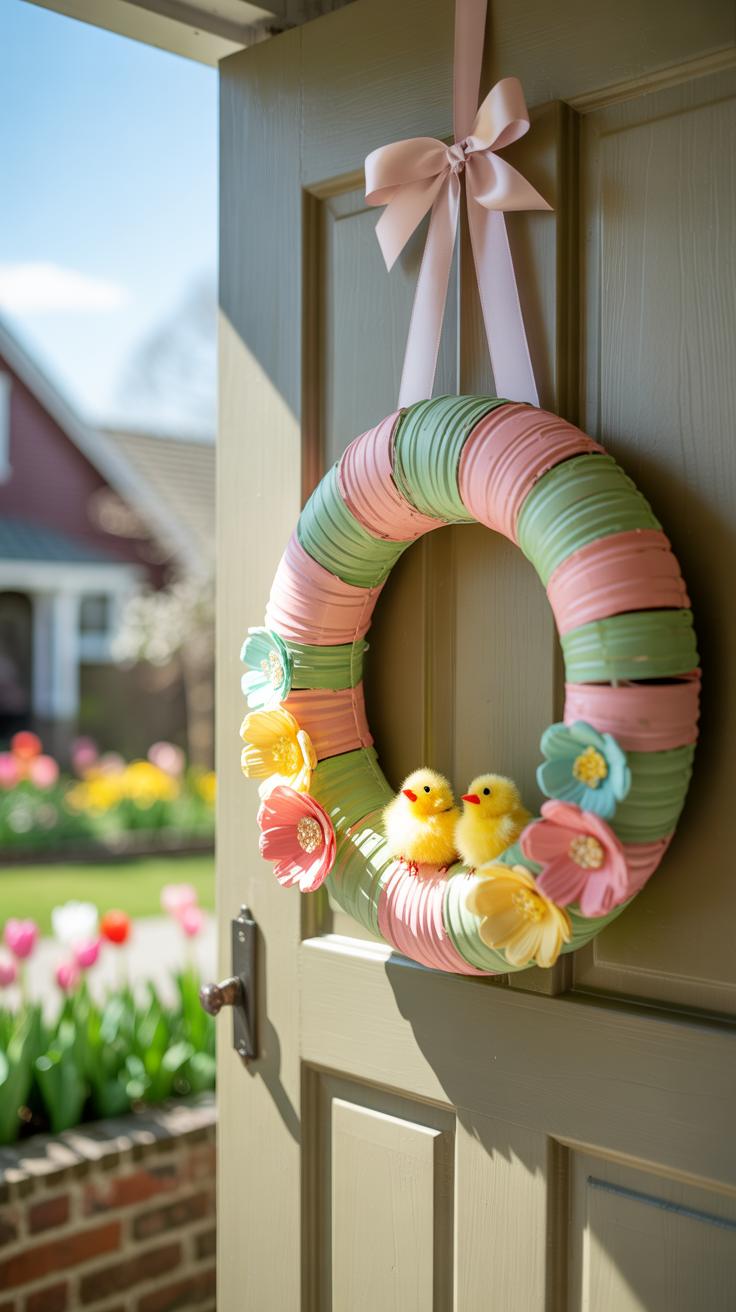
Creating an Easter wreath doesn’t have to be complicated. Start with a plain wreath base—you can find these in craft stores or even repurpose an old one. From there, gather basic items like paper, ribbons, and artificial or paper flowers. I find paper flowers especially fun because they’re easy to shape, and you can choose colors that suit your style or mood.
Crafting Paper Flower Wreaths
To make paper flowers, take square pieces of colored paper—pastels work nicely for Easter—and fold them like you would for simple origami petals. For example:
- Fold the paper diagonally to create a triangle.
- Fold the triangle in half again to form a smaller triangle.
- Cut small curves along the open edges to shape petals.
- Unfold gently to reveal your flower shape.
Arrange several of these flowers close together around your wreath base, overlapping a bit to cover any gaps. Mixing pinks, yellows, and light blues usually gives a fresh spring feeling. But if you prefer something less traditional, why not try purples and greens? Play around until you find a grouping that feels right. The placement doesn’t have to be perfect then you might notice your wreath looking more natural and inviting.
Adding Personal Touches with Ribbons and Charms
Now, bring in ribbons—choose varying widths and textures. I like combining satin and sheer ribbons, as they give a nice contrast. Tie bows or simply weave the ribbons through the wreath base. Small charms like little Easter eggs, tiny wooden bunnies, or mini bells can add character. You might hang them with thin thread or glue some directly onto the flowers for a subtle pop.

Others might add a couple of lightweight balloons tied to the wreath’s bottom for a festive, playful twist. While that may not be my usual choice, it’s definitely an option if you want your wreath to stand out a bit more. Experiment with what feels festive yet comfortable for your space.
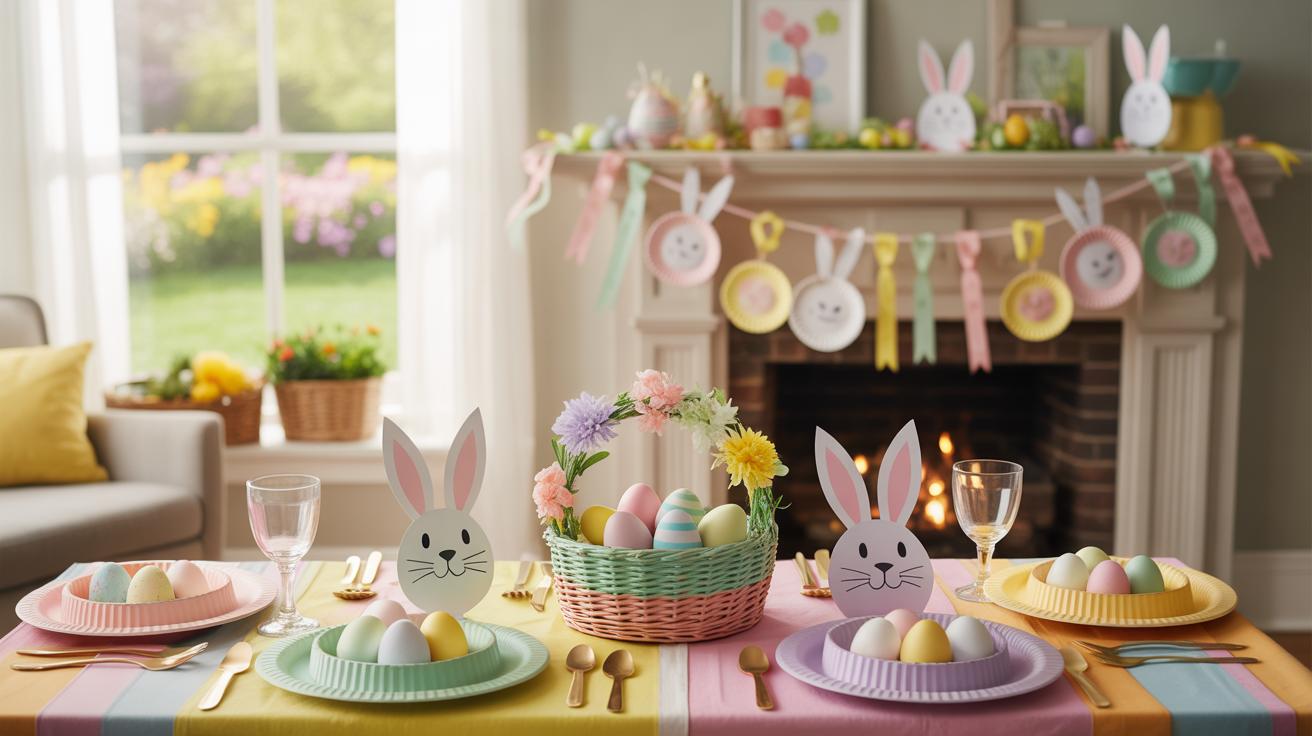
Creating Table Centerpieces with Easter Themes
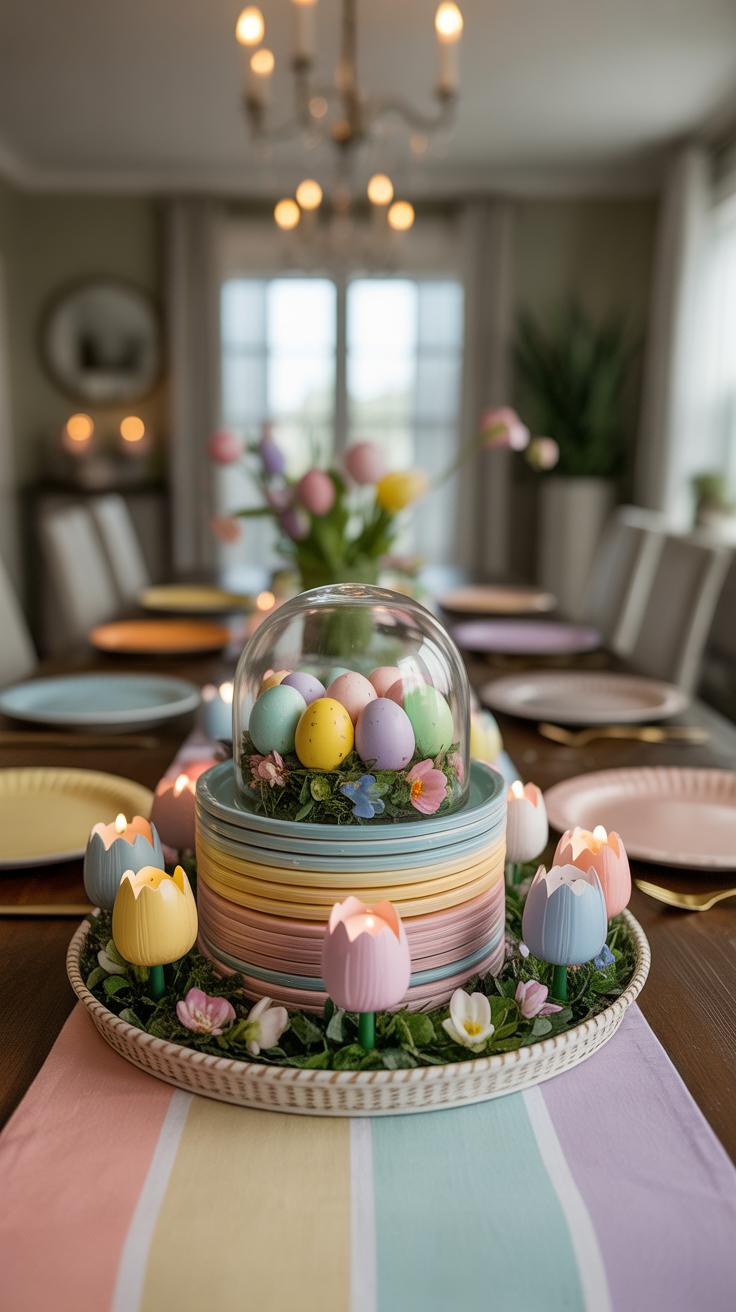
Making a simple table centerpiece for Easter doesn’t have to be complicated. You can start with a base of Easter grass—it gives a soft, natural layer that mimics a little nest. Nestle some eggs in there, whether they’re painted, plastic, or even real boiled ones. Adding small figurines, like bunnies or chicks, brings a playful touch that sets a light, festive mood. I found that even just a few carefully placed figurines can change how inviting the whole table feels.
Using Natural and Recycled Materials
Think about using what’s around you. Twigs make great structures—try twisting them into small circles or placing them casually for a rustic vibe. Leaves gathered from outside add color and texture, especially if you arrange them loosely rather than perfectly. Recycled containers, such as mason jars, tin cans, or old bowls, can hold everything together while cutting down waste. I once used an old wooden crate as the base; it wasn’t fancy but looked surprisingly charming and natural. These materials can feel more “alive” than store-bought decor, even if imperfect.
Setting the Table with Colorful Accents
When arranging your centerpiece, add pops of color to make it pop. Painted eggs work best when placed at different heights—maybe stacking a few in a small bowl or spreading them across the base layer. Fresh or faux flowers, especially in pastel tones, usually brighten the whole setup. Candles add warmth but placing them safely matters—you don’t want wax on the grass or nearby paper. One trick I like is grouping a few candles together for a denser, cozier look instead of spacing them too far apart. These little touches turn an otherwise simple centerpiece into something that feels festive without fuss.
Crafting Easy Easter Cards for Friends and Family

Designing with Paper Cutouts and Drawings
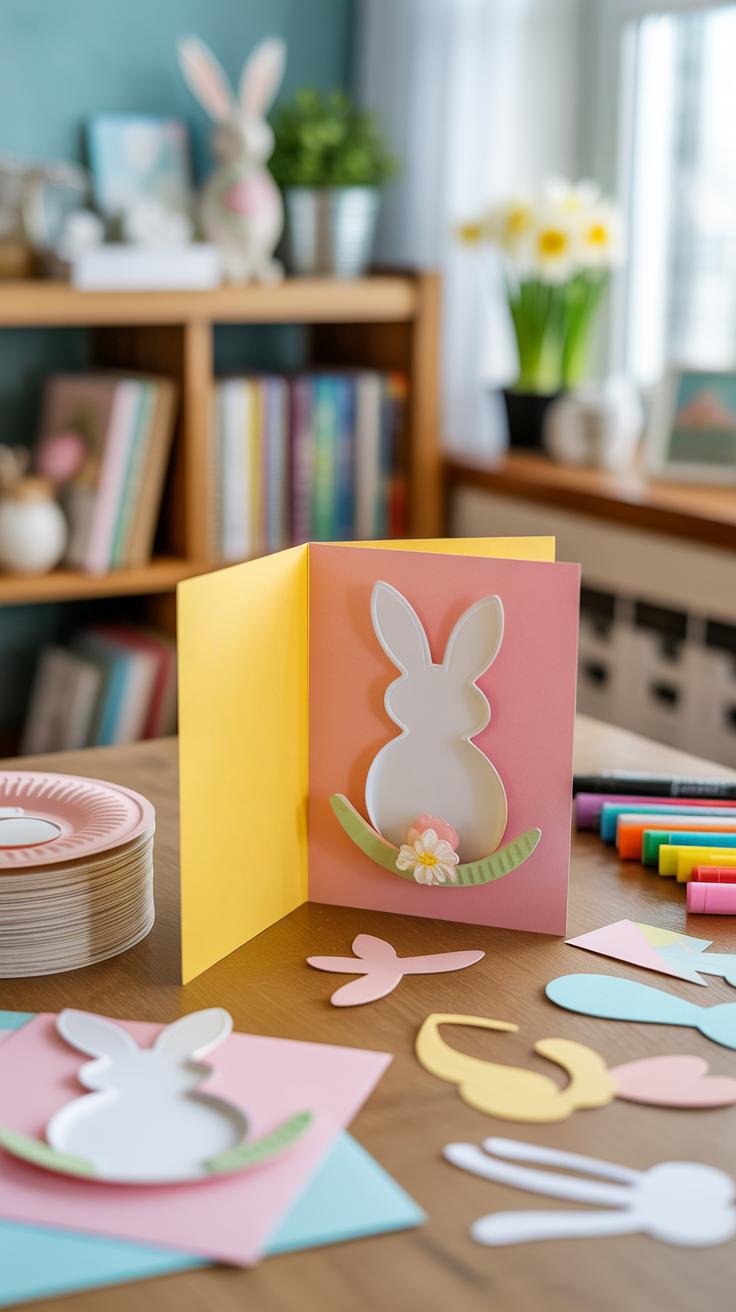
Making Easter cards can be simpler than you think, especially when you focus on using paper cutouts and simple drawings. Start with plain cardstock—you don’t need fancy paper. Then, cut out shapes like eggs, bunnies, or little chicks using colored paper. If you’re short on time, printed templates work just as well. Glue these cutouts onto your card in a slightly random way—it doesn’t have to be perfect. I often add hand-drawn details around the cutouts, like little flowers or squiggly lines, which can add charm and personality quickly. Stamps with Easter motifs are another easy option and give a nice uniform look without much effort.
Don’t hesitate to mix and match. Sometimes, I combine a cutout egg with a drawn face or a small hand-colored flower—this layering adds a sweet touch without more hassle. It’s quite relaxing, actually. Plus, kids love this method because it’s hands-on and allows a bit of creative freedom without stressing about perfection. You might find yourself making more cards than you planned just because it’s fun.
Writing Meaningful Easter Wishes
When it’s time to write inside, choosing words can be surprisingly tricky. I often ask myself—what would I like to hear? Simple and heartfelt tends to work best. You might write something like, “Wishing you a joyful Easter filled with peace and happiness,” or “May this Easter bring new hope and bright moments to you and your family.” These don’t sound too formal but still carry warmth. If the card is for a close friend or family member, adding a personal memory or a small note about looking forward to seeing them soon makes the message feel more genuine—like, “Remember our egg hunt last year? Can’t wait to do it again.”
Try to write in your own voice, too. Your recipient will notice if your message feels forced. Short notes are fine—sometimes less says more. And if you’re feeling unsure, it’s okay to keep it simple and sincere. After all, the card is about sharing care, not writing an essay.
Organizing a Fun Easter Crafting Day
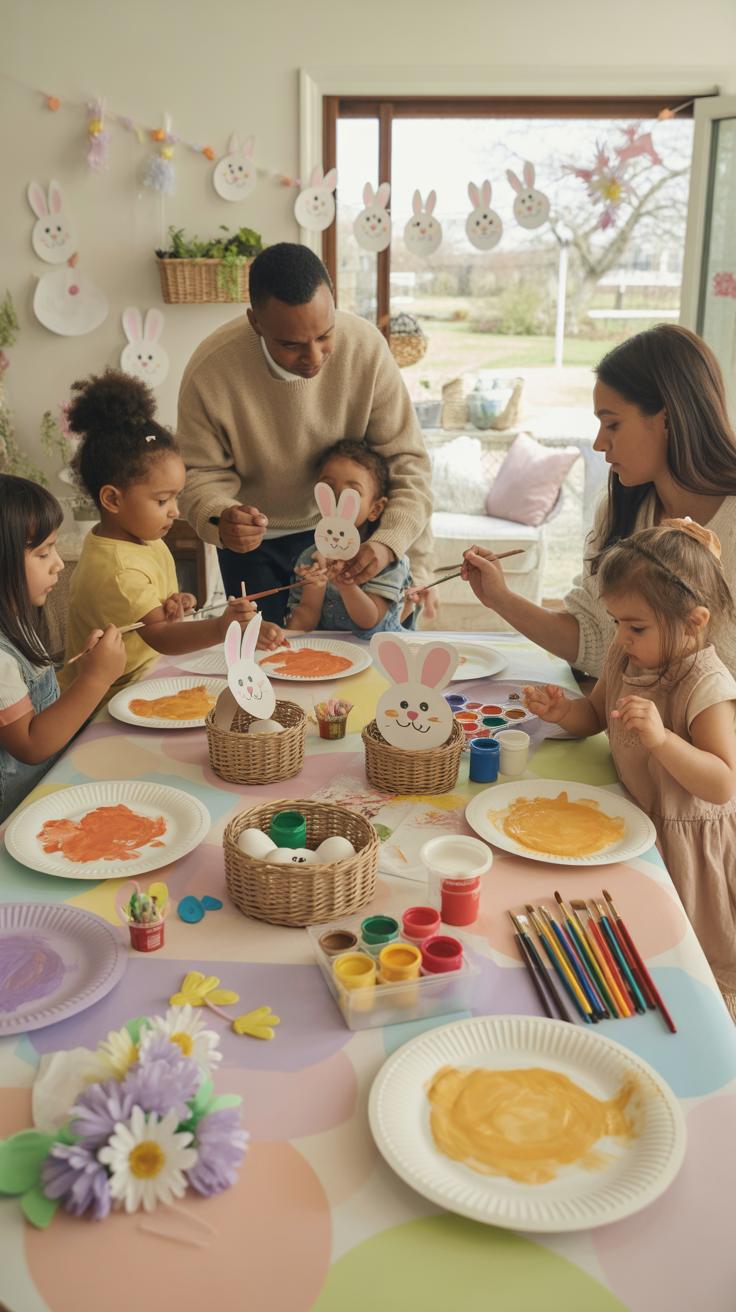

Gathering family or friends to craft together can quickly turn a simple activity into something memorable. The key is planning ahead: think about what materials you’ll need and set them out beforehand. Maybe place scissors, glue, markers, and paper in easy-to-reach containers so no one has to hunt around mid-project.
Keeping everyone engaged can be tricky. Vary the tasks to suit different interests and skill levels. For example, some can focus on cutting shapes while others concentrate on painting or assembling. Don’t hesitate to throw in a few quick breaks or switch up activities if energy dips. Fun often comes from little surprises—like someone’s unexpected design or a shared joke over glue mishaps.
Setting Up a Crafting Space
Pick a spot with plenty of natural light if possible—it makes colors pop and keeps everyone alert. Lay down a washable tablecloth or newspaper to guard against messes. Chairs with back support help if crafting goes on for hours, because comfort really matters even if you want to rush through.
Organize tools and supplies in small containers or trays grouped by type, so it’s easy to pass them around. Leave some clear workspace for assembling finished pieces. And don’t forget a trash bin close by—cleaning up as you go prevents clutter from stealing the fun.
Ideas for Group Craft Projects
Choosing projects that invite collaboration can make the day more social. For example:
- Create a large Easter wreath together: each person decorates a segment to attach later.
- Work on a group garland using paper bunnies or colored eggs strung on twine.
- Make a communal Easter egg centerpiece where everyone paints or decorates an egg, then arranges them collectively.

These activities allow everyone to contribute without feeling overwhelmed. Plus, they often spark conversations—what colors to use, sharing decorating tips, or little stories linked to Easter traditions. You might find that the shared process matters more than the perfect final product.
Displaying Your Easter Crafts for Maximum Impact
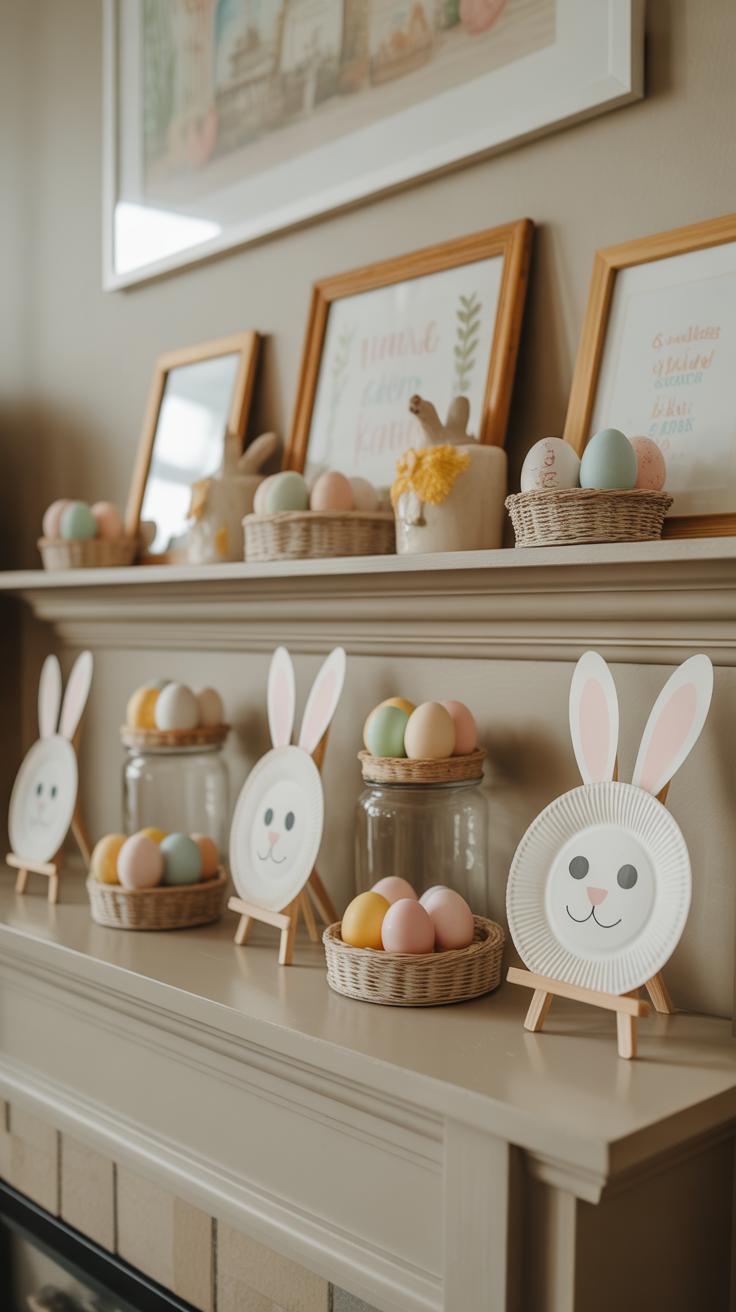
Using Shelves and Mantels
Shelves, mantels, and window sills offer perfect spots to showcase your Easter creations without much hassle. You can mix colors and textures by placing different crafts side by side—a painted egg next to a small bunny figurine, or a garland draped softly over the edge. Don’t overcrowd these spaces, though; a few well-chosen pieces allow each item to catch the eye better than a cluttered display. I once arranged pastel-colored eggs with a simple vase of spring flowers on my mantel, and it really lifted the whole room—more than I expected.
Think about varying heights and shapes. Taller items in the back, smaller in front, or scattered artfully rather than lined up straight. Windowsills are great for catching natural light on translucent crafts like dyed eggs or delicate paper cutouts. Sometimes just shifting a piece slightly or adding a little green sprig can make a display feel lively rather than flat.
Creating Easter Corners and Spaces
Perhaps the most fun way to decorate is by dedicating a small corner or table to Easter decorations. Cluster your crafts together to form a theme or story—like a little Easter garden with handmade chicks, nests, and flowers. Grouping items of related colors or styles creates a visual anchor in the room. At one point, I placed a small basket with colorful eggs, a few pastel bunny cutouts on the wall behind, and fairy lights woven through—it felt cozy and inviting, even if a bit simple.
Don’t be afraid to mix everyday items with your crafts. A stack of books with your Easter creations on top can work, or a chair with a festive fabric draped over it. These curated spaces breathe life into your home and encourage guests (or yourself) to pause and appreciate the little details. What corner in your home might become an Easter nook this year?
Keeping Easter Crafts for Next Year
Cleaning and Protecting Crafts
After the Easter fun winds down, taking a moment to clean your crafts can save you some headaches later. Dust or gently wipe painted items with a soft cloth. If you used glue or glitter, check for any loose bits—these can fall off and make a mess stored away. Sometimes I’ve found dried glue spots that got sticky again months later if not cleaned properly, which is frustrating.
For delicate items like paper decorations or foam figures, consider placing a sheet of tissue paper between layers when stacking. That little extra step helps avoid scratching or tearing. A quick spray of clear acrylic sealer on painted wood or ceramic crafts can protect paint from fading or chipping, but test it first—you don’t want to ruin the finish.
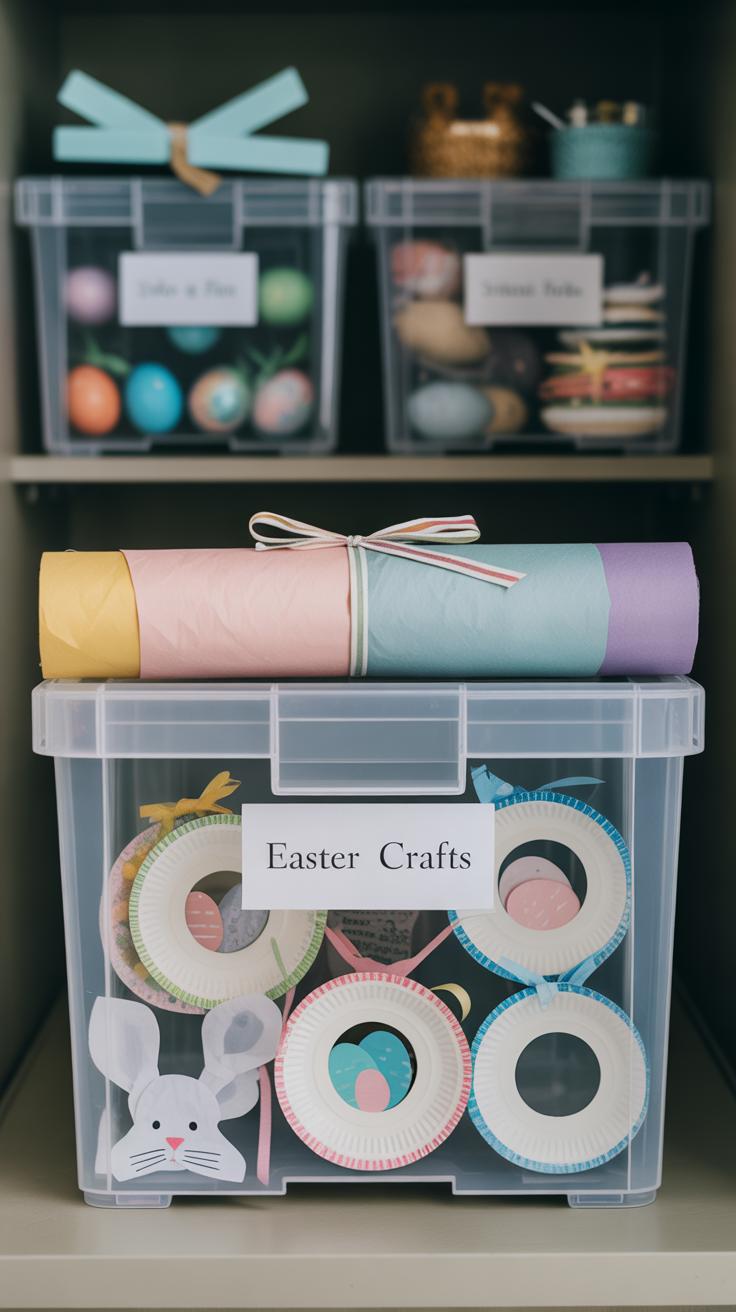
Organizing Storage for Easy Access
Finding your Easter crafts without rummaging feels like a small win every year. Clear plastic bins work well; you can see what’s inside without opening them. Label each box with a marker or printed sticker—something straightforward like “Easter Crafts 2024” does the trick. If you have small parts, use zip-top bags so nothing slips away.
Stackable containers save space, but sometimes a big, shallow box is better for awkward shapes like wreaths or baskets. Whatever you choose, keep your storage in a cool, dry spot to avoid moisture damage. Basement or attic? Maybe not the best choice unless it’s climate-controlled. I learned that the hard way when some paper crafts got warped after a humid summer.
Plan where crafts go soon after Easter while everything’s fresh in your mind. You’ll thank yourself next year when decorating feels more like fun, less like a scavenger hunt.
Conclusions
Creating Easter crafts is a wonderful way to bring the holiday spirit into your home. You can use simple materials and easy steps to make your space festive. These projects invite you to use your creativity and spend quality time with loved ones.
Try these crafts to add a personal and joyful touch to your Easter decorations. With these ideas, preparing for Easter becomes more enjoyable, and your home will be filled with happiness and color. Start crafting and celebrate Easter with charm and fun.