Introduction
Painted Doors Before And After Makeovers You Can Copy offers inspiring ideas to transform your home easily. You will see how a simple coat of paint can completely change a door, giving your space a fresh look. This article will guide you through various makeover examples and share practical tips you can use yourself.
Whether your door is old or just plain, painting it can give it new life. We will explore different painting techniques, colors, and tools to create beautiful doors. You will also discover how to prepare your door, select the right paint, and finish the project for lasting results.
Preparing Your Door for Painting
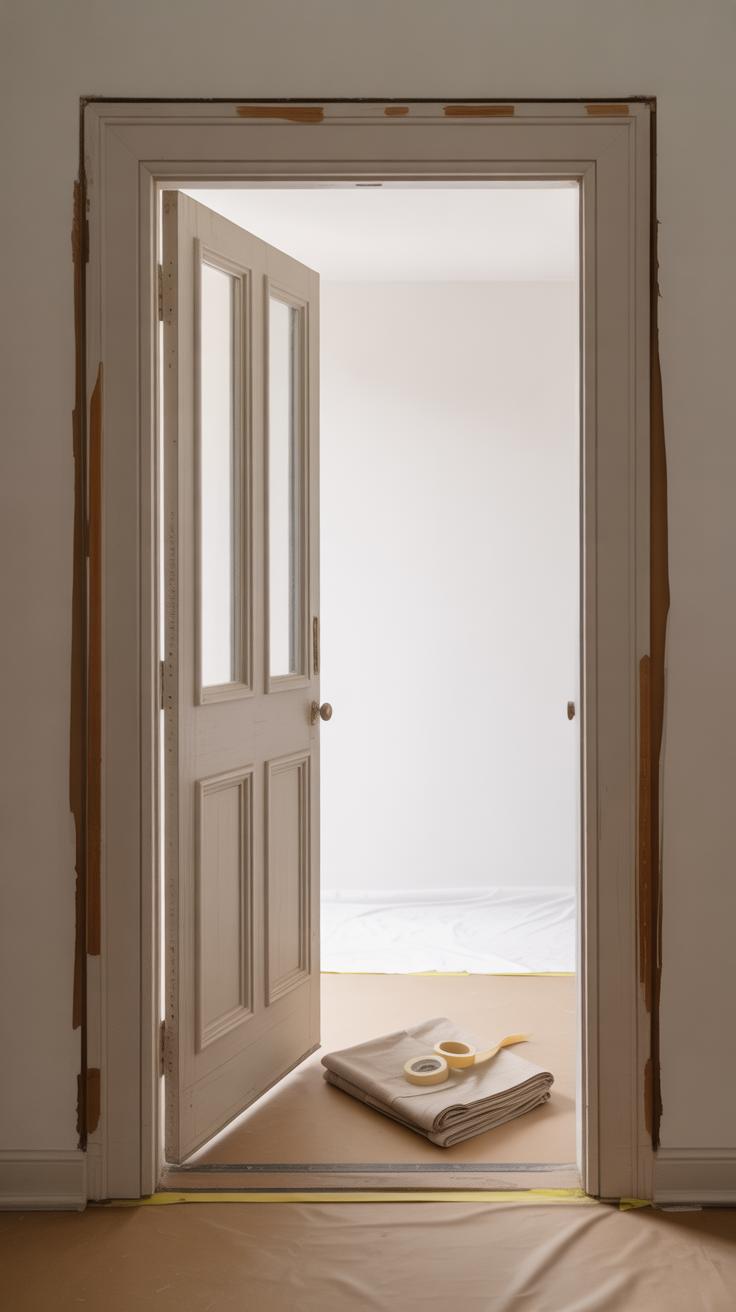
Before you pick up a brush, there’s quite a bit to do to get your door ready. It’s not just about slapping on paint; the prep work is what makes a painted door look smooth and last longer.
Start by giving the door a thorough cleaning. Dust, grease, and dirt can mess with how the paint sticks. Sometimes a simple wipe with a mild soap and water works, but if you’ve got stubborn spots, something a bit stronger might be needed. Don’t rush this part—any residue left behind can cause peeling or bumps later.
Next, sanding is the step that often trips people up. You want to sand just enough to roughen the surface so the paint grips better, but not so much that you damage the finish or expose the bare wood unevenly. Use fine-grit sandpaper and try to be consistent. It’s a bit tedious, but it’s well worth it. You’ll notice the difference once the paint goes on.
If your door has old paint that’s chipping or peeling, scrape those bits off carefully. Leaving loose flakes won’t do you any favors—it’ll look messy and wear out faster.
Once the surface is clean and sanded, priming is the next step. Primer seals the door and creates a perfect base for the top coat to adhere to. Skipping primer is a gamble; sometimes you get away with it, especially on freshly sanded bare wood or certain paints, but usually, using primer means fewer coats of paint and a better finish.
Priming also helps hide imperfections or stains that could bleed through the paint later on. If your door is dark and you plan on painting it a lighter color, primer is almost essential. It’s an extra bit of work upfront, but it saves stress later when you don’t see your old color peeking through.
Taking these prep steps might feel like a lot for something as “simple” as a door. Yet, it’s this groundwork that turns a quick project into a genuinely fresh, polished update you and others can notice right away. Skipping or skimping here often shows—and nobody wants that.
Removing Hardware and Cleaning
Before you even think about opening a paint can, take a moment to strip the door of its hardware. That means handles, locks, hinges—whatever’s attached. It might seem tedious, but leaving those on can cause uneven paint or messy edges. A screwdriver usually does the trick, but sometimes screws are rusty or sticky, so patience helps. Put all the little pieces somewhere safe—you don’t want to lose them halfway through.
Next comes cleaning. You might underestimate this step, but it’s crucial. Dirt, grease, and fingerprints can prevent paint from sticking properly. Use a mild soap mixed with water and a soft cloth or sponge to wipe down the entire door. Don’t just glance over it quickly; give extra attention to spots that look dustier or grimier. After cleaning, let the door dry completely before moving on. Rushing this part can cause trouble later, believe me.
Sanding and Priming Tips
Once your door is spotless and dry, sanding is the way to go. You don’t have to go wild with it, but a light sanding smooths out old paint flakes and rough spots. For flat surfaces, a fine-grit sanding sponge is good. But in those tricky grooves or panel edges, switching to a small sanding block or even sanding by hand can work better. Don’t skip this step even if your door looks fine—paint sticks better to a slightly rough surface.
Priming often gets overlooked, but it really makes a difference. Primers help the paint hold on longer and create a more even color. If you’re painting over a darker color or bare wood, don’t hesitate to use a primer—your final paint job will thank you. Sometimes you can combine primer and paint in one, but separating these steps tends to give a cleaner finish. I’ve found that a good primer reduces the chance of peeling or patchy spots later on. It’s a bit of extra work up front but saves headaches down the road.
Choosing the Right Paint for Doors
Picking the right paint for your doors can feel a bit tricky. There’s more to it than just grabbing any can of paint. You want something that stands up to everyday use but also looks good, right? Let’s break down some basics.
Oil-Based vs Water-Based Paint
Oil-based paints have been the classic choice for doors, mostly because they dry hard and are pretty durable. They resist dings and stains better but can take longer to dry and have a strong smell. Plus, clean-up means solvents, which some find inconvenient. Water-based paints, or acrylics, dry quicker and clean up with soap and water—definitely easier. Though early versions weren’t quite as tough, nowadays, many water-based paints are made for doors and hold up surprisingly well. So if you want less hassle and a quicker project, water-based might be your pick.
Finish Options: Matte, Satin, Glossy
The finish you choose impacts more than just aesthetics. Matte finishes hide imperfections but can be harder to clean, which might be frustrating for high-traffic doors. Glossy finishes reflect light and are easier to wipe down, but they will also highlight every scratch or bump. Satin offers a middle ground—slightly shiny but still forgiving. Personally, I’ve found satin finishes strike a nice balance for most doors, but it depends on your lifestyle and how much wear your door sees.
Types of Paint and Their Benefits
- Enamel Paints: These are great for durability and often have a smooth finish that lasts. Both oil-based and water-based enamels work well.
- Acrylic Latex Paints: Easy to work with and flexible; they resist cracking over time. Also better for the environment compared to oil-based.
- Alkyd Paints: A kind of oil-based paint that has been formulated for fewer fumes and quicker drying.
Each type has pros and cons, and the best choice partly depends on where the door sits and your patience with drying times.
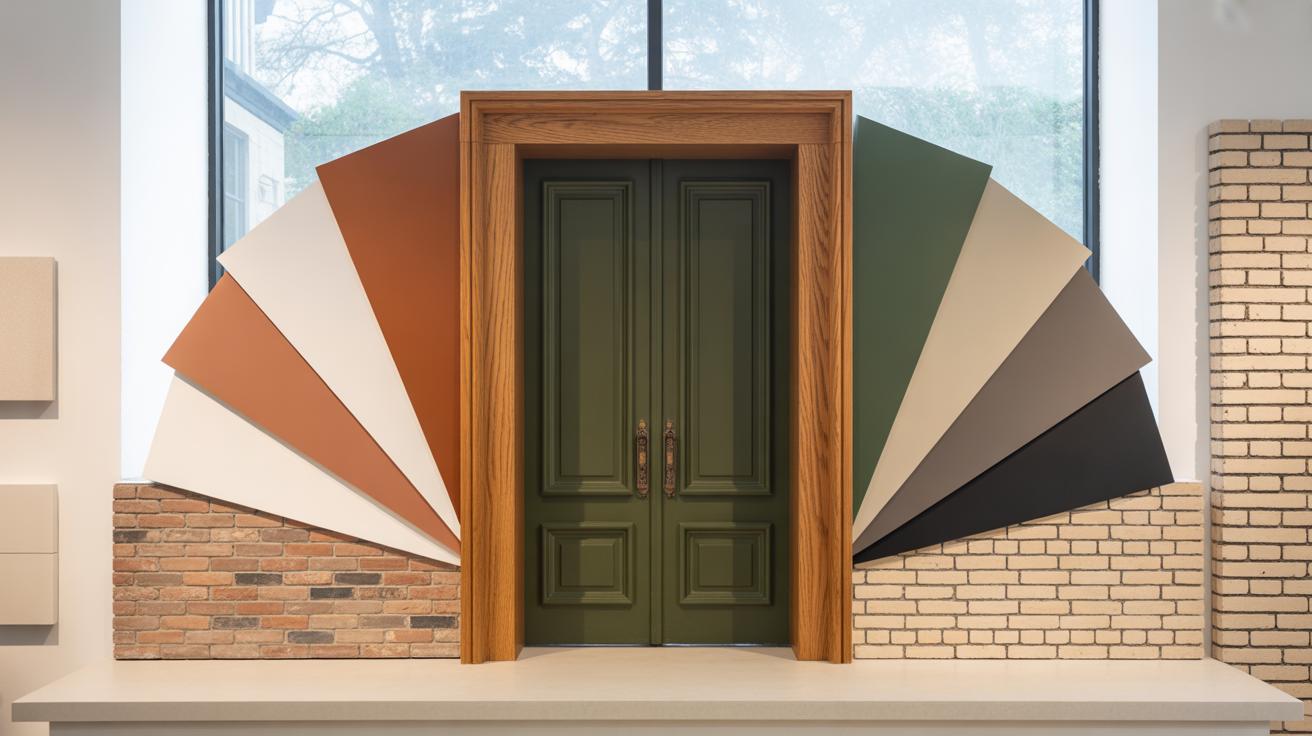
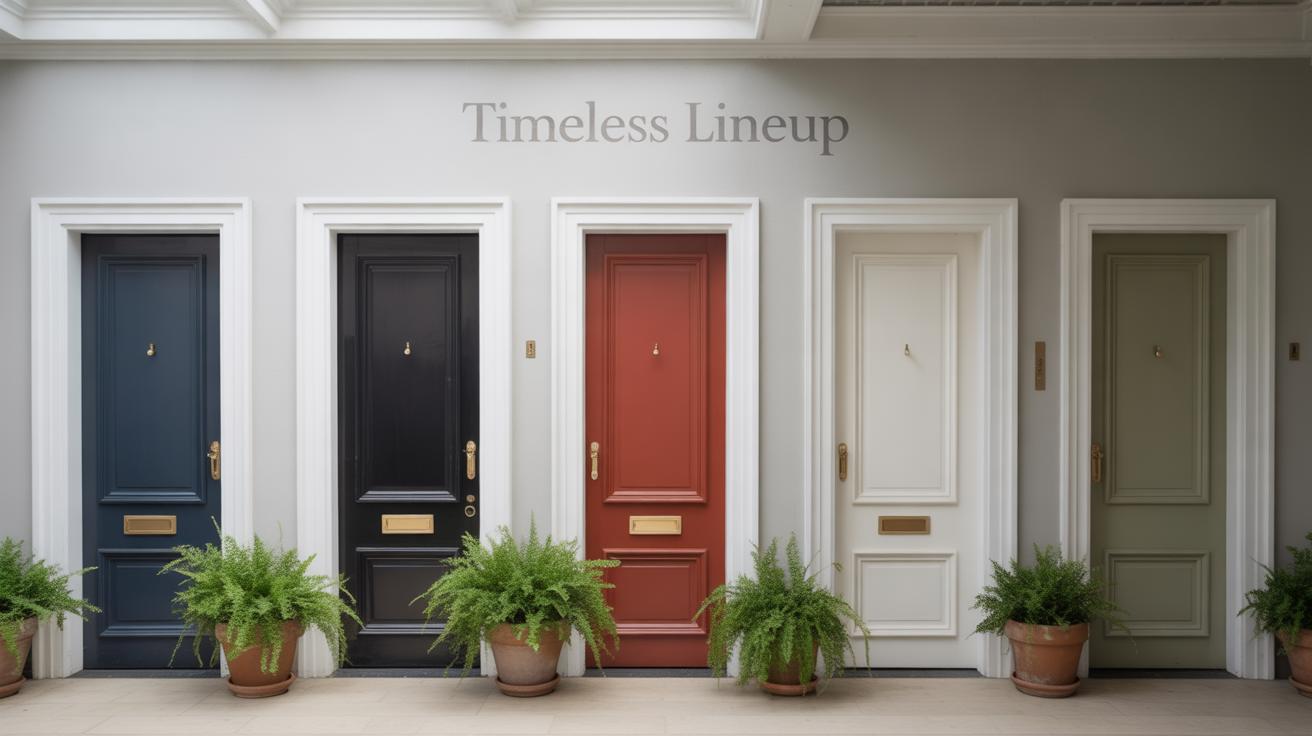
Color Selection Tips
Choosing a color might feel overwhelming, believe me, it can take a bit of trial and error. Think about the room your door leads to—lighter colors can open up tight spaces, while darker shades add depth or drama. Sometimes a bold color works as a simple accent, breaking a neutral palette. It’s also smart to consider finishes with your color choice since gloss amplifies hues more intensely.
Try testing small patches before committing. You might love how a shade looks on the chip, but it behaves differently in your lighting and next to your furniture. Does the color reflect your style? Your answer might change over time, so if you’re unsure, start subtle. Doors are impactful, but they don’t have to shout out loud to update your space.
Basic Painted Door Makeover Techniques
When it comes to painting doors, picking the right tools can make your project smoother, even if you’re new to this. Rollers, brushes, and sprays each bring different strengths that can help bring your door back to life without too much fuss.
How to Use Rollers for Smooth Finish
Using a roller is probably the easiest way to cover flat surfaces quickly. I tend to start by loading the roller evenly—too much paint can cause drips, too little means extra coats. Rolling in one direction helps avoid streaks, but sometimes if you roll in different directions lightly at the end, you get a more even look. It’s a bit trial and error, frankly.
You usually want a small foam or microfiber roller for doors. They pick up enough paint and leave fewer bubbles. Rollers work best on the big, flat parts of your door where brushes can feel inefficient. Just don’t forget to feather the edges near the door panels or trim, because rollers aren’t precise there.
Using Brushes for Detailed Areas
Brushes take the lead when you need to paint around panels, grooves, or the edges of your door. I find angled brushes useful for cutting into corners smoothly. Brushes let you control where the paint goes—great for spots where a roller just can’t reach cleanly.
Don’t be afraid to slow down here. Speedy brushing can leave visible marks or cause paint to pool unevenly. Dipping the brush lightly and painting along the grain of the wood—or direction of the panels—often produces the best finish. And if your brush strokes look a bit rough at first, a second coat usually helps smooth things out.
Creative Door Painting Ideas to Try
Painting your door doesn’t have to stop at a single color. You can quickly elevate a plain door with simple, creative twists that bring personality—and maybe a bit of surprise—to your space.
Two-Tone and Color Blocking
Two-tone doors are easier to make than you might think. You only need a good painter’s tape and two paint colors that either contrast sharply or blend softly. Start by deciding where you want the color split—horizontal, vertical, or even diagonal lines work well.
Mask off the section you want to keep untouched with painter’s tape. Press the tape down firmly to avoid bleeding. Paint the exposed area with your first color, let it dry, then carefully remove the tape. Next, tape off the freshly painted side, protecting it while you paint the second color on the other half. I once tried a vertical line off-center, and it instantly made the door more dynamic without overwhelming the room.
Adding Patterns and Stencils
If stripes or simple color blocking feels too plain, a patterned door might be the way to go. You can buy stencils or create your own using heavy cardstock. Position the stencil on the door, and hold it firmly or tape it down to avoid shifting.
Use a small brush or sponge to dab paint lightly over the stencil, building up the pattern gradually. Less is sometimes more here—too heavy a coat causes smudging. When your pattern covers the door, carefully lift the stencil and let it dry.
For stripes, painter’s tape is your best friend. Mark out your lines unevenly or evenly, depending on taste. Paint between the taped sections, remove the tape while the paint is still tacky for crisp edges, and repeat as needed. This approach worked well on a door I painted recently—mixing thick and thin stripes created an unexpected rhythm.
These ideas invite you to play with colors and shapes on a surface you often overlook. What patterns would feel right in your home? Maybe it’s time to try a bold stripe or a soft stencil design that tells a story.
Transforming Old Doors With Faux Finishes
Faux painting can completely change the feel of an old door, giving it texture and depth you might not expect from paint alone. These techniques aren’t just for professionals, either—you can try them yourself with a bit of patience and the right tools.
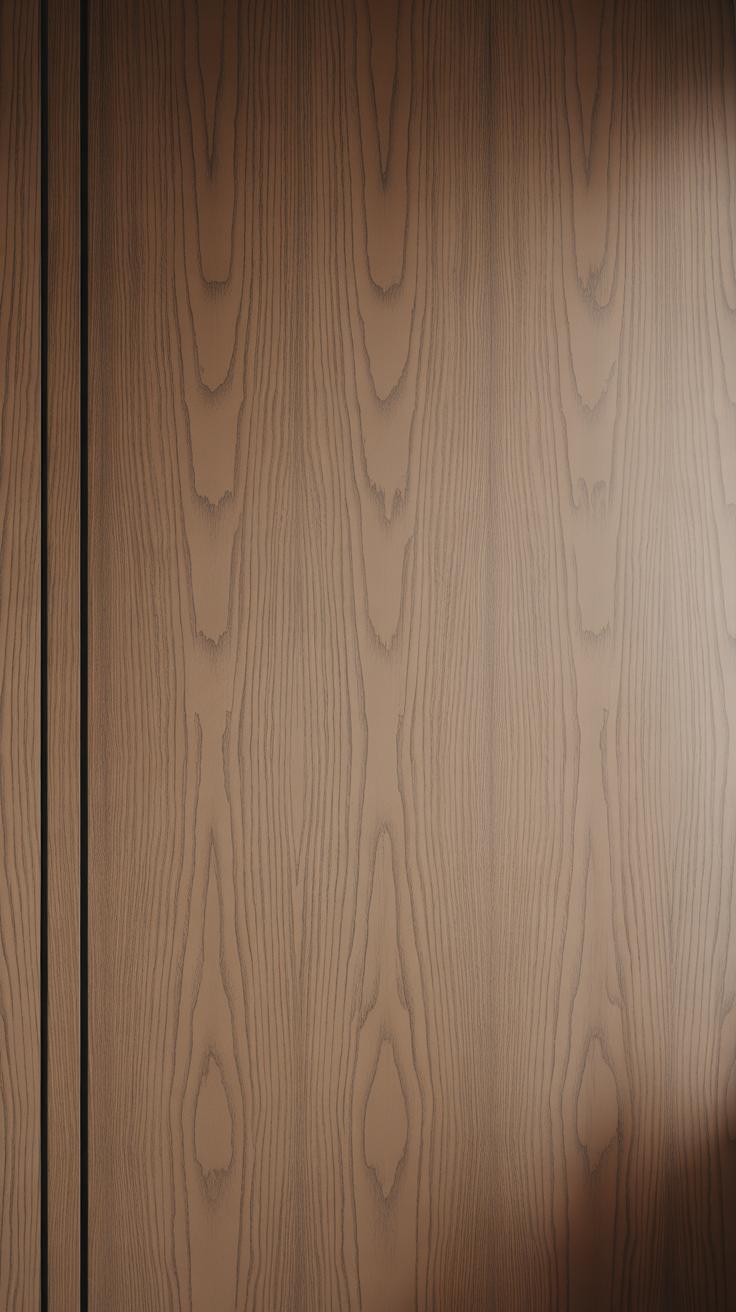
Wood Grain Faux Painting
Making a plain door look like it’s carved from wood is surprisingly doable with wood grain faux painting. Start with a base coat that matches your desired wood tone. Use a grain tool or even a stiff brush to drag through wet paint, creating the patterns and knots you’d see in real wood. You can layer different shades to add dimension—maybe a darker streak here, a lighter patch there. It’s tricky to get it perfect, but a bit of imperfection actually helps sell the effect. I once spent a whole afternoon on one door, wondering if I’d made it look more fake before finally stepping back and seeing—I think it actually passed.
Marble and Stone Looks
For a different kind of texture, you can imitate marble or stone by layering paints. Start with a solid base, usually white or a light gray. Using sponges or brushes, dab on diluted darker tones in irregular patches. Then, with a fine liner brush, add thin veins across the surface—those delicate, wandering lines that make marble so unique. The layering isn’t about precise shapes but about creating a natural, random pattern. It can feel slow, almost fussy, but the results draw the eye and add a certain quiet elegance. It’s not easy to decide if you want marble or something more rugged, though. Sometimes I find myself mixing elements, and the result ends up somewhere in between stone and marble, which, honestly, feels refreshing rather than confusing.
Before and After Painted Door Makeover Examples
Simple Color Change Examples
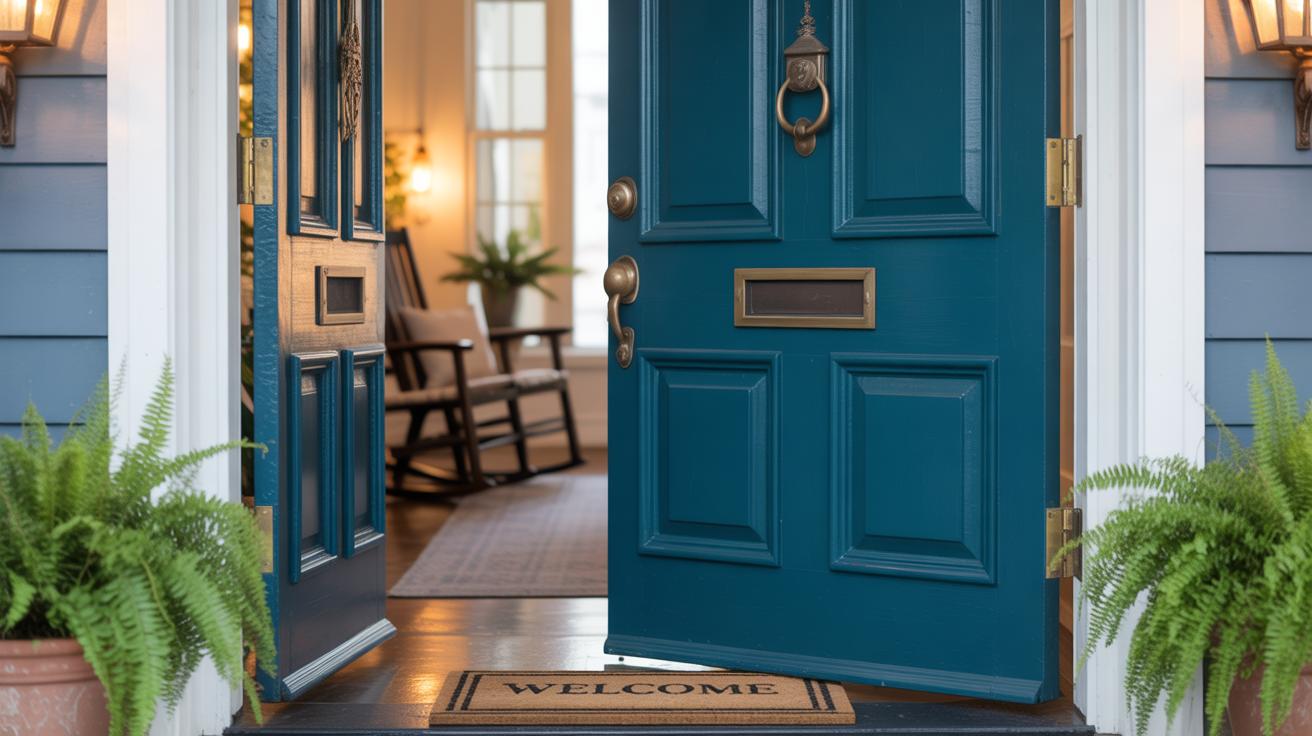
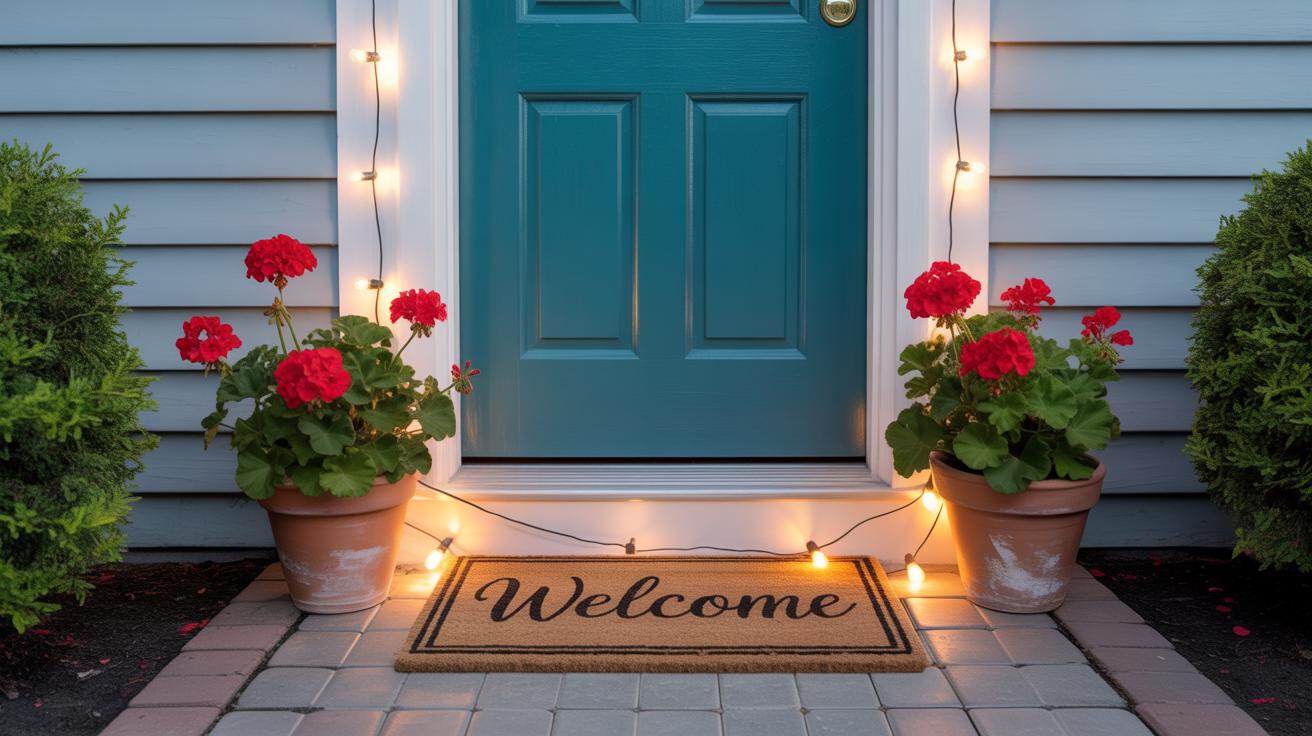
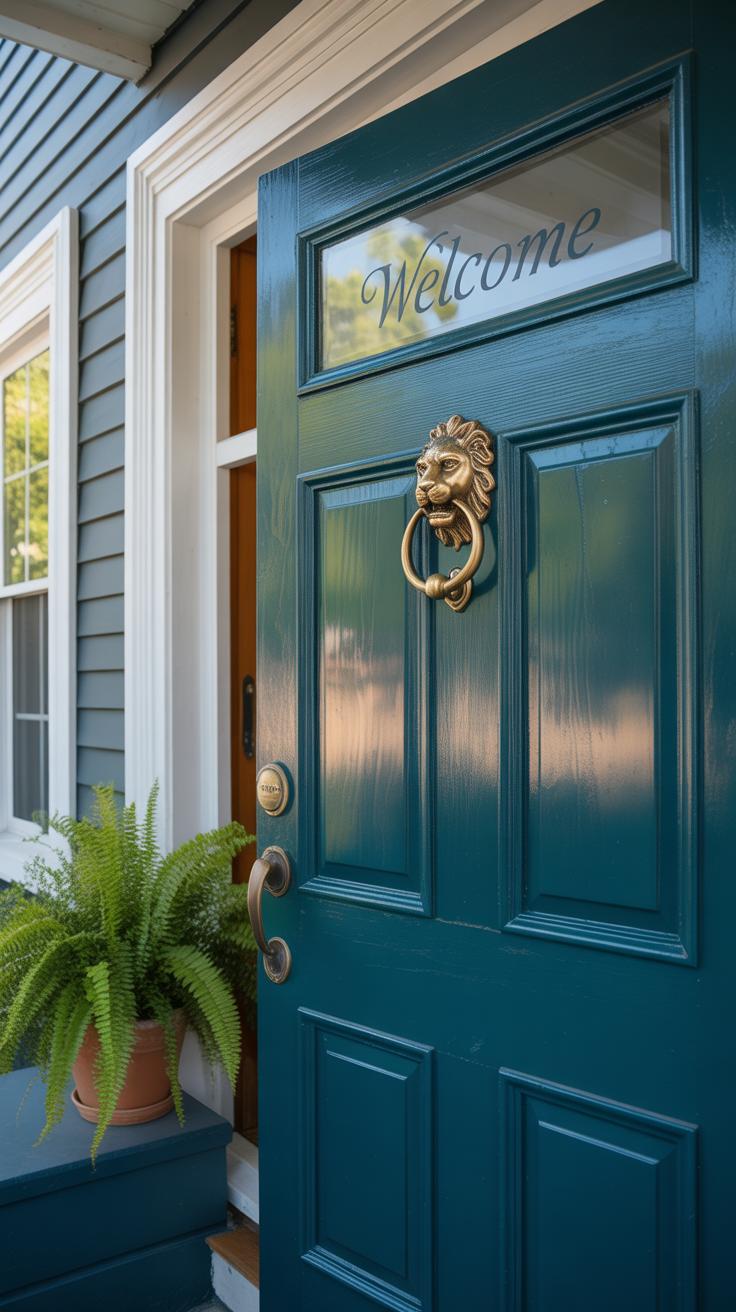
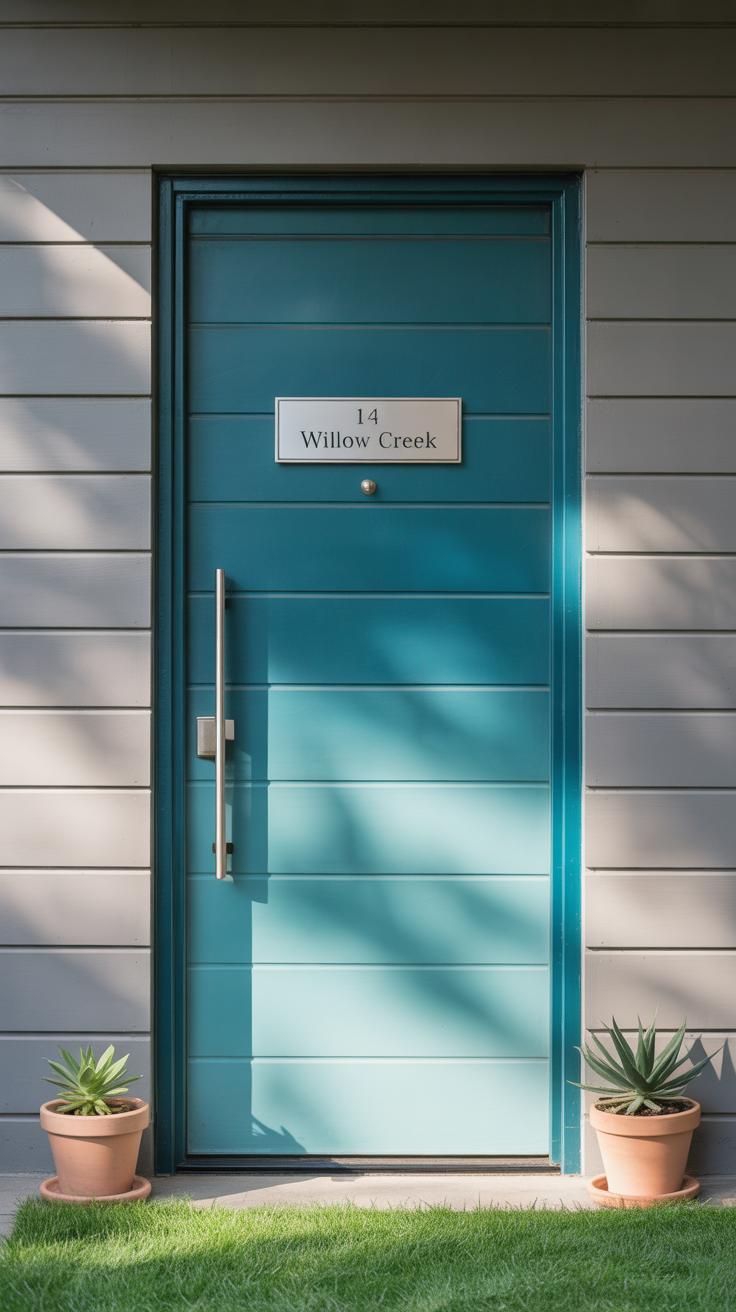
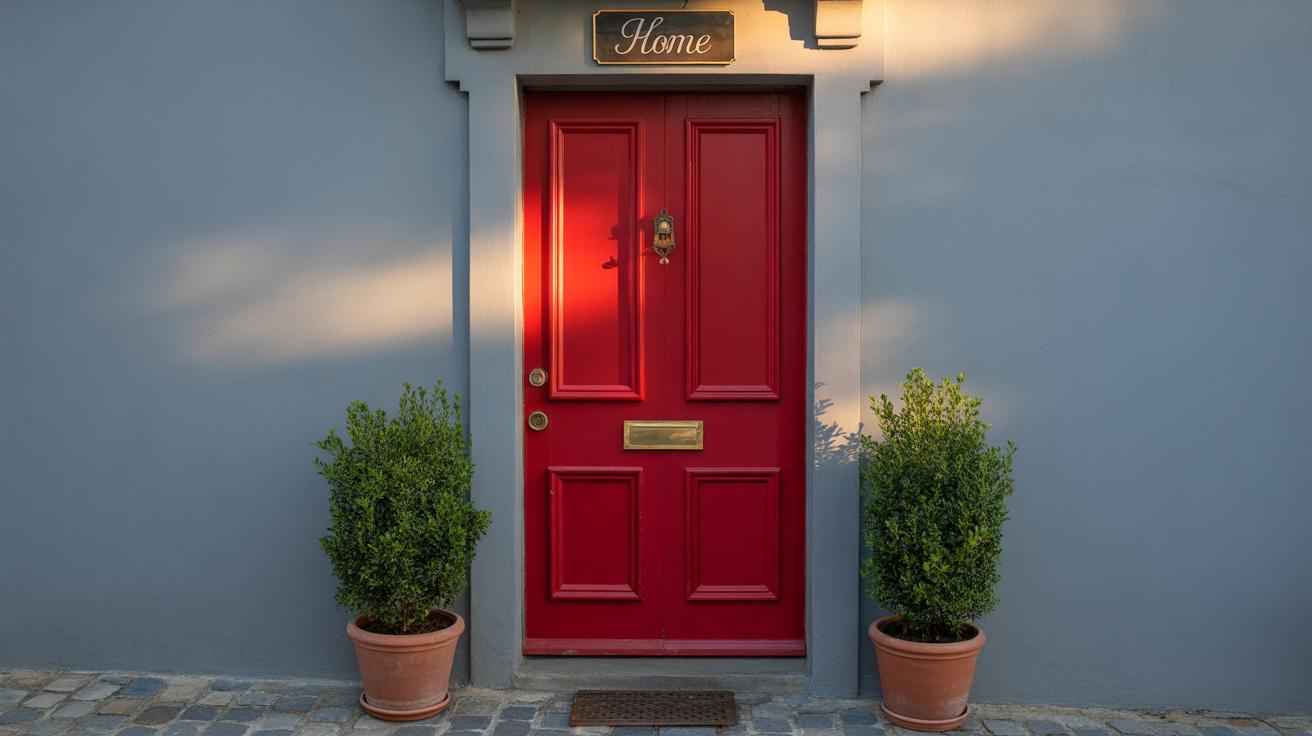
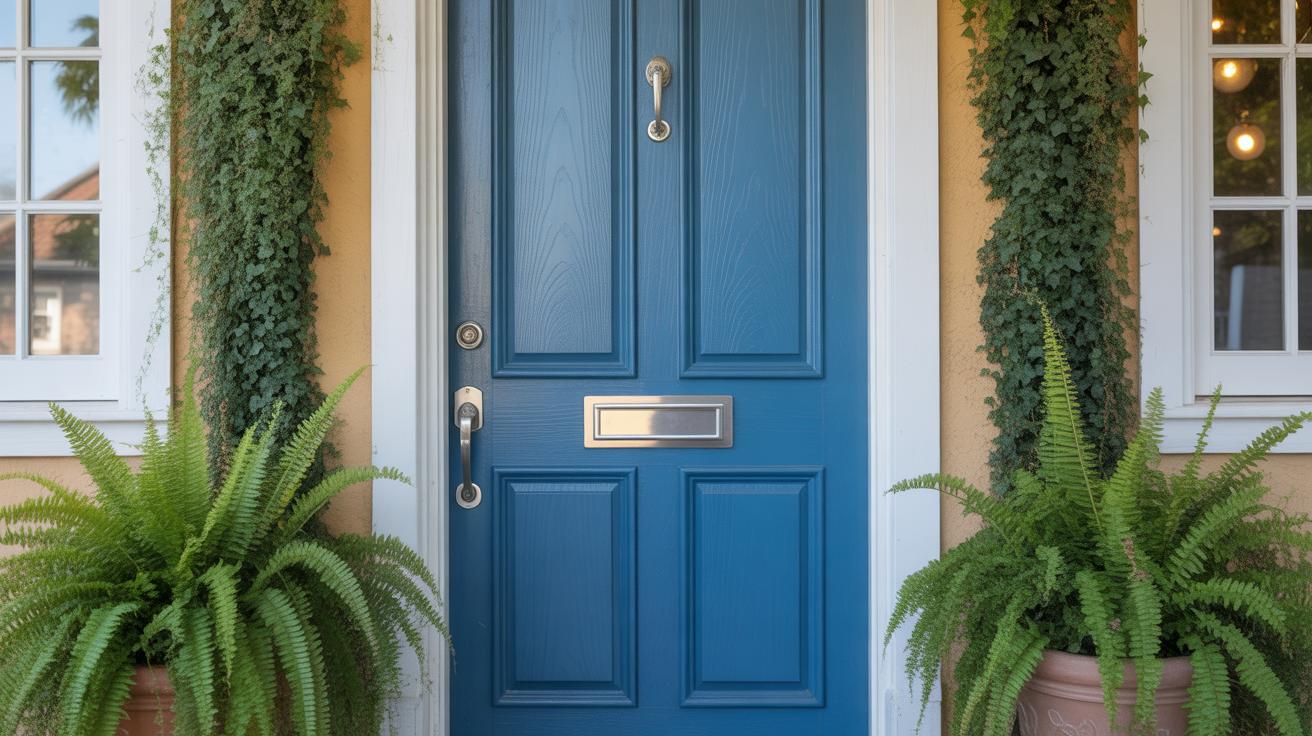
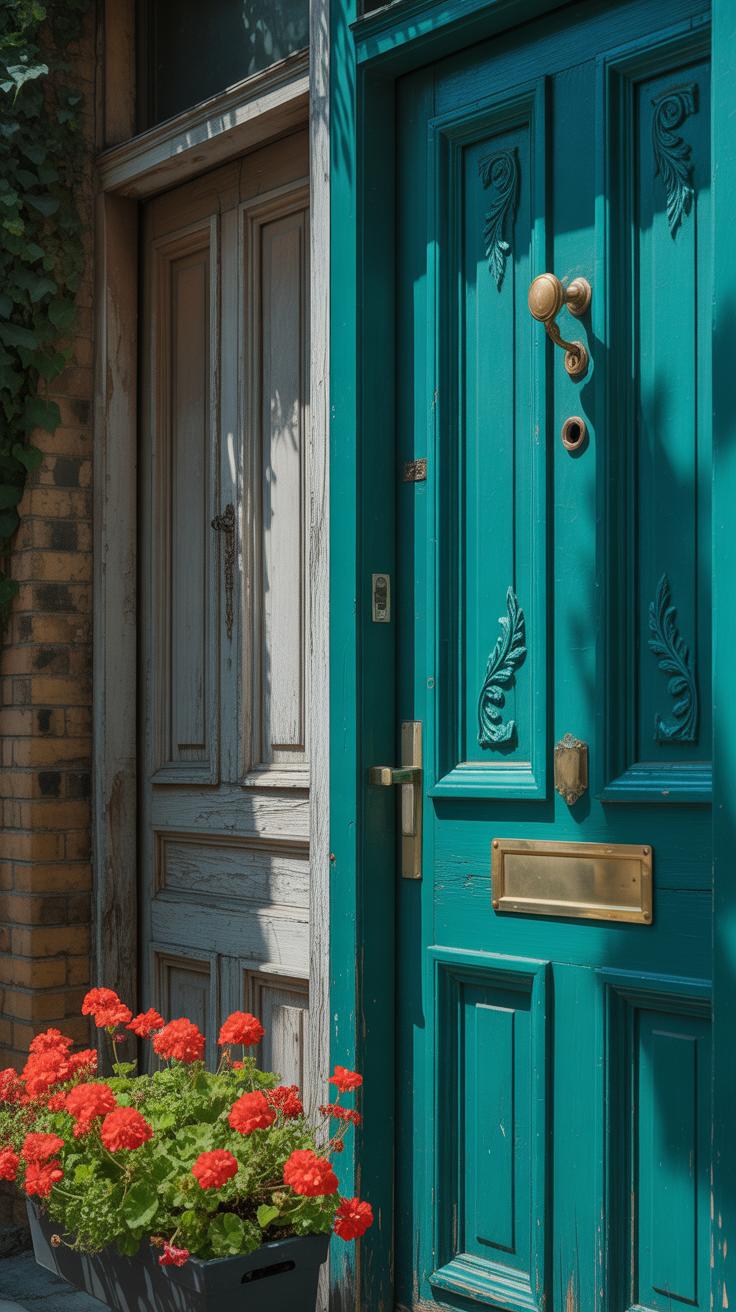
Sometimes, changing a door’s color is all it takes to shift the feel of a room. For instance, there was a plain white bedroom door in an otherwise warm-toned hallway. Painting it a deep navy suddenly gave the space a focal point—unexpected, yet cozy. No complicated steps, just one can of paint and patience.
Another example: an old oak closet door that looked tired and dull. It was painted a soft sage green, which immediately brightened the whole corner without overpowering it. You might think such a subtle change wouldn’t make much difference, but oddly, it did. The room felt fresher, cleaner.
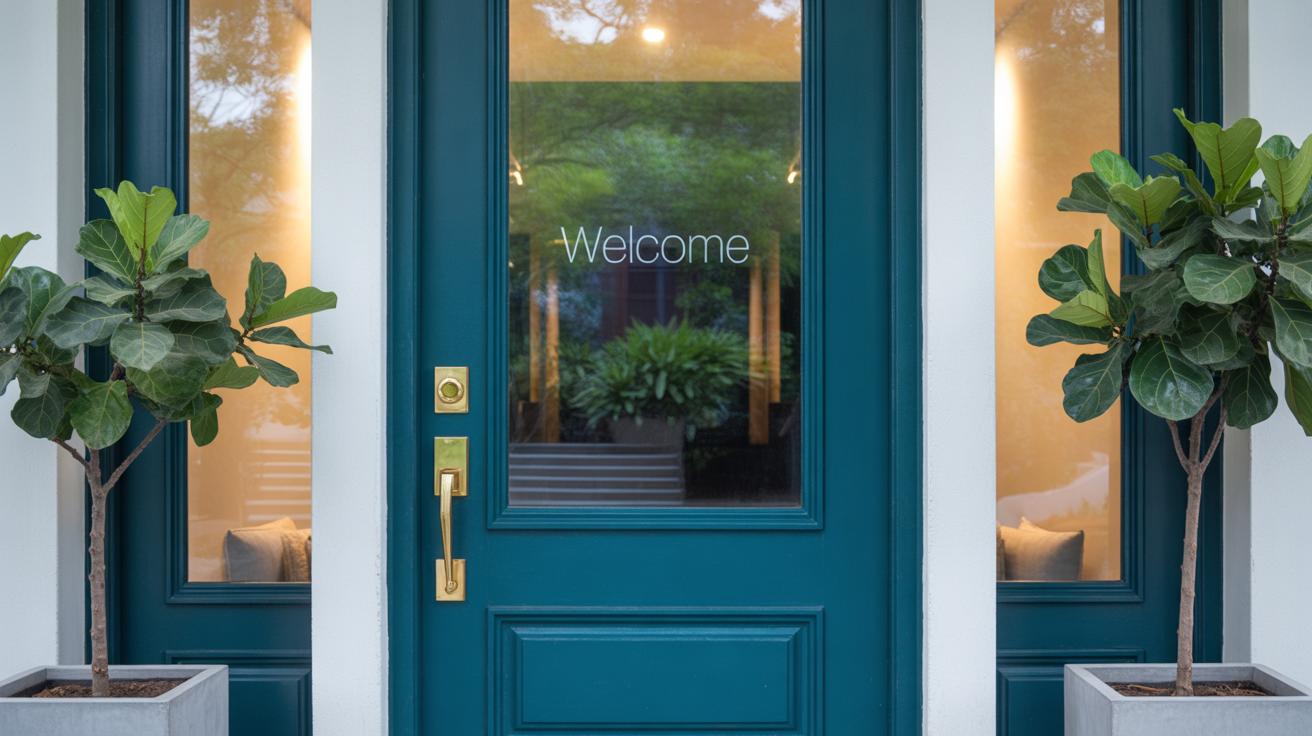
These simple color swaps often work best when you pick shades that contrast with the surrounding walls or furniture. It’s tempting to keep everything matching, but even a small jolt of color can snap a space into life.
Advanced Makeovers With Design
On the flip side, some doors become art with just a little more effort. I recall a hallway where one door was given a geometric pattern using painter’s tape—triangles and lines in black and off-white. This wasn’t just a door anymore; it turned into a statement piece that completely altered the vibe of the corridor. It felt modern but approachable at the same time.
Other makeovers included textured finishes like chalk paint with distressing or metallic glazes. One project featured a front door finished with a subtle ombré effect, shifting from dark gray at the bottom to light at the top. People walking by couldn’t stop talking about it. And though it seemed complex, the process involved layering and blending, nothing too fancy for an open-minded DIYer.
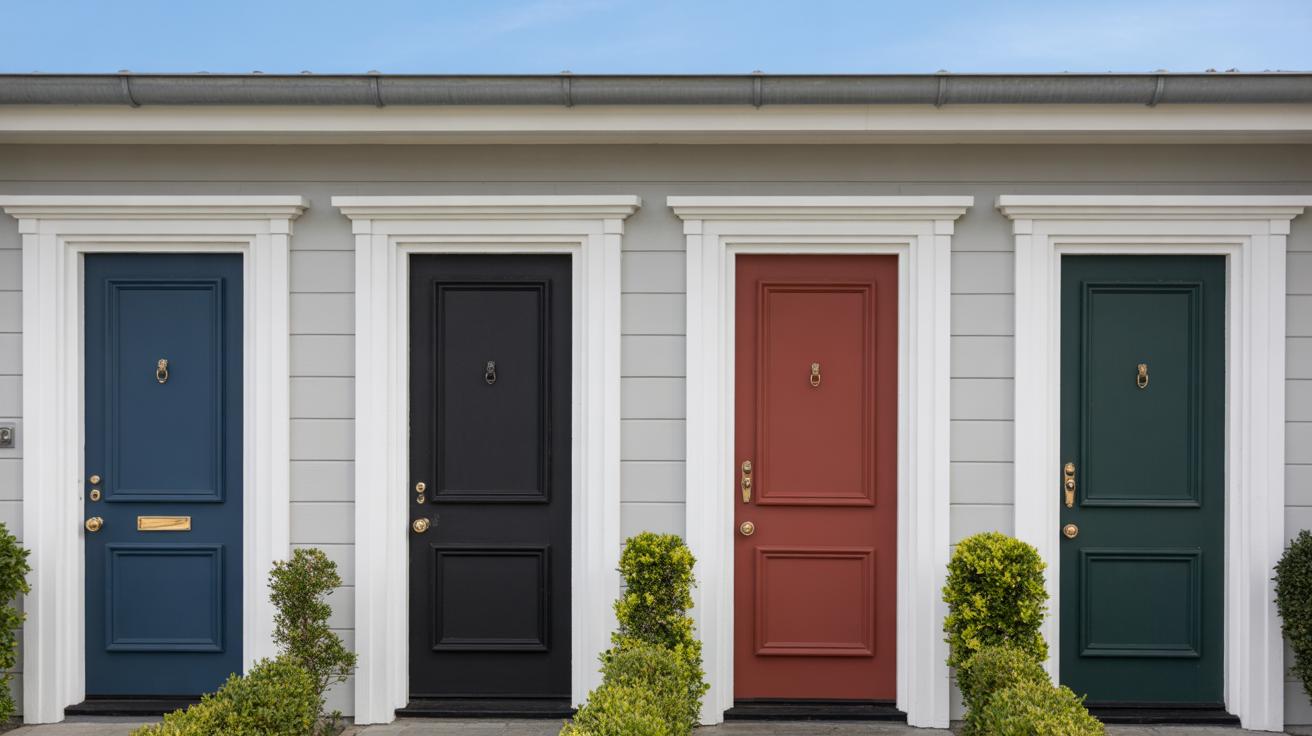
The big takeaway might be that doors don’t have to be boring. Whether you’re drawn to minimal color changes or want something more artistic, your door can reflect your personality or mood in subtle or bold ways.
Maintaining Painted Doors for Long Lasting Beauty
Cleaning Painted Doors
Keeping painted doors looking fresh isn’t as tricky as you might think, but it does need some care. Rushed scrubbing or harsh cleaners can chip or dull the paint. It’s better to be gentle.
Try a soft cloth or sponge dampened with warm water mixed with a small amount of mild dish soap. Wipe the door carefully, focusing on spots or fingerprints. You don’t need to soak the surface—just a light wipe will do.
If you spot stubborn dirt, a little baking soda paste (baking soda and water) can help, but test it on a hidden spot first. Avoid anything abrasive or bleach-based. These can eat away the finish and cause uneven fading.
Sometimes dusting regularly with a microfiber cloth prevents buildup that’s harder to clean later. It’s easy to skip, but it really helps maintain that crisp look over time.
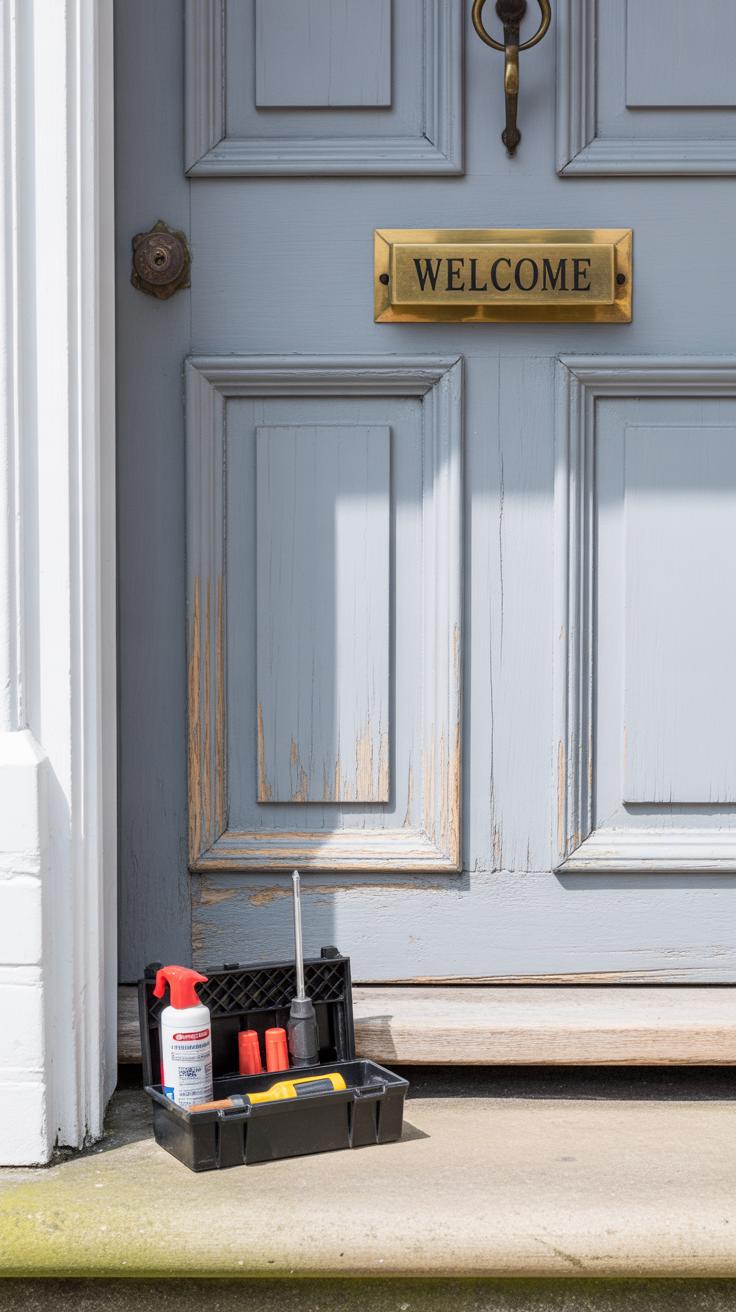
How to Fix Chips and Scratches
Few things annoy me more than seeing a lovely painted door with tiny chips or scratches—those little flaws catch your eye and make the surface look worn out. But you don’t have to repaint the whole door if the damage is small.
For minor chips, a small brush or even a cotton swab dipped in matching paint works wonders. Dab it on gently and feather the edges so it blends with the surrounding paint. Sometimes a second thin layer is needed once it dries.
Scratches can be less obvious if you lightly sand the edges with fine-grit sandpaper before touching up. This avoids noticeable ridges. If the paint finish is glossy, you might want to match the sheen by using a small amount of clear varnish after the touch-up dries.
And yes, sometimes you might hesitate whether to fix it now or wait. But quick spot repairs keep the door looking cared for and prevent further peeling that can spread. It’s a bit of effort, but it pays off in long-term durability and appearance.
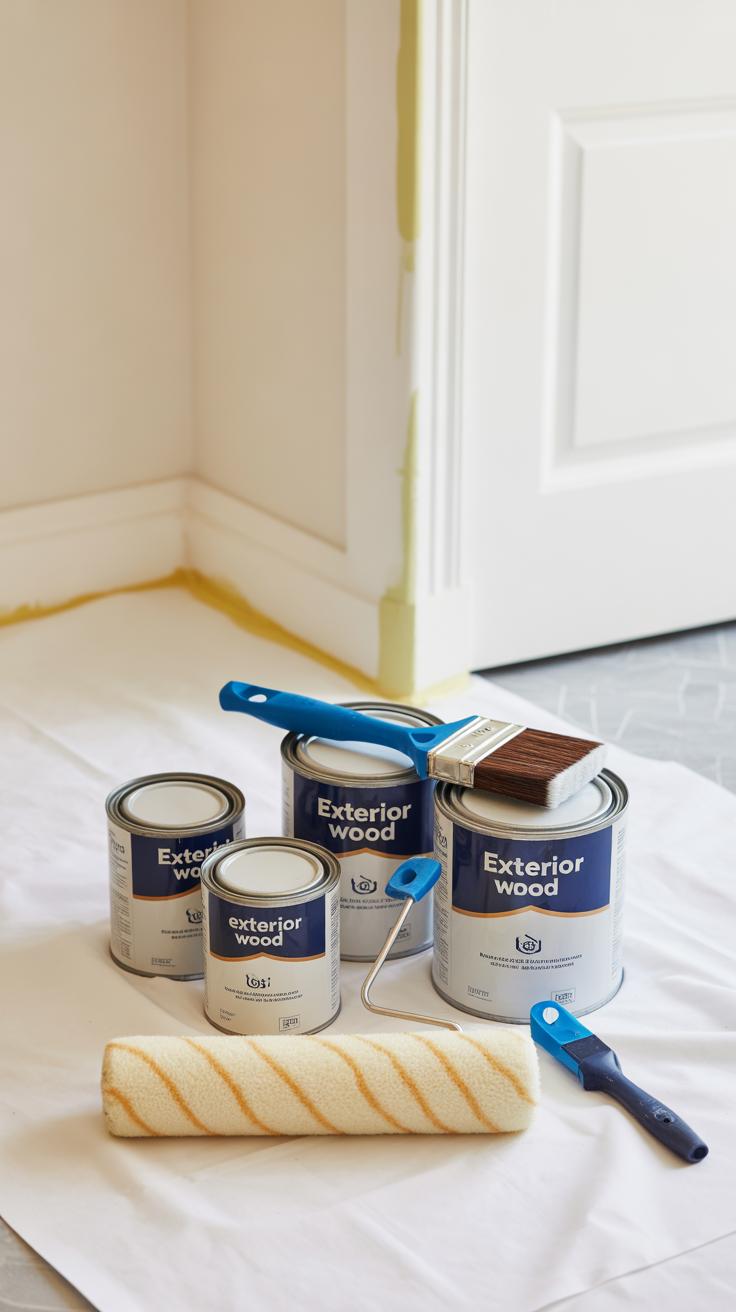
Tools and Supplies You Need for Door Painting

When you’re getting ready to paint a door, having the right tools makes a huge difference. You might think a single brush will do the trick, but it really helps to have a few essentials on hand. Here’s what you’ll want:
- A good-quality angled brush for edges and grooves where rollers can’t reach.
- A small foam roller for smooth, flat surfaces; this avoids brush marks but can feel tricky to use at first.
- Painter’s tape to protect hinges, glass panels, or nearby walls.
- Fine-grit sandpaper or sanding blocks to smooth out rough spots and help new paint stick better.
- A primer designed for doors — especially if you’re covering dark paint or raw wood.
I’ve noticed that sometimes people skip primer because it seems like an extra step, but it really helps with a smoother finish and long-lasting coverage. You could try a spray primer if you want to speed things up, though that demands a bit more caution with ventilation.
Choosing Quality Tools
Does paying more for brushes or rollers actually pay off? I’d say yes, most of the time. Cheap brushes often shed bristles or leave streaks, which means you end up frustrated, maybe repainted more than once. Good tools aren’t just easier to work with—they make the paint look better. Brush bristles hold paint evenly, and quality rollers roll it on smoothly. While it’s tempting to save money here, consider it an investment in how your door ends up looking. I’ve had my fair share of tools that failed mid-project and it just adds stress. So maybe splurge a bit—your future self will thank you.
Where to Buy Supplies
Finding affordable yet decent supplies doesn’t require a trip to specialty stores. Big box home improvement stores usually have a wide range of brushes, rollers, paints, and primers. Online retailers can be good too, especially if you read reviews; sometimes you find hidden gems at better prices. If you’re lucky, local hardware stores or paint shops might surprise you with quality brands and helpful advice, making the experience more personal.
Have you thought about secondhand or clearance items? Sometimes you can grab decent brushes or rollers at a fraction of the price, although the risk is they might not last for your project. It’s a bit of a gamble but if you’re on a tight budget, it’s tempting to explore.
Conclusions
Painting your doors is a straightforward way to update your home’s appearance without spending a lot of money. With the right preparation and paint choice, you can achieve a professional look that lasts. We have shown you examples and steps to create impressive before and after door makeovers you can replicate.
Now it’s your turn. Pick a door, select a color and technique you like, and start your project. What small change could a painted door make in your room? These makeovers prove that a simple color change makes a big difference.