Introduction
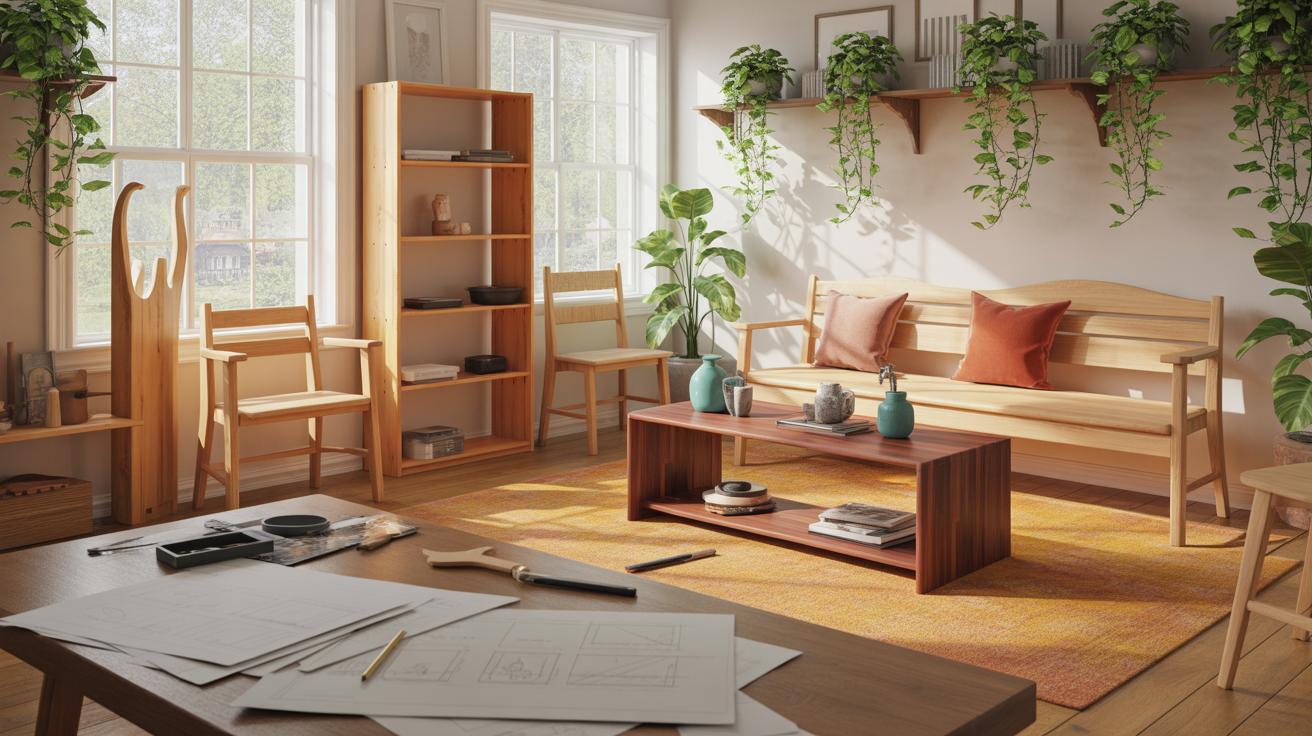
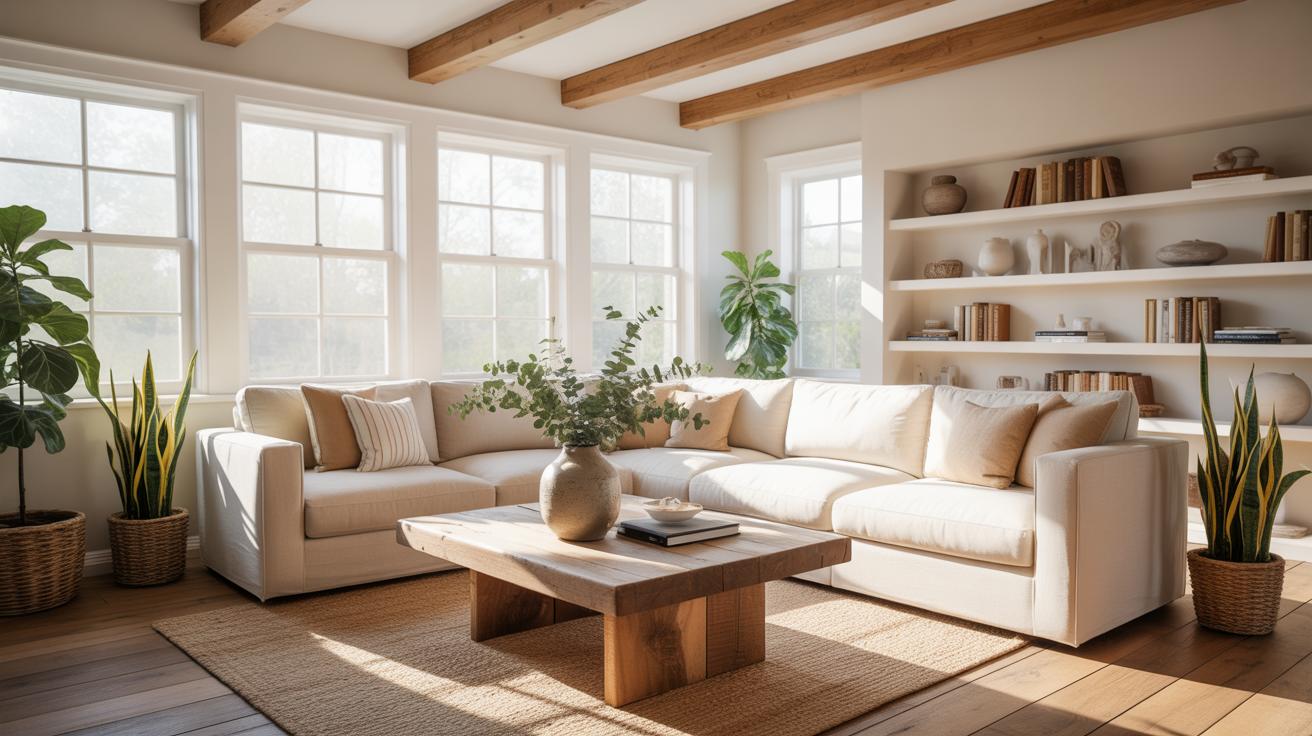
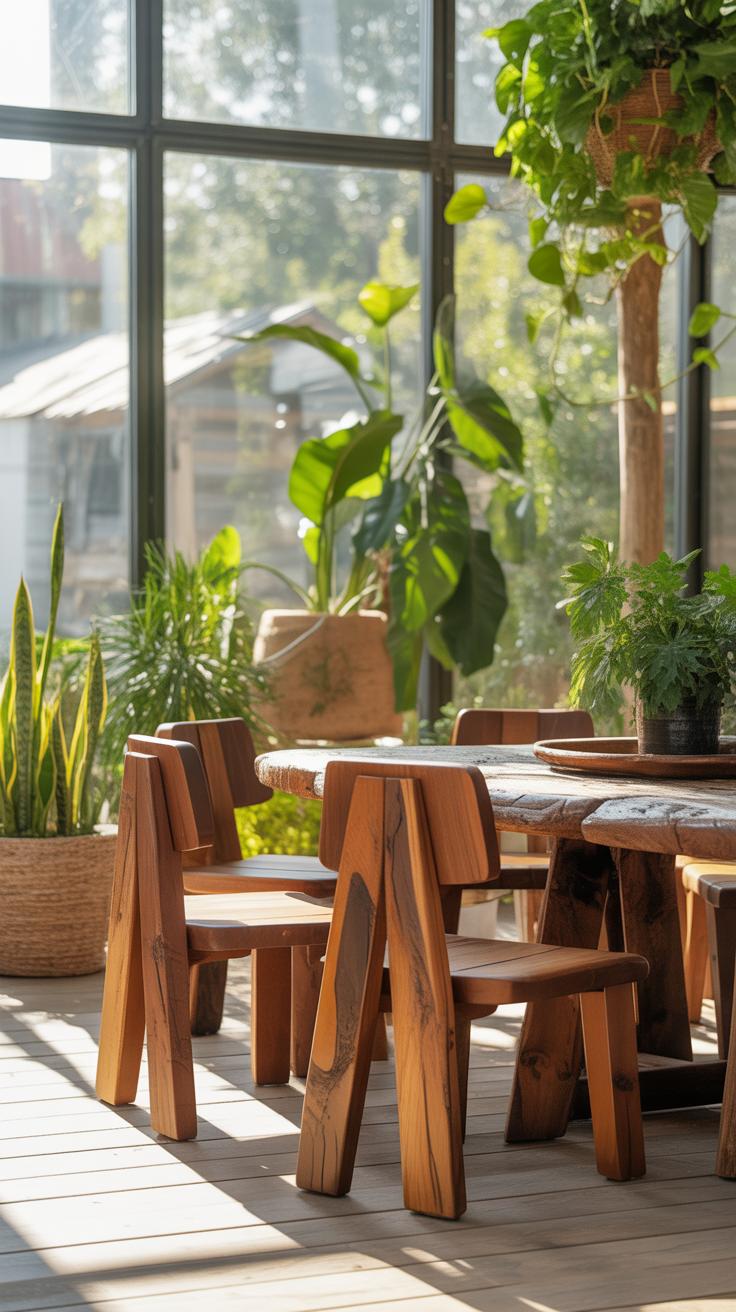
Creative furniture projects bring unique style and function to your home decor. They mix art with useful items like chairs, tables, and shelves, making your living space look special and fit your needs. Design sketches are an important step in this process as they give a clear picture of how the final furniture will appear, helping avoid mistakes and saving costs.
This article shows you how to use furniture design sketches in creative projects that improve your home. You will learn what makes creative furniture valuable, how to pick the right materials, and practical steps to bring your ideas to life.
Creative Furniture Benefits
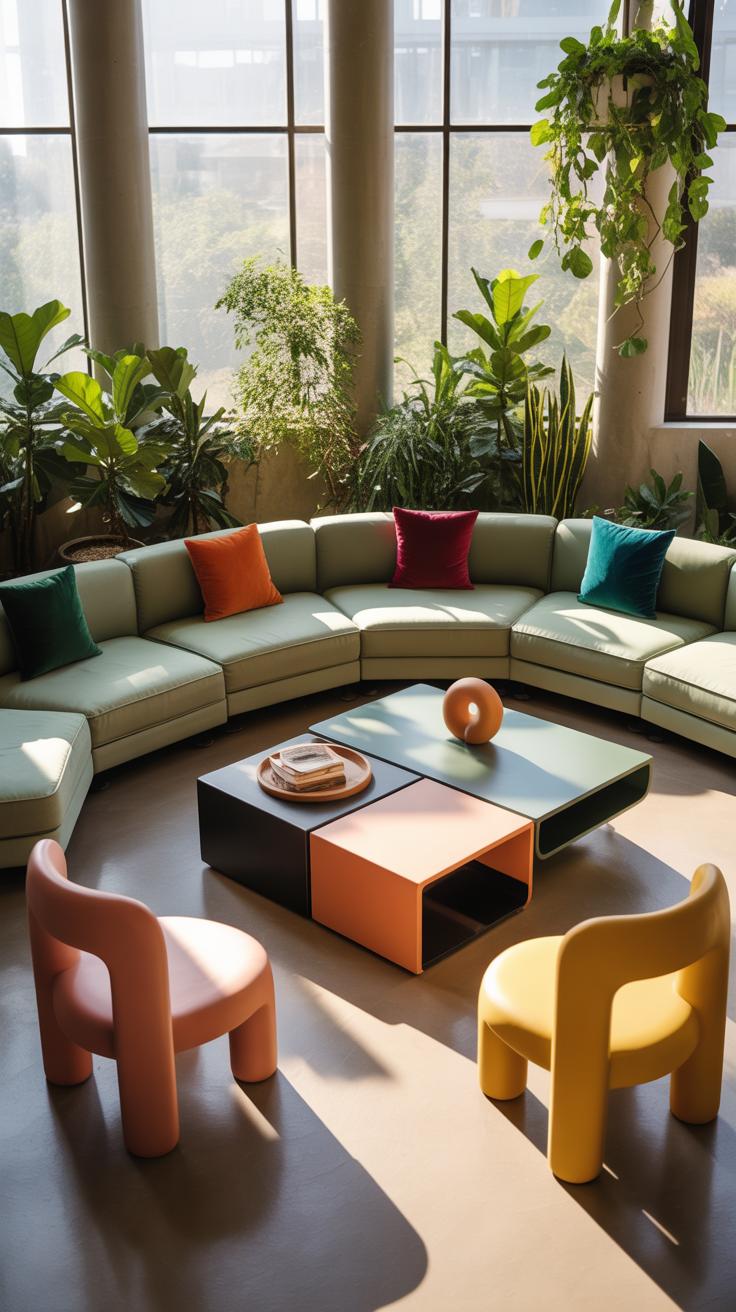
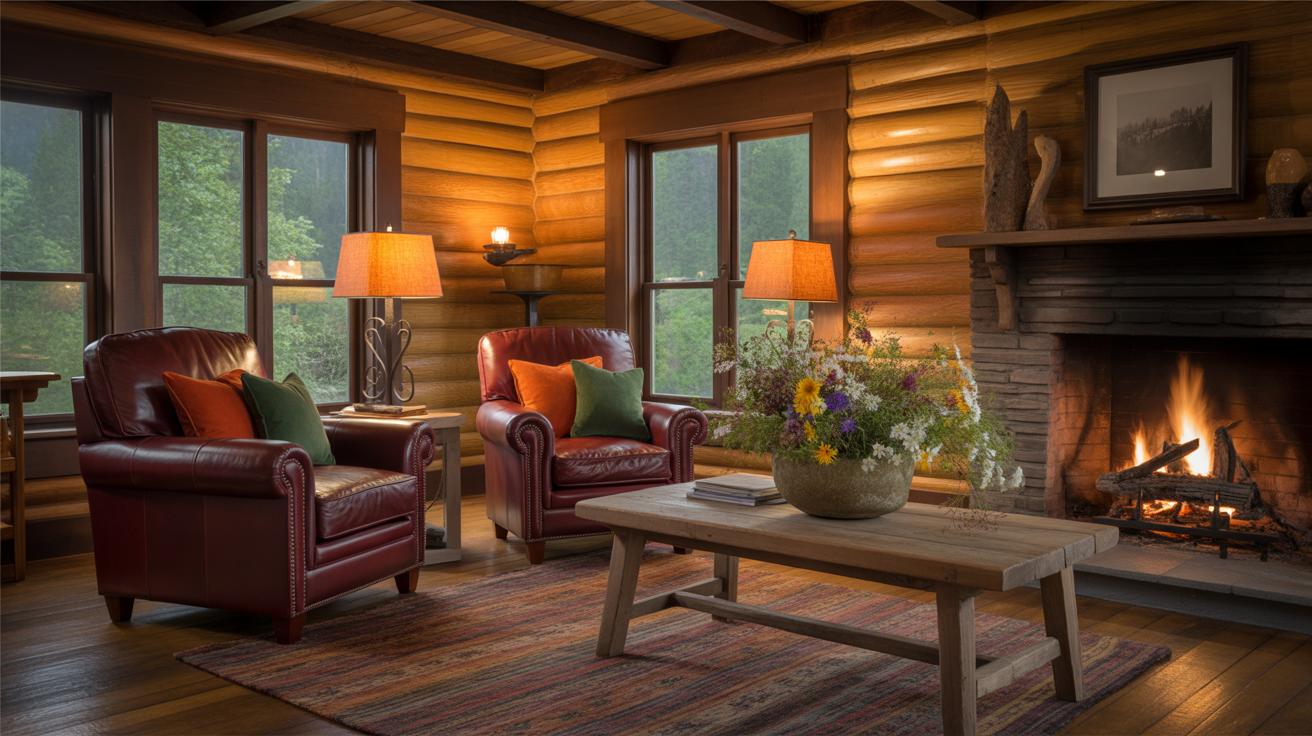
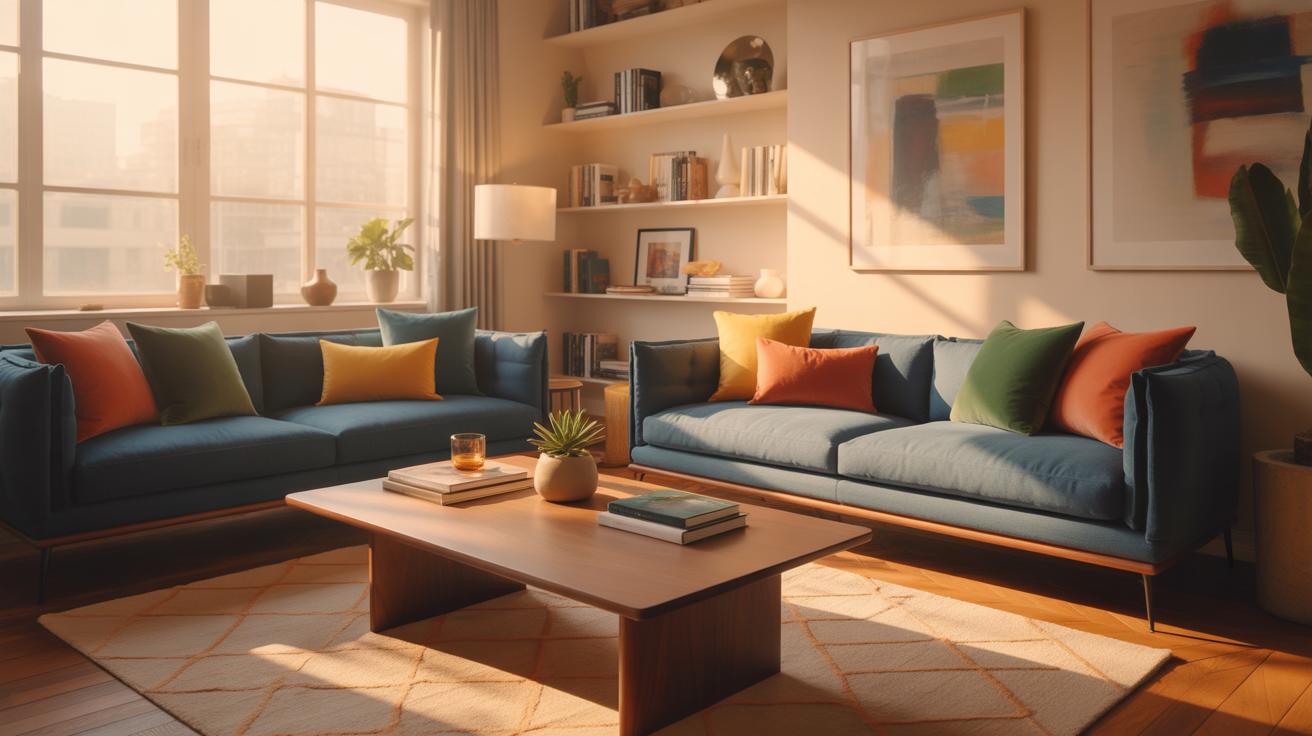
Creative furniture brings more than just aesthetics to your home decor. It has this subtle way of changing how a space feels and functions, sometimes in ways you might not immediately notice. Think about a modular shelf that not only holds books but can also act as a room divider. It’s not just furniture; it’s a flexible tool that adapts to your lifestyle.
Besides adding function, creative pieces reflect who you are. They let you put a personal stamp on your environment, whether through unique shapes, colors, or uses. This kind of furniture hints at stories or interests, making your home feel less generic and more like yours. And while it can be a bit more challenging to find or make, the effort often clarifies your style and space needs.

Does creative furniture then complicate things? Maybe sometimes. But often, that complexity births solutions that regular designs don’t offer. So, it’s not just about looking different; it’s about living differently in your space.
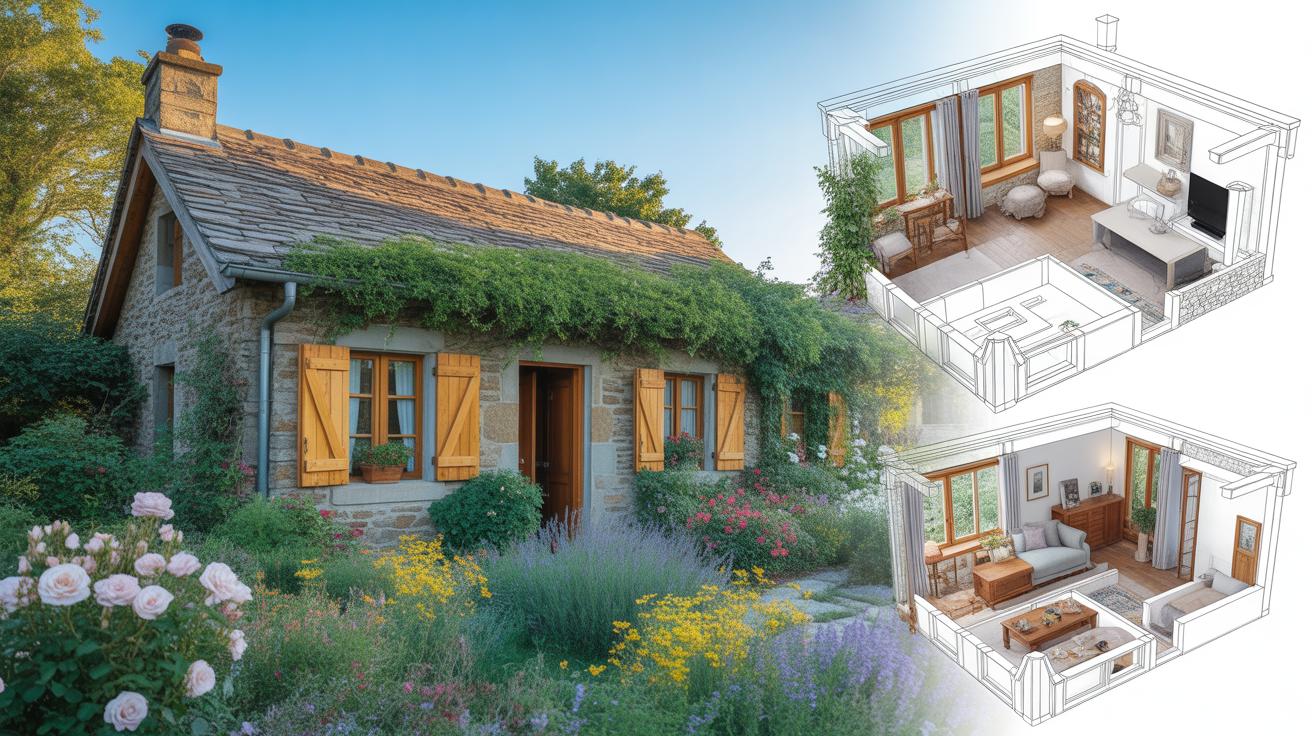
Value Of Furniture Design Sketches
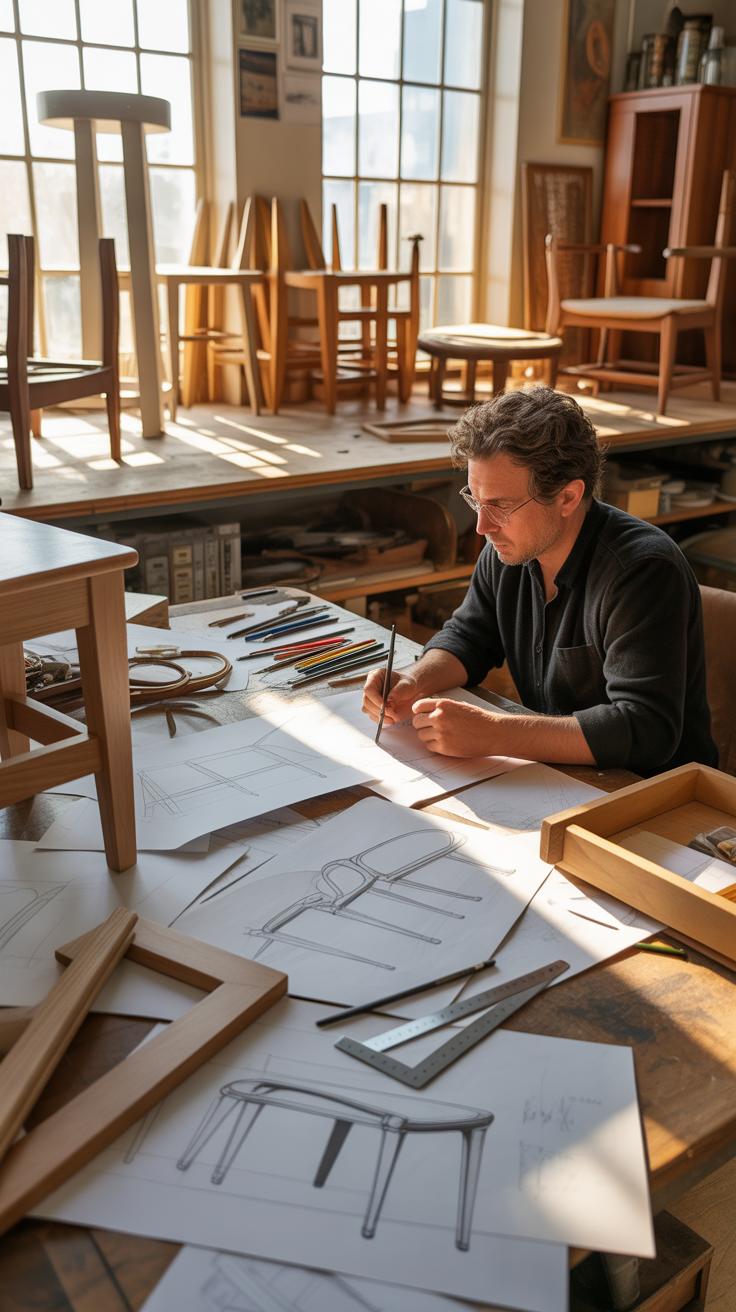
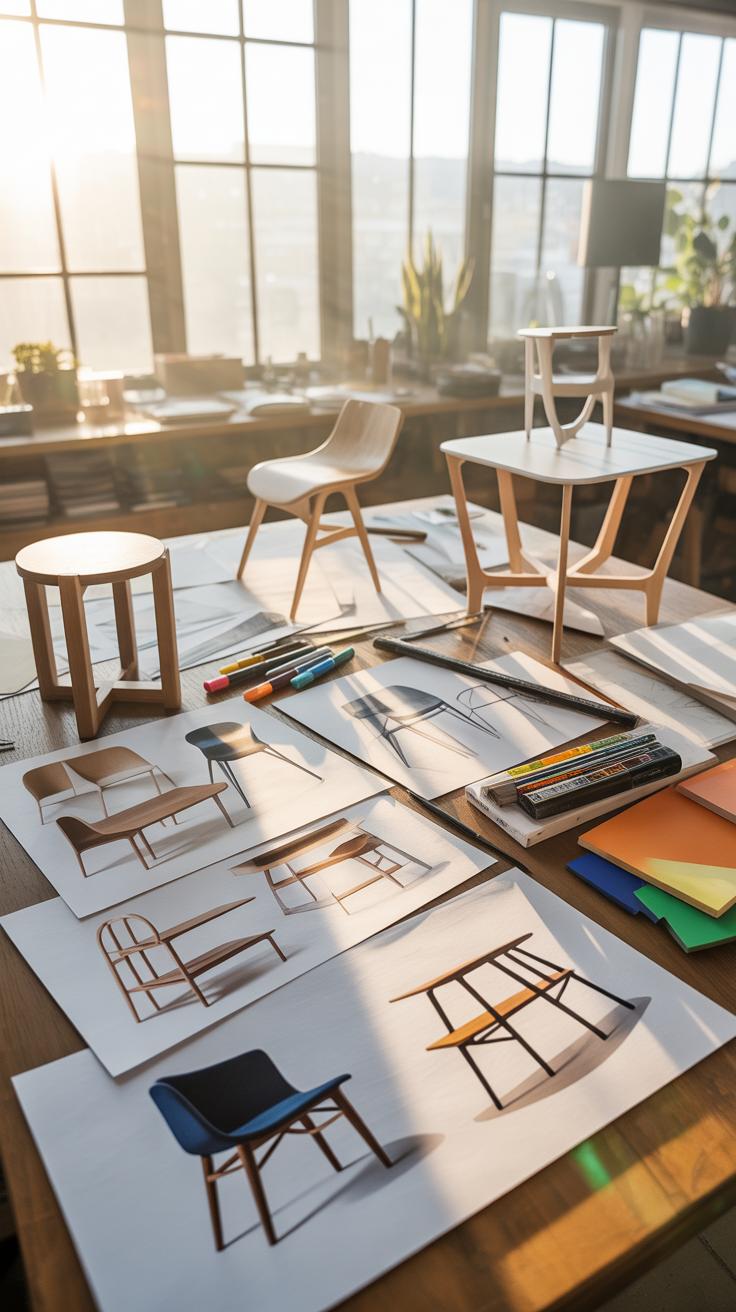
When it comes to crafting creative furniture, sketches are more than doodles. They’re the blueprint for success, allowing you to see an idea before any wood is cut. This foresight helps catch potential problems early, which can save a lot of headaches and money down the line.
Sketching lets you experiment visually, tweak dimensions, and balance aesthetics with practicality. It feels like a conversation between your imagination and reality. You can test ergonomics and proportions on paper—things that, if overlooked, might make the final piece uncomfortable or impractical. Even if you’re not an artist, rough sketches focus your thoughts and can be a valuable guide during construction.
Of course, sketches don’t guarantee perfection, but they do put a fence around madness. They give form to vague ideas and help communicate your vision, especially if others are involved in the build. Maybe that’s why sketches often become treasured drafts as much as practical tools.
Choosing Materials For Home Projects
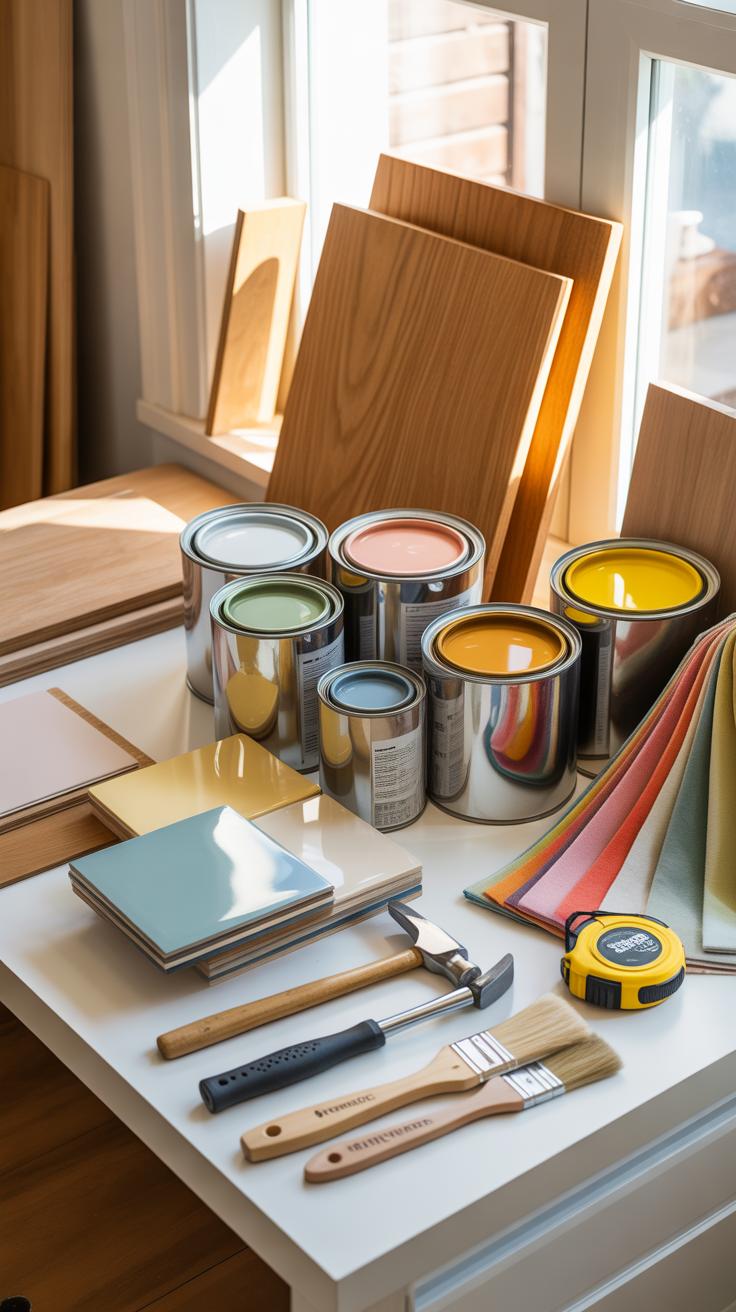
Picking the right materials for furniture is a blend of practical needs and personal taste. You want something that lasts, sure. But also something that feels right under your hands and eyes. Not all wood—or other materials—is made the same, and choices can shape the whole experience of your furniture.
Durability is the backbone. Will your furniture face heavy daily use? Moisture? Pets? If yes, hard woods like oak or teak might be the way to go. They weather time better but tend to cost more. For sustainability, materials matter just as much. Reclaimed wood or bamboo can reduce environmental impact and carry unique stories in the grain.
And then there’s aesthetics. Transparent finishes show off natural textures, while paints open a different door—color. Will you want glossy or matte? Smooth or textured? Sometimes, the right combination emerges from trying things out, mixing samples, and even living with raw materials for a bit. It’s about finding balance—not just picking what’s easiest or cheapest.
How To Create Furniture Designs
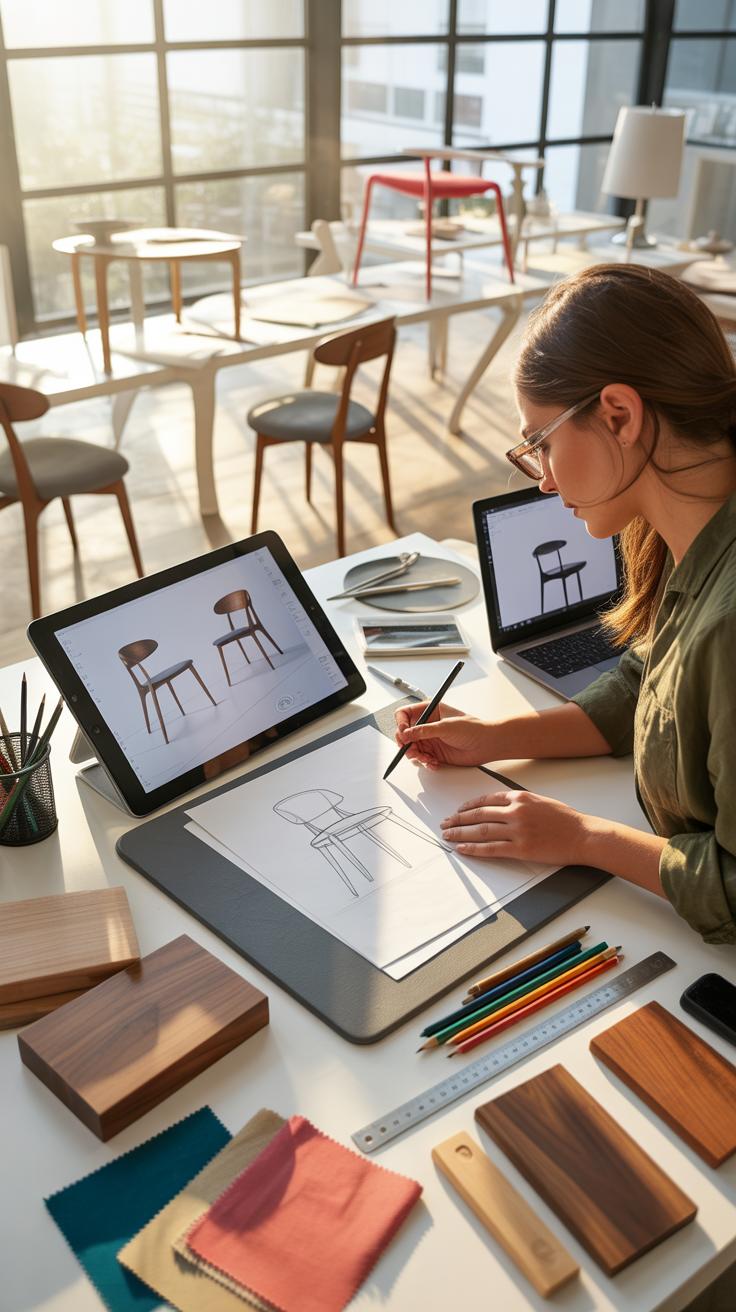
Sketching Basic Furniture Shapes
When starting with furniture design sketches, simplicity is key. Focus on basic geometric shapes like rectangles, circles, and triangles — these form the core of most furniture types. For example, a chair can begin as a simple box for the seat and a rectangle for the backrest. You don’t need perfect proportions at this stage; rough outlines are perfectly fine. This step is about laying a foundation rather than finalizing details.
Try using light pencil strokes to create several variations quickly. I find that doing this helps loosen up ideas and sometimes unexpected shapes emerge from these early drafts. Don’t hesitate to experiment with shapes that might seem odd at first. Creating a strong visual grasp of fundamental forms will help you adapt and modify designs later.
Adding Details And Functionality
Once you have a basic shape down, start thinking about how the piece will work in real life. Add elements like drawers, hinges, or cushions. Consider ergonomics, such as the height of a chair seat or the angle of a backrest. Details matter here; practical features like storage compartments can transform a simple design into a functional masterpiece.
Also, add decorative touches that reflect the style you aim for — it could be carved patterns, metal accents, or unique leg shapes. Don’t focus solely on aesthetics; try blending looks with usability. I sometimes sketch several versions of the same piece with different functional options—this helps me weigh what works best.
Incorporating notes alongside sketches can clarify materials or construction methods. This isn’t just about how it looks on paper but preparing for actual build processes. It can be as simple as marking “wood joinery here” or “removable cushion.” These small annotations make your sketches a useful blueprint rather than just pretty drawings.
Common Tools For Furniture Design
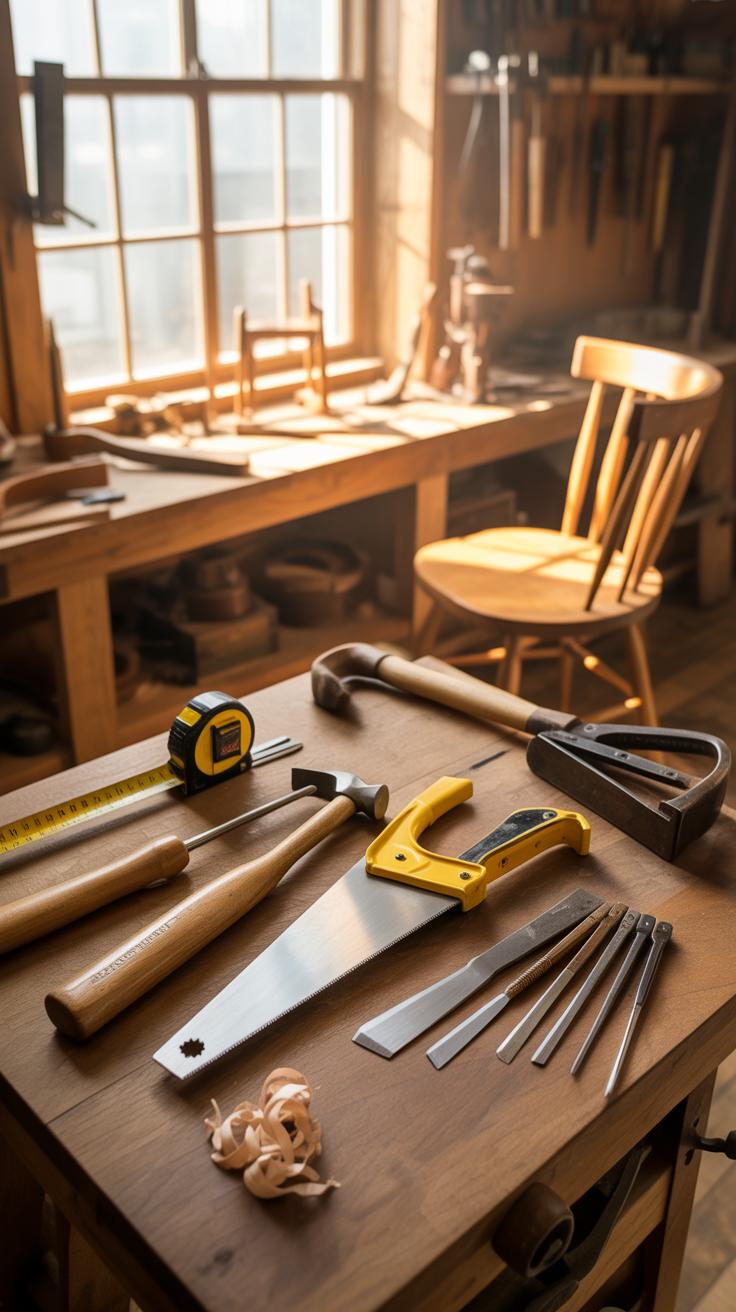
When creating furniture sketches and prototypes, certain tools become your best allies. You might imagine a big workshop with tons of equipment, but often the basics do the trick quite well.
Drawing Tools And Software
Traditional drawing tools are indispensable. Think of pencils—graphite ranges from soft to hard give different effects. Sharp erasers and fine liners help keep lines clean. Sometimes, you’ll lean on tracing paper to overlay ideas quickly.
But, let’s not overlook digital tools. Simple programs like SketchUp or basic drawing apps can provide clarity and the ability to adjust designs swiftly. They’re not as complicated as high-end CAD software but are hugely helpful when you want to translate a rough concept into something ready for real-world use. Many beginners appreciate this softer entry into digital design, avoiding steep learning curves.
Measurement And Scaling Devices
Sketches are only as good as their accuracy. Measurement tools—such as rulers, tape measures, and scaling guides—ensure designs correspond to real-world dimensions. You might find yourself double-checking dimensions repeatedly to avoid costly errors later in construction.
Using a scaling guide, for example, allows you to shrink or enlarge sketches while keeping proportions correct. This balancing act can sometimes feel frustrating but mastering it is key to turning a flat sketch into functional furniture. The process often reveals overlooked details, which sketches alone might hide.
Overall, these common tools don’t just ease design. They shape how ideas evolve from imagination to tangible home decor.
Step By Step Build Process
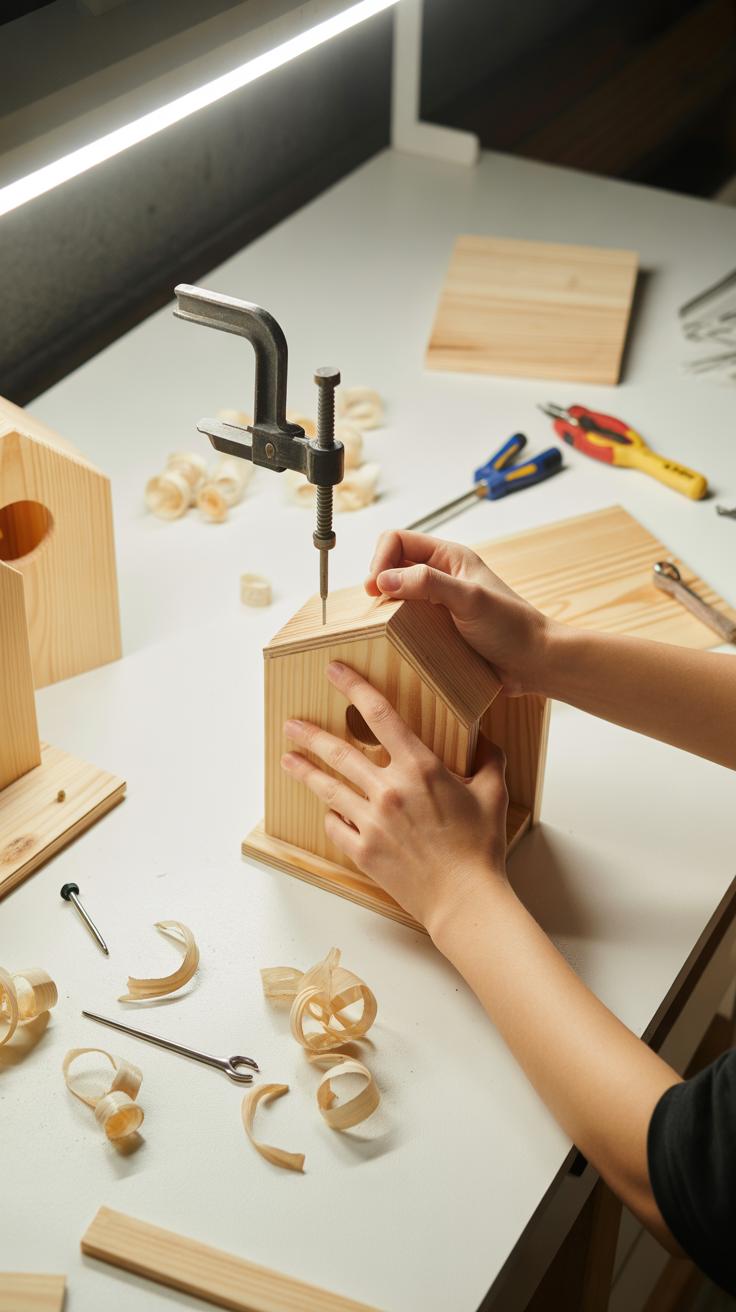
When you’re ready to turn those sketches into real furniture, a practical checklist can really help keep things manageable. Start by gathering all your materials before beginning. It’s frustrating to pause mid-project because you forgot a screw or a piece of sandpaper. Next, review your sketches carefully one more time—sometimes details slip past in the first few looks. Measure twice, cut once is cliché but true, especially for creative furniture pieces where precision often impacts both function and aesthetics.
Keep your tools organized, and think through the assembly steps logically. It helps to plan the order in which you’ll join parts—sometimes starting with smaller sections before combining them into the full piece makes a difference. Don’t rush; unexpected issues can arise, and it’s okay to go slower than anticipated.
Preparing Your Workspace
Setting up your workspace is one of the most overlooked steps, yet it affects everything. Choose a space with good ventilation if you’ll be painting or sealing surfaces—that’s safer and better for finishing quality. Ideally, work in a place where you can spread out your materials without feeling cramped.
Clear off clutter, and have a sturdy workbench or table that can take some wear. Lighting matters—a poorly lit area can lead to mistakes or accidents. Also, keep safety gear like goggles and gloves within easy reach. It might seem tedious to prepare, but I’ve found that a dedicated spot prevents so many headaches later.
Following Sketches For Assembly
Sketches are your roadmap, but they aren’t set in stone. Sometimes, what looks great on paper needs adaptation in real-world assembly. So, keep the sketches visible and compare each step carefully as you go. If something seems off, pause and rethink rather than force it.
Mark your progress either on your sketch or in a notebook—track what you’ve done and what’s next. This keeps confusion away, especially if the piece has multiple parts or unusual joinery. Don’t hesitate to take small breaks to verify alignment or fit; it’s far easier to adjust early on than after final assembly.
At times, you might need to improvise a bit—wood grain direction or material thickness might require tweaking. That’s okay and part of the creative process. Just keep referring back to the design goal: functional, sturdy, and reflecting your initial vision.
Sustainable Choices In Furniture
You may wonder how to make your furniture projects more environmentally friendly. One way is by selecting sustainable materials and considering reuse options. Sustainable materials often come from sources that renew quickly or have minimal environmental impact. For example, bamboo grows fast and can be harvested with less harm to the ecosystem, making it a popular choice for eco-conscious furniture makers.
Reuse options mean giving new life to old materials or furniture pieces. Instead of discarding them, you transform what’s already there. This not only saves resources but adds unique character to your creations. Sometimes, the textures or imperfections in reclaimed wood tell a story, far beyond what brand-new materials offer.
Choosing local materials can also reduce your carbon footprint, as transportation emissions can be significant contributors to environmental harm. So, think about sourcing wood or fabrics nearby. It’s a bit more work, sure, but it pays off in your project’s overall sustainability.
Using Recycled Wood And Materials
Recycled or reclaimed wood has quite a few benefits. For one, it spares trees from being cut down, which is a straightforward way to protect forests. Wood from old furniture, barns, or even pallets can be repurposed into stunning new pieces with a little work. You might need to remove nails or fix cracks, but the end result often surprises people with its charm.
When working with recycled wood, consider these tips:
- Inspect the wood carefully for any damage or insect infestations before use.
- Use eco-friendly adhesives and fasteners to complement your sustainable approach.
- Mix different wood types to create unique textures and patterns.
While recycled wood sometimes has slight color variations or wear marks, these imperfections can enhance the authenticity of your furniture rather than detracting from it.
Eco Friendly Finishing Techniques
Many conventional finishes contain chemicals that can harm indoor air quality. Choosing eco friendly finishing options helps maintain a healthier home environment. Natural oils like linseed, tung, or walnut oil soak into the wood and bring out its beauty without releasing toxic fumes. They might take longer to cure, though, and require periodic re-application, which you should be ready for.
Other green finish options include:
- Water-based varnishes that emit fewer volatile organic compounds (VOCs).
- Beeswax or carnauba wax, which creates a soft sheen and offers moderate protection.
- Milk paint or natural dyes, which provide color without synthetic chemicals.
While these finishes can be less durable than conventional paints or sealants, their benefits for health and environmental impact often outweigh the downsides. If longevity is a priority, layering several thin coats or combining finishes might help. It’s a bit of an experiment, but that’s part of the creative journey in sustainable furniture design.
Troubleshooting Common Problems

Fixing Sketch To Build Mistakes
When the piece of furniture you built doesn’t quite look or function like the original design sketch, don’t panic too quickly. Maybe the dimensions were off or key details got lost in translation. Often, checking your measurements against the sketch helps spot where things went awry. If the shape or angles seem wrong, consider slight trimming or sanding to correct the form without compromising structural integrity. Sometimes, adjustments can be as simple as repositioning a joint or adding a small shim. It may feel frustrating, but these fixes are part of the process in creative furniture making. You learn as you go. What you intended on paper isn’t always what reality yields—but that’s okay. The key is patience and willingness to tweak.
Addressing Material Flaws
Material defects are tricky because they sometimes hide until you start working. A knot in wood or slight warping may not be obvious at first. You can spot flaws early by inspecting lumber or fabric carefully before starting construction—looking for cracks, uneven grain, or discolorations. During building, if a piece cracks or splinters, plan to reinforce or replace it. Reinforcement can involve glue, clamps, or adding support braces where weaknesses appear. Sometimes, embracing the natural imperfections adds character, but only if they don’t impact safety or durability. Learning when to set aside flawed materials saves future headaches. It’s a bit of trial and error; no two projects are quite the same in this regard.
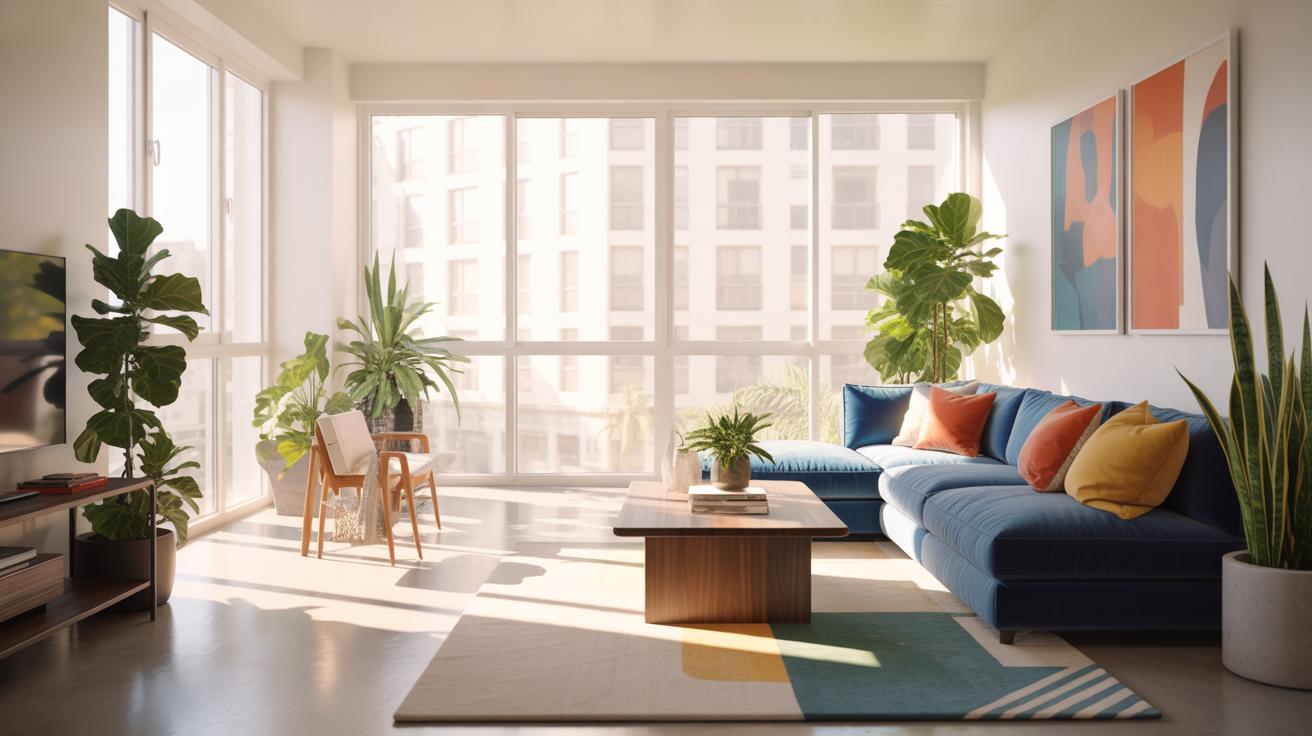
Creative Furniture Examples Real Projects Using Design Sketches
When it comes to creative furniture, real-world examples give us the clearest picture. Take storage beds, for instance. These clever designs don’t just provide a place to sleep; they cleverly incorporate drawers or lift-up sections, squeezing out extra storage space. Design sketches often highlight how the mattress or drawers fit perfectly, helping maximize room efficiency in ways you might not expect.
Then there are foldable tables—simple yet smart. Their sketches show hinges and lightweight materials that let you bring them out when needed and tuck them away easily. It’s pretty neat how much thought goes into the mechanics and stability just from those initial drawings.
Some of the most fascinating projects blend art and furniture. Think of pieces where sculptural forms or bold shapes influence the design, elevating a chair or shelf beyond just functional use. These sketches often look more like drawings from an art portfolio, showing the abstract influence right on the furniture’s silhouette.
Perhaps what’s most inspiring is how these examples prove the power of a good sketch; it’s where ideas take shape and complexities get worked out before the actual build.
Costs And Timelines For Projects

When planning your creative furniture project, figuring out costs and timelines early can save a lot of headaches. Materials can eat up a chunk of your budget, especially when working with rare woods or specialty finishes. For example, a simple wooden chair might cost a few hundred dollars in materials, but that price jumps when you add custom upholstery or intricate carving tools. Think about tool expenses too. If you’re new, you might need to buy or rent saws, sanders, or paints that can add up quickly.
Estimating project time can be tricky. Sketching and designing might only take a few days, but actual building often stretches much longer. Depending on the complexity, sanding, painting, or varnishing sometimes needs drying times that slow things down unexpectedly. It helps to build in extra time for those unpredictable moments—like if a piece needs re-sanding or a finish coat isn’t drying right.
Breaking down the process into stages—designing, cutting, assembling, finishing—gives a clearer picture. A small, straightforward piece could be done in a weekend. But bigger projects like a custom desk? That might take weeks or more, especially if you’re balancing this with other responsibilities.
Conclusions
Creative furniture projects start with good planning, including detailed sketches. This helps you build pieces that serve your needs and match your home style. You learn to work with the right materials and tools to make strong, lasting furniture.
By following the steps and examples shared here, you can create personalized furniture that adds charm to your home. Sketching your design first saves time and money while guiding you to better results.