
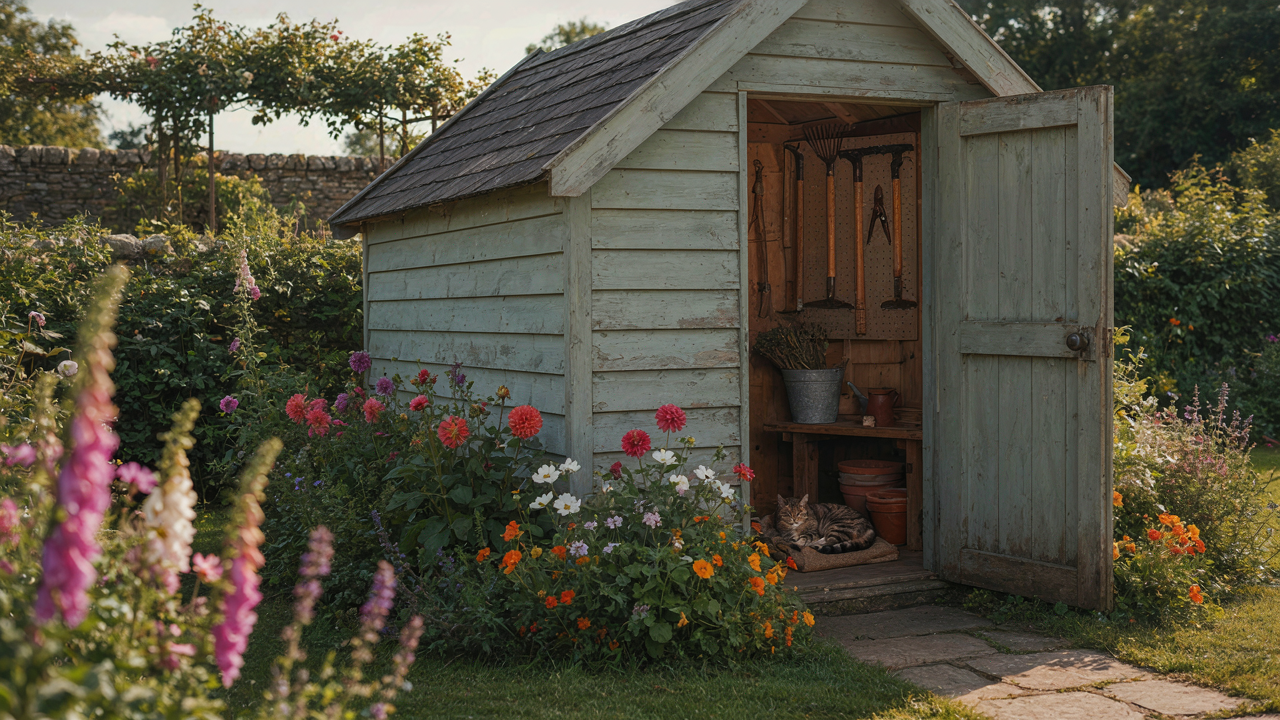
The Unseen Value Of A Garden Shed Makeover: Beyond Instagram

Most Shed Makeovers Fail Because You’re Solving The Wrong Problem
You want people to think you’re the type of person with a charming garden shed. That’s the real reason you’re reading this. The actual mechanism behind failed shed makeovers is simple: people renovate for appearance before they’ve solved for use. A beautiful shed that doesn’t function becomes expensive clutter. You spend money on paint and fixtures, ignore drainage and access, then avoid the space because it doesn’t work.
The shed sits unused because the foundation shifts, the door sticks, or you can’t find anything inside. Appearance without function creates avoidance, not pride. Before you touch aesthetics, audit the shed’s structural integrity, weatherproofing, and organization capacity. A functional space that looks plain outperforms a decorated space that frustrates you every time you enter it. Start there, or your makeover becomes another unfinished project.
The Real Trade Off Between Form And Purpose
Cosmetics signal completion but mask deeper problems. You paint the exterior while ignoring that water pools against the foundation. You install decorative shelving while the roof leaks onto your tools. This is the core deception in shed makeover culture: treating it as a design problem when it’s actually a systems problem.
Function determines longevity and actual use. A shed organized for your workflow beats one that looks good in photos but forces you to hunt for a wrench. Install proper ventilation before you worry about trim color. Seal gaps and check the floor for rot before painting. The shed you’ll actually use is the one that makes your tasks faster, not the one that makes your Instagram followers pause.
Shed Renovation Ideas: Deconstructing The “Charming” Fallacy

Stop Treating Symptoms, Find The Real Problem
You want your shed to look intentional because you’re tired of it being invisible on your property, and invisibility feels like failure. The real issue isn’t the shed’s appearance—it’s that you haven’t identified what the shed actually does or fails to do in your daily life. Most people slap paint and plants on a structure without asking why they use it or avoid it. That’s decorating a symptom, not solving a problem. Start by spending three days observing your shed’s friction points: Is the door stuck? Does rain pool at the entrance? Can you find tools when you need them? Do you avoid going inside because it’s suffocating or freezing? These aren’t aesthetic failures—they’re functional failures masquerading as design problems.

The charm you’re chasing won’t stick if the shed still frustrates you operationally. A freshly painted exterior means nothing if you dread entering it because the interior is chaotic or uncomfortable. Map your actual shed use over one week: what do you store, how often do you retrieve items, where do things get lost, when do you feel irritated. Write it down. This friction audit reveals whether your shed needs ventilation, organized storage, better lighting, or simply decluttering before any visual work happens. Only after you’ve eliminated operational pain do cosmetic upgrades compound their value.
Strip Away The Decorative Layer First
The common advice says to add character through vintage signs, planters, and weathered finishes. That’s wrong. Most sheds people maintain don’t need more things attached to them—they need things removed. You’re likely looking at a shed clogged with tools you don’t use, materials you’re saving “just in case,” and seasonal items that migrate nowhere. The Bauhaus movement rejected unnecessary ornamentation for a reason: function precedes form. A cluttered shed with new paint is still cluttered. Remove everything that doesn’t serve a current purpose or a planned project within six months.
Decor only reads as intentional against a clean baseline. Once you’ve purged, your shed’s actual bones show: the wood grain, the roof line, the natural weathering. That authenticity costs nothing and photographs better than any applied embellishment. Now you can make targeted additions—a single well-placed planter, proper tool racks, adequate lighting—that feel earned rather than forced. The mechanism is simple: reduction creates contrast. Contrast reads as design.
The Minimalist Shed Protocol: Essentialism In Storage

The 80/20 Rule For Tools
You want to feel organized without actually doing the work. The mechanism here is borrowed from economics: the Pareto principle. In shed storage, 20% of your tools generate 80% of your actual use, while the remaining 80% sit idle and consume space you could weaponize. Most people reverse-engineer this backward, keeping everything and organizing it obsessively instead of purging first.

Audit what you actually touch. Track your shed activity for two weeks. Write down every tool you grab. The ones that don’t appear on that list aren’t waiting for the perfect moment to become useful. They’re dead weight disguised as preparedness. Remove them before you organize anything else. This single step collapses storage complexity faster than any shelving system.
Redundancy Is The Shed Killer
Everyone owns three hammer variants they’ll never use simultaneously. You don’t need backup versions of common tools. Redundancy isn’t insurance. It’s decision paralysis in physical form that masquerades as options. The common advice is to “organize what you have.” That’s incomplete. You need to eliminate duplicates, near-duplicates, and obsolete versions first.
Count exact duplicates. Two tape measures. Four screwdrivers doing the same job. Three extension cords the same length. Keep one version that works. Donate or discard the rest. Then move expired items: dried paint cans, rusted blades, bulbs that don’t fit anything you own. What remains is your actual arsenal. Arrange it by frequency of use. The most-grabbed tools live at eye level, within arm’s reach.
Garden Shed Design: Applying Biological Principles To Organization
The Zone System For Tool Placement
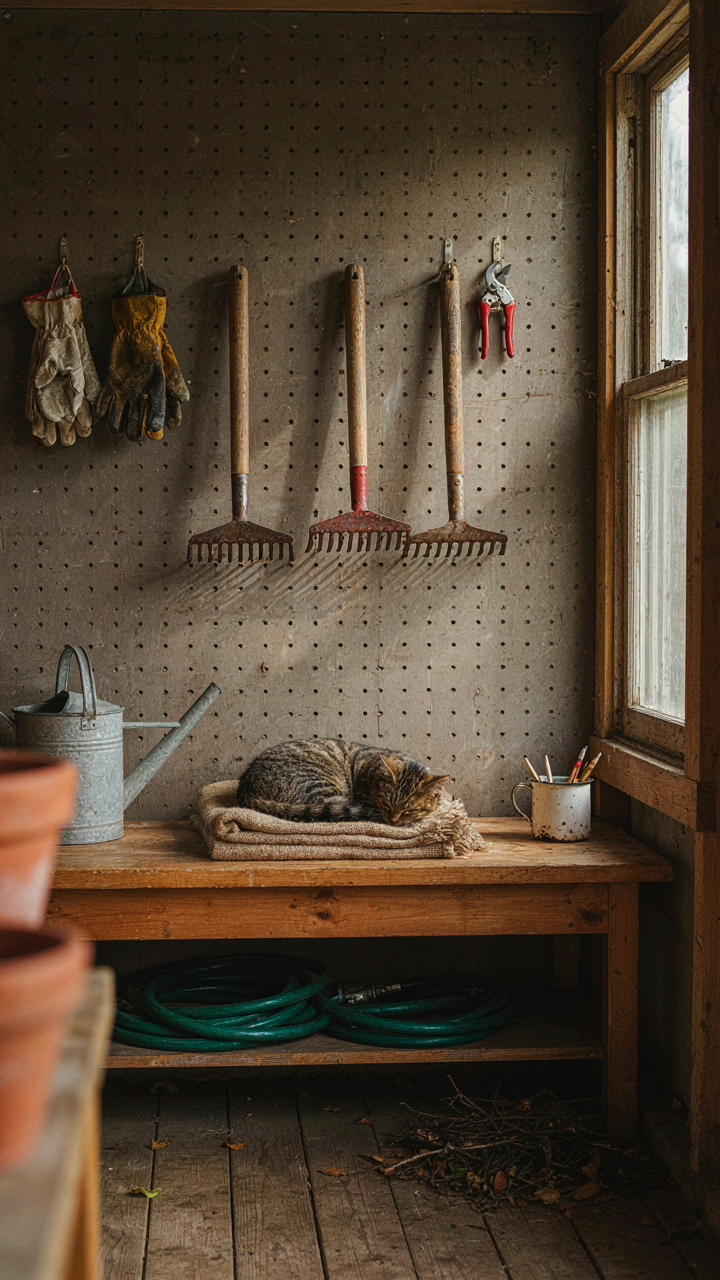
You want your shed to feel effortless to use because chaos signals incompetence to anyone who sees it. Permaculture uses zones based on frequency of access, and your shed needs the same logic. Zone One is arm’s reach from your door: daily-use tools like pruners, gloves, and hand rakes live here. Zone Two sits five to ten feet back: seasonal items and backup supplies. Zone Three is the far wall: storage you touch once yearly. This isn’t decoration. It’s pure mechanical advantage. Your hand travels less distance, your decision-making drops, and muscle memory builds faster.

The mechanism works because repetition etches neural pathways. Tools in high-friction locations get abandoned mid-project, so you grab duplicates instead. Within six weeks of zone-based placement, you stop overbuying. Your time compounds toward actual work instead of searching. Mount Zone One items at eye level on a pegboard or wall rail. Make them impossible to miss. The cost is one afternoon of measurement and installation. The payoff is reclaimed minutes every single day you enter that shed.
Storage As A Living System
Stop treating your shed like a static filing cabinet. Real storage systems adapt to what you actually use, not what you think you’ll use. Ecosystem thinking means surplus flows where demand exists. If you find yourself stacking seed trays five deep, that’s your system telling you to build dedicated vertical shelving there. If fertilizers pile in the corner unused, that zone is poorly located. The common mistake is designing once, then ignoring feedback. You need to audit every four months and shift items based on real usage patterns.
Create a simple protocol: every time you grab something, note where it is and how easy the retrieval was. Do this for two weeks. Your friction points will become obvious. Heavy items that move frequently belong on rolling carts at waist height. Lightweight items you reach for daily go vertical. Items you forget about go in a labeled bin on a middle shelf, grouped by category, not by size. This isn’t organization for its own sake. It’s designing around your actual behavior, not some imaginary shed perfectionist version of yourself.
Shed Redo: Strategic Placement For Optimal Flow

Where Your Tools Live Matters More Than You Think
You want your shed to look intentional because a messy one signals you don’t have your life together. Here’s the mechanism: tool access determines whether you actually use the space or resent it. Ergonomics isn’t about comfort—it’s about friction. The lower the friction between intention and action, the more you’ll use the shed. Place frequently used tools at elbow height within arm’s reach of your work zone. Rarely used items go high or deep. This isn’t philosophy. It’s physics applied to human behavior.

Most people arrange sheds by tool category instead of task sequence. Wrong approach. You need reach zones, not storage zones. Items you grab before leaving the house go near the exit. Seasonal tools occupy dead space above head height or floor corners. Work surfaces position themselves between entry and storage, creating a natural workflow arc. The shed becomes a production line, not a filing cabinet. When everything lives exactly where you need it in sequence, you stop wasting motion and start finishing projects.
The Path From Entry To Work
Task sequencing comes from manufacturing, and your shed is a micro-factory. The “critical path” is the route your body takes from entry to output. Map it by listing every step of your most common project, then position each tool and material station in that exact order. This eliminates backtracking. Your brain consumes less energy. You finish faster and return to the shed more often.
Most sheds violate this completely. The potting station sits opposite the soil pile. The pruning tools hang on the far wall from the cutting station. You waste steps without noticing. Start with your three most frequent tasks—say, planting prep, general maintenance, and seasonal storage rotation. Diagram the exact path each requires. Then design wall hooks, benches, and shelving to match that path. The exit becomes your final checkpoint before you leave.
Backyard Shed Makeover: The Power Of Industrial Materials

Surfaces That Won’t Betray You Later
You want your shed to look intentional, not neglected. That’s the real driver here. Most people treat surface selection like decoration when it’s actually infrastructure. Pick materials that survive weather cycles without constant maintenance, and your shed stays looking deliberate instead of abandoned.

Concrete, metal, and untreated wood age visibly but predictably. Concrete develops a patina rather than rot. Corrugated metal oxidizes into a stable finish that doesn’t worsen year after year. Treated lumber fails catastrophically; untreated wood fails gracefully. The mechanism is simple: surfaces that degrade uniformly look intentional. Surfaces that degrade unevenly look broken. Choose materials with honest failure patterns.
Materials Worth The Second Look
The conventional wisdom says stick with vinyl, composite decking, and treated wood because they’re “maintenance-free.” That’s incomplete. Those materials require constant pressure-washing and staining to look intentional. Industrial materials—borrowing from manufacturing logistics, we’d call this “terminal durability”: the system performs until it stops, no middle ground of decline—require zero intervention until replacement.
- Galvanized Metal Roofing: Lasts 40-70 years, develops protective patina, requires no treatment. Shed roof becomes invisible infrastructure rather than a maintenance task.
- Bare Concrete Foundation and Floor: Hydraulic cement poured over compacted gravel. Cracks are structural reality, not failures. Concrete never looks worse, just older.
- Corten Steel Panels: Pre-rusted steel that stops oxidizing after initial weathering. Creates sealed barrier against further corrosion. Expensive upfront, zero maintenance after.
- Reclaimed Brick and Stone: Salvaged from demolished structures, already survived decades of weather. Won’t deteriorate faster than it already has. Age is authenticity, not liability.
- Raw Wood with Minimal Sealing: Eastern red cedar or Douglas fir left untreated silver naturally. Grays uniformly without peeling. Avoids the trap of maintenance-dependent finishes.
The trade-off is upfront cost and acceptance of visible aging. You’re paying for cessation of the maintenance cycle, not for perpetual newness. Install one of these materials, then stop thinking about that surface. That’s the actual win.
Old Shed Makeover Ideas: Structural Integrity First
What You Actually Need To Check First
You want the shed to look good because you want to use it without feeling like you’re standing in a failure. Here’s the mechanism: cosmetic work on a rotting structure doesn’t add charm—it adds liability. Borrow from structural engineering’s concept of load-bearing capacity. Your shed’s load-bearing capacity isn’t just about weight; it’s about whether the frame, roof, and foundation can support the life you want to give it. A fresh coat of paint over soft wood is theater.

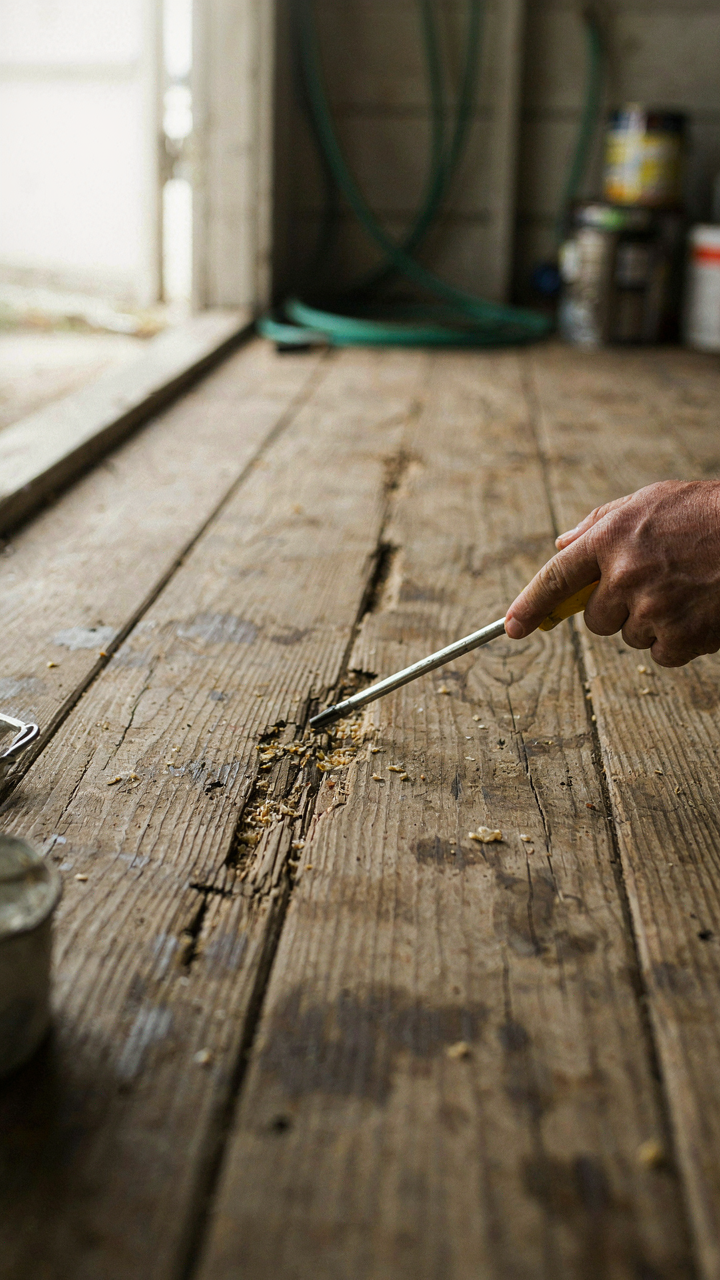
Start with the roof and foundation because water damage compounds faster than any other failure mode. Check for soft spots in the flooring by pressing a screwdriver into the boards. Look at the roof line for sagging, which signals rafter damage. Inspect the base where the shed meets the ground for rot, settling, or water pooling. These three points determine whether the shed is salvageable or if you’re throwing money at a collapsing asset.
Repairs Must Come Before Aesthetics
The common advice here is wrong: design magazines never show you the shed they gutted because structural work isn’t photogenic. Prioritizing repairs over decor isn’t about being conservative—it’s about avoiding the math of throwing money into a structure that will fail regardless. You can’t paint over wet rot. You can’t stain over compromised joists. You can’t add charm to something that doesn’t stand.
Get the structural work done in this order: roof repair or replacement, then foundation and flooring, then wall integrity. Only after the shed is weather-sealed and level do you touch finish work. This sequence matters because water enters from the top, and if the base is compromised, no cosmetic work survives the next rainy season. Once the structure is sound, every dollar you spend on aesthetics actually sticks.
Garden Shed Organization: The “Scarcity Mindset” Method
Treating Space Like A Finite Resource
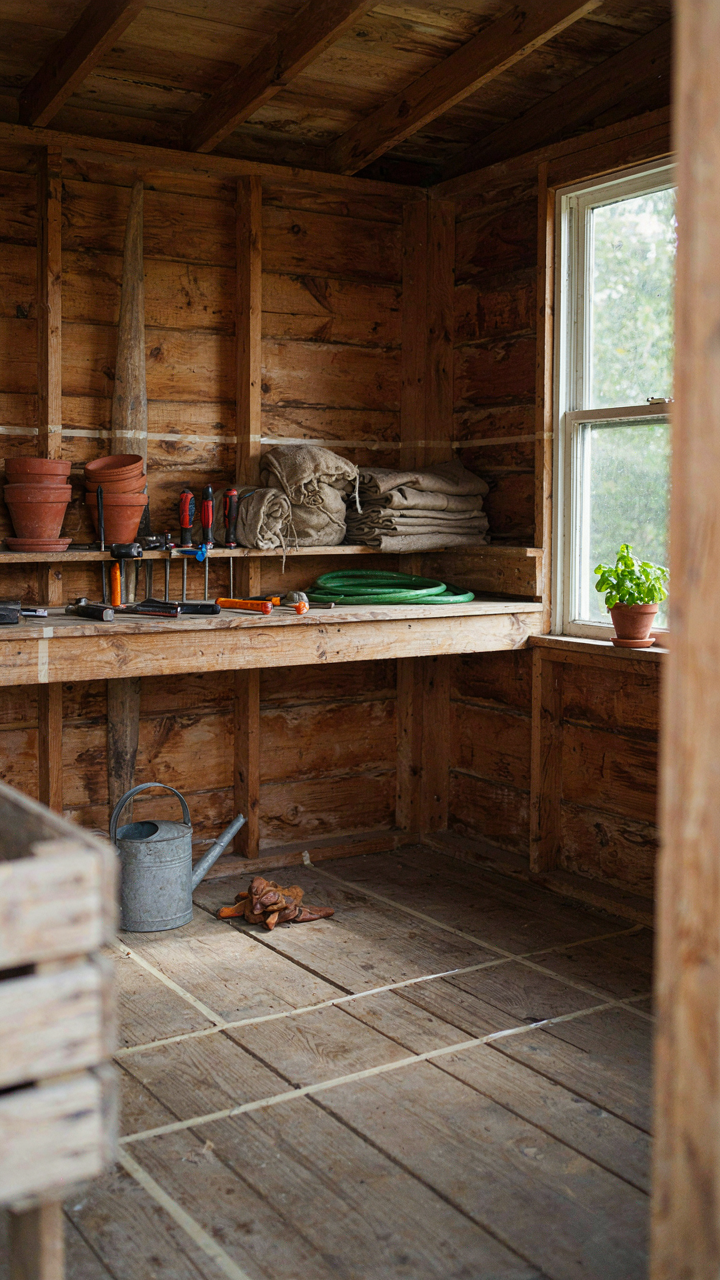
You want your shed to look intentional because a messy shed signals you’ve lost control of your own property. Here’s the mechanism: economics teaches us that scarcity breeds value. Your shed has fixed square footage. Treat it as such. Every item you store consumes real estate that won’t return. Most people ignore this and pack until the door barely closes. Instead, assign each category a zone with a hard boundary. Tools get the wall. Seasonal items get the corner. Once a zone fills, nothing else enters that zone without something leaving first.

This isn’t minimalism. It’s constraint-based design. You keep more by storing less densely. When you assign storage zones rigid limits, you stop the creep of accumulation before it starts. The shed becomes functional because you’ve made expansion impossible. Walk through your shed and mark three zones with tape. Write what belongs there. Enforce it.
Vertical Storage Wins On Wall Space
Most sheds waste their primary asset: wall height. People stack horizontally because it’s what they see others doing, but walls hold infinitely more capacity per square foot than floor space. Pegboards, wall-mounted shelving, and hook systems multiply your storage without expanding the building. The difference is dramatic: a four-by-eight foot wall can hold what might otherwise require floor space equal to half your shed. Install shelving at three heights minimum. Use adjustable brackets so you adapt as needs change. Vertical storage also keeps items visible and accessible, which means you actually use the space instead of forgetting what you own.
The protocol is straightforward: measure your walls. Identify load-bearing studs. Install heavy-duty shelving or mounting hardware into studs only, never drywall. Start at shoulder height and work up. Reserve floor space exclusively for items too large or heavy for walls. This single decision transforms a cluttered shed into an organized one.
Painted Shed: When Aesthetics Serve Function, Not Vice Versa
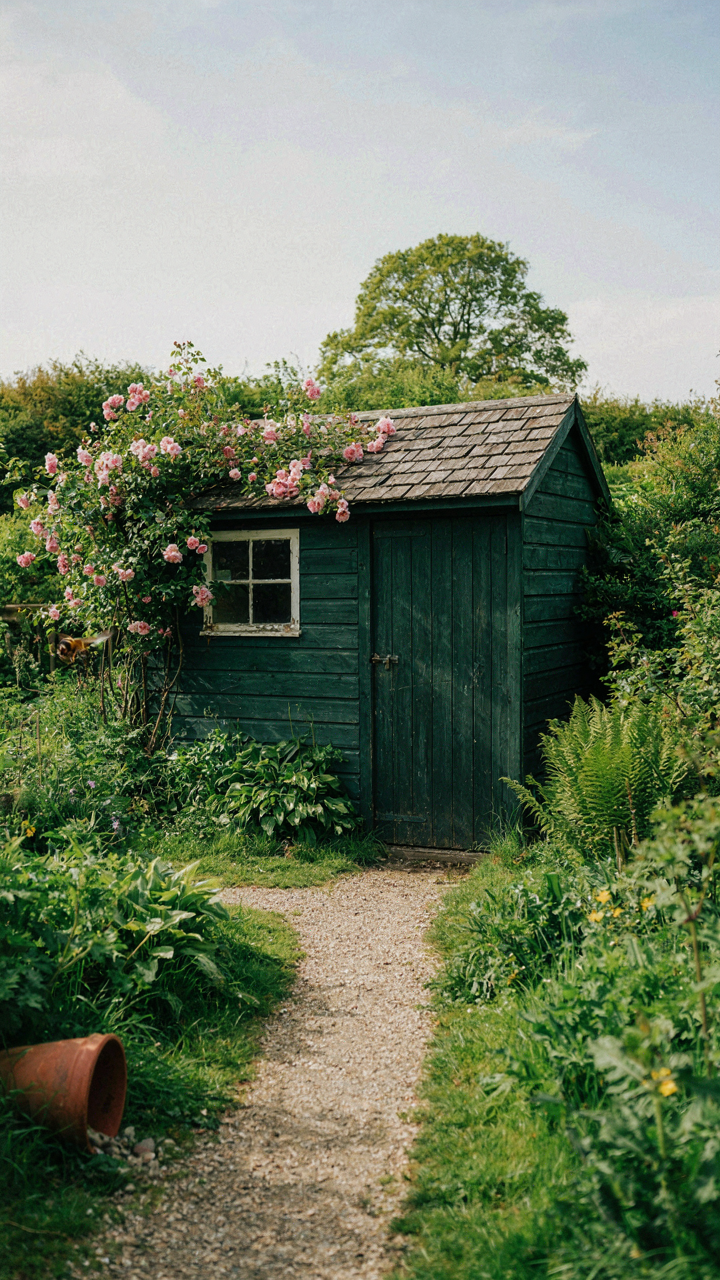
Color As A Signaling System
You want the shed to look intentional because you’re worried it looks like you don’t maintain your property. Here’s the actual mechanism: color functions as a visual inventory system. The Bauhaus movement understood this—they applied color strategically to communicate purpose and hierarchy, not to decorate. A single shed color tells visitors and your future self what lives inside without opening the door.

Dark greens and grays recede into landscape and hide dirt and weathering. Bright colors demand maintenance visibility, which means you’ll actually paint it again sooner. Choose your shed color based on the maintenance schedule you’ll actually follow, not the one you plan to start next month. The color isn’t decoration—it’s a commitment mechanism that forces accountability through visibility.
Protective Coatings Versus Decorative Paint
The common advice treats paint as purely cosmetic. It isn’t. You need two separate decisions here: exterior wood protection and color. Most people confuse them and end up repainting every two years because they used decorative paint instead of protective primer and topcoat systems designed for sheds.
Exterior shed paint requires a base coat that penetrates and protects, then a topcoat for color and UV resistance. The topcoat fails first and is cheaper to replace than the primer layer. If you skip the protective primer or use interior paint, you’re not creating charm—you’re creating maintenance debt that compounds annually. Apply primer to bare wood, topcoat with exterior-grade paint rated for your climate zone, and you extend repaint cycles to five to seven years instead of two.
The Maintenance Feedback Loop: Sustaining Your Optimized Shed

Scheduled Decluttering Rhythms
You want proof that your shed makeover wasn’t a waste of money and time. That fear drives most people to abandon their projects within months. The mechanism is simple: a shed deteriorates into chaos without scheduled removal cycles, and chaos erases the visual gains you built.
Treat decluttering like equipment maintenance, not occasional cleanup. Set a fixed quarterly date to remove what no longer serves the space. Most people fail here because they wait until the shed “looks bad again” to act. By then, you’re recovering from neglect instead of preserving. A 30-minute quarterly pass catches drift before it compounds.
Iterative Improvement Principles
The common advice says to “maintain what you’ve built.” That’s incomplete. Real durability comes from treating your shed as a system that responds to use patterns, not a static state you achieved once.
Document what actually breaks, what you reach for most, and where clutter relocates. After six months, you’ll spot the friction points your initial design missed. Maybe shelving needs reinforcement. Maybe tool placement forces awkward movements. Maybe seasonal storage exposes gaps. Each observation feeds the next iteration. This creates compounding returns: a shed that works better each cycle, not one frozen at launch. Map one adjustment per quarter to the system you’re running, then measure if it stuck.
The Real Problem Isn’t Your Shed; It’s Your Unexamined Assumptions About Work And Space

You don’t need a garden shed makeover. You need permission to claim space that’s actually yours. Most people treat their shed like a storage graveyard because they’ve never believed they deserved a functional workspace. Walk to your shed today and spend fifteen minutes there doing nothing. Just stand in it. Notice what you actually want it to become instead of what you think it should be. Your shed reflects your relationship with yourself.