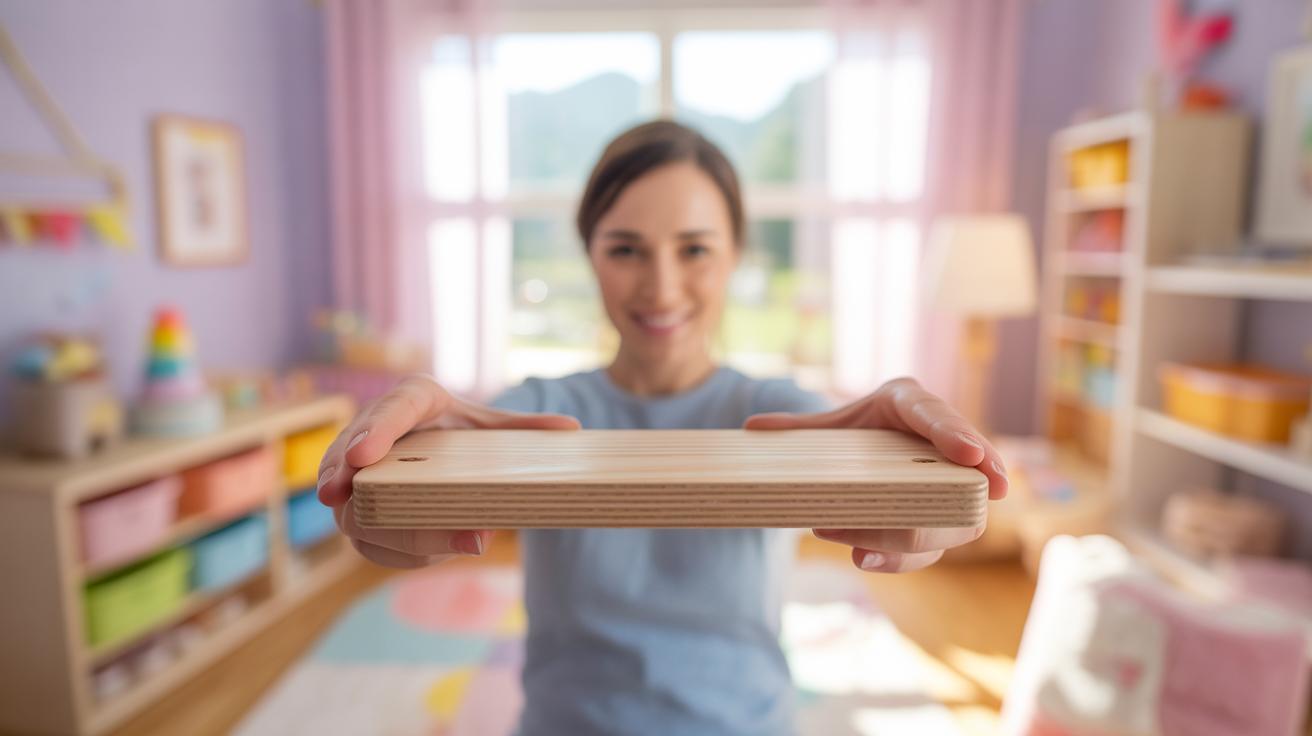
Introduction
Creating a tidy and organized nursery is important for every parent. With so many baby items, smart storage is key. Baby DIY projects for creative nursery storage offer fun ways to build storage solutions that fit your unique space and needs. They help keep your baby’s room safe, neat, and welcoming.
This article explores practical and easy DIY projects for nursery storage. You’ll find ideas to organize clothes, toys, diapers, and more. These projects use simple tools and materials, perfect for parents new to DIY. Let’s dive in and make your nursery a well-organized and happy place for your baby.
Planning Your Nursery Storage
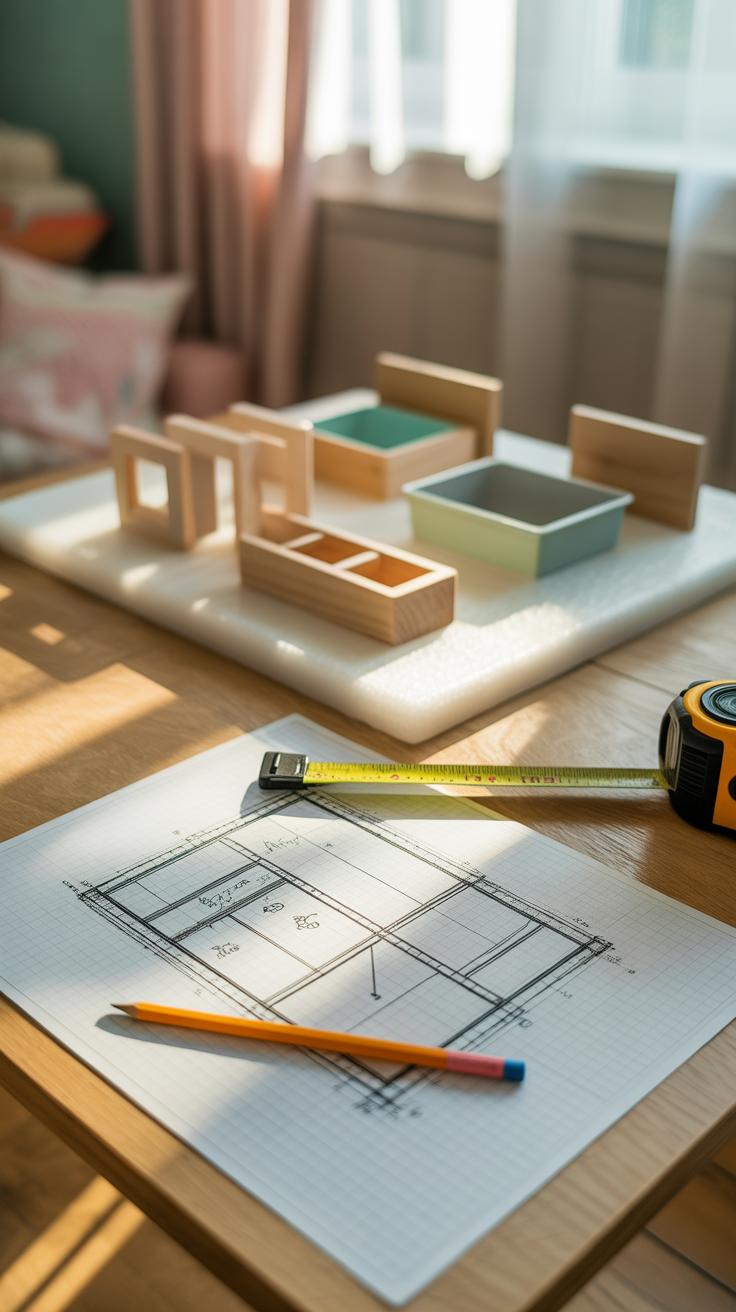
Before you jump into any DIY nursery storage project, spending some time on planning can save you a lot of frustration later. Trust me, I’ve been there—starting something exciting without figuring out if it actually fits the room, only to realize it’s too bulky or awkward. You want to think about your nursery space and the stuff you really need to organize first.

Take measurements of your nursery carefully: the floor space, wall lengths, and even ceiling height. Don’t forget about small, often overlooked spots like under the crib, corners behind the door, or vertical spaces above changing tables. These can surprise you with their potential.
Alongside that, list out everything you want to store. I mean everything—clothes, diapers, toys, feeding gear, blankets. Try to get a feel for the volume and frequency of use for each item. This will help you decide if you need open baskets for quick access or closed bins for less used belongings. You may find yourself wondering if one big storage piece works better or several smaller ones scattered around.
- Measure your room thoroughly, including quirky little spaces.
- Mark awkward spots for potential custom shelves or organizers.
- Write down all baby essentials and group them by size and use.
- Think about how often you reach for each item and where you want it.
Planning might feel like a tedious first step, but it makes your DIY storage smarter and more fitting to the nursery. After all, this is not just about putting stuff away; it’s about creating a space that works for you and your baby.
Choosing Safe Materials for Baby Storage

You want your baby’s nursery to be a safe haven, so picking the right materials for your DIY storage projects is, well, pretty crucial. Babies explore the world mostly by touch and taste. That means any off-gassing chemicals or toxic finishes could end up in their little mouths or on their delicate skin. It’s not always obvious which materials are truly safe, and that can make the whole decision feel overwhelming.
Non-Toxic Paints and Finishes

When painting or finishing your storage units, it’s best to look for non-toxic, water-based options. These paints usually have low or zero volatile organic compounds (VOCs), which reduce harmful fumes. I remember feeling uneasy when I first saw all those “baby-safe” labels but couldn’t tell if they were just marketing fluff or legit. After digging a bit, I realized water-based paints dry faster and are less likely to irritate sensitive babies. Oil-based and solvent-heavy finishes? Better left out of the nursery, really.
Selecting Durable and Safe Storage Materials
As for the base materials, sturdy choices that don’t harbor toxic chemicals are key. Solid wood, especially unfinished or naturally treated, often scores well on safety and durability. You might hesitate, though, because unfinished wood can be rough. A light sanding and finishing with non-toxic oils can make it gentle without adding risks.
Fabric is another option for soft storage bins or organizers. Opt for organic cotton or linen, avoiding synthetic fibers that can emit harmful substances. And plastics? They’re a mixed bag. Look for BPA-free, phthalate-free options; cheap plastics might off-gas more than you expect, so sometimes it’s worth investing a bit more.
Keep asking questions: How comfortable am I with what I can’t see? Is this material going to last, or will it shed bits and pieces? Sometimes the safest choice feels less straightforward, but that’s normal when you’re aiming for your baby’s well-being while crafting with your own hands.
Building Customized Shelves and Racks
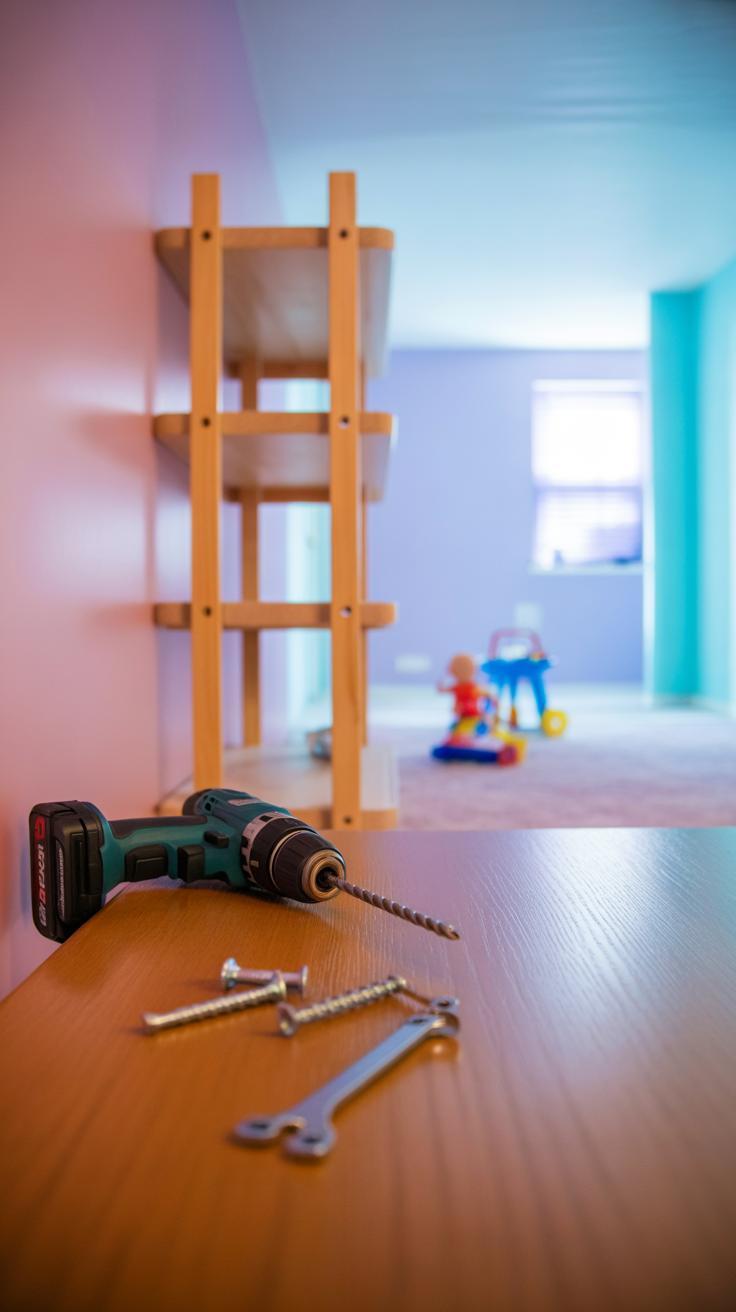
Creating storage that’s tailored to your nursery’s space and your specific needs can feel a bit daunting at first. But breaking it down into manageable steps makes it easier. Let’s start with simple wall-mounted shelves, which you can build with just a few tools—think a saw, drill, screws, and some wood planks. The trick is measuring your space carefully so the shelves don’t overcrowd the room or hang too high for you to reach.

Cut the wood to your desired length. Sand down the edges so your baby doesn’t get splinters once the shelves are up. Then attach brackets to the wall studs for support—this keeps the shelves sturdy enough for books, small toys, or those little decorative items you might want.
Now, freestanding toy racks can feel more flexible since you can move them around. Use wider planks with vertical supports on either side, maybe with a few slats across to hold bins or baskets. Make sure there are no sharp edges or gaps where tiny fingers could get stuck. I realized that spacing the bars too far apart made toys pop out, so keeping them close is smarter for both storage and safety. These racks can be low enough for your baby to reach as they start crawling or walking, encouraging a bit of independence.
Think about your nursery layout before building; sometimes a corner shelf or an angled rack works better than a straight one. It’s a bit trial and error—but you’ll end up with pieces that fit just right and hold exactly what you need.
Creating Storage Bins and Boxes
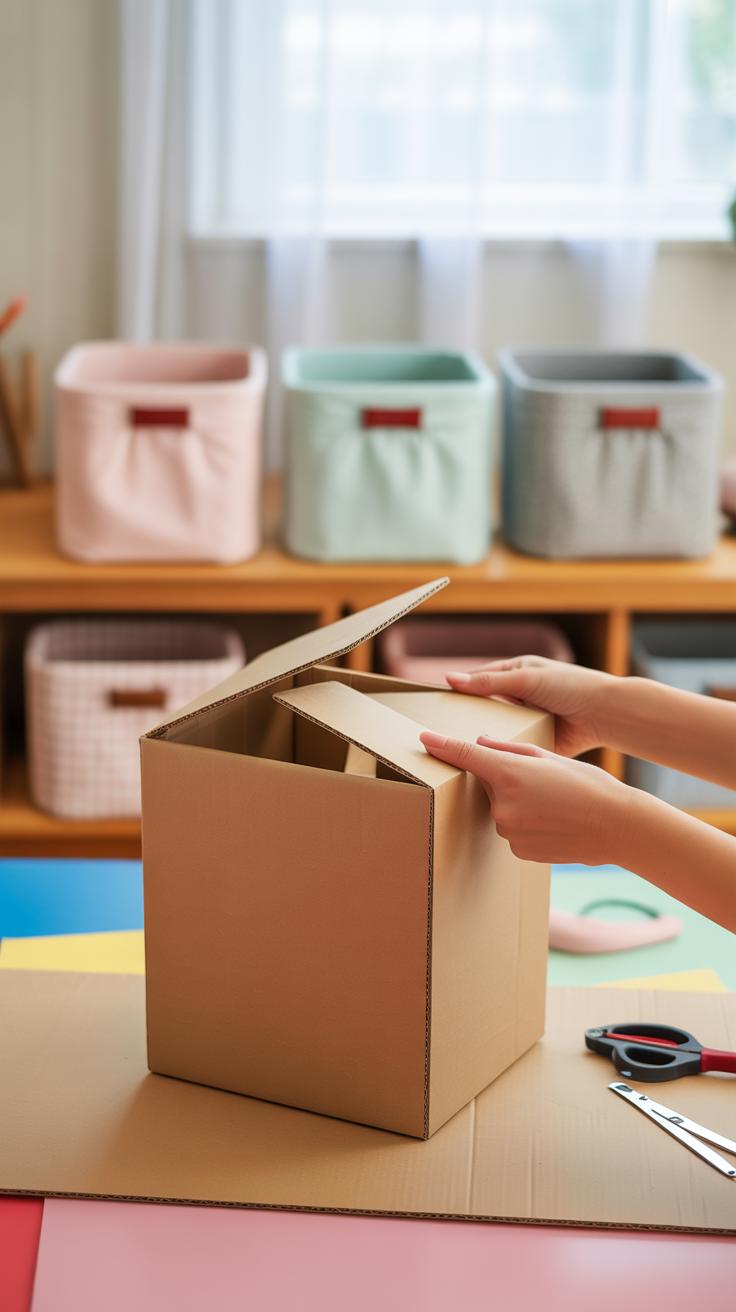
Organizing a nursery often means dealing with an abundance of tiny clothes and toys that seem to scatter the moment you turn your back. Storage bins and boxes come in handy here. You can actually make your own from materials around the house, which often adds a personal touch to the room’s vibe.
Fabric bins offer more than softness. You can sew simple cubes or rectangles using canvas or cotton fabric. Add interfacing inside if you want them stiffer. I’ve found that choosing light-colored fabric makes it easier to spot what’s inside without digging around too much, though darker colors hide stains better, so I guess it depends on your priorities. The lightweight and washable nature of these bins makes them ideal for storing cuddly toys or blankets that need regular cleaning.

Wooden boxes are another solid option. Even plain wooden crates can become charming storage units with a bit of paint or fabric lining. I once painted a box in pastel shades and glued some nursery-themed fabric inside the lid—small details like that can really tie things together. If you don’t want to paint, wrapping fabric around the exterior and securing it with an eco-friendly glue works too. They’re sturdy enough for books and folded clothes, which means they can handle a bit of weight without collapsing.
When creating these bins or boxes, thinking about size is crucial. Too big, and they become unwieldy; too small, and they don’t hold enough. What do you find gets messy the fastest in your nursery? Perhaps focusing on those items first makes the most sense when you pick your dimensions.
In the end, making your own storage bins and boxes means you tailor the solution exactly to your space and style, which might feel more satisfying than just grabbing something off the shelf. Plus, it gives you a chance to sneak in a little creativity—or maybe just take a break from baby-watching with a hands-on project.
Repurposing Household Items for Storage

Using items you already have around the house can be surprisingly effective for nursery storage. Sometimes, the answer isn’t buying new organizers but seeing common objects in a new light. Baskets and wooden crates are classic examples. They’re easy to find and can hold quite a bit without feeling bulky.
Using Baskets and Crates
Think about using woven baskets for diapers—they’re breathable, which helps keep things fresh. Plus, they slide easily onto shelves or under changing tables. Wooden crates add a rustic touch and can be stacked or fixed to walls for extra storage. Placed sideways, they turn into little cubbies perfect for folded clothes or soft toys. I once lined a crate with a thin cloth to make a soft bin for plush animals—simple but effective. You might hesitate because crates seem rough, but sanding and a light coat of paint can make them nursery-ready. The best part? You get storage and a bit of design in one.
Jars and Containers for Small Items

Small jars and containers work well for those tiny nursery essentials that often get lost—pacifiers, creams, small toys, or accessories. Have you noticed how quickly those little items accumulate? Keeping them visible but contained makes your day smoother. Clear glass jars let you spot what you need right away, though plastic ones might be safer with a baby around. Mason jars, old candle containers, or even pretty spice jars can keep your changing station organized without much fuss. Sometimes I just toss pacifiers in a jar near the crib and find them instantly. It’s simple, but it works.
Maximizing Vertical Space in Your Nursery
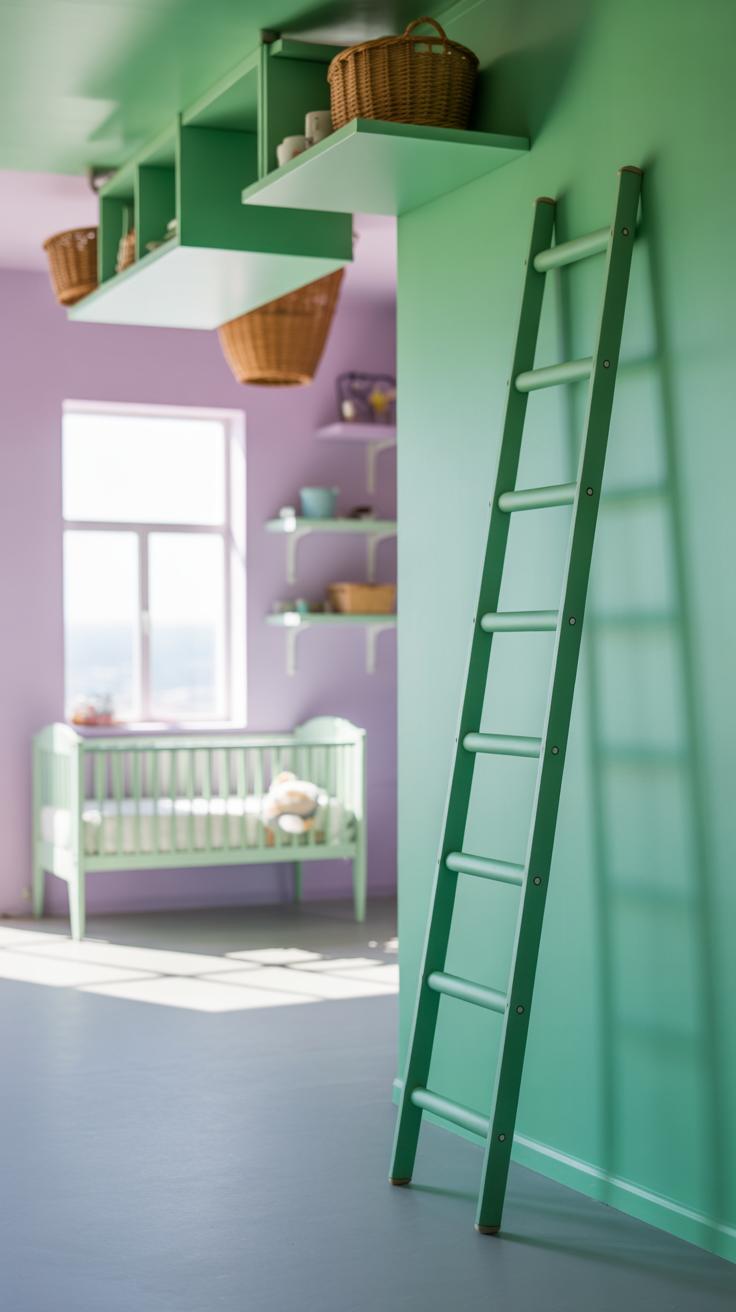
When floor space feels limited, looking up can really open things up. Making use of vertical space often gets overlooked, but those walls and door backs can hold so much without crowding your nursery.
Installing Hanging Organizers
I’ve found hanging fabric organizers great for quick access. You can buy ready-made ones or sew your own if you’re into a bit of crafting. Just hang them on a sturdy rod or attach them to the back of a door. They work well for diapers, lightweight toys, or even little socks scattered around.
Here’s what to keep in mind:
– Choose organizers with multiple pockets or compartments.
– Place frequently used items in the middle pockets to avoid constant stretching or bending.
– Make sure the fabric is washable or easy to wipe, because, well, nursery messes happen.

Don’t overcrowd the pockets. It might seem like a good idea at first, but if it’s stuffed, you lose the quick-access advantage. I used to keep a few diapers and wipes in mine near the changing table — made those midnight changes a bit less maddening.
Using Wall Hooks for Accessories
Hooks can feel a bit plain, but they’re surprisingly handy. Installing a row of hooks at different heights lets you hang hats, small bags, bibs, or even those cute little shoes that seem to multiply inexplicably.
Here are some quick pointers:
– Mix and match hook sizes for different items.
– Position hooks away from little hands if the items are fragile or better kept out of reach.
– Hooks free up shelf and dresser top space so your surfaces aren’t overwhelmed by clutter.
One thing to consider is the wall type—drywall, wood, or plaster all need different anchors. That part confused me a bit, but a quick trip to the hardware store cleared it up. Seeing those tiny hats hanging neatly made the nursery feel more organized without a bulky piece of furniture.
Vertical storage isn’t a magical cure-all, but it’s a clever step towards keeping your nursery tidy and your baby’s essentials close at hand. What kind of vertical storage have you tried? Maybe there’s room for ideas yet to test.
Incorporating MultiFunctional Furniture

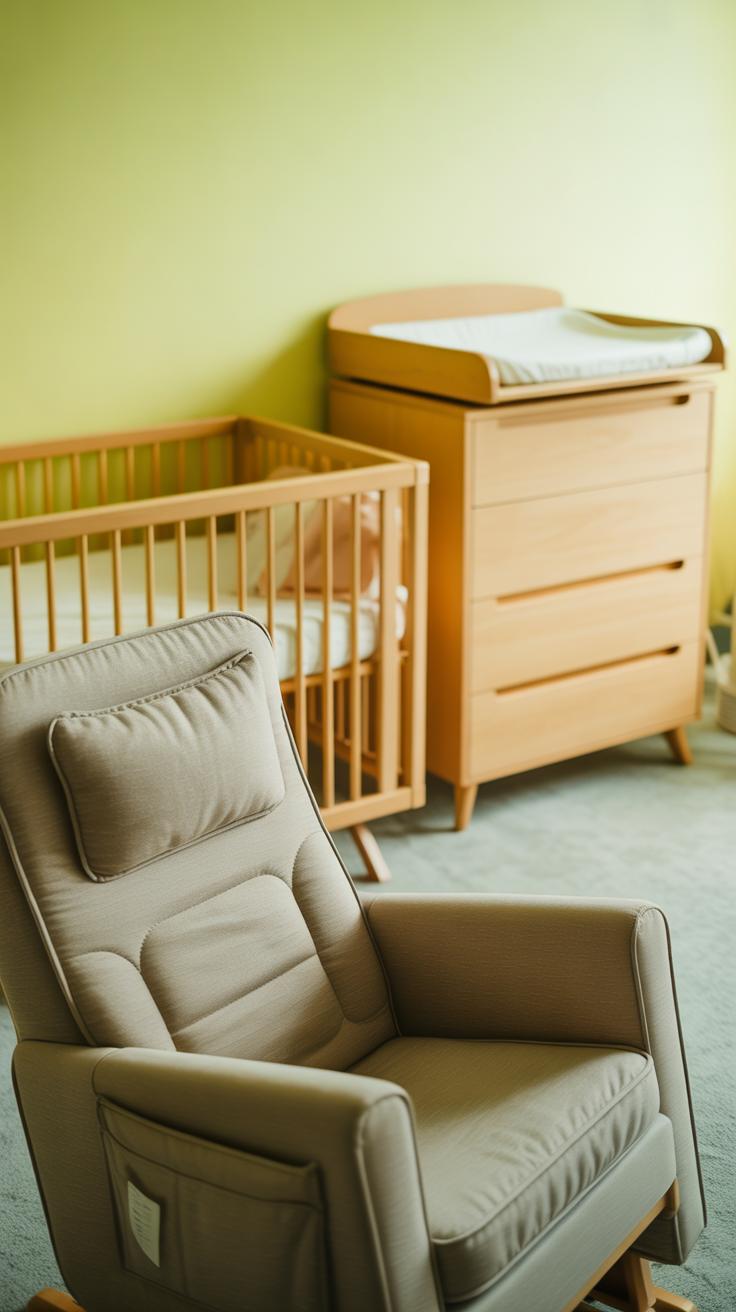
Choosing furniture that does more than just look nice can really change how you use your nursery space. When you pick or build pieces that double as storage, you get more room without feeling cramped—something every parent can appreciate. Imagine a baby bed with drawers beneath it. Those drawers aren’t just space fillers; they hold clothes, diapers, or even toys you want to keep close but out of sight. It’s like having a small dresser built right into the crib, which, honestly, can save a lot of time during those hectic diaper changes or bedtime routines.
Ottomans and benches with built-in storage offer a cozy spot to sit or rest your feet while also hiding blankets, books, or bottles. Sometimes, I’ve found that these pieces can be the catch-all spot I didn’t even plan for but soon can’t live without. They keep things accessible, but still tidy—without adding the clutter of extra shelves or bins. You might wonder if they take up too much space, but they often fit easily against a wall, serving two purposes at once. This kind of furniture seems simple but ends up making the nursery feel less chaotic.
Labeling and Organizing Your Storage
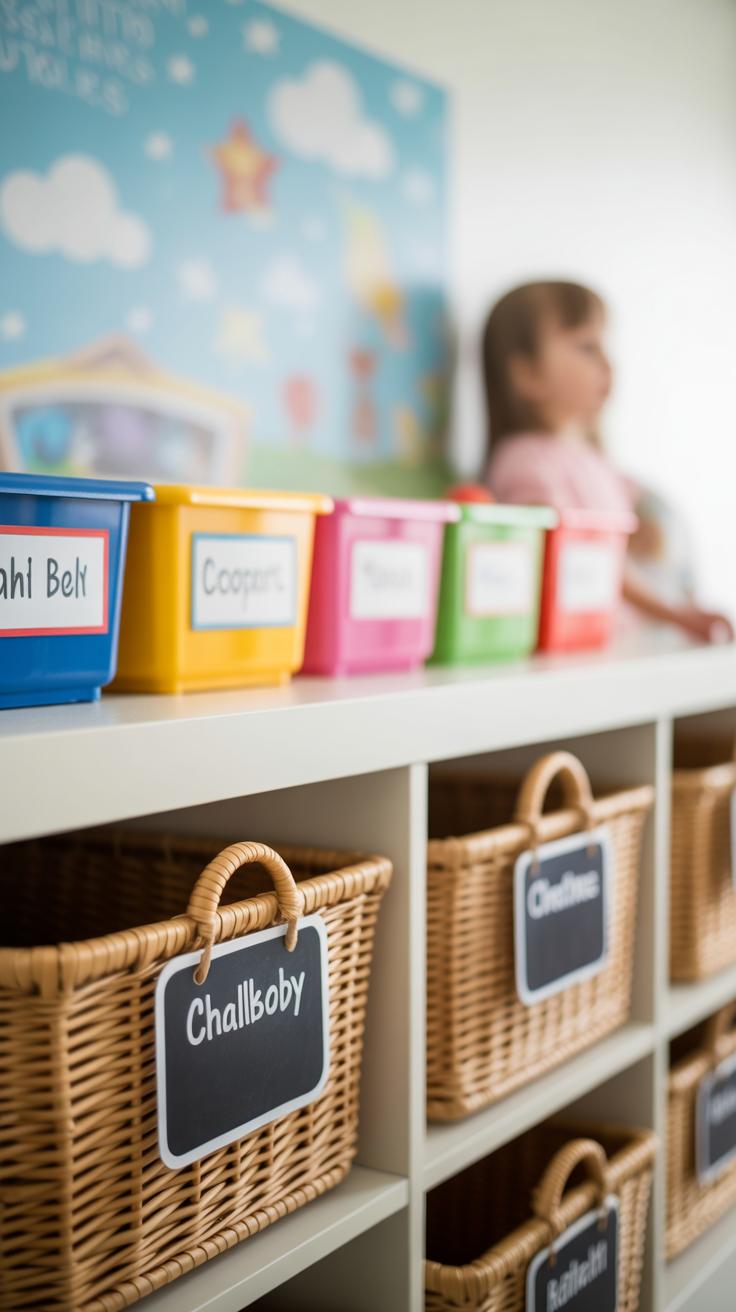
Keeping a nursery tidy can feel like a never-ending task. But labeling bins and boxes actually helps more than you might expect. When everything has a clear, visible label, finding items becomes faster. It cuts down those frantic moments when you’re searching for diapers or onesies, especially in the middle of the night. Plus, it encourages everyone in the family to put things back in the right place—even babysitters can manage that without confusion.
Creating Simple Labels

Making DIY labels doesn’t have to be complicated. You can create basic labels using just paper, markers, and tape. Cut small pieces of paper or cardstock, write the contents with a bold marker—try to keep the handwriting clear, but it doesn’t need to be perfect—and then attach the labels with clear tape or masking tape. If you want, you can color-code labels for different categories, but plain labels work just fine.
For added durability, stick the labels inside the bin lids or on the sides where they’re easy to see but less likely to fall off. You might hesitate to spend time on labels thinking it’s extra work, but it really pays off when everything stays organized effortlessly.
Organizing by Use and Size
Think about how often you use certain items and sort your storage accordingly. Place the things you grab most frequently in the easiest-to-reach spots. Bulkier or rarely used toys and clothes can go in the back or higher shelves. Grouping smaller items like socks or bibs into smaller containers inside larger bins helps too.
Sometimes, it’s instinctive to just shove things anywhere, but a little upfront effort to arrange by use and size saves time and stress later. When you’re in the thick of baby care, you’ll be glad those sizes and uses line up neatly. And honestly, it might even make cleaning up less daunting. Ever tried finding a tiny pacifier in a jumble of toys? Not fun.
Maintaining Your Nursery Storage Organization
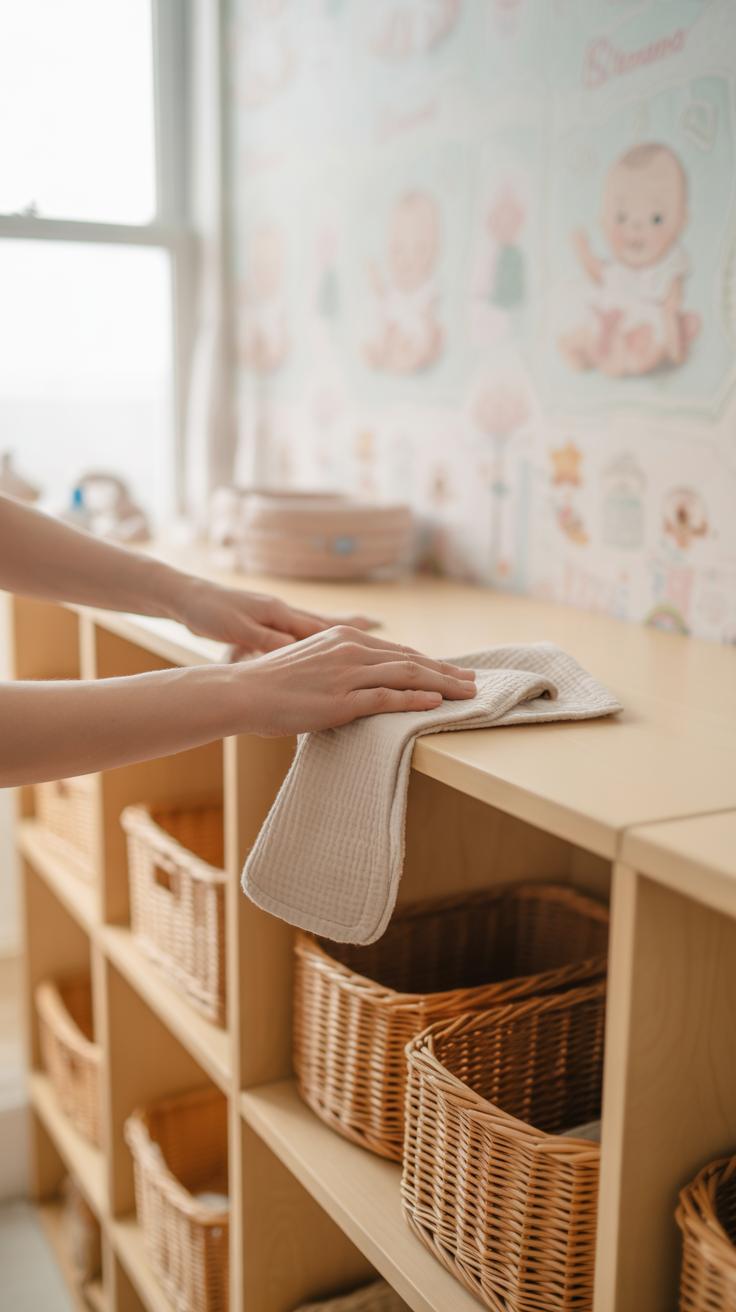
Keeping your nursery storage working well over time takes more than just setting it up once. You might want to think about carving out a regular spot in your week or month for tidying up. It doesn’t need to be a big deal—just a quick scan to put things back in place or toss what’s no longer needed can make a big difference.
Try setting a recurring reminder to check baskets, bins, and drawers. When was the last time you opened that toy box? Sometimes you’ll find forgotten items that don’t fit your baby’s current stage. Don’t hesitate to remove clothes or gear that’s been outgrown—clearing these out can free up space and help things feel less overwhelming.
As your baby grows, storage needs will shift. What worked for newborn essentials might not suit toddlers’ toys or books. Maybe it’s time to switch low shelves for hooks or swap out bulky containers for smaller bins. The tricky part is guessing what you’ll really use and what will just collect dust.
Ask yourself: Are you still reaching for everything easily? Or is your system starting to slow you down? Making small adjustments now can save frustration later and keep the nursery a welcoming area for both you and your child. It’s a little ongoing project that pays off quietly over the months.
Conclusions
Organizing your baby’s nursery with DIY projects is achievable and rewarding. These projects help you save money, customize the space, and keep everything within reach. Creative storage solutions reduce clutter and make daily routines smoother for both you and your little one.
Take what you’ve learned and choose projects that fit your style and space. With simple steps and a bit of effort, you can transform your nursery into a well-organized haven. Remember, good storage is key to a happy and stress-free baby room.


