Introduction
Camping can be a fun and rewarding way to spend time outdoors. But managing all your camping gear might seem tricky. Camping crafts for organizing outdoor gear offer practical and creative ways to keep your equipment tidy and ready to use. When your gear is organized, you can find what you need quickly and enjoy your camping time more.
This article explores various camping craft ideas to help you organize your outdoor gear. From simple DIY storage hacks to maintenance tips, you’ll discover useful methods to protect your items and save space. Get ready to learn smart ways to handle your camping gear so each trip is easier and more enjoyable.
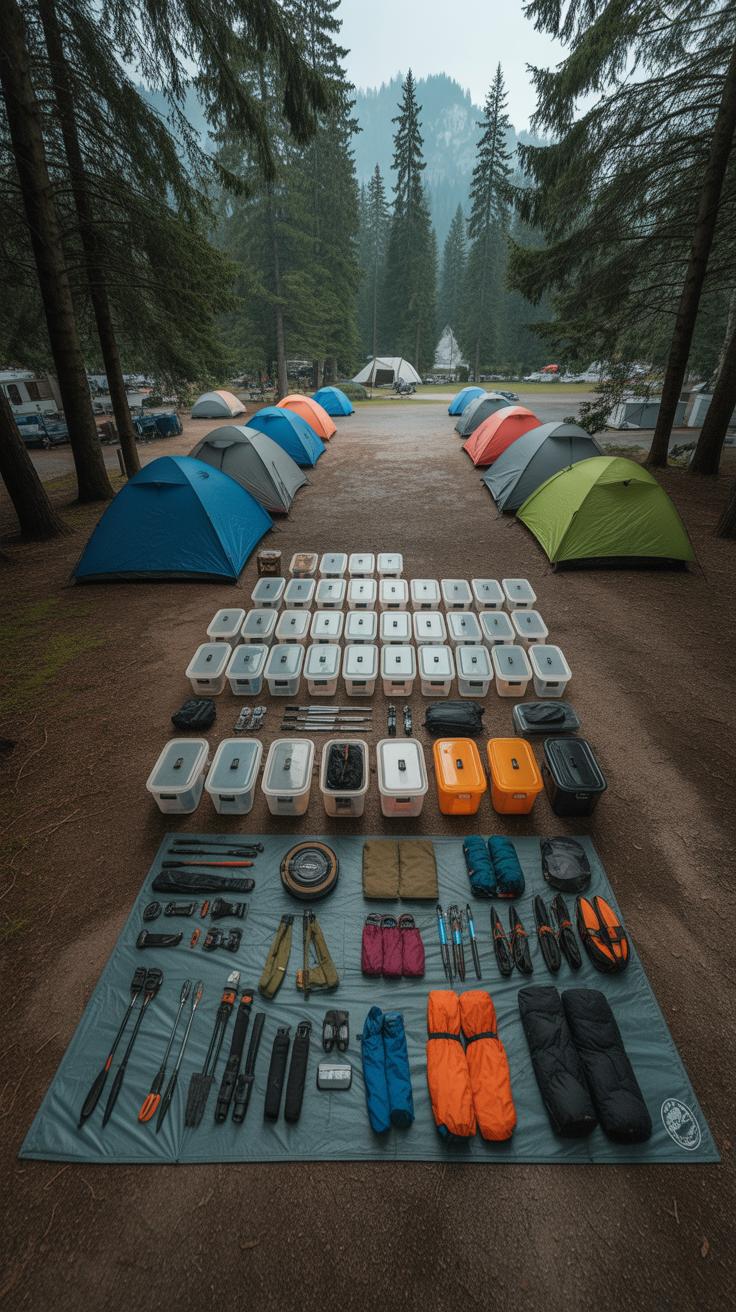
Choosing the Right Storage Containers
Picking the right storage containers for your camping gear isn’t always straightforward. You want something that keeps your stuff safe from rain or dust, but also matches what you’re carrying. For example, hard plastic boxes with tight-sealing lids do well for things like cooking utensils or electronics because they resist water and keep impacts at bay.

On the other hand, not everything needs such tough protection. Soft storage bags or organizers might be better for lighter, bulky things like clothing or sleeping bags. They’re easier to stuff in tight spots or hang inside your tent. I sometimes find myself juggling between too many big rigid boxes and soft bags and wonder if there isn’t a middle ground.
It helps to think about the weight, shape, and fragility of your gear first. A metal toolbox might feel sturdy but is heavy; a waterproof dry sack is light but won’t protect against crushing. Finding the balance is a bit trial and error. That said, going for containers designed specifically for outdoor use often pays off.
Using Waterproof and Durable Boxes
Waterproof plastic boxes with secure latches have saved me on multiple trips when unexpected rain showed up. They keep dirt out and prevent damage from moisture, which is great for first-aid kits, electronics, or food that you don’t want soggy. Clear boxes let you see what’s inside without opening them, which speeds things up when you’re reorganizing at camp.
Labeling these boxes is more helpful than you might think. Using a piece of tape or a waterproof marker to write the contents can reduce frantic digging later. Stacking them neatly also matters—look for boxes with lids designed to interlock or stack securely to avoid tipping over.
Packing Soft Storage Options
Soft storage bags and organizers are underrated. They’re flexible, lightweight, and can often be hung from tent frames or tree branches, making items like toiletries or small gadgets easy to reach. I like to keep my socks and small clothes in mesh pouches so they breathe but stay organized.
When space inside your pack is tight, these bags compress better than rigid containers and mold to the shape of your other gear. On the flip side, they offer little protection from impacts or heavy pressure. That means they’re best for things that won’t break or get damaged easily.

Sometimes, I debate if I should just go all soft storage or mix it up. It’s a balance between accessibility, protection, and space, and it shifts depending on the trip or gear I have.
Making Simple Shelves and Racks

When camping, keeping your gear off the ground and organized can make a big difference, but you don’t need fancy equipment for that. A simple way to tackle this is by crafting small shelves or racks using materials you might already have or can easily find. Wooden crates are a popular choice—they’re sturdy, stackable, and give you a quick way to create storage that keeps things like food, pots, or clothes tidy.
DIY Wooden Crate Shelving
Start by gathering a few wooden crates of similar size. You can stack two or three crates to make vertical shelving that lifts your supplies off the dirt—pretty handy for avoiding moisture and pests. Fix them together using screws or strong zip ties so they don’t wobble. A bit of sandpaper on rough edges helps prevent snags or splinters. I’ve found adding a piece of fabric or even a plastic sheet on each shelf keeps smaller items from falling through the slats. It’s surprising how much organization you get from such a straightforward setup, and it doesn’t have to be permanent; you can take it apart when you pack up.
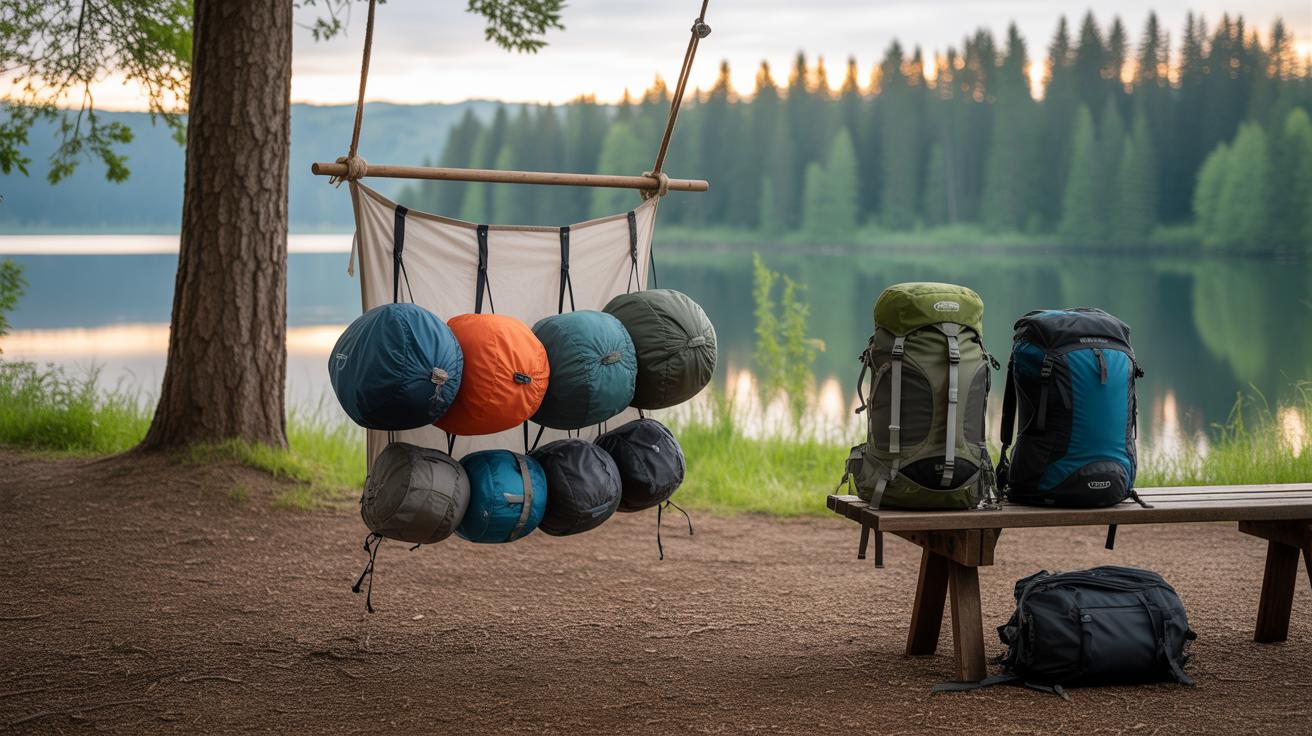
Portable Hanging Racks
Hanging racks are another smart option, especially when floor space is limited or rainy weather hits. You can make one using a simple rod or branch tied between two trees or poles. Attach hooks, clips, or even clothespins to hang clothes, towels, or cooking utensils. Some folks use a lightweight frame with crossbars that folds flat—this makes moving it around the campsite easier. The beauty is that hanging racks keep things visible and accessible without cluttering your tent or cooler area. They’re flexible; if the spot looks better with a different layout, you just pick it up and move it. Have you tried using carabiners for extra hanging points? They can be surprisingly helpful for holding bags or smaller gear.

Both wooden crate shelves and hanging racks serve well, but the best choice depends on what you want to store and how much space you have. There’s a bit of trial and error, yet once you get it right, your campsite feels less chaotic, and you spend less time hunting for stuff. I’m still experimenting with shelf heights and placement—guess it’s never really done when it comes to camp organization.
Crafting Tool Holders and Organizers
Keeping your essential camping tools within easy reach can make a big difference, especially when time or light is short. Crafting specialized holders lets you protect and organize knives, flashlights, and multi-tools so you’re not scrambling when you need them most.
Upcycled Jar Tool Holders
Old jars or cans become surprisingly good containers for smaller tools and odds and ends. You can paint them, wrap them with twine, or add magnets to the outside for attaching to metal surfaces like your vehicle or gear rack. The rigidity keeps items upright and avoids that frustrating loose jumble at the bottom of your pack. One tip: punch drainage holes if you expect moisture, to prevent rust or mildew. I once used a few tomato sauce jars and, well, it wasn’t perfect—I forgot drainage, and a bit of rust developed—but the concept worked nicely overall.
Edgy Knife Sheath Creations
Making custom knife sheaths adds safety and style to your gear. Leather is a classic choice—durable and protective—but fabric can do the job too if treated against water. You might sew and dye your own, or add simple straps and buttons for secure closure. Sometimes, the simplest pouch fits a knife better than a store-bought one that’s too bulky or stiff. And whether you prefer rustic or neat edges, hand-sewing creates a personal touch that feels worth the time. How much protection do you really need? I often wonder if a quick DIY sheath serves better than lugging a bulky leather case.
Creating Labels and Tags

Labeling camping gear might sound basic, but it really changes how you find things outdoors. When you’re juggling several containers, backpacks, or coolers, a clear label cuts down on fumbling and guessing. You want your gear accessible, especially when the sun’s setting or there’s a chill in the air. Sometimes, it’s less about neatness and more about saving time or hassle.
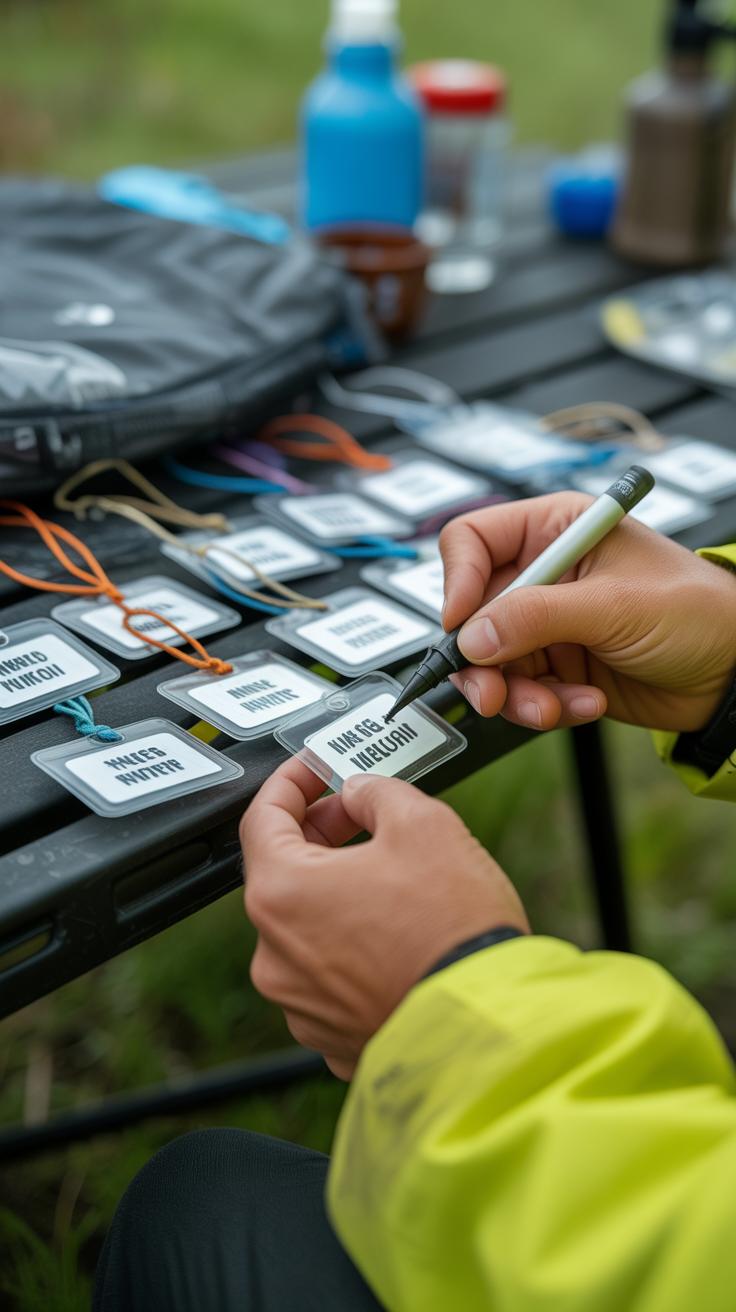
Making labels that won’t fade or wash away during rain or sweat takes a bit of craft. You could start with waterproof tape or clear packing tape over paper tags written in permanent marker. Some folks use laminated cardstock or even shrink plastic sheets—these survive scrapes and moisture much better than a sticky paper label.
If you want to get creative, try painting symbols on small pieces of sturdy wood or plastic, then attach them with nylon cord or zip ties. These tags don’t tear and they add a bit of personal style to your gear.
Color coding is another step. Using distinct colors to identify categories—like red for cooking gear, blue for sleeping items, green for first aid—or marking gear by family member prevents mix-ups. It’s faster to spot your things at a glance, especially when everyone’s tired or in a hurry. Sometimes color coding makes you realize how disorganized things really were, which is oddly satisfying when you fix it.

Have you ever thought about what your gear says about you based on its labels? Or how often you might make a label just in time to lose the item it belongs to? Crafting labels can feel less like a chore and more like a small, quiet art project that quietly pays off on every trip.
Upcycling Outdoor Gear for Organization
Transforming Old Backpacks
Old, worn-out backpacks don’t have to end their life tossed in a corner or, worse, the trash. You can cut them down into smaller storage pouches that fit snugly inside larger bags or hang from tent poles. Straps, buckles, and compartments offer ready-made attachment points or closures. I once took a beat-up daypack and turned the front pocket into a hanging organizer for my toiletries—hooks and loops made it easy to attach inside the tent. The fabric is designed to be tough and somewhat water-resistant, so it holds up well. You might want to sew or glue a few seams back together, but the process is pretty forgiving. Hanging organizers like these help declutter your main pack, giving you quick access without dumping everything out.
Using Tents and Tarps Creatively
Tent fabric and tarps, when damaged or no longer reliable for shelter, still offer material good enough for making gear pockets or covers. You can cut out sections and reinforce them with leftover webbing or strips from broken straps. These patches can turn into custom-sized pockets for small tools, cords, or even fuel canisters. Something I tried recently was making a cover for a portable stove from a old tarp piece—cut it just big enough, with edges folded and sewn or taped to prevent fraying. It feels a bit unconventional, but it works almost like a dust cover and keeps dirt off. You might wonder if the fabric will last long; it depends on the material, but repurposing at least delays waste and gives you handy, lightweight organizers.
Organizing Cooking Supplies
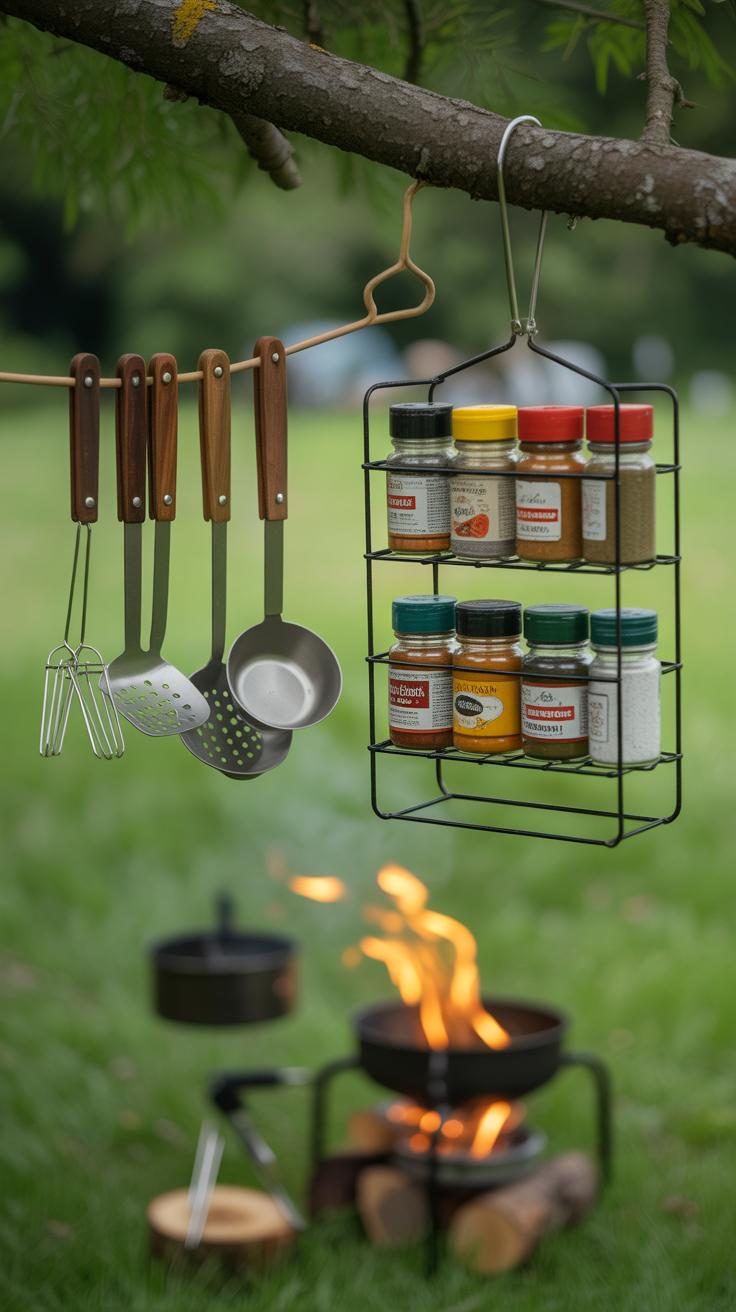

When it comes to camping, keeping your cooking utensils and spices neat can be tricky. Stuff tossed loosely in bags makes it harder to find what you need, and sometimes things get damaged or spilled. You might want to try making a portable spice rack. Think of using small tins or containers—empty mint tins often work well—and attaching them to a wooden board or even a recycled cutting board with velcro or magnets. This way, the rack stays compact but each spice has its own spot. It’s surprising how much easier cooking gets when you’re not digging around for oregano or salt in a big pouch.
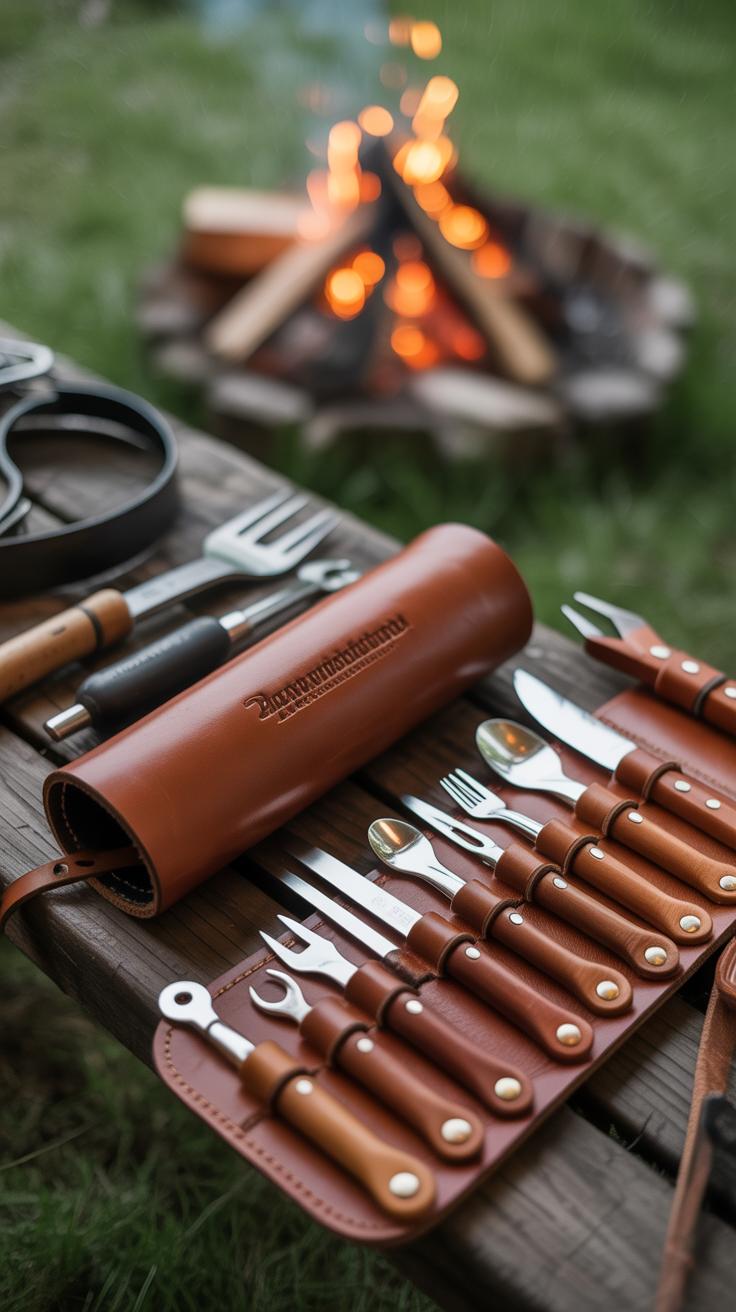
Another craft that’s handy is sewing a utensil roll-up holder. This can be a simple piece of fabric with sections stitched in to hold forks, spoons, knives, or even small tools. Add a ribbon or strap to keep it rolled tight. You don’t need to be a pro at sewing; even basic stitches will hold up for camp trips. Plus, it protects metal utensils from bending or scratching and cuts down on space. I once made one that fit neatly inside my backpack’s side pocket, and it saved me a lot of hassle on a week-long trip.
Both of these ideas keep gear organized without adding much bulk, and they’re easy enough to customize for your specific cooking needs. Have you ever thought about what small changes like these could do for your camp kitchen? Maybe next trip, you’ll be reaching for exactly what you need, right when you need it.
Maintaining Clean and Dry Gear
Keeping your camping gear dry and clean isn’t just about comfort—it can make or break your trip. Wet clothes, damp bags, or soggy sleeping pads don’t just feel unpleasant; they can lead to mold, unpleasant smells, or even damage. That’s where a few simple camping crafts come in handy.

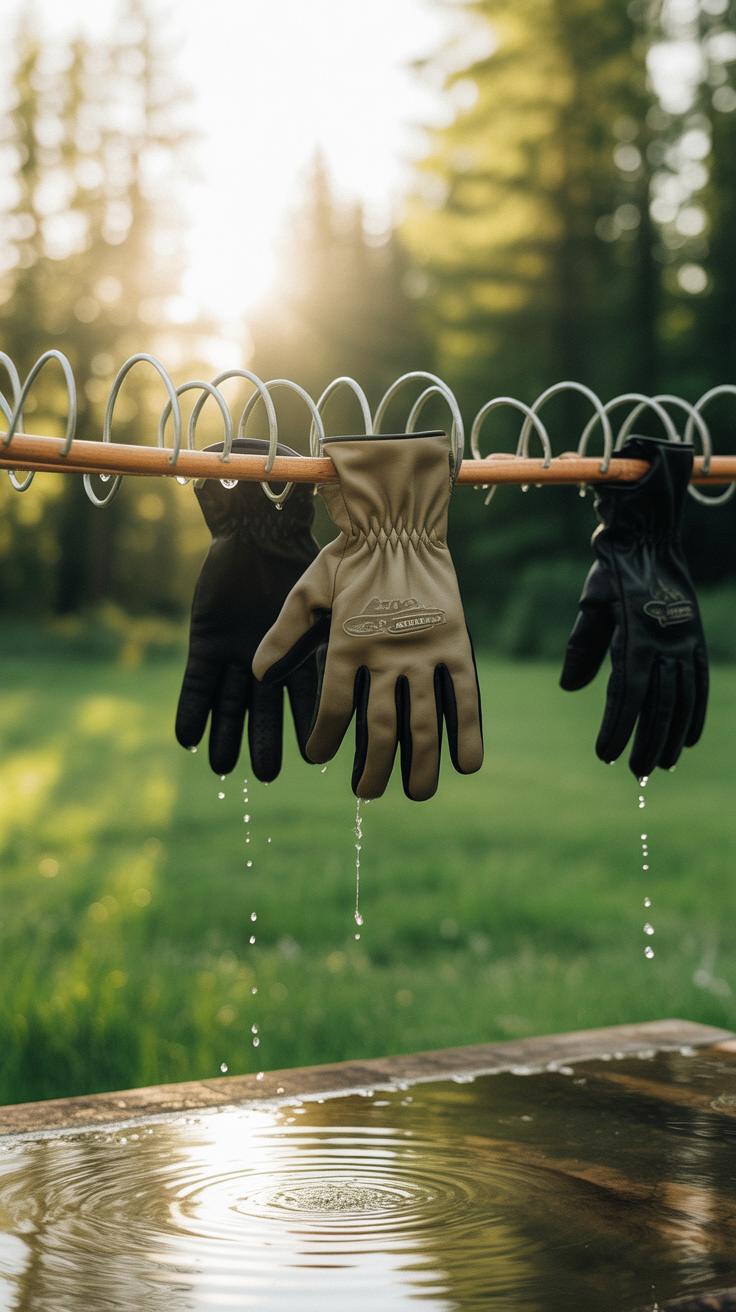
Setting up a DIY drying line with clips is one of those easy but effective solutions. String some cord between two trees or poles, then hang your wet clothes or small items with clothespins or carabiner clips. It’s straightforward and doesn’t require fancy tools. Sometimes, after a sudden rain, seeing your soaked socks swinging in the breeze almost feels satisfying—like a small victory against the weather.
On the other hand, don’t overlook protective gear covers. Making your own covers from old waterproof fabric or tarp scraps can shield backpacks, sleeping mats, or boots from ground moisture and dirt. These covers don’t have to be perfect—just big enough to wrap things up or act as a quick shield. I’ve found that slipping gear under a homemade cover keeps them noticeably fresher, even on damp mornings.
Simple crafts like these take minimal time but pay off daily. Ever wondered why some campers’ gear seems permanently fresher, no matter the weather? It might just be these small, thoughtful touches. So, why not try crafting your own drying line or protective covers on your next trip? You may find it changes how you handle the little annoyances of outdoor life.
Packing Smart with Customized Bags
You’ve probably noticed how regular backpacks or storage bins just don’t cut it when it comes to keeping camping gear neat and easy to find. That’s where customizing bags and organizers really makes a difference. I’ve found that taking a little time to modify or make your own bags can save so much hassle, especially when you’re juggling a lot of stuff.
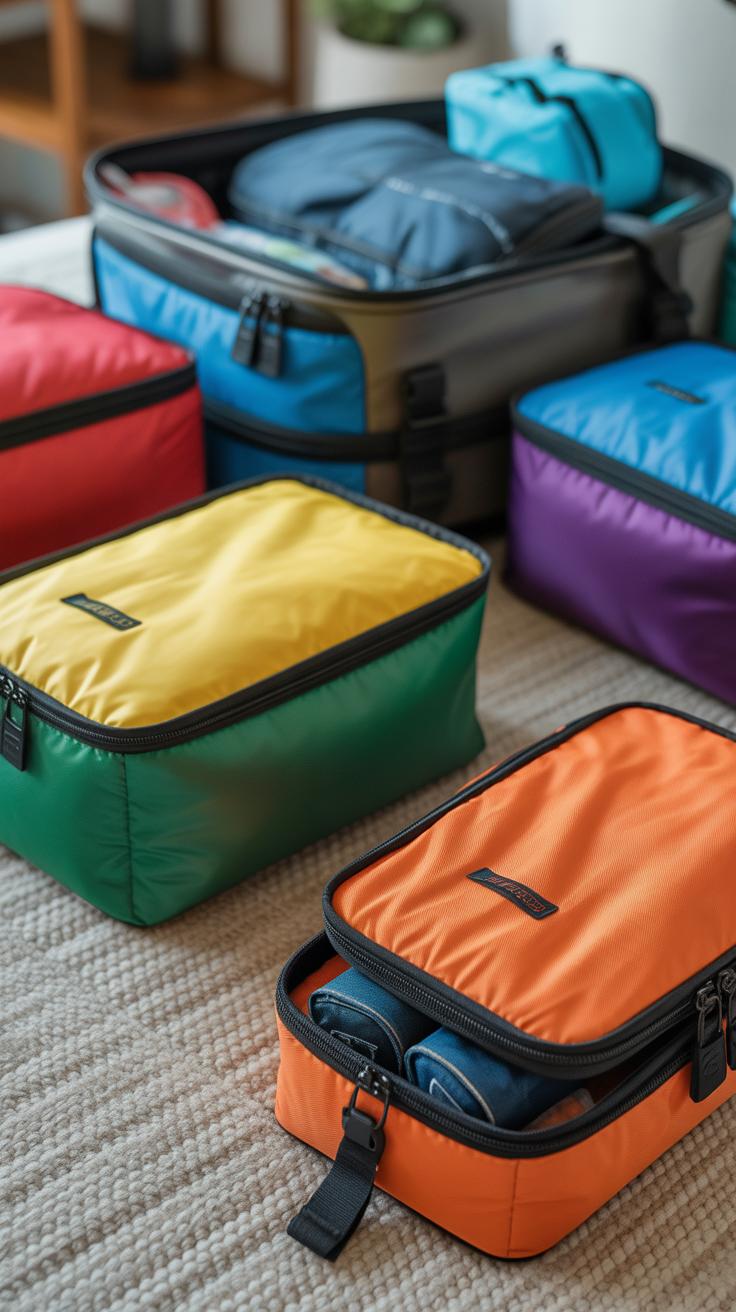
Segmented Packing Cubes

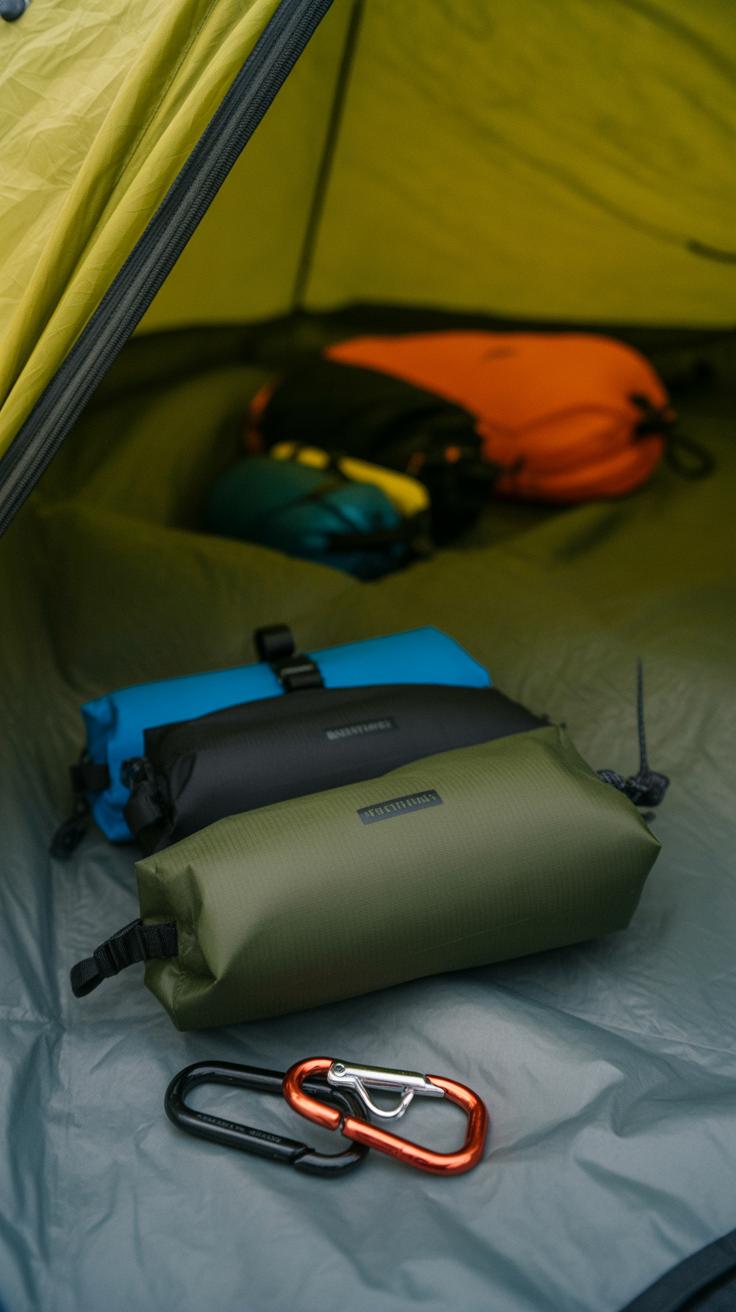
One great way to organize is by creating segmented packing cubes. Instead of one big pouch, these cubes have compartments or dividers that help sort things like clothes, utensils, or first-aid supplies. You can sew or attach lightweight fabric panels inside a small bag or even repurpose old backpacks with compartments. I once made cubes with clear mesh sections so I could spot what I needed without digging around. It doesn’t have to be perfect—sometimes simple fabric glued or stitched inside works just fine.
Gear-Specific Bags
Designing bags tailored to specific gear types can keep your equipment safe and separate from everything else. For example, a waterproof bag for wet clothes or towels keeps dampness from ruining dry items. A rigid or padded pouch for electronics protects them from bumps and scratches. Shoe bags help avoid dirt spreading inside your main pack. You might try making these from shower curtain material or recycled tarps if you want something water-resistant but inexpensive. Even just using different colors or labels can prevent you from scrambling to find things when you’re tired.
Doesn’t it seem like a small effort—customizing bags—can really change how you pack and unpack? It’s kind of surprising how a bit of planning here stops frustration later on. Give it a shot next time you pack; seeing your camping gear neatly sectioned off might just nudge your outdoor trips towards smooth sailing.
Planning Your Gear Layout
Organizing your camping gear isn’t just about stuffing things into bags or piles. How you arrange gear in your tent, vehicle, or campsite can make a huge difference in how you access it during your trip. Think about creating distinct zones—areas dedicated to specific types of equipment. For example, one corner of your tent or one section of your car could hold cooking tools, another your sleeping gear, and somewhere else your clothes and personal items. This approach cuts down on hunting for stuff and keeps things from getting tangled up.
When you craft storage solutions, keeping them adjustable or modular helps a lot. Imagine storage pouches with removable dividers, or crates that can stack neatly but separate when needed. These can adapt if you’re camping alone or with a big group. Maybe you start the trip packed tight, but as people leave or gear shifts, you tweak your system easily without unpacking everything. Making storage that fits your varying needs is worth the extra few minutes of setup before heading out.
Mapping zones also helps reduce clutter and confusion. For instance, hanging mesh bags near your tent entrance for everyday items—headlamps, keys, or insect repellent—keeps those essentials visible and handy. Meanwhile, heavier or less-used gear can stay lower or tucked away. I’ve found that a simple color-coding system, like attaching colored straps or tags, can help remind you which zone belongs to what at a glance, which prevents mix-ups.
Really, the goal is to design your layout so gear is accessible but doesn’t get in the way of your living space. This kind of thoughtful planning makes your camp feel less chaotic, even if you’re dealing with limited space or unpredictable conditions.
Conclusions
Organizing your camping gear doesn’t have to be a complicated task. By using simple camping crafts, you can keep your equipment in order and make your outdoor adventures smoother. Practical storage ideas help protect your gear and reduce stress when packing or setting up camp.
These crafting tips also encourage you to care for your outdoor tools and supplies. Taking just a little time to organize and maintain your gear means you spend less time searching and more time enjoying nature. Try these ideas on your next camping trip to see how they improve your experience.


