Why Try Carpentry DIY Projects
Carpentry DIY projects give you the power to customize your home furniture without splurging on expensive pieces. Taking on projects yourself allows you to tailor designs to fit your style and needs. Whether you’re fixing old furniture or building new pieces, carpentry skills offer practical benefits and satisfy creative points. This guide will walk you through essential ideas and techniques for stylish upgrades. You do not need advanced experience to start making your home look better and feel more personal. Learning how to work with wood and basic tools unlocks many opportunities for improvement around your living spaces.
You might wonder which projects provide the most impact and how to approach them safely. This article offers step-by-step insights and tips to help you gain confidence in your abilities. You will find suggestions for upgrades that balance function with design, ensuring each project enhances your home’s look and comfort. Ready to start your carpentry journey? This guide is crafted to give you clear instructions and inspiration for completing stylish furniture upgrades by yourself.
Understanding Basic Carpentry Tools
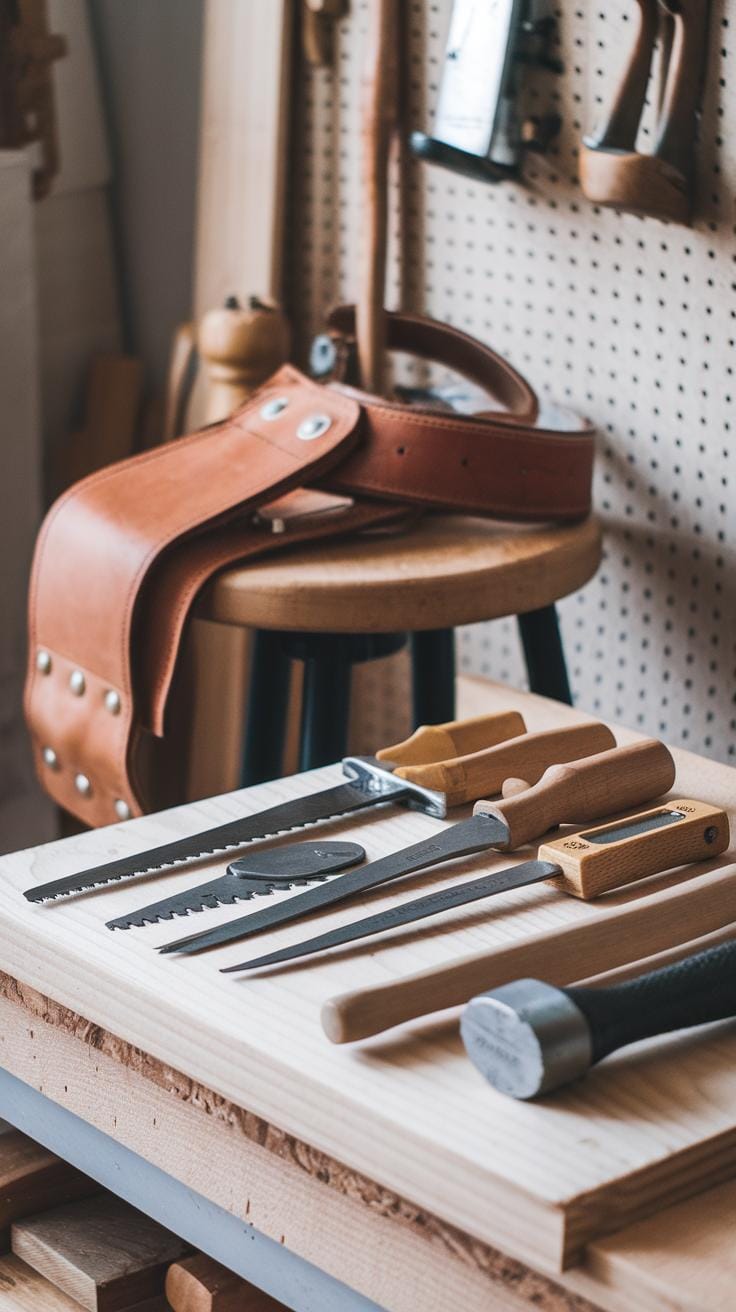
Essential Tools You Need To Get Started
Starting your own furniture project requires a set of basic carpentry tools. A handsaw helps you make straight cuts on wood, essential for shaping parts. A hammer drives nails to hold pieces together securely. Screwdrivers come in different types like flathead and Phillips, letting you fasten or remove screws with ease. You need measuring tools such as a tape measure and a combination square to get precise dimensions; accurate measurements prevent mistakes.
Power tools speed up your work. An electric drill makes holes and drives screws faster than manual methods. Using a power sander smooths rough edges, improving your piece’s finish. When choosing tools, pick those that suit your skill level. Cheaper tools might break or feel hard to use, while quality tools will last longer and provide better results. Would using the right tools make your projects easier and more enjoyable?
Proper Tool Maintenance And Safety
Keeping your tools clean and sharp ensures they perform well. After each use, wipe dirt and dust off. Sharpen blades on saws and chisels regularly to make cutting smoother and safer. Store tools in a dry place to prevent rust. Before starting, check for damage like loose handles or frayed cords on power tools. Faulty tools can cause accidents.
Wearing safety goggles protects your eyes from flying debris. Gloves guard your hands from cuts and splinters. Make sure your workspace has good light and is free from clutter. Holding tools properly reduces strain and prevents slips. How often do you check your tools before using them? Practicing these habits will keep you safe and improve your carpentry experience.
Planning Your Furniture Upgrade Project

Setting clear goals helps you stay focused throughout your carpentry project. Ask yourself what purpose the furniture will serve. Will it be for storage, seating, or display? Decide on a style that fits your home, whether modern, rustic, or something else. This clarity guides your choices later.
Choose wood and other materials based on how long you want your piece to last and how it will look. Hardwoods like oak or maple offer strength and a classic look but cost more. Softwoods or plywood may be cheaper and easier to work with but might not last as long.
Making a budget early on keeps your spending in check. Check prices from local suppliers and online stores. Sometimes, you can find quality scraps or reclaimed wood at a discount. Will you need nails, screws, or paint? Include those costs too.
Setting Goals And Choosing Materials

Start by defining what you want your furniture to achieve. Are you upgrading an old dresser for extra drawers or making a new coffee table to match your living room? Knowing your end goal helps you pick the right style and size.
Wood types differ in durability and appearance. Hardwoods like cherry look beautiful but cost more. Pine is affordable and easy to work with but stains unevenly. Think about wear and tear too—high-use items need tougher wood. Other materials like metal brackets or glass can add flair and function.
Plan a budget that covers all materials. You can save money by visiting local lumber yards or thrift shops. Sometimes, buying online offers variety, but factor in shipping. Will you need special finishes such as sealants or paint? Adding those to your list helps avoid surprises.
Drawing Accurate Plans And Measurements
Careful drawings keep your project on track. Start by measuring the space your furniture will occupy. Measure twice to avoid costly mistakes. Sketch the piece on paper with all its parts and label each dimension.
If you are upgrading existing furniture, measure its current parts accurately. This ensures new pieces fit perfectly. Use a ruler and tape measure for precise numbers. Templates can help for curves or repeated shapes.
Look for trusted plans online or in carpentry books to guide your design. Adjust these to fit your style or space. Accurate planning not only saves wood but also ensures your furniture stands steady and looks polished. How will your upgrade improve the room’s function and flow?
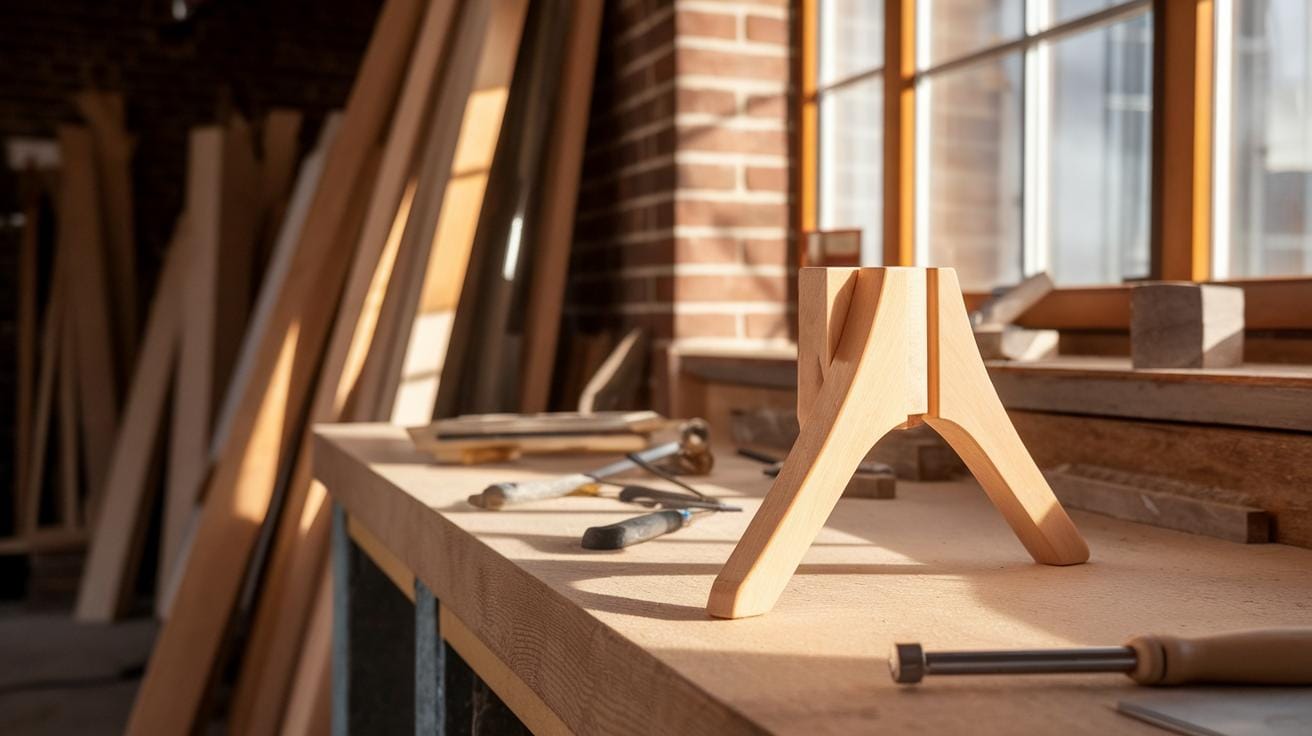
Preparing Wood For Your Project

Cutting and shaping wood accurately sets the foundation for a successful furniture upgrade. Start by marking your wood clearly with a pencil and a straightedge or a square. Taking careful measurements reduces waste and helps avoid mistakes.
Use a handsaw or a power saw, depending on the cut quality you need. For straight cuts, follow your lines slowly and steadily. Curved or detailed shapes often require a jigsaw or a coping saw. To smooth and shape edges, chisels are great for removing small amounts of wood where accuracy matters. Sanders help refine curves and surfaces evenly.
Choosing the right tools for your wood type and project style influences both the look and sturdiness of your piece. Have you noticed how a clean edge improves the appearance of furniture? Spend time here to lessen rework later.
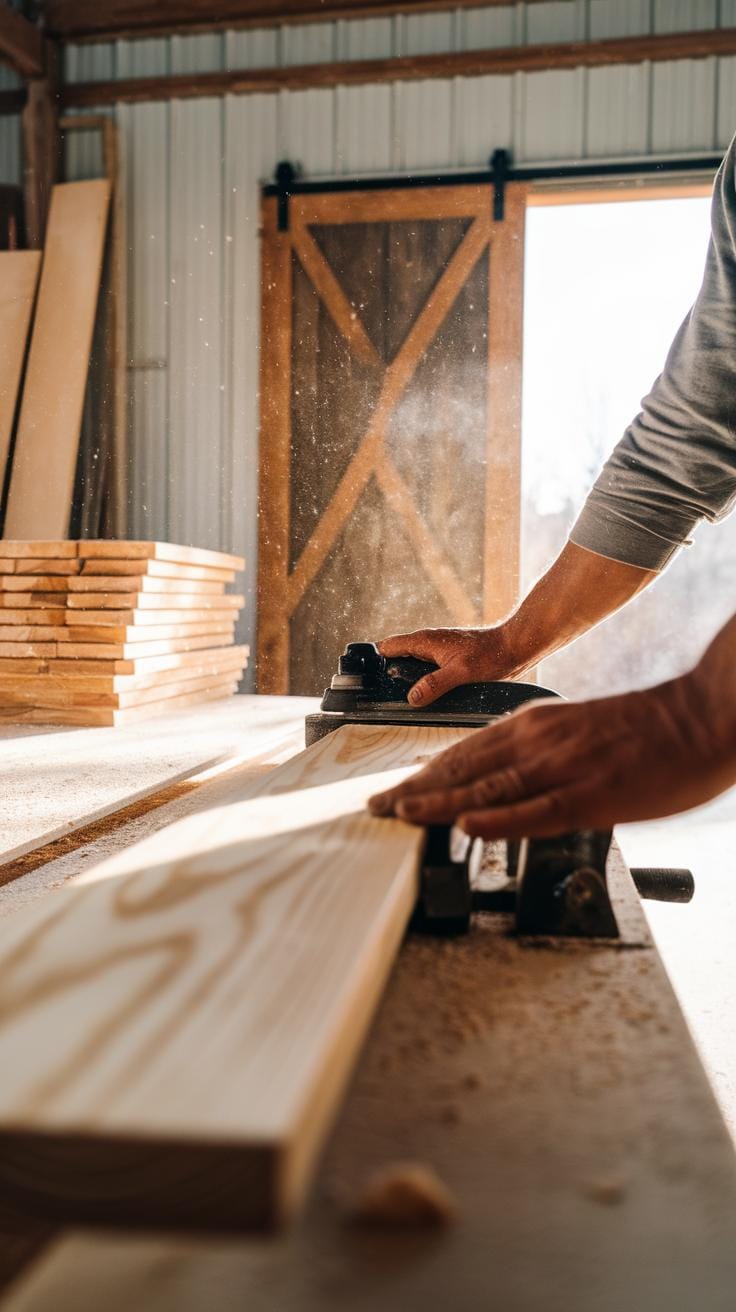
Cutting And Shaping Wood
Mark your wood before cutting by measuring twice and drawing clear, straight lines. Use a carpenter’s square for right angles. Handsaws offer control, but power saws speed the process on larger pieces. Hold the wood firmly and cut along the mark slowly.
To get smooth, even edges, finish cuts with a sanding block or an electric sander. Chisels work well when you need to carve out joints or fine details. Try pushing the chisel slowly and keep the blade sharp to avoid splintering.
Want a flush surface? Use a combination of saw cuts and shaping tools to achieve the exact form required. Accurate cutting prepares your wood for easier assembly and a cleaner finish.
Sanding And Finishing Surfaces
Begin sanding with coarser grit sandpaper like 80 or 100 to remove rough patches or saw marks. Move to finer grits, such as 150 or 220, to smooth the surface. Hand sanding gives you control in corners, while orbital sanders speed up flat areas.
Choosing sandpaper grit depends on the wood’s condition and your desired finish. Use a sanding block to maintain even pressure if sanding by hand. For power tools, move the sander in light, even strokes.
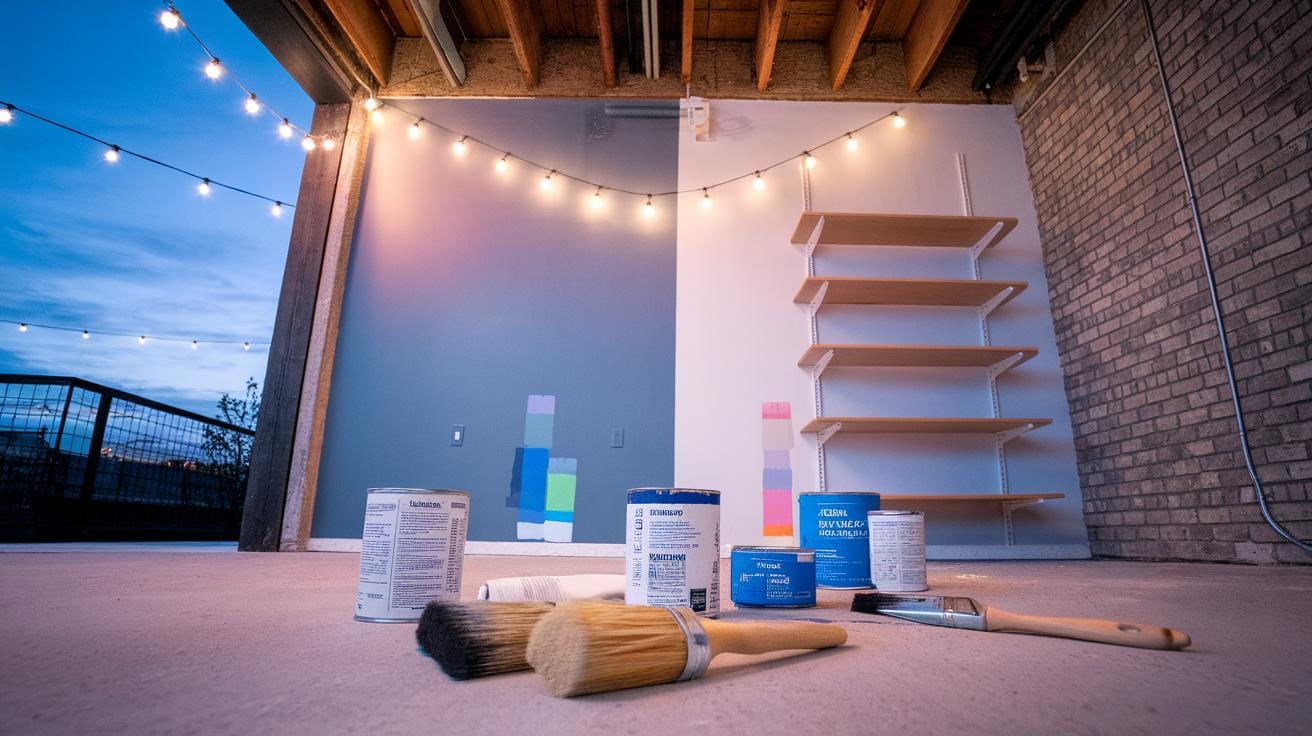
After sanding, apply a finish to protect and highlight your wood. Stains enhance grain patterns, while paints add color and seal the surface. Sealants like polyurethane guard against scratches and moisture. Consider how the finish matches your design and offers durability.
Constructing Structural Elements
Assembling Frames And Supports
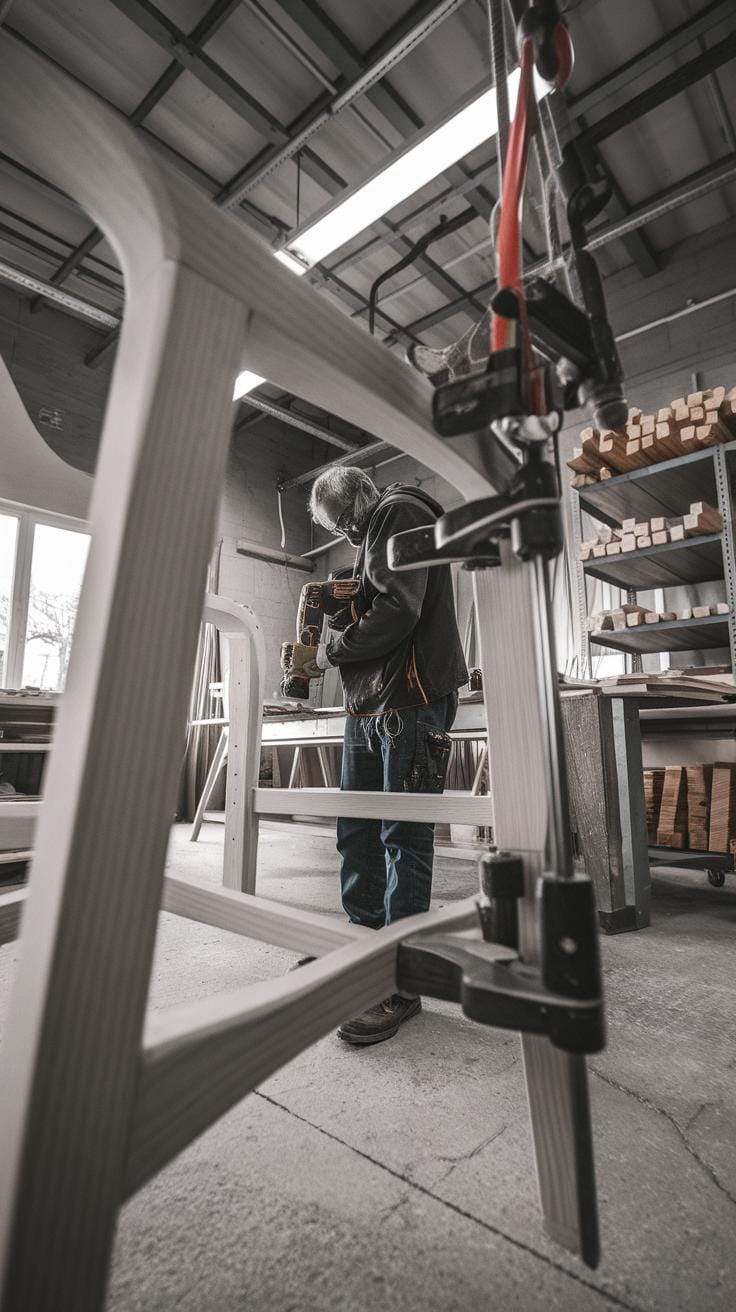
Start by building the frame as the foundation of your furniture. Use solid wood pieces cut to size to create legs, rails, and supports. Join the parts using strong joinery techniques. Butt joints are the simplest: just glue and screw the ends together. For better strength, try dowels—drill holes in matching spots, insert wooden dowels, and glue them for a tight bond. Screws provide extra hold. Drill pilot holes first to avoid splitting the wood.
Make sure the frame stays square while assembling. Use a carpenter’s square or measure diagonals to confirm alignment. Keep surfaces flush, or your furniture may wobble or not fit together later. Clamps help hold pieces in place while the glue dries. Can you spot any gaps before screws go in? Filling gaps and sanding edges will improve the fit and sturdiness.
Reinforcing And Testing Stability
After assembling, reinforce the joints to prevent loosening over time. Apply wood glue inside joints before tightening screws or inserting dowels. Add corner braces or metal plates where extra strength is needed, like under tabletops or at chair legs. These reinforcements keep the frame rigid and support heavy use.
Test your frame by gently rocking or pressing on it. Check for any wobbling or movement. Tighten loose screws or add extra supports where the frame feels weak. Sand rough edges that might interfere with the structure. Ask yourself: does this frame handle pressure without shifting? If not, adjust before attaching panels or finishing. A solid frame will keep your project durable and safe for everyday use.
Creative Design Upgrades

Adding Decorative Details
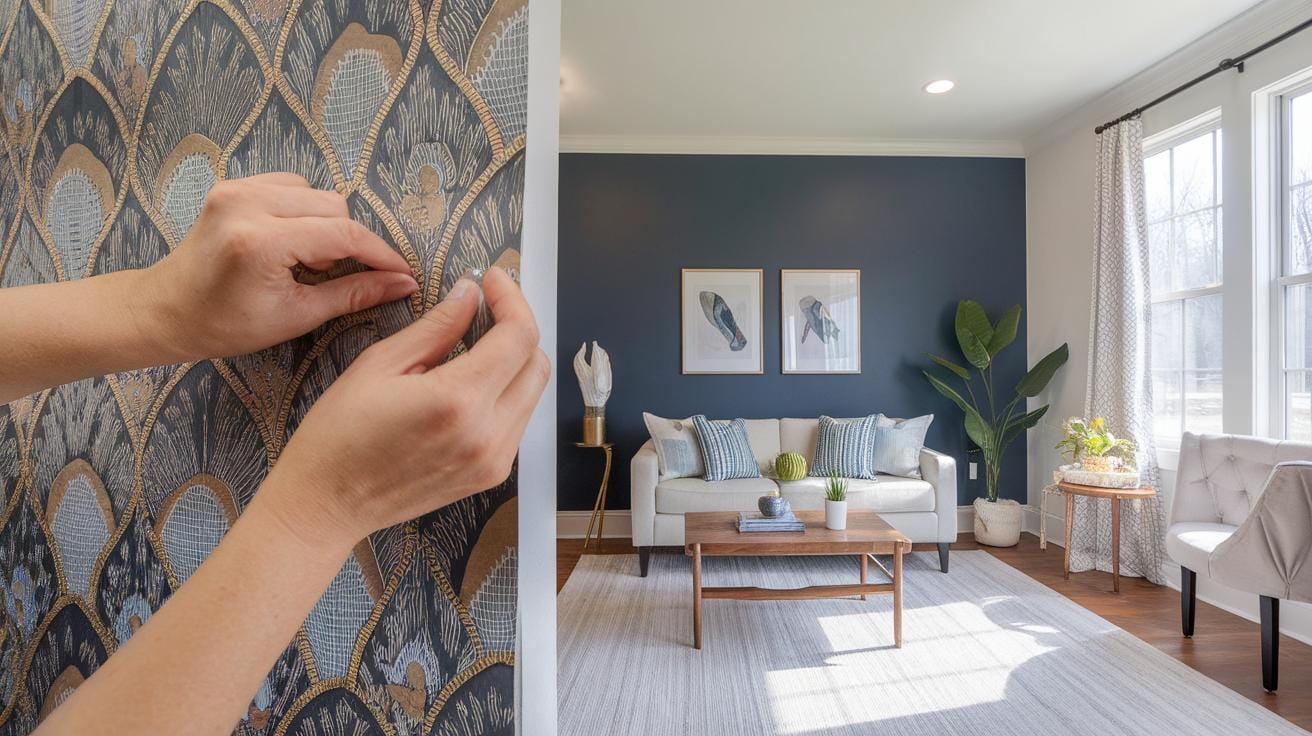
Adding decorative elements can change the look of your furniture without altering its basic structure. You might attach molding to edges for a classic feel or add simple wood carvings to flat surfaces. Choose decorations that match the wood type and style of your piece. For example, ornate molding fits traditional designs, while clean-lined trim suits modern furniture.
Metal accents like brass corners or studs can add subtle shine. Keep in mind that decorations should not block drawers or doors. Test placement before attaching anything permanently. Ask yourself what style fits your home. Will carved details make your furniture stand out or clash with other pieces? Balancing design and function helps ensure your upgrades look great while staying useful.
Customizing Hardware And Accessories
Hardware updates refresh furniture quickly. Swapping out old knobs, handles, or hinges can give a piece a new personality. When selecting hardware, consider the style and color of the wood and the furniture’s design. Sleek metal pulls work well on minimalist furniture. Vintage glass knobs match rustic pieces nicely.
Before installation, remove old hardware carefully. Use a drill and screwdriver to fit new pieces securely. Check that drawers and doors open smoothly after replacement. Think about sizes and shapes so that new hardware does not get in the way. Could a brass handle brighten a plain dresser? Would black hinges add contrast to a light cabinet? Choosing the right hardware improves both look and ease of use.
Repairing And Refinishing Old Furniture
Identifying Common Issues And Solutions
Old furniture often shows signs of wear that affect both its look and function. Loose joints cause wobbling, making a chair or table unstable. Tighten these by applying wood glue and clamping the pieces overnight to ensure strength. Scratches and dents damage the surface and can make wood look tired. Light sanding smooths minor scratches, while deep gouges may need wood filler before sanding. Worn finishes fade color and lose shine, risking wood damage over time. Cleaning the surface and lightly sanding it can prepare the piece for refinishing. You can often restore an item with simple fixes that save money and preserve its character. What small issues do you notice in your furniture that, once fixed, could improve its look and use?
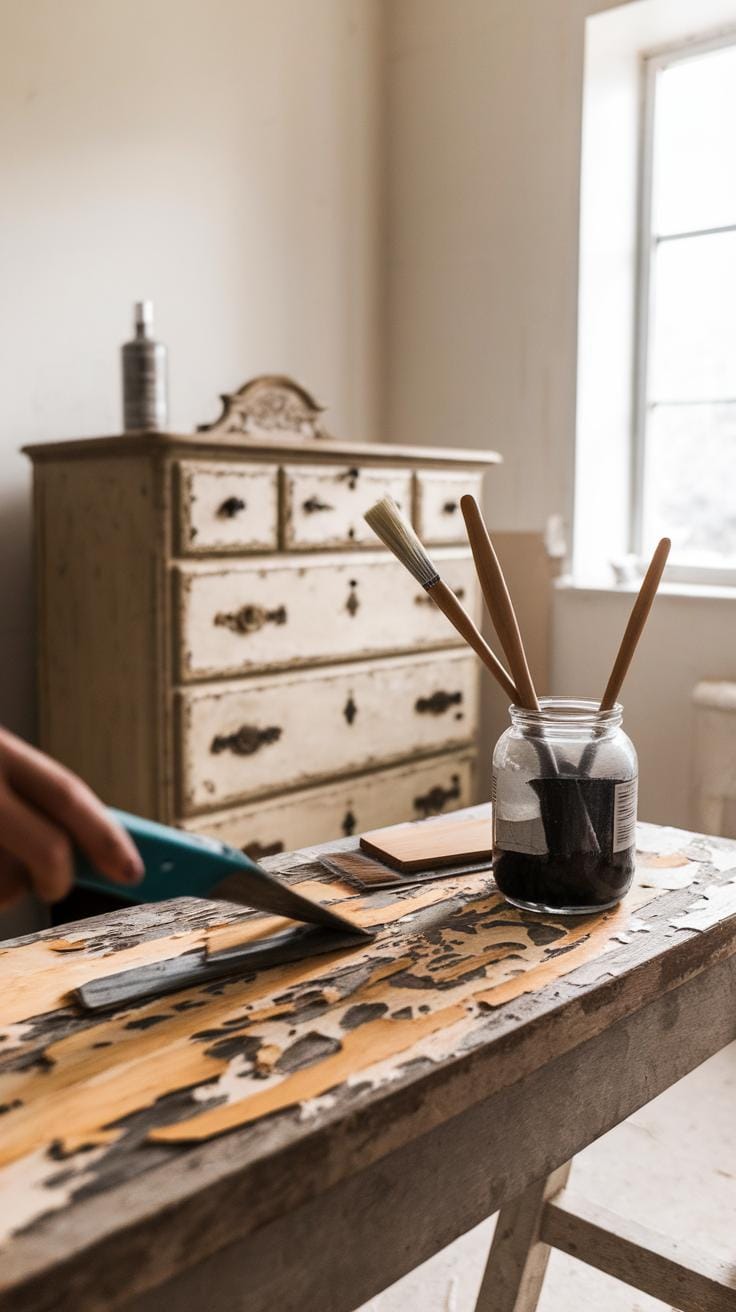
Stripping And Refinishing Techniques
Removing old paint or stain clears the way for a fresh finish. Apply a chemical stripper carefully, following the product instructions, to break down the existing layers. Use a scraper to remove the softened finish without damaging the wood. Sand the surface evenly with fine-grit sandpaper to smooth rough areas and prepare the wood for the new coating. Choose a finish that matches your style, such as stain or paint, and apply it in thin, even coats using a clean brush. Allow each coat to dry fully before adding another. Proper ventilation helps the finish dry safely and reduces odors. You will see the transformation as you work, turning old furniture into stylish pieces that fit your home’s updated look.
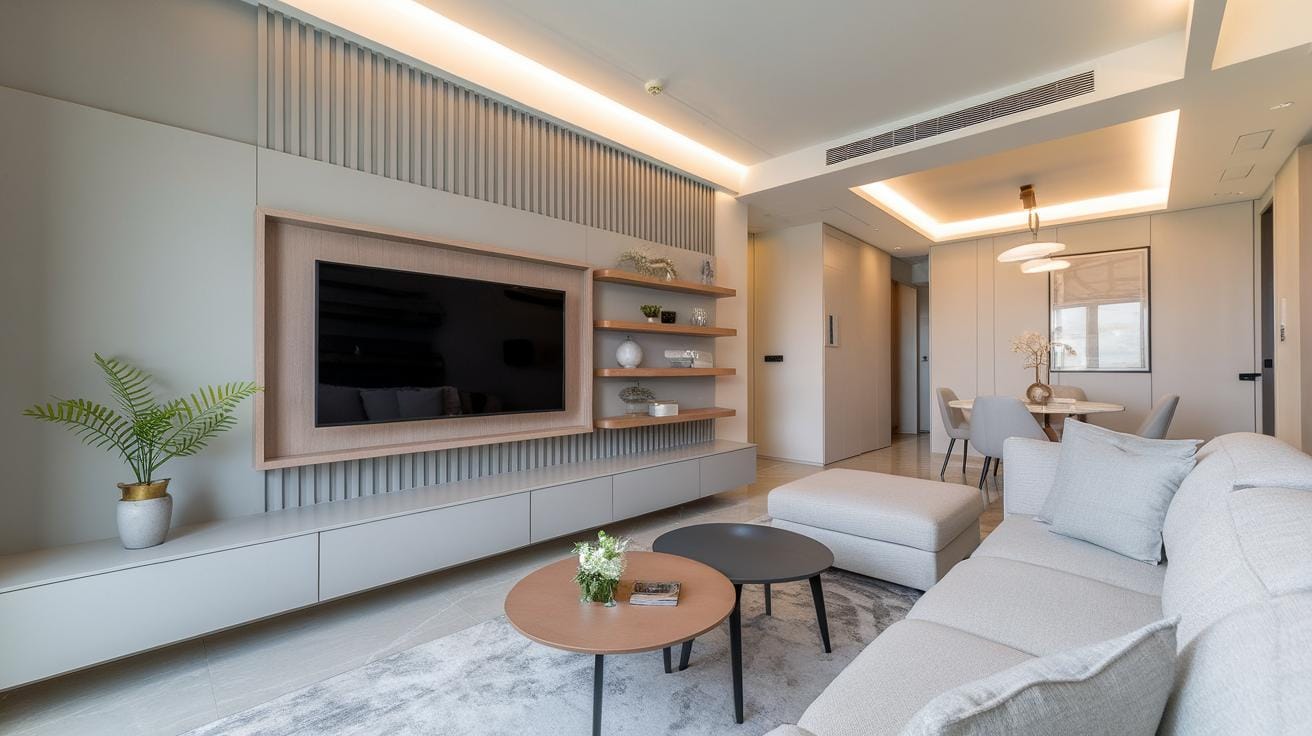
Maximizing Small Spaces With Furniture Upgrades
Small rooms demand smart furniture choices that do more than just fill space. Upgrading furniture with carpentry skills lets you create pieces tailored to your exact needs and room size. Think about a bench with built-in drawers or a coffee table with hidden compartments. These designs save space and reduce clutter.
You can turn simple items into multi-purpose furniture. A bed frame with shelves underneath or a desk that folds flat against the wall helps you make the most of limited floor space. How often do you find your furniture taking up more room than necessary?
Carpentry upgrades give you control over size, shape, and function. They let you rethink how a piece works in your home. Instead of forcing your space to fit furniture, design furniture that fits your space.
Designing Compact And Functional Pieces

When designing for small spaces, focus on pieces that serve several functions without crowding the room. Foldable tables offer extra dining or work surfaces and disappear when not needed. You can build stacked shelves that use vertical space instead of floor space. Think about a chair that doubles as storage with a seat that lifts up.
Measure your room carefully and sketch ideas before cutting wood. You’ll avoid buying or building furniture that feels bulky or awkward. What if your coffee table could fold out into a desk? Or your shelves could stack to hold books and baskets for other items? These designs keep the area open while adding practical uses.
Organizing For Efficiency And Style
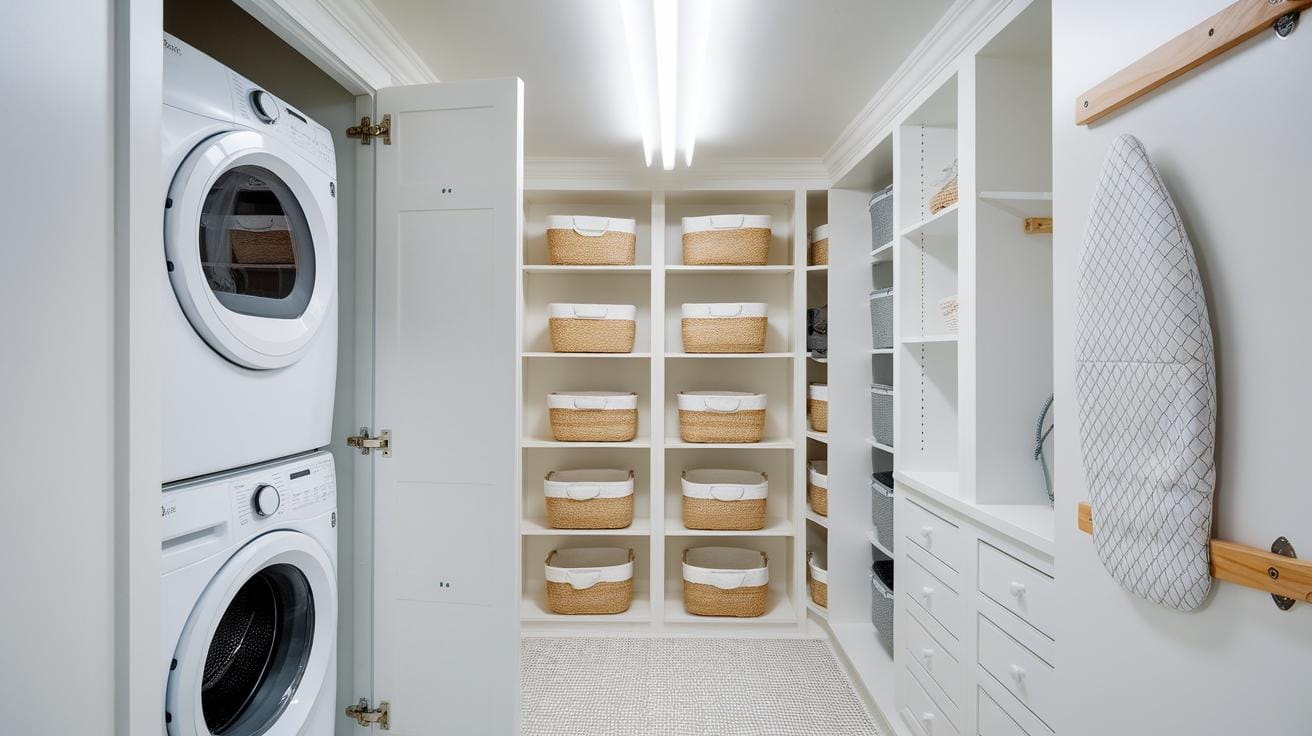
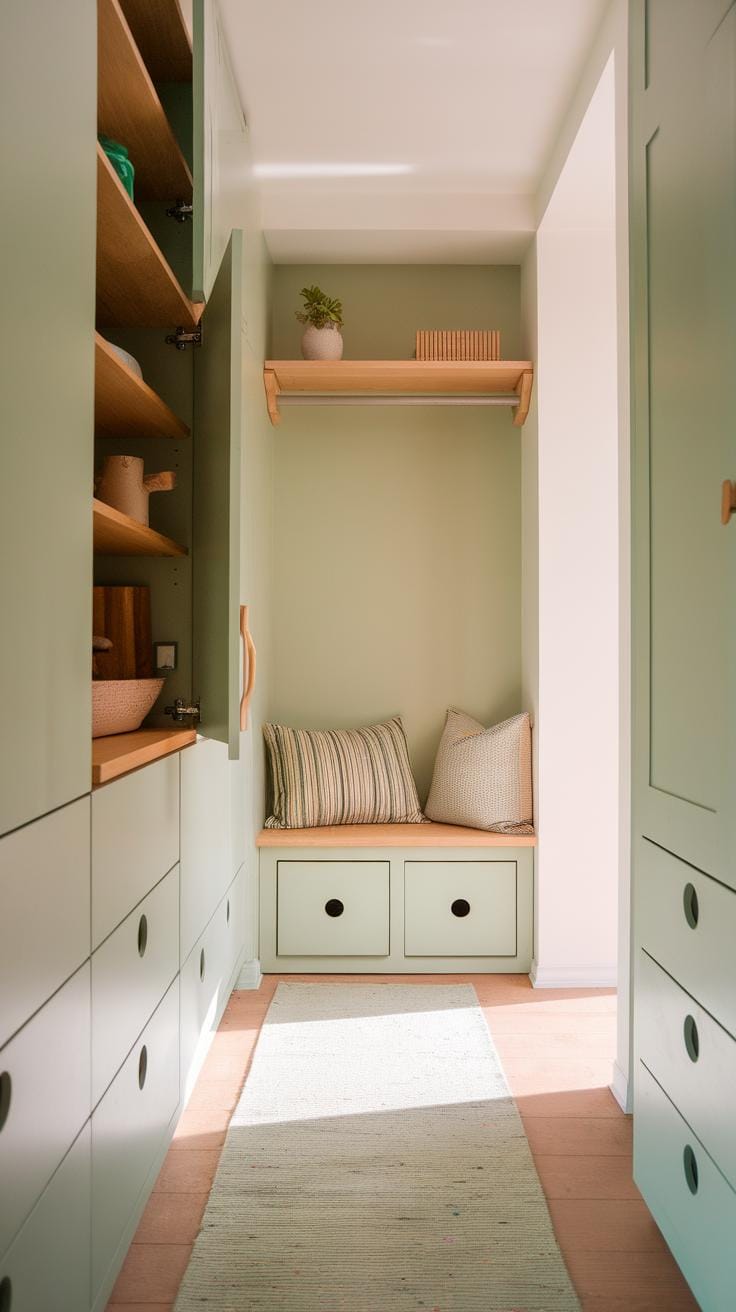
Upgraded furniture can organize your belongings where you use them most. Built-in storage under benches, beds, or stairs keeps items out of sight but easy to reach. Consider drawers within desks or kitchen islands for utensils, papers, or tools.
Choose clean lines and matching wood finishes to keep your space looking tidy and intentional. Open shelves offer quick access and a chance to display favorite items. Would built-in cubbies near your front door make daily routines faster? Thoughtful organization improves both the look and function of your rooms.
Maintaining Your Upgraded Furniture
Maintaining your upgraded furniture helps it stay attractive and useful for years. Regular care prevents small problems from turning into costly repairs. You can preserve both the appearance and function of your pieces with simple habits.
Regular Cleaning And Care
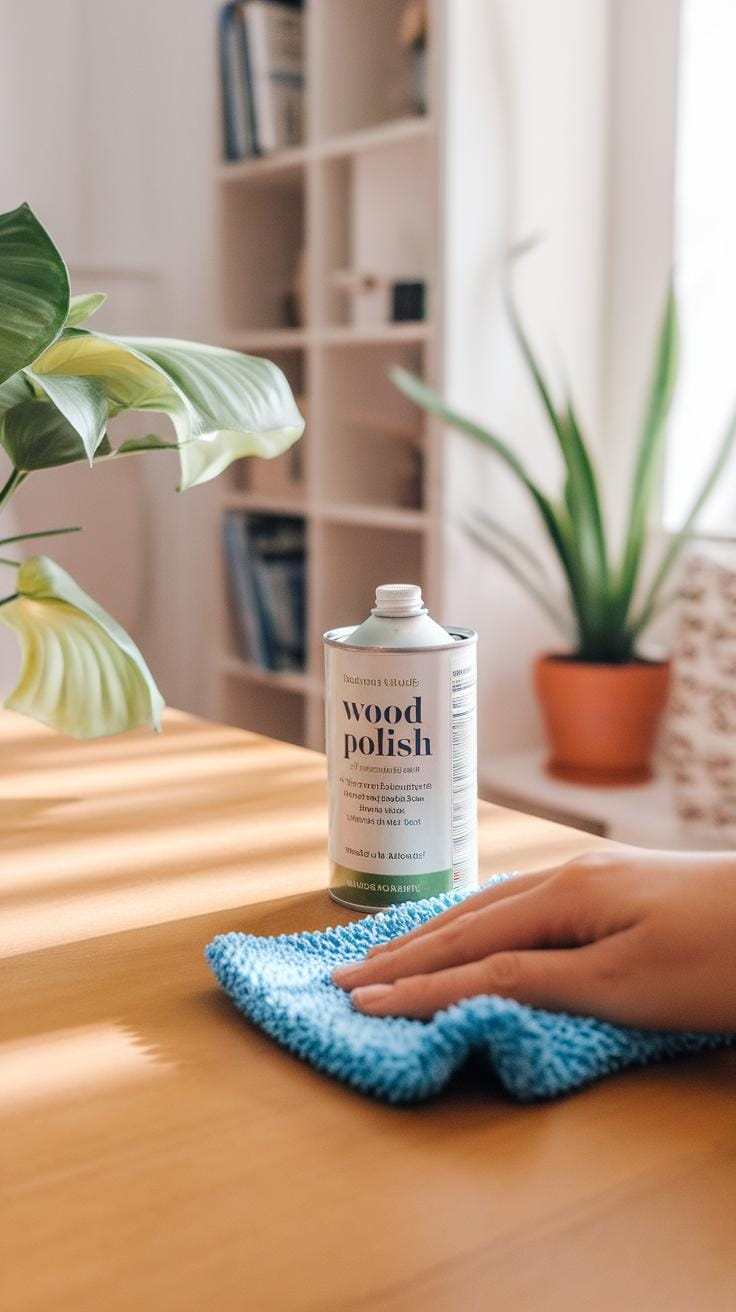
Clean your wooden furniture gently using a soft cloth to remove dust. Avoid harsh chemicals that can damage the finish. For finished woods, use a mild soap diluted in water and wipe dry immediately. Oiled or waxed wood needs a special cleaner or just a damp cloth followed by a fresh coat of oil or wax occasionally.
Different woods require different care. For example, pine is softer and needs gentle cleaning, while hardwoods like oak handle more robust products. Ask yourself: how often do you clean your furniture now? Adjust this to avoid build-up that dulls the surface or invites scratches.
Periodic Inspection And Repairs
Check your furniture regularly for loose screws, wobbly legs, or cracked joints. Tighten hardware early to keep the piece stable. Look for wear on moving parts such as drawers or hinges. Fix small cracks or chips in the wood with wood filler or glue to stop them from spreading.
Early repairs save time and money later. Can you find a quiet moment each month to do a quick inspection? Catching issues early keeps your upgraded furniture strong and functional, preserving the style and comfort you worked hard to create.
Conclusions
Upgrading furniture yourself brings several rewards beyond cost savings. You create pieces that perfectly match your tastes and space requirements. Each successful project builds your carpentry skills, making more ambitious ideas possible. Focusing on straightforward designs and solid techniques produces lasting results that continually add value to your home. Being able to repair or adapt furniture also encourages sustainability by extending the life of your items.
As you continue these projects, you may find the process itself both productive and enjoyable. The lessons learned in tool handling, measuring, and finishing apply broadly, giving you tools for a lifetime of home improvements. Keep challenging yourself with new projects to maintain growth and keep your living spaces stylish and functional. Your hands-on efforts reflect your personal style and dedication. Take pride in your carpentry DIY journey and the transformations you bring to your home environment.