Introduction
Paper crafts use paper or card to create different objects, including helpful items for your home. These crafts are easy to learn and can be made by folding, cutting, or gluing paper. They are a great way to add style and functionality to your storage areas. In this article, we explore how to use cool paper crafts to improve modern home storage. You’ll find practical ideas that blend creativity with everyday needs.
Using paper for storage crafts is affordable and allows you to customize your space. Whether you want to organize your desk or store small household items, paper crafts offer versatile options. Understanding basic techniques will help you make unique storage solutions that suit your style and keep your home tidy. Let’s dive into the many ways you can create and use paper crafts for storage around your home.
Understanding Paper Craft Basics
Starting with paper crafts might feel a bit overwhelming, but really, it comes down to a few simple elements. At its core, paper crafting is about transforming plain sheets into useful or decorative items by folding, cutting, and gluing. You don’t need much to begin—just a handful of basics.

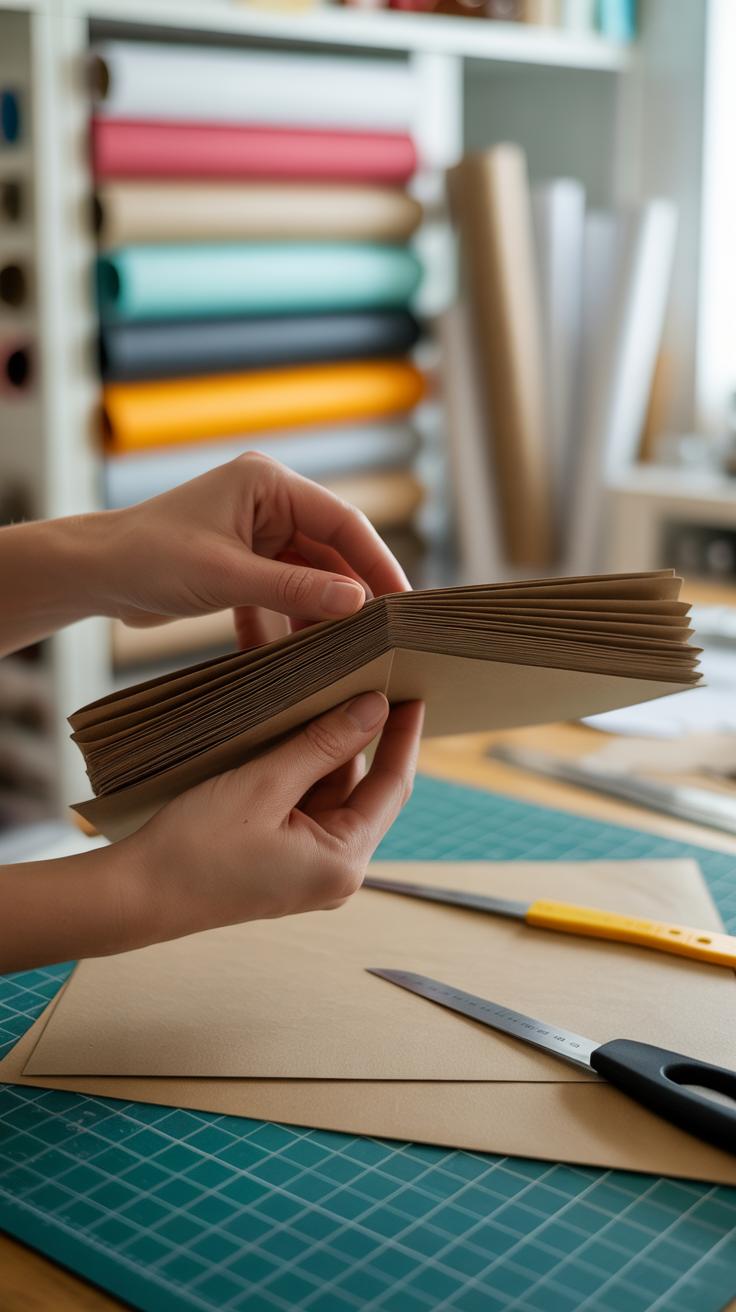
Most projects rely on common materials like standard paper, cardstock, or sometimes specialty sheets like kraft paper. You’ll want scissors that cut cleanly—maybe even a craft knife for precision. Glue sticks or white glue often come into play, depending on how sturdy or neat you want your project to be.
Simple techniques such as folding create structure, like when you make a box or a folded divider. Cutting gives you shape, edges, or openings, while layering paper can add strength or a design element. It’s a bit like building with flat pieces—you stack or join them thoughtfully. For home storage, these basics let you craft anything from drawer organizers to small bins.
If you’re new, starting small helps. Maybe try a basic folded tray. You’ll see how the paper holds shape and where glue helps keep everything in place. There’s a kind of satisfaction in seeing a flat sheet turn useful, isn’t there?
Essential Materials You Need
To get your hands on some paper crafts, gather a few tools and materials first:
- Paper: Choose sturdy types like cardstock or recycled cardboard for storage projects.
- Scissors: Sharp ones, preferably craft scissors for clean cuts.
- Glue: White glue for strong bonds, or glue sticks for lighter pieces.
- Ruler and pencil: For measuring and marking before cutting or folding.
- Cutting mat (optional): If you use a craft knife, it protects your surfaces.
You might be tempted to buy more complicated kits, but really, these basics will cover most needs. It’s interesting how just a few simple tools can open up many creative possibilities.
Simple Craft Techniques To Know

Folding might be the single most useful technique. You fold edges to create folds that turn flat sheets into containers or compartments. Some folds are easy—just bend and crease. Others, like the box fold, need a bit more care but aren’t hard to learn.
Cutting isn’t just about removing parts; it shapes your pieces. Whether you’re trimming edges or creating tabs for gluing, how you cut makes a big difference. It’s often better to go slow to avoid mistakes.
Layering paper helps when you want sturdiness or more visual interest. Say you want to create a reinforced base for a storage box—you can glue multiple layers together. It adds weight but also strength, which is practical especially for holding items that might be heavier.
Put these all together—fold well, cut precisely, and glue firmly—and you can craft surprisingly functional storage solutions. Have you ever tried making a simple paper basket or a desk organizer? It’s doable, and once you get the hang of these techniques, you might find yourself wondering what else can be organized with paper.
Choosing The Right Paper For Storage Crafts
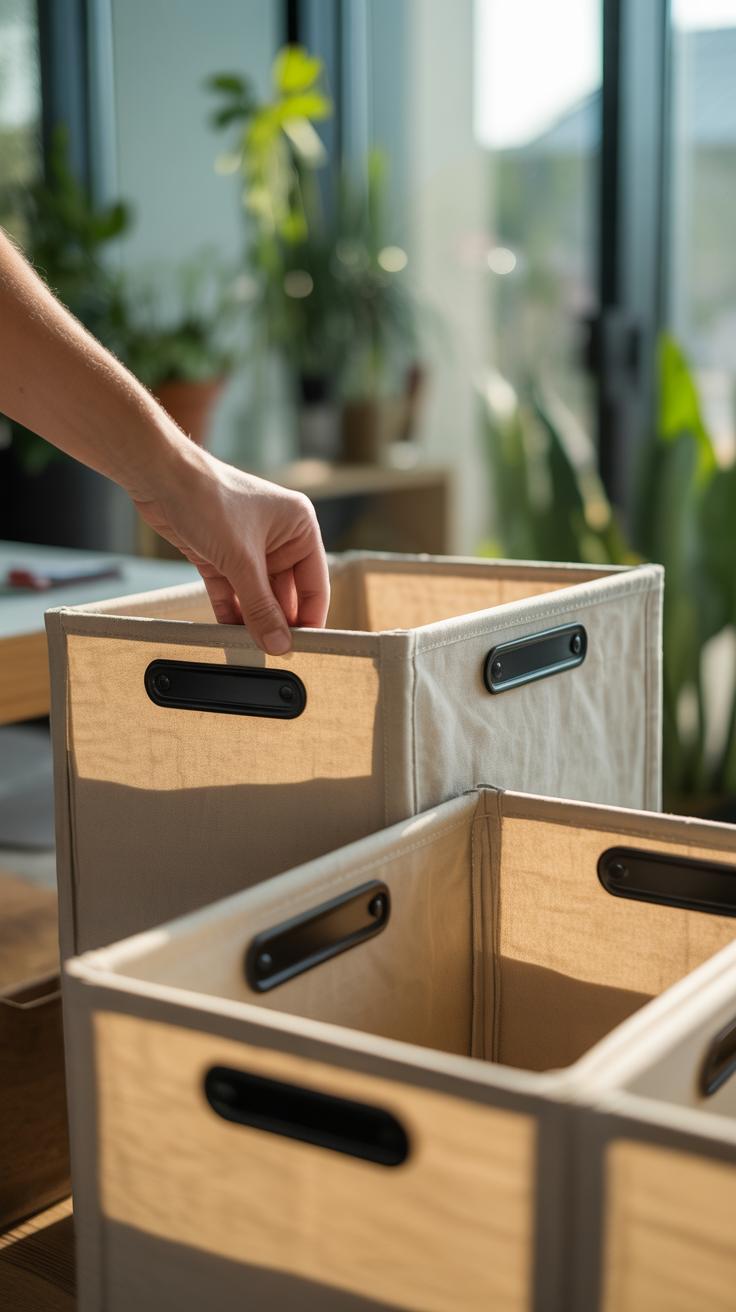
Picking the right paper can make or break your storage project. When you’re crafting containers meant for daily use, it’s not just about looks. Durability and texture really matter. You want paper that can handle bending and holding weight without warping or tearing too easily.

Cardstock is often the go-to choice for this. It’s thick and firm, giving your storage boxes a solid feel. Kraft paper is another favorite, especially if you like a bit of a rustic touch. Both hold up well under pressure, which means your storage will last longer than a flimsy folder or simple printer paper.
But then, there’s the whole other side—appearance. Decorative or patterned paper brings your pieces to life. A plain box might do the job, but a stylish print makes your storage something you actually want on display. Fancy floral or geometric patterns can really brighten a shelf.
You might worry that patterned paper isn’t strong enough, but layering it over sturdy cardstock works well. That way, you get the best of both worlds—function and flair. Do you lean more toward simple strength or eye-catching designs? Sometimes mixing papers in one project can create a balance that really speaks to your personal style.
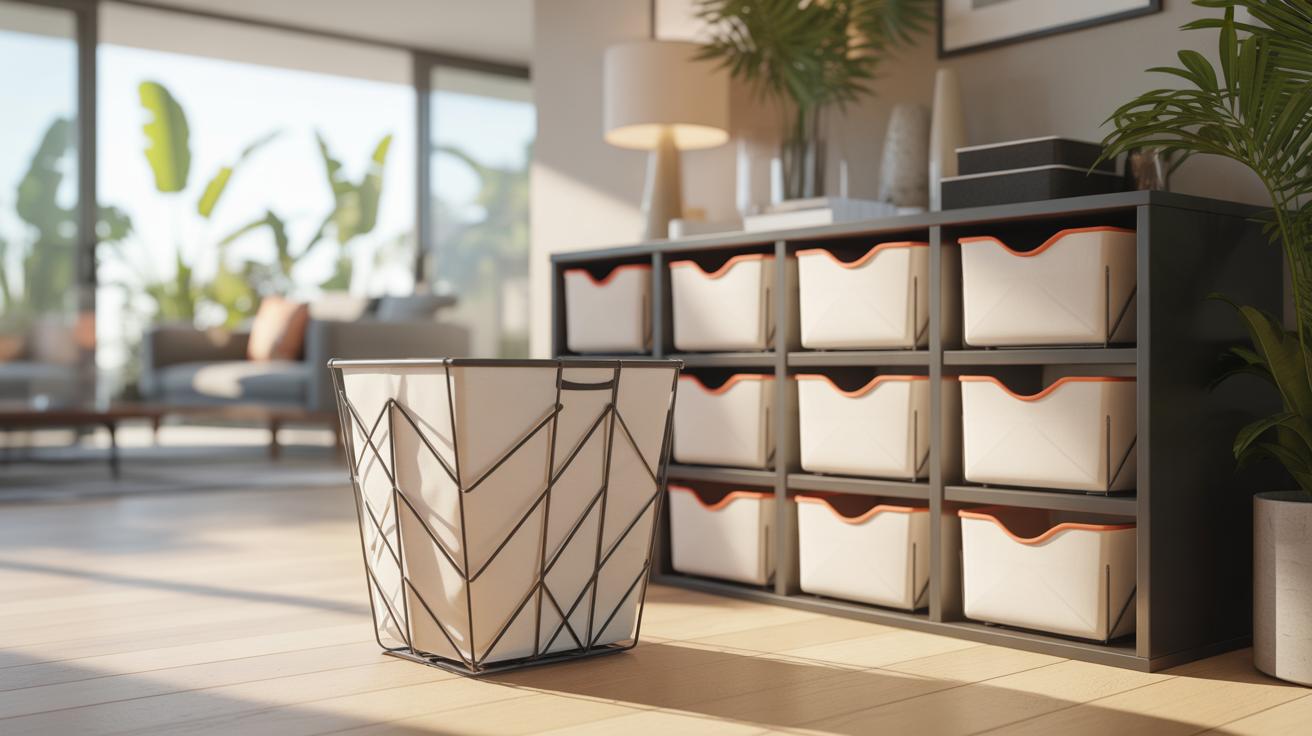
Creating Small Paper Boxes For Storage
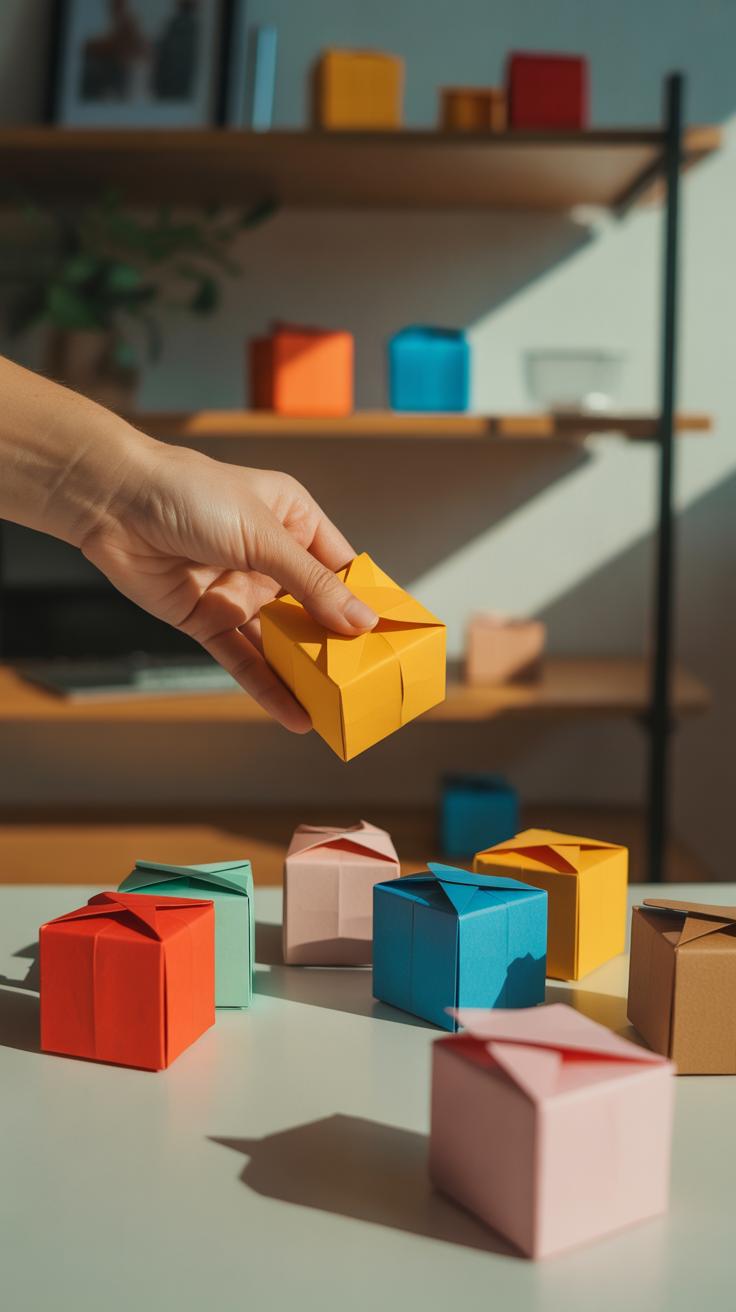
If you’ve ever wanted a custom little box to hold your office supplies or jewelry, making one yourself is quite doable. It mostly comes down to folding and a bit of gluing. You start by cutting a square piece of paper—around 8 by 8 inches works well for a small box. Fold each side toward the center line to create the base’s walls. Then, fold corners inward to form neat flaps that lock the walls in place when glued.
For the lid, use a slightly larger square—just about a quarter inch bigger on each side. The folding is similar, but you want the walls a little shorter so it rests over the base. Don’t rush the creases; precise folds make the box sturdier and neater.

Once assembled, think about how to make these boxes yours. Painting them can add a soft, matte finish. Or try layering different patterned papers for a textured look—like pasting strips on the lid. Stickers are easy too, especially if you want something quick and colorful. If you’re anything like me, experimenting with decorating feels almost as fun as making the box itself.
Making Paper Drawer Dividers
Start by measuring the inside of your drawer carefully. You want to get the length and width as accurate as possible—too short or too long strips won’t fit right, and that can get frustrating. I usually measure twice, just to be sure. Once you have those numbers, cut paper strips to match the width or length of the drawer. Thicker paper or cardstock works best here since regular paper might bend or tear too easily when used as dividers.
Next, think about how many sections you want inside the drawer and where those partitions will go. You can fold the strips at intervals to create small tabs or supports. These folds help the dividers stand upright without flopping over strangely. Arranging the strips in a grid pattern often works well—you just slot them together by cutting a small notch halfway through each strip, so they fit snugly at intersections.
To keep everything stable, glue might be useful, especially where strips overlap. But sometimes, just the friction and careful folding hold them in place. If you prefer a less permanent option, small strips of double-sided tape can help avoid damage when removing or adjusting. The key is to make sure the dividers don’t slide around once you place your items inside. The process feels a bit fiddly at first but once you get the hang of cutting, folding, and slotting, assembling drawer dividers from paper becomes surprisingly straightforward—and it’s a low-cost way to get your clutter under control.
Decorative Paper Wall Storage Pockets

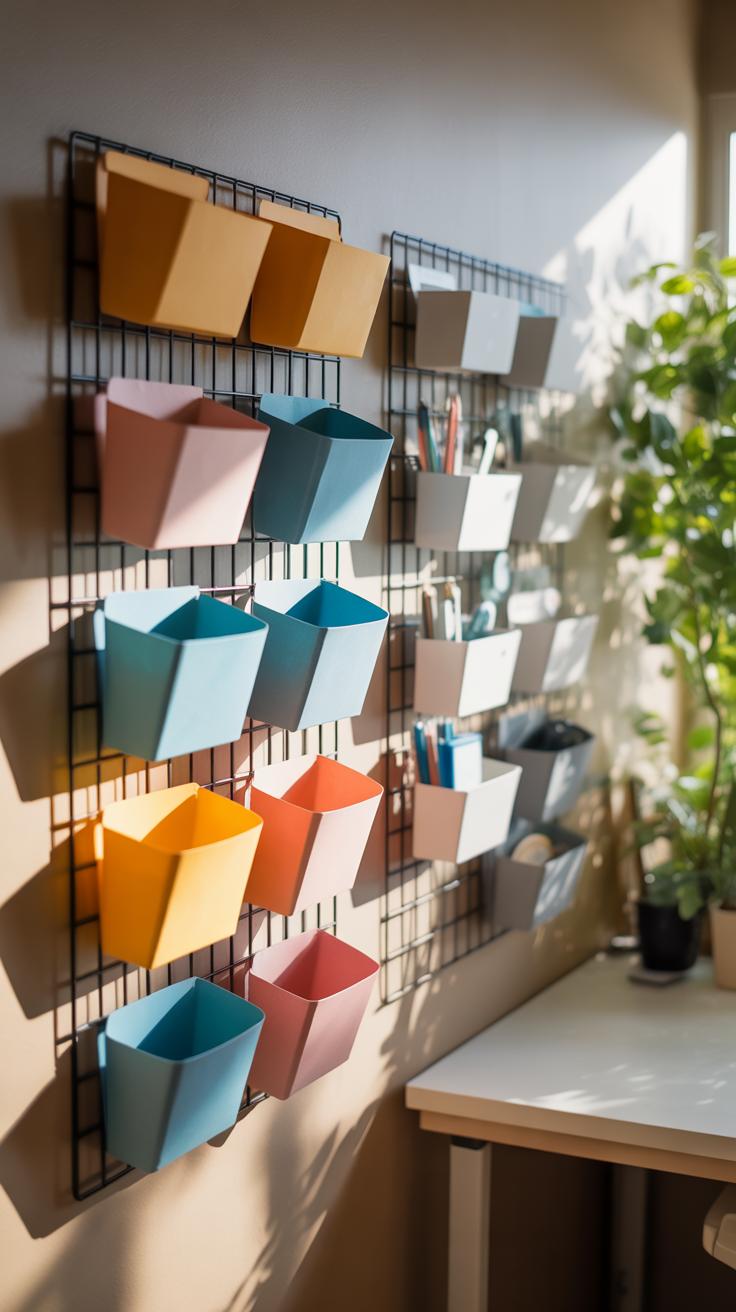
Creating paper wall pockets is a surprisingly simple way to add storage that’s both useful and visually interesting. You start with a single sheet of thick paper or cardstock—nothing fancy needed, really—and fold it to form a pocket sturdy enough for mail, keys, or small odds and ends. The process usually involves folding the bottom up and the sides in, then securing the edges with glue or double-sided tape.
It’s best to leave the top open, naturally, but you can also fold that edge slightly over for a neater finish or even punch holes to thread a string through for hanging. I found that using patterned paper or layering a few sheets creates pockets that don’t just hold clutter but add a decorative touch that feels, well, intentional rather than thrown together.
Folding Pockets For Wall Hanging
To make one pocket, start by cutting your paper to roughly the size you want for the pocket. Fold the bottom third up towards the top, then fold the two sides inward, overlapping slightly so you create a sealed pocket. You glue or tape only the side seams—don’t seal the top edge.
Be patient with your folds. Crisp folds matter because they keep the pocket’s shape well over time. Sometimes it helps to score the paper lightly before folding, especially with thicker paper. Once glued, attach a small loop of string or ribbon to the back corners or add a hole punch at the top center to hang directly on a nail. You’ll probably want to experiment with sizes; a larger pocket holds magazine mail, while smaller ones work great for keys or notes.
Arranging Pockets For Function And Style

Putting together a cluster of these pockets on a single wall can really change how you manage daily clutter. Think beyond random placements. Grouping pockets in grids or staggered rows creates an organized look that encourages you to actually use them.
You might hang three medium pockets in a vertical line near your front door—ideal for incoming mail, outgoing letters, and small accessories like sunglasses. Or spread a handful of smaller pockets in a loose arrangement over your desk for notes, pens, or charging cables.
Color coordination or pattern mixing plays a role too. A mix of plain and patterned pockets can feel dynamic, but too many patterns might make it look messy. I guess it depends on your tolerance for visual busyness. The key is finding a balance between using the pockets for storage and making the wall look thoughtfully styled. Who says function can’t look designed?
Using Paper Rolls And Tubes For Organized Storage
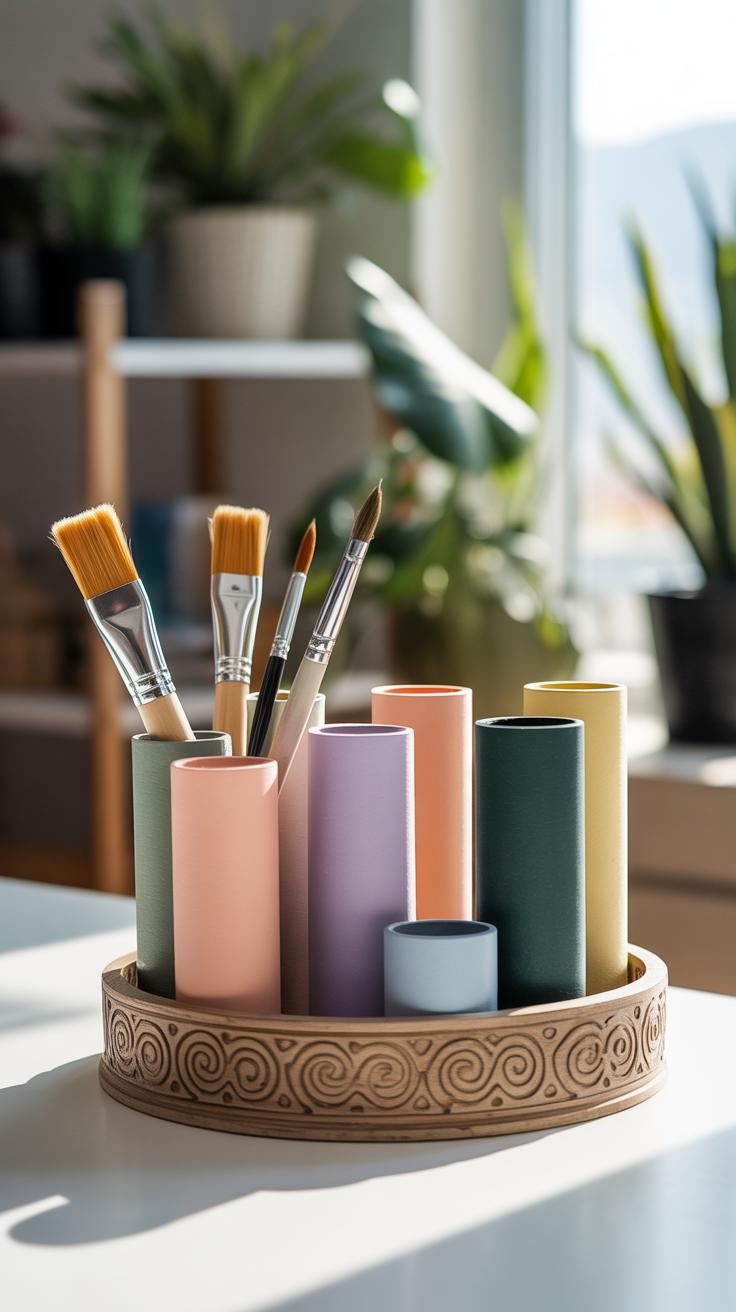
Recycled paper rolls and tubes, like those from wrapping paper or kitchen towels, offer surprising potential as storage holders. You might not think much of these slim cylinders, but they can be cut and decorated to keep pencils, cords, or small items neatly in place. I’ve found that starting with a few basic tools—a sharp knife and some glue—is enough to get going.
Cutting And Decorating Rolls

First, cut the rolls to the height that fits your storage needs. For pencils, something around 4 to 5 inches works well. For cords or smaller bits, a shorter roll might be better. You don’t have to be exact here; a little variation can actually be appealing.
Decorate the rolls before or after cutting. Wrapping them in patterned paper, painting them, or even using washi tape adds a personal touch. I once left mine plain but added labels to each roll, which helped me find what I needed faster. Plus, you can experiment with textures and colors to match your space or mood—simple, but effective.
Grouping Rolls For Efficient Organization
One roll alone is okay for storage, but clustering several rolls together creates a mini organizer with compartments. You can glue them side by side on a small board or within a sturdy box. This way, pencils go in one, cords in another, and maybe chargers in a third.
Try arranging the rolls in rows or shapes—a square or even a hexagon formation, maybe? Give some thought to size differences too. Mixing tall and short rolls breaks monotony and lets you sort by item length. I sometimes wonder whether it’s better to stick with uniform shapes or mix things up for variety, but either works depending on your style.
Crafting Paper Storage Baskets
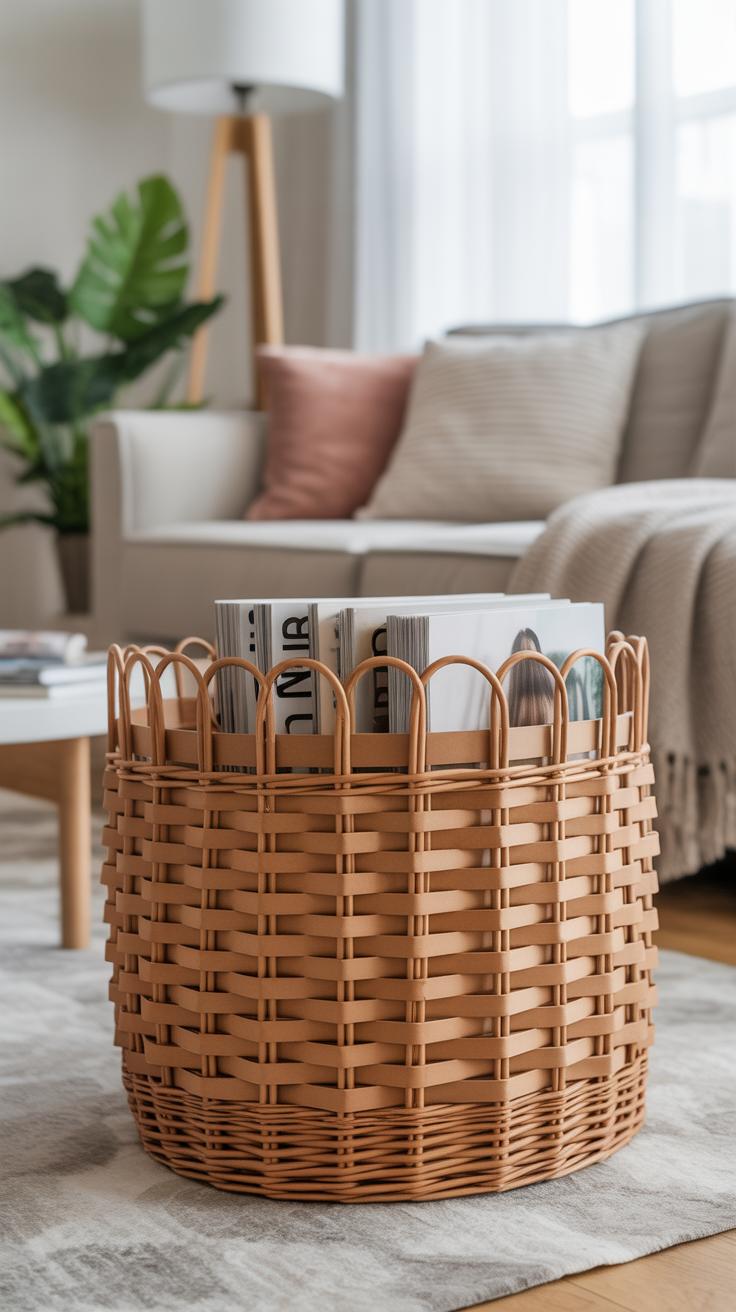

Making paper storage baskets can be a surprisingly practical solution for medium-sized organization tasks around your home. One way to approach this is by weaving—simple paper weaving can create sturdy walls that actually hold their shape. Start by cutting uniform paper strips, maybe from scraps of cardstock or even recycled paper. You’ll want to arrange your strips vertically as the basket’s frame, then carefully weave horizontal strips over and under them. It takes a bit of patience; the first few attempts might feel fiddly, but the basket begins to take form quickly once you get the rhythm.
Keeping the shape firm matters here. You can reinforce your basket walls by adding a second layer of weaving or carefully gluing sheets along the inner surface. It makes the whole thing less floppy—something I underestimated at first. And yes, it does add weight, but a bit of extra heft helps baskets stand upright, which is probably what you want.
Handles make these baskets easier to carry, but here’s where you might want to be creative. Paper strips twisted tightly into cords can work. Or you could use folded paper strips folded into sturdy bands and attached on opposite sides. Try folding or layering extra paper for reinforcement where the handles meet the basket body. Strong bonds here are crucial. You really don’t want your handles giving out when the basket’s loaded with stuff—imagine that surprise!
So, should you rely purely on weaving? Maybe not always. Sometimes mixing weaving with folded strips as framing can give a better shape or design. You might even incorporate patterns or colors by choosing different paper types if you want a more decorative piece. I find that having these baskets around subtly changes how I organize, just by making the act of tidying a bit more tactile and engaging.
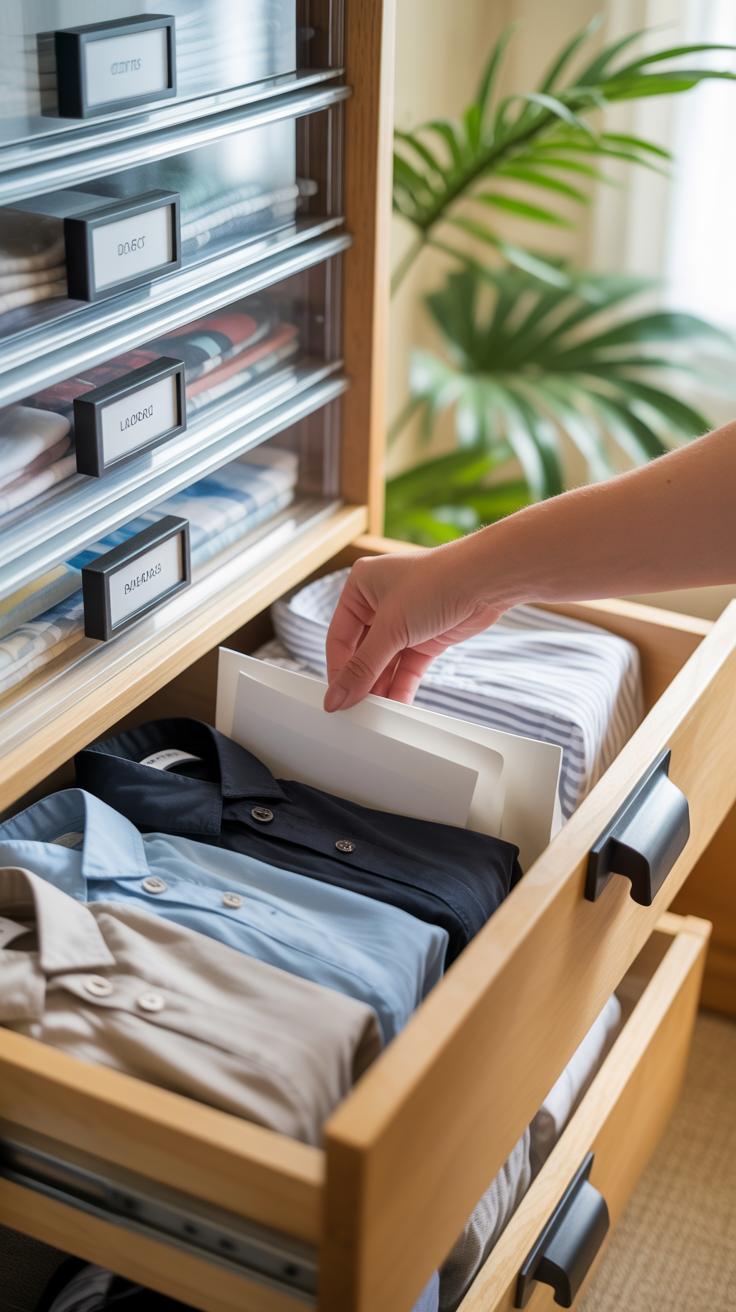
Organizing With Paper Labeling And Tags
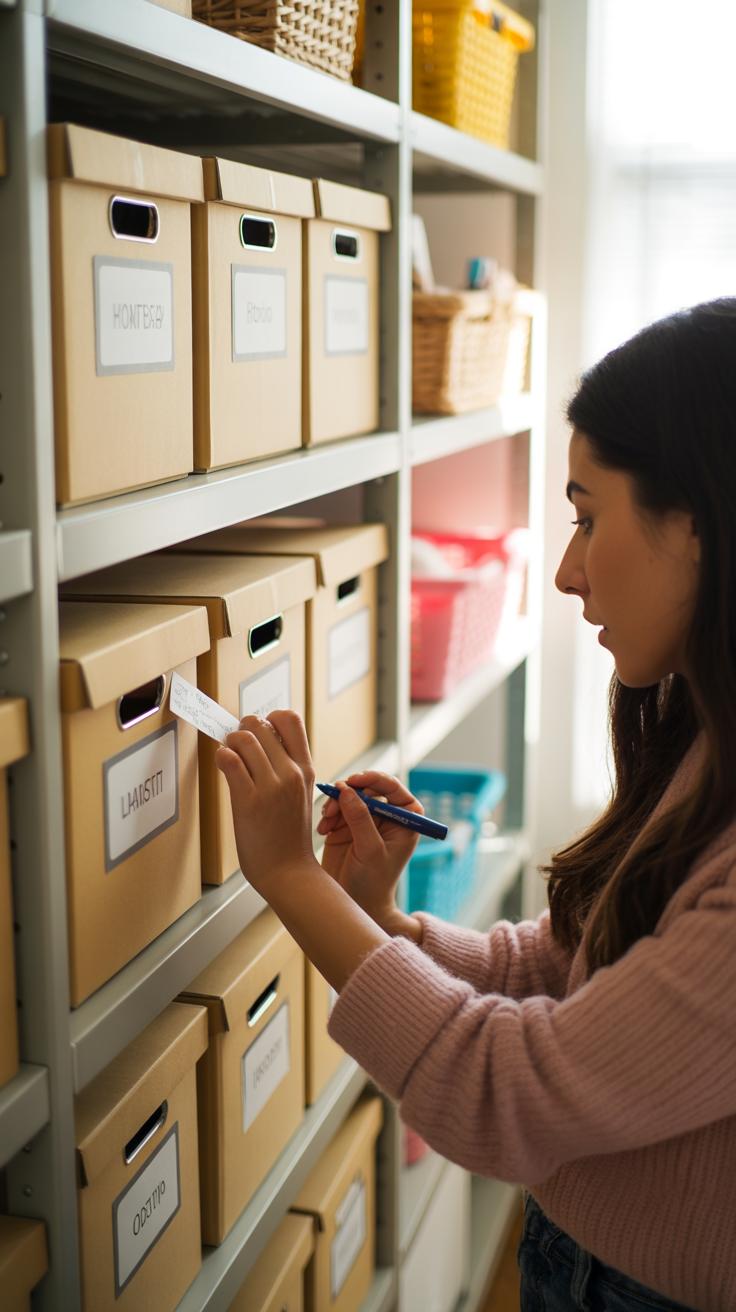
Labels and tags made from paper can really change the way you organize your storage spaces. When every box, jar, or basket has a clear label, it becomes easier—almost effortless—to find what you need. I’ve noticed that even a rushed glance at your shelves feels less chaotic with the right labels in place.
It’s not just about neatness. Paper labels invite a bit of creativity, and that can make organizing feel less like a chore. They serve as gentle reminders of what’s inside the container, so you’re less likely to dig through things searching for that “one thing.” Plus, when you swap out seasons or contents, you can easily update or redo those tags.
Simple Label Making Techniques
Label making doesn’t have to be fancy to work well. Sometimes, just cutting small rectangles or ovals from sturdy cardstock suffices. I like using scissors with a scalloped edge for a subtle touch, but a straight cut is perfectly fine too.
When it comes to writing, using a clear, legible font matters more than anything. Felt-tip pens, markers, or even a simple ballpoint pen can do the job. You might want to play with a few handwriting styles before settling on one that’s easy to read at a glance. Sometimes, adding a small border or simple icon (like a star or a leaf) gives labels personality without overcomplicating things.
Attaching Labels To Storage
How you attach the labels depends a lot on the container’s material. For cardboard or paper baskets, threading baker’s twine through punched holes and tying a small bow is practical and looks neat. On plastic or glass containers, double-sided tape or removable glue dots keep labels flat and visible, but you’ll need to replace them when they wear out.
I’ve also used tiny clothespins clipped to the edge of baskets or crates. This makes changing labels quick and fuss-free—although, I suppose, it can get a bit loose if bumped too often.
Have you tried different label placements? Sometimes tags on the front work best, but hanging them from the handles or lids might suit your setup better. The key is making labels visible and easy to update without fuss.
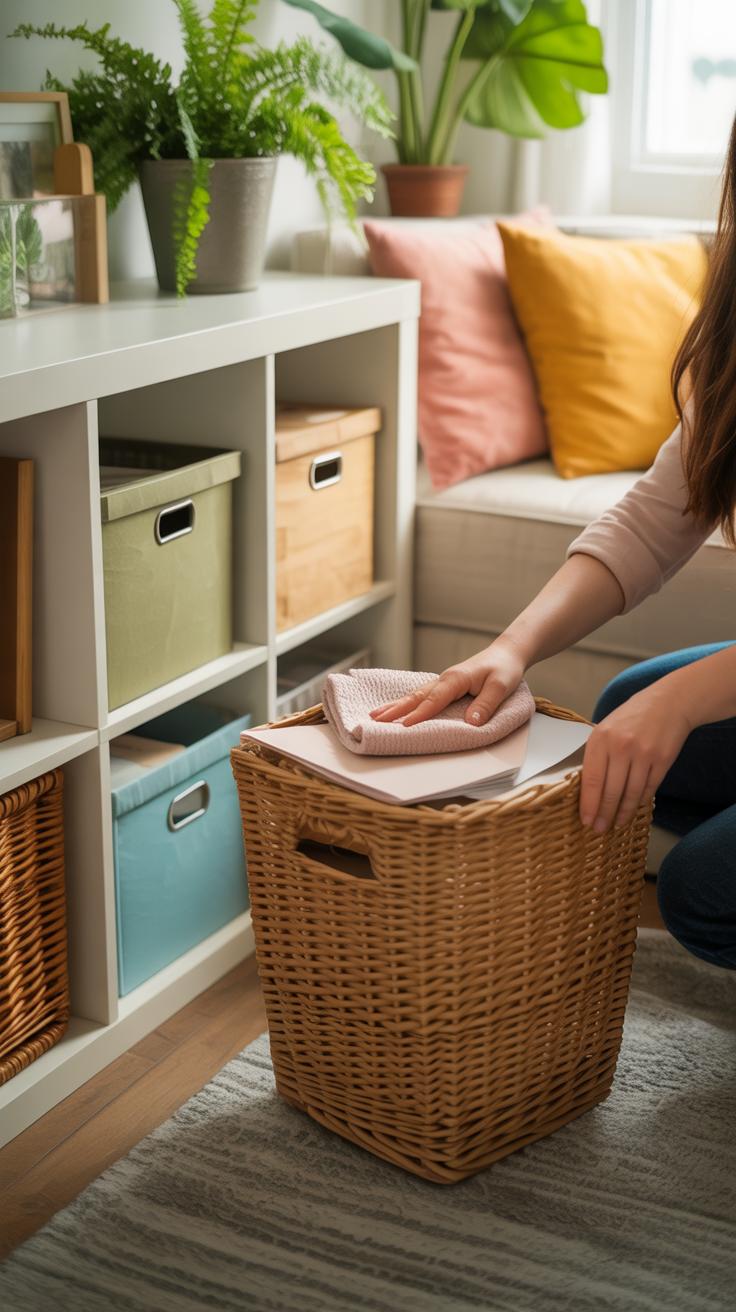
Combining Paper Crafts With Other Materials
Mixing paper crafts with materials like wood or fabric offers a surprisingly practical way to make storage both sturdy and stylish. Paper on its own is delicate, but when combined with something stronger, you get balance—a sort of give and take between texture and durability.
Take wooden boxes, for example. You might cover their surfaces with patterned paper to add personality, then seal it with a clear matte finish so it lasts longer. This keeps the box looking fresh while reinforcing it. Or think about fabric-lined paper baskets: the outer layer could be sturdy kraft paper twisted into a basket form, with a soft cotton lining to protect fragile items inside.
These combinations don’t just bring aesthetics; they add function. Wood gives structure, fabric adds softness, and paper offers endless customization. Mixing these feels a bit like crafting on the edge—some parts look traditional, others more playful. Does it always work? Not perfectly. But sometimes those imperfections make it feel more personal rather than store-bought.
Here are a few ideas to try:
- Glue scrapbook or decorative paper to plain wooden trays, then varnish for durability.
- Wrap fabric strips around paper file organizers to blend softness with form.
- Use paper mache techniques over wire baskets to create unique shapes that hold up well.
Experimenting with these materials could uncover neat storage solutions you didn’t expect. What happens if you add paint to the paper layer? Or stitch pieces of fabric onto paper pockets? These hybrid projects invite you to rethink storage as something tactile, not just utilitarian.
Maintaining And Caring For Paper Storage Items
Keeping paper crafts in good shape means paying a bit of attention to everyday care. Dust can quietly settle in crevices, so a soft brush or a gentle wipe with a dry cloth often does the trick. Avoid damp cloths unless you’re sure the paper is sealed. Over time, handling paper storage can cause edges to weaken or curl. I find gently pressing edges back into place helps, but be patient; rushing can make things worse.
When it comes to protecting your paper items, moisture is the enemy. Storing paper crafts away from windows or humid spots prevents warping or stains. If your home is prone to humidity, scatter silica gel packets nearby—they quietly work without being intrusive. There are also clear sprays or varnishes made for paper that add a subtle finish, making the surface a bit tougher and more resistant to tears. Just test on a small piece first.
If your paper craft shows wear or small tears, don’t toss it out right away. You can repair tears with acid-free glue or even thin strips of washi tape, which blends nicely and adds some style. To refresh faded colors, sometimes a light touch with markers or colored pencils breathes life back in—though that depends on your piece. There’s something oddly satisfying about giving these unique storage items a second chance instead of replacing them.
Conclusions
Paper crafts offer a simple and creative way to organize your home storage. By using folding, cutting, and layering techniques, you can make personalized items like boxes, stacks, and holders. These crafts do not require expensive materials and can be designed to fit your exact needs. Practical skills in paper crafting help you maintain a neat and attractive living space.
Making cool paper crafts for storage allows you to use your creativity actively. It supports a functional lifestyle where you control clutter perfectly. As you practice, you will discover even more ideas to make your home organized and enjoyable. Embrace paper crafts as a useful tool to manage your home better.


