Introduction
Craft activities can be a wonderful way to engage kids in organizing their toys. When children take part in creating storage solutions, they learn responsibility and develop organizational skills. Craft activities make tidying up fun rather than a chore.
This article explores ideas for craft projects designed for kids to organize their toys. You will find easy and practical DIY crafts that help keep play areas neat. These activities encourage your kids to put their toys away by making the storage special and their own.
Craft Activities For Kids
Making something by hand can be a powerful way for kids to connect with the idea of organizing their own space. When children create their own storage containers or labels, it doesn’t just feel like a chore—it becomes a project they care about. Think of a simple craft like decorating boxes or jars with stickers and colorful paper. Suddenly, those containers turn into something special, not just a place to shove toys.

Craft activities also encourage creativity which can make the process more engaging. For example, a child painting and personalizing a toy bin might feel more motivated to keep it tidy afterward. It’s not just about the end result but the act of designing their own system. Sometimes this also helps children understand what they have; sorting toys by type or size as they craft storage helps them notice patterns in their collection.
Another thing I’ve noticed is that crafting storage solutions can offer instant, visible proof of accomplishment. When a child sees their handmade box full of neatly stored building blocks or a drawer labeled with their own artwork, the satisfaction is clear. It sparks a sense of ownership without feeling like a strict obligation. And that, maybe, is what makes organizing less of a battle and more of a natural part of play.
What kind of simple crafts could kids handle on their own, with just a little help? Projects that use recycled materials, like decorating cardboard or turning old jars into treasure holders, fit well. They are straightforward, don’t require expensive supplies, and the kids get to shape their personal order. This blend of creativity and function seems to build habits gently, rather than forcing them abruptly.
Simple Craft Activities To Encourage Organization
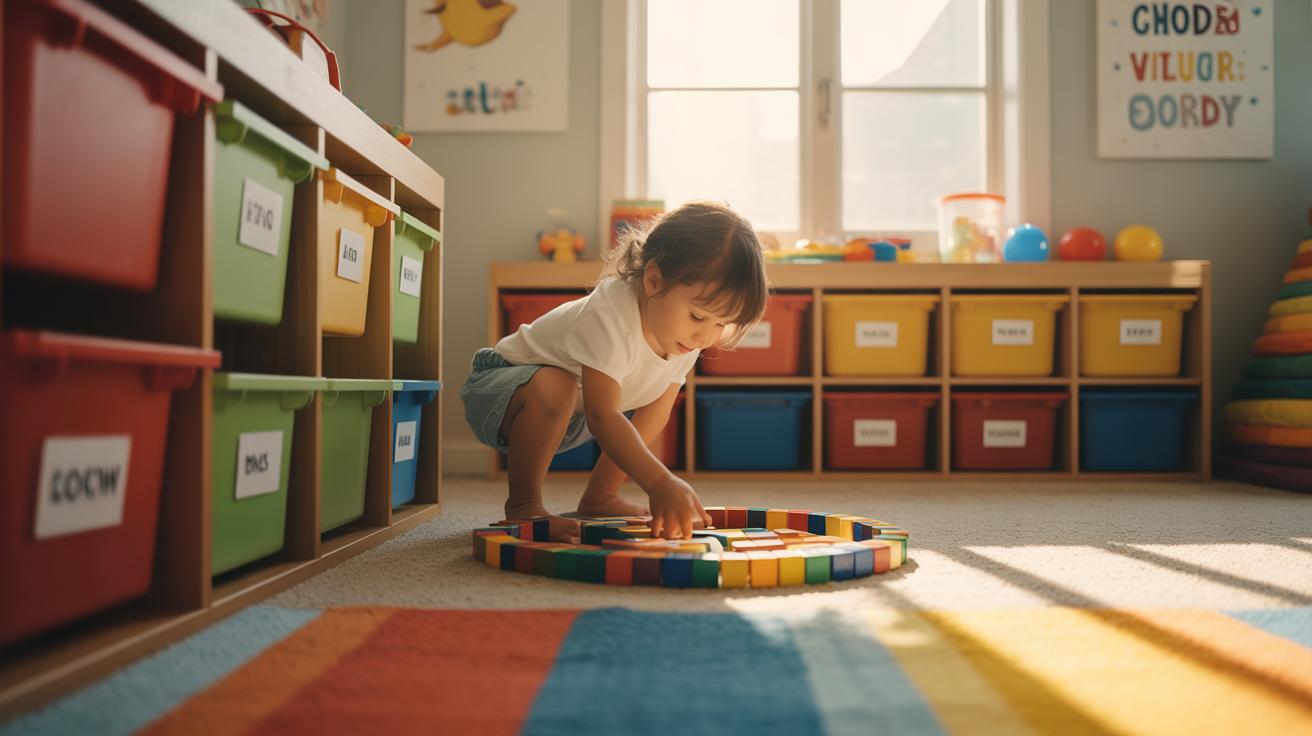
When it comes to organizing toys, involving kids in crafting their own storage can make a big difference. They usually enjoy decorating and personalizing things, which adds a fun twist to tidying up. You might be surprised how just a bit of paint or stickers can turn a plain box into something they want to use and keep neat.
Decorating Storage Boxes

Start with plain storage boxes – cardboard or plastic work fine. Give your kids markers, paints, or colorful stickers to decorate the boxes. Let them choose patterns, colors, or themes, maybe matching their favorite toys. It’s not about making everything perfect, but about making the box feel like theirs. This simple act often encourages them to keep their things inside because it feels personal and special.
Sometimes they might get distracted or want to redo a design multiple times. That’s okay. The process of creating is part of the appeal. And you might notice they get a bit more attached to their newly decorated bins than to plain ones, which helps with staying organized without much nagging.
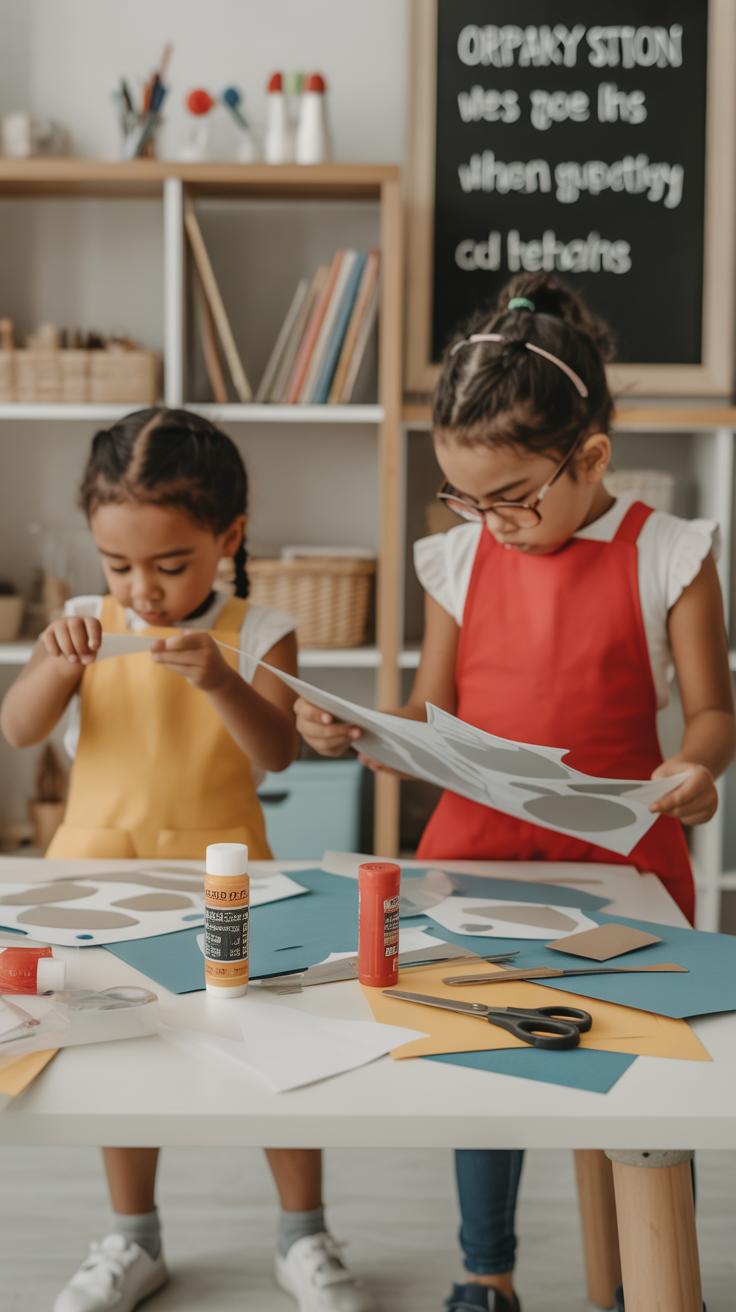
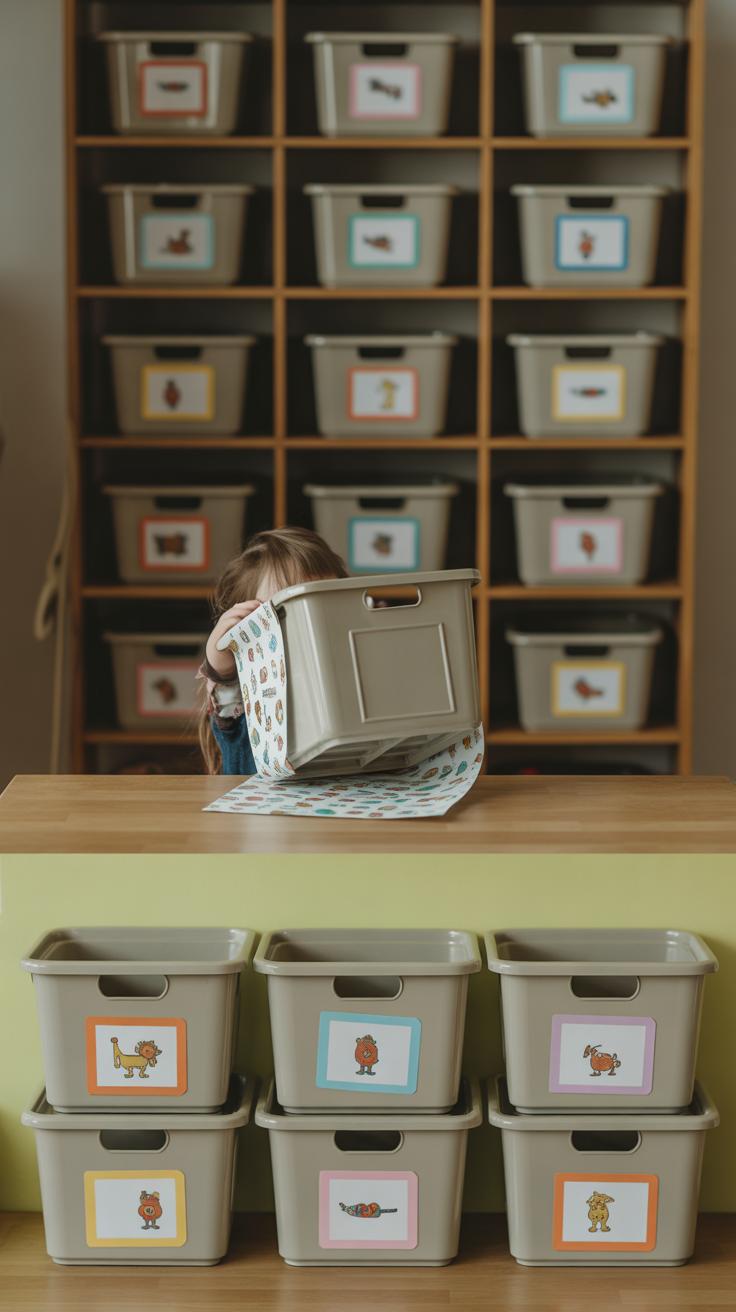
Making Toy Labels
Labels on toy boxes can be really helpful, but they don’t have to be boring. Kids can create their own labels by drawing pictures of what’s inside, writing words, or even making collages from magazine cutouts. This way, they practice writing and identifying categories in a lighthearted way. Plus, it makes finding and putting away toys easier, even if they’re still learning to read.
You could encourage them to think about which toys go where—do cars belong in one box or mixed with animals? This reflection helps with sorting skills, without feeling like a chore. And if they want to change labels later, they can. Flexibility keeps things fun.
Creating Personalized Toy Bins
Kids often enjoy making things their own, so crafting personalized toy bins can turn a simple storage task into something they actually look forward to. Start with choosing a plain bin or box—this could be one bought at a store or something reused from around the house. Then gather craft supplies like paints, markers, stickers, and glue. Painting a favorite color or drawing patterns lets kids put their spin on the bin’s look. If stickers or cut-outs interest them more, those work well too.

Turning recycled materials into toy bins is another way to make organizing more hands-on. Old shoeboxes, cereal cartons, or plastic containers can become storage with a little creativity. Cover them with wrapping paper or scrap fabric for sturdiness and style. Kids might enjoy cutting shapes or adding labels with crayons or stamps. It’s not about perfect crafting—it’s about making something useful that feels special.
Adding themes or characters can make each bin more inviting. Think superheroes for action figures or animals for plush toys. Sometimes, attaching googly eyes or foam shapes sparks more interest than just plain bins. It’s a small touch, but it can change how kids see their cleanup routine—almost like putting toys in their own little homes. You might wonder if this really helps with tidiness, but the extra effort to decorate often nudges children toward using their bins more often. What theme would your child pick? Let them decide and watch how it shifts their motivation.
Crafting Wall Storage Pockets

Making wall hanging pockets is a clever way to tuck away smaller toys without taking up floor or shelf space. You can craft these pockets using fabric or paper, which means you don’t need fancy tools or materials. Fabric pockets feel a bit sturdier, and kids often enjoy picking fun patterns or colors for them. Paper ones can work too, especially if you reinforce them carefully—just don’t expect them to hold anything too heavy or rough.
Materials Needed For Wall Pockets
You’ll want to gather a few simple things before starting:
- Fabric scraps or colorful construction paper
- Child-safe scissors
- Glue suitable for fabric or paper (fabric glue or a strong craft glue)
- Painters tape or masking tape (helps hold pieces while gluing)
- Markers, stickers, or fabric paint for decorating
- String or ribbon for hanging, or adhesive hooks for the wall

Some kids might also want to add buttons or felt shapes, but that’s optional. The key is to keep it easy enough to finish without frustration.
Step By Step Craft Instructions
Start by cutting a rectangle about the size of your child’s smaller toys—think, maybe 8 by 12 inches. If fabric, fold up one edge to form a pocket and glue the sides, leaving the top open. If paper, cut a similar rectangle and fold a flap at the bottom, securing the sides with glue or tape, making a pouch shape.
Let it dry for a bit—this is where patience comes in, which may or may not be a kid’s favorite part. Then, decorate each pocket with markers or stickers. Finally, attach a string or ribbon to the top corners and hang it on your wall using adhesive hooks or nails, if you already have help with that. The pockets catch small toys like cars, rocks, or little dolls, keeping them out of the way but still easy to reach.
It’s simple, but it really makes a difference in how toys spread out—or don’t. Plus, making these pockets may spark a little pride in tidying up. You might wonder if they’ll want to use them after the craft session, but sometimes the act of creating does the trick.
DIY Toy Shelves With KidFriendly Designs
Choosing The Right Spot

Finding a good place for toy shelves can be trickier than it sounds. The goal is to pick a spot where kids can easily reach their toys without climbing or needing help all the time. Usually, low walls or corners work well — somewhere out of the way but still accessible. If shelves seem too high, kids might lose interest in putting toys away.
Think about how your child plays. Do they spend most of their time on the floor, or do they sit at a desk? Position shelves nearby. Also, leave some space around the shelves so the area doesn’t feel cramped. Sometimes, that means skipping a wall packed with furniture and going for a more open spot.
Decorating Shelves
Once the shelves are in place, it’s a chance for kids to claim the space. Simple decoration can turn boring shelves into something they’re proud of. Let kids paint the shelves with bright colors or add stickers of their favorite animals or shapes. They might even want to glue on small craft items like pom-poms or buttons—just enough to personalize without making things cluttered.
Labels or name tags for each shelf or cubby can help too, especially for remembering where everything belongs. You could also try using washi tape for easy patterns or borders. It’s fun and temporary, so if tastes change, the shelves can too. The key is to keep decorating simple and doable for little hands; otherwise, it can become a frustrating task.
Using Color Coding For Toy Organization
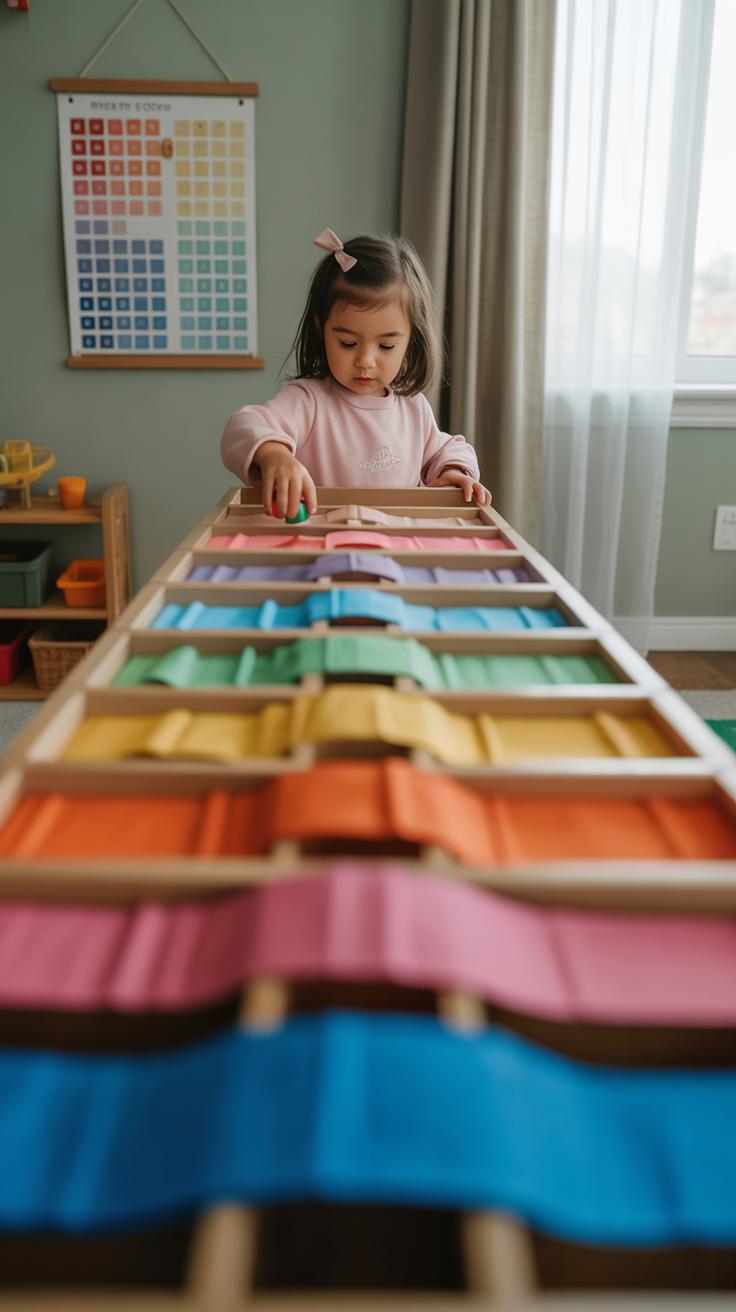
Color coding can make organizing toys simpler—maybe even fun—for kids. When everything has a color, it’s easier for little ones to know where things belong without much help. You don’t need a fancy system; just basic, clear colors tied to specific toy types can work wonders.
Assigning Colors To Toy Types

Choosing colors for different toys might feel a bit arbitrary at first, but it can be surprisingly helpful. For instance, you might pick red for toy cars, blue for blocks, and yellow for dolls. Or maybe the child’s favorite colors influence the choices. It’s not about strict rules, more about what feels natural or memorable. When you make those decisions, ask yourself:
- Which toy categories are clear and distinct?
- Are the colors bright enough to grab attention without being overwhelming?
- Can your child easily spot these colors when tidying up?
Once you assign colors, the tricky part is sticking with them—kids can be drawn to other colors, so some flexibility might sneak in.
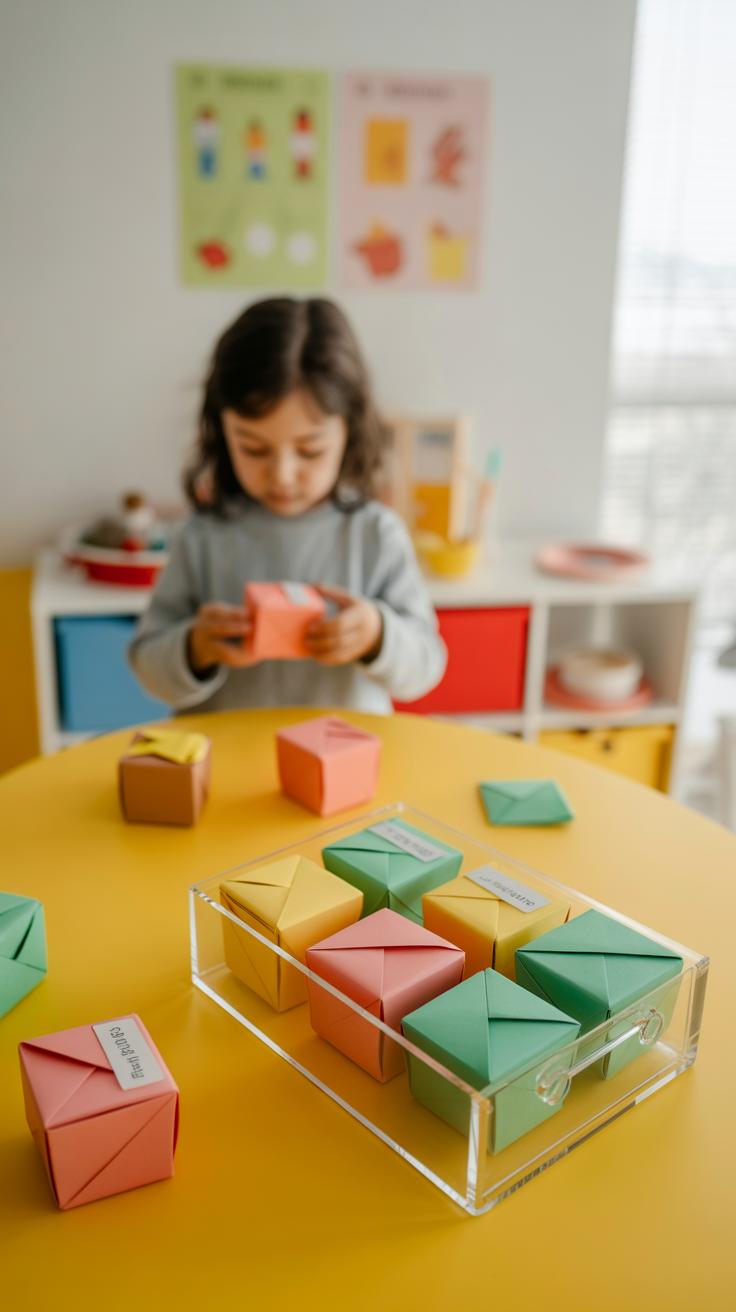
Crafting Colorful Tags
Making the tags can be a small craft project on its own. Kids can paint or color cardstock, cut out simple shapes, and even add names or drawings that match the toy type—like a tiny car or block sketch. Using stickers or stamps can add variety if markers aren’t their thing.
Attaching these tags to bins or shelves helps kids see the system visually. It can feel satisfying for them to recognize which bin matches their toy. And, honestly, sometimes the tags end up looking a bit messy or uneven, but that imperfect charm often makes the whole system more kid-friendly.
Have you noticed how kids sometimes make up their own ways of sorting toys? Color coding gives structure but leaves room for creativity, which feels necessary. Maybe it won’t always work perfectly, but it often makes clean-up clearer—and a bit less of a chore.
Incorporating Play Into Organizing

Getting kids to tidy up can feel like a constant battle, but turning cleanup into play might just change that. When you introduce games or little rewards that connect to crafts, kids may start seeing organizing as something fun rather than a chore. Sometimes it works, sometimes it doesn’t—kids aren’t robots, after all.
Turn Cleanup Into A Game
Try timing your child while they put toys away. Set a stopwatch and challenge them to beat their own record. Or pick a theme—maybe “Superhero Cleanup,” where they pretend to be a hero rescuing the room from chaos. You could switch it up with “Treasure Hunt,” hiding small craft supplies in the mess for them to find while tidying. It adds variety, which helps because kid boredom is the real enemy here.
Creating Incentive Crafts
Making simple reward charts together can be surprisingly effective. Let kids decorate their own charts with stickers or drawings as they earn check marks for organizing. Or try crafting tokens—paper coins or badges that they collect and trade for small treats or privileges. This hands-on creation makes rewards feel more personal and, well, tangible. Plus, it offers a little pride boost every time they add to their collection.
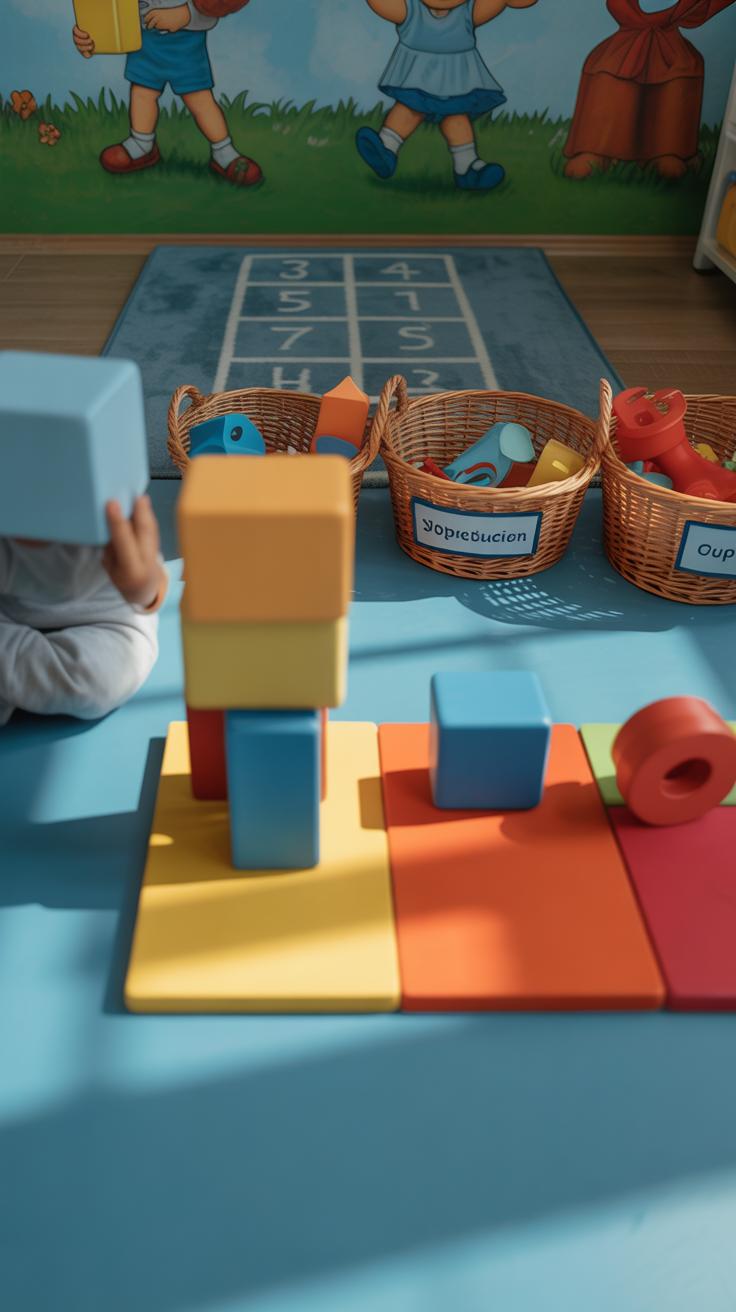
Organizing Different Types Of Toys

When it comes to different kinds of toys, each one asks for a slightly different approach. Puzzles, for example, work well with simple handmade boxes or trays that keep pieces together but still let kids see what’s inside. You might try decorating plain shoeboxes with your child’s drawings or stickers to make them more personal.
Stuffed animals? They often end up strewn across the floor, don’t they? A fun idea is using a large mesh bag or a net hammock hung in a corner — and you can help your child craft one using fabric scraps and colorful cords. The visual of a “soft toy nest” could encourage tidying.
Art supplies typically need divided spaces. Creating a custom caddy from old tins or jars sewn or glued onto a board works well. Kids can paint or label each holder. It makes the mess look intentional, and honestly, it might get you to tidy more often too.
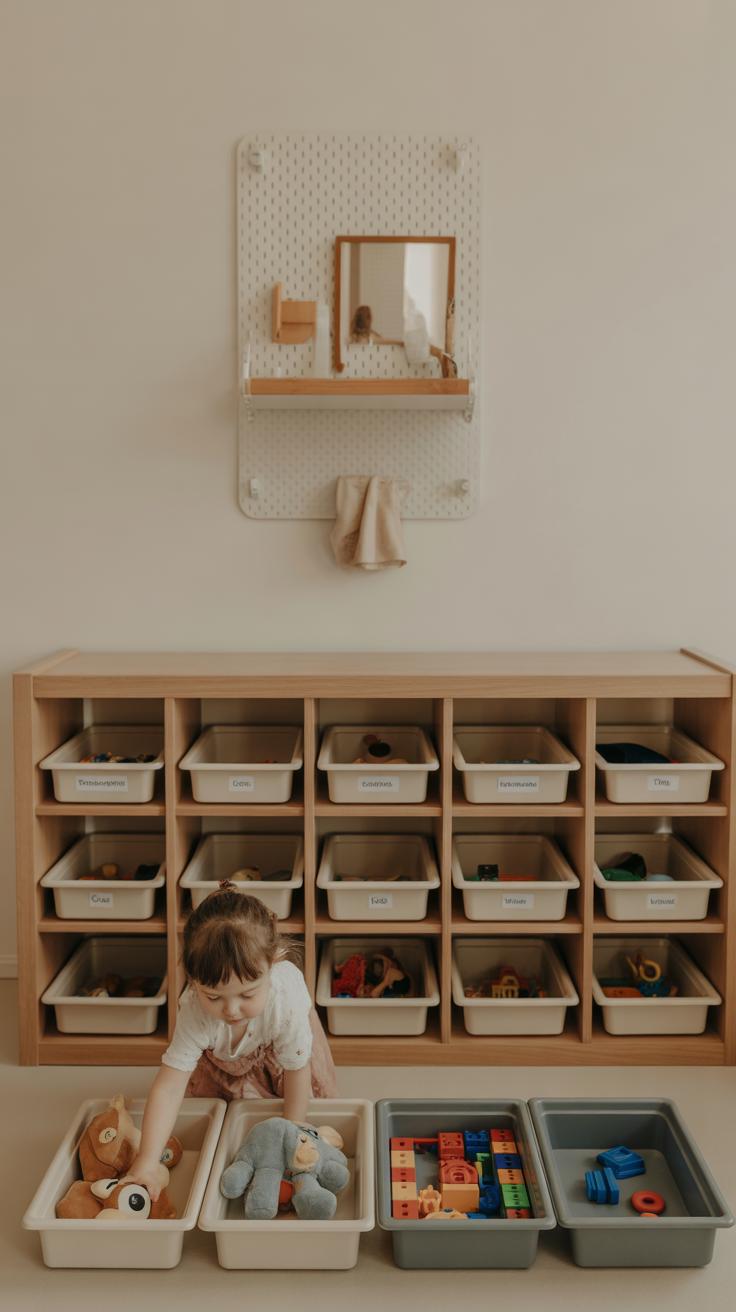
Special Storage For Small Toys
Small toys like action figures, blocks, or beads can be tricky — they get lost in no time. One idea I’ve seen work is making a “sorting board” with muffin tins or egg cartons glued inside a shallow box. Kids can drop toys into each cup, keeping them separate and easy to access.
Another solution is crafting small pouches or envelopes out of fabric or paper to stash collections. Encourage your child to decorate these—they’ll feel ownership and maybe use them more. It’s not perfect, but better than emptying an entire bin every time they look for one piece.
Craft Ideas For Larger Toys
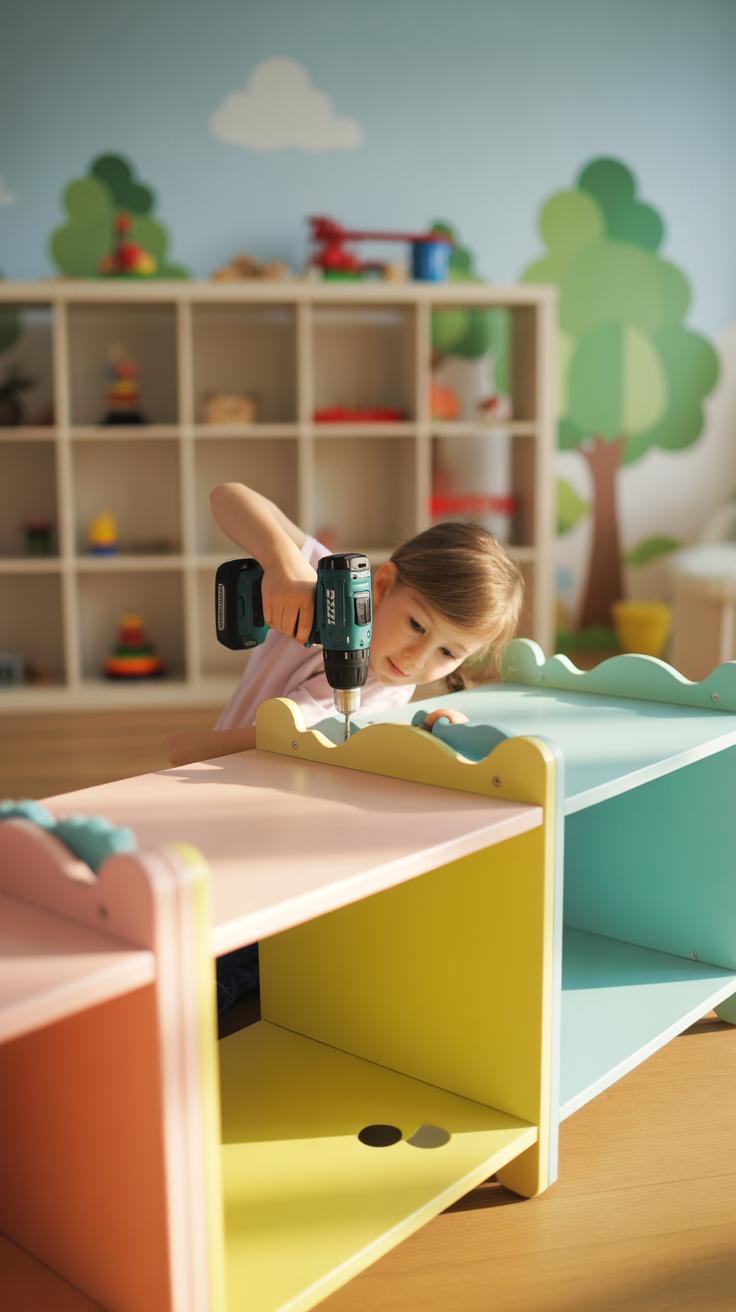
Larger toys and sports gear, like balls or ride-on toys, require something sturdier. Building a simple wooden rack or shelf is one option, though it might need adult help. Painting it together can make it a shared project and add interest.
You could also create customized toy bins from cardboard boxes wrapped in fabric or paper. Label each bin with both words and images—sometimes seeing a picture is faster than reading labels. Big toys shouldn’t just get thrown in corners; these crafts can help enforce a designated spot that feels right for the space.
Maintaining Toy Organization Habits

Keeping kids motivated to use their craft-made organizers isn’t always straightforward. The initial excitement of a colorful box or labeled bins can fade after a few days. You might notice toys slipping back into a jumble despite all the effort. To keep things working long term, it helps to create simple routines that gently nudge kids to put things away.
Try setting clear, manageable goals like spending five minutes at the end of each play session to tidy up. Mark a specific time in the day or week for organizing—maybe right before dinner or during storytime prep. These repeated habits slowly turn organizing from a chore into a normal part of daily life.
Also, be open to revisiting those craft projects once in a while. Kids change fast, and so do their interests. Adding new colors, swapping stickers, or redecorating storage bins can bring back enthusiasm. Sometimes just tweaking the setup a bit can make the difference between a forgotten box and something kids enjoy using.
What small changes have you seen help your child stay interested in tidying up? It’s often a mix of routine and refresh that keeps those crafts alive in daily use.
Getting The Whole Family Involved
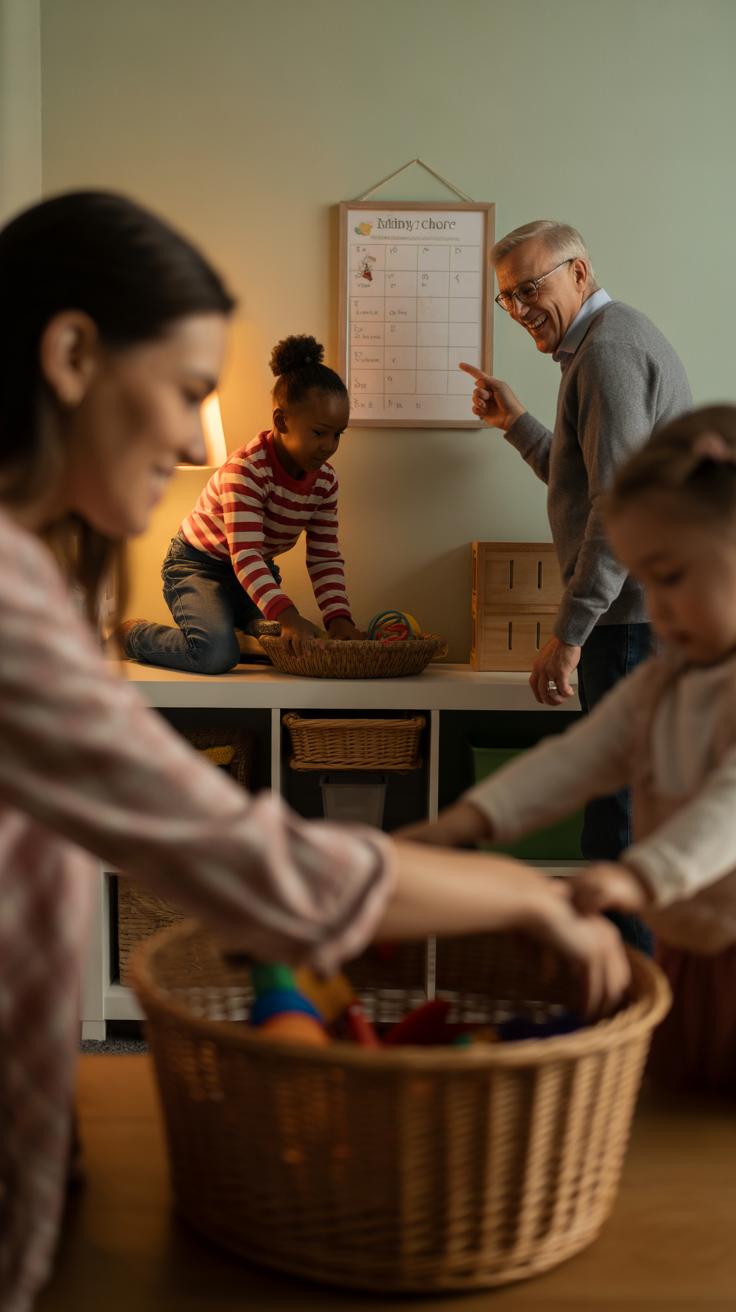
Getting everyone in the family involved in craft activities to organize toys can really change the game. When parents and siblings jump in, it’s not just about tidying up — it becomes a chance to work together and share the load. Sometimes kids may resist organizing, but if Mom or Dad is sitting next to them, attaching labels or decorating boxes, it feels less like a chore and more like a team effort.
Family craft sessions can be surprisingly fun. Imagine gathering around the kitchen table with scissors, stickers, and markers, making personalized bins or colorful storage tags. These sessions can spark conversations, laughter, and even some healthy debates about the best ways to sort toys. More than once, I’ve noticed how kids take pride in their handiwork when everyone contributes. It somehow helps them care more about keeping things neat afterward.
Sharing ideas about how to organize toys is another part of the process. You might discover that your youngest sibling has a clever trick for stacking blocks or that your partner prefers sorting by color rather than type. Writing these tips down or just chatting about them turns toy management into a shared puzzle. Have you tried asking everyone what feels easiest or most sensible? Some suggestions might surprise you — or maybe even change the way you all think about tidying up.
Conclusions
Creating toy organization crafts with your kids builds skills and improves their habits. These activities offer a hands-on approach to learning about order and responsibility. Your child becomes more willing to keep their space tidy when they have made the storage themselves.
Start with simple projects and gradually introduce new ideas. Remember that the goal is to make organizing toys easy and pleasant. With creativity and your support, your child will develop good habits that last a lifetime.


