Introduction
Feeling bored and looking for a way to spend your time productively? Crafts to do when you’re bored and need storage hacks offer a fun solution. They let you express your creativity while also helping you keep your home neat and tidy. You don’t need to be an expert in crafting to get started; simple projects can make a big difference.
In this article, you’ll discover nine practical craft ideas. Each one is designed to quickly engage you and provide clever storage solutions. Whether you want to organize your desk, kitchen, or bedroom, these crafts can help. Let’s explore these fun activities that combine boredom relief with smart storage tips.
Making Your Own Desk Organizer

Choosing Materials For Your Desk Organizer
When you’re bored and need a quick project, creating a desk organizer is surprisingly satisfying. You don’t need anything fancy to get started—just things that are likely sitting around your house. Cardboard, for example, is a great option. Boxes from packages or cereal containers work well because they’re easy to cut and shape. Plus, you’re giving something a second life, which feels good, right?

Small boxes, like those used for tea bags or old gift sets, also make simple compartments for pens or sticky notes. And don’t overlook jars—for tools like scissors or markers, they keep items visible and accessible. These materials tend to be lightweight and easy to attach together, so beginners won’t feel overwhelmed.
Reusing these items not only saves money but can also reduce clutter in other parts of your home. You might hesitate at first—“Will this actually hold up?”—but with some glue and a bit of patience, these materials hold surprisingly well.
Step By Step Assembly Of A Desk Organizer
Start by gathering your chosen materials on a flat surface. First, decide what you want to store—pens, notes, maybe a few small tools. Then, cut the cardboard or boxes into pieces that will become compartments. Try to keep edges straight but don’t stress if they’re a little uneven.
Arrange the pieces in a way that makes sense for your use. For example, taller compartments at the back for pens and shorter ones in front for notes or clips. Once you’re happy with the layout, use a strong glue or tape to fix the pieces together. Let it dry completely—you don’t want things falling apart the minute you try to use your organizer.
Finally, decoration is up to you. Paint it, cover it with patterned paper, or even stick on some labels to mark sections. This part makes it personal and keeps you interested, especially if the initial cutting and gluing feels a little tedious. By the end, not only will you have a neater desk, but maybe you’ll feel a bit proud you turned boredom into something useful.
DIY Wall Shelves For Small Spaces


When your spare time hits and you’re looking for a craft that’s both useful and a bit satisfying, making your own wall shelves can be just that. Using simple materials like wood or even sturdy cardboard, you can create shelves that free up much-needed space by going vertical. It’s surprising how much clutter disappears from countertops and floors once you have a place for everything on the wall.
Sometimes, small spaces get overwhelmed by stuff, and shelves help by giving you an organized spot that doesn’t take up floor area. You might find your books, plants, or trinkets suddenly have a proper home. That little bit of order can really change how spacious and welcoming your room feels, which kind of makes the effort worthwhile, right?
Materials Needed For Your Shelves
If you’re aiming for a simple shelf project without breaking the bank, here are some materials you might consider:
- Wooden planks – pine or plywood works well and is pretty affordable
- Metal or wooden brackets – choose based on your style and the weight you expect
- Paint or stain – optional but helps match your décor
- Screws and anchors – for a secure hold
Picking materials depends a lot on what you want to store. For heavier items, solid wood and strong metal brackets make sense. If it’s just decorative stuff or lightweight books, even thick cardboard can do the trick, though it won’t last forever. Don’t forget—sometimes style matters as much as strength, so find a balance that feels right to you.
Installing Wall Shelves Safely

Setting up your new shelves requires some care. First, measure twice, or maybe even thrice, to know exactly where the shelves should go. Mark the spot for your brackets carefully, and make sure they’re level. Using a stud finder helps to secure the brackets into wall studs rather than just drywall. That makes the difference between a shelf that hangs tight and one that might sag or fall.
Mount the brackets firmly and then place your shelf on top, fastening it with screws. Don’t rush this part; loose screws are a common pitfall. Take a moment to test the shelf’s stability by adding weight gradually—you don’t want your efforts to collapse when you load it up for real. It’s a bit fiddly, sure. But once done, the extra space and neat look will probably convince you it was worth the fuss.
Creative Storage Boxes From Old Containers
Selecting Containers For Crafting
When looking around your home for containers to repurpose, keep an eye out for tins, jars, or small boxes. Size matters depending on what you want to store—taller jars suit pens or utensils, while wider tins are good for odds and ends.
The shape can make a difference too: square or rectangular containers stack better, but cylinders might fit odd corners nicely. Materials vary, and some require special care. Metal tins might rust if left damp, so drying well before reuse is crucial.

Before you start, remember to clean everything thoroughly. Scrubbing labels off glass jars or wiping down plastic boxes helps paint or glue stick better later. Safety wise, sharp edges on metal cans can surprise you, so sand or cover them. It’s a small step but saves a lot of frustration.
Decorating And Labeling Your Storage Boxes
Decorating is where creativity really kicks in. A quick layer of paint can transform a dull tin into a personalized container. If you’re short on time, wrapping containers with fabric strips or colorful paper works just as well. You can even use leftover wallpaper pieces—why not?
Stickers or washi tape add design with minimal effort, though I’ve found their stickiness fades if the container is handled often. If you’re worried about durability, clear varnish or Mod Podge seals decorations nicely.
Labeling might feel boring compared to the decorating part, but it’s surprisingly helpful. Simple masking tape with handwritten notes works on almost anything, making it easier to spot what’s inside at a glance. You could also attach small tags with string for a bit more style. Labels save time, especially when you have several similar boxes.
Upcycling Old Clothes Into Storage Bags
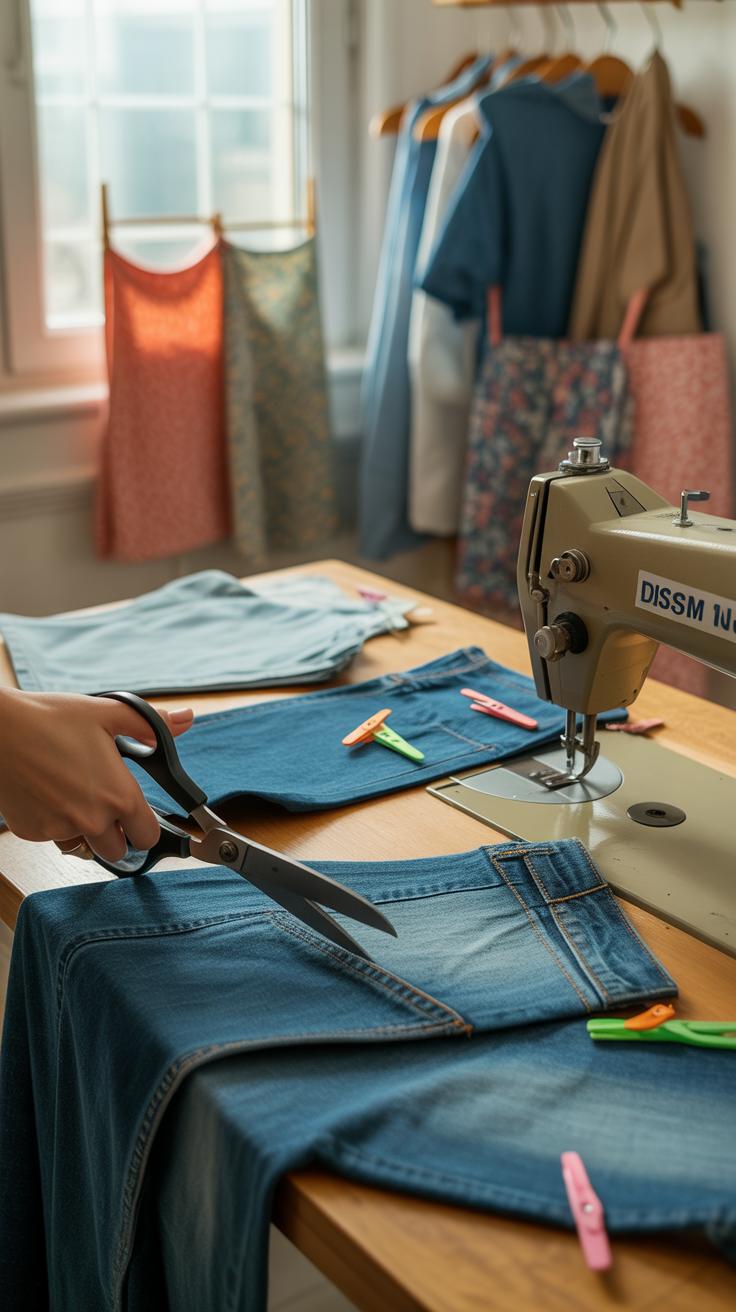
Preparing Clothes For Crafting

Start with clothes that aren’t just old, but still clean and fairly strong—T-shirts work especially well. Look for materials that won’t fray too much when cut, like cotton blends or thicker knits. I usually avoid anything too thin or fragile because those won’t hold weight nicely. If you want some variety, denim jeans can be cut into sturdier panels, though they take more effort to sew.
Cutting is fairly straightforward: remove sleeves if you want smaller bags or just use the body of the shirt. You can turn the bottom hem of T-shirts into the bag’s base, which saves finishing work. Cutting across the fabric in wide squares or rectangles often works best. The key is to think about how big your bag should be and plan cuts accordingly.
Making And Using Storage Bags
Sewing bags from fabric pieces sounds intimidating if you’re new to it, but simple stitching along the sides can do the trick. For those without sewing gear, tying fabric strips or using no-sew glue might be enough. You can knot the bottom corners of a square T-shirt to make a quick pouch—this is quick, although not the most durable.
Once made, these bags aren’t just for laundry. They’re great for storing toys, craft supplies, or even cables that tend to get lost around the house. I have one in my closet holding scarves, and it’s surprising how neatly it keeps things contained. Do you find organizing small stuff harder than big? These bags might be a simple solution that feels almost fun to make when you’re bored.
Crafting Drawer Dividers To Stay Organized
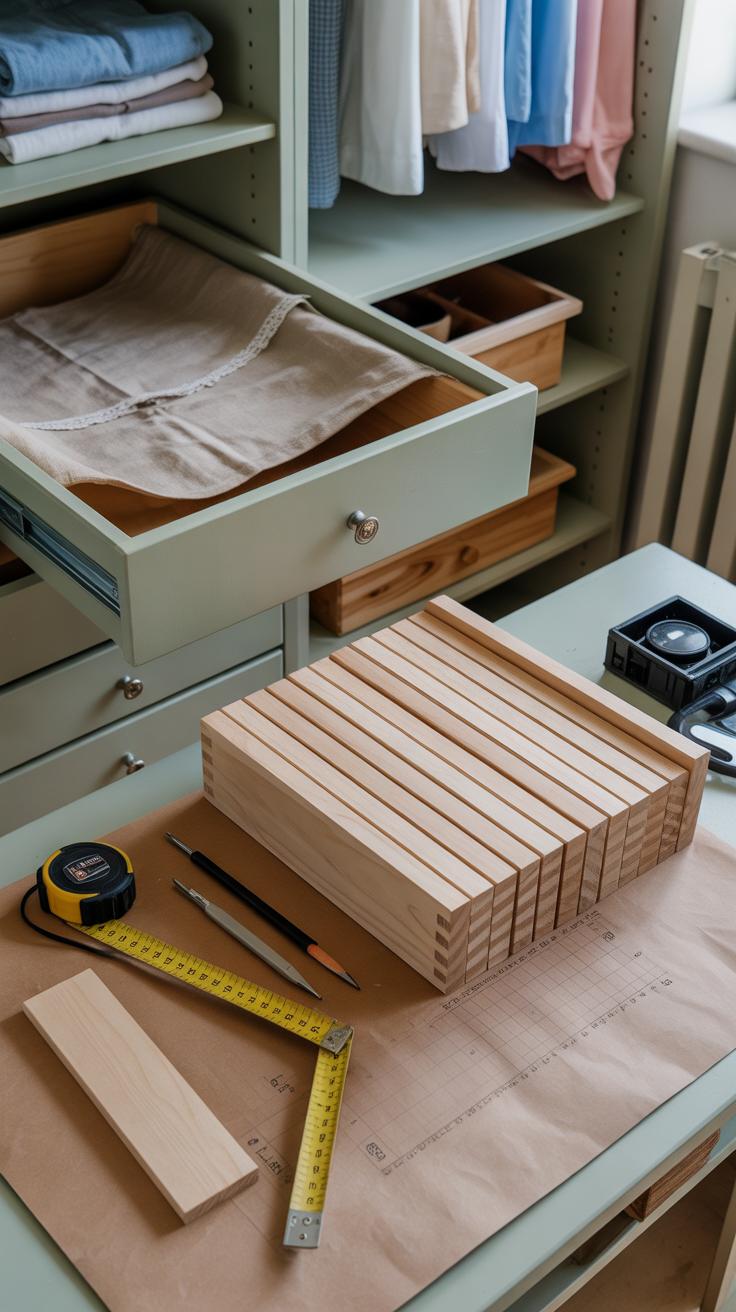
Materials And Measurements For Dividers

When making drawer dividers, picking the right material makes a big difference. Cardboard or foam board work well—they’re lightweight but still hold their shape. You want something sturdy enough to stand up to shifting items but easy to cut. Foam board might feel a bit more durable if you want a cleaner edge.
Before you cut anything, measure your drawer carefully. I like to take the length, width, and even the height into account, so the dividers fit snugly without rattling around. Take a couple of measurements just to be sure. Mistakes here can mean wasted materials or dividers that don’t do their job right.
Assembly And Placement Tips
Cut the cardboard or foam board into strips or sections based on your measurements. A sharp craft knife or utility blade usually makes the cleanest cuts. You can arrange dividers vertically or horizontally depending on what you’re storing. Play around with layouts—sometimes a few quick test fits can save you frustration later.
If you want to get creative, try decorating the dividers before placing them. Painting or covering with patterned paper adds a nice touch, making your drawer look less like a toolbox and more inviting. Labels also help, especially if you tend to forget where you put things. Sticky notes or washi tape work well for this. You might not think labeling small drawers is necessary—until you’re searching for that one tiny screw or a pair of earrings.
Building A Hanging Organizer From Pocketed Fabric
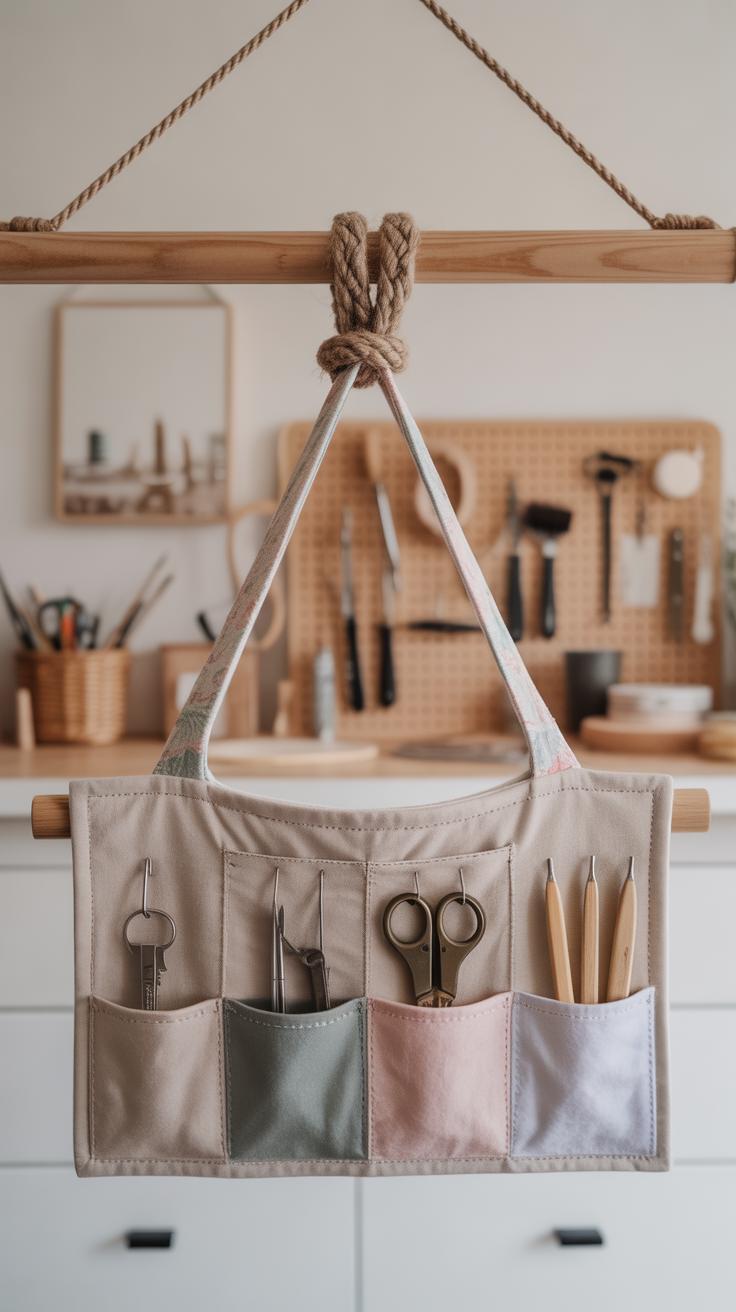
Picking Fabric And Supplies
When making a hanging organizer, choosing the right fabric matters, but it doesn’t have to be fancy. Cotton or canvas work well since they’re sturdy enough to hold small items like craft supplies or toys. You might find good fabric remnants at craft stores or even reuse old curtains or tote bags. Cheap fabric from discount stores or thrift shops can do the trick too, especially if you’re trying this for the first time.

For tools, you’ll need scissors and either a needle and thread or fabric glue if sewing isn’t your thing. If you want a quicker project, fabric glue works fine for light use, though sewing offers more durability. You’ll also want some hooks, curtain rings, or loops made from ribbon or elastic for hanging. A ruler or measuring tape helps keep things neat, but you can eyeball the measurements if you’re not too picky.
Constructing The Hanging Organizer
Start by cutting your base fabric to the size you want—the bigger the base, the more pockets you can fit. Next, decide on pocket sizes and cut separate pieces accordingly. Pockets could all be the same size or mixed, depending on what you plan to store. Pin or glue the pockets onto the base fabric, leaving the top edge open for inserting items.
If sewing, a simple straight stitch along the bottom and sides works fine. For gluing, apply fabric glue sparingly around the edges but not the pocket top; otherwise, your pockets will be sealed shut. Let the glue dry fully before hanging. Add loops to the top corners by sewing or gluing ribbon loops or using metal rings if you want a sturdier hanger.
Once done, hang your organizer on a hook or a nail and start filling those pockets. I always find it satisfying how such a basic craft suddenly helps tame clutter in a playful way.
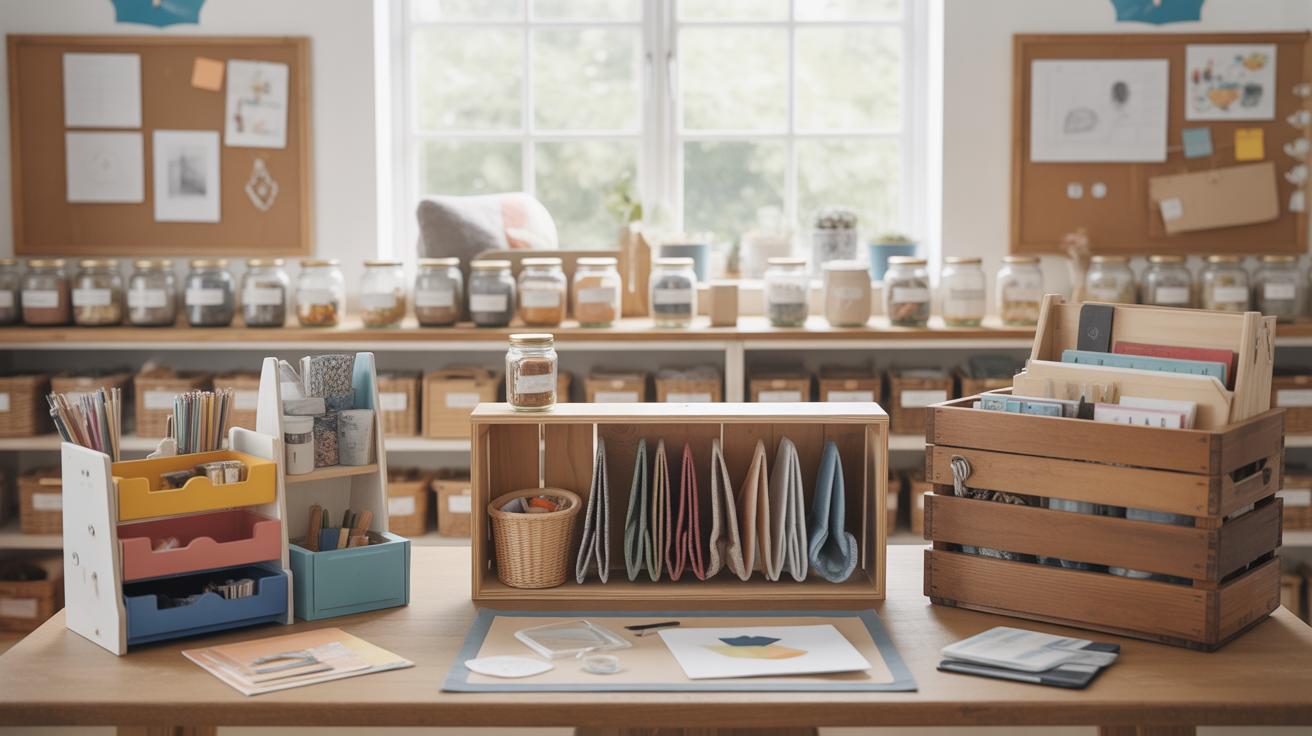
Using Jars For Creative Kitchen Storage
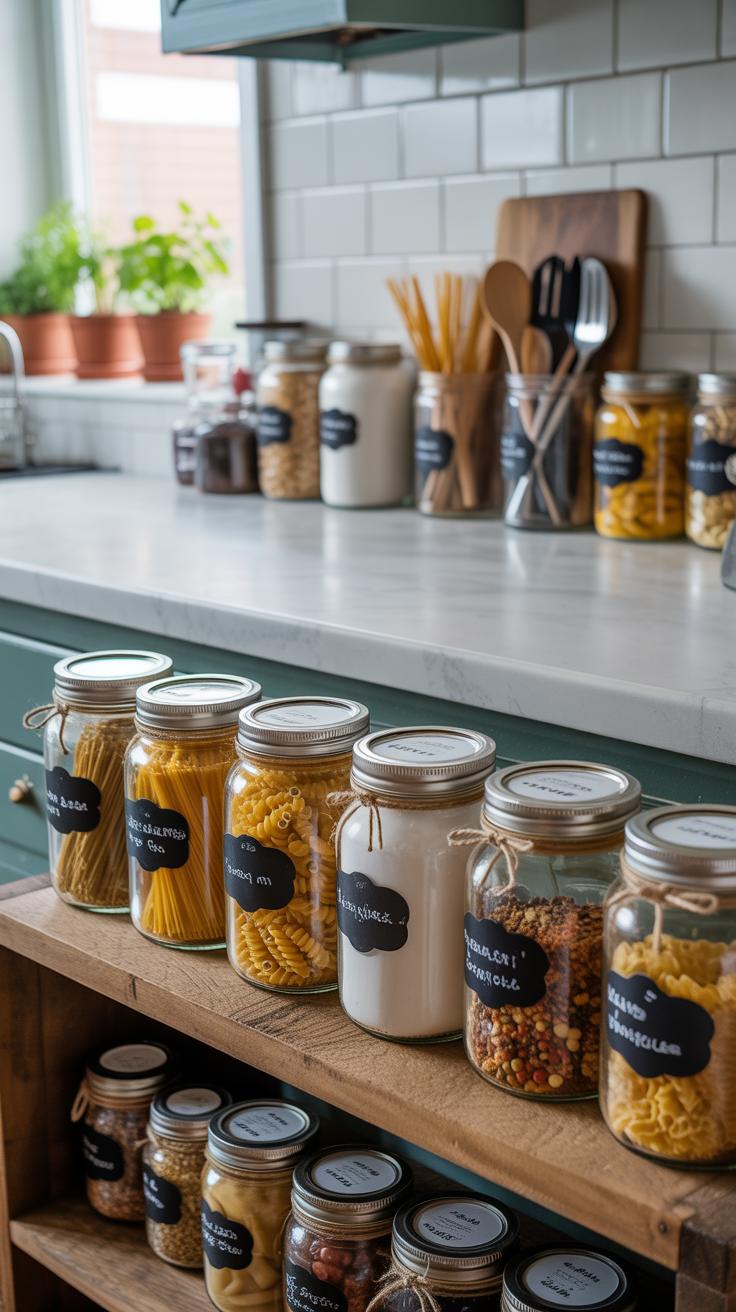
Selecting And Preparing Jars
You probably have a bunch of glass jars lying around from past meals—those pasta sauce or pickle jars, for example. They often work well for storing kitchen items, but you want to pick ones with wide openings for easy filling and access. Smaller jars are perfect for spices, while bigger ones suit grains or utensils.

Cleaning is key. Soap and hot water do most of the job, but sometimes labels leave stubborn residue. Scrubbing with baking soda paste or soaking jars overnight in warm water usually helps. Just be cautious—sometimes jars crack or chip after repeated use, so handle them carefully and check for damage before using them again.
Organizing And Labeling Kitchen Jars
Once clean, arranging jars in a way that makes sense for your cooking routine can save time. Group spices alphabetically or by type—herbs, peppers, salts. For grains and baking ingredients, stacking or lining jars on shelves as per size can free up space, but think about which you reach for frequently and put those front and center.
Labels really make a difference. You might try writing directly on lids with a chalk marker or attaching simple paper tags with twine. Fancy or plain, making the labels readable at a glance matters most. Sometimes, I’ve found writing the expiration date helps prevent mystery jars lurking in the back for ages. Decorating jars with washi tape or ribbon adds personality too, but keep it minimal if you want a clean look.
Making A Corkboard For Notes And Tools
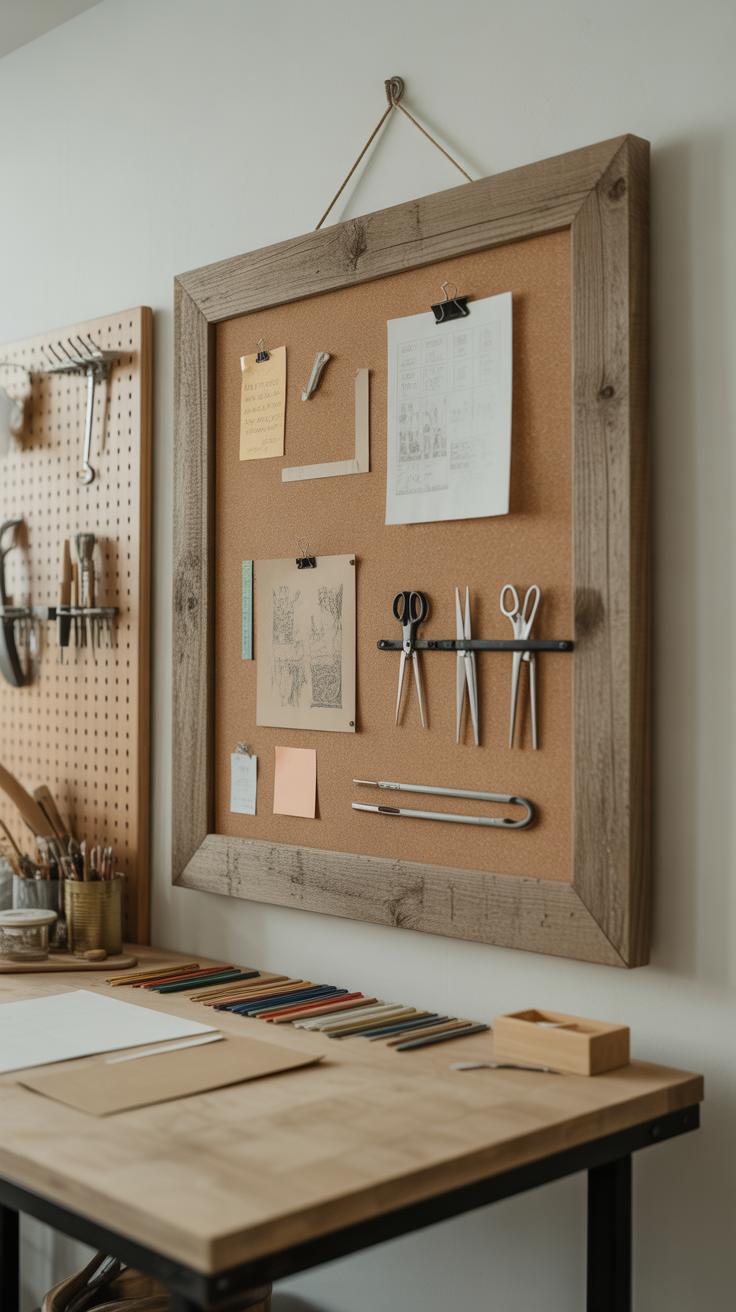
Choosing And Cutting Cork Materials
Start by picking cork sheets that fit where you want to place the board. They come in various thicknesses and sizes, so take a moment to measure your wall or desk area carefully. If you want to include small tools or heavier notes, thicker cork might hold pins better, but it can be a bit trickier to cut.
Cutting cork usually calls for a sharp utility knife or a strong pair of scissors. A ruler helps keep the edges straight, though I often find my hand wanders a bit on the first go—so take your time. You might want to practice cutting on a small scrap first. Don’t rush, because uneven edges can make framing the board harder. Sometimes you realize that the size looks different from what you imagined once the cork is cut, but that’s okay—adjustments can come later.
Mounting And Decorating Your Corkboard
Once your cork is ready and framed, hanging it securely matters. Using hooks or nails depends on your wall type. If you’re unsure about wall damage, adhesive strips meant for picture hanging can hold light boards quite well. Just check their weight limits before you pick one. I’ve used a couple of adhesives that failed after a month, so consider that when choosing.
Decorating the corkboard is where you get to personalize. Paint the frame in a color that matches your room or wrap it with washi tape for a quick touch. Adding small pockets or clips on the cork surface can increase its function, maybe for keeping receipts or scissors close at hand. And don’t overlook that arranging photos or notes in a grid or random scatter changes the vibe—you might switch it up now and then.
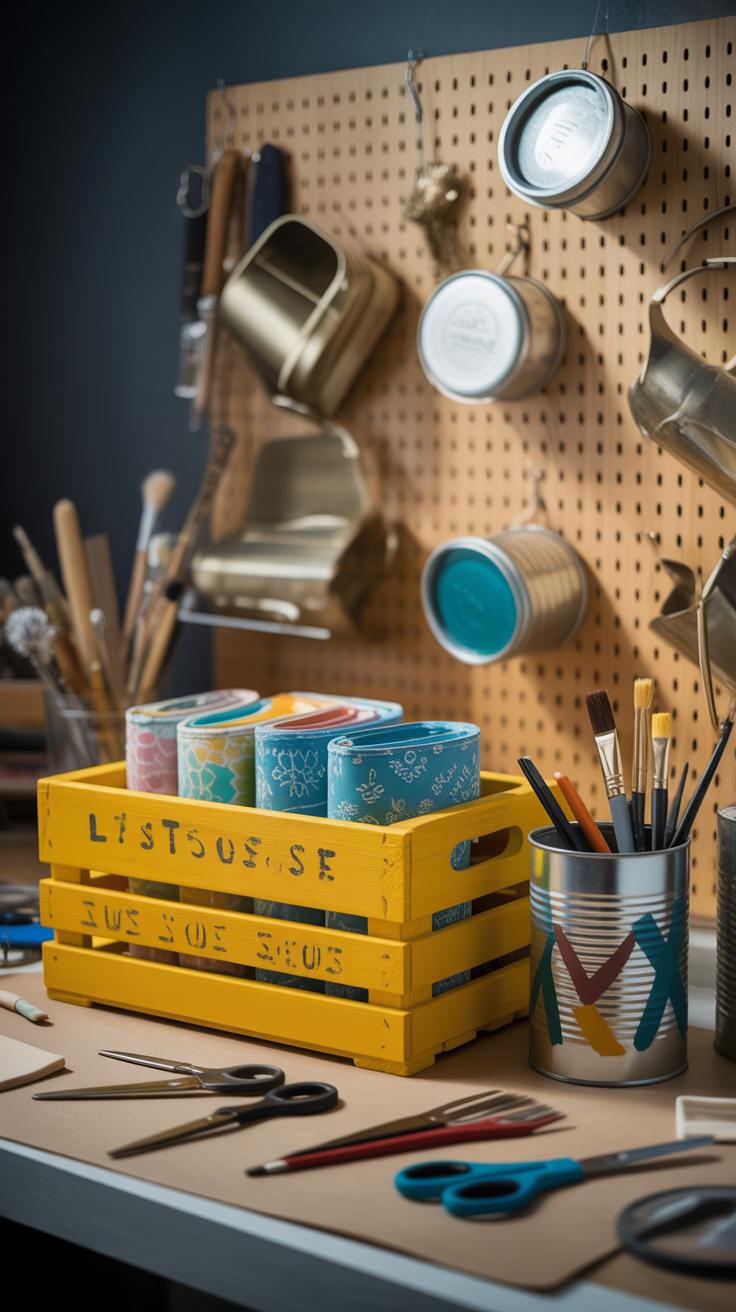
Customizing Tins And Cans For Tool Storage
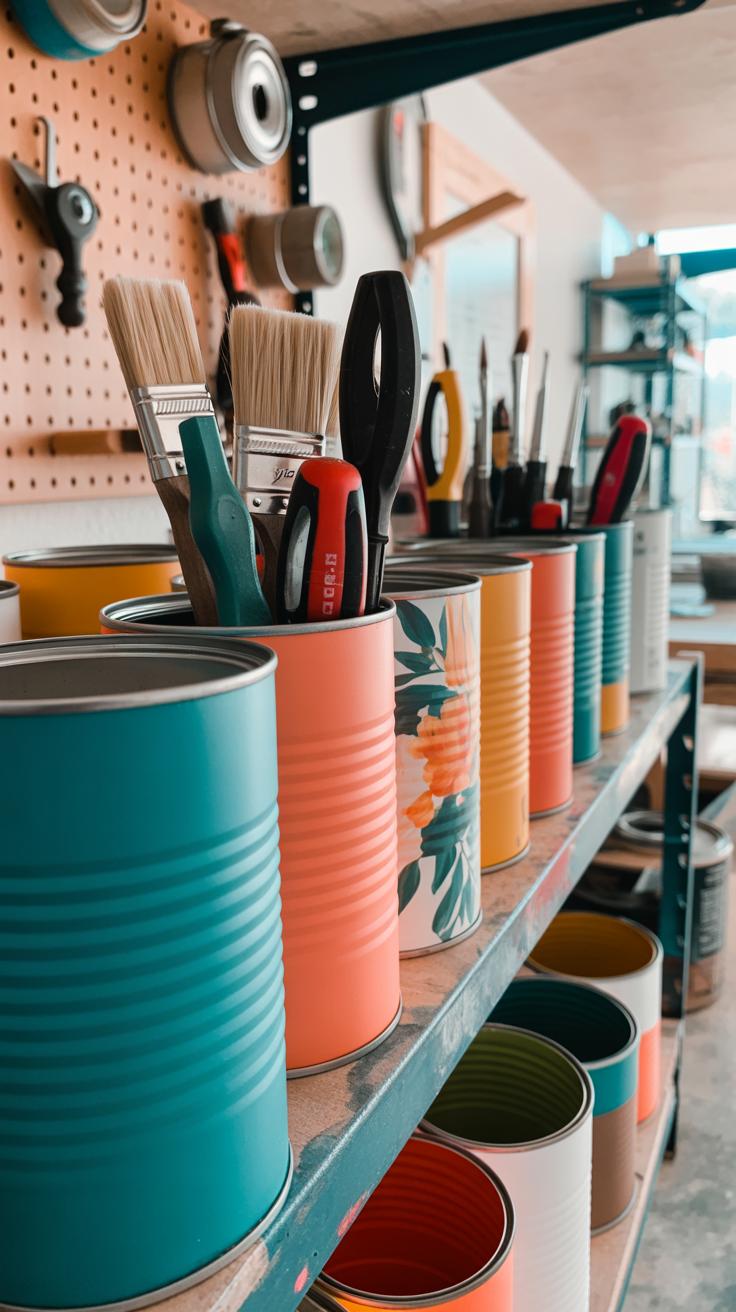
Preparing Tins And Cans Safely
If you’ve got empty tins or cans lying around, they can become surprisingly useful storage spots. But first, you must be careful with those edges. After opening, the metal rim often stays sharp and can cut you if you’re not cautious. I learned this the hard way—so I’d suggest running some sandpaper or a metal file around the top to smooth it out.
Before anything else, clean the cans well. Hot, soapy water usually does the trick. Let them dry completely to avoid rust. Tools like a can opener, pliers, and gloves come handy. Gloves especially—you don’t want to get scratched or poked. If the can has a label, peeling it off and scrubbing the residue may take some patience, but it’s worth doing before decorating.
Personalizing And Using Cans For Storage
There are plenty of ways to dress up these tins. Painting them with acrylic or spray paint makes a simple base. You might try patterns, stripes, or even dots. Sharpie pens or washi tape also offer quick and easy decoration options. Labeling is key—whether you write directly on the cans or attach tags, it helps when finding stuff later. I ended up grouping my cans by tool type: pencils in one, scissors in another, paint brushes separate. That kind of sorting really cuts down on time hunting for things.
Try arranging the tins vertically on shelves or mounting them on a wooden board for a tidy wall-mounted storage. Sometimes, just clustering a few cans on your desk keeps tools visible and within reach. You’ll see how these simple cans can seriously change how you work or craft. Just remember to check edges now and then—rust can creep in if moisture builds up, and no one likes surprise snags while working.
Conclusions
Using crafts to manage boredom can be rewarding and useful. When you create storage hacks, you improve your space while keeping yourself entertained. These projects range from easy to a bit challenging, so you can pick what suits your mood and skill level.
Try these crafts to add order to your home and keep yourself busy. You’ll enjoy seeing your storage spaces transform and feel proud of what you made. With creativity and some simple materials, you can turn boredom into a productive and fun experience.


