
Introduction
Finding the perfect gift for your best friend can be tricky, especially when you want something that is both useful and thoughtful. Diy Gift For Bff To Beautify Their Home Storage is a great idea. It combines creativity with practicality, letting you create something unique that your friend can use every day.
In this article, you will discover how to make simple yet beautiful home storage gifts. These ideas will help you organize spaces while adding a personal touch. Whether your friend loves rustic, modern, or colorful designs, you’ll find tips and projects to inspire you.
Understanding Your Friends Storage Needs
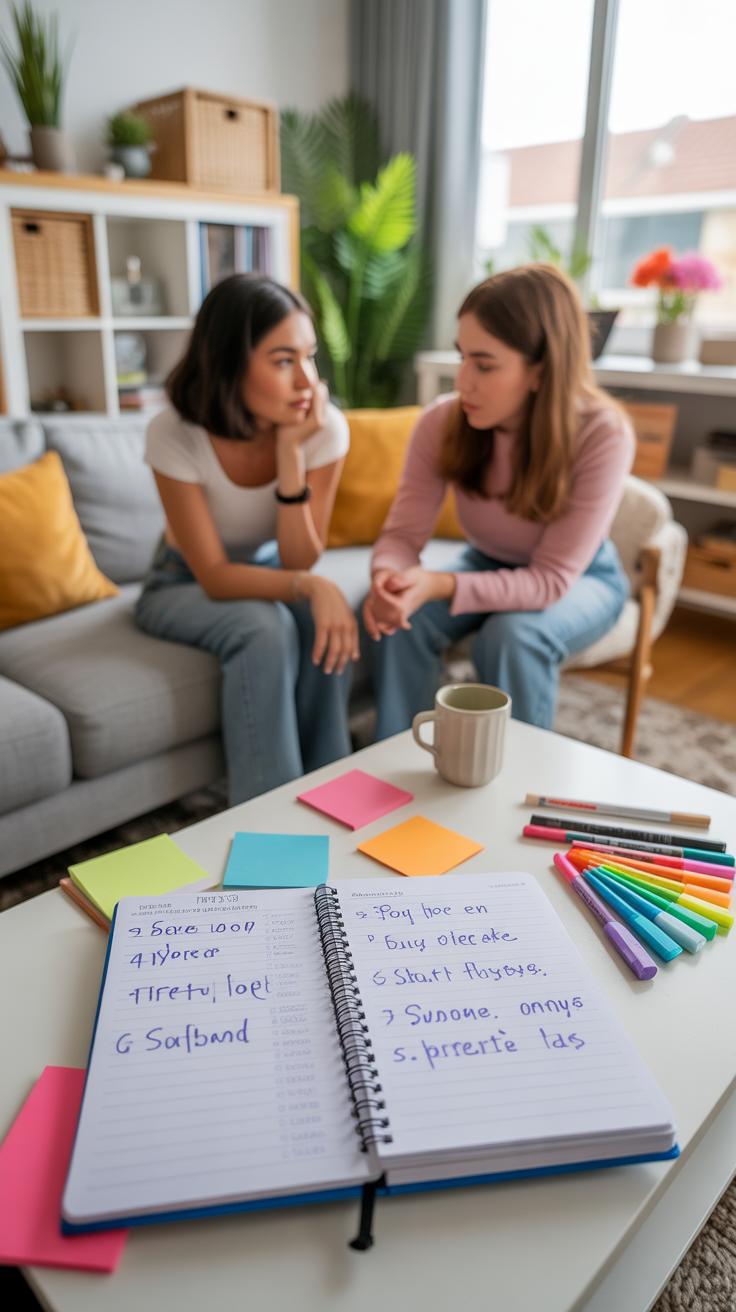
It’s not always obvious what kind of storage your best friend really needs. Sometimes, the solution isn’t just about more boxes or shelves, but the right kind of storage that fits their space and habits. You want a gift that actually helps, not just adds to the clutter.

Take a casual look around their home. Notice where things tend to pile up—maybe it’s a corner with scattered books, or a kitchen drawer that’s always overflowing. Look for underused spaces too, like empty wall areas or the space under a bed. These spots often hold potential for clever storage.
Trying to find out what they want can be tricky without spoiling the surprise. You might ask questions like, “How do you keep your desk organized?” or “What’s your biggest storage headache lately?” These conversations can give hints without making it obvious that you’re planning a gift. Even small comments like “I wish I had a place for all these cables” can be gold.
Think about their lifestyle as well. Are they someone who loves a minimalist space, or does their life involve lots of stuff that needs sorting? Do they have kids or pets that affect how their home stays organized? All these details help you figure out what kind of storage makes the most sense for them.
Choosing the Right Materials for DIY Gifts
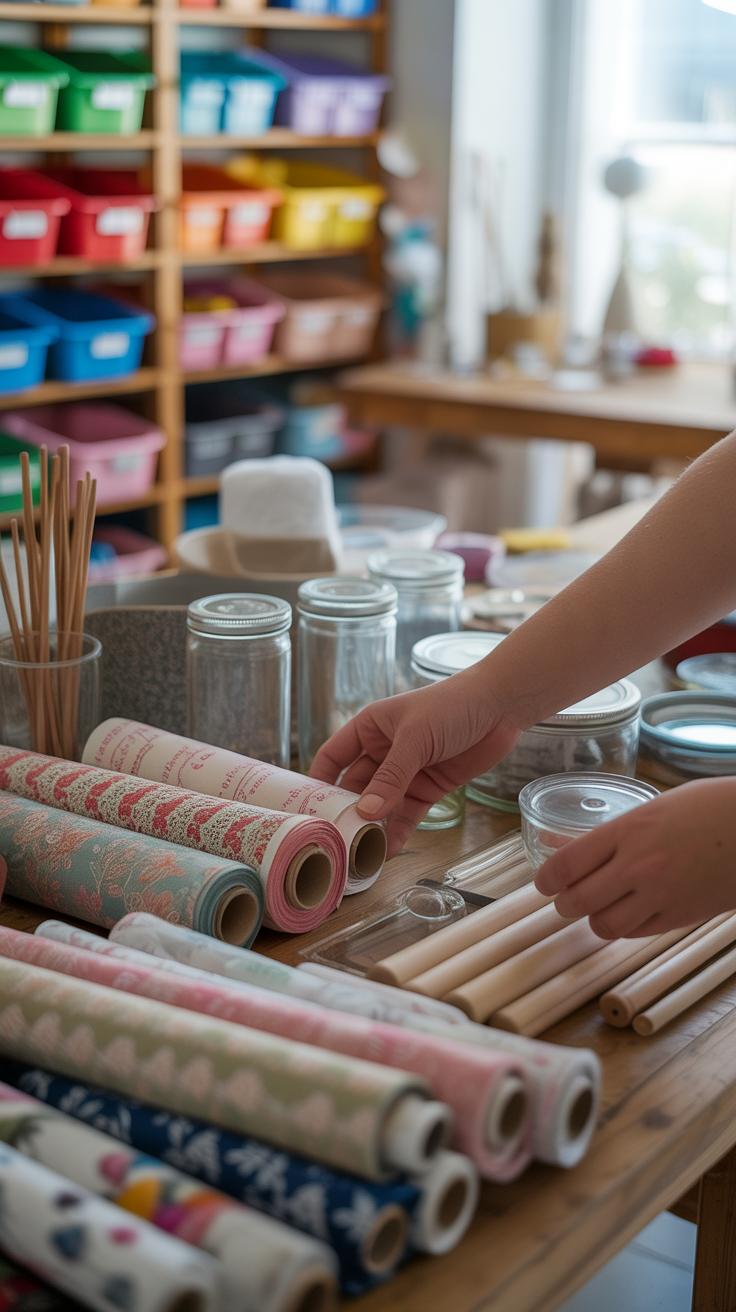
Picking the materials for a DIY home storage gift can feel a bit tricky at first. You want something affordable, easy to work with, and that fits your friend’s style. Sometimes, the simplest option ends up being the best — you don’t always need fancy supplies to make something meaningful and useful.

Think about what your friend’s daily routine looks like, and what kind of space they have at home. That can help narrow down your options. For example, if they tend to have a lot of small items, jars or boxes might work well. If they enjoy a softer, cozier touch, fabrics could add that personal flair without breaking the bank.
Common Materials for DIY Storage
There are a few materials that tend to show up again and again in DIY storage projects, mostly because they’re flexible and readily available:
- Wood: Great for sturdy shelves or custom crates. You can find unfinished pieces that are easy to paint or stain.
- Fabric: Perfect for baskets, bins, or drawer liners. Cotton blends and canvas work nicely since they’re durable but not hard to sew or glue.
- Jars: Glass or plastic, jars are surprisingly versatile; they can store everything from craft supplies to kitchen staples.
- Boxes: Simple cardboard or wooden boxes make a solid base for storage, and decorating them is usually pretty straightforward.
Don’t feel like you have to pick just one either. Sometimes mixing materials actually creates more interesting storage pieces — like a wooden crate with a fabric liner, for example.
Where to Find Supplies
You can find these materials all over, but I’ve found some spots more reliable than others when hunting for bargains or unique pieces. Craft stores are obvious, but prices vary a lot, so keep an eye out for sales or coupons. If you’re patient, those stores often have clearance bins loaded with great finds.
Recyclables are another good option — old jars from the kitchen, discarded boxes from packages, or scraps of fabric that would otherwise go to waste. Sometimes a quick walk around the neighborhood or asking a friend can lead to interesting materials you might not expect.
Online shops and marketplaces also make sourcing easy, especially if you want specific sizes or types of materials. Just watch out for shipping costs; sometimes they make the whole thing less affordable, which kind of defeats the purpose.

Have you ever thought about blending new materials with recycled ones? It might save money and feels a bit better for the planet. Of course, it takes a bit of extra creativity, but it’s definitely doable.
Crafting Simple Storage Boxes and Bins
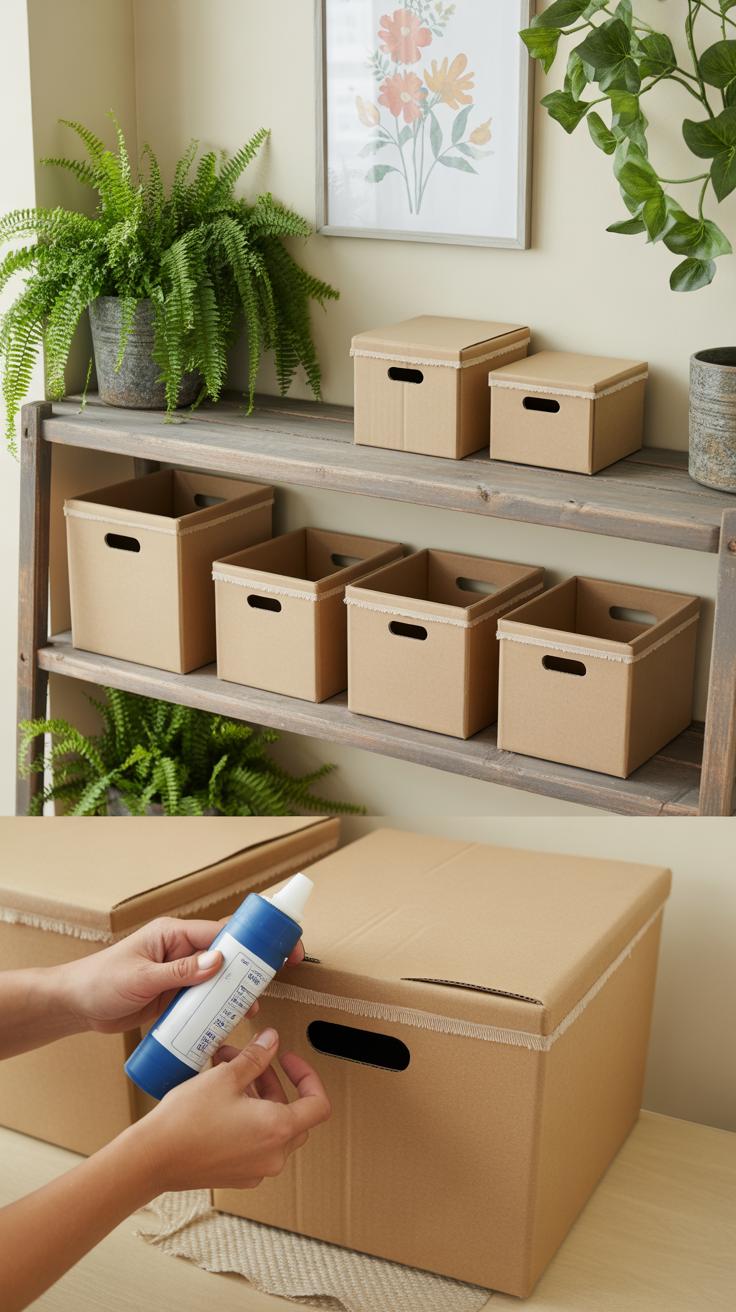
Making storage boxes for your best friend’s home doesn’t have to be complicated. You can start with some sturdy cardboard or thin plywood—both are easy to cut and form. First, measure out the size you want. Think about what your friend might store in these boxes, whether it’s books, scarves, or craft supplies. Then, cut the pieces carefully, usually four sides and a base. Glue or tape them together firmly; sometimes clamps help if you need a tighter hold.
Once the basic shape’s done, the real fun begins. Painting or decorating your boxes gives them personality. Maybe your friend loves soft pastels, or prefers bold, geometric patterns. You can try simple brush strokes, or use tape to create sharp lines for a modern look. Even stenciling initials or small shapes makes a difference. Don’t worry if your first attempt isn’t perfect—the charm often comes from the homemade feel.
Remember, these boxes don’t have to be identical. Mixing sizes or slightly different shapes adds interest on a shelf or in a closet. This way, your gift is not just useful but feels thoughtfully tailored to your friend’s taste and space. What colors or designs would they appreciate most? That’s the question to keep in mind while you create.
Making Personalized Labels and Tags

Labels can turn a simple storage box into something special and useful. When you add a label, you don’t just help your best friend find things faster—you also give the gift more personality. It’s like announcing, “Hey, this space is organized and thought out.” And that little touch can make a big difference in how enjoyable it is to keep things tidy.
If you want to design your own labels, you don’t need fancy tools. You might try hand-lettering on some cardstock or even paper tags. Grab a ruler, some markers, maybe a bit of washi tape. It doesn’t have to be perfect. Sometimes uneven lines or a bit of smudging adds character. But if you prefer a cleaner look, printing labels from your computer is easy too. Free templates online can guide you, and you can personalize with your friend’s favorite colors or themes.
Fonts and colors matter more than you might think. You could pick playful, handwritten fonts for a casual vibe, or go for minimal and sleek typefaces to match a modern décor. Color-wise, matching the label shades to the gift or the room’s style feels cohesive. Bright pops can energize, while soft pastels calm down a busy space. Think about what your friend likes—maybe you want to mix it up with subtle patterns or metallic touches. Those little choices speak volumes.
Building Wall Mounted Shelves
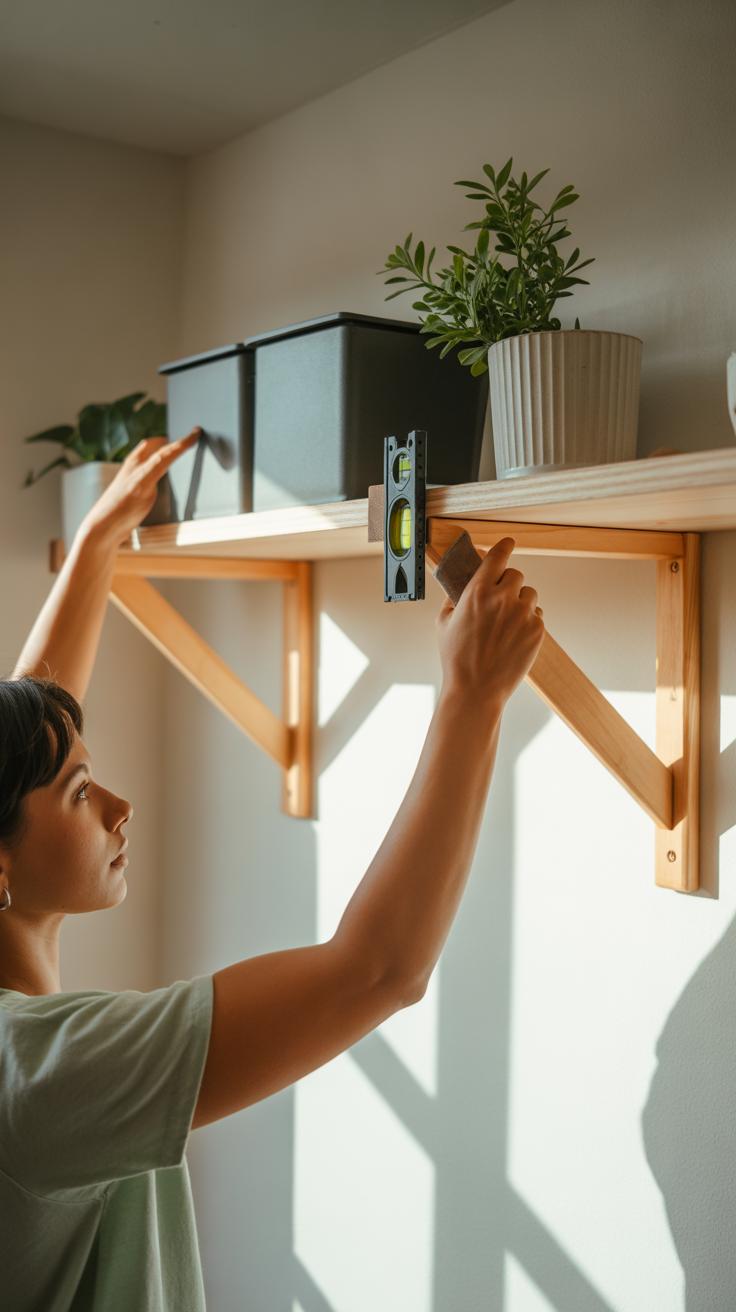

Wall-mounted shelves can really change the vibe of a room while saving valuable floor space. If your best friend’s home storage is a bit tight or cluttered, this gift could be just what they need. It’s surprisingly easy to make simple shelves that bring function and a bit of style to any space. You don’t have to be a master carpenter—just a bit careful and patient.
Tools You Will Need
Here’s a basic list of tools that you’ll want at hand before you start:
- A saw (a hand saw works fine, or a power saw if you have one)
- Measuring tape
- A pencil for marking
- A level for straight shelves
- Drill with screwdriver bits
- Wall anchors and screws
- Sandpaper or a sanding block
- Optional: paintbrush and paint or stain
That’s pretty much it. You might find some extra items helpful depending on your design choice, but these cover the basics well.
Easy Assembly Tips
First, decide where to put the shelves and how wide or deep you want them. Measuring twice and cutting once is advice for a reason—you’ll appreciate being extra precise here. Mark the wall gently before drilling to avoid unwanted holes. Using a level helps you avoid awkward, slanted shelves—though sometimes a slight tilt can look intentional and charming if done right.
Cut your wood carefully, sanding the edges so nothing’s rough or sharp. When attaching the brackets or mounting hardware, make sure they’re firmly fixed into the wall studs if possible—drywall alone won’t hold up heavy loads for long.

Then, calmly attach the shelves to the brackets. You might wonder if it’s better to do everything first and paint later, or paint before mounting. Both ways work, depending on your workspace and patience. Just consider what’s easier for you.
Lastly, think about how your friend might use these shelves. Books? Plants? Trinkets? This helps decide the number and size of shelves you want to make. It’s a practical gift that also shows you’ve thought about what really suits their space—not just something thrown together without planning.
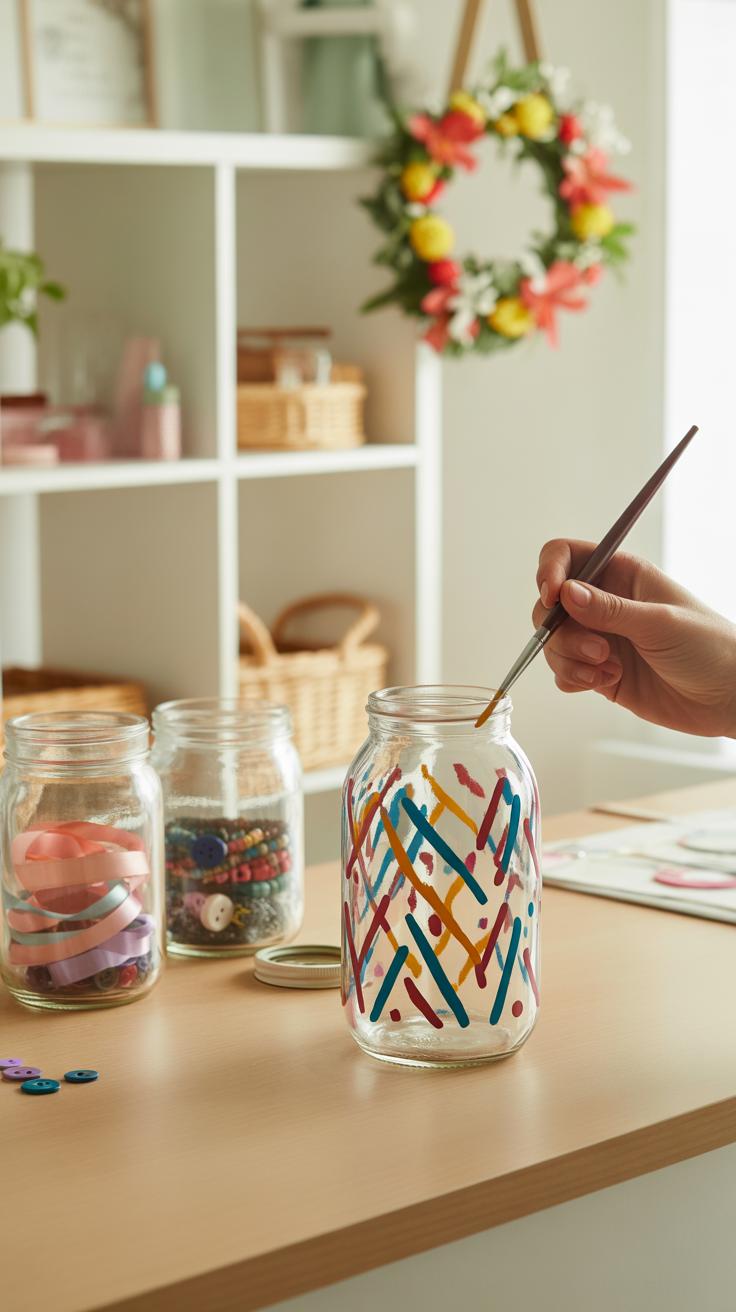
Creating Decorative Jars and Containers
Cleaning and Preparing Jars
If you have a collection of old jars or containers lying around, they can become surprisingly useful for home storage—once you get them properly cleaned and ready. Start by rinsing the jars with warm, soapy water to remove residual oils or dirt. Sometimes the labels are stubborn. Soaking jars in hot water for about 10 to 15 minutes usually loosens those sticky labels.
You might need to scrape off the remaining glue with a little baking soda paste or rubbing alcohol—this often works better than scrubbing alone. Be patient here, because half-removed labels or sticky spots can ruin the final look when decorating. Also, check the lids and give them a quick scrub; rust or grime on lids is common, but you can either clean them thoroughly or replace them.
Decorating Jars for Style
Once clean, your jars become blank canvases. Painting them is a popular route. Try chalk paint—it wears well and gives a soft, matte finish that’s easy to distress if you want a vintage look. Spray paint works too, especially if you want a smooth, glossy surface, but it’s trickier to control indoors.

Besides paint, adding ribbons or twine around the neck of the jar instantly adds charm without much effort. You can also glue on lace, fabric scraps, or befest small wooden shapes or beads to personalize your jars. Don’t overlook labeling options; handwritten tags or chalkboard stickers can keep things organized and cute.
Another idea is filling jars with decorative materials like colored sand, pebbles, or dried flowers to enhance their presence, even if not used fully for storage. The goal is to make these storage pieces blend with your friend’s home style while being functional. Have you ever noticed how a simple jar turns a cluttered countertop into something a bit more intentional? This little project might surprise you with how much style it adds with very little effort.
Using Fabric for Soft Storage Solutions
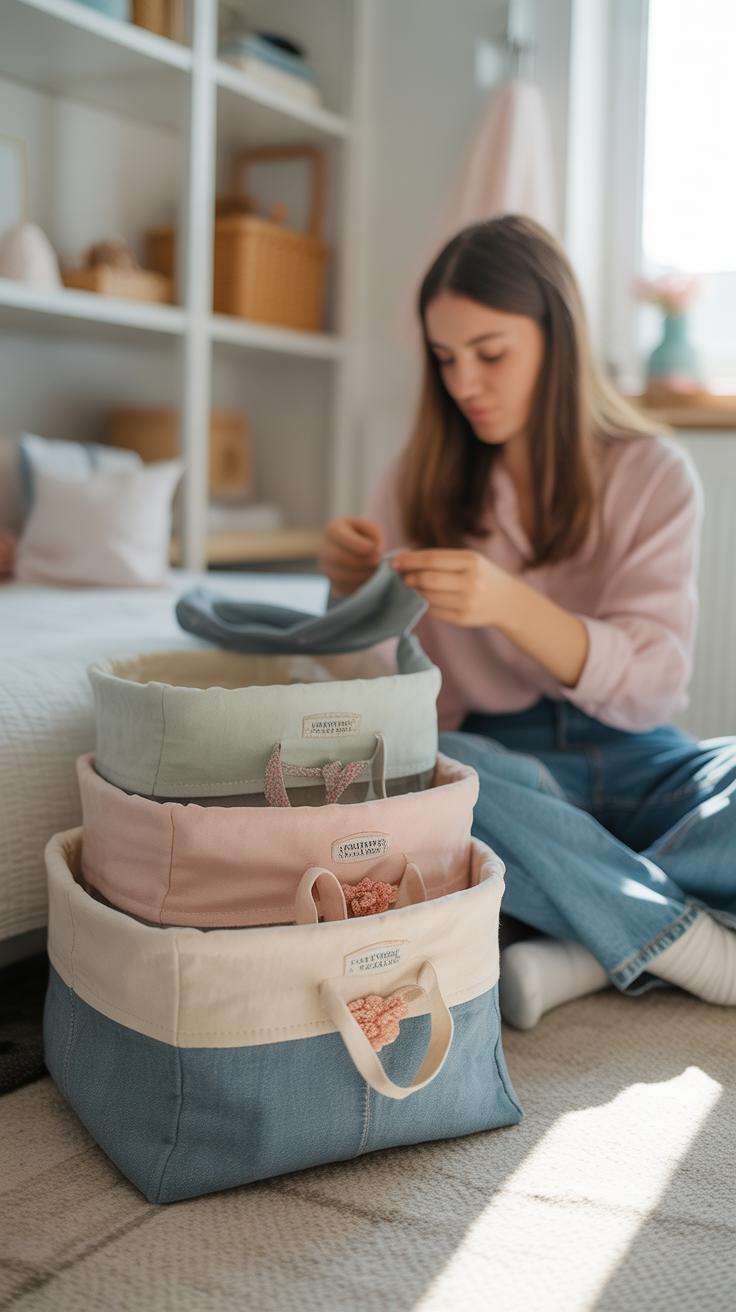
Fabric baskets and pouches offer a charming alternative to rigid storage options. They’re lightweight, flexible, and fold away easily when not in use—perfect for a best friend who likes to keep things tidy but not tedious.
Choosing fabric might feel tricky at first. You’ll want something sturdy enough to hold shape yet attractive enough to brighten up a shelf or desk. Cotton canvas is a solid pick because it holds up well over time. But don’t overlook linen or denim—both provide texture and a bit of weight, which helps baskets stay upright. If your friend loves patterns, floral or geometric prints can add personality without overwhelming a room.

If sewing feels intimidating, no worries. Simple stitches along straight edges can be enough to form a basket, especially if you’re using thicker fabric. You can also create no-sew pouches by folding fabric creatively and securing it with fabric glue or iron-on hem tape. I once made a pouch this way and was surprised at how durable it turned out.
- Use an old T-shirt or scrap fabric for eco-friendly options.
- Try adding interfacing to thin fabric for extra sturdiness.
- Experiment with different sizes to store anything from jewelry to office supplies.
The great thing about fabric storage is that mistakes aren’t disasters; they’re just soft edges to fix or fold differently. Could you imagine the satisfaction your friend will get from something both pretty and practical?
Adding Personal Touches to DIY Gifts
When you make a DIY gift for your best friend, it’s not just about the object itself—it’s about showing you really get their style, their quirks, the little things that make them, well, them. So, how do you do that? Start small but thoughtful.
Think about their favorite colors and patterns. Does your friend love soft pastels, bold geometric shapes, or maybe something floral? Picking materials that match those preferences shows you’re paying attention. For example, if they adore navy and gold, use fabric, paint, or accessories in those shades. Or if they’re into boho vibes, maybe fringe, earthy tones, or natural textures work better. It might sound obvious but trust me, it makes a difference.
Now, layering on meaning can be simple yet powerful. You could write a short note and tuck it inside the gift, or attach a tiny charm that represents a memory you share—maybe a small key if your friendship “unlocked” something important. These little extras don’t need to be fancy. Sometimes a handwritten message, even in messy handwriting, feels more genuine than anything else. This kind of personal touch might just make your gift stand out in ways beyond the obvious.
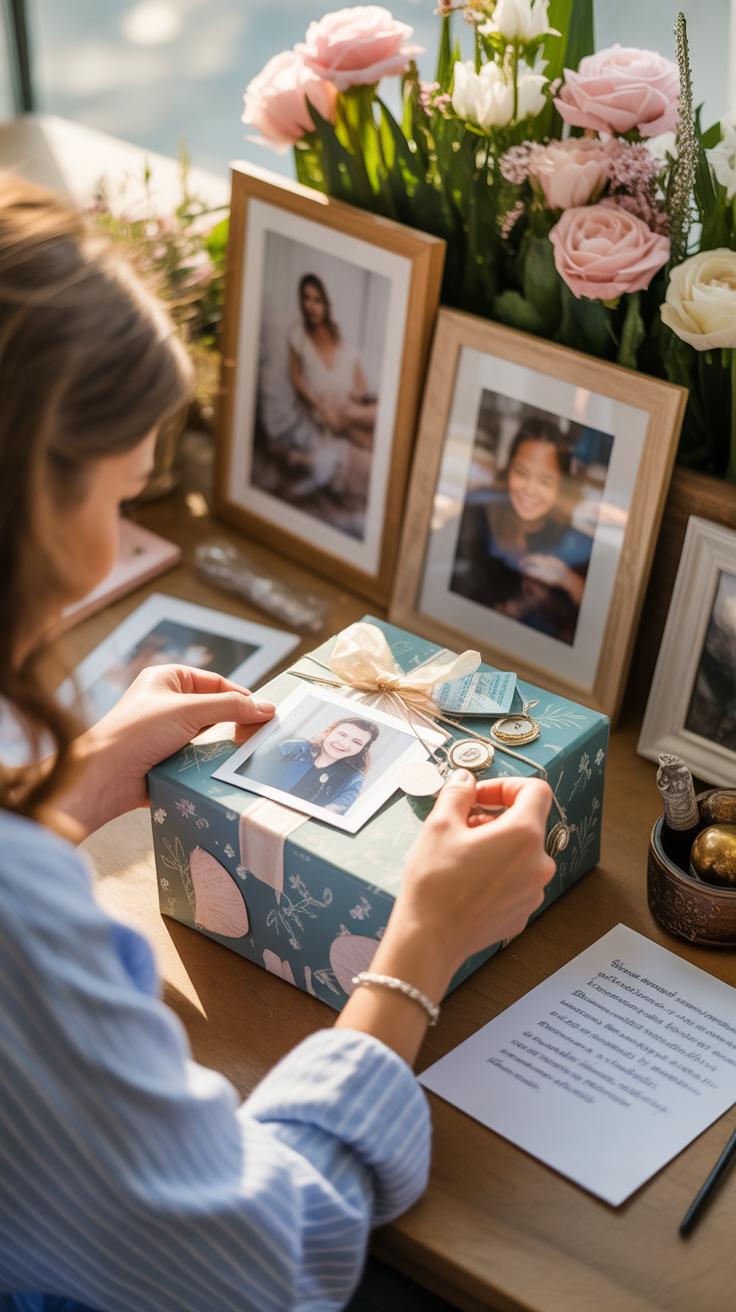
Packaging and Presenting Your DIY Gift

How you wrap your gift can say a lot about the care you put into it. When you’re giving a DIY home storage item to your best friend, presentation really matters—sometimes more than the gift itself. You want it nice, but not over the top. This is where eco-friendly wrapping options come in handy. Think beyond standard wrapping paper. You could use a reusable cotton bag that your friend can keep and use again. Or try kraft paper tied with twine for a rustic, simple look. Fabric wraps, like a pretty scarf or piece of patterned cloth, add a soft personal touch too. They don’t just protect the gift but offer a second gift in themselves.
Sometimes, I wonder if a gift tag really changes the vibe, but a little card can make a big difference. It doesn’t have to be fancy. A simple cardstock piece, cut into a shape you like, works perfectly. Then, add a handwritten note—maybe a quick inside joke or a sweet quote you both share. It makes unwrapping more meaningful. You could even decorate the tag with stamps or drawings if you feel creative. The tag is the final touch that ties your effort together, showing your friend you thought about them at every step.
Conclusions
Making a diy gift for your best friend to beautify their home storage is a meaningful way to show you care. These gifts do more than just organize; they bring joy and personality to any room. By choosing a project that matches your friend’s style, you create a lasting memory and a useful item.
With simple materials and your hands, you can turn basic storage into art. This type of gift encourages creativity and strengthens friendship. Next time you want to give something special, think about crafting a diy storage gift that will brighten your best friend’s home.


