Introduction
Renovating your kitchen can feel overwhelming, especially when you want to improve your home without spending too much. DIY kitchen renovation offers a way to update your space on a budget. It lets you take control and make decisions that fit your style and needs. There are many ideas you can try, from painting cabinets to adding new hardware.
This article explores practical tips for a budget-friendly kitchen renovation. You will learn how to plan your project, choose materials, and apply techniques to transform your kitchen step by step. Whether you want a small change or a full makeover, these ideas will help you create a kitchen that feels fresh and welcoming.
Understanding Your Kitchen Needs and Budget

Assessing Your Kitchen Space
Before grabbing a hammer or shopping for new cabinets, take a moment to step back and really look at your kitchen. What works for you? What doesn’t? Try walking through a typical day in your kitchen, paying attention to how the space feels. Is there enough countertop space? Are your storage areas chaotic or perfectly organized? Little things like awkward corner cabinets or a lack of drawer space can add up to daily frustrations.
Write down what you use most often and where it’s located. You might realize, for example, that your pots are too far from the stove or your daily dishes don’t have a convenient spot. Don’t forget to check lighting and how it impacts your workspace. Sometimes improving just one small area can make a big difference, and that’s easier to fix than an entire layout overhaul.
Setting a Renovation Budget
Money—it always comes first. You probably have a number in mind, but putting it on paper helps a lot. Start by listing the changes you want to see. Some might be non-negotiable, like fixing a broken drawer or worn flooring. Others, like fancy backsplashes, might be less essential. Separate wants from needs.
Think about how much you can realistically spend right now and what you might stretch to cover. Reminding yourself that you can always upgrade in stages helps ease pressure. You don’t have to do everything at once. A practical budget often means prioritizing fixes that improve daily use or safety over purely cosmetic updates.
Break your budget down:
- Materials
- Tools (if you don’t have them already)
- Unexpected expenses (set aside about 10% just in case)
- Time – even your own time has value, especially if it means less time off work
This kind of rough budgeting isn’t about being perfect. Think of it more like a guide to avoid surprises. And if you decide to adjust, well, that’s part of the process too.
Planning Your DIY Kitchen Renovation
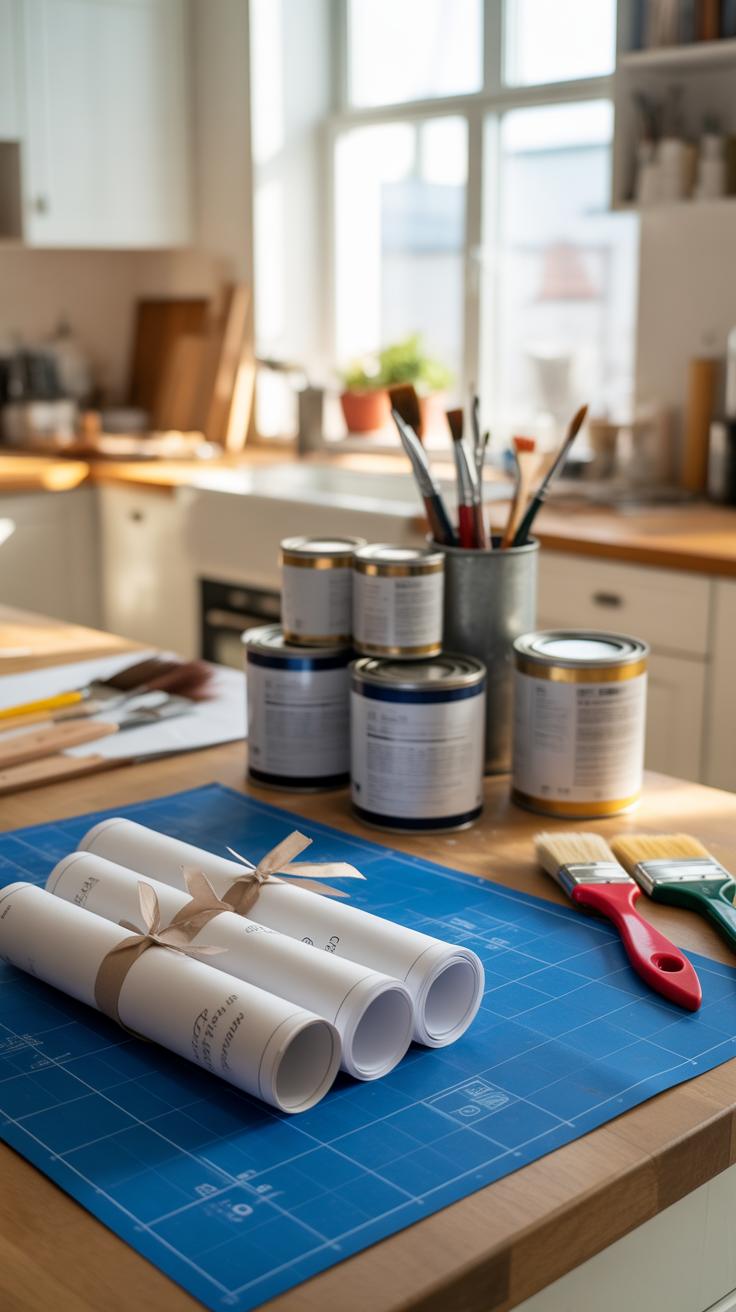
Creating a Project Timeline
When tackling your kitchen renovation, breaking the work into smaller phases makes everything less overwhelming. Start by listing all the key steps: demolition, electrical or plumbing changes, cabinet work, countertops, and finishing touches like paint or hardware. Then, assign realistic deadlines to each phase. Don’t rush—give yourself a cushion for unexpected delays, especially if you’re balancing this with everyday life.
You might spend a weekend tearing out old cabinets, then a few evenings prepping for painting, for example. Setting milestones helps you track progress and stay motivated. Also, think about the order—finishing the backsplash before installing new cabinets won’t make much sense, right? Sketching a rough calendar, whether on paper or a simple app, can keep you grounded as the weeks pass.
Listing Materials and Tools
Next, make a thorough list of everything you’ll need. This includes paint, primer, brushes, sandpaper, replacement cabinet hinges, screws, and possibly new lighting fixtures. For tools, think of screwdrivers, a drill, paint trays, and maybe a level and measuring tape. Don’t forget safety gear—gloves, masks, and goggles, too.
You might already own some basics, so check your supplies first. For savings, consider secondhand stores, online marketplaces, or clearance sales at home improvement stores. Sometimes reclaimed wood or gently used fixtures can add character without the cost.
Getting this list right upfront can save trips to the store mid-project and stop you from overspending on impulse buys. It also gives a clearer picture of your total budget, so be honest with yourself about what tools you might want to rent instead of buy.
Updating Cabinets Without Replacing Them
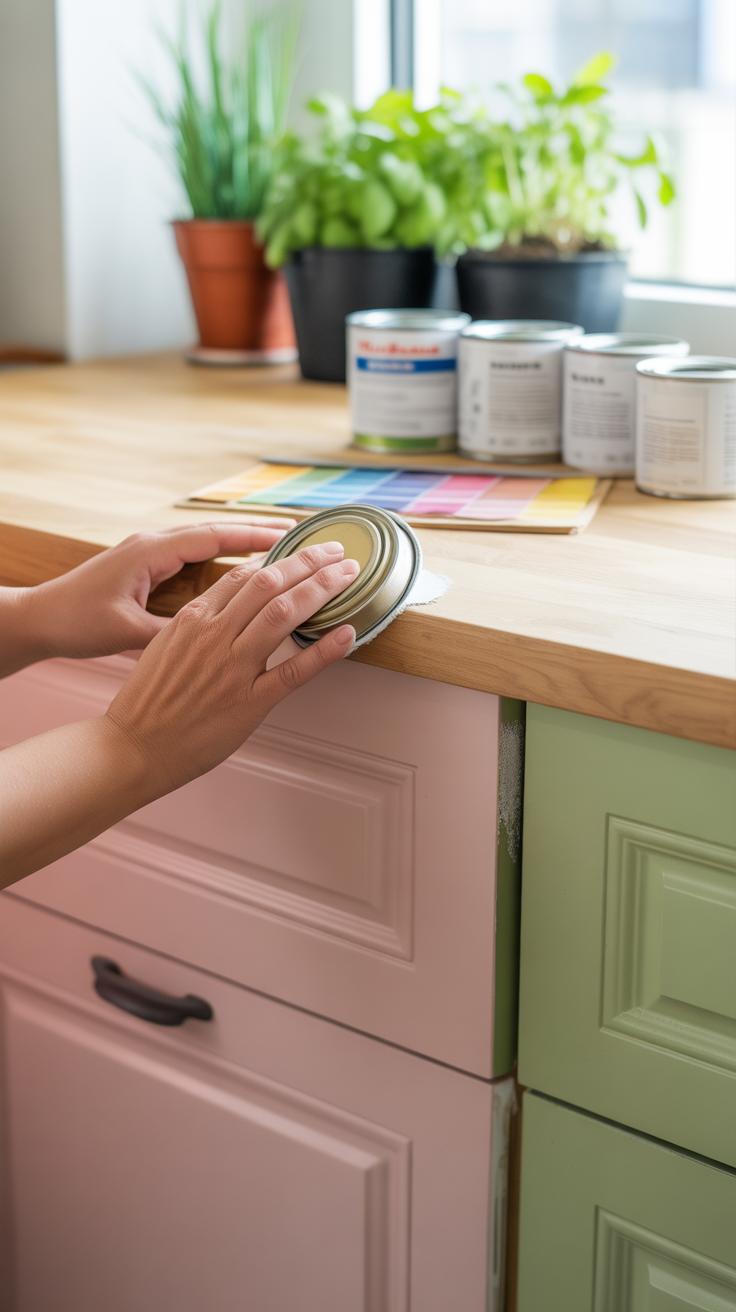
Kitchen cabinets take up a lot of visual space, so changing them can make a big impact. Yet, replacing cabinets completely is pricey and time-consuming. Instead, you might want to explore simpler, budget-friendly ways to refresh them. Painting, refinishing, or applying thermofoil coverings all offer distinct routes to improve your cabinetry without starting from scratch.
Painting or refinishing lets you keep your existing structure but gives the surface a new life. The process requires some patience—cleaning thoroughly, sanding to remove old finishes, priming, then painting or staining with multiple coats. It’s not always a quick weekend job. Dust and uneven layers can be a challenge, but the payoff of a smooth, updated look often makes it worth your while.
Thermofoil is another option you might not have considered. It’s a plastic laminate heated and molded onto cabinet doors, creating a smooth, durable surface. You get a fresh finish that resists chipping and is fairly easy to clean. Thermofoil is budget-friendly and quicker to install than full replacement. On the downside, it can peel or discolor over time, especially near heat sources.
Between painting, refinishing, and thermofoil, you’ll want to weigh durability, appearance, and how much labor you’re ready to invest. What suits your kitchen’s style? What fits your schedule and budget? Often, taking even a little time to update cabinets yourself can lift the whole room, offering a fresh feel without the cost or hassle of full renovation.
Painting and Refinishing Cabinets
Brushing on paint or stain can turn worn cabinets into focal points. First, remove all cabinet doors and hardware—this makes the job cleaner and easier. Next, clean every surface well. Your paint won’t stick to grease or dirt. Then, lightly sand cabinets to help the new finish bite. If you skip sanding, the paint might peel later.
Apply a primer designed for cabinets, which blocks stains and helps paint adhere. Let it dry fully before painting. Choose a durable paint, like semi-gloss or satin, made for kitchens. Apply at least two coats, allowing for drying time between. For a stained look, use wood stain and finish with a clear protective coat instead.
Finally, don’t rush putting everything back together. Let your cabinets dry completely to avoid smudges or tackiness. If any brush strokes stand out, a light sanding and touch-up coat can smooth things over.
Using Thermofoil for Cabinet Doors
Thermofoil is a synthetic material that wraps cabinet doors in a smooth, uniform finish. It’s created by heating vinyl and pressing it onto MDF or particleboard surfaces. This seals the doors and offers a clean, moisture-resistant layer—a bonus in kitchens.
DIY installation requires careful measurement and a heat gun for some adjustments. The main appeal is speed and cost. Thermofoil doors cost less than wood or painted finishes, and they come ready to install, so no painting or staining is necessary. If you want a sleek modern look with minimal fuss, this could be the way to go.
Bear in mind, though, that thermofoil doesn’t do well with heat or sharp impacts. Near ovens, it might bubble or peel after years. Still, for many kitchens, it’s a practical balance between new cabinets and simple surface refreshment. You might find it a surprisingly effective way to upgrade your kitchen’s feel without heavy lifting.
Replacing Hardware for a Quick Update
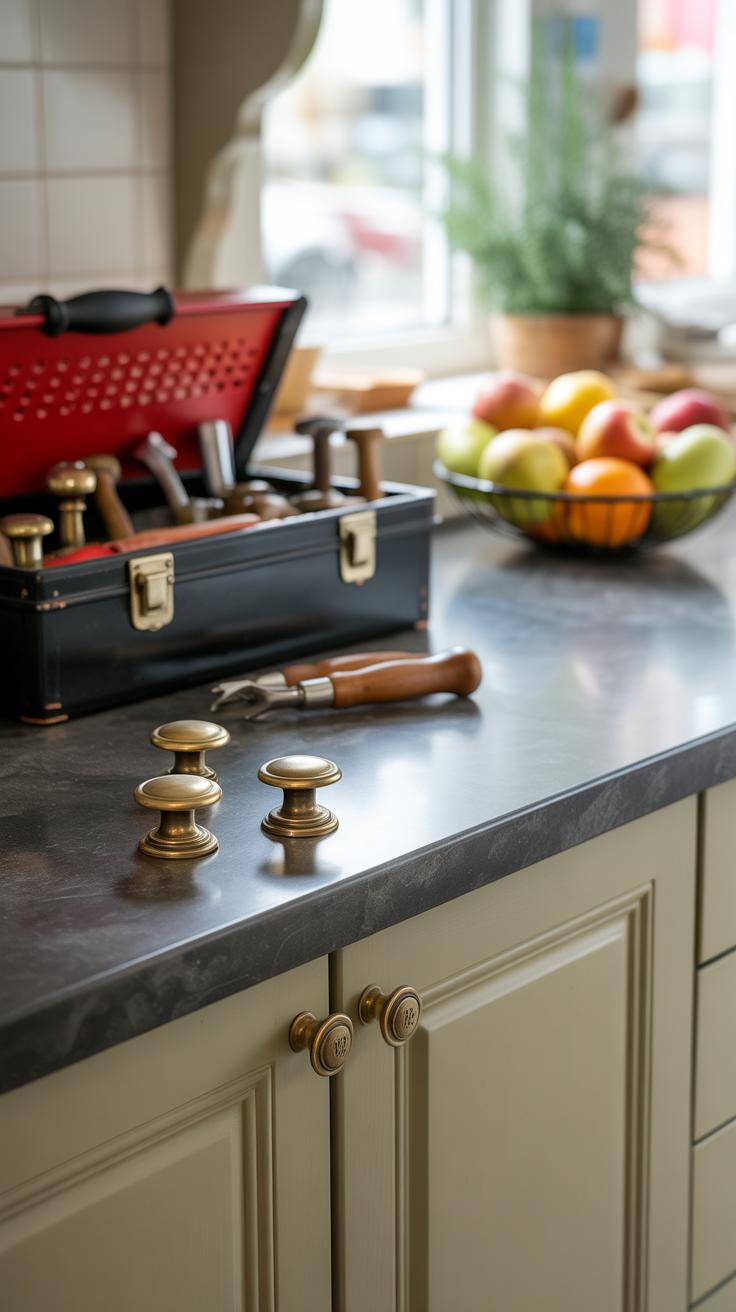
Swapping out cabinet knobs, pulls, and handles might sound small, but it can change your kitchen’s look almost instantly. When I tried this myself, it felt like giving my kitchen a fresh face without the hassle or cost of full renovations. New hardware can make old cabinets feel modern—or add a touch of character if that’s what you want.
Choosing the right style can be tricky because there are so many options: sleek metal pulls, vintage ceramic knobs, or simple wooden handles. Think about what fits your kitchen’s vibe—do you lean toward minimalist, rustic, or maybe something in between? The finish matters just as much as the style. Polished chrome looks very different from matte black or brushed brass, and choosing the wrong one can clash with other elements, like your faucet or light fixtures.
Installing new hardware yourself is surprisingly easy. First, remove the old pieces by unscrewing them—most have just two screws holding them on.
- Line up the new hardware with existing holes to avoid drilling. If the holes don’t match, you might have to fill old holes with wood filler and sand before drilling new ones.
- Use a screwdriver to attach the new pulls or knobs firmly but avoid over-tightening, or you risk damaging the cabinet surface.
- Test each piece to make sure it’s secure and feels comfortable to grip.
It’s a quick update, but definitely one that makes you notice the difference right away. Have you ever hesitated upgrading your hardware? Maybe because it felt too minor? Give it a try—you might be surprised how much impact this simple change delivers.
Refreshing Walls and Backsplash
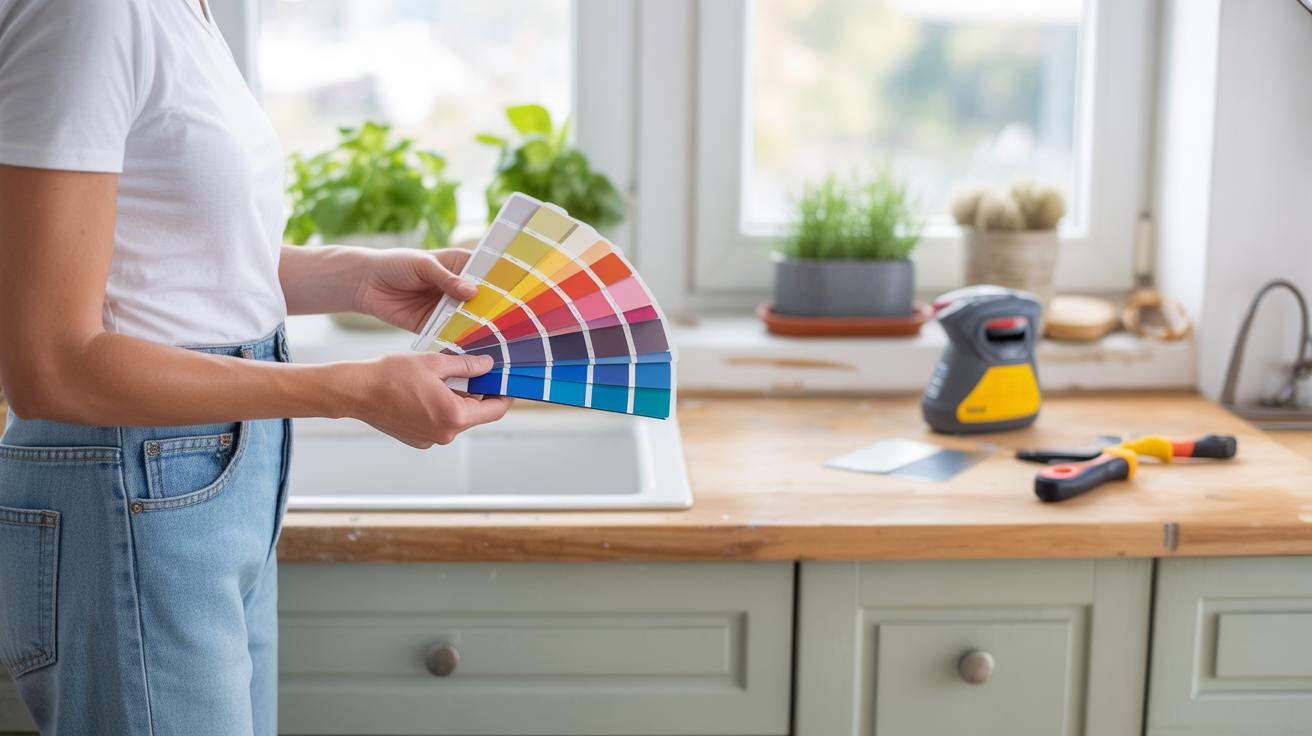
Painting your kitchen walls can change the whole mood of the space, often for less than you might expect. It’s one of the easiest updates you can handle yourself, even if you’re not exactly a pro. Choosing the right paint matters, though—kitchens get a lot of moisture and scrapes, so you want something that stands up to both. Look for paints labeled “kitchen” or “bathroom”—they usually resist stains and clean up well.
When picking colors, think about lighting and your existing fixtures. Lighter shades often make the space feel bigger and cleaner, but sometimes a rich, moody tone works better if your kitchen gets plenty of natural light. It’s tempting to pick trendy hues, but you might want to stick with something you won’t tire of quickly. Just curious—have you ever been surprised by how a bold color felt once it was on the wall?
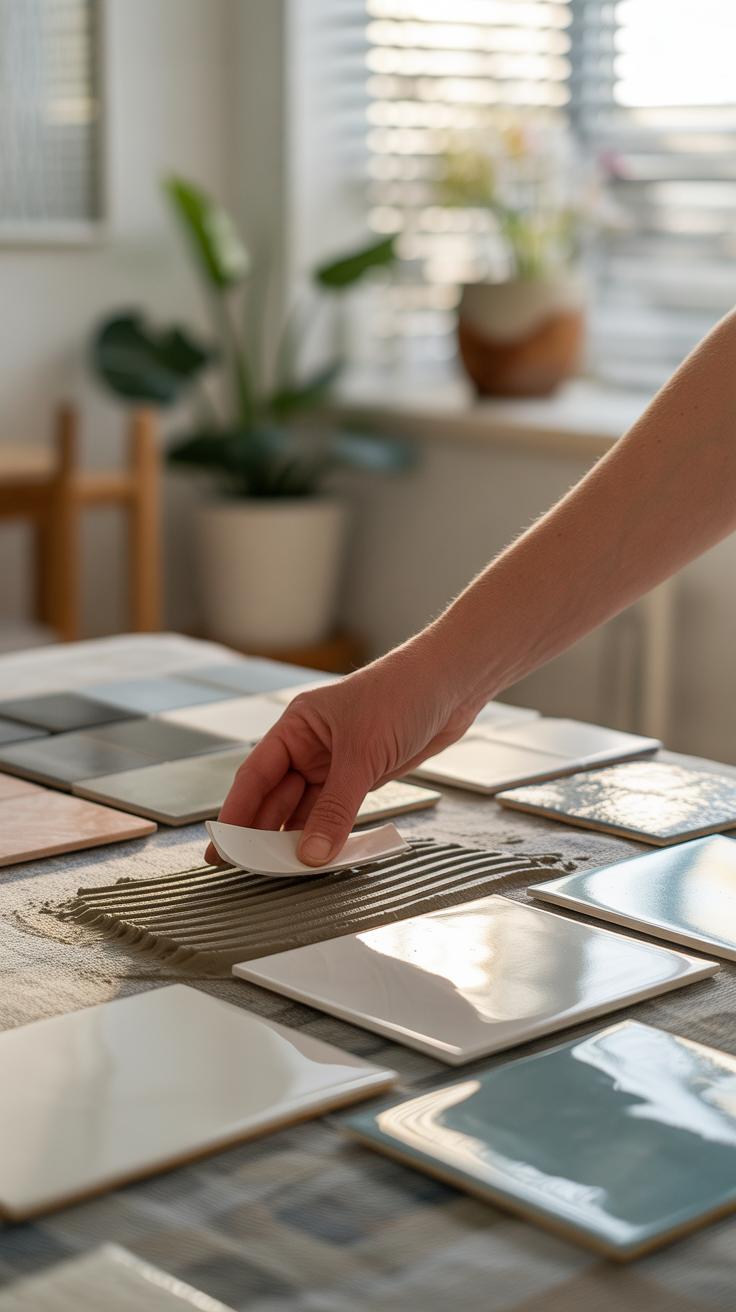
Now, for the backsplash—this can be a tricky spot to tackle, but there are some clever DIY paths that don’t require major skills or costs. Peel-and-stick tiles are a favorite for many trying to avoid the mess of grout or complicated tiling. They come in all sorts of styles—subway tile looks, metallic finishes, even faux stone. If tiles aren’t your thing, try painting a backsplash area using a stencil or painter’s tape to create a simple geometric pattern. It’s a subtle approach that still pops.
Remember, the backsplash and walls are right where everything happens in your kitchen. They’ll get splattered and touched a lot, so think about durability, but don’t shy away from creativity. Maybe you’ll find that something slightly imperfect or a bit different is exactly what your kitchen needs.
Improving Kitchen Lighting
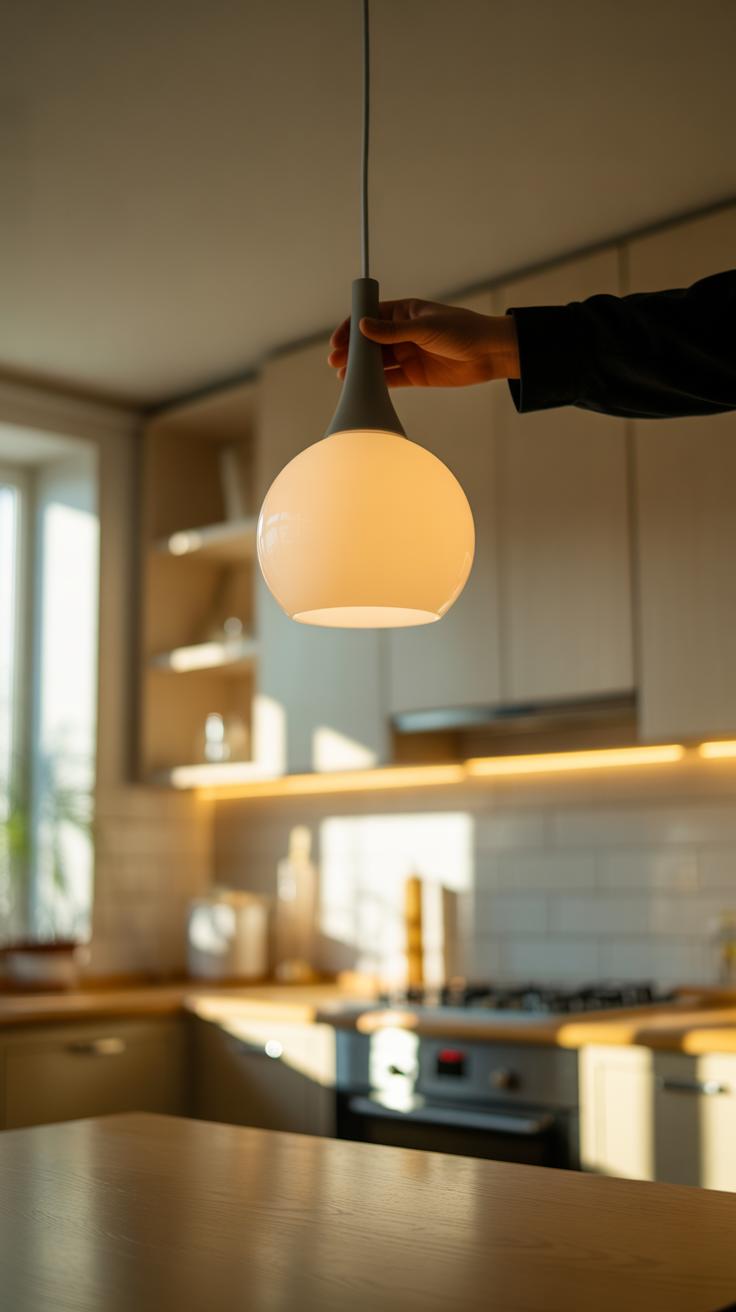
Lighting can completely change how your kitchen feels. Switching out old bulbs for LED ones is a simple upgrade that makes a noticeable difference. LED bulbs use less electricity and usually last longer, so you save money over time—though they might cost a bit more upfront. You could pick warm or daylight tones depending on what kind of atmosphere you want. I found that daylight LEDs make the whole space feel cleaner and less gloomy, which is especially nice if your kitchen doesn’t get much natural light.
Besides standard bulbs, under-cabinet lights offer targeted illumination right where you need it—on countertops. It’s surprising how much brighter your workspace becomes, and tasks like chopping vegetables get easier. You don’t have to call an electrician; most under-cabinet lights plug into an outlet or run on batteries.
Choosing Energy-Efficient Lighting
LED bulbs make sense for kitchens. They’re cooler to the touch and reduce heat build-up, which matters when you’re cooking. Plus, they come in various shapes and sizes, so it’s pretty flexible for different fixtures. Think about track lights for directing beams where you want or simple flush mounts to spread light evenly. Even a few LED spotlight bulbs can lift dim corners.
The energy savings may feel small day-to-day, but they add up—and you might not notice a dip in brightness, which surprised me. Some LEDs can dim too, though not all models handle dimmers well, so check labels carefully if you want that feature.
Installing Under-Cabinet Lights
Adding under-cabinet lights isn’t tricky, but a few small steps help avoid mistakes:
- Measure the length of your cabinet’s underside to know how many light strips or puck lights you need.
- Choose between plug-in models or hardwired ones; plug-ins are easier and require no wiring knowledge.
- Clean the cabinet surface to ensure adhesive sticks well.
- Position the lights evenly along the cabinet bottom.
- If it’s plug-in, find a nearby outlet or use a discreet extension cord routing to keep it tidy.
- Test the lights before permanently fixing them to confirm placement.
I once struggled with uneven light placement, which felt distracting. So, taking a moment to plan pays off. If you want a fancier look, motion-activated models can turn on lights automatically, but they cost more and add complexity. Mostly, under-cabinet lighting brightens your kitchen’s work zones and adds a bit of flair without rebuilding anything fancy.
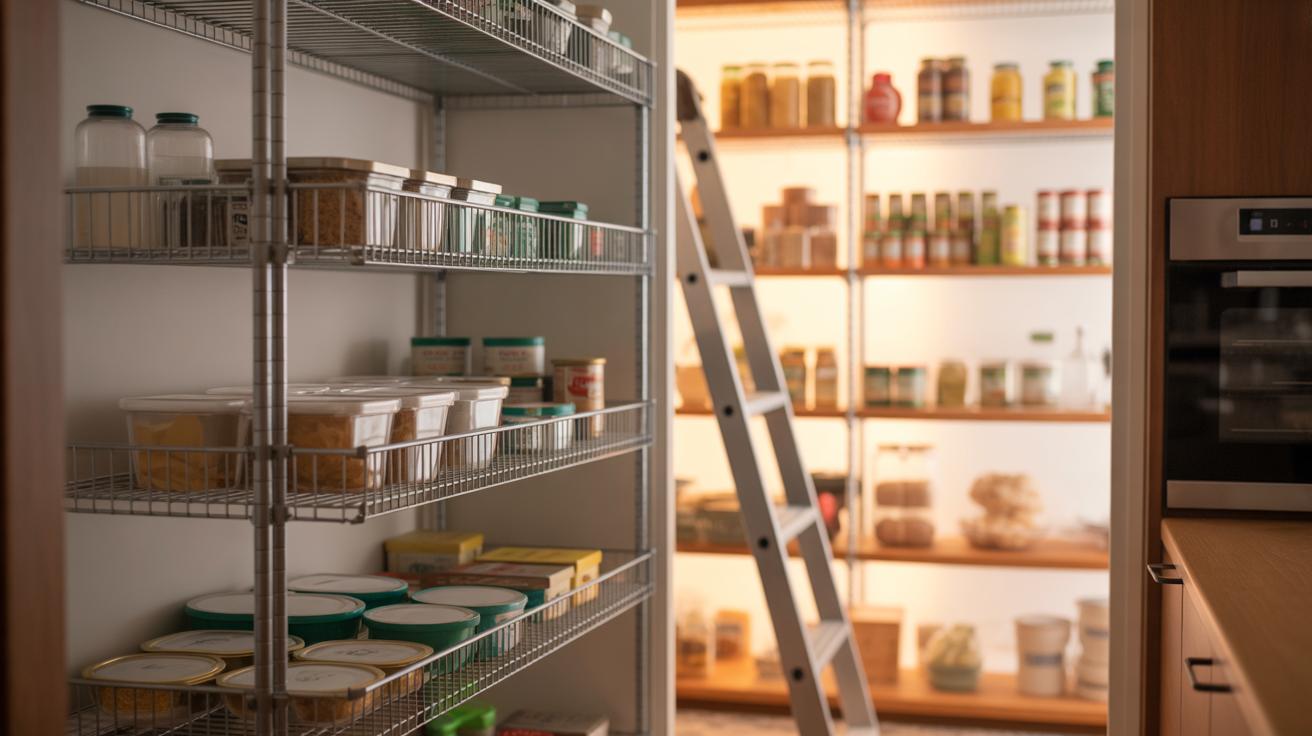
Adding Open Shelving and Storage Solutions
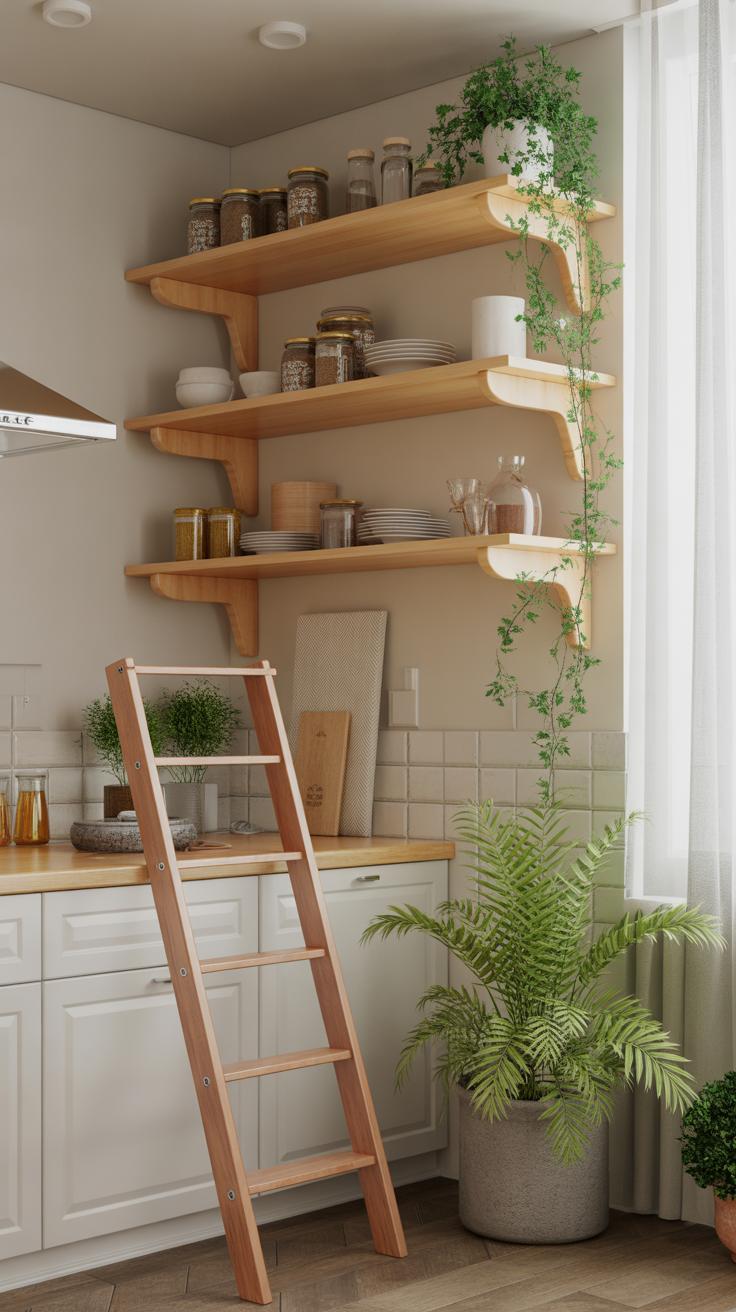
Open shelves can do more than just increase storage—they let you display your favorite kitchenware in a way that feels personal and inviting. When you swap out some upper cabinets for open shelving, you instantly make the room feel less cramped. But maybe you worry about dust or clutter? It’s a fair concern, though with good organization, open shelves can actually encourage you to keep things neat.
For DIY shelving, think about using reclaimed wood or simple pine planks—it’s affordable and easy to work with. You don’t need fancy brackets; even sturdy metal L-brackets or thick leather straps can hold shelves securely. Just sand and seal the wood yourself, it’s less intimidating than you might expect, and you can choose a stain or paint to match your style.
When it comes to organizing items on your shelves, try grouping things by use or size. Keep frequently used items front and center. Mixing baskets or jars with labels can tame smaller items. Don’t hesitate to leave some space; overcrowding defeats the point of open storage. Also, consider rotating seasonal tools or decor to keep things fresh and purposeful.
Building Simple Open Shelves
Start with measuring your wall space and decide the length and depth of your shelves—usually around 10 to 12 inches deep works well for kitchen basics. Grab pine boards from your local hardware store. You might need a saw or ask for it to be cut there, so don’t shy away if you’re not confident using power tools.
Next, pick your supports. Metal brackets are reliable and cheap, but wood cleats or even leather straps add character. Use a level to mark bracket placement carefully—it matters for a straight shelf! Pre-drill holes to avoid splitting the wood.
Sand the wood, then paint or stain it. When dry, secure the brackets to the wall—studs are best for support—and mount your shelf. It’s straightforward, and the result feels quite satisfying, even if the edges aren’t perfectly smooth. Imperfect shelves still shine when they hold what you love.
Organizing Kitchen Items Efficiently
Once shelves are up, focus on function over looks at first. Sort your kitchen items by how often you use them. Place everyday plates and cups on lower shelves for easy reach; reserve higher spots for decorative or rarely used items.
Use containers for grouping small things—like spices, teas, or snacks. Clear jars can show contents at a glance, or try labeled baskets for less tidy items. This way, you avoid the “junk pile” impression open shelves sometimes get.
Inside cabinets, consider vertical dividers for baking sheets or trays. Pull-out bins or lazy Susans can bring order to deep corners. And don’t forget to simply declutter—how many coffee mugs do you really use? Sorting stuff out frees space, which feels oddly rewarding once you start.
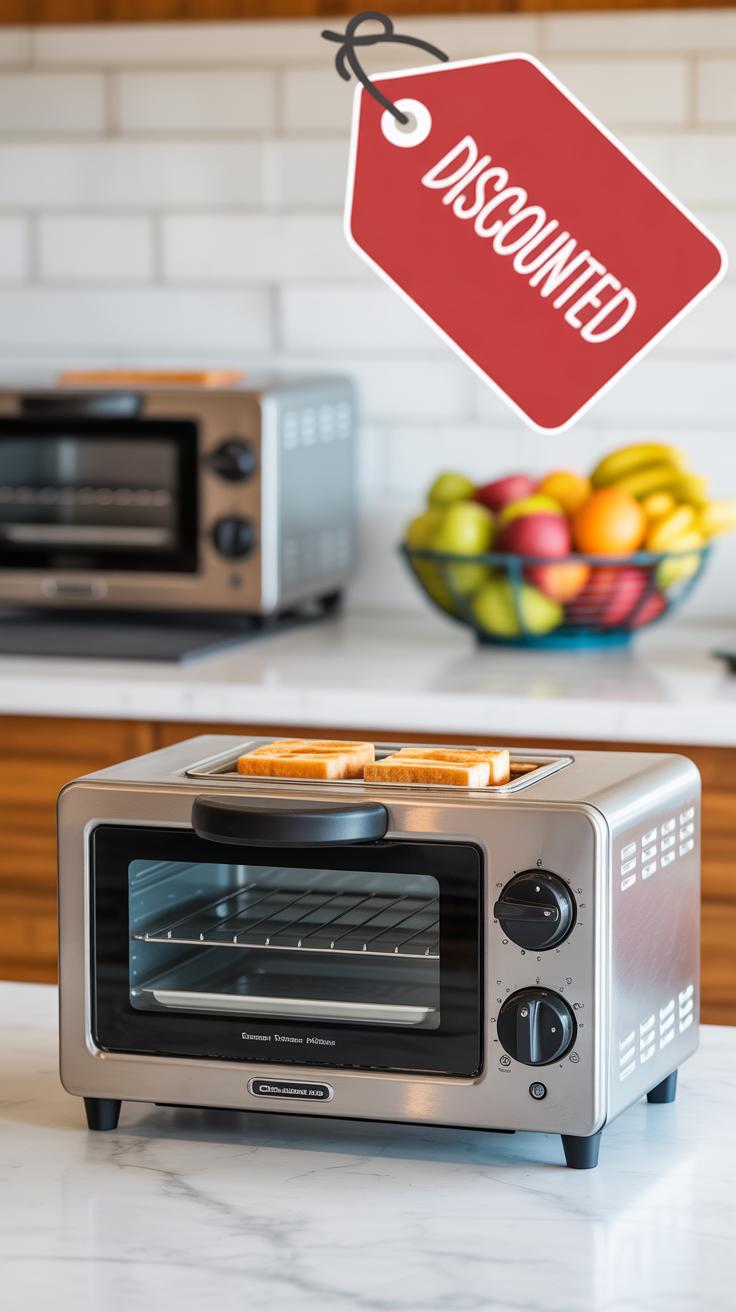
Updating Appliances on a Budget
Caring for Your Current Appliances
Your appliances might not be as outdated as they look if you take a little time to care for them properly. Deep cleaning can do wonders—sometimes just scrubbing away years of grease and grime reveals an almost-new shine. It’s surprising how much better an appliance runs after a thorough cleaning, like defrosting your fridge coils or cleaning out the oven’s heating elements. Small maintenance tasks can improve performance and might even extend their lifespan, which is handy when new appliances are out of reach.
Don’t forget routine checks, like tightening loose knobs or replacing faulty seals. Replacing worn-out parts yourself can be cheaper and less hassle than buying a whole new unit. Plus, there’s a bit of satisfaction when you fix something yourself—almost like giving your kitchen a little lift without spending big.
Affordable Appliance Makeovers
Sometimes, appearance makes all the difference, especially if you’re trying to match appliances with new kitchen colors or styles. Appliance covers, for example, offer a quick fix to cover scratches or outdated finishes. They come in various colors and patterns, really helping to freshen up the look with minimal effort.
If you’re into DIY and have patience, appliance paint designed for metal is another option. I’ve tried it on an old dishwasher before, and while it takes some time to prep and paint carefully, the result was a kitchen that felt a lot less tired. Just remember to use paint meant for appliances so it sticks and resists heat and moisture.
There’s a kind of charm in reinventing what you already have rather than replacing it outright. Sometimes, a little paint or a cover is just enough to make you enjoy your kitchen again, without the stress of a big purchase. It makes you wonder—how often do we toss things too soon instead of giving them a second chance?
Personalizing Your Kitchen Space
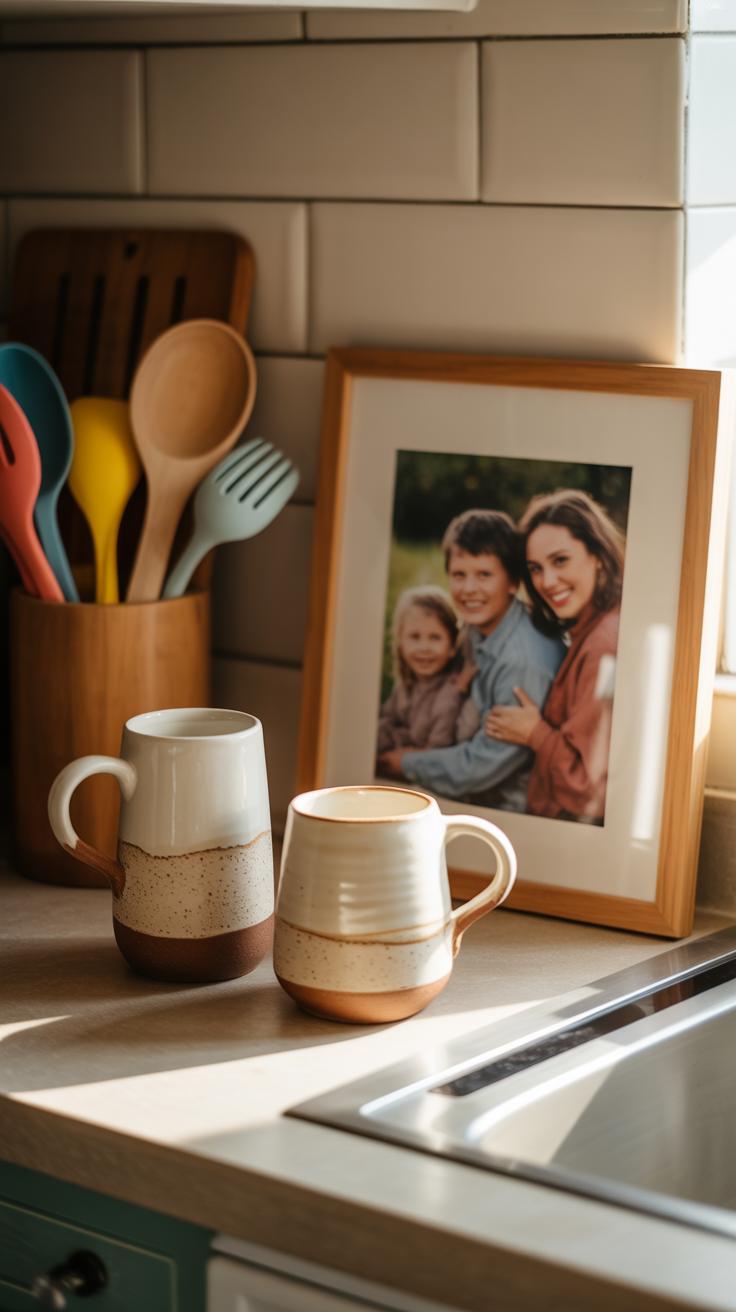
When it comes to making your kitchen feel like yours, small personal touches can change everything. Decorations that reflect your taste or memories can make the space more inviting without costing much. Think about items that already tell a story—maybe a vintage teapot from a trip, or a set of hand-painted mugs. These subtle details bring warmth and personality that no expensive remodel can replicate.
Simple decorative items work wonders here. You could add patterned dish towels, a quirky salt and pepper shaker set, or even DIY magnetic photo frames on the fridge. These don’t require a big budget and can be swapped out whenever you want a change. I once replaced plain coasters with handmade ones from a craft store; it lightened up my kitchen in a way I didn’t expect. Do you have something like that lying around, something that might work perfectly for your space?
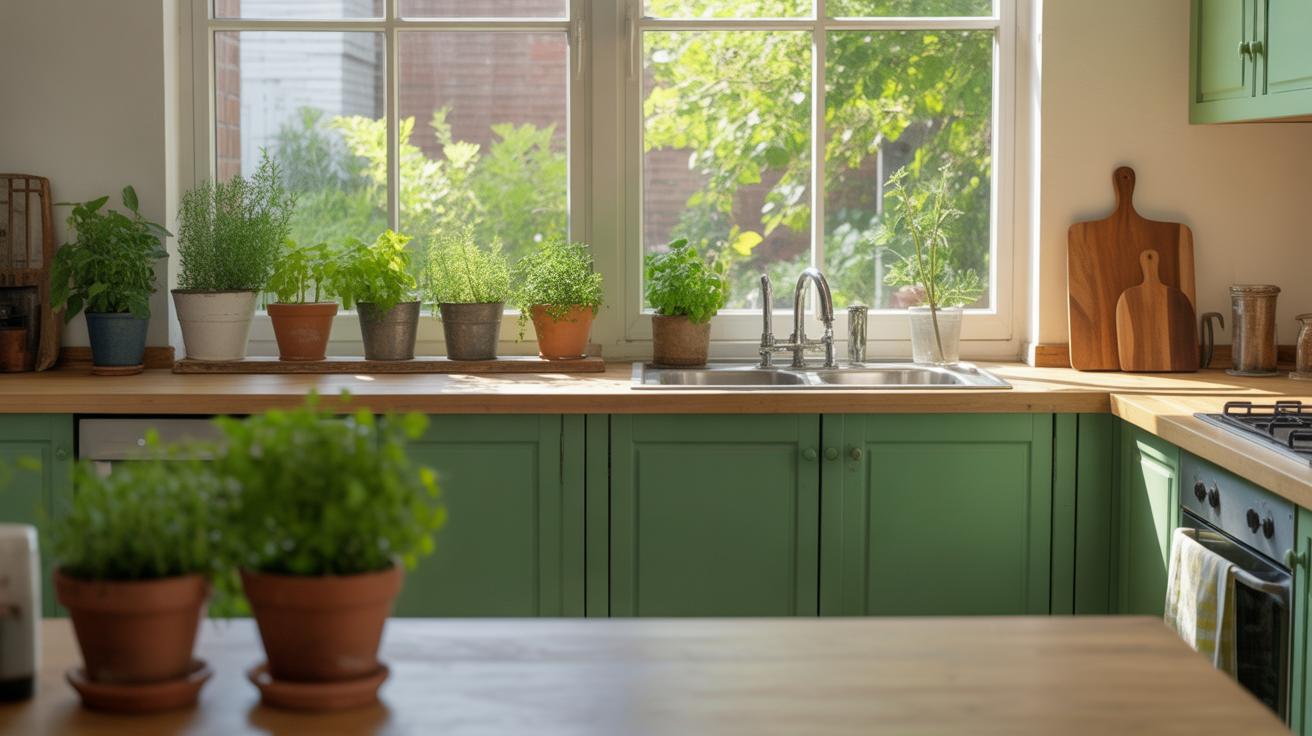
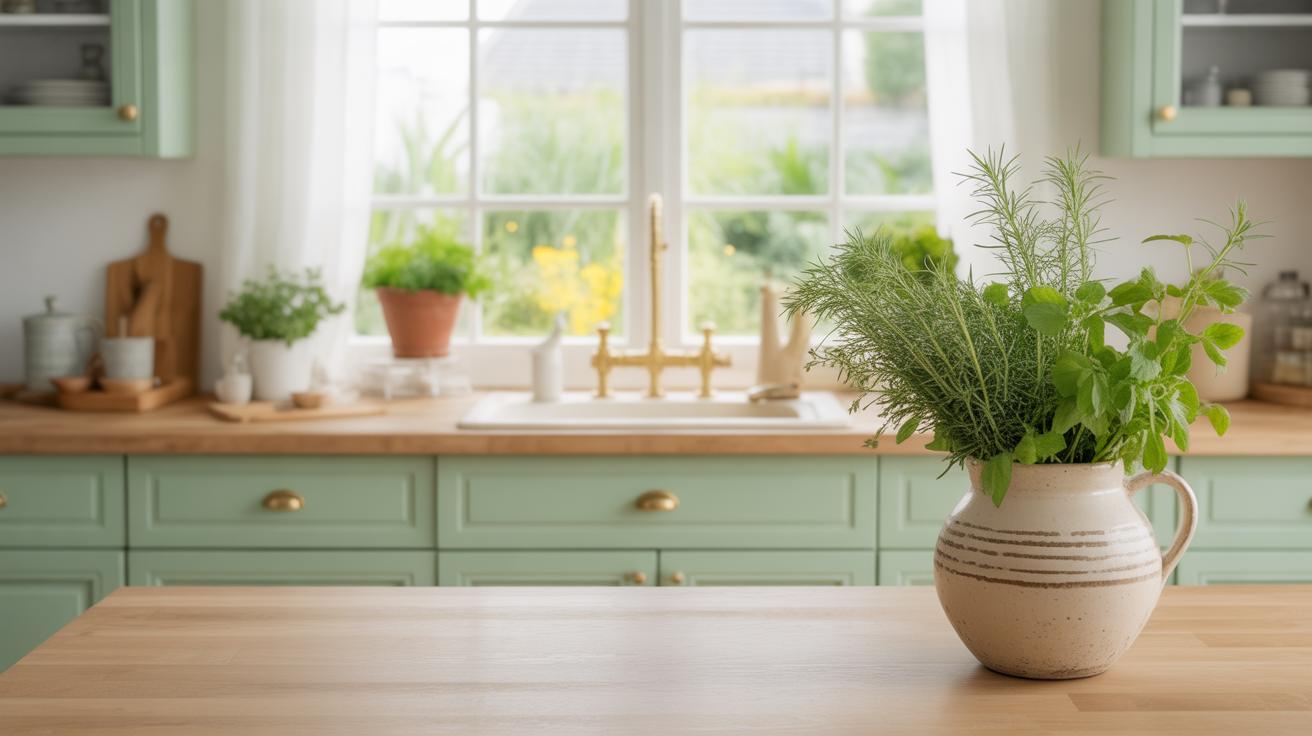
Greenery is often overlooked but adding plants can breathe life into your kitchen. A small herb garden on the windowsill not only looks good but is handy for cooking. If your kitchen lacks natural light, try low-maintenance plants like snake plants or pothos. Wall art offers another layer of personality. A colorful print or a framed recipe from a loved one can make your kitchen feel more lived-in. It can be tricky to find just the right art, so don’t hesitate to mix styles—sometimes the combination feels more genuine than a perfectly coordinated set.
Conclusions
Renovating your kitchen on a budget is possible with the right approach. You can update your kitchen with simple projects like painting, replacing handles, or installing new lighting. Taking small steps helps you save money and avoid stress. The key is to plan carefully and choose projects you can manage well.
Remember, your kitchen reflects your style and personality. Use these DIY ideas to create a space that you enjoy spending time in. With patience and creativity, your kitchen can become a place that feels new and fits your needs perfectly, all while staying within your budget.


