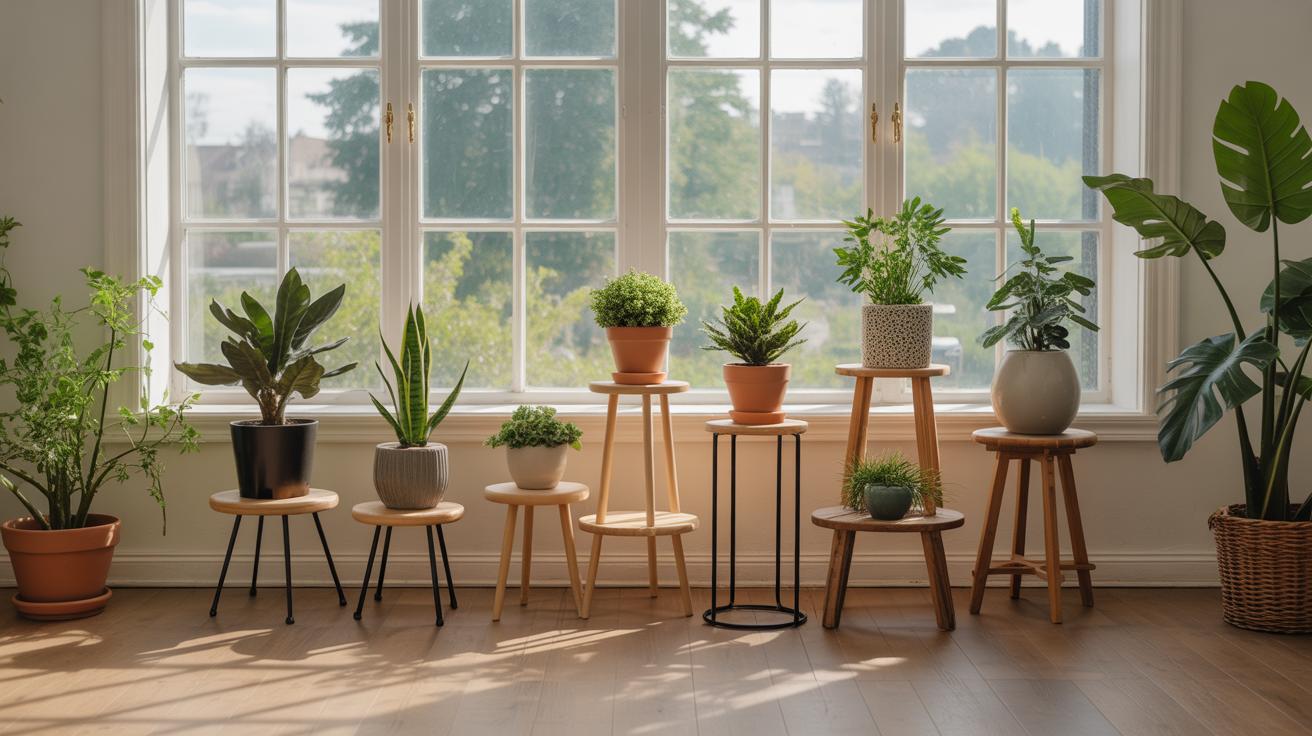
Why DIY Plant Stands Showcase Greenery
Every plant lover knows how important it is to find the perfect place to display your greenery. Easy DIY plant stand ideas to showcase your greenery offer a fun and practical solution. You can build your own plant stand tailored to your space and style, making your plants look even better.
With simple materials and a little effort, you can create a plant stand that not only supports your plants but also adds charm to your home. This article will guide you through practical ideas and tips to get started on your DIY plant stand project.
Selecting the Best Material for Your Plant Stand
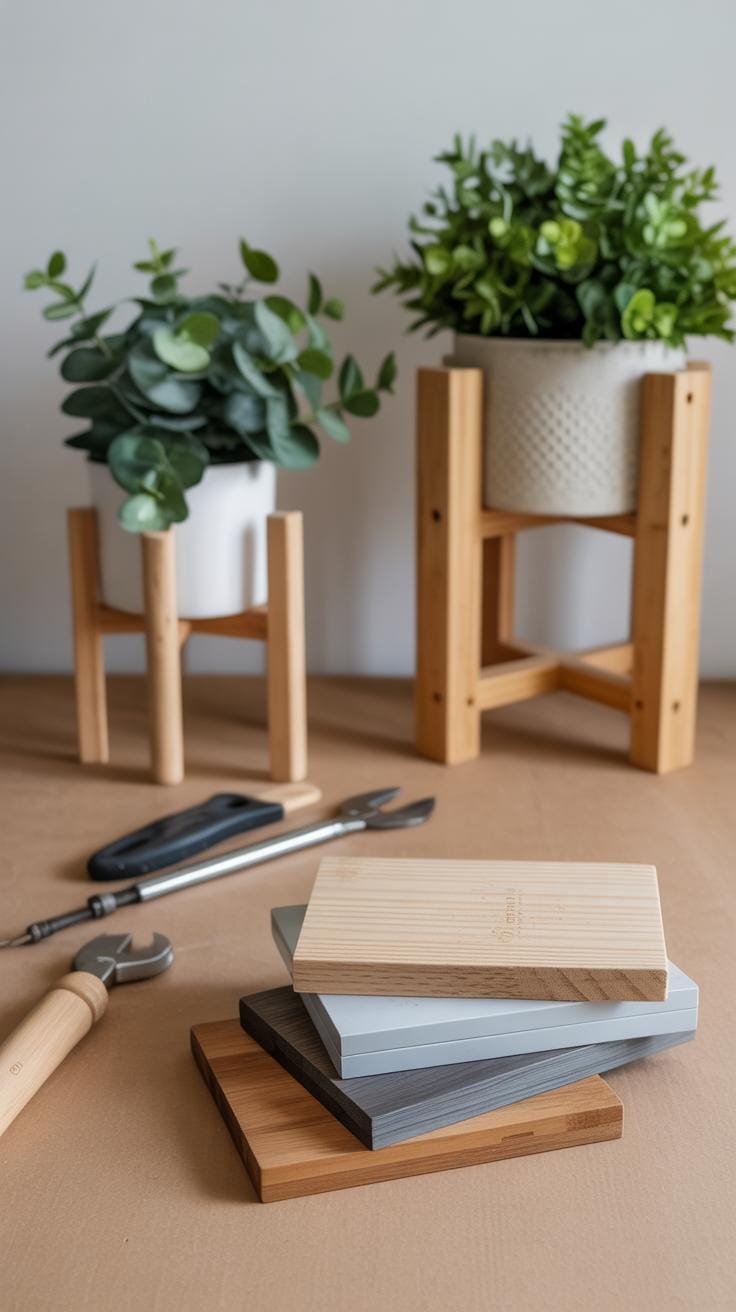
Choosing the right material for your DIY plant stand can be a bit tricky. Wood, metal, and plastic each bring something different to the table, and the best choice depends on where you want to put your stand and how you want it to look.
Wood is probably the most popular pick. It feels natural and warm, which many people prefer indoors. It’s also pretty strong and easy to customize—cut it, paint it, stain it, or even carve it if you’re feeling creative. But keep in mind, untreated wood doesn’t handle moisture well, so you might want to avoid wooden stands outside unless you seal them properly.
Metal options like steel or iron tend to last longer, especially outdoors. They resist rot and bugs better than wood, but they can get quite heavy and may rust if not coated or maintained. They give a modern vibe but usually require a bit more care to keep looking nice.
Plastic is lightweight and often waterproof, which sounds ideal for outdoor use, right? Still, plastic can look a bit cheap or flimsy, depending on the quality. It won’t hold up as well under heavy pots or rough use, but it’s easy to clean and moves around without hassle.
Where do you find these materials without spending a fortune? Local hardware stores and building supply centers often sell scrap or offcuts at a discount. Online marketplaces can be gems for secondhand wood or metal, sometimes even free if you keep an eye out. Yard sales and thrift shops surprise me more often than not with some solid finds, too.
When thinking about durability and upkeep, ask yourself what fits your routine. Would you mind painting a wooden stand every now and then? Or would you prefer something that just can sit outside and deal with the elements without fuss? Your choice might reflect more about your lifestyle than the materials themselves.
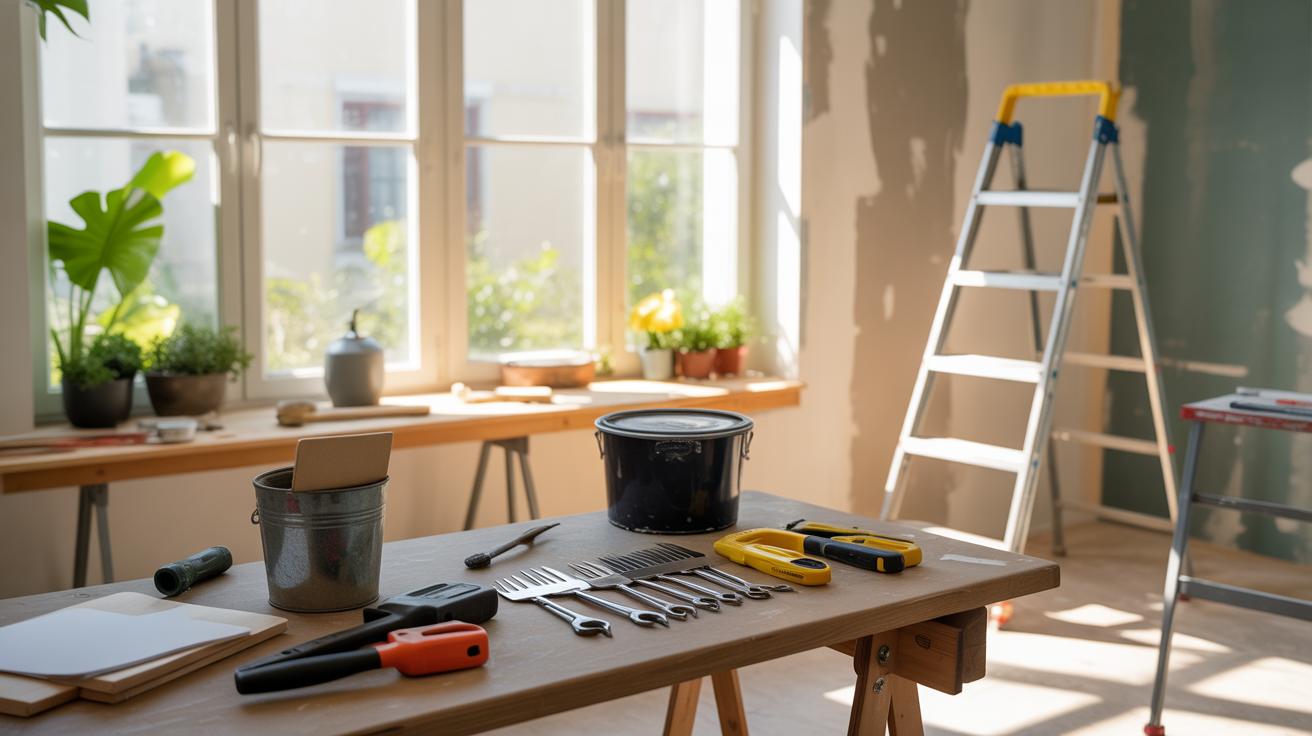
Tools Required for Building a Plant Stand
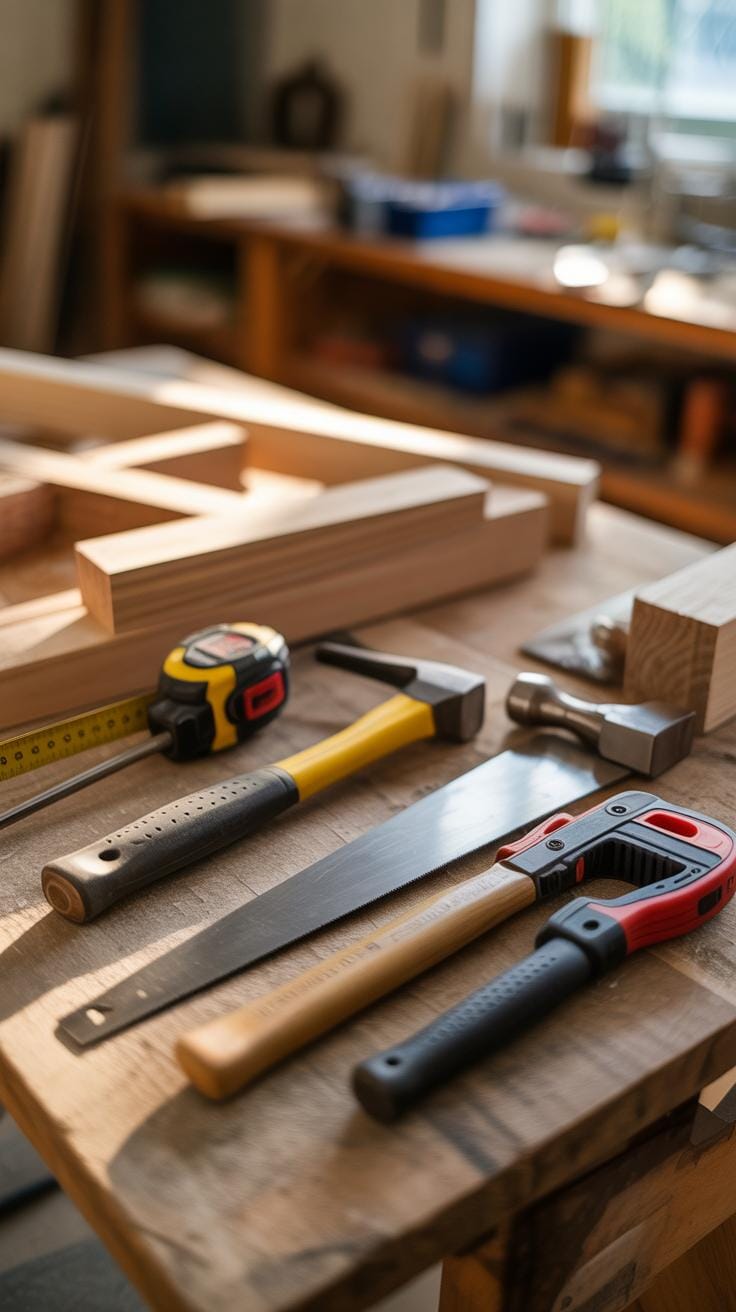
When you’re ready to start building your plant stand, having the right tools is key. At the very least, you’ll want a saw for cutting wood or other materials, a drill for making holes and driving screws, some screws or nails to hold everything together, and sandpaper for smoothing surfaces and edges. These basics will cover most straightforward designs and keep your project manageable.
Safety matters here, so always use clamps or a steady surface when cutting or drilling. Keep your work area clutter-free, and wear protective gear like goggles and gloves. It might feel a bit tedious at first, but mishaps can easily slow things down.
Essential Tools for Beginners
If you’re just starting out, focus on simple, user-friendly tools that don’t require a steep learning curve. A handheld manual saw, a cordless drill with drill bits and screwdriver heads, basic sandpaper sheets, and a tape measure will do the trick. These tools are generally easy to control, and you won’t be overwhelmed trying to use complicated equipment.
Try picking tools with comfortable grips and intuitive operation. If you do mess up a cut or a hole? It’s not the end of the world — it’s part of learning. Having fewer, straightforward tools can actually boost your confidence.
Tools for More Complex Designs
If your plant stand idea involves angled cuts, joints, or intricate details, you might want to bring in some power tools and measuring devices. A miter saw or circular saw speeds up precise cutting, a power sander makes smoothing easier, and clamps hold parts firmly while you work on tricky assemblies. Also, a carpenter’s square and a level will help keep everything aligned.
Keep in mind, power tools can feel intimidating if you’re new. But they open doors to more polished designs and faster progress. Just take it slow, read instructions, and maybe watch a demo or two before jumping in.
Classic Wooden Plant Stand Design
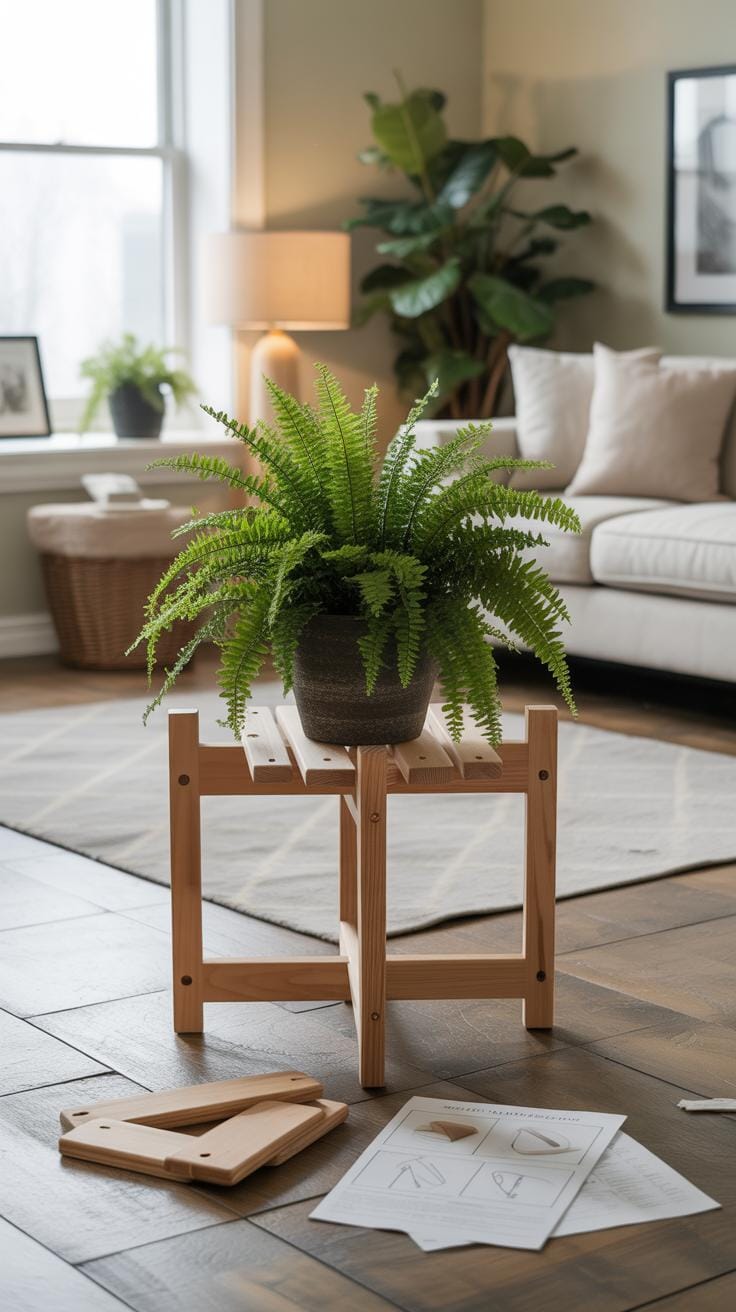
Building a simple wooden plant stand can feel surprisingly accessible if you take it step by step. Picture a stand about 24 inches tall, with a platform roughly 12 by 12 inches—big enough for a medium pot but not too bulky. You’ll need four legs, each 24 inches long, and a square frame supporting the top platform.
Start with cutting your wood pieces: four legs at 24 inches, four frame pieces at 12 inches, and a set of slats to form the top surface—usually around five slats, each about 1.5 inches wide. Cutting can be straightforward if you measure twice and cut once, but don’t stress if the angles aren’t perfect. Slight variance won’t ruin the project.
For assembling, begin by attaching the frame pieces to the legs, forming a square base that will hold the platform. Then, fasten the slats across the top frame, leaving tiny gaps between to let water drain. Use screws for strong joints but avoid over-tightening; wood sometimes splits if you’re too eager.
Once assembled, sand all surfaces well—especially edges and corners. Sanding smooths out rough patches and prevents snagging on your plants or hands. You might want to stain or paint the stand. Staining brings out natural wood grain, while paint can add a splash of personality—and extra protection. Seal with a clear coat if you expect moisture, but some prefer leaving it raw for a rustic feel. What look fits your space best? I found staining reveals the wood’s character in a way paint can’t match.
Modern Minimalist Plant Stand Ideas
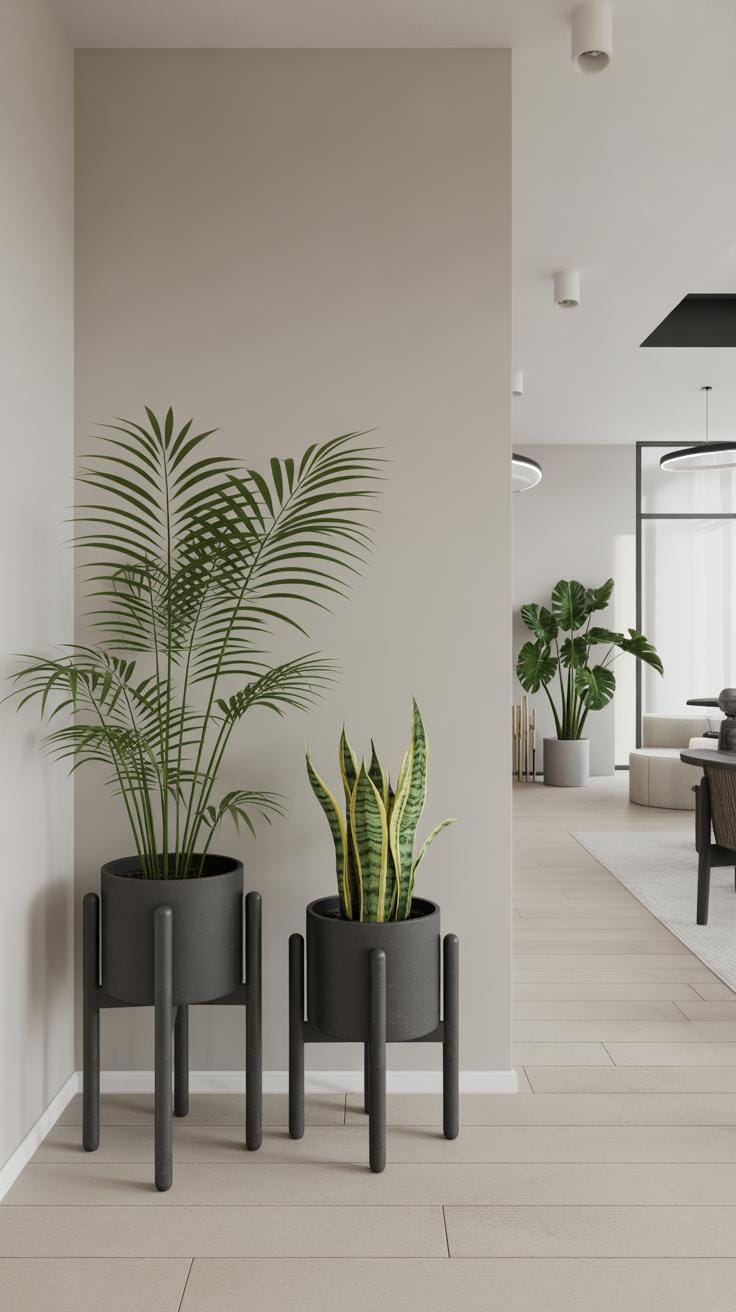
Choosing Minimalist Styles
Minimalism often means stripping away the unnecessary to let form meet function. When it comes to plant stands, this usually points to clean lines, simple shapes, and neutral colors. Think thin metal frames painted black or white, or light, sleek wood with smooth surfaces. You might want to avoid anything bulky or overly decorative. Instead, focus on geometric shapes—triangles, rectangles, or even circles—that create an airy feel.
Minimalist stands fit well in modern interiors because they don’t compete with other elements. They hold the plant, quite literally, and nothing else. This can sometimes feel a bit stark, but it’s also calming in a room that already has a lot going on. You might find yourself wondering if too much simplicity borders on blandness. Perhaps that’s the balance you have to strike.
Building a Minimalist Stand Step-by-Step
Start by choosing your materials: thin metal rods or slender wood planks work best. Precise measurements really matter here because any unevenness shows immediately. For instance, a small stand might have legs about 12 inches high, connected by a square or round top about 8 to 10 inches across.
- Cut your material into four equal legs and one top piece.
- Sand the wood for a smooth finish or treat metal to remove rust and paint as desired.
- Assemble by attaching legs to the underside of your top; weld metal or screw wooden legs carefully.
- Double-check all angles to keep everything level and square.
- Finish with a clear sealant or a matte paint to avoid shine that might break the minimalist vibe.
The final effect is purposeful but restrained. If you want to add a personal touch, maybe choose a slight curve on the legs or a thin crossbar for stability without bulk. It’s that subtle choice that keeps it functional and visually light, which is the core of minimalism after all.
Upcycling Items for Plant Stand Projects
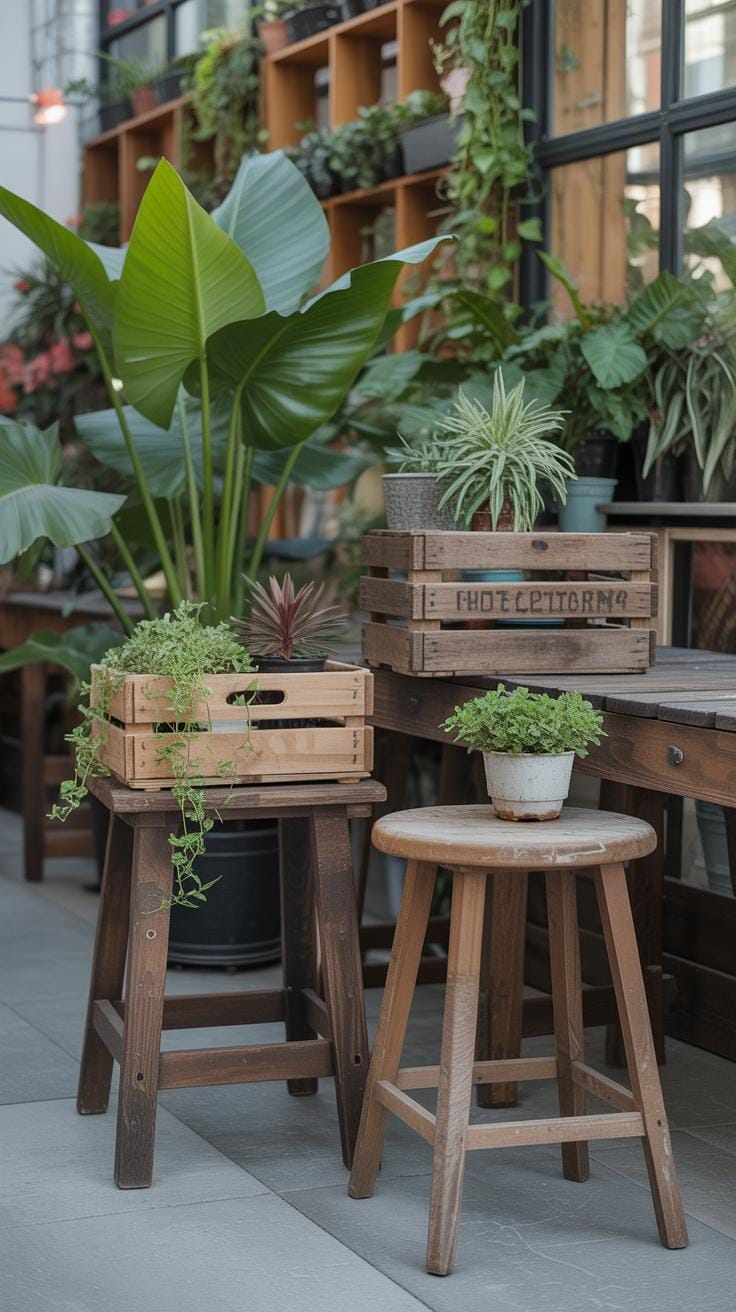
Turning old furniture or household items into plant stands can be surprisingly rewarding. You might find hidden potential in a worn stool, a wooden crate, or even an old ladder. I once stumbled upon a tiny, chipped side table at a thrift store and, after a little sanding and paint, it became a charming stand for my leafy friends. It’s a way to give these objects a second life while adding some character to your plant display.
Some common items you can upcycle include:
- Wooden stools – easy to repaint or refinish and stable for pots.
- Crates – stack or fix wall-mounted shelves.
- Pallets – cut and arranged for rustic tiered stands.
- Old chairs – remove the seat to hold plants or use as is.
- Ladders – a vertical option for multiple plants on different rungs.
Before you get started, make sure to clean the item thoroughly. Scrubbing off dirt and checking for loose nails or splinters is crucial. Sometimes a quick sanding can smooth rough edges, making it safer for plants and hands alike. If the wood smells musty or the finish is peeling, consider stripping it or applying a fresh coat of paint or sealant made for indoor use. This part feels a bit tedious—sometimes I think a little imperfection just adds to the rustic charm, but if you want durability, a protective finish really helps.
After cleanup, secure any joints or parts that wobble. Adding small brackets or screws can improve stability—a top-heavy plant stand won’t do anyone any favors. Finally, think about adding a waterproof tray or lining under your pots to prevent moisture damage. It’s a small step, but trust me, it saves stress later when watering becomes routine. You might be surprised how simply reimagining an old piece can create a distinctive stand that complements your plants perfectly.
MultiTiered Plant Stand for Small Spaces
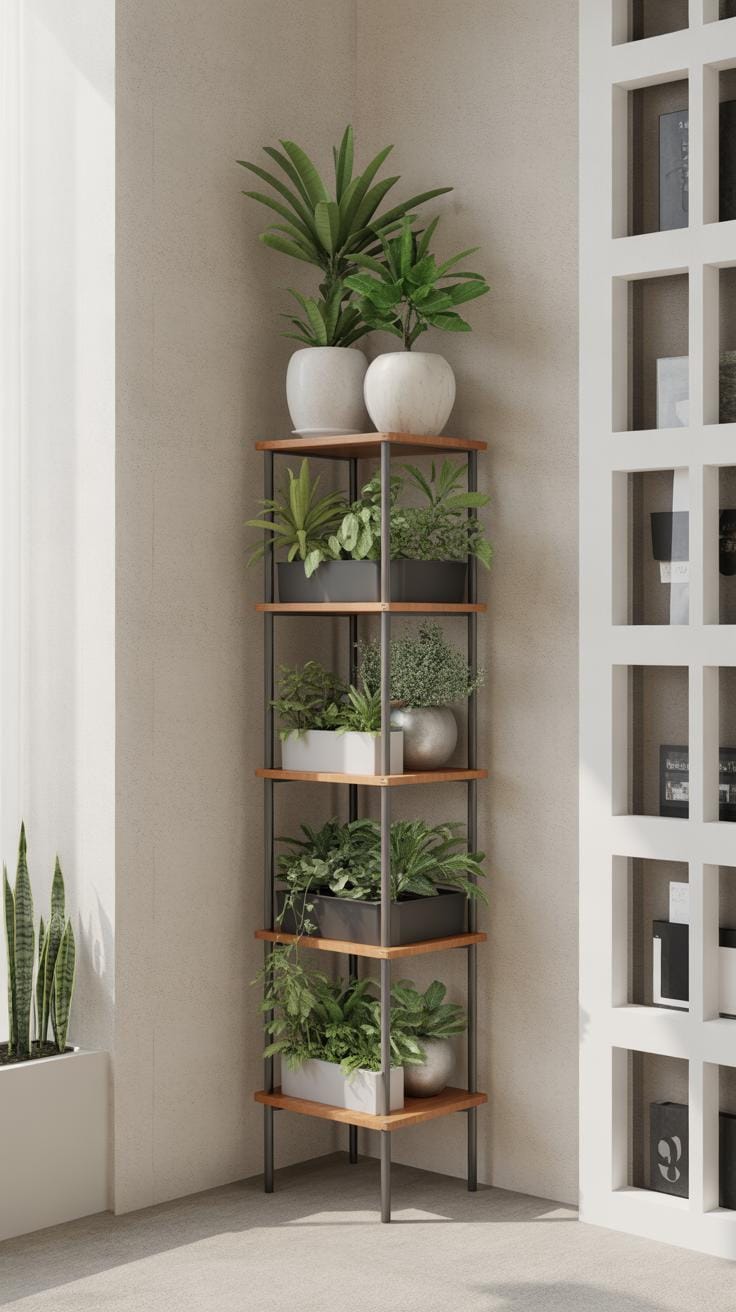
Designing for Vertical Space
When your floor space is tight, stacking your plants vertically can be a real game changer. Multi-tiered plant stands help you showcase more plants without crowding the room. I find it fascinating how adding height changes the whole vibe of a corner, making it feel lush without feeling cluttered.
To plan your stand’s size, think about where you’ll put it and what plants you want to display. Taller plants usually go on top to catch the light, while shorter or trailing ones can occupy lower levels. For width, keep enough room between tiers so leaves don’t feel squished — about 10 to 12 inches usually works.
And about the height, it’s tempting to go really tall, but balance is key. You don’t want it tipping over or looking awkward in your space. Roughly 3 to 4 feet tall is a safe bet for most interiors, but feel free to adjust based on your ceiling and personal taste.
Assembly Instructions
Building your stand starts with choosing materials — wood boards cut to size work well and give a solid feel. You’ll need:
- Four vertical supports (legs), the length depends on your desired height.
- Several horizontal shelves or planks of equal width.
- Screws or brackets to hold everything in place.
- Optional: wood glue for extra stability.
Begin by attaching the lowest shelf to the legs about 6-8 inches from the floor. Make sure it’s level — tools help, but a quick eyeball can work too. Then, space out the remaining shelves evenly, leaving 10-12 inches between each. Pre-drill holes to avoid splitting the wood, then screw the shelves in place. If you want, add cross braces at the back for better steadiness.
You might worry about balance, but if your base is wide enough and shelves are firmly secured, it shouldn’t wobble much. I once rushed this step and ended up with a shaky stand, which was more annoying than I expected.
If the plant stand feels too plain, a light sanding and a coat of paint or stain can give it personality. It’s simple but makes a difference in how it blends or pops in your space.
Portable Plant Stands with Wheels
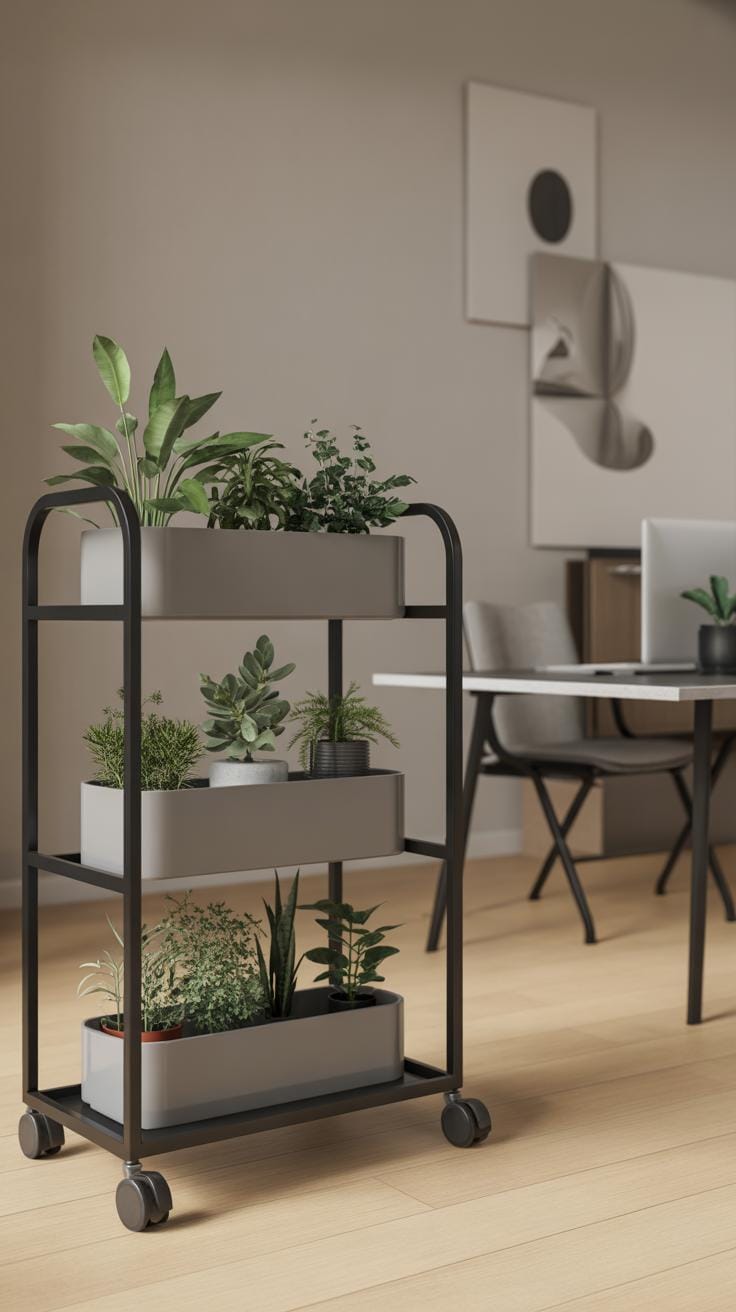
Having a plant stand on wheels changes the game. You can move your greenery to catch the sun or simply clean underneath without dragging pots across the floor. Building one isn’t complicated, but the key lies in picking the right wheels and attaching them properly.
Choosing the Right Wheels
Not all wheels behave the same, especially on different surfaces. For smooth hardwood or tile floors, soft rubber wheels work best—they glide quietly and don’t leave marks. Hard plastic wheels might scratch those floors, so better avoid them there.
If your space has carpet, stiffer wheels can roll easier without sinking in. Sometimes bigger wheels are helpful when moving over uneven surfaces or thresholds. Also, consider whether you want locking wheels that can prevent your stand from rolling away when you don’t want it to move.
Attaching Wheels to Your Stand
You’ve got the wheels; now comes the tricky part—affixing them so they stay put and roll smoothly. Usually, caster wheels come with mounting plates or stems. If you have a wooden stand, screws through a mounting plate into the base work well. Just make sure the screws are long enough to grip firmly but not so long they go through where plants rest.
For metal stands, sometimes bolts or welds are better for stability. Whatever method you pick, test the wheels after attaching. Give your stand a gentle push. If it wobbles or the wheels feel loose, re-tighten or add washers to secure them. It’s worth taking the extra time here so you don’t have to redo the work later or risk your plants tipping over.
I remember trying a quick fix with glue once—yeah, not the best idea. The wheels didn’t hold, and my climbing fern almost took a tumble. So, trust the hardware and do it right from the start.
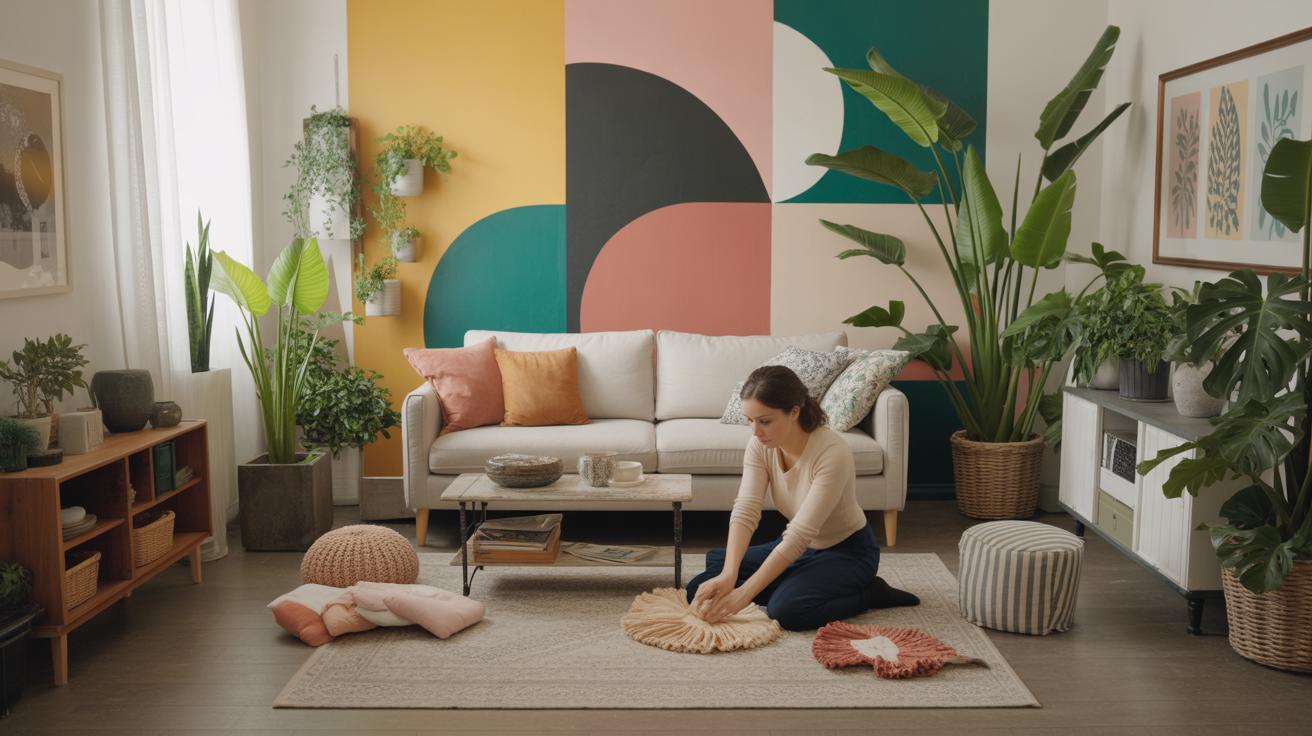
Decorative Plant Stand Ideas with Paint and Art
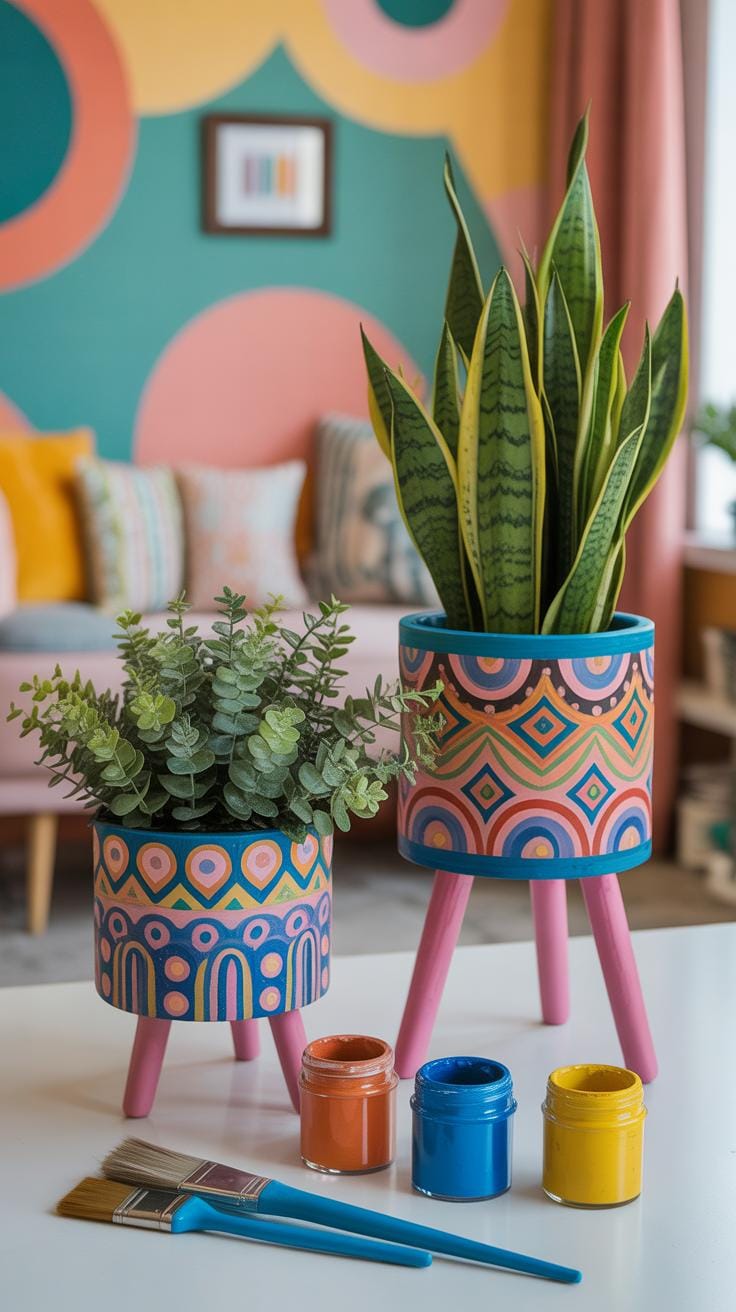
Adding paint or art to your plant stand can completely change its vibe. You don’t need to be a pro painter to try this—simple strokes or blocks of color can make a difference. Sometimes just painting the legs or edges can give it a subtle lift without overdoing it. If you’re unsure where to start, basic brush techniques like dry brushing or sponging add texture without much skill.
Stencils are a great way to get neat patterns without spending hours on freehand designs. You can buy them or even cut your own from cardboard. When applying stencil patterns, hold the stencil firmly and apply paint in thin layers to avoid bleeding. Let the paint dry between layers to maintain sharp edges—patience here pays off! Also, masking tape helps keep everything in place, which I learned the hard way.
Try repeating simple shapes or alternating colors for interest. Don’t worry if some paint bleeds or lines aren’t perfect—it all adds character. A little imperfection often feels more personal than flawless, machine-like designs. What kind of art would you want to try? Maybe geometric patterns, or even a quirky leaf motif that echoes your plants?
Maintaining and Caring for Your DIY Plant Stand
Cleaning Wooden and Metal Stands
When it comes to cleaning, wooden stands need a gentle touch. Using a soft cloth lightly dampened with water usually does the trick. Avoid soaking the wood—water can warp or stain it easily. If there’s dirt or grime that won’t budge, a mild soap diluted in water can help. Just make sure to dry the surface thoroughly right after. Sometimes I forget this step, and the wood ends up with a bit of a rough patch that takes a while to smooth out.
Metal stands call for a slightly different approach. Wiping them down with a damp cloth removes most dust, but if you spot any rust, a bit of white vinegar on a cloth can help loosen it. Steel wool or sandpaper works for tougher rust spots—but be careful. Too much scrubbing might scratch the finish or remove protective coatings. After cleaning, a light coat of oil or wax can help keep the metal from rusting again.
Repair Tips for Common Issues
Loose joints, scratches, or rust—these are the usual suspects when a plant stand needs some TLC. Fixing loose joints on a wooden stand is often a matter of tightening screws or adding wood glue for extra hold. I sometimes find that clamps make a world of difference while glue dries, even if it feels like overkill for a simple project.
Scratches on wood can be masked with a wood marker or even a walnut rubbed directly into the scratch—it sounds odd but works surprisingly well. For metal, small scratches can be treated with touch-up paint meant for metal surfaces. As for rust, removing it early prevents bigger problems. If a rusty spot has eaten through the metal, you might need to replace that section or reinforce it with a metal patch.
Thinking about those little repairs might feel daunting, but tackling them as soon as you notice usually keeps your plant stand looking sturdy and neat for longer. Maybe it’s more about regular check-ins than big fixes.
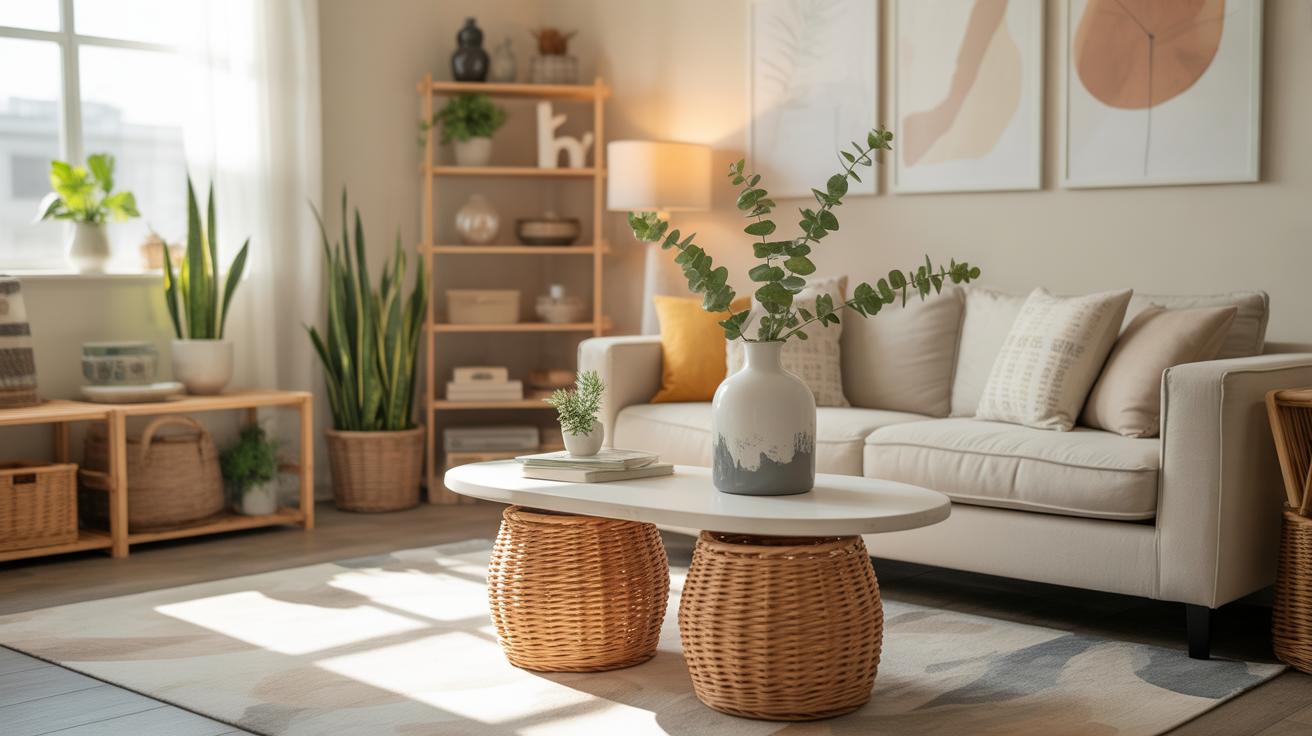
Personalizing Your Plant Stand with Accessories
When it comes to making your plant stand truly yours, adding accessories can turn a simple shelf into something special—both useful and eye-catching. Think beyond just placing pots on it. Small changes can make a big difference.
Adding Practical Features
Try attaching a few trays underneath or alongside the stand. These catch extra water or hold your gardening tools, so they don’t clutter your space. Wheels can also be a game-changer, especially if you like moving plants around for sunlight or just to switch up the room’s feel. Hooks are often overlooked but quite handy—you can hang lightweight items like small watering cans or garden gloves. I once added hooks to my simplest stand, and it surprisingly cleared up a lot of mess.
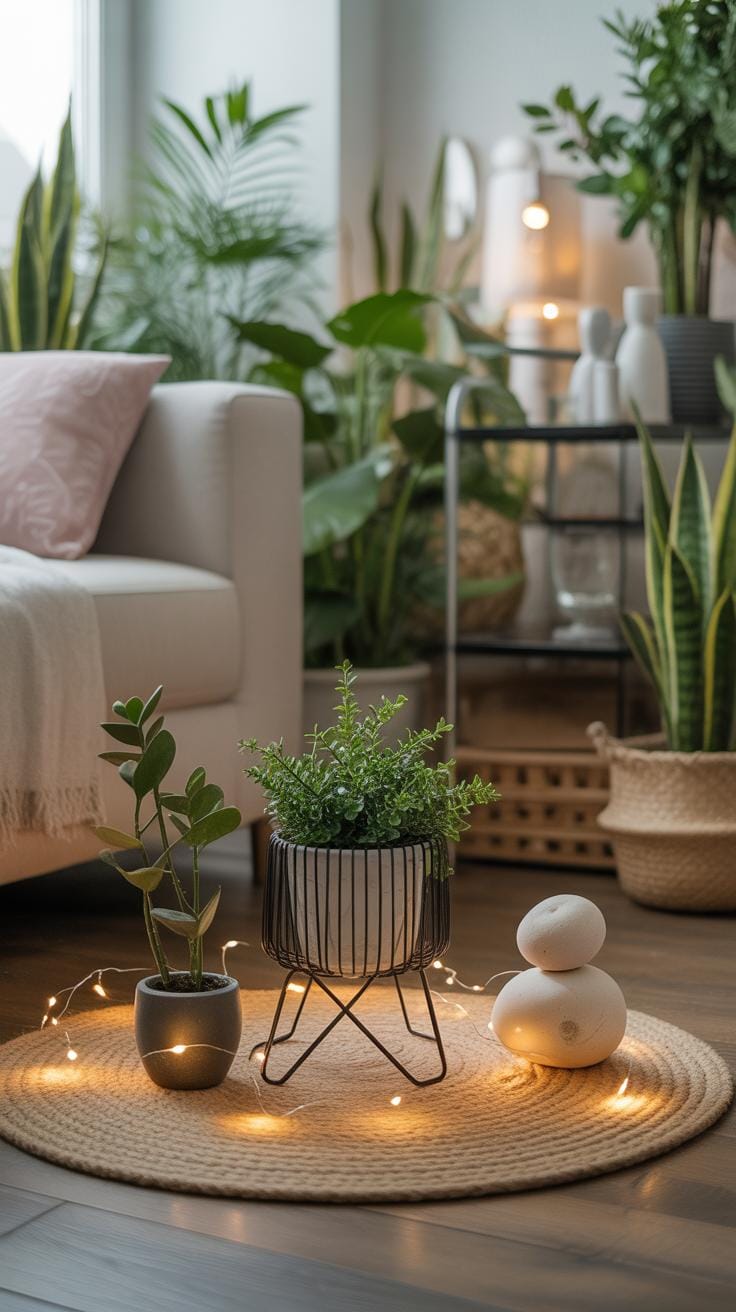
Decorative Accessories to Enhance Style
Lights—string fairy lights around your stand to give a gentle glow at night. It’s subtle, not over the top, but it definitely adds character. Small signs with plant names or cute sayings bring personality too, making each spot feel intentional. Consider decorative pots or mismatched containers; they create an eclectic vibe that makes your green display less predictable. Last weekend, I swapped plain pots for some painted ones—nothing fancy, but it changed the whole look.
Ask yourself: Which details reflect your style? What little extras will you actually use versus just admire? Sometimes, less is more, but sometimes, a bit of whimsy goes a long way.
Conclusions
Building your own plant stand is a rewarding project that brings your plants into the spotlight. From choosing the right materials to understanding styles and designs, you have all the tools to create a stand that fits your space perfectly. You don’t need special skills—just creativity and patience.
Try different ideas and enjoy watching your plants thrive on a stand you built yourself. DIY plant stands offer an excellent way to personalize your home garden and keep your plants happy and healthy.