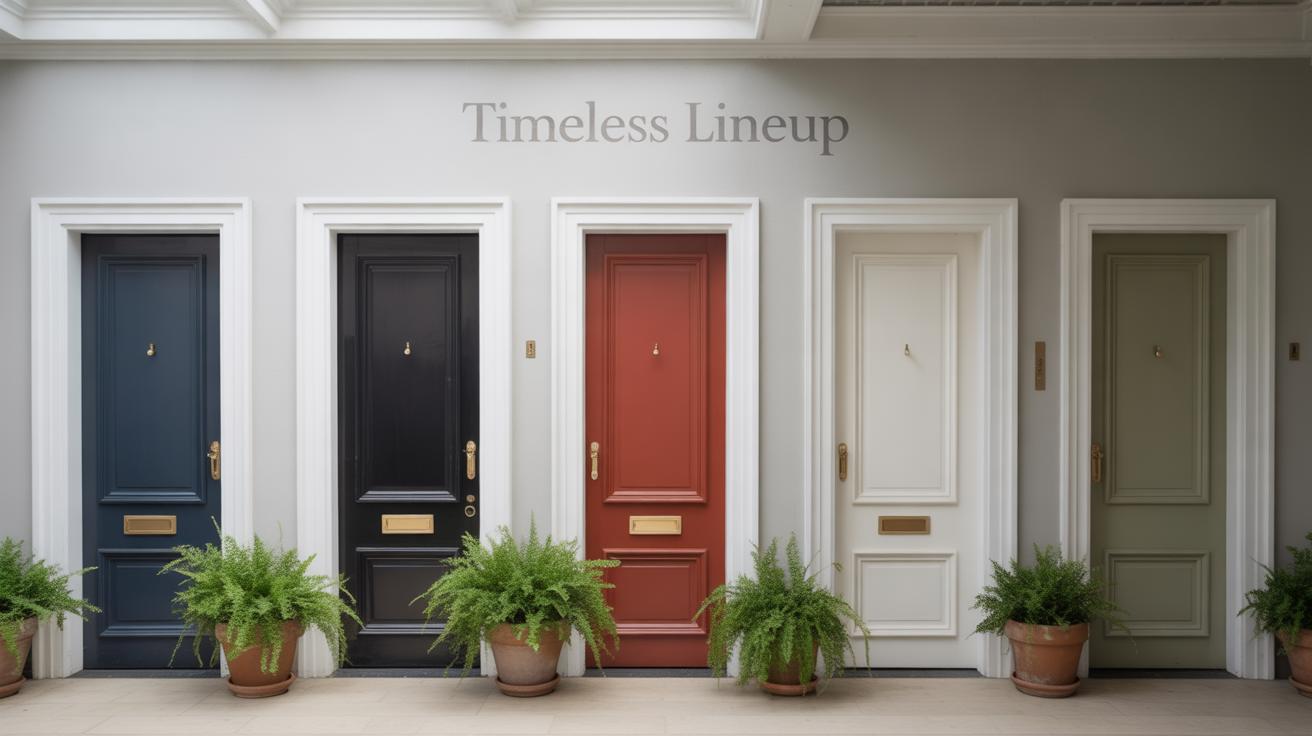
Introduction
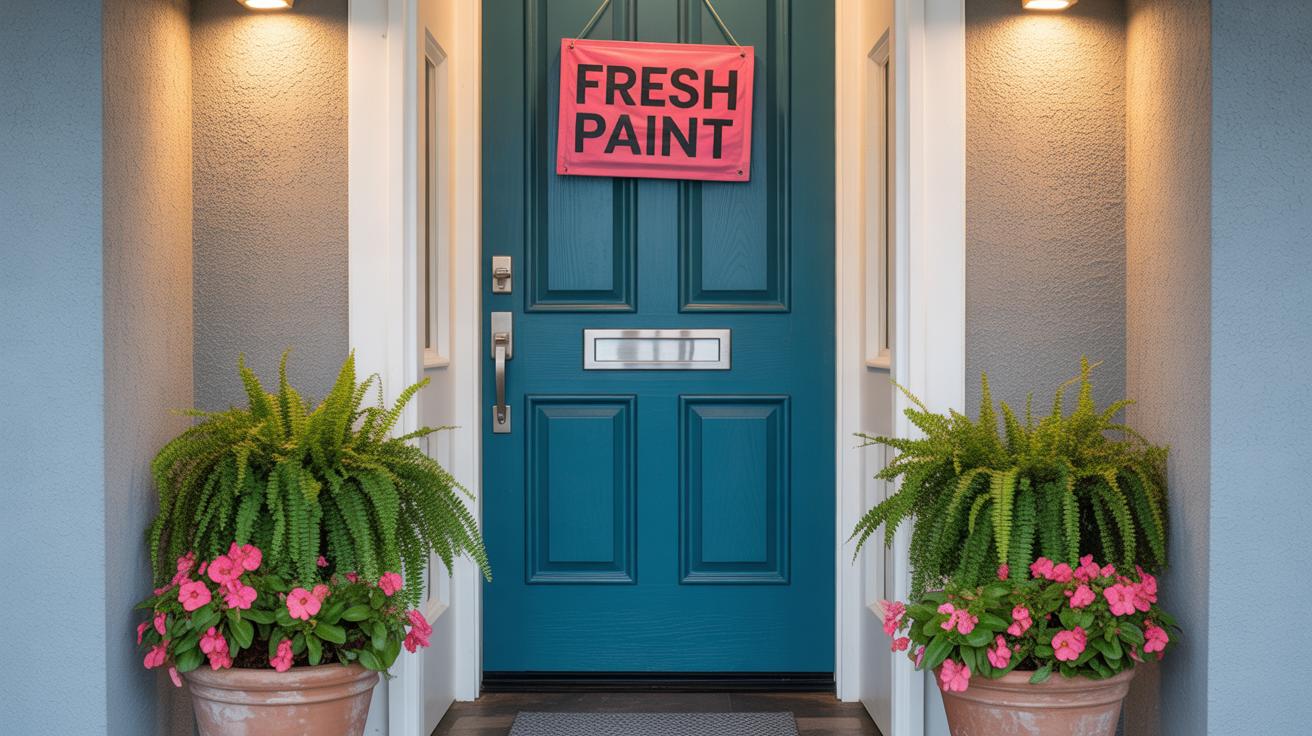
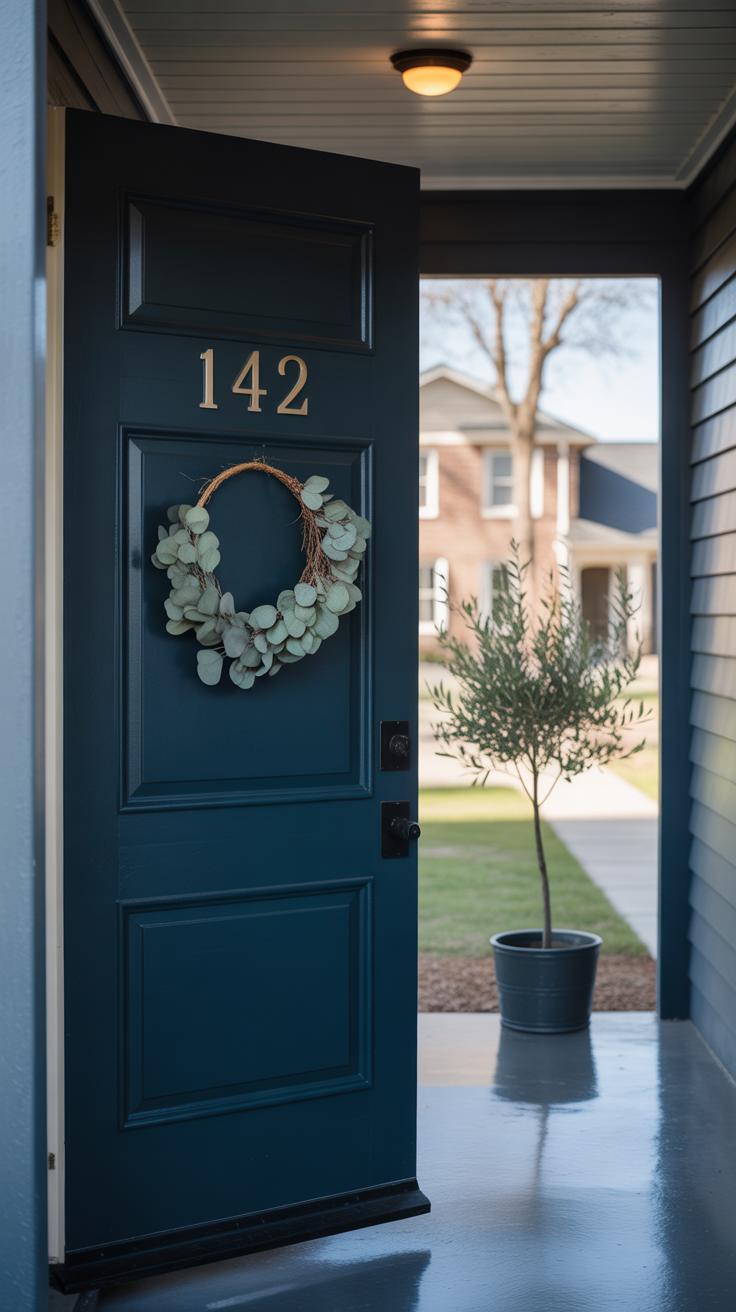
Your door is often the first thing people see when they visit your home. A quick door makeover can bring new life to this key feature and refresh your entire space. With the right ideas, you can transform your door in just one day without a full renovation.
This article explores practical door makeover ideas that you can easily do yourself. From painting tips to hardware upgrades, discover ways to give your doors a fresh, modern look that stands out. Whether your door is inside or outside, these simple changes make a big impact fast.
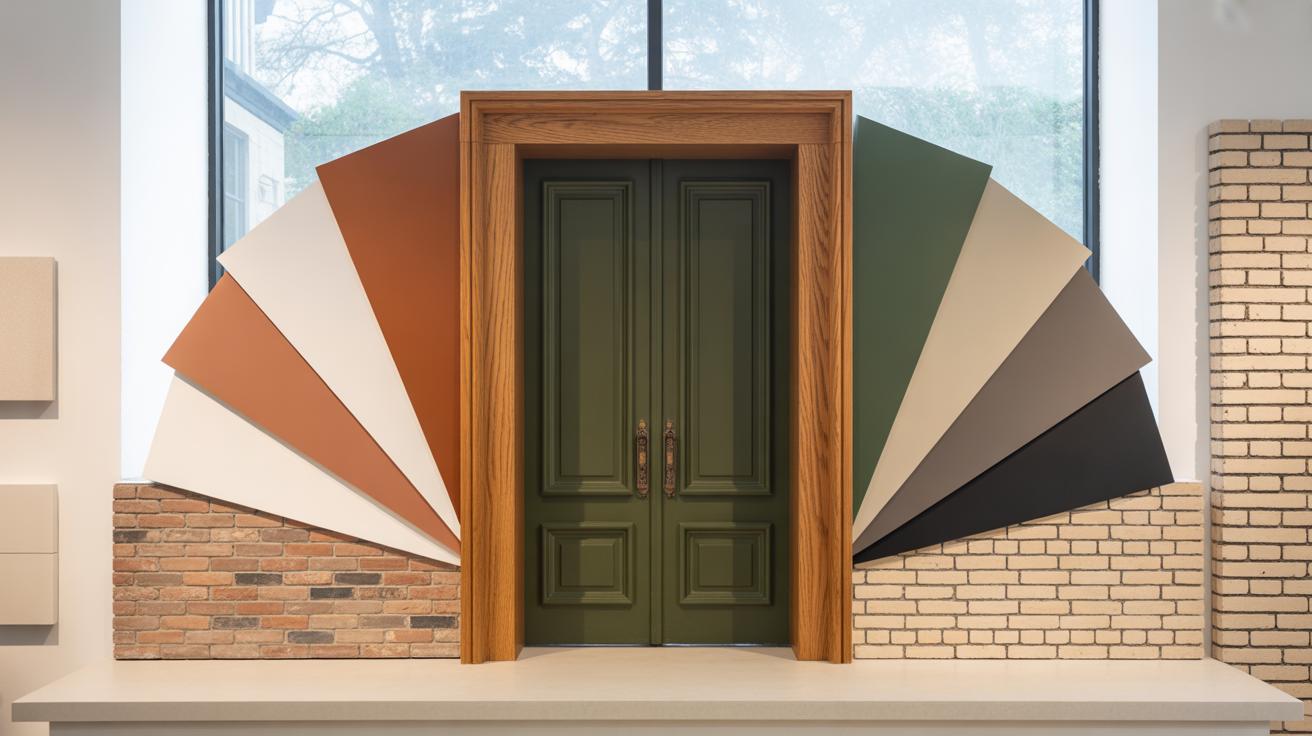
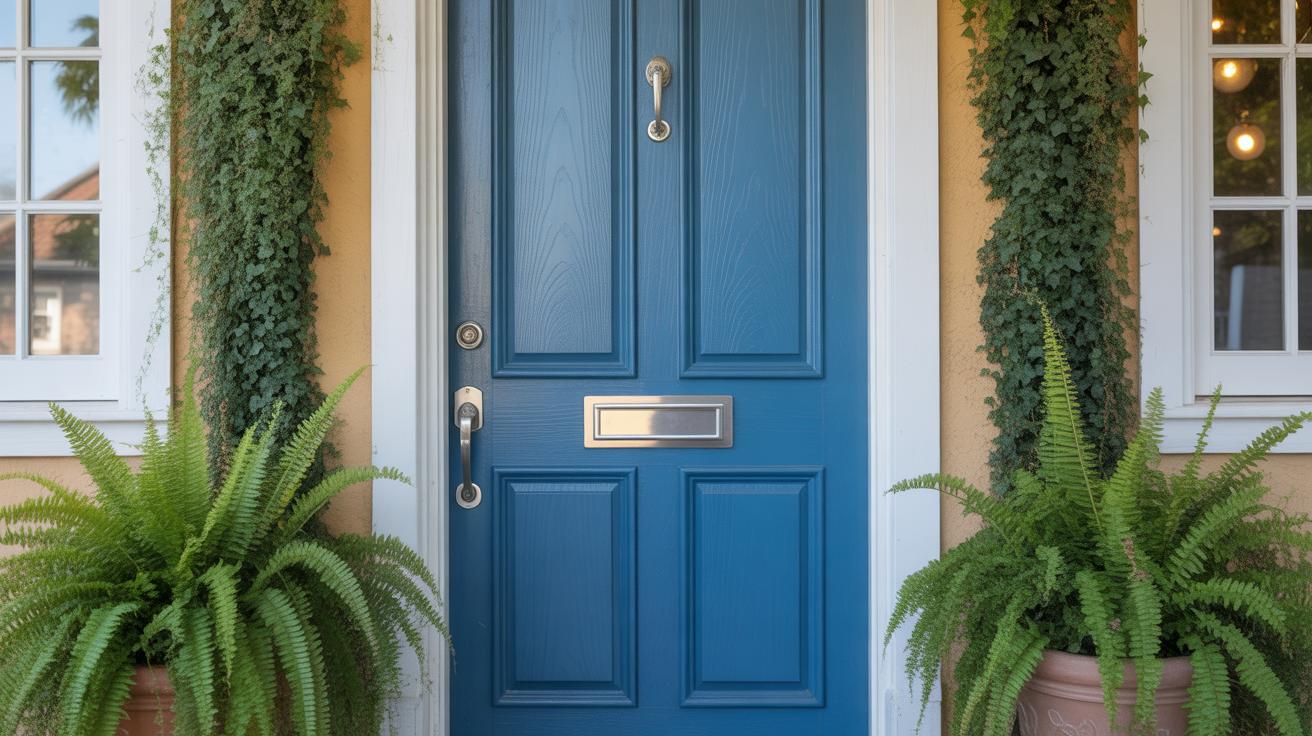
Choose the Right Paint for Your Door

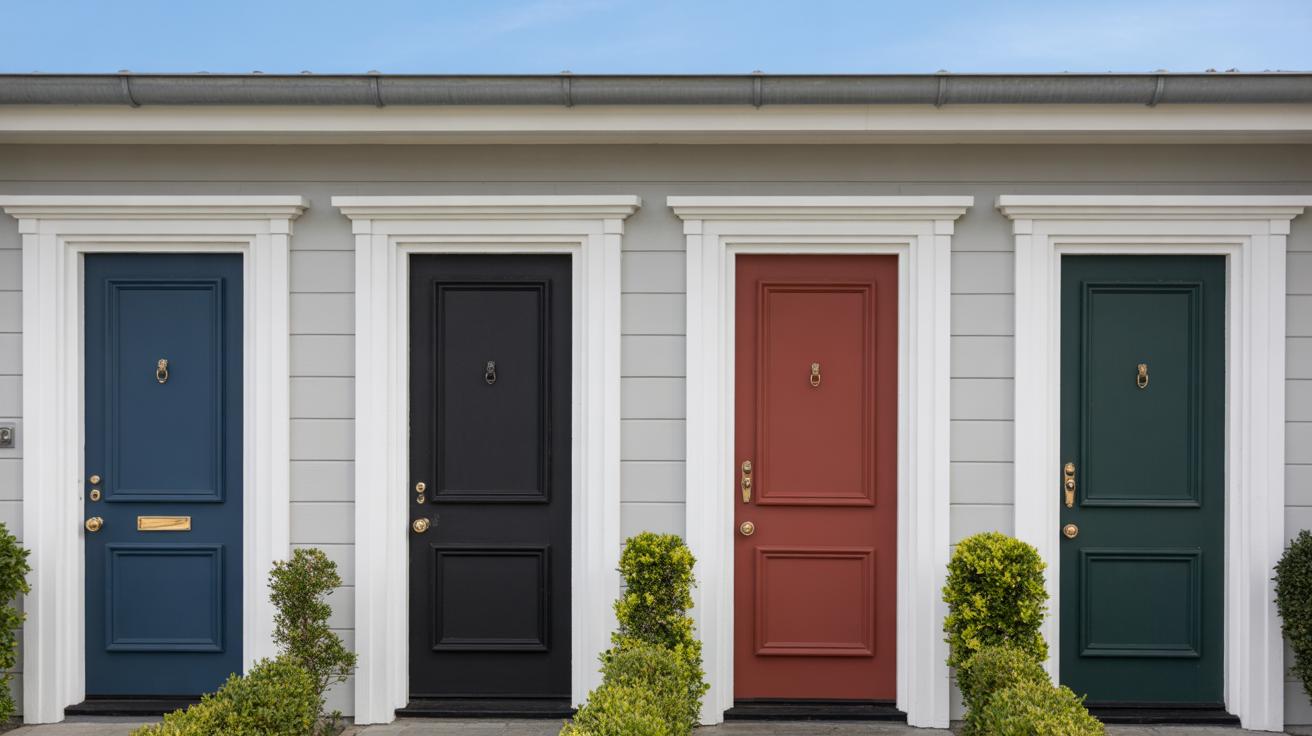
Picking the right paint for your door isn’t just about color; it’s about how that paint handles wear, weather, and time. When deciding, think carefully about whether your door is indoors or outdoors. Outdoor doors face sun, rain, and temperature changes, so you’ll want a paint that resists cracking and fading. Indoor doors don’t get that kind of abuse, so you can afford to focus more on aesthetics and less on heavy-duty protection.
There are several paint types that work well on doors, but each has its quirks. Oil-based paints stick well and create a hard surface. They’re quite durable, making them ideal for exterior doors or doors with heavy use. The catch? They take longer to dry and can have a stronger smell. Latex paints dry faster, clean up easily with water, and are less smelly. They’re often a good fit for indoor doors, especially wood or metal ones. Acrylic paints—sometimes lumped together with latex—offer a bit more flexibility and can resist cracking better over time, but they might not be the best for all surfaces.
Choosing the finish is another layer to consider. Glossy paints give doors a shiny, eye-catching look and are easier to wipe clean, which might come handy in busy households or kitchens. Satin finishes strike a balance; they have a soft sheen that hides imperfections better than gloss and still wipe down reasonably well. Matte finishes can look very modern and subtle, but they show scratches and marks more easily and don’t clean as simply. So, where do you stand? Are you okay with a glossier, more durable finish, or do you prefer something understated even if it means more upkeep? It depends on your space and your patience.
Prepare Your Door for Painting
Cleaning and Sanding
Before you even think about brushing on paint, your door needs some real prep. Dirt, grease, and old paint residues aren’t just unsightly; they can prevent the new paint from sticking properly. So, start by wiping the entire surface with a mild detergent mixed in water—don’t rush this step because any leftover grime can cause paint to bubble or peel later on.
Once clean, sanding comes next. I know, sanding feels a bit tedious, but it really does make a difference. Rough spots and glossy finishes don’t hold paint well. Using medium-grit sandpaper, gently smooth the door’s surface. You don’t have to strip it down completely but aim to dull any shiny areas. If you skip this, the paint might slide off or flake prematurely. I once hurried through this step and regretted it after a week when the paint started chipping near the edges.
Protecting Areas with Tape
Next, protect everything you don’t want painted. Doors often have glass panels or hardware like doorknobs and hinges. Cover these with painter’s tape—you want a neat line where paint ends, and tape helps achieve that. Apply tape carefully, pressing down edges so paint doesn’t seep under. If you’re working on a door with multiple glass panes, tape each side of the frame around the glass.
It’s tempting to skip this because it feels like extra time. But once paint lands on hardware or glass, cleaning it off can be a headache, or worse, damage those surfaces. This part isn’t fun, but it’s worth the patience so your final door makeover looks crisp and professional.
Quick Painting Techniques for a Smooth Finish
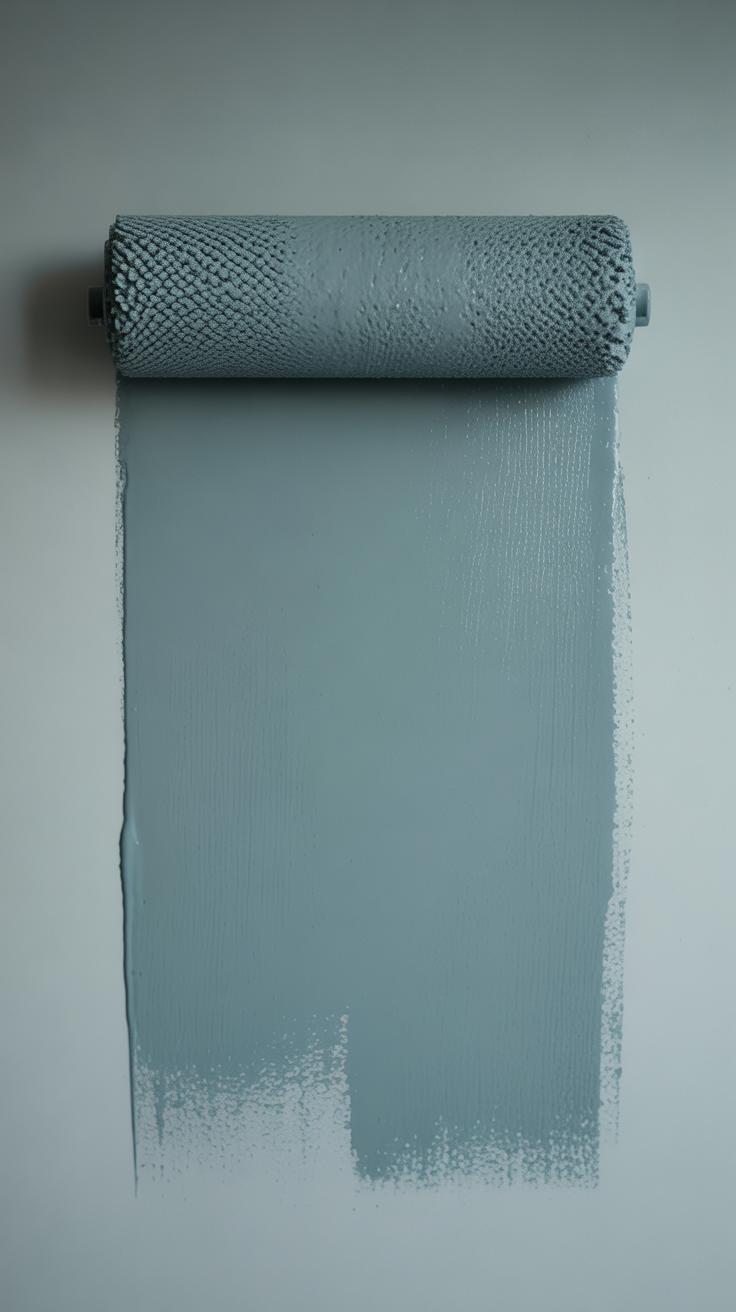
When you want to freshen up a door fast, the painting method you choose can make a noticeable difference. Both brushes and rollers have their place, but knowing when to use each one helps you work smarter, not harder.
Using Brushes vs. Rollers
Brushes come in handy for detailed areas—think edges, corners, and panels. They give you control, especially around molding or trim, but if you press too hard or linger too long, brush marks can show up. A good tip is to use long, smooth strokes and finish off with a light, feathered brush stroke to blend.
Rollers cover flat surfaces quickly, which saves time on big, smooth door panels. Foam rollers work best here because they leave fewer bubbles than nap rollers. Just be careful around the edges—you’ll want to switch to a brush for those spots. If you’re in a rush, a small roller combined with a brush for details can speed things up without sacrificing finish quality.
How to Avoid Brush Marks
Avoiding brush marks is tricky but doable. Start by using a high-quality, angled brush with soft bristles. Dip just the tip into the paint rather than saturating the entire brush; too much paint makes drips and uneven streaks. Then, try to apply thin coats rather than thick ones. Thicker layers take longer to dry and often show brush strokes.
You might think slow, careful brushing helps, but oddly enough, working steadily without stopping and going back over dry edges often reduces marks. If the paint feels tacky, don’t try to fix it until it’s dry. It might feel strange to let it be, but overworking the paint often creates the marks you’re trying to avoid.
Also, keeping your paint at the right thickness matters. Some paints are thicker out of the can, and thinning them slightly—just a bit with water or an appropriate thinner—can help you get a smoother coat. Still, test first on a hidden part of the door to see how it behaves.
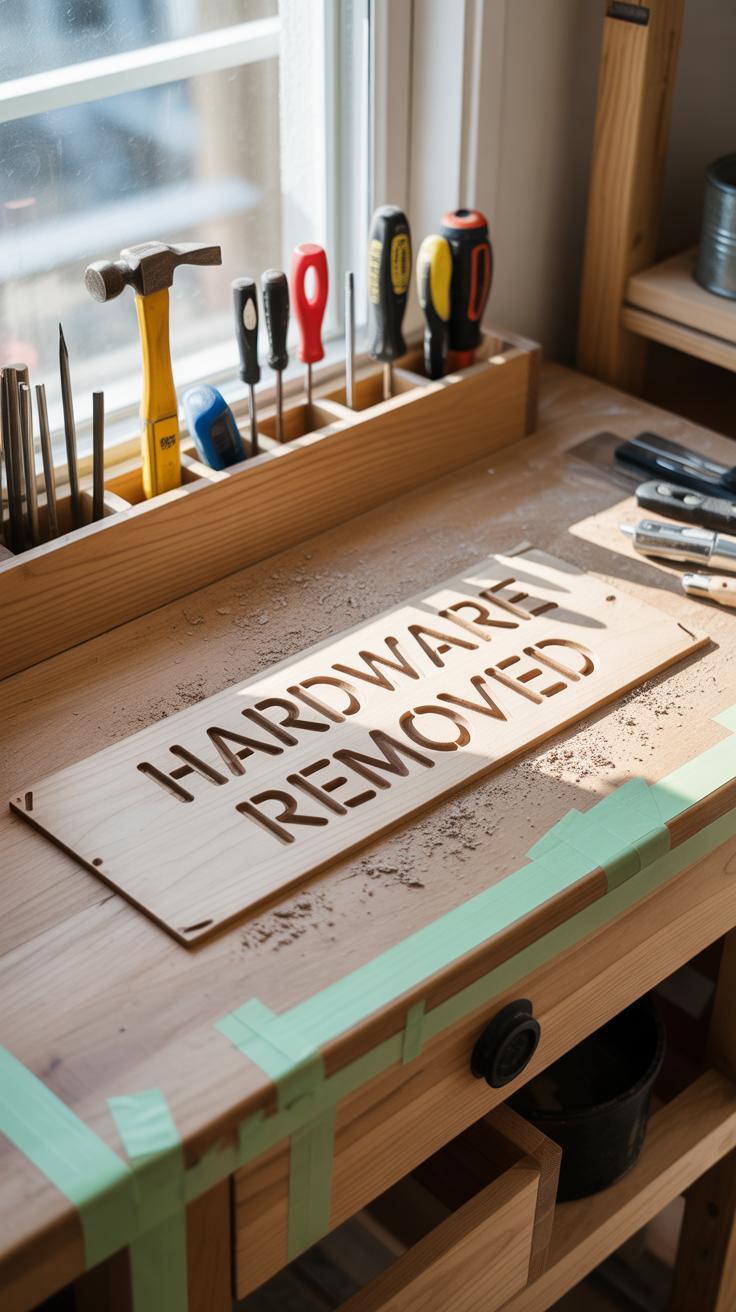
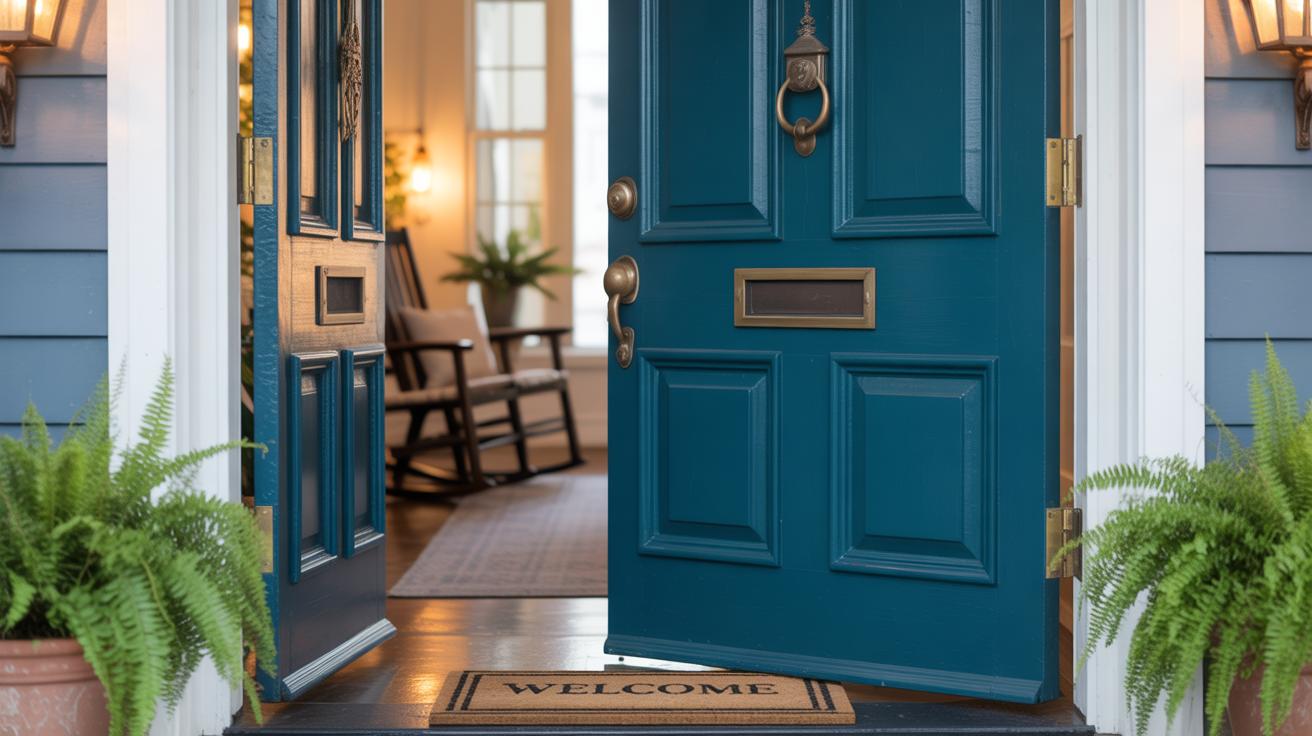
Upgrade Door Hardware for Style and Function
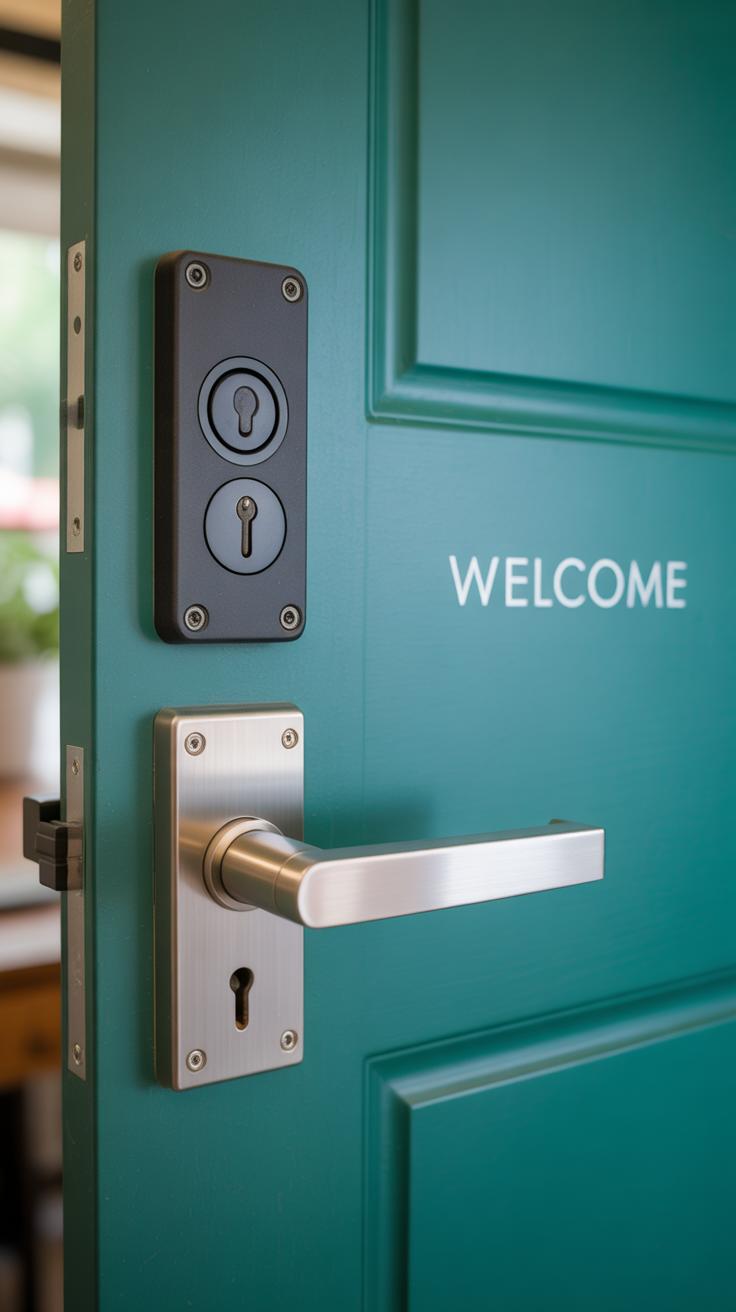
Swapping out door handles, knobs, and locks might seem small, but it changes a door’s whole vibe. A dull, outdated knob can pull down even the nicest door, while a sleek modern handle can lift it instantly. Plus, this isn’t just about looks—upgrading hardware often makes your door work better. Smooth operation, better grip, less wear. I’ve noticed how much easier it is to open newly fitted handles that fit your hand well, especially with kids or when you’re juggling groceries.
Choosing New Door Handles and Knobs
Picking hardware isn’t just about style, though that’s part of it. It’s about matching what’s already there, or maybe shaking things up a bit. If your door is classic wood, brass knobs might feel right. For a sleek modern door, matte black or polished chrome handles work well. Don’t forget the size and shape—larger handles can feel more substantial, smaller knobs might suit a subtle aesthetic.
- Consider the finish—does it complement hinges and nearby fixtures?
- Think about how the handle feels. Is it comfortable for daily use?
- Look at the door’s design—ornate, simple, rustic—and pick hardware that fits.
Sometimes, mixing styles can surprise you. I’ve seen a rustic wood door that got a modern steel handle and actually looked fantastic. So don’t be afraid to experiment.
Improving Door Security with Updated Locks
Locks have come a long way. It’s not all about old-fashioned deadbolts anymore, though those are still solid if you want simplicity. Now, there are smart locks with keypad entry or remote control—these can blend well if you find sleek, minimalist designs. What’s nice is you can get enhanced security without making your door look like a fortress, which is actually pretty common.
- Think about keyless options for convenience—no fumbling with keys after dark.
- Choose locks with sturdy materials to resist tampering but also match your door’s style.
- Consider integrated systems if you want to connect your door lock to your home security.
Upgrading locks can feel like a chore, but honestly? It offers peace of mind and refreshes the door’s look at once. Sometimes, practicality and style don’t have to conflict.
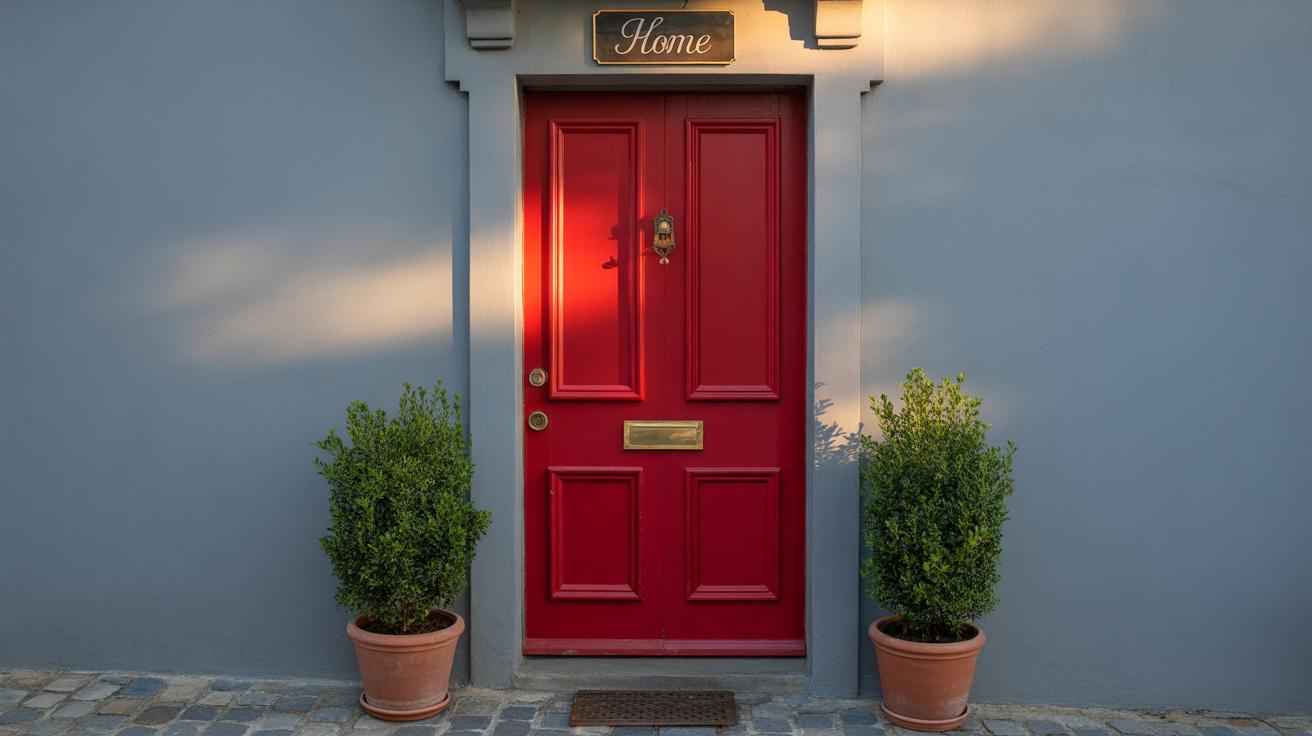
Add Decorative Elements to Your Door
Adding trim or molding around your door can really change its look—making it feel more finished or even custom-built. You don’t need to be an expert carpenter for this. Simple wooden or MDF trim pieces can be attached with some glue and finishing nails. Once in place, a quick coat of paint—matching or contrasting with your door color—makes everything pop.
If you want a bit more character, try layering different thicknesses or styles of molding. Some people choose wide, flat trim for a modern feel. Others go for something with curves for a traditional vibe. Personally, I found that even a narrow frame around the door gave it depth, like it was a feature rather than just a passage.
Decals and stickers are another way to add personality without permanence. They come in many designs, from subtle patterns to bold graphics. Applying them is straightforward—just peel, stick, and smooth out air bubbles. The best part is they can be removed easily without damaging paint or leaving residue, which makes them ideal if you’re renting or wish to switch styles often.
Think about what mood you want your door to set. Should it whisper subtle charm or scream uniqueness? Either way, trim, molding, and decals give you flexible options to explore. Have you tried any of these before? Sometimes, little details like these are exactly what make a door feel like part of the home rather than just a barrier.
Replace or Refresh Door Panels
Your door panels often take the brunt of daily wear—scratches, dents, even warped wood. Instead of replacing the whole door, refreshing or swapping these panels can breathe new life into it pretty quickly. If a panel is damaged, start by gently removing the panel using a utility knife to cut through any paint seals, then carefully pry it out with a flat tool. You might find that sanding and repainting a panel does the trick, but if the damage runs deep, replacing the panel entirely is a smart move.
Replacing panels usually means measuring the existing ones and sourcing new pieces—often plywood or MDF—that match the thickness. You can nail or glue these into place. Don’t worry if it feels a bit tricky; it’s more manageable than you’d think.
If you want to go beyond fixes, consider adding decorative panels or overlays for style. There are peel-and-stick PVC panels, beadboard inserts, or even raised molding kits that make a plain door pop visually without heavy carpentry. Choose from geometric patterns or classic raised panels depending on the vibe you want. It’s a simple, affordable way to add texture and interest—maybe something you hadn’t thought of but might like.
Before you start, ask yourself: Do you want subtle updates or something that makes a statement? Either way, panel replacement or enhancement doesn’t have to take all day—and it can make a big difference.
Enhance Your Door with Glass Inserts
Adding or changing glass inserts in your door can really open up a space in an unexpected way. When light streams through those glass panels, rooms feel brighter and, well, just more alive. Even a small insert can break the monotony of a solid door, giving it a bit of character without overwhelming your overall style. It’s not just about the light, though—glass inserts also create a focal point, making your door more than just a passage but a feature that draws attention.
Types of Glass Inserts
There are a few common styles you might come across—and each has its own vibe, of course.
- Clear glass: Simple, classic, lets maximum light in but doesn’t offer much privacy.
- Frosted glass: Adds privacy while still allowing light. Sometimes you’ll find patterns etched in, which can be charming or modern depending on the design.
- Stained glass: Colorful and artistic, these bring in personality but can be pricier and a bit trickier to match with your home’s existing look.
You might also see beveled glass or textured types, which create interesting shadows but can be subtle in impact.
Installing Glass Inserts Safely
Glass might seem delicate, and honestly, it is. If you decide to add or swap out inserts yourself, take some precautions. Wear thick gloves and safety glasses—those shards are no joke. It helps to remove the door from its hinges and place it on a flat, stable surface.
Start by carefully removing the existing panel or insert, keeping track of small parts like clips or sealant. When fitting the new glass, make sure it’s snug but not forced; too much pressure can crack it. Use a good-quality weatherproof sealant to keep moisture out and help the glass stay put.
Sometimes, those inserts come in pre-framed kits that make installation easier. Still, if you aren’t comfortable handling glass, hiring a professional might save you stress down the line. You don’t want to rush through it and end up with a cracked, poorly sealed door.
Maintain Your Door for LongLasting Beauty
Cleaning Painted Doors
Keeping your painted door looking fresh doesn’t need to be a chore. Dirt and fingerprints tend to settle on doors more than we realize. To clean without damaging the paint, try a gentle mix of warm water and mild dish soap. Use a soft cloth or sponge—rough materials can wear away the finish over time. I’ve found that wiping in circular motions helps lift dirt better, but you may find that straight strokes work for you.
One thing I wonder is how often we really need to clean. Maybe once a month if your door doesn’t see heavy use? Too much scrubbing can actually fade the paint or leave streaks, so take it slow. Avoid harsh chemicals or anything abrasive; they can chip away at the finish quicker than you’d expect.
Caring for Door Hardware
Door hardware is often forgotten but plays a big role in both function and appearance. Over time, handles and hinges can get sticky or noisy. Giving them a quick clean with a cloth dampened in a bit of vinegar or soapy water usually helps remove grime. I once skipped this step and regretted it when the knob squeaked loudly for days.
To keep things smooth, lubricate moving parts with a light oil or a spray like WD-40. Just a small amount goes a long way and prevents buildup. You might want to check hinges twice a year—or more if your door feels stiff. Some people swear by graphite powder for locks; it doesn’t attract dirt like oil does. What works best might depend on your climate and door usage.
Does maintaining your door this way feel like extra effort? Perhaps. But it definitely saves you from bigger fixes later on, and your door will stay inviting for longer.
DIY Door Makeover Project Planning
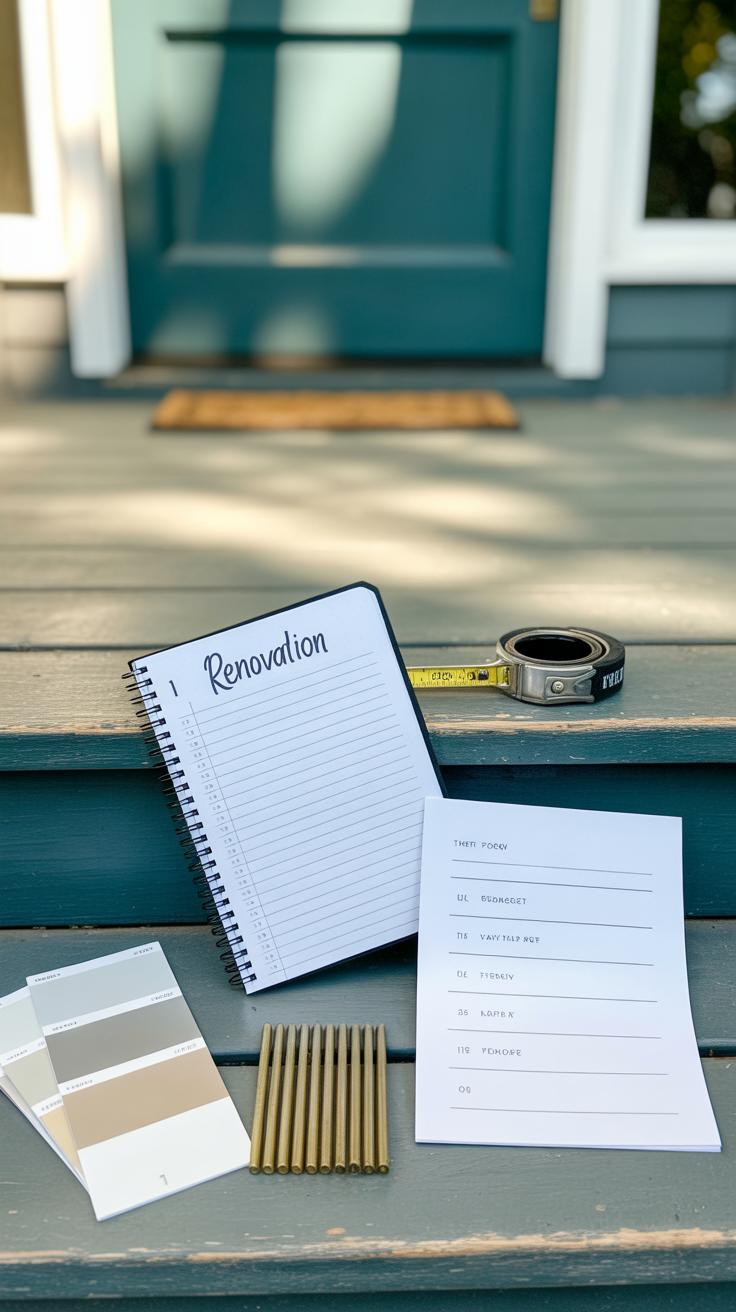
Gathering Materials and Tools
Before you start, gather everything you might need. Paint cans, brushes or rollers, painter’s tape, sandpaper, screwdrivers for removing hardware, a drop cloth, and cleaning supplies should be on your list. You might want to add primer if your door hasn’t been painted before or if you’re making a big color change. Don’t forget a rag or tack cloth for wiping dust after sanding—it makes a real difference.
Organizing these supplies in one spot saves time later. Maybe set them on a table right near the door or in a portable caddy if you have to move around. That way, you won’t waste your precious hours hunting for a missing brush halfway through.
Scheduling Your Makeover Day
Try to pick a day when you can dedicate several uninterrupted hours to the project. Start with prepping the door—removing hardware, sanding down rough patches, wiping everything clean. This alone can take an hour or more, depending on the door’s condition.
Next, apply your primer if needed and let it dry. That might require some patience—most primers take at least an hour. Then, painting follows with one or two coats. Planning short breaks between coats keeps the paint from smudging. In total, it’s tight but doable within a day if you keep moving.
Weather matters too. If you paint outside, avoid humid or rainy days. If indoors, keep the room ventilated for quicker drying. Have you ever started a project and had to pause because the paint wouldn’t dry? It’s frustrating, but picking your timing well can save you from that hassle.
Conclusions
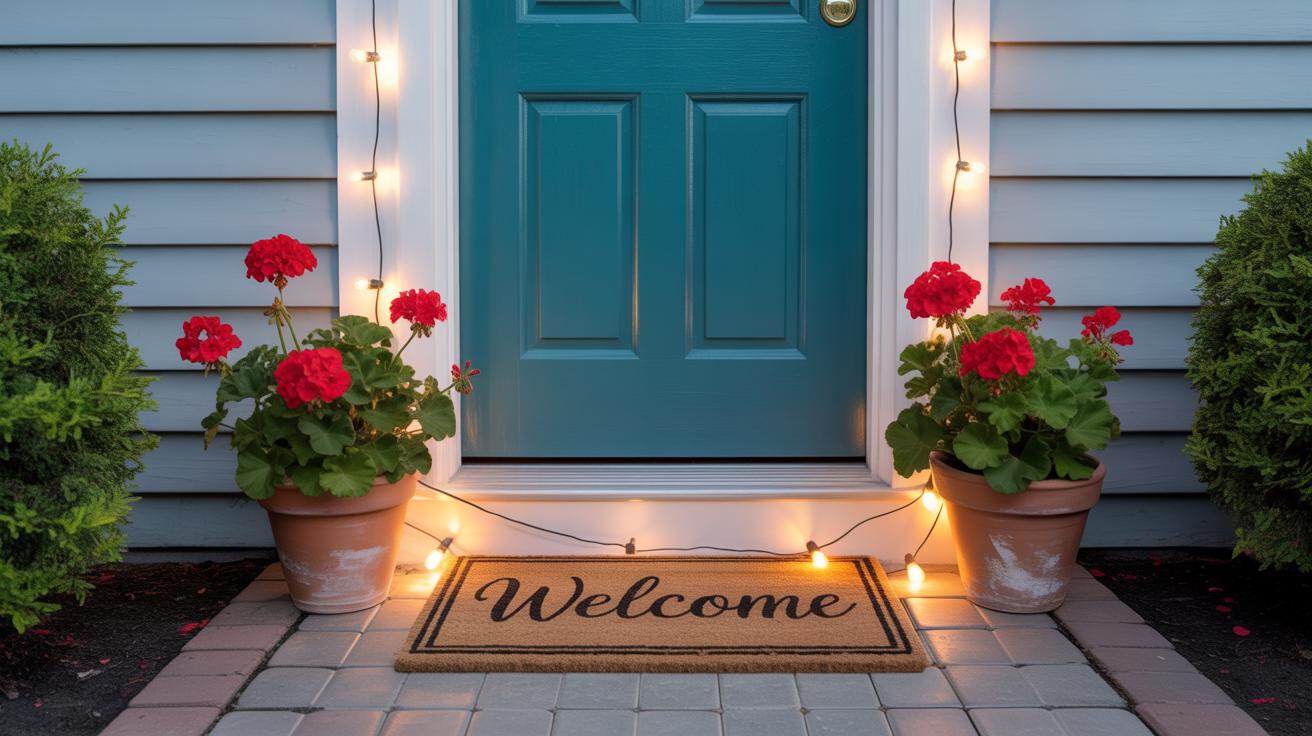
Transforming your door doesn’t have to be complicated or take a lot of time. Simple updates like a new coat of paint or replacing door hardware can quickly boost the style of your space and create a welcoming entry. With these ideas, you have the power to refresh your door in a single day.
By focusing on easy, practical steps, you can tackle your door makeover project yourself and see immediate results. Use these tips to improve your home’s curb appeal or interior charm. Your door is ready for a new look today—are you ready to start?


