Introduction
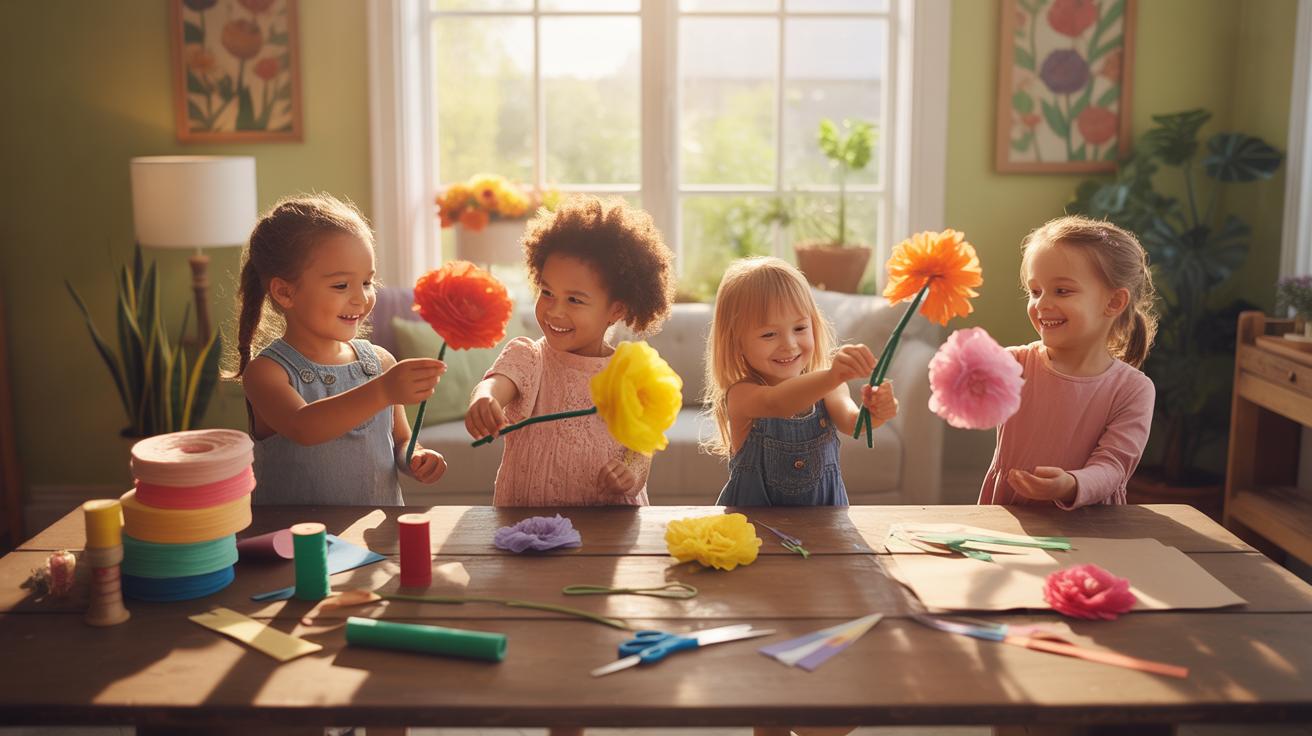
Flower crafts offer a wonderful opportunity for kids to engage in creative activities that also brighten up your home decor. These activities combine fun, learning, and decoration in one, allowing children to explore their artistic side while making something beautiful and useful. Flower crafts range from using real flowers to simple paper and fabric flowers, making them adaptable to all ages and skill levels.
Flower Crafts Kids Can Make For Home Decor not only nurture creativity but also teach kids about nature and design. The ideas presented here are easy for children to follow and create meaningful pieces to decorate various areas of your home. Let’s explore different flower craft projects that kids can enjoy and that add a charming touch to your living spaces.
Understanding Basic Flower Craft Materials
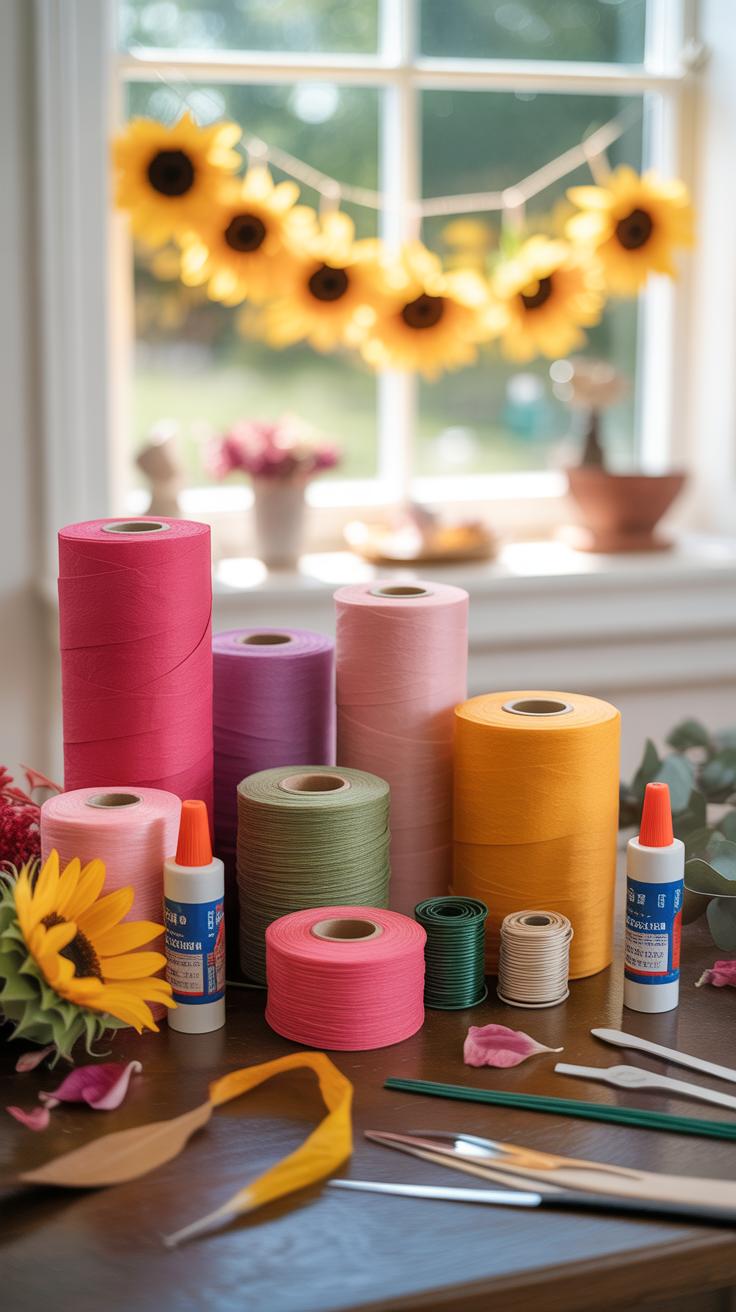
When it comes to flower crafts kids can make for home decor, picking the right materials matters a lot. You don’t need fancy stuff. Often, simple paper, fabric scraps, or even real flowers can do the trick. For paper, construction or colored paper works well because it’s sturdy but easy to fold or cut. Tissue paper is another favorite—light and delicate but a bit trickier to handle, so younger kids might need help.

Fabric pieces add texture. Cotton or felt are usually safe bets. Real flowers? They bring freshness, but they wilt fast and can be messy, so maybe save them for short projects.
Glue sticks usually work better for kids than liquid glue—it’s less messy and dries faster. Scissors with rounded tips keep things safer, but sometimes kids might prefer tearing paper if scissors aren’t handy or if supervision is limited.
A few other basics include pipe cleaners for stems, buttons for flower centers, and craft sticks for support. If some materials are missing, think about substitutes. For example, old magazines can be cut into flower shapes or fabric scraps can stand in for paper.
Choosing Safe and Easy-to-Handle Materials
Choosing kid-friendly materials is more important than you might guess. Non-toxic glue and markers are essential, especially if kids tend to put things in their mouths. Look for labels that say “safe for children” or “non-toxic.” Smaller pieces like beads or glitter can be choking hazards, so it’s a good idea to avoid those with very young kids or keep a close watch.
Ease of use also matters. Glue sticks, blunt scissors, and soft paper make crafting less frustrating. When in doubt, choose fewer materials with less complexity rather than overwhelming kids with options. Sometimes, simpler really is better here.
Using Everyday Items for Flower Crafts

You might be surprised how many household items can become flower parts. Empty paper towel rolls can transform into flower stems—just paint them, maybe cut the tops to look like petals. Buttons make perfect flower centers, adding a pop of color and fun texture.
Colored paper from old notebooks or scrap wrapping paper works fine too. Even cereal boxes can be cut into sturdier petal shapes if you need more durability. Sometimes the best projects come from seeing what’s around you and thinking, “Could this be a petal?”
When you try this at home, don’t worry if the material isn’t perfect. Kids often invent their own ways, and that’s part of the charm and learning in flower crafting.
Creating Paper Flowers for Beginners
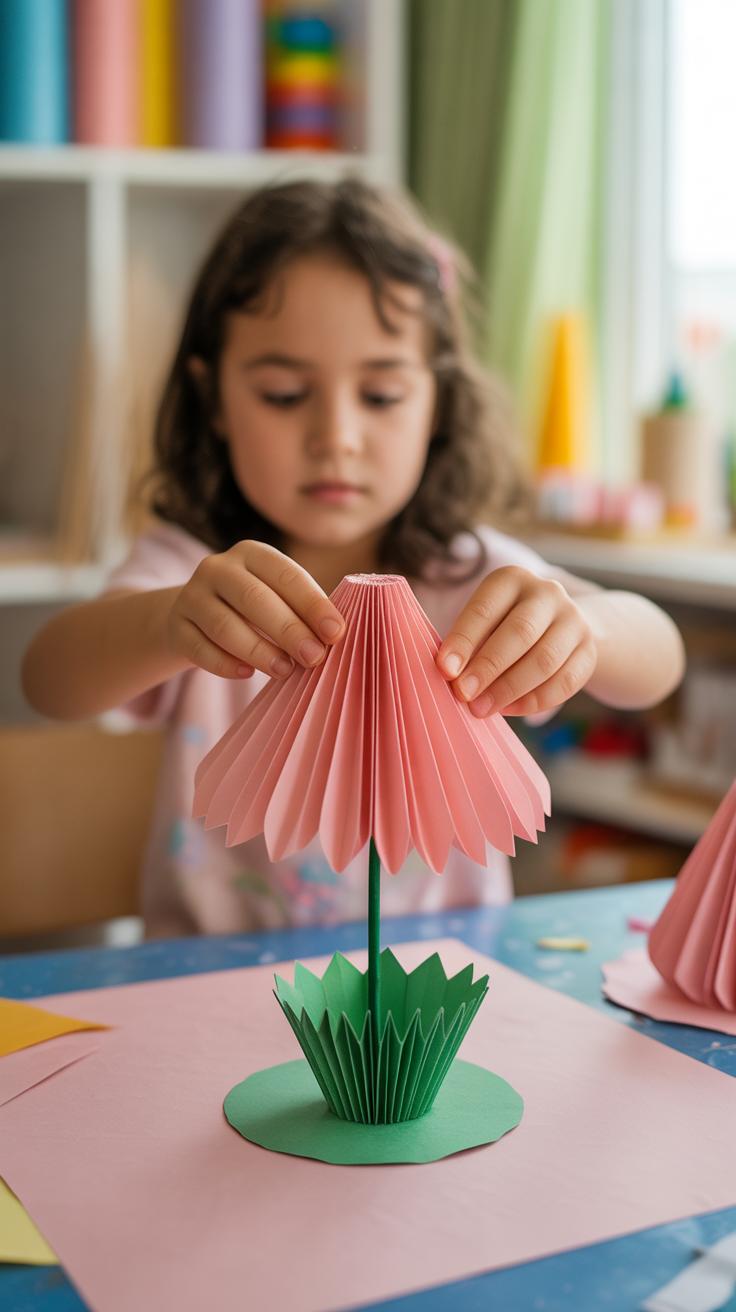
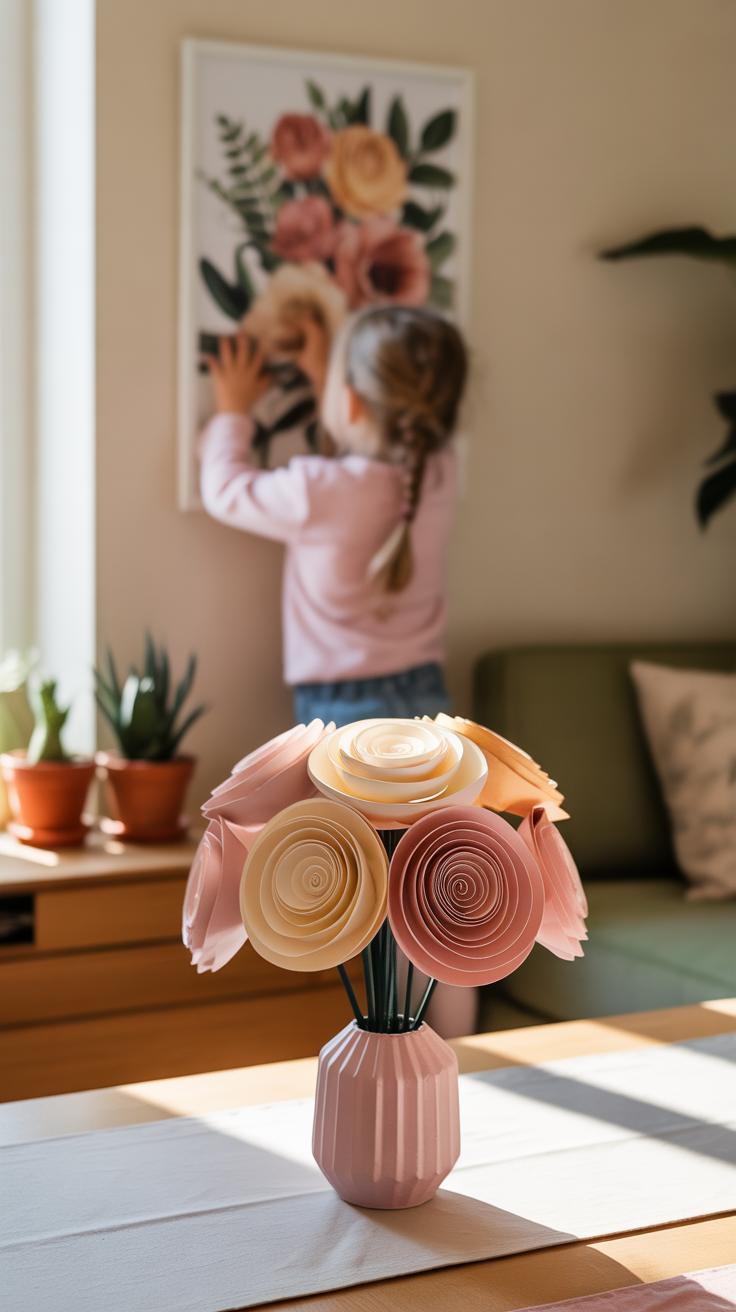
Making paper flowers might seem tricky at first, but with a little patience, kids can create charming daisies or tulips using simple folding and cutting steps. Start by choosing construction paper or tissue paper—both work well. Cut out squares or circles, depending on the flower you want to make.

For a basic daisy, fold a circle in half a few times to form a wedge, then cut petal shapes along the edge before unfolding. Tulips are a bit different: fold a square in half diagonally, then in half again, and slice a petal shape from the folded corner. Unfold carefully to reveal the petals.
These shapes can be layered or glued together for fullness. Don’t worry if petals aren’t perfectly even; imperfections add character. Playing around with sizes and colors invites creativity and makes each flower unique, especially when children choose their own combinations.
Folding Techniques for Paper Flowers
Simple folds can turn flat paper into lively petals and leaves. Kids can try these easy moves:
- Accordion fold: back-and-forth creases creating ruffles that look great for layered flowers.
- Triangle fold: folding corners to the center to make pointed petals.
- Fan fold: pleating paper like a fan, then shaping edges for leaves or petals.
Introducing these methods gently, maybe through quick demos or trial-and-error, lets kids get comfortable. Origami basics offer fun challenges without overwhelming. You might notice that some children prefer cutting over folding, which is fine—paper crafts don’t have one right way to be done.
Decorating Paper Flowers with Colors and Patterns
Once the flower shapes are ready, it’s time to add personality. Markers or crayons help create spots, stripes, or any patterns you like. Sticking tiny stickers or bits of glitter can add texture and sparkle. Sometimes scribbling freely can bring out a child’s mood or idea better than careful drawing.

Encourage kids to experiment. Maybe they want a bright, pink tulip with purple dots or a daisy with multicolored petals. Layering colors or blending shades can give the paper a richer look. The decorating step is where the craft really feels alive—more than just shapes, each flower becomes a little artwork of its own.
Using Real Flowers for NatureInspired Crafts
Working with real flowers brings a fresh touch to children’s crafts—and it’s more than just pretty petals. Kids can explore textures, colors, and the natural shapes of flowers, creating decorations that feel alive. Whether they use fresh blooms or dried ones, real flowers add an organic charm that paper just can’t match.
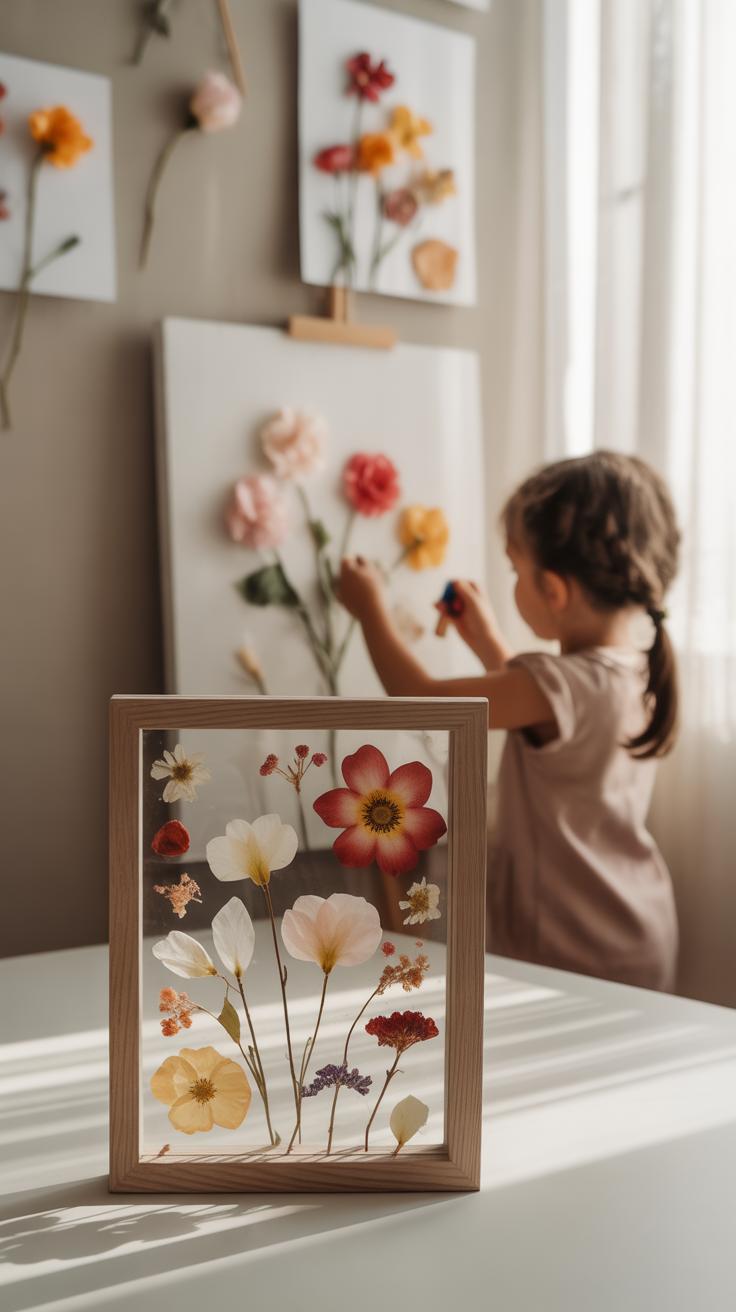
One classic project is pressing flowers. It takes a little patience, but the result lasts a long time. Kids can carefully pick small, flat flowers or leaves, place them between sheets of absorbent paper, and then press them under heavy books for a week or so. When the flowers are dry and flat, they turn into delicate pieces perfect for framing or even bookmarks.
Pressing Flowers for Lasting Art
Pressing flowers sounds simple, but doing it well makes a difference. Start with picking flowers that aren’t too thick – pansies and daisies work well. Place them on plain paper, like blotting or coffee filters, and cover with another sheet.
- Put the paper-flower sandwich inside a heavy book.
- Stack more books or weights on top to add pressure.
- Check after about 7 to 10 days. If they’re still moist, leave them longer.

Pressed flowers can decorate homemade cards or be glued onto cardstock and framed for home decor. I found it’s fun to make bookmarks this way, too. The flowers stay visible but protected under clear contact paper.
Making Mini Bouquets for Decoration
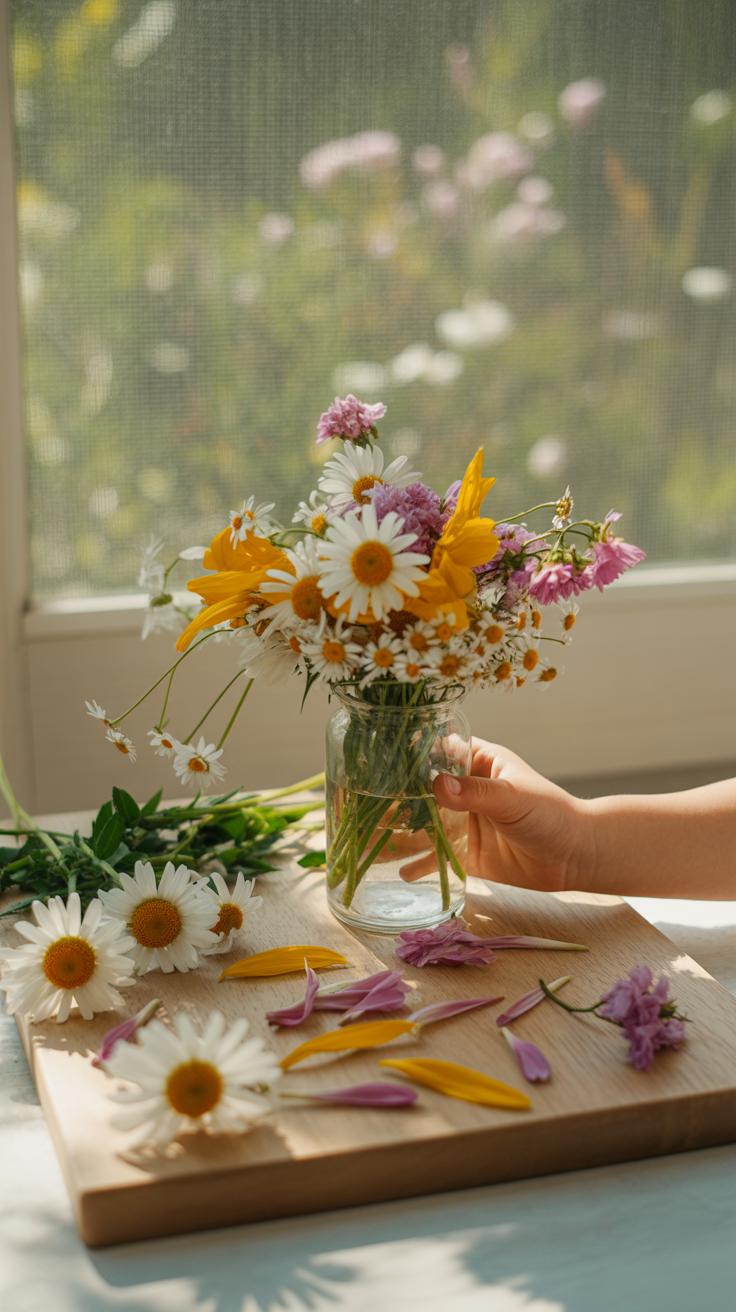
Putting together small bouquets is easier than you might think. Kids can pick a handful of fresh flowers from the garden or even store-bought ones snapped down a bit. It helps to trim the stems to similar lengths.
- Choose a few flowers that look good together. Vary the sizes and colors.
- Arrange them loosely, turning the stems as you add flowers to create balance.
- Tie them gently with ribbon, a rubber band, or twine to hold the bouquet together.
These mini bouquets brighten up small corners like desks or shelves. I’ve seen kids get surprisingly creative with this—sometimes adding a sprig of greenery or even a tiny charm. It’s a nice way to bring nature inside without fuss.
Crafting Flower Crowns and Wearable Decorations
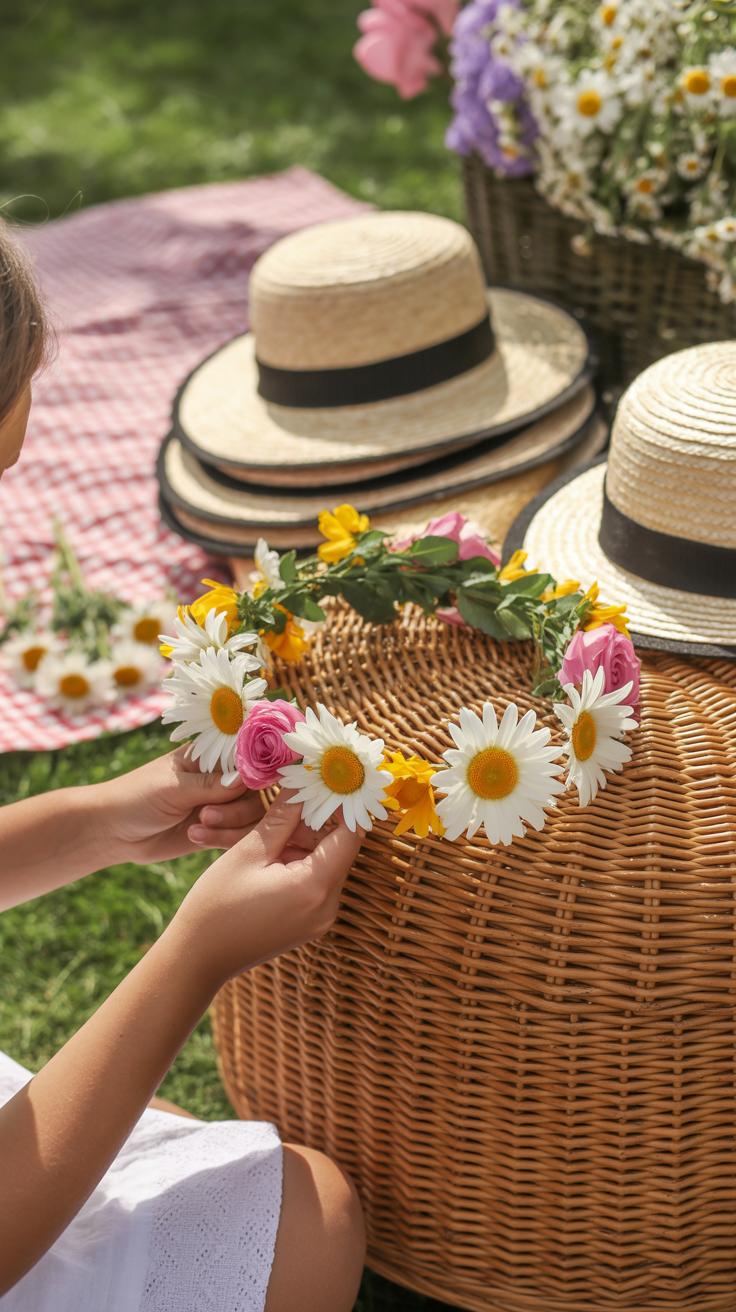
Making flower crowns or wrist corsages is a wonderful way for kids to bring a burst of color and charm into their everyday look or home decor. Whether using paper flowers or real blooms, the process feels rewarding and hands-on, though it does need some patience.

Start by building a solid base for the crown. You can twist together a piece of wire to fit around the head, then wrap it carefully with ribbon or floral tape. This softens the wire and gives a nicer surface to attach flowers. If wire feels a bit tricky, a plain headband works fine too, especially for little hands. For corsages, a simple elastic band is perfect—stretchy, comfortable, and easy to decorate.
Next comes the fun part: fixing the flowers onto the base. For paper flowers, a hot glue gun is pretty much ideal—just remind kids to get some grown-up help with that part. Real flowers can be wired onto the base by wrapping their thin stems with floral wire, then securing with floral tape. This can be fiddly, but it really helps keep things in place throughout the day. Little dabs of craft glue also work, but might not hold long if the crown gets bumped.
Encourage kids to mix sizes and colors, placing bigger flowers in the center and smaller ones to fill gaps. Adding leaves or sprigs alongside flowers adds a natural touch, making the crowns feel lush—even if they’re made from paper.
Have you noticed how children often want to wear their creations right away? Flower crowns are not just decorations; they turn crafting into something you can keep close, and that makes the effort seem even more worthwhile.
Decorating Pots and Planters with Flower Crafts
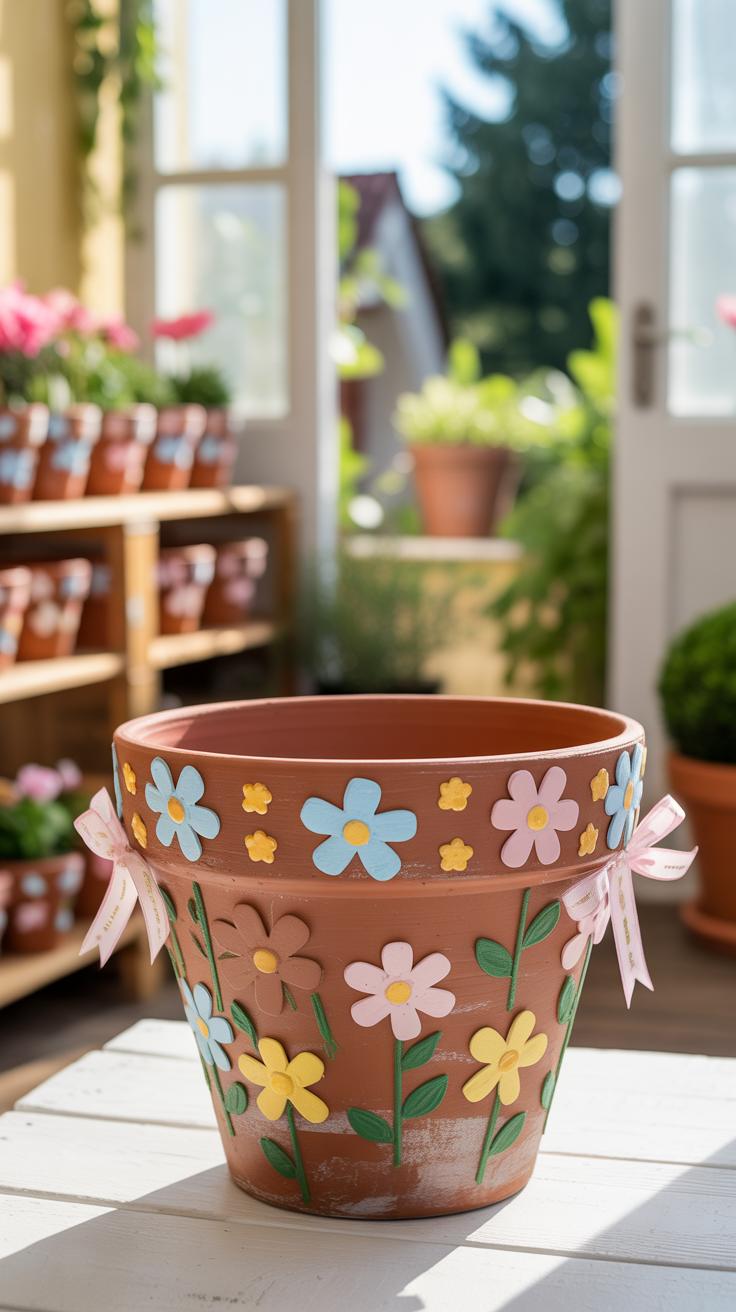

Plain pots and planters often feel a bit dull, don’t they? Kids can quickly change that by adding flower crafts to them. One easy method is to glue paper flowers right onto the pot’s surface. It doesn’t need to be perfect; the charm is often in the handmade look, with petals that might curl or overlap randomly.
Painting is another simple way to brighten pots. Kids don’t have to be professional artists—just start with circles or dots for flower centers, then add petals around. Mixing a few colors can make these designs pop—try blues, reds, yellows, or whatever the kid’s favorite hues are. Sometimes, it’s fun just to let them experiment without instructions. You never know what cool pattern might emerge.
Adding small flower garlands offers a quick fix if you don’t want to paint or glue. These garlands can be easily wrapped around the rim or handle of a pot. They add a bit of texture and dimension that makes the planter feel more “finished” or special. You might find yourself surprised at how much a simple string of tiny blooms improves the whole look.
Painting Floral Patterns on Pots
Teaching kids to paint flowers on pots doesn’t have to be complicated. Basic flower shapes like daisies or tulips are good starting points. For example, a circle in the center with oval petals around it can look just fine, even when drawn quickly and without polish.
Use safe, water-based paints so cleanup isn’t a chore. Let kids select their own color combos—it keeps things fun. Often, they’ll pick unexpected shades that turn out beautifully, like pink petals with green polka dots or orange centers.

Encourage them to try simple touches like dots or stripes on the pot’s base too. Designs can be random or patterned. The goal is to make each pot unique and joyful, not perfect.
Adding 3D Flower Embellishments
Creating texture really lifts a pot’s appeal. Kids can craft small paper or fabric flowers, then attach them to pots with glue or double-sided tape. You can layer petals for volume or add tiny leaves cut from green paper.
Buttons, beads, or even small pom-poms can become flower centers, giving a neat 3D effect and an extra bit of character. Attaching these elements slightly off-center or in clusters might make the pot feel more natural and lively.
Sometimes, less is more—too many decorations can feel overdone. A few 3D flowers here and there can make the planter stand out without overwhelming it. Honestly, watching kids decide where to place these can be just as fun as the decoration itself.
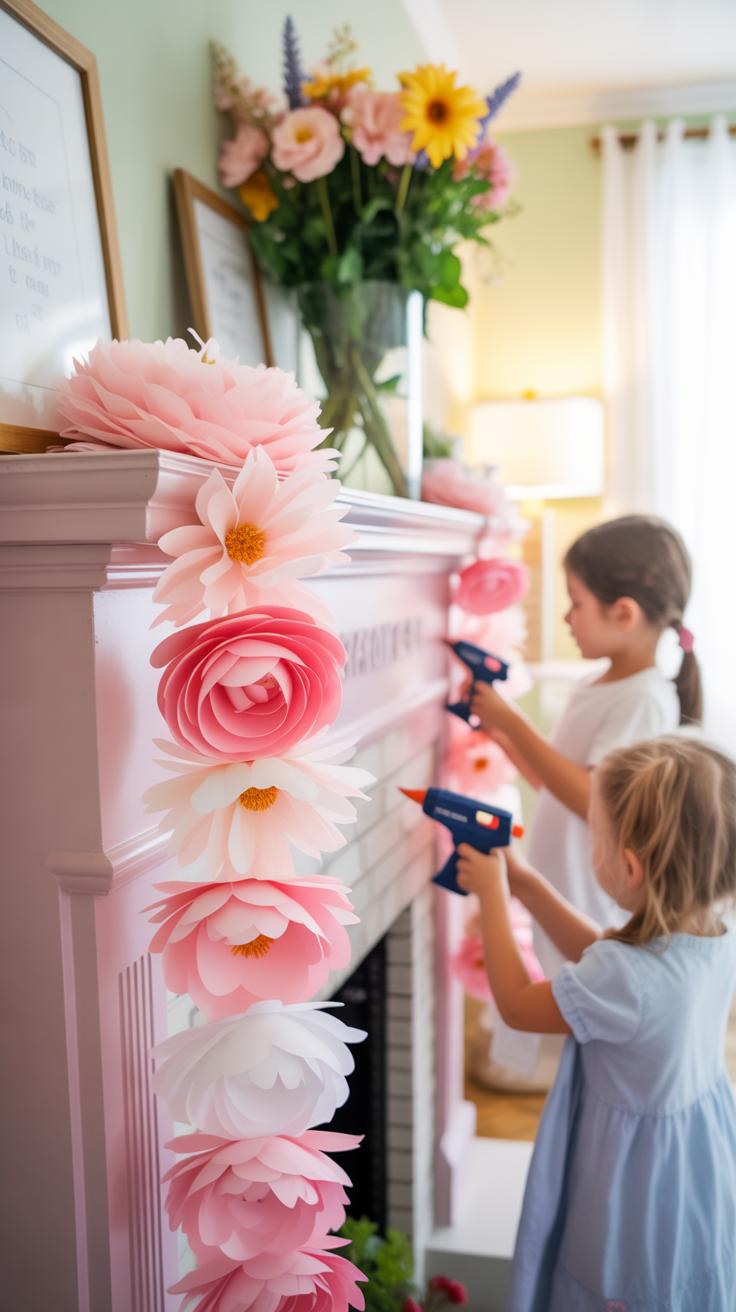
Making Flower Garlands to Brighten Rooms
Selecting Flowers for Garlands
Choosing the right flowers for a garland can be a bit tricky, especially for kids. You want blooms that are easy to string and won’t fall apart too quickly. Small, sturdy flowers like daisies, marigolds, or carnations often work well because their stems hold up under gentle threading. If fresh flowers aren’t handy, paper or felt flowers can be a great alternative—they last longer and come in any color you imagine.
Think about mixing colors that catch the eye but don’t overwhelm the space. Combining soft pastels with bright pops can make the garland stand out in a simple, cheerful way. Don’t shy away from using just one or two colors if that feels easier. Sometimes simpler color choices create a nicer effect; it depends on the room and your kid’s taste.
Stringing Flowers into Garlands
Start by cutting a length of yarn or string—about two or three feet usually works well for a kid’s room but adjust according to space. Next, gently thread the flowers by piercing the stem with a needle or poking a small hole in paper flowers. Let the child slide flowers close together or space them out, whichever feels right. Watching the garland form is often the fun part.
Sometimes, the flowers might slip or bunch up oddly—don’t worry. You can alternate between tying small knots or using glue dots on paper flowers to keep them in place. Once the string is full or long enough, tie the ends securely, and it’s ready to hang. Kids often enjoy draping these garlands over door frames, windows, or across shelves, instantly brightening their space with something they made themselves.
Creating Floral Wall Art Displays
Planning Your Floral Wall Art
Start by thinking about colors that appeal to you or that match the room where the art will hang. Kids might favor bright reds or yellows, but softer pastels can work well too. Don’t feel locked into one color scheme; mixing contrasting shades often adds interest. Try picking a few flower shapes to focus on—circles, stars, or simple petal forms—so the piece feels balanced rather than chaotic. You might sketch a rough layout before making anything. This doesn’t have to be detailed—it can be as simple as arranging paper flowers on a table to see what patterns emerge. Sometimes, the best layouts come from playing around rather than planning every detail.
Assembling and Displaying Flower Crafts on Walls
Once you have your design, choose a base for mounting—canvas, sturdy cardboard, or a wooden board work well. You can glue flowers directly onto these surfaces, but pressing too hard might flatten delicate petals, so be gentle. Using double-sided tape or mounting putty lets you reposition pieces, which could help if kids want to experiment. For a framed look, thrift store frames are perfect for adding polish without buying new materials. When it’s time to hang, make sure the backing is strong enough for your piece’s weight. A simple picture hook or adhesive strips often do the trick, but check the wall type first. Don’t hesitate to try groupings—several small floral artworks can brighten a space more than one large panel. It’s fun to see how kids interpret arranging flowers, and that unpredictability is part of the charm.
Flower Crafts for Seasonal Home Decorations
Seasonal flower crafts offer a wonderful chance for kids to connect with the changing year while brightening up your home. For spring, think fresh and lively: Easter flower baskets filled with colorful paper blooms or real sprigs can make that table feel more festive. Kids can glue, weave, or paint to create these baskets, often adding little touches like ribbons or glitter to make their baskets uniquely theirs.
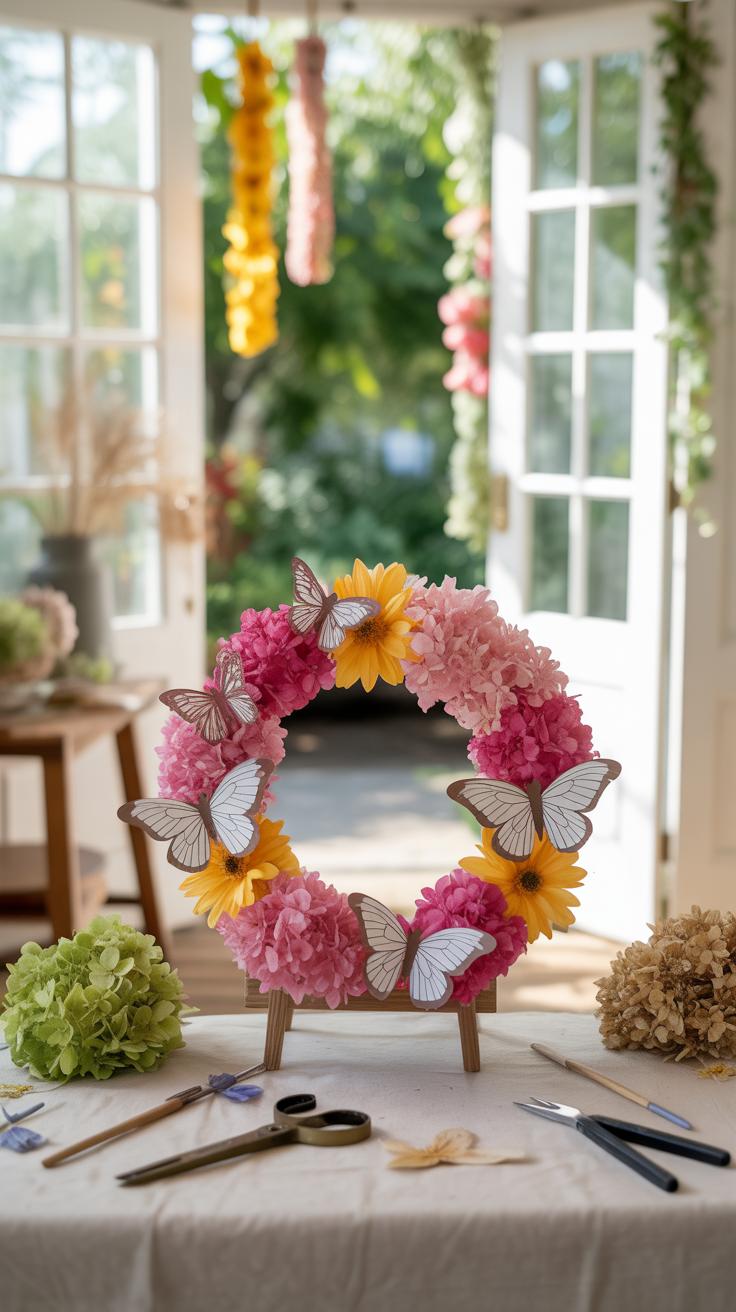
Summer calls for bright florals and airy designs. One popular project is crafting floral wreaths using artificial flowers, paper petals, or even pressed blooms. You might let your child create a wreath that reflects hopscotch of garden colors, arranging the flowers in playful patterns—or just scattering them loosely for an unfussy, joyful look. The ease of tucking stems into a base and wrapping with string offers hands-on fun and great motor skill practice.
Once autumn rolls in, the palette shifts to oranges, reds, and golds. Flower crafts for this time can include decorating plain flower pots with faux autumn leaves and small paper flowers mimicking mums or asters. Kids can layer textures by mixing soft petals and rough leaves, giving decorations a touch of fall’s chill and warmth in one glance. Holiday projects often blend flower shapes with motifs like pumpkins or pinecones, creating fun hybrids that stand out on mantels or doorsteps.
Whether it’s spring or fall, these seasonal crafts invite kids to pay attention to nature’s rhythms—and, frankly, they turn spaces into something a bit more personal. You might wonder if having them follow a pattern limits creativity—but in these projects, it often opens up surprising ideas instead.
Encouraging Creativity and Exploration in Flower Crafts
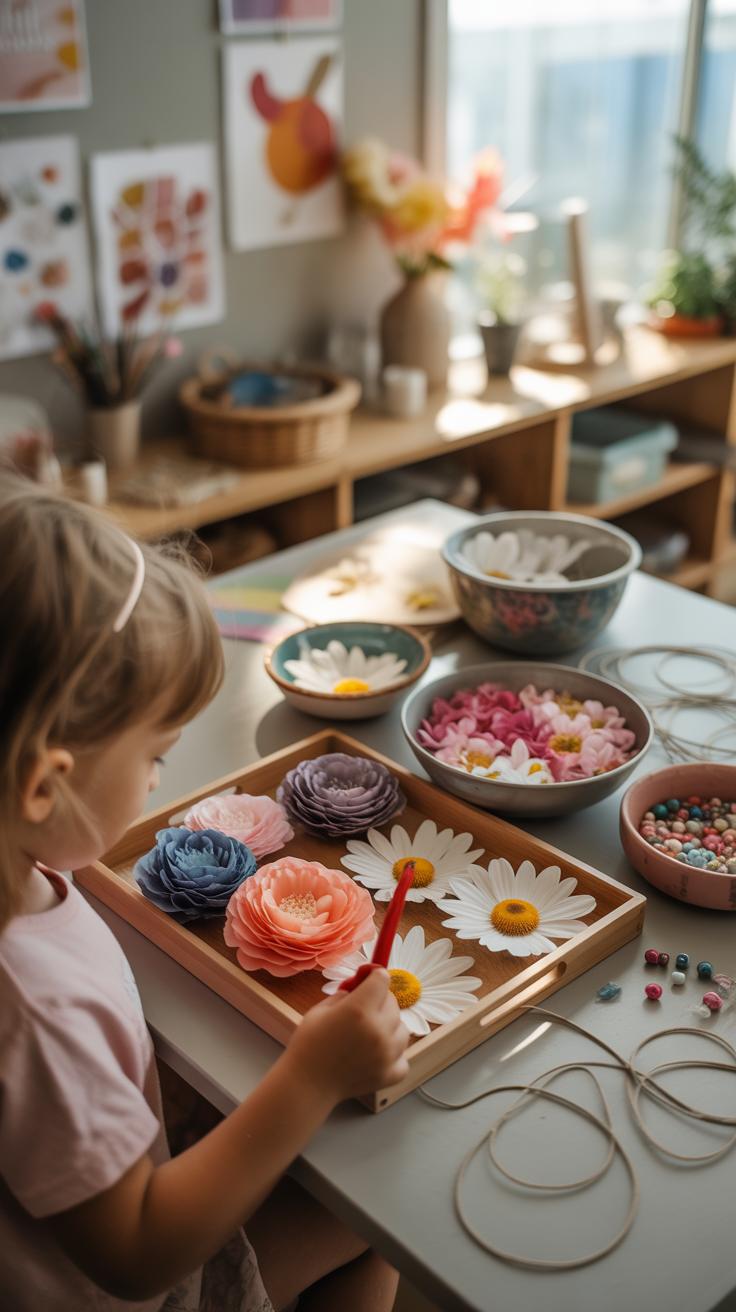
Giving kids space to experiment with flower crafts lets their imagination run free. You might notice that when they’re allowed to try unusual materials—like tissue paper, felt, or even bits of fabric—they start discovering what feels right or fun for them. Sometimes, what looks messy at first turns into something surprisingly charming.
Encourage mixing colors beyond expected combinations. Maybe a splash of blue in a flower’s center or using clashing tones sparks new ideas. It’s less about following rules and more about seeing what happens when boundaries soften. Kids often surprise you with designs that seem wild yet somehow work.
Personalizing flowers through choice of color, style, or even size reflects how each child sees the world. One child might prefer bold, bright petals while another sticks to soft pastels or quirky patterns. These choices tell stories, even if subtle or unintentional. It’s worth asking them why they picked that shade or fabric—it reveals layers of thought you might not expect.
Trying new techniques could mean folding paper in a certain way, layering fabrics, or even gluing small natural items. You might want to introduce simple tools but leave plenty of room for their own approach. After all, sometimes imperfections reveal the most interesting results.
So, what happens if a flower looks different from anything you imagined? Probably, it will brighten up the room in its own way. Let your child’s creativity breathe, mix materials, play with colors, and watch how these little experiments grow into unique home decor pieces.
Displaying and Caring for Flower Crafts at Home
Choosing Spots to Display Flower Crafts
Finding the right place for your child’s flower crafts can make a surprising difference in how much they brighten up the room. Think beyond the usual spots and try putting them on shelves, tables, or near windows where natural light enhances their colors. Walls work nicely too—hang framed flower drawings or lightweight garlands—it brings a fresh feel without taking up space. Mixing places often helps; maybe a small bouquet on the coffee table and a painted flower pot on a high shelf. You might notice some spots just don’t highlight the craft as much as you expected, so don’t hesitate to move them around until you find the best fit.
Maintaining Flower Crafts for Longevity
Keeping flower crafts looking good isn’t complicated, but it does require a bit of care, I’d say. For real flowers, changing the water regularly and trimming stems every few days keeps them lively longer. And if you want to extend that freshness, placing them away from direct heat or drafts helps. Artificial flowers ask for gentle dusting now and then—using a soft cloth or even a little brush can get rid of dust buildup without damaging delicate petals. Be careful with sprays or cleaning solutions; sometimes they do more harm than good. Ultimately, you’ll learn what works best just by watching how your crafts respond to a bit of attention.
Conclusions
Flower crafts are more than just a fun pastime; they help kids develop skills and express themselves while adding a fresh look to your home. Through simple materials and clear instructions, children can create flower decorations that are both charming and personalized. This connection with nature and creativity provides lasting value beyond the finished product.
Embrace these flower crafts as a way to bond with your kids and enhance your home environment. The sense of accomplishment your children will feel and the joy these colorful creations bring make this a rewarding experience for the whole family. Start crafting today and watch how simple flowers turn into memorable decor.


