Introduction
Hand sewing projects offer a personal touch to creating storage solutions that fit your space and style perfectly. By using basic sewing skills, you can make custom items like pouches, bags, boxes with fabric covers, and organizers. These projects help you keep your belongings tidy and add charm to your home decor.
This article explores various hand sewing ideas for personalized storage. We cover practical techniques and simple project ideas that anyone can try. Whether you want to organize your desk, closet, or craft supplies, hand sewing lets you craft unique storage options tailored just for you.
Why Choose Hand Sewing For Storage Projects
You might wonder why hand sewing still holds value when machines are so common. Well, hand sewing gives you a level of control that machines often don’t. When you work by hand, you can feel every stitch, adjust tension easily, and choose exactly where your thread goes. This is especially useful when working with delicate or unusual fabrics that could get caught or damaged in a machine.

Design freedom is another big plus. You aren’t limited by preset stitch patterns or machine settings. Want a quirky shape or a pocket in an awkward spot? Hand sewing lets you tweak as you go. This can make your storage pieces truly unique—tailored not just to the space but also to your taste and needs.
Customization doesn’t stop at design. You control the materials used, from thread color to fabric type, allowing combinations rarely seen in mass-produced items. I’ve tried making small pouches where I mixed denim with lightweight cotton, and it worked surprisingly well because I could sew carefully where the fabrics met. That kind of detail can be tricky with machines.
Hand Sewing Versus Machine Sewing
Thinking about how hand sewing stacks up against machine sewing? Each method has its place, but for small storage projects, hand sewing often feels more adaptable. Machines speed things up, sure, but they can be fiddly with tiny, narrow spaces or thick layers.
As a beginner, you might find hand sewing less intimidating. You don’t have to wrestle with machine settings or worry about thread jams. The rhythm of sewing by hand can also help you catch mistakes early. For small projects like fabric baskets or simple pouches, hand stitching often feels just right—neither too slow nor too complex.
That said, machines shine when you want to make lots of identical items or need strong, quick seams on heavy fabrics. But when you want to experiment and take your time, hand sewing offers the kind of flexibility that machines can’t quite match.
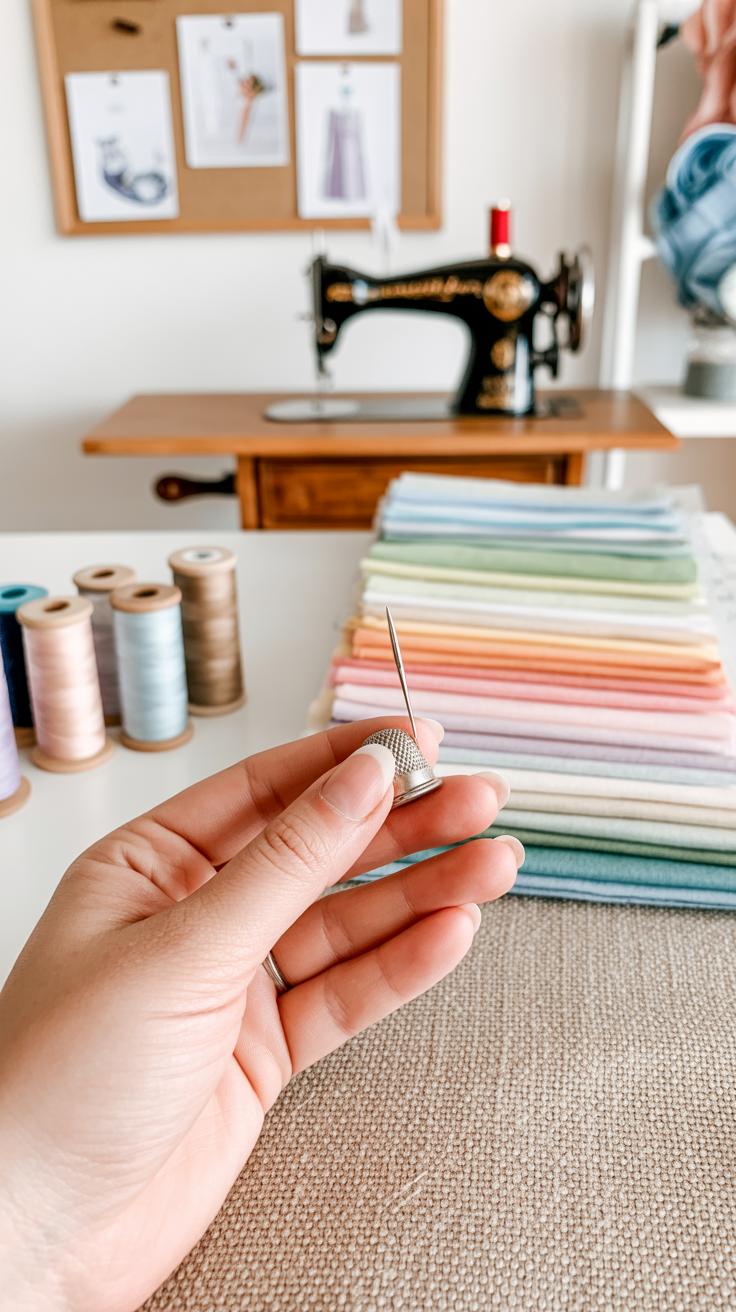
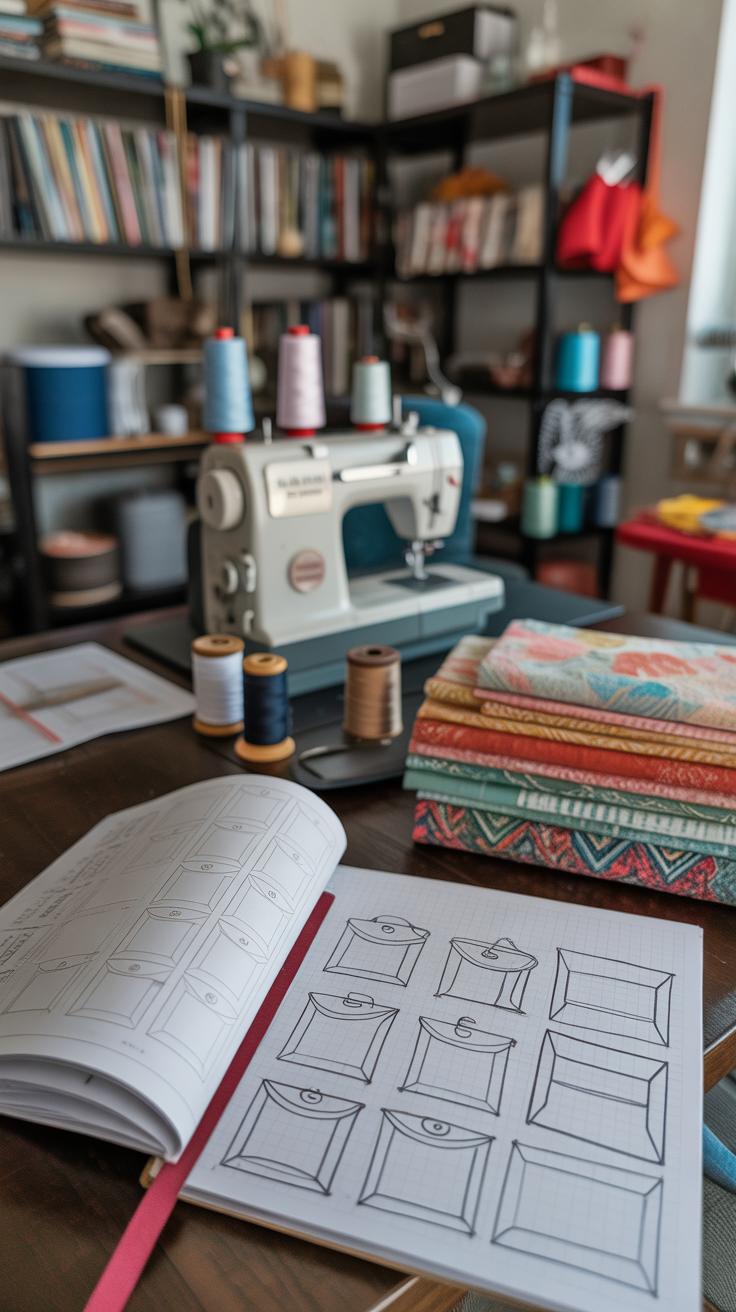
Materials Needed For Hand Sewing Storage

Getting started with hand sewing for storage projects doesn’t call for fancy or expensive tools. You mostly need the basics, which you may already have around the house:
- Needles: A variety pack usually works best, especially sharp ones for woven fabrics and larger ones for thicker materials.
- Thread: Cotton or polyester thread in a few colors is good. Neutral colors cover most projects, but don’t skip brighter ones if you want to add some flair.
- Fabric: Choose sturdy fabrics that hold their shape—canvas, denim, felt, or quilting cotton are all favorites. The fabric choice really shapes the outcome.
- Sharp scissors: Fabric scissors over paper ones—they make your cuts cleaner and less cumbersome.
- Small embellishments: Buttons, snaps, or patches can add personality and function.
Sometimes I’ve grabbed a thimble or a strong tape measure, but those aren’t must-haves to start. Often, you just need steady hands and a bit of patience. It’s easy to underestimate how much you can make with just these simple materials.
Basic Stitches For Storage Sewing
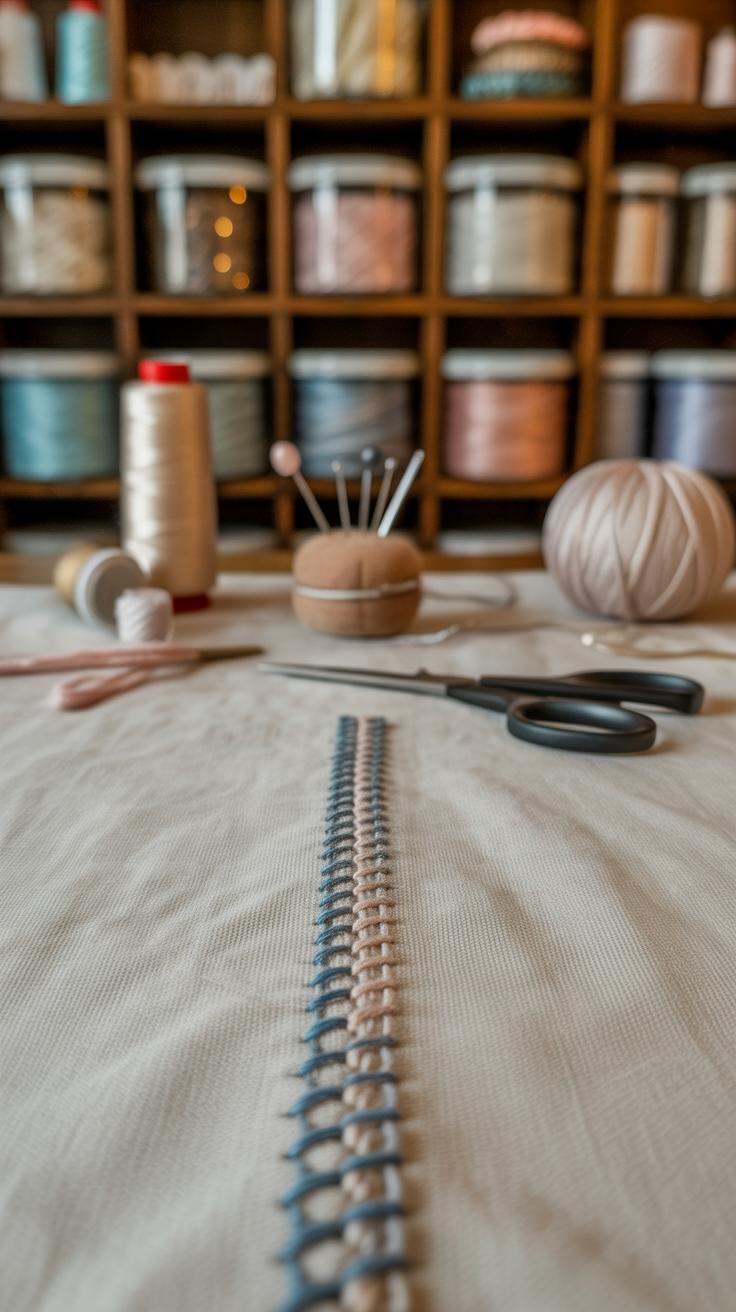
When tackling storage sewing projects by hand, a handful of stitches cover most needs. Each stitch has its own character and use, and knowing when to pick one over another can make your project hold up better and look cleaner.
The running stitch is simple and quick, great for basting or seams where strength isn’t critical. Backstitch provides durability, perfect for bags or boxes that need to carry weight. Whip stitch helps join edges with a decorative or secure finish, while slip stitch conceals your seams, useful when you want a neat, almost invisible hem.

Think of these stitches as your basic toolkit. You might reach for the running stitch first, then switch to backstitch when you want something tougher. Whip stitch can close an open side or attach layers, and slip stitch’s invisibility comes in handy when finishing touches need to be tidy yet strong enough.
How To Do The Running Stitch
The running stitch is maybe the simplest stitch you’ll use, but don’t let that fool you—it’s versatile. To start, thread your needle and knot the end.
Push the needle through the fabric from the back to the front at your starting point. Then, move the needle a short distance away and push it back through. Keep making these in-and-out stitches in a straight line or curved path.
Each stitch ends up looking like small dashes along your fabric. If you want, space them close together for more strength, but wider spacing works for basting or light holds.
You’ll often see running stitch used to temporarily hold layers before permanent sewing or to create simple seams in lightweight materials like cotton. For scrap storage bins or cloth organizers, it’s quick and practical.
Using The Backstitch For Strength

Backstitch is key when you need a seam that won’t give way easily. It sounds fancy but isn’t overly complicated. You start like the running stitch but instead of skipping forward each stitch, you double back slightly, literally stitching backward a tiny distance.
Here’s how you do it: push the needle in forward, then pull it out. For the next stitch, push the needle back into the fabric behind your last exit point, then push it forward beyond the very last stitch. This creates a solid line of overlapping stitches.
This overlap reinforces the seam, making it ideal for bags and boxes that carry heavier items. I remember stitching a small fabric box that had to hold tools. Running stitch wasn’t cutting it—the backstitch held tight, no fraying or pulling apart.
If you want your storage project to last, especially in places under stress, backstitch is the one to lean on. It takes a little more time but pays off in durability, which is just what a carrying pouch or fabric bin needs.
Creating Fabric Pouches For Small Items
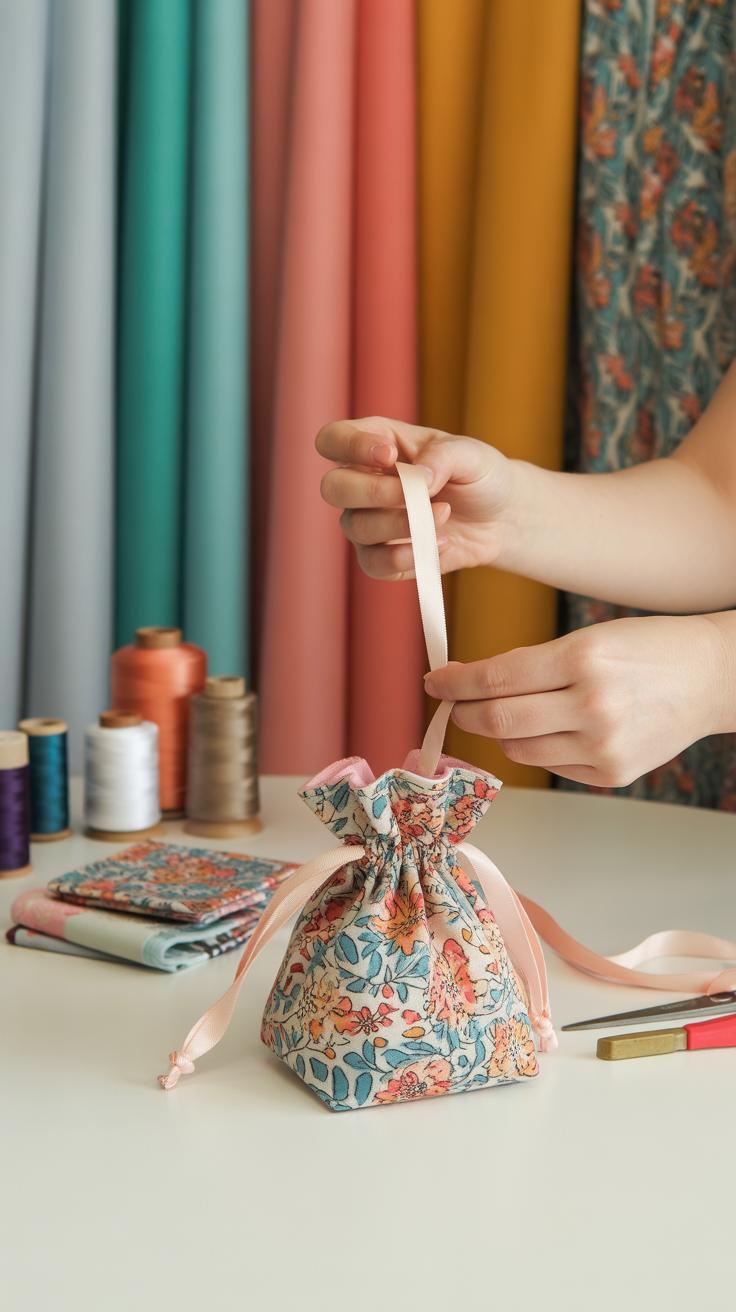

Fabric pouches are surprisingly simple to sew by hand, and they make great storage for little things like jewelry, coins, or craft supplies. Start with two identical pieces of fabric—cut roughly the size you want your pouch to be, maybe 5 by 6 inches or so. Using a backstitch along the edges, sew the sides together, leaving the top open.
It’s often easier to sew these pouches inside out, then turn them right side out when you finish. This hides the seams and gives the pouch a cleaner look. You might find yourself experimenting with sizes and shapes, especially if you want to stash something specific.
Choosing Fabric For Pouches
Choosing the right fabric is a bit of a balancing act. You want something durable to protect the contents, but also something that looks nice enough to keep out on a dresser or desk. Cotton canvas is a solid pick—it stands up to wear and feels sturdy. Linen offers elegance, but is a bit more delicate. Sometimes, you might choose a cotton print for personality, accepting it may not last forever with heavy use.
- Consider thick cotton blends for durability without stiffness.
- Think about a fabric with some texture—it hides dirt well.
- Don’t overlook recycled or repurposed fabrics if you want something unique.
Adding Closures To Pouches
Keeping your pouch closed is key, especially for jewelry or tiny beads that can escape easily. You can hand sew a button and make a simple loop from thread or thin cord to tie it shut. This approach feels homemade but can be very secure once you get the tension right.
If buttons aren’t your thing, try ties made from fabric strips or ribbon—you just stitch two small tabs inside the pouch top and sew a long tie to one side. Wrap the tie around and knot or bow it in front.
Small snaps are another possibility. They need careful sewing, which can be fiddly, but once attached, they offer a neat closure that stays out of the way. Each closure method changes the pouch’s overall look and how easy it is to open—what’s your priority?
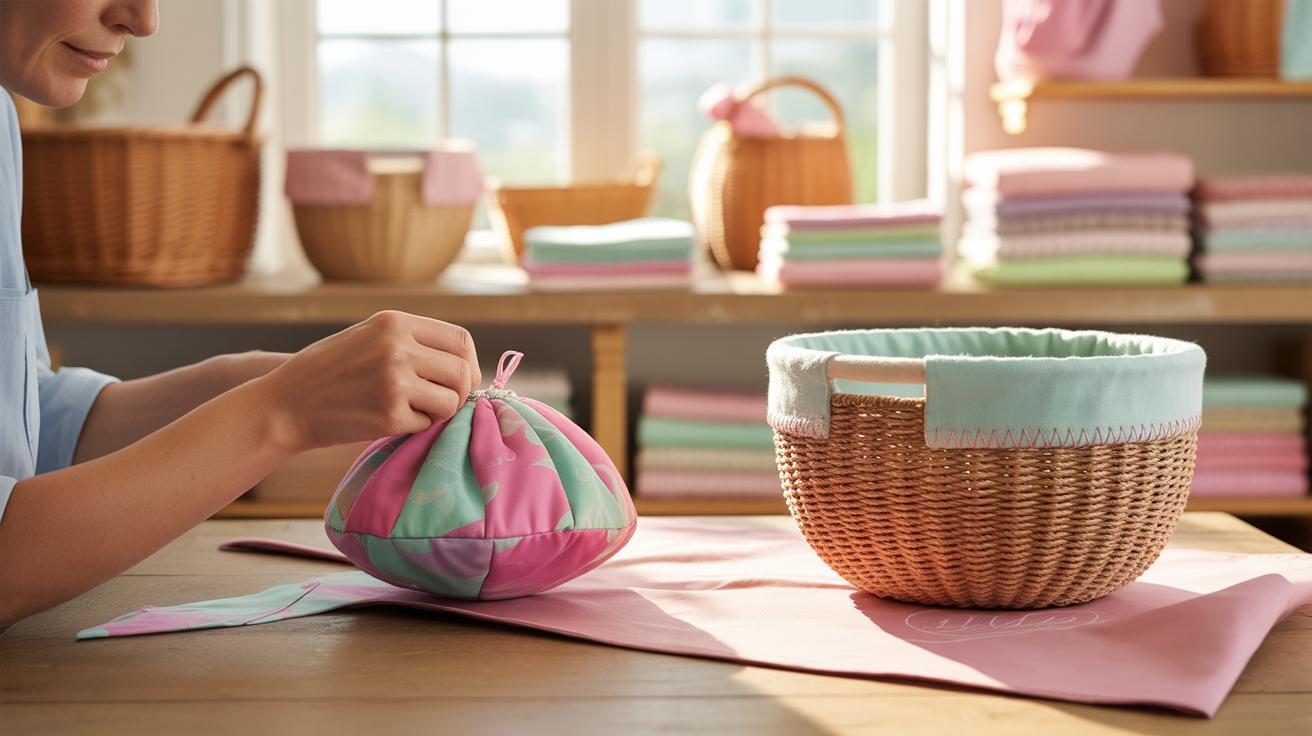
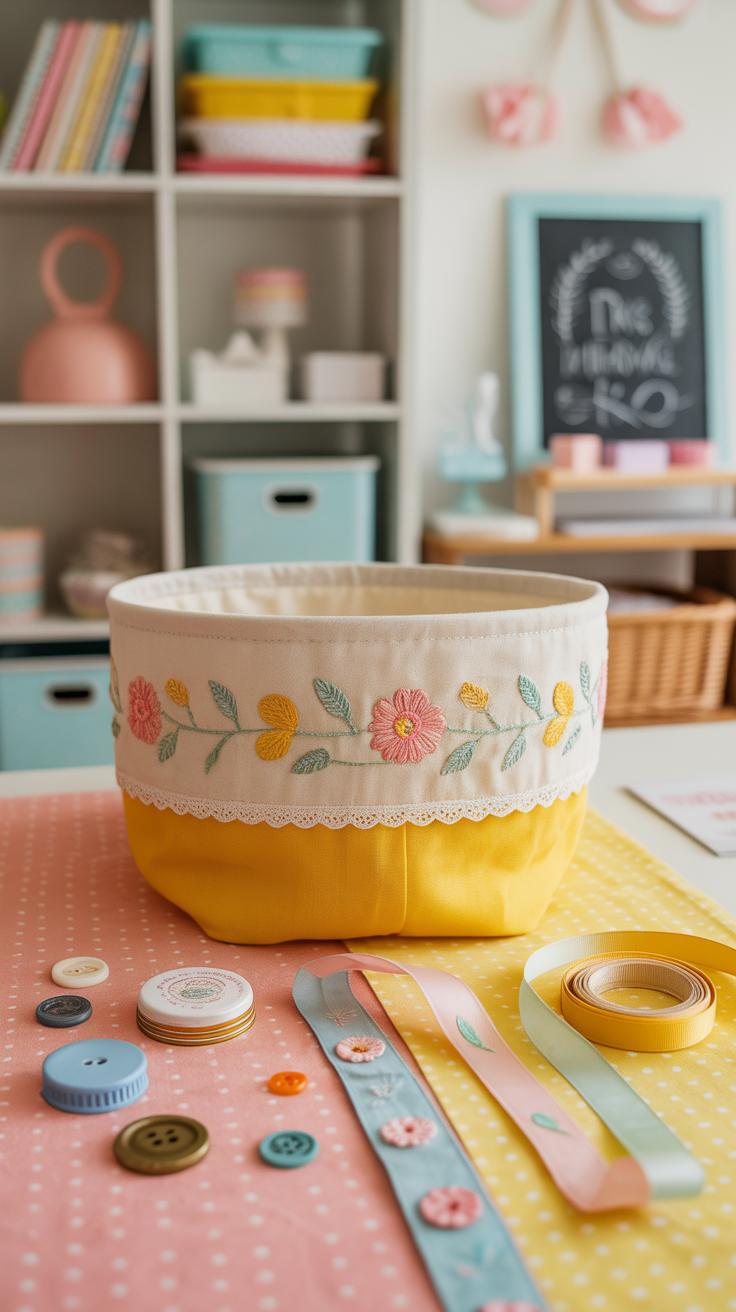
Making Personalized Storage Baskets With Fabric

Hand sewing fabric baskets can turn a simple piece of cloth into something really functional for organizing. You could use these soft baskets for clothes, toys, or even larger craft supplies. The softness means they won’t scratch surfaces or feel too rigid, which is great if you want a cozy look in your room.
When thinking about shapes, you aren’t limited to just squares or rectangles. Imagine round baskets with a cinched edge that sort of folds over. Or maybe tall, narrow baskets for scarves and hats. You can even experiment with patchwork, mixing different fabrics and patterns to give each basket its own personality.
If you want to decorate, small appliques or embroidered initials can personalize each basket. Simple trim or ribbons along the edges add color and texture without much effort. Sometimes a button or two on the handles gives enough detail to catch the eye without overdoing it.
To sew a basic basket with sturdy sides, start with two fabric rectangles: one for the outer basket and one for lining. Add a layer of interfacing or batting between these for reinforcement. Sew the sides and bottom, leaving corners to fold and stitch for depth. It’s quite straightforward once you try it.

I think the reinforcing makes a big difference. Without it, the basket slumps and feels kind of floppy. But with stiffened sides, it stands up well and holds its shape, which you’ll appreciate when loading it up with stuff.
Sewing Drawer Organizers To Maximize Space
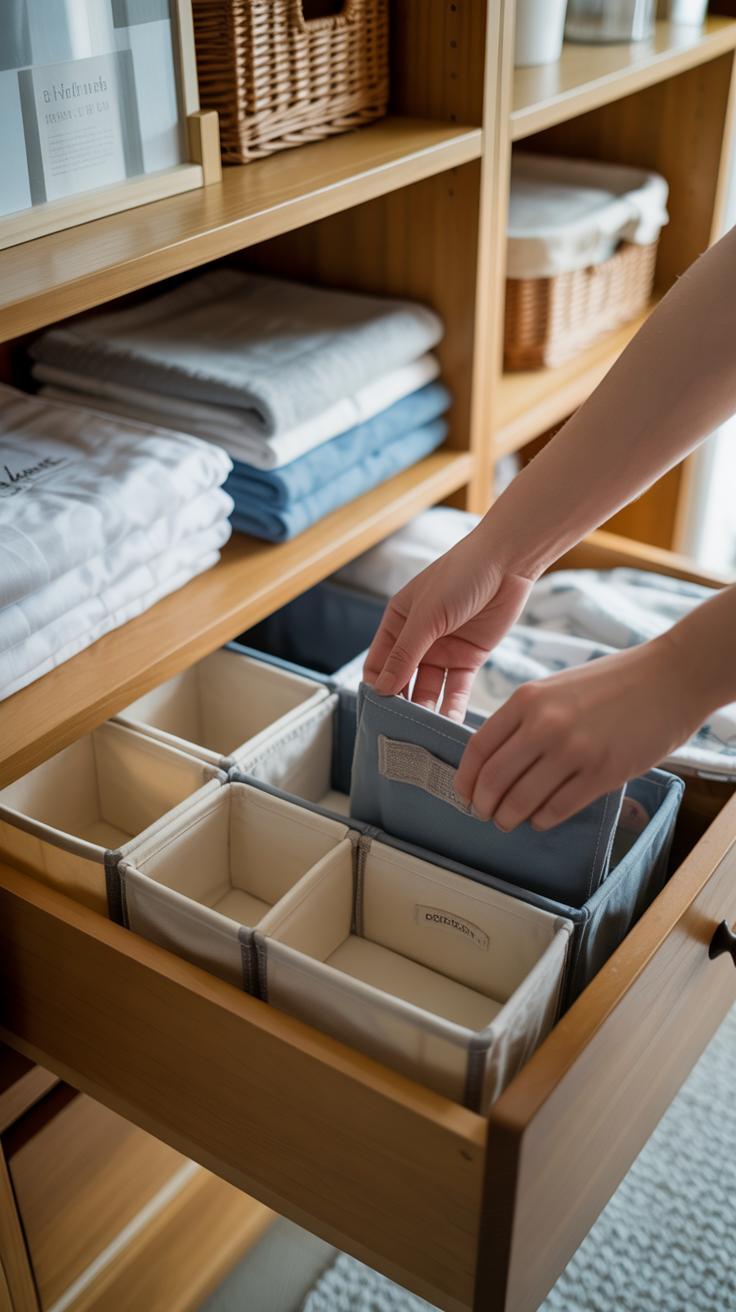
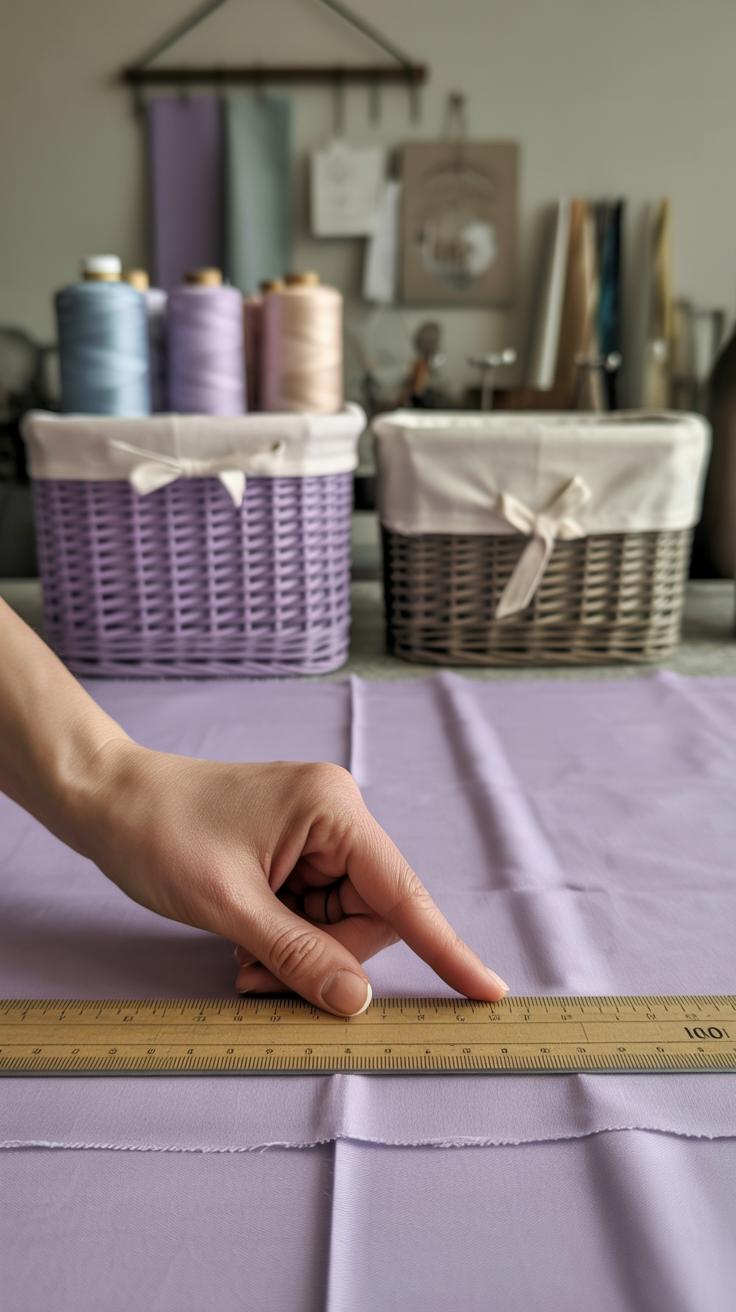
Making drawer inserts by hand sewing might seem a bit old-fashioned, but it’s surprisingly practical. You start by measuring your drawer carefully—don’t rush it. Take the length, width, and depth with a tape measure. Maybe measure twice to be sure; you want a snug fit, not loose fabric flapping inside. Remember, fabric stretches slightly, so think about adding just a little extra for seams.
Once you have your measurements, cut fabric panels to match the drawer’s base and sides. For sturdiness, choose a medium-weight cotton or canvas. Then comes the fun part: sewing compartments inside. Use simple straight stitches to secure vertical and horizontal dividers. I find it easier to sew the dividers in stages—attach one side, then the other—rather than boxing everything at once. Pins help, but don’t overdo it; you’ll slow yourself down.
When stitching those internal divisions, keep the rows even, but don’t stress if they’re slightly off. Sometimes uneven compartments make more sense, especially if you want to store odd shapes or bigger items on one side. Think about what you store and tailor the size of compartments to what actually sits in your drawers.

It’s okay if these organizers don’t look perfect—they’re your helpers, not art pieces. Over time, you might tweak the dimensions or add pockets for smaller things. Have you tried sewing dividers that fold or snap? It’s worth a shot if your drawers aren’t standard size or if you want something adjustable.
Crafting Hanging Storage Solutions
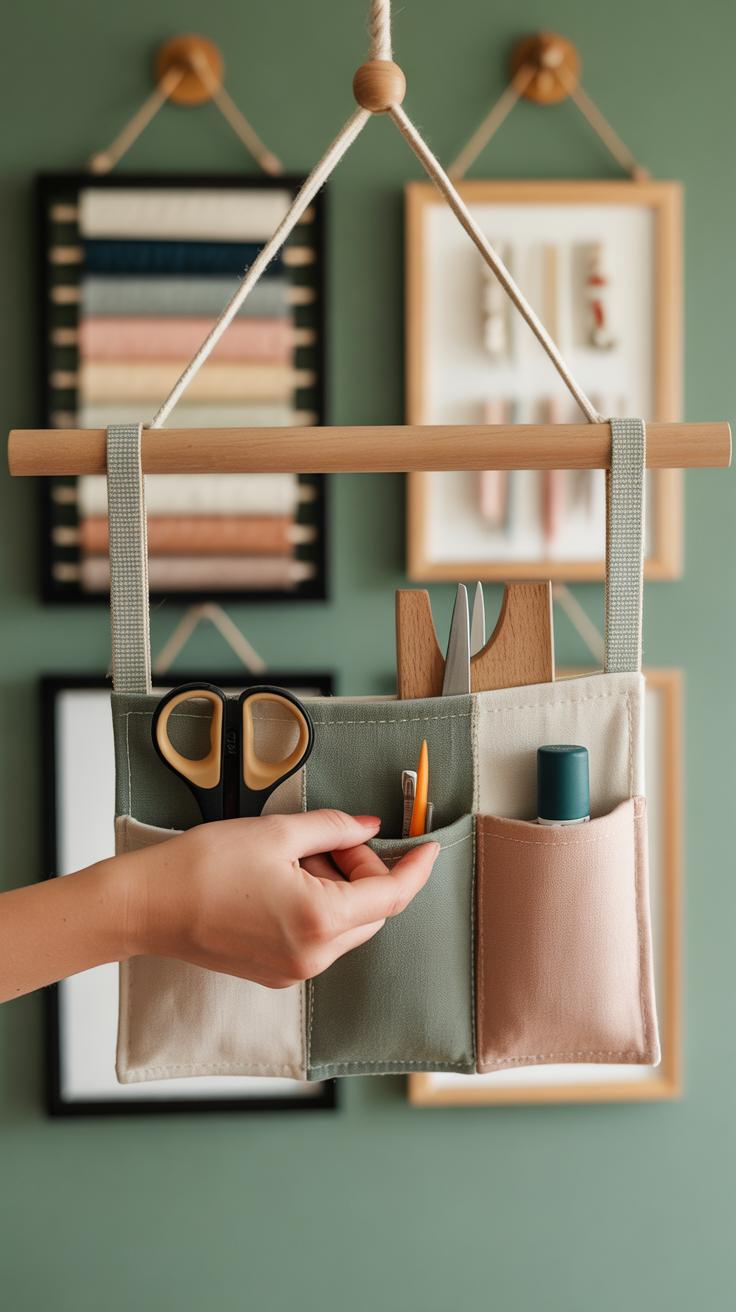
Wall pockets and hanging bags offer a great way to free up floor and drawer space. Hand sewing these projects lets you customize sizes and shapes to fit exactly what you need—something store-bought organizers rarely do. For wall pockets, you can start with just a piece of durable fabric folded into pockets and stitched along the edges to create separate sections. The simpler the design, the easier it is to sew. I found that using a sturdy cotton or linen works well; you want something that holds shape but isn’t too stiff.
Hanging bags can be as basic as a rectangle with a strap or a loop on top. A big front pocket adds functionality, keeping small items accessible. I once made one for my entryway to hold mail, keys, and sunglasses. It’s surprising how much space such a lightweight project can save!
Choosing Locations For Hanging Storage
Think beyond closets for your hanging storage. A few spots really benefit from wall pockets or hanging bags. Near your front door is obvious, but what about the bathroom for toiletries or your craft room for tools and materials? Hanging storage in kitchens can hold utensils or small produce. Even bedrooms can use them for accessories or small clothes. Just ask yourself where things tend to pile up on surfaces or floors—those areas might be perfect for a simple hand-sewn solution.
In my small apartment, a hanging bag next to the bed replaced a cluttered nightstand. It wasn’t perfect at first (the strap kept slipping), but it’s a handy reminder that these projects can be tweaked as you go.
Simple Patterns For Hanging Bags
Beginner sewing projects shouldn’t feel intimidating. For a basic hanging bag, try this easy pattern:
- Cut two identical rectangles of fabric (about 12×15 inches)
- Sew the sides and bottom edges right sides together, leaving the top open
- Fold over the top edge to create a casing for a strap or simply sew the strap inside the top seam
- Add a pocket by sewing a smaller rectangle to the front, stitching only the sides and bottom
This straightforward design teaches you essential hand sewing techniques with immediate results. If you want pockets divided, sew vertical lines on the front pocket before attaching it. Try different fabrics—lighter ones for small items, heavier for tools or craft supplies.
Are you someone who likes following instructions strictly? Or do you prefer improvising with fabric scraps to match your space and needs? Hanging storage projects are perfectly suited for a bit of experiment and personal adjustment. And they’re quick enough to keep your momentum going.
Decorating Your Storage Projects
Adding personality to your hand-sewn storage items can be surprisingly simple. You don’t need fancy tools or advanced skills to transform a plain fabric bag or pocket into something unique and eye-catching. A little embroidery, appliqué, or fabric paint can give your storage projects that personal touch, making them not just useful but also fun to look at.
Basic Embroidery Stitches For Decoration
Starting with embroidery is less daunting than it might seem. A few basic stitches can add both decoration and strength to your storage items. Here are some stitches you can try:
- Running stitch: Straightforward and quick, perfect for outlining shapes or creating simple patterns.
- Backstitch: Offers a solid line, great for lettering or crisp outlines.
- Satin stitch: Fills small areas with solid color, ideal for bold spots like dots or leaves.
- French knots: Tiny textured dots that add detail or resemble berries and eyes in floral designs.
Using these stitches not only decorates but can make seams stronger. I found that a neat backstitch doubled as a seam reinforcement on one of my hanging bags. You could experiment by mixing stitches for a more playful look, or sticking to one for simplicity.
Using Appliqué To Add Designs
Appliqué is another fantastic way to customize your fabric storage. It involves cutting fabric shapes and sewing them onto your base fabric. You might think it’s complicated, yet it’s pretty straightforward once you get the hang of it.
Start by choosing shapes—leaves, flowers, geometric forms, or even letters. Use fabric scraps with different textures or colors for contrast. Pin or lightly tack the shapes in place before stitching to avoid shifting.
Sew around the edges with a small, tight stitch—like a blanket stitch or simple straight stitch—to keep the appliqué secure and add a decorative outline. I remember one project where I used a bright red heart on a neutral linen storage pouch; it instantly pulled the whole look together.
Don’t feel pressured to make perfect shapes. Slight imperfections can add charm and a handmade feel that mass-produced items lack. What designs would you add? Exploring this could turn simple storage into a creative hobby.
Caring For Your Hand Sewn Storage Items
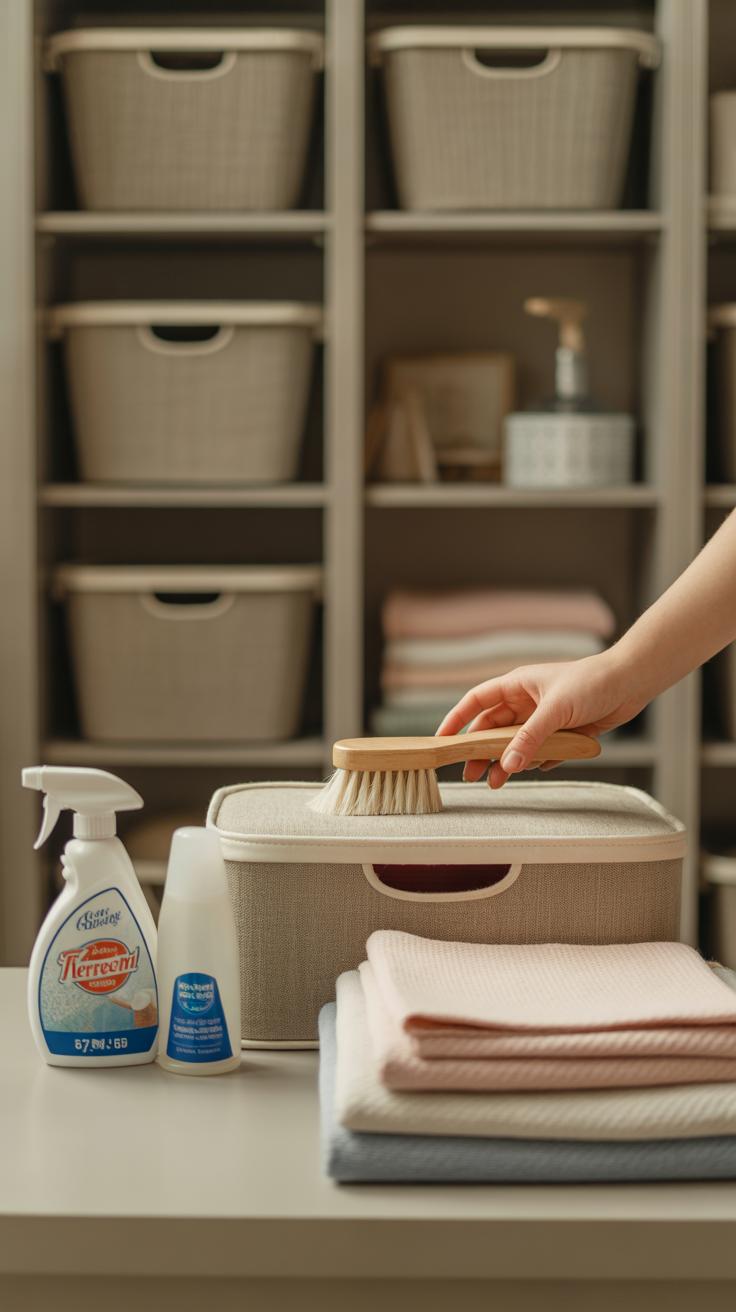
Keeping your hand-sewn fabric storage items in good shape takes more than just gentle use. They need proper care to last beyond a few months, especially since the fabrics and stitches can be delicate. When it comes to washing, you’ll want to avoid harsh cycles or brutal machines. Usually, hand washing is best, using cool water and a mild detergent. If you must use a machine, choose a gentle cycle and consider placing your item inside a mesh bag to protect edges and seams.
Drying is another matter. Air drying is generally safer than using a dryer. Laying your piece flat on a clean towel helps maintain its shape, which can be tricky if parts of your project are stuffed or reinforced. Sometimes, hanging might stretch the item out, so test what works best for each piece. I once dried a fabric basket by hanging it, only to find its sides sagged afterward—lesson learned.
Washing And Drying Tips
- Use cold water and gentle detergent to prevent color fading.
- Skip bleach or strong chemicals—they weaken hand stitches.
- Hand wash whenever possible, gently pressing stains instead of scrubbing.
- Lay flat to dry on a towel; avoid hanging to stop distortion.
- If machine drying, pick the lowest heat and shortest time, but air drying is usually safer.
Repairing Small Damages
Small rips or loose stitches don’t mean your project is done for. Fixing them quickly can save you headaches later. Even a tiny tear can grow if ignored. Using a needle and thread matching your fabric, sew over any loose stitches with tiny, close stitches. For holes, you may patch from behind with scrap fabric—this adds some strength and keeps the look neat. Sometimes, reinforcing stressed corners with extra stitches helps avoid repeat damage.
I remember ignoring a small tear on a pouch once. It got worse over time, and then the whole seam unraveled. Fixing issues right away feels like a hassle, but it’s easier and keeps your work looking good. Do you find repairs satisfying or just tedious? Either way, they’re key to making your hand-sewn storage last.
Expanding Your Hand Sewing Skills
Finding Tutorials And Classes
You might wonder where to start if you want to learn new stitches or more detailed techniques. Online platforms like YouTube offer countless videos, often with clear step-by-step guidance. Some creators even focus specifically on hand sewing, which can be great if machine sewing isn’t your thing. Local community centers or fabric stores sometimes hold workshops too, though availability can vary. Have you checked your library or craft shops nearby? Printed books remain handy and sometimes show methods in ways videos don’t capture well.
Exploring these options might feel a little overwhelming at first. But picking one tutorial and sticking with it for a week or so can help you focus and actually gain solid skills.
Practicing With Simple Projects
Starting small makes a big difference. Try making small pouches, simple drawer dividers, or even fabric coasters. These projects let you repeat stitches without too much pressure. Personally, I found that sewing little envelopes for organizing buttons helped me get comfortable with running stitches and backstitches. It’s easy to finish quickly, which somehow makes you want to do more.
If you stumble or the stitches look wonky, that’s okay. Practice is messy. It’s better to make mistakes on something small before diving into larger storage solutions. You might wonder: how precise do my stitches have to be? For many hand-sewn storage items, slight irregularities add charm and personality. Not every project demands perfection, so feel free to experiment.
Tips For Staying Motivated And Organized
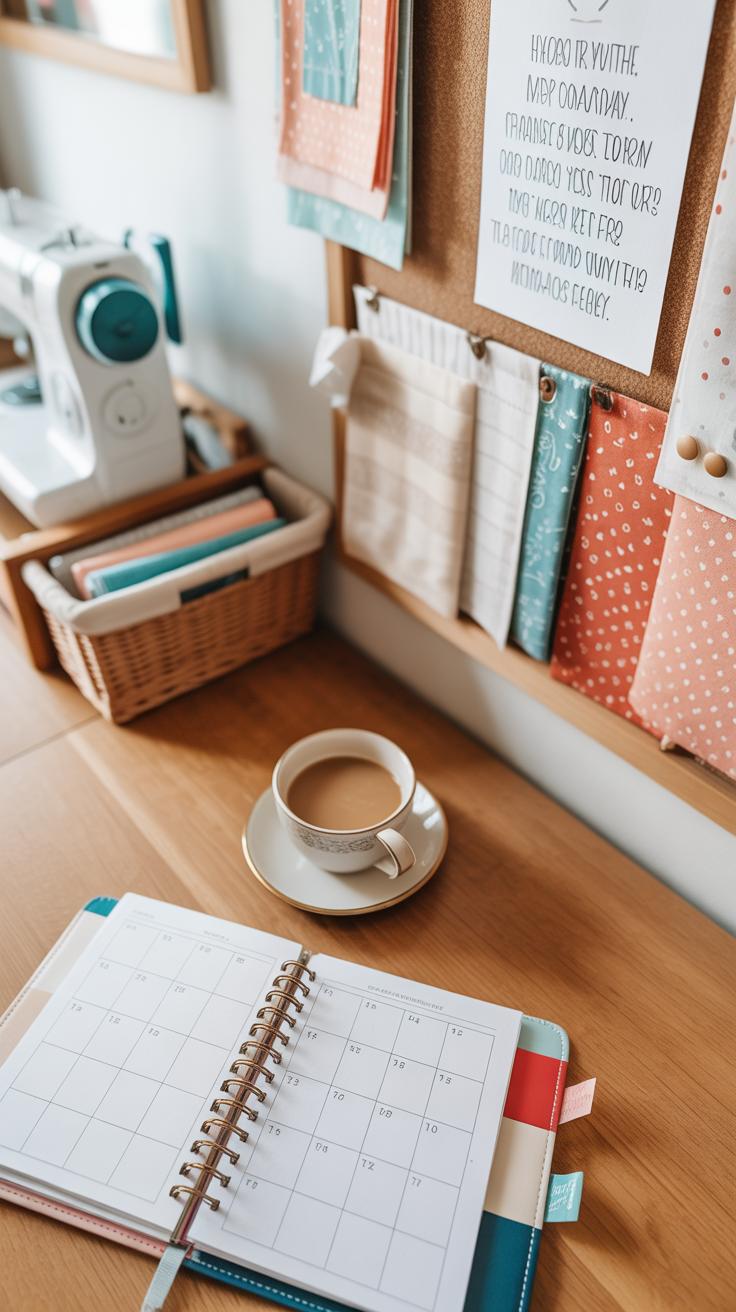
Creating A Dedicated Sewing Space
Having one specific area just for sewing really makes a difference. When your tools, fabrics, and supplies all live in one spot, it’s easier to start—and keep going—with your projects. You won’t waste time hunting for needles or scissors, which means you can focus more on the actual sewing. I’ve noticed that when my sewing stuff is scattered around, I get distracted or frustrated and sometimes just quit mid-task. But when I shut the door to my little sewing corner, it feels like… well, a space made for creating.
It doesn’t have to be a big room—a small table in the corner works fine. The key is that you return there each time, so your brain associates the spot with sewing. You might decorate it with inspirational pictures or stitch samples, things that quietly remind you why you enjoy this craft. Plus, having the space tidy—more on that soon—keeps you from feeling overwhelmed.
Setting Small Goals For Projects
Big projects can feel daunting. If you try to do everything at once, you risk losing steam fast. Breaking a project into bite-sized steps helps you keep momentum. Instead of thinking, “I must finish this whole organizer today,” you focus on “Today, I’ll cut the fabric” or “Tonight, I’ll sew the first seam.” That way, every small win feels satisfying.
It’s okay if your goals are flexible. Sometimes you’ll get through two steps; other times just one. The important part is planning ahead, maybe jotting the steps on a sticky note or in a notebook. This organization method made a big difference for me when working on a patchwork storage bin—I kept track of each seam and attachment, one at a time, instead of getting lost in a long list.
Think about what motivates you personally. Is it finishing quickly or mastering a tricky technique? What part of the project excites you the most? Tailoring your goals to those feelings might help you stay on track longer than blindly pushing through.
Conclusions
Hand sewing can turn simple fabrics into useful storage solutions. By working on these projects, you personalize your organization and add a handmade charm to your space. With practice, your skills and designs will improve, making your storage ideas more creative and functional.
These projects encourage you to explore materials and techniques at your own pace. You control the size, shape, and style of each item, making storage a fun and rewarding activity. You now have practical steps and inspirations to start your own hand sewing projects for personalized storage.


