Introduction
Paper craft is a fun and creative way to make your own storage items. It uses easy materials like paper and glue to help you organize your space without spending much money. By folding, cutting, and shaping paper, you can create boxes, baskets, and holders that keep your things tidy. Paper craft projects can be simple or detailed, fitting your needs and style.
In this article, you will learn how to make functional storage with paper craft. We will explore basic techniques and then show how to turn them into useful storage solutions. Whether you want to store pens, jewelry, or small items, paper craft can help you craft storage that works well and looks nice.
Designing Paper Storage for Your Needs
When you start planning your paper storage projects, think carefully about what you really want to store. It’s easy to guess you’ll need a box or a folder, but the details—size, shape, and accessibility—make a big difference. For instance, will you store small stationery items like paper clips or larger objects like notebooks? These choices affect the dimensions and sturdiness of your design.

Consider the space where your storage will live, too. A compact desktop organizer calls for different proportions than a drawer divider. You might find that simple shapes don’t quite fit your items, leading you to add compartments or lids. It’s tempting to copy popular designs, but adjusting them to what you actually have can save time and frustration.
Think about how often you’ll need to access the stored items. Will the container need handles, or maybe a lid that opens easily? Sometimes, you don’t realize how crucial these details are until you’ve struggled with a project. For example, I once made a desk caddy that looked perfect but lacked any easy opening method, so I rarely used it.
Also, take stock of what paper types you’ve got or want to use. Heavier cardstock lasts longer but may be harder to fold into certain shapes. Lighter papers can be easier to manipulate but might not hold up if you’re storing heavier or bulkier items. Don’t hesitate to experiment a bit here. You may discover a balance between aesthetics and practicality that suits your needs.
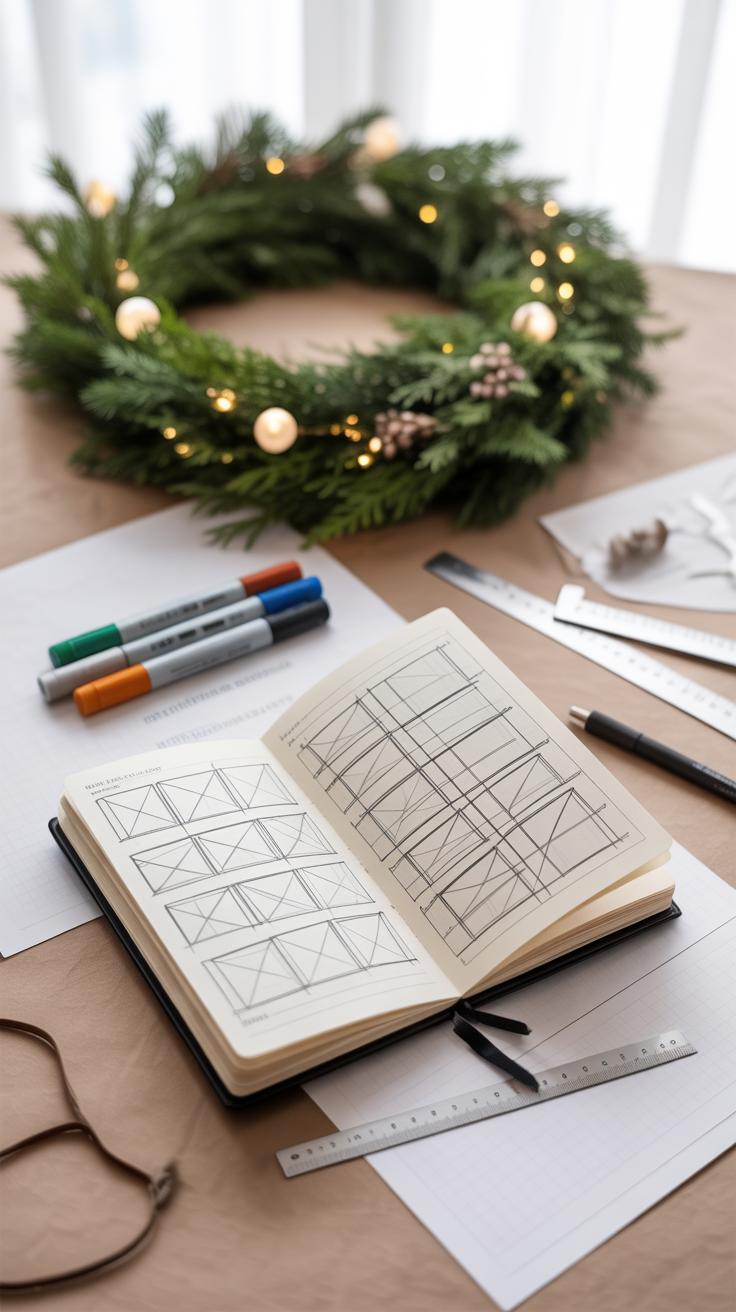
Finally, sketch out or write down your design ideas. Even a rough drawing helps visualize the project better than just imagining it. It’s okay if your notes feel messy or incomplete—just getting them on paper can reveal questions and challenges you didn’t expect. You can tweak these early plans before cutting or gluing anything.
Paper Storage for Your Needs
When planning paper storage projects, start with what you actually need to store. It sounds obvious, but sometimes I’ve jumped straight to design without thinking about the items themselves. Are you organizing pens, cables, receipts, or craft supplies? The size and shape of those things should guide your project. For example, pens need a tall, narrow holder, while papers might require flat trays or wider boxes.

Next, think about where the storage will go. Is it for a desk, a shelf, or maybe inside a drawer? That impacts the dimensions and the sturdiness required. Sometimes, you want something decorative but practical; other times, functionality alone is enough. If you’re unsure about the exact shape, sketching helps. Draw the basic outline and add notes about height, width, and depth.
Measuring and Planning Your Storage
Measuring is where you avoid guessing and save yourself frustration later. Use a ruler or tape to check the size of your items and the space they’ll occupy. Measure multiple times if you’re unsure. Oddly shaped items might need extra allowance so they don’t feel cramped.
Once you have measurements, put pencil to paper. Don’t fret about making it perfect. A simple sketch with dimensions listed will do. I find that drawing a few different layouts helps figure out what works best. What if a box is too wide? Or too shallow? Some visual planning clarifies these decisions. You can even cut out paper templates to test fits before the final project.
Choosing the Right Storage Style
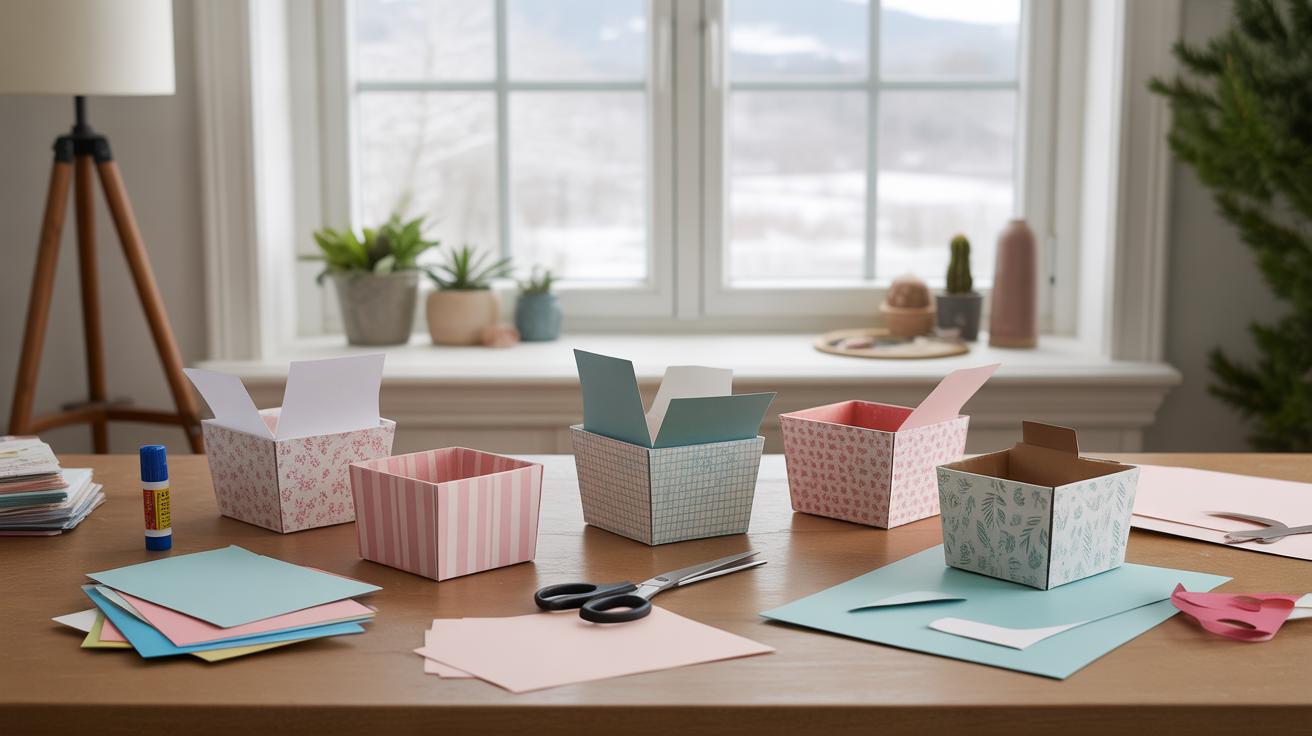
There are many styles when it comes to paper storage. Boxes are common—you can vary the size and add lids or open tops. Baskets made from woven strips of paper give a different texture and might be better for loose items like yarn or fabric scraps.
Organizers with compartments work well for small items—think of them as paper drawer dividers. Sometimes stacking trays are ideal if you want to separate papers by category. Ask yourself what will be easiest to use daily. If you want visibility, open designs suit better. If you want to keep contents hidden or dust-free, closed boxes might be the way to go. Each style has its quirks, so pick what matches your need—not just what looks good.
Creating Basic Paper Boxes and Containers

Folded Paper Boxes
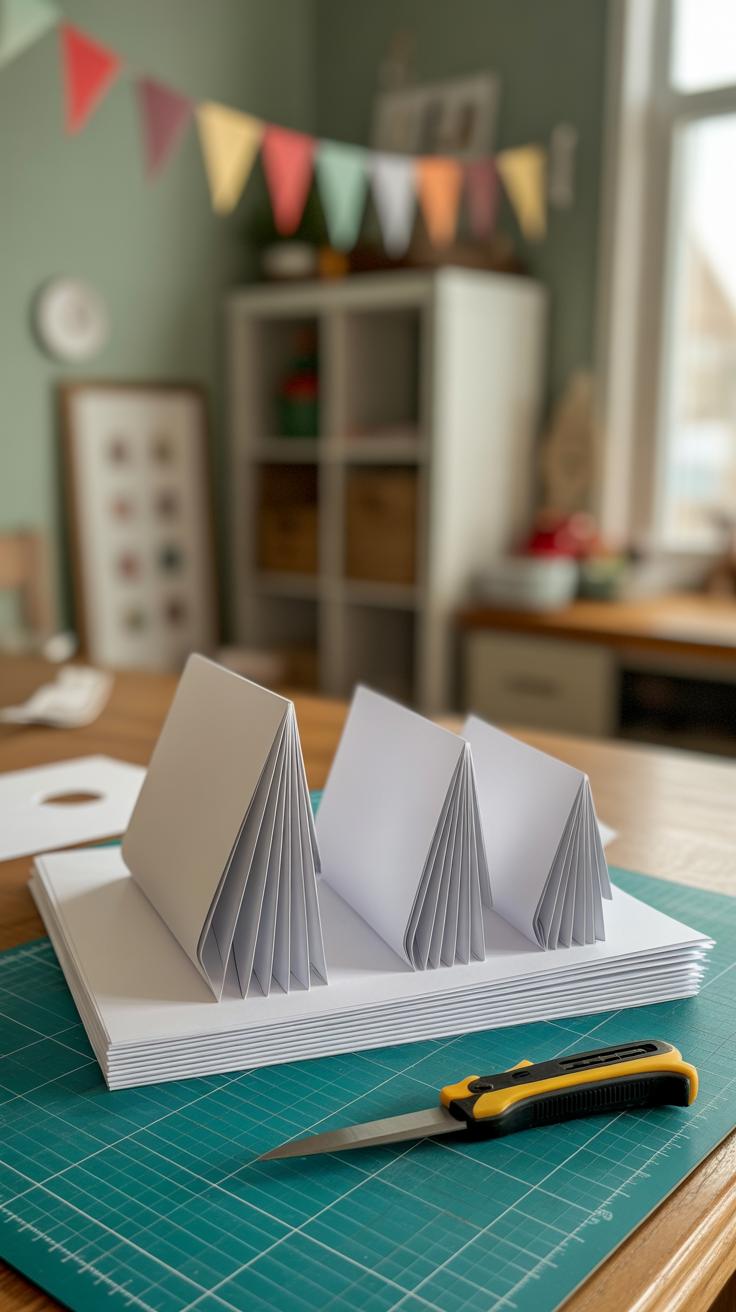
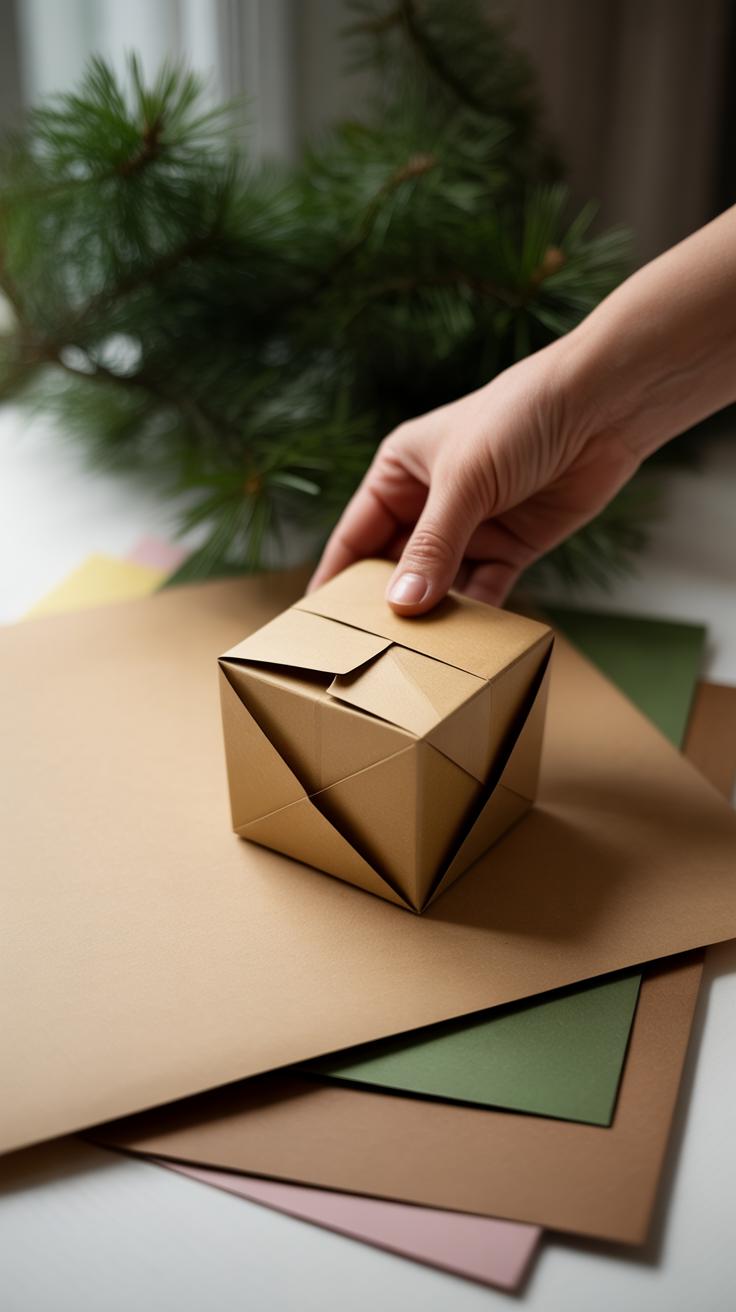
Making folded paper boxes with simple origami techniques is surprisingly satisfying. Start with a square sheet of paper—standard printer paper works, but thicker paper can add sturdiness. Fold the paper in half both ways to create creases that help shape your box.
Then fold each corner inward to meet at the center. After this, fold the edges over, locking the sides. It takes some patience to get sharp, clean folds, but those make the box hold its form better. You might want to gently press or even iron the creases for extra strength.
If you want your box to last longer, try reinforcing the corners by folding the edges slightly thicker or doubling the paper before folding. This adds some rigidity without glue or tape.
Because you’re only folding—no glue—these boxes stay flat when not in use. Think about storing desk supplies or small gadgets in ones like this. Do you find it odd how just folding paper can create something that feels almost solid?
Glued Paper Containers

When folding isn’t enough, glued paper containers come in handy. Cut out your shapes carefully—usually rectangles or squares for the base and sides. Use cardstock or similar thick paper to avoid flimsy containers.
Apply glue along the tabs and press firmly. It helps to clamp or hold the edges together for a minute. You can create containers with lids, stacking boxes, or even multi-compartment organizers by gluing several pieces differently.
Decorate the pieces before assembling. That way, you avoid messy glue spots on visible surfaces. Glued containers are great for storing jewelry, office supplies, or craft items. Do you hesitate to glue paper due to mess or warping? Using a thin, even coat of glue avoids both.
Perfectly cut pieces and firm pressing can give you a container that’s more reliable than you’d expect. Sometimes, the simplest shapes work best for your everyday mess. Have you tried this yourself? What did you store?
Making Decorative Paper Baskets
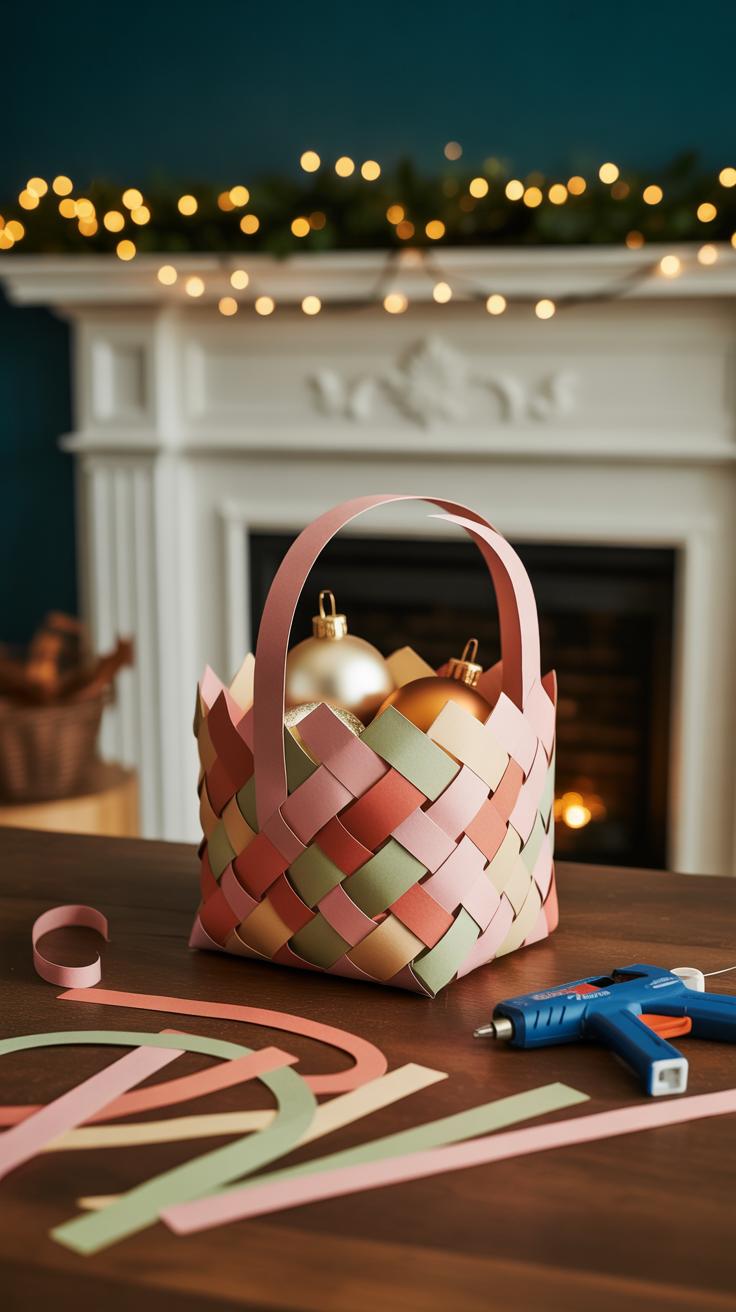

Paper baskets can be both attractive and surprisingly strong when made right. One of the most engaging ways to build them is through paper weaving. You start by cutting uniform strips—newspaper, colored craft paper, or even recycled office sheets work fine. Weaving involves interlacing these strips over and under to form the base and sides. The rhythm is almost meditative, but also a bit tricky keeping everything tight and aligned. Once woven, finishing the edges is key. Folding the end strips neatly under the rim not only tidies the look but prevents unraveling. You can even add handles with twisted paper ropes or simple folded strips glued firmly to the sides.
For those who want sturdier baskets, layering paper with glue changes the game. You apply multiple sheets over a mold, letting each dry before the next. It builds thickness and firmness, making baskets that carry heavier weight without buckling. The glue acts like a binder, so picking the right kind matters—white glue usually works well and dries clear. But the drying time tests your patience; you may think it’s firm too soon, only to find the basket bends slightly. Layering also lets you experiment with texture or color by mixing different types of paper. Ever wondered if simple glue and paper could hold your books or tools? It just might.
Crafting Paper Drawer Organizers
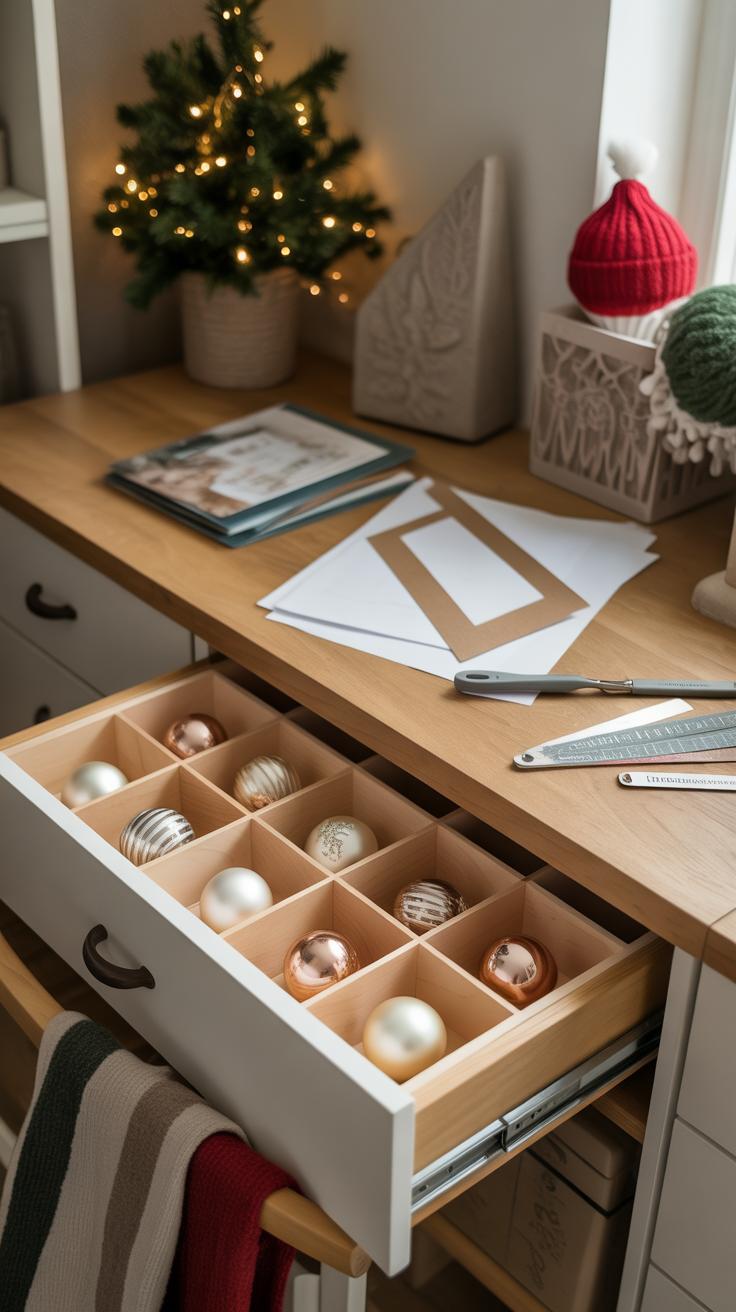
Keeping drawers neat can feel like a never-ending battle, especially when small items get lost in the clutter. Paper drawer organizers offer a simple way to sort and separate things without needing fancy materials. The key is to create compartmentalized designs that divide your drawer into useful sections tailored to whatever you store.
Start by measuring your drawer’s interior. It’s tempting to eyeball this, but I promise a precise measurement makes all the difference. From there, design dividers using sturdy paper or light cardboard. These can be set vertically or horizontally, creating slots and boxes for items like pens, jewelry, or office supplies.

For flexible layouts, try making removable dividers — slits on each piece allow them to interlock and be repositioned as needs change. This adaptability helps if you switch what you store or want to combine compartments. It’s a bit like customizable storage, but mostly with paper.
When choosing paper, consider thickness and style. Thicker, textured paper offers strength but can be harder to fold precisely. Lighter papers might look nicer but wear out faster. If you want a custom look, you can cover the paper with wrapping or patterned sheets to match your drawer’s decor. The joy here is that your organizer fits snugly, looks decent, and actually helps. And who could argue with that?
Decorating Your Paper Storage
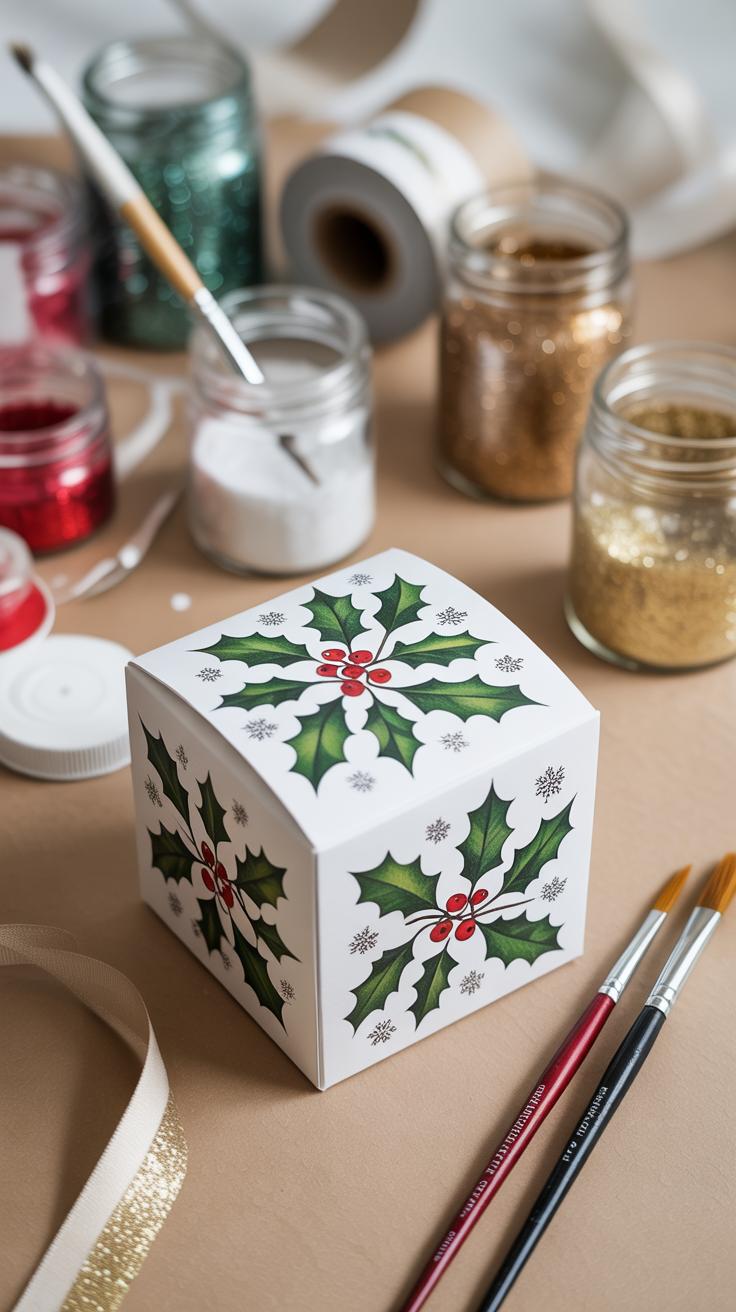
Adding a personal touch to your paper storage projects makes them more appealing and, honestly, more fun to use. Painting is an easy way to bring life to plain paper organizers. You might want to try water-based paints or acrylics marked safe for paper. They dry quickly, but you have to be patient—rushing the process can cause smudges or streaks. Markers are great for details or patterns. You can create stripes, dots, or even hand-drawn motifs. It’s a bit like doodling but with a purpose.
To avoid smudging, work in layers. Let one color dry before adding another. Using a fine brush or thin marker tip can help with precision, especially around edges or corners.

Textures can also make your storage stand out. Think about layering scraps of paper—maybe torn for a rough effect or neatly cut for a structured look. Gluing small accessories like buttons, ribbons, or beads can add dimension, but don’t overdo it; too much weight can bend or weaken the paper.
Sometimes, wrapping sections with decorative paper—think old book pages, wrapping paper remnants, or even newspaper strips—can give an unexpected twist. How would your storage look if you combined a smooth paint finish with rough, layered paper? Experimenting here is part of the charm.
Ultimately, the key is to balance decoration with durability. You want your creations to be pretty, but also practical—something you actually want to keep on your desk or shelf. Have you tried adding a splash of color or texture to your projects before? What worked, and what didn’t stick as well as you hoped?
Maintaining and Using Paper Storage
Care and Handling for Longevity
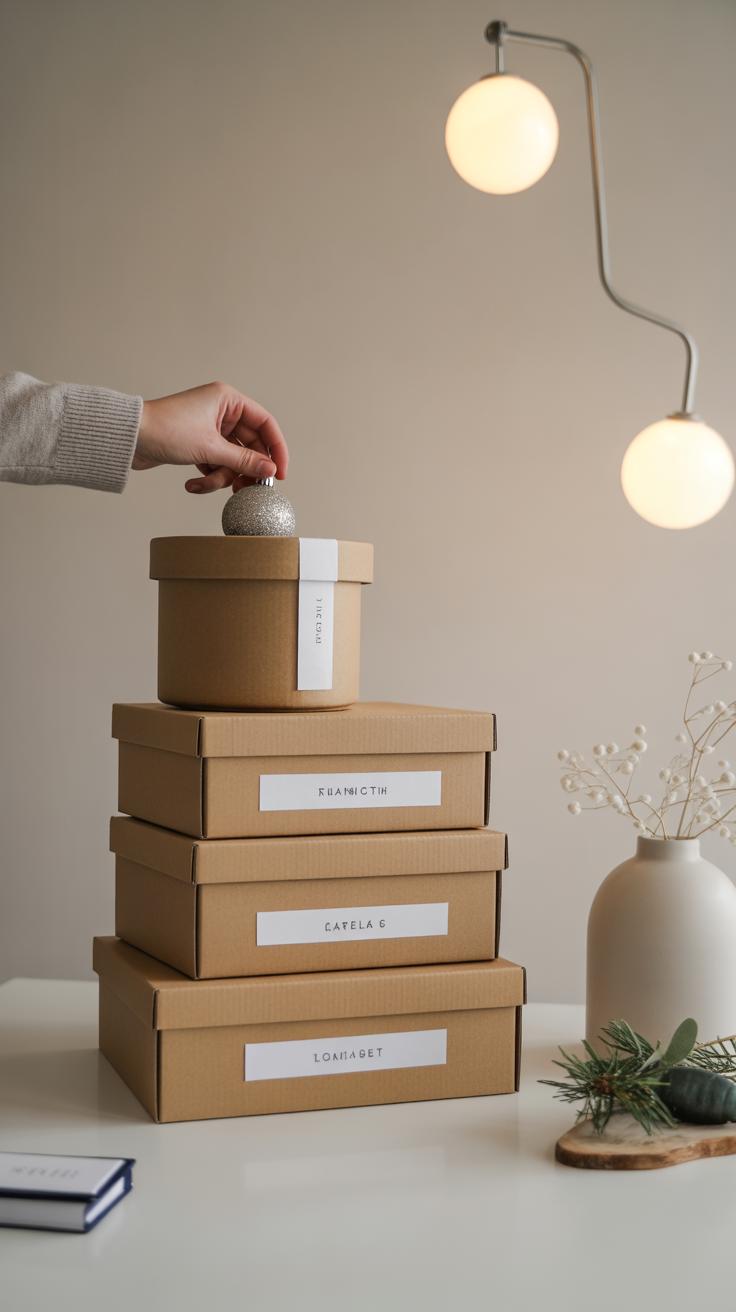
Paper storage needs a bit more gentle treatment compared to typical containers. When moving or adjusting your boxes or bins, try to support them fully, especially at the base, to avoid bending or tearing edges. It’s tempting to stack them high for space-saving, but if you do, keep the heaviest items at the bottom and lighter ones on top. This helps prevent crushing shapes or warping the paper. Also, keeping your hands clean and dry when handling these pieces reduces wear—oily or damp hands can stain or weaken the paper over time.
Protecting Against Moisture and Damage

Moisture is the enemy here. Even small amounts can cause swelling, warping, and eventual breakdown. You might want to consider applying a clear, matte sealant or a thin layer of glue diluted with water to create a protective coating. Something like a spray varnish could work, but test it first—it might change the paper’s look or texture. Placement is key too. Keep these storage items away from humid areas like bathrooms or too close to windows where rain might sneak in. Even indirect moisture from plants nearby could sneakily damage them.
Practical Usage Around the Home
Paper storage fits well for organizing light items—think stationery, receipts, or craft supplies. I find they’re great for keeping small daily objects tidy on desks or shelves. Instead of cramming everything in one place, use several smaller boxes to separate things by category—like pens in one, cables in another. That way, you avoid rummaging and actually end up tidier. But consider where you put them. Areas with heavy use or frequent spills might not be perfect spots. Sometimes, an open shelf or top of a dresser offers easy access and less risk of damage.
Expanding Your Paper Craft Storage Skills
Once you’ve got the basics down, it’s natural to want to push further—to make storage projects that aren’t just boxes or trays, but something more intricate or unique. Learning advanced paper craft techniques can really change what you’re able to create. For example, folding methods from different cultures can add surprising strength or patterns to your pieces. Ever tried traditional Japanese origami for a storage container? It’s not just pretty, it actually folds into holding forms that can be quite sturdy.
And there’s more than just folding. Three-dimensional modeling with paper—like cutting and assembling shapes that pop out or overlap—makes space in unexpected ways. Combining paper with other materials, such as fabric strips or thin wood panels, can also add durability or style. I remember attempting a mixed media pencil holder; it looked a bit rough at first but worked well and held up better over time.
You might wonder where to find these techniques and project ideas. Try exploring online crafting communities—sites like Instructables or Pinterest often have detailed tutorials. Books on paper art, especially those that focus on origami, kirigami, or paper sculpture, offer step-by-step lessons. Also, forums dedicated to paper crafting can be goldmines for advice and inspiration. Sometimes just browsing these resources challenges you to try something different, and that’s where real growth happens.
What if you mix styles or methods? Experimentation there might lead to storage solutions you never considered. Are you ready to take a look beyond basic folding and start crafting pieces that surprise you and your space?
Conclusions
Paper craft offers many ways to create storage that is both useful and attractive. By using simple paper folding and cutting methods, you can design containers that fit your space and hold your belongings. These projects let you express your creativity while solving everyday problems of clutter and mess.
Trying out these paper craft storage ideas will give you a sense of accomplishment. You will find that making your own storage is easy, affordable, and rewarding. Now you can start crafting your own paper storage and keep your space neat and organized.


