
Introduction
Quick crafts offer a fast way to refresh your living space without needing a lot of time or special skills. These projects can bring a new look to your home and make your environment feel more personal and lively quickly. They’re perfect for anyone looking to add a touch of creativity without a big commitment.
In this article, we explore easy and practical craft ideas and techniques that you can accomplish with very little effort. We’ll cover tips that help you get started and complete projects swiftly. By the end, you’ll have ideas to brighten your space with minimal time and resources.
Getting Started With Quick Crafts
Starting a quick craft project doesn’t have to be complicated. Often, the hardest part is just gathering what you need and carving out a little space to work. You might find yourself wondering where to begin, especially if crafting isn’t your regular habit.
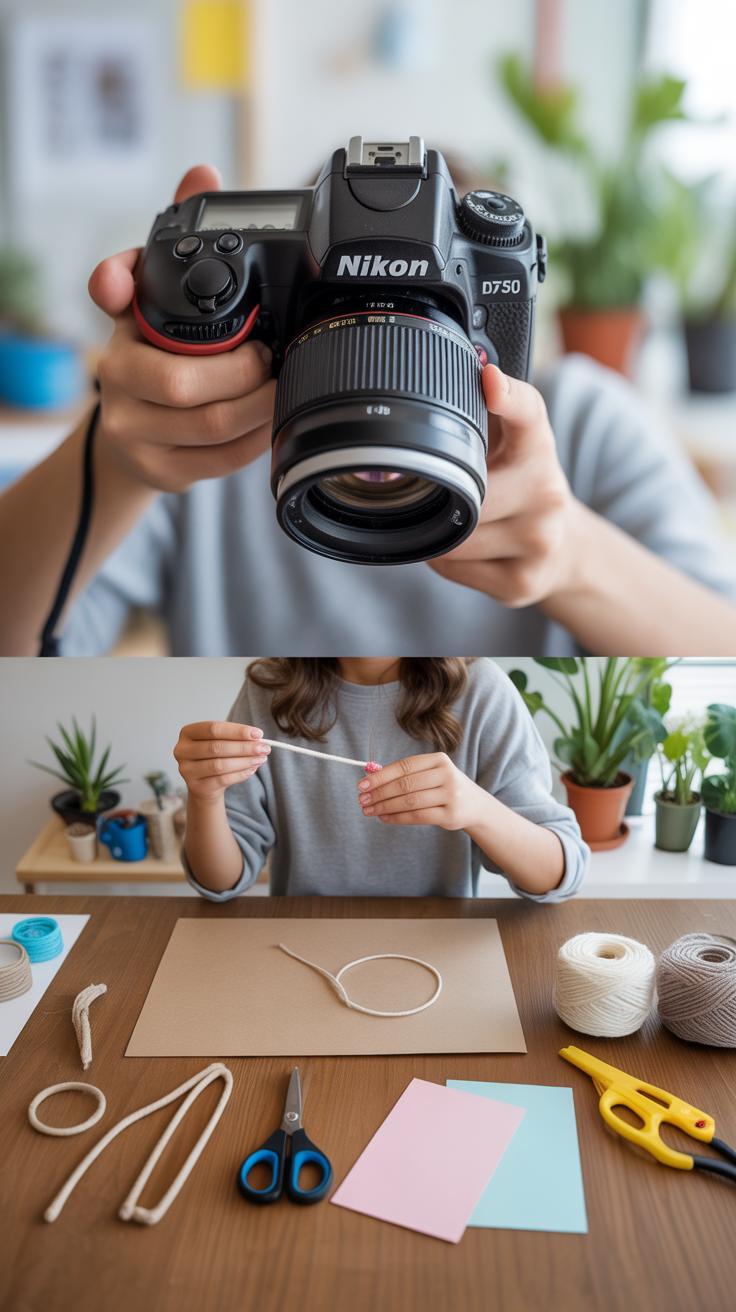
First, think about what materials you want to use. Keep it simple. Look around your home for items like paper, glue, scissors, maybe some fabric scraps or old magazines. Basic things that don’t require a special trip. I recall once making a small photo frame using cardboard from a cereal box—it was quick, easy, and didn’t cost a thing.

When setting up your crafting area, choose a spot that’s easy to tidy up. A small table or even a kitchen counter works fine if you can clear it afterward. Lay down some newspaper or a plastic sheet; it doesn’t have to be perfect. The goal is to avoid stress from mess, so you won’t hesitate to start next time.
If space is limited, consider using a portable tray to hold supplies. That way, you can move your project around if needed. Also, having things within arm’s reach saves time—imagine grabbing glue when your hands are sticky. Don’t overthink, but a little order does help.
Maybe keep a small box or container with go-to supplies ready. It’s easier than hunting for items at the last minute. Then, whenever inspiration strikes, you’re actually set to create without delay.
Choosing The Right Materials
Materials make all the difference, but they don’t have to be pricey or fancy. Sometimes, the best craft supplies are the ones you already have. Paper, fabric, buttons, old magazines, jars, even coffee filters—things you’d normally toss can get a second life.
Consider cost and availability when picking materials. Think about what fits your style. If you like rustic touches, maybe burlap or twine might be in your range. For something more colorful, markers, paints, or patterned paper can brighten things up without breaking the bank.

The trick is to start small. You don’t need a huge stash of supplies. A glue stick, a pair of scissors, and some adhesive tape often cover many projects. Then, add materials as you go. You might be surprised how a simple item like washi tape can instantly upgrade a plain notebook.
Sometimes, it helps to ask yourself: “What do I already have that I’m not using?” I once made wall art out of leftover fabric pieces and embroidery thread. Finding ways to reuse is part of the charm and keeps costs low. Plus, it forces creativity which, honestly, is where most good ideas come from.
Preparing Your Craft Space
Don’t underestimate the power of a well-prepared space. It’s okay if it’s small or temporary, but some organization makes a big difference. Try to keep your materials in containers or trays to avoid clutter. Nothing kills momentum like having to dig through a mess.
Lighting matters too. If you can, choose a spot near a window. Natural light can make color choices easier and keep you more alert. But if you’re crafting at night, a simple desk lamp works just fine.
Think about clean-up before you start—have wipes, paper towels, or a small trash bin nearby. That way, you won’t face a daunting cleanup later on. Almost every craft can create a bit of a mess; it’s how you manage it that counts.

Sometimes I set a timer for clean-up—it forces me to wrap things up quickly and keeps the area ready for the next session. You don’t want to dread putting things away. Ideally, your craft space feels inviting—not like a chore.
What kind of space can you carve out today? It might be less than you expect, but it’s enough to get those creative gears turning. And once you have a routine, crafting might become a quick, enjoyable habit instead of a rare event.
Simple Techniques For Fast Crafting
When it comes to quick crafts, mastering a few basic skills can make a big difference. Cutting and gluing are probably the most common techniques you’ll use, and getting comfortable with them saves time and frustration.
Basic Cutting And Gluing
Cutting doesn’t need to be complicated. Start with sharp scissors to get clean edges—dull ones make uneven cuts and that’s just annoying. You can use a ruler or stencil to guide your cuts, especially if you want straight lines, but sometimes freehand works fine too. For fabrics, a rotary cutter with a cutting mat can be great but only if you’re confident; otherwise cloth scissors will do.

As for gluing, stick to glue sticks for paper—they dry fast and are less messy. Liquid glue is useful when you need a stronger hold or when joining fabric or heavier materials. Apply glue in thin layers; too much will warp or soak your material, which nobody wants. Also, give glue enough time to set. It’s tempting to rush, but if you wait a minute or two, your craft will be sturdier.
Painting And Decorating Tips
Painting can really lift a quick craft from plain to charming, but no need to be fancy or exact here. Using a sponge or even a simple brush lets you dab on color quickly. Try watered-down paint for a softer effect that dries faster.
Also consider adding small details after the paint dries—a little dotting with a fine brush, or even stickers and washi tape can add interest. I once used metallic pens to highlight edges of cut paper, and it gave the whole piece a bit of unexpected shine without much effort.
Don’t stress about perfection; sometimes the irregularities make your project feel more personal. And if you’re impatient, spray paint or paint pens can offer fast coverage without a mess.
Creating Wall Art Quickly
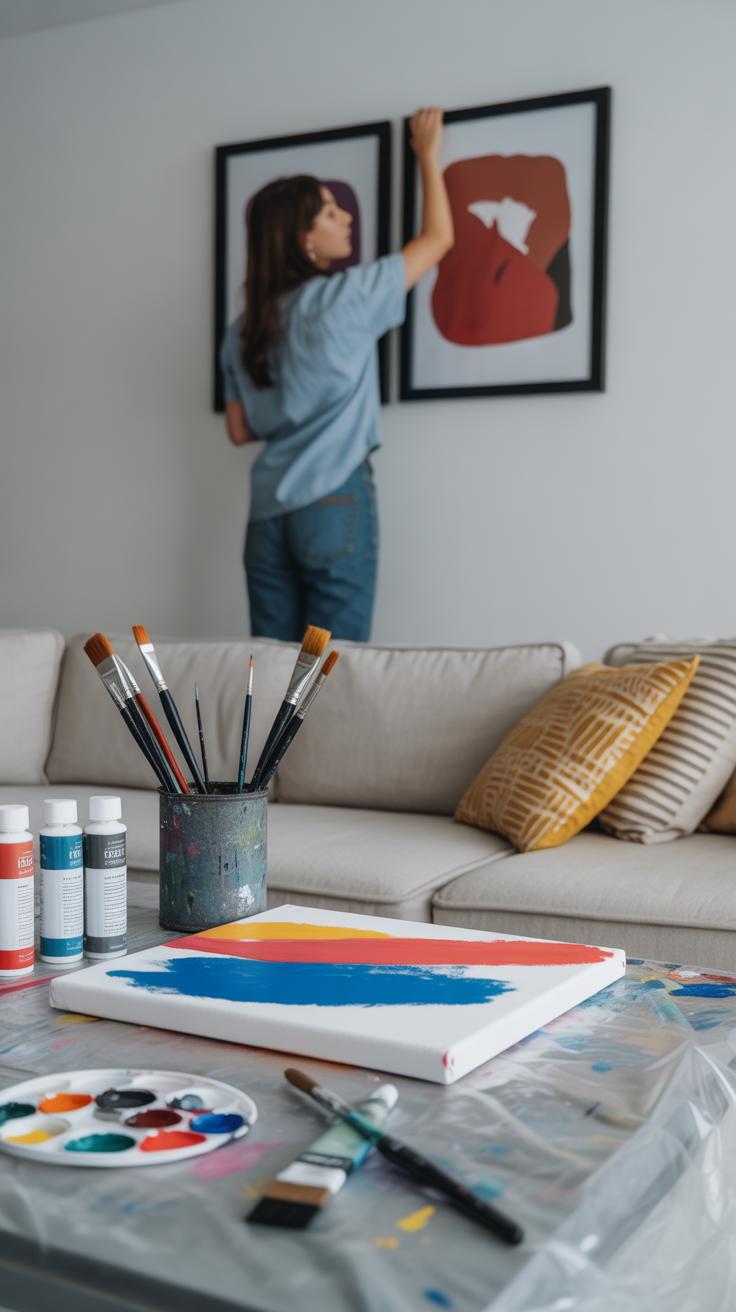

Making wall art doesn’t have to be a huge project. You can give your walls a fresh look fast, even in less than an hour. Paper, fabric, or recycled things around the house work well, and you don’t need special skills or fancy tools.
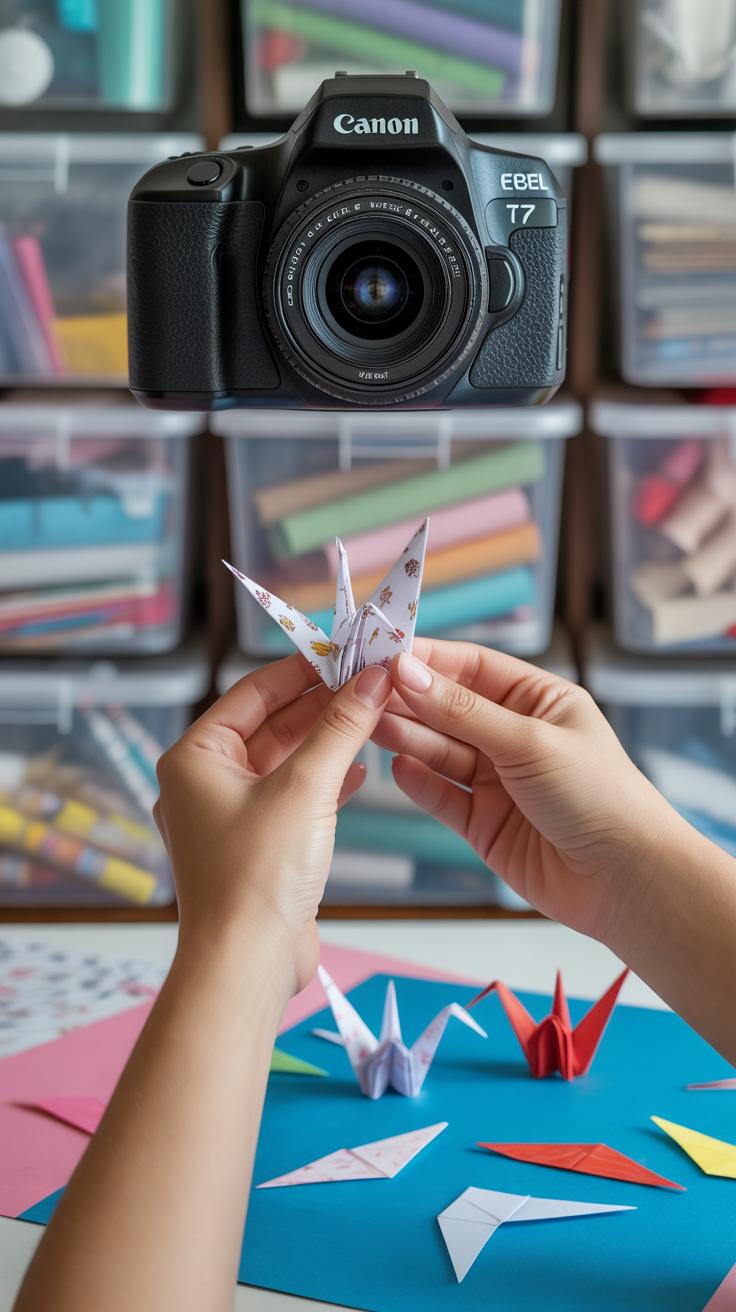
Paper Crafts For Walls
Paper can be surprisingly effective for quick wall decor. Try cutting out simple shapes, like leaves, geometric patterns, or even abstract designs, and frame them. Frames can be thrifted or reused from old artwork. Another idea is assembling a quick collage — gather magazine clippings, tickets, or photos and arrange them on a sturdy backing. What’s nice here is you can just layer and overlap. It doesn’t have to be perfect. Sometimes uneven edges give your piece personality.
Simple paper crafts brighten blank spaces without demanding much time. Sharp scissors and glue stick are enough. Do you have old postcards lying around? Those can be great too, especially if they remind you of a place or memory.
Using Fabric And Texture
Fabric brings a different feel. You can stretch a bold patterned piece over a simple frame or even cardboard and hang it as is. The texture adds depth instantly — it isn’t just flat color or design anymore. Thicker fabrics, like burlap or canvas scraps, can emphasize natural warmth and touch.
If you want a bit more texture, try layering fabric scraps together, maybe sewing or gluing them to a base piece. It creates interesting visual effects without much effort. You might discover that some small wrinkles or folds actually enhance the look, rather than spoil it.
Have you considered repurposing old scarves or table runners? Their patterns and textures often surprise you when taken out of context and turned into wall art.
Refreshing Furniture With Quick Crafts

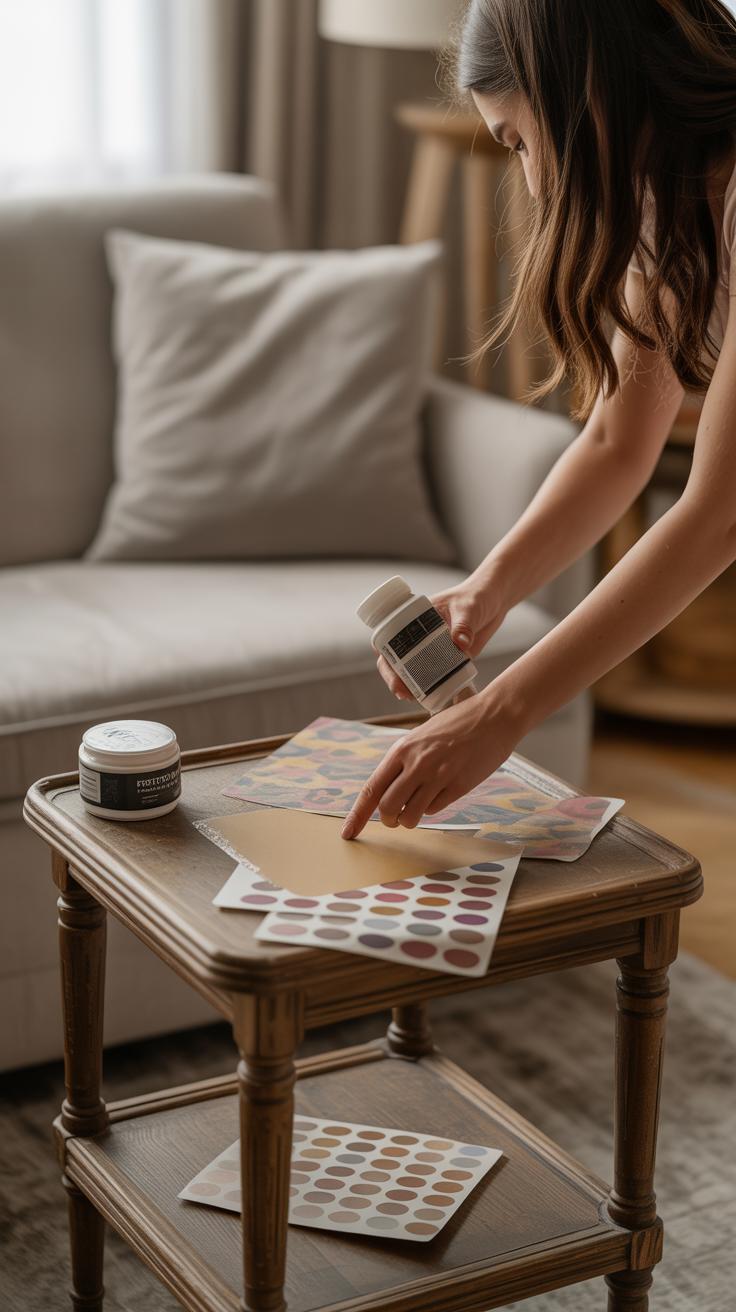
Old furniture doesn’t have to sit forgotten in a corner. With just a little effort, you can give those worn pieces a completely fresh look. Painting is often the fastest way to update a chair, table, or dresser. You don’t need fancy equipment—just some basic paint, a brush, and maybe a bit of sanding. You might hesitate at first, wondering about choosing the right paint, but going for chalk paint or acrylic usually does the trick without fuss. I once painted an old side table and thought, “Is this even going to work?” But it did, and the results felt surprisingly good.
Decoupage offers another quick fix. You can turn plain furniture into something interesting by layering patterned paper or fabric with glue on the surface. It’s a bit like wrapping a gift but permanent. That pattern or image you chose can totally change the vibe of that piece—maybe something floral for a nightstand or map prints for a desk. It’s not flawless, and edges might not always line up perfectly, but that kind of imperfection adds character, don’t you think?
Don’t forget decorative contact paper either. It’s sticky, quick, and less messy than paint or glue. Applying these sheets to shelves or drawer fronts can instantly refresh your furniture’s appearance. The catch? You have to work carefully with air bubbles, but even then, you can peel it back and try again, so there’s room for mistakes.
Painting Tips For Beginners
Picking the right paint can feel like guesswork when you’re new to this. Chalk paint is great—you skip priming and sanding most times. It’s thick and matte, perfect if you want a vintage look. Acrylic paint is another beginner-friendly option, though it’ll usually need a primer if your furniture has a glossy finish. Don’t rush brushing; long, even strokes help avoid streaks, but if you mess up, just paint over it once dry. And bear in mind, less is more. Sometimes two thin coats work better than one thick one.

Thinking about colors? Light shades make small furniture stand out, while bold hues instantly catch the eye. Sometimes I wonder if I’m too cautious picking tones, but then again, you can always repaint later if it feels off.
Easy Decoupage Ideas
Decoupage doesn’t have to be complicated. Pick some paper you love—old book pages, decorative napkins, or printed photos—and cut them into shapes or strips. Use a glue like Mod Podge to adhere and seal it. You can cover an entire surface or just create accents. The glue dries clear, but the process takes patience, especially with smoothing wrinkles or bubbles. Despite that, the tactile, layered effect can make furniture feel very personal. Maybe once you’ve tried it, you realize it isn’t purely neat, but that’s the charm.
If you want to change it up, adding a thin coat of varnish can protect your design, but sometimes leaving it a bit raw fits better with a rustic or casual style. It’s your call—sometimes I can’t decide either.
Crafting Decorative Storage Solutions
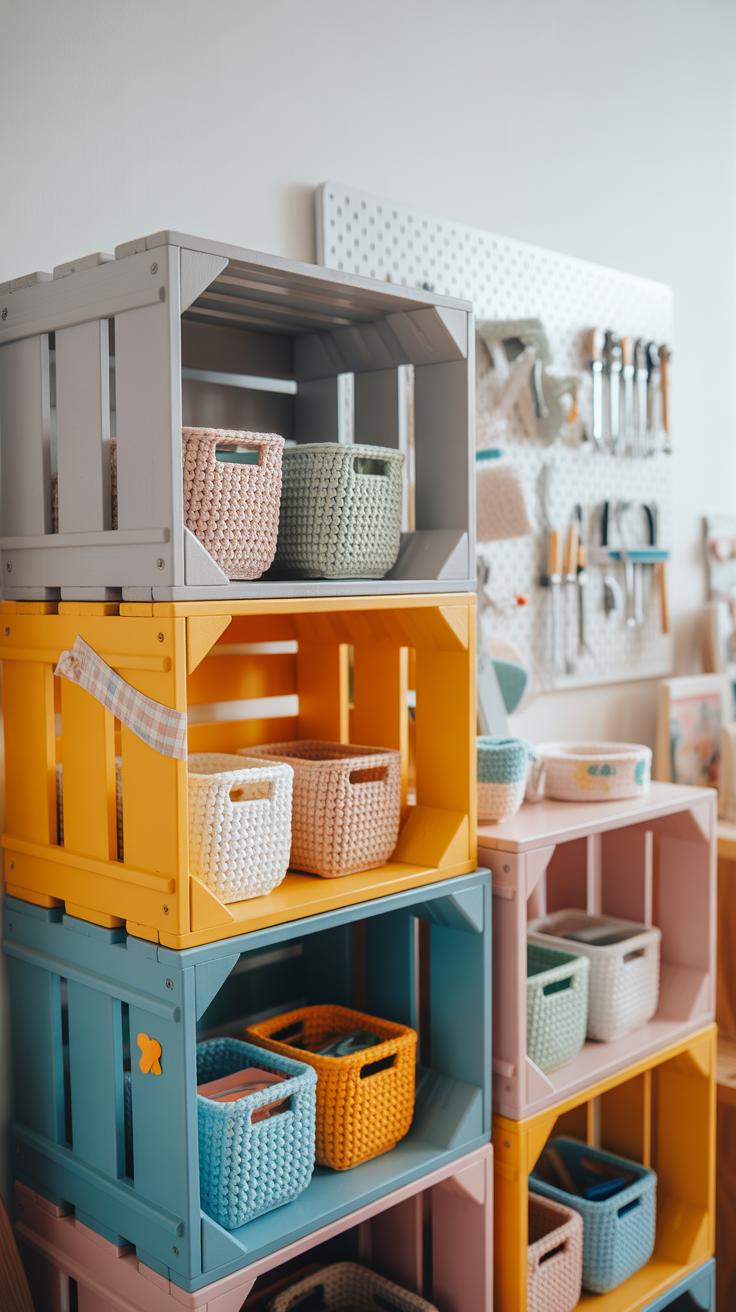
One of the easiest ways to refresh your space while cutting down on clutter is by turning everyday items into storage containers. Have you ever looked at those empty jars or cans and thought, “Maybe I could do something with this”? Well, you can—quickly and without much hassle.
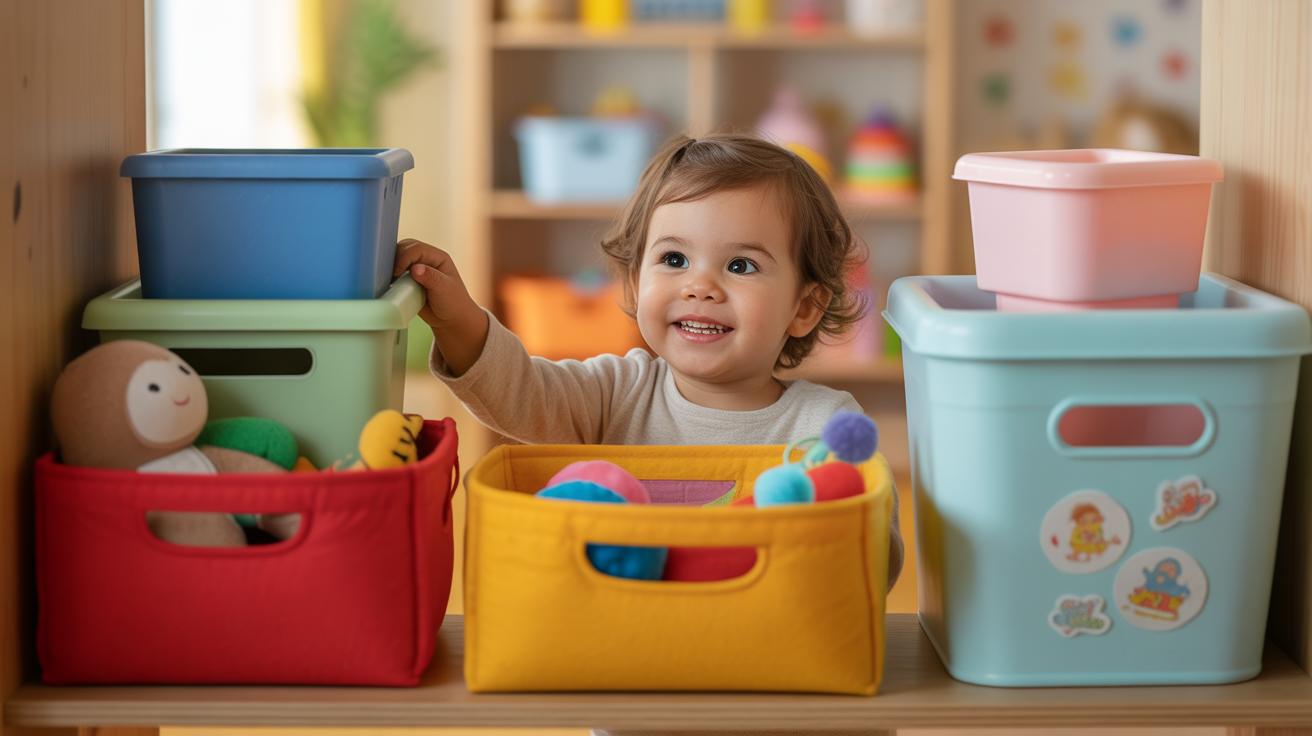
Start with simple glass jars. A bit of paint, twine, or fabric scraps wrapped around the outside can make them feel new. Suddenly, those jars can hold pens, cooking utensils, or even loose cables. Boxes, even old shoeboxes, are surprisingly versatile too. Cover them with colorful paper or fabric, and they become charming catch-alls for papers or craft supplies.
Building shelves doesn’t have to be complicated. You might find that a couple of wooden planks and some basic brackets are enough to add storage and a bit of character to a neglected corner. Sometimes, just stacking sturdy crates or old drawers on the wall gives you fast shelf space—and something a little different at that. No need for power tools if you don’t want to; just measuring and mounting with screws can often do the trick.
These projects don’t require a lot of time or skill. And honestly, the slightly imperfect look can bring warmth and personality. Do you prefer your container neat and polished, or a bit quirky with uneven paint strokes? Either way, making your own storage can feel surprisingly satisfying—and might even make tidying up more inviting.
Adding Greenery With DIY Planters
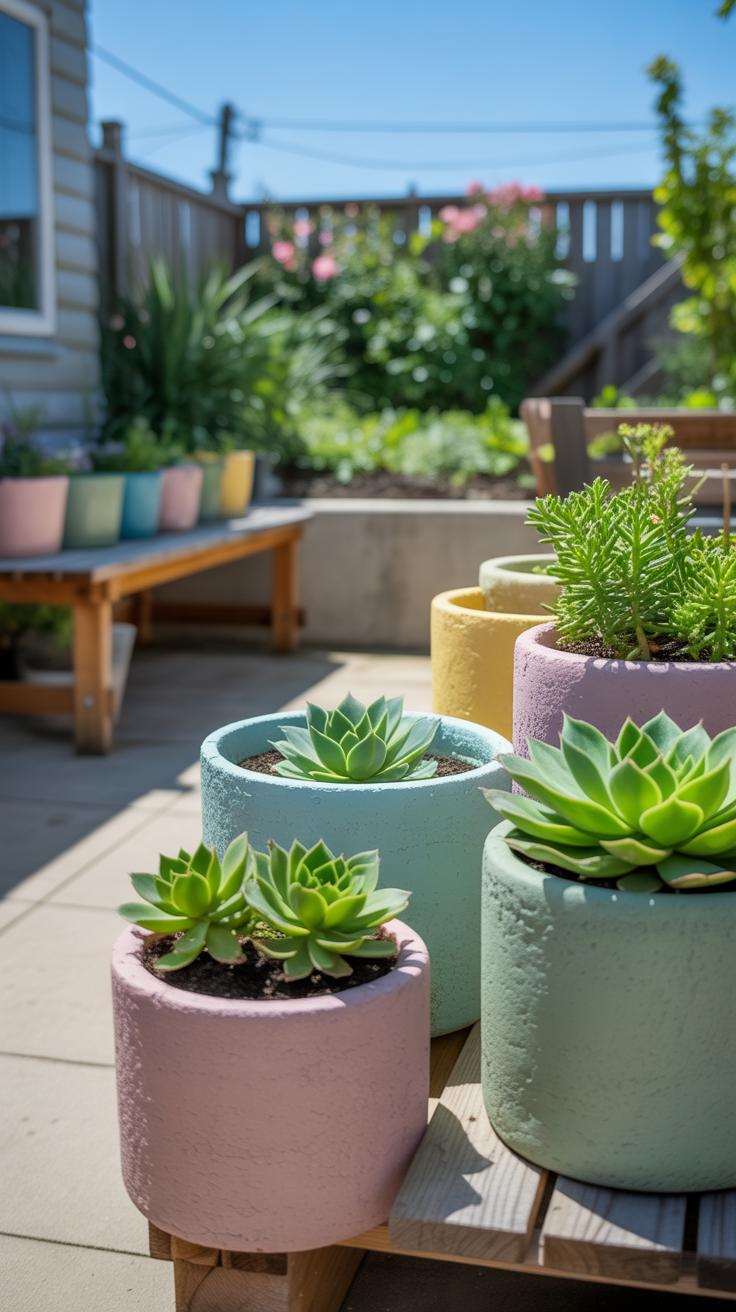
Bringing plants into your space can change the whole vibe instantly. You don’t need fancy pots or complicated setups. Sometimes, the quickest way to add a fresh touch is by repurposing what you already have. Old jars, tin cans, or even leftover food containers can become charming planters with hardly any effort.
Think about rinsing out a tin can, then popping in some soil and a bit of greenery—maybe a succulent or herbs. That’s a lovely start. You don’t even need to buy new pots, which, honestly, saves time and money. Got a few glass jars lying around? Wrap them in fabric scraps or twine, and suddenly they look a bit more intentional. You might be surprised how these modest materials can feel so refreshing once you add plants.
Decorating your planters is where you can get a little creative—or not, if you don’t want to. Painting simple patterns or colors on your containers can brighten areas that feel a bit dull. Natural touches like attaching small pinecones, shells, or pressed leaves might seem odd, but they add interesting textures without needing special skills or tools.
- Use recycled containers like yogurt cups or teacups for small plants.
- Paint stripes, dots, or even try a wash of color with leftover paints.
- Attach fabric or burlap around pots with glue or tape for a rustic look.
- Add natural elements such as twigs, stones, or leaves for extra character.
Have you noticed how a plant in an unexpected container can make a corner feel new again? It’s funny—sometimes the whole project is more about how you feel seeing it afterward than the planter itself. Plus, these crafts take only minutes, but they offer a bit of calm and a dash of brightness. Makes you wonder why we don’t do it more often.
Crafting Textiles For Comfort And Style
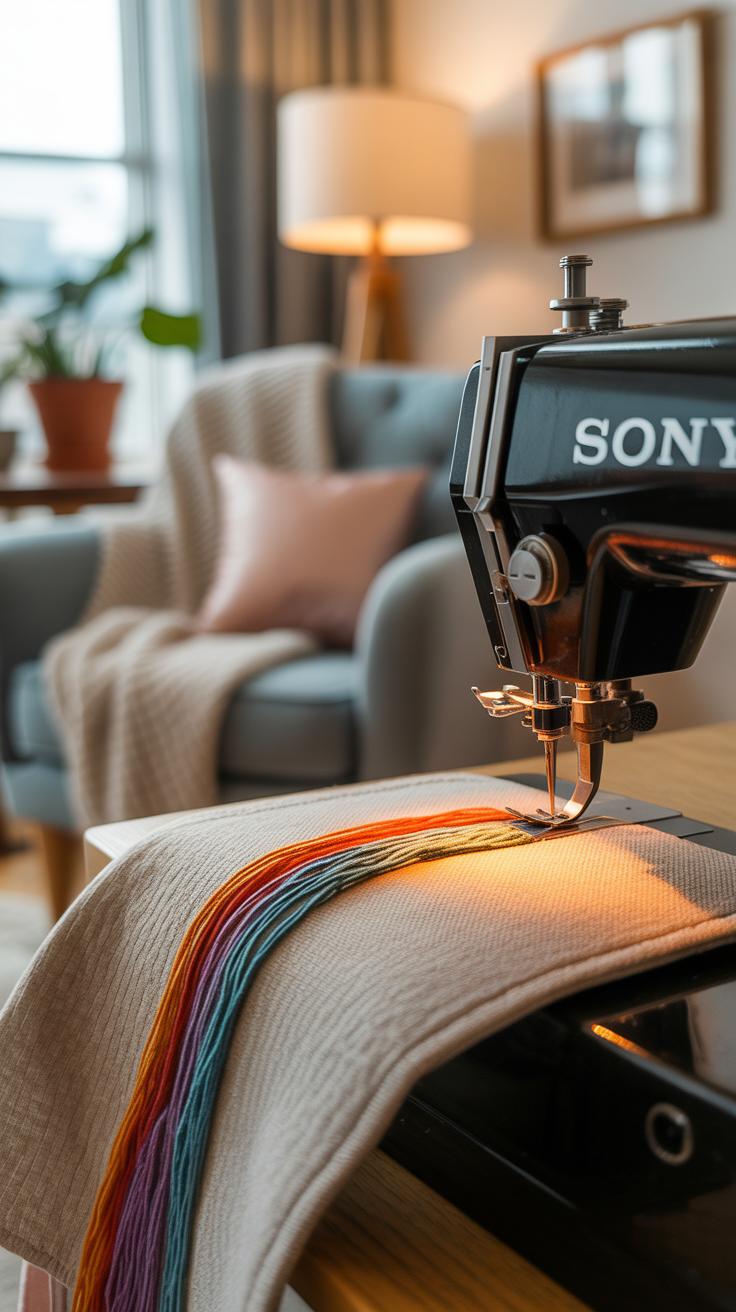
Textiles have this funny way of changing a room without asking for much effort. Think about pillow covers, table runners, or even simple curtains—they can brighten up a space and add a touch of coziness without needing a full makeover. You might find pillow covers are the easiest way in; a splash of color or a new pattern can freshen your sofa or bed instantly.
Sewing Basic Covers
If you have a sewing machine, making or altering pillow covers isn’t as hard as it sounds. A basic envelope pillow cover—where flaps overlap at the back—is quick and avoids zippers or buttons. It lets you change designs often without fuss.
Start with fabric roughly cut a couple of inches bigger than the pillow. Fold edges under, pin, and straight stitch around. Voila, a new cover. You might even use old shirts or fabric scraps lying around. It feels good to reuse like that.
No-Sew Textile Crafts
What if sewing isn’t your thing? No-sew crafts are still great ways to liven your textiles. You can tie fabric strips around cushions to hold covers in place or use fabric glue to hem edges neatly. There’s also fusible tape for quick hems if you prefer something a bit more secure.
Another idea is knotting strips of colorful fabric into garlands for windows or draping tied runners across tables. They aren’t complicated but definitely bring charm and warmth. Sometimes, a little creative assembly is all you need to brighten up your textiles—and your room.
Personalizing With Small Decorative Items
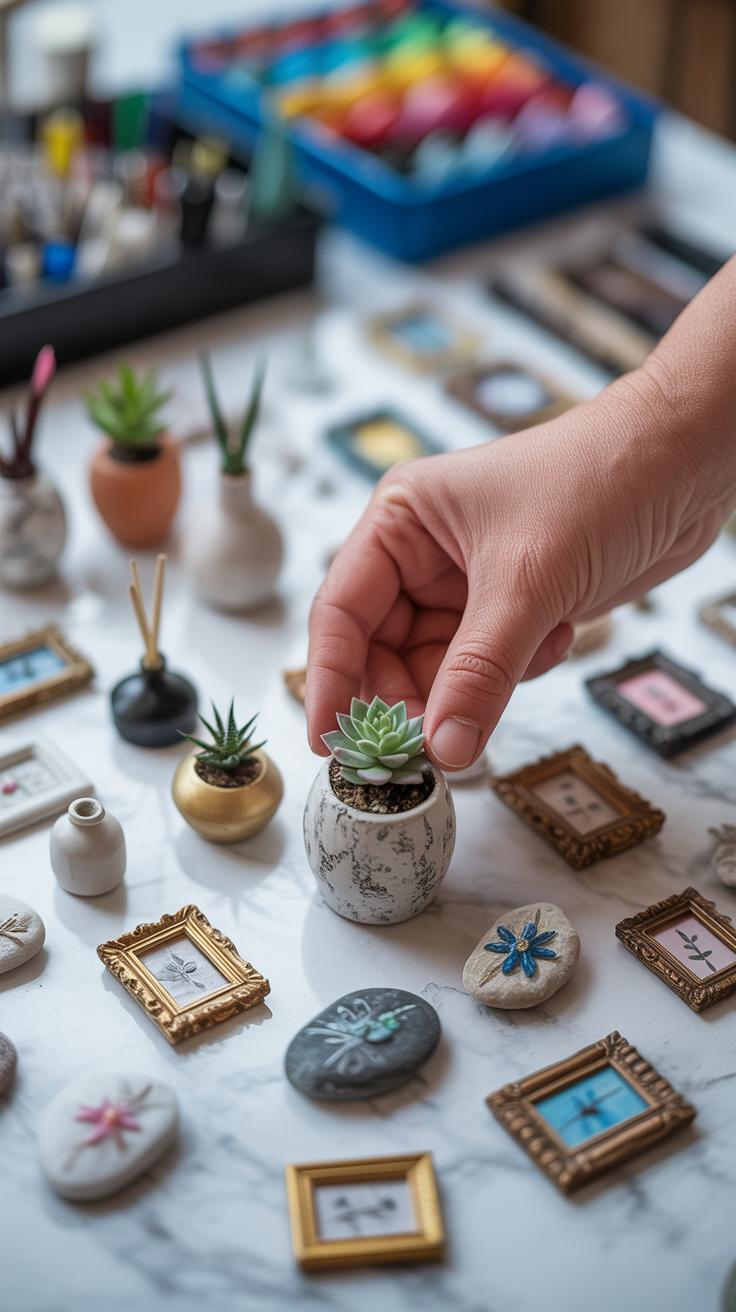
Small decorative crafts offer a surprisingly quick way to make your space feel more yours, without needing hours or special skills. Take coasters, for instance. You can turn plain cork or wooden coasters into something unique by layering paint in simple patterns, or even gluing on pieces of pretty paper or fabric. I remember once using snippets from old maps to cover coasters — it sparked conversations every time guests spotted them. It’s a quick lift, really, and it works because you’re mixing materials you probably have already.
Picture frames are another easy target for personalization. Plain frames feel a bit flat, but with a little paint dabbed on or strips of textured tape, they can pop. Sometimes, I just mix a few colors with a small brush to give the frame some depth. Other times, I stick on small buttons or thread for a tactile twist. It’s fun because you don’t need to be consistent—sometimes uneven strokes or mismatched embellishments add character.
Think about what small touches reflect you better. Maybe some painted coasters to protect your table and tell a story, or a brightened-up photo frame that turns a snapshot into an art piece. These crafts don’t demand a big overhaul but still brighten your environment with pieces that mean something. What’s holding you back from trying one right now?
Maintaining Motivation And Crafting Regularly
Keeping up with quick crafts can be a little tricky, especially when life gets busy. Sometimes, you might feel eager to start something new, only to lose momentum after a day or two. One way I find helpful is setting very simple goals—nothing that feels overwhelming. For example, instead of deciding to revamp an entire room, try aiming to finish just one small item like a painted planter or a refreshed lampshade each week. It makes the process feel manageable and you get a steady sense of accomplishment.
Establishing a routine helps, too. Maybe you dedicate ten minutes in the morning or evening just to craft. It doesn’t have to be fancy—just a regular, little slot that you protect from distractions. That’s how these projects become part of your life, not just a one-off burst of energy. The trick is to keep the time short and the goals doable, so frustration doesn’t sneak in.
Setting Simple Craft Goals
Small goals work best when they feel within reach and keep your interest alive. You might think, “I’ll make three coasters this weekend,” or “I’ll organize my craft supplies so I’m ready next time.” Tracking progress with a checklist or journal—even if I don’t always stick to it perfectly—makes crafting feel like a series of wins rather than a long, unclear stretch.
Breaking down projects into tiny steps stops you from feeling stuck. Maybe today you only gather materials, and tomorrow you paint. You might think it’s not much, but those small chunks help keep motivation steady. Try to celebrate even minor finishes, like hanging up a new ornament or shifting a set of candles on your shelf. It may sound overly cautious, but it really does help your motivation not fade away.
Finding Inspiration Regularly
Inspiration doesn’t always strike on its own. I tend to find fresh craft ideas in the most ordinary places—while flipping through magazines, scrolling on social media, or just walking around my neighborhood. Sometimes, nature’s color palettes or a pattern on a café tile sparks a new project.
Joining local craft groups or online communities can introduce you to new ideas and styles you might never think of yourself. You might share your quick projects and see how others tackle similar challenges, which often lights the creative fire. Keeping a small notebook or phone folder with ideas you come across helps, so when time’s tight, you’re not stuck wondering what to make. It’s worth trying to stay curious and open, even if you don’t act on every idea immediately.
Conclusions
Simple crafts provide a practical solution for refreshing your home quickly. With basic supplies and clear plans, you can create projects that add charm and personality to any room. These activities allow you to express your creativity while improving your surroundings in small, manageable steps.
Through the ideas and tips shared here, you can start crafting with confidence. Use these quick craft projects to make your space feel brighter and more inviting without spending much time. The process is rewarding and helps you enjoy your home more deeply.


