
Introduction
Recycled crafts are projects that turn old or used materials into new useful items. Making storage from recycled materials helps you organize your home while protecting the environment. You can save money and reduce waste by creating storage solutions that are both practical and eco-friendly.
This article explores how you can use recycled crafts to create sustainable home storage. It shows easy and creative ideas to reuse materials like paper, glass, wood, and fabric. You will learn how simple changes can help you reduce clutter and live more sustainably.
Gathering Materials for Your Recycled Storage Projects
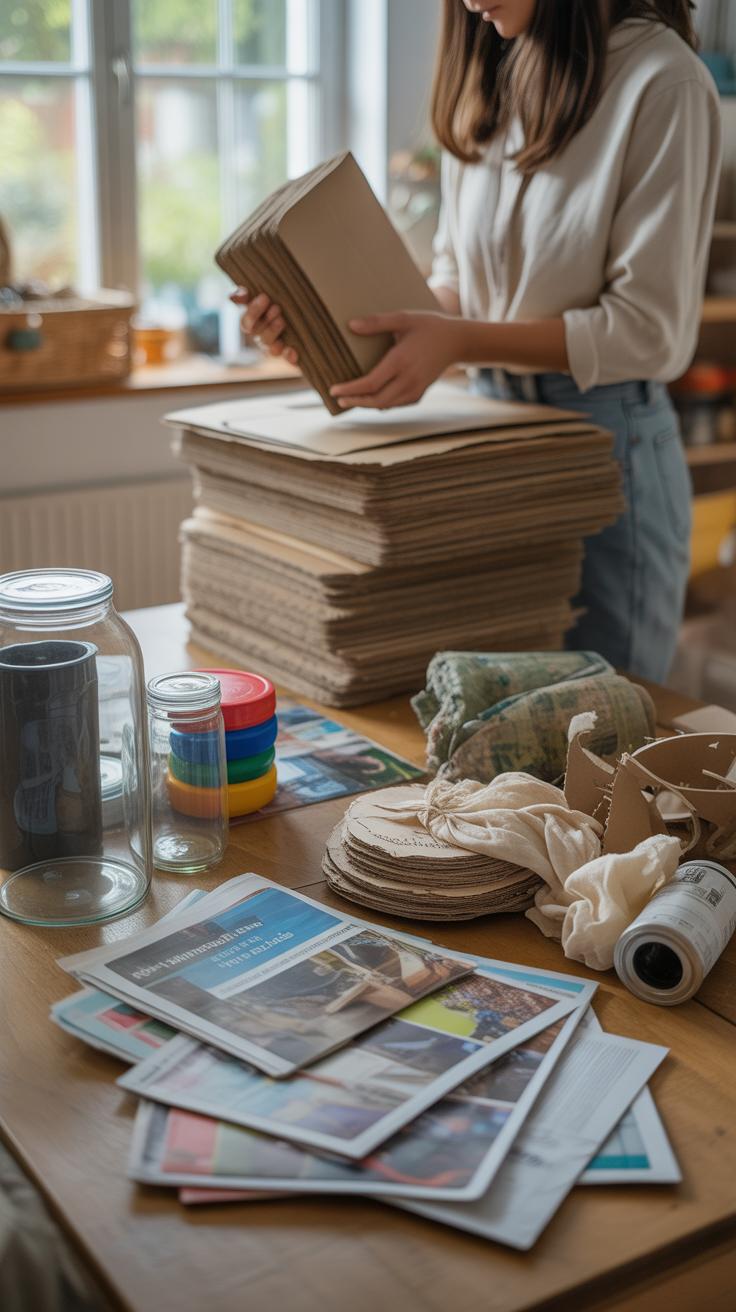
Finding the right recycled materials for your storage crafts can be a bit like a treasure hunt. You might not realize how many useful items are just waiting around your home or neighborhood. Think about things you usually toss out without a second thought—old jars, cardboard boxes, fabric scraps, or even unused plastic containers.

Not every material works well for every project, though. For instance, sturdy cardboard can be great for making drawer dividers, but flimsy paper might fall apart too quickly. Glass jars make for perfect small item holders, but they’re not always the safest in a busy household.
To get your materials ready, a bit of cleaning often helps. Wash containers thoroughly and let them dry. Peel off labels if you want a cleaner look—or leave them on if you enjoy a bit of rustic charm. You might also need to cut or reshape items, so keep scissors, craft knives, and glue handy.
- Look around your kitchen for jars, tins, and containers
- Check your recycling bin before it’s emptied; you’ll find ready supplies there
- Fabric scraps from old clothes or linens can make soft storage bins
- Cardboard from cereal boxes or shipping boxes is versatile but keep it dry
- Plastic bottles and containers can be cut and joined to create compartments or holders
Sometimes, gathering materials means asking friends or neighbors if they have items they’re about to discard. You might be surprised how willing people are to share unwanted supplies once you mention you’re making something useful. And just a side note—you might want to keep a small dedicated spot in your home for storing these materials so they’re always at hand when inspiration strikes.
Sources of Recyclable Materials
You might be surprised at just how many household items can be repurposed into storage solutions. Think about all those empty glass jars cluttering your cupboards. They can become chic containers for everything from buttons to office supplies. Cardboard boxes, especially the sturdy ones from shipping, offer endless possibilities, whether for shelves or drawer dividers. Fabric scraps — those bits leftover from old clothes or sewing projects — are perfect for lining baskets or creating soft bins. Even paper, like magazines or old folders, can be rolled or folded for lightweight organizers.
Finding these materials safely often means just looking around your home first, but don’t overlook local options like community swap events, thrift shops, or recycling centers. Sometimes, leftover materials from nearby stores can be a goldmine if you ask politely. It’s a bit of a hunt, really. But finding that perfect piece of wood or those unique jars feels rewarding, doesn’t it?
Cleaning and Preparing Materials

Before you start turning stuff into storage, take a moment to clean your materials properly. For jars, a good soak in warm soapy water usually does the trick. Labels can be stubborn, so a bit of scrubbing or soaking might be necessary. Cardboard needs to be dry and free of grease or stains since wet or flimsy cardboard won’t hold shape well. Fabric scraps should be freshly washed, especially if they’ve been sitting around a while, and you may want to iron them for easier handling.
Preparation isn’t just about cleanliness. Sometimes, a simple trim or flattening is required to make materials usable. For paper, removing staples and smoothing wrinkles helps. Also, check for any sharp edges or residues that might cause harm. Taking a bit more time here saves frustration later on—it’s like priming a canvas before painting, though maybe less artistic, but necessary. Do you find the prep work tedious or oddly satisfying? I think it depends on the day.
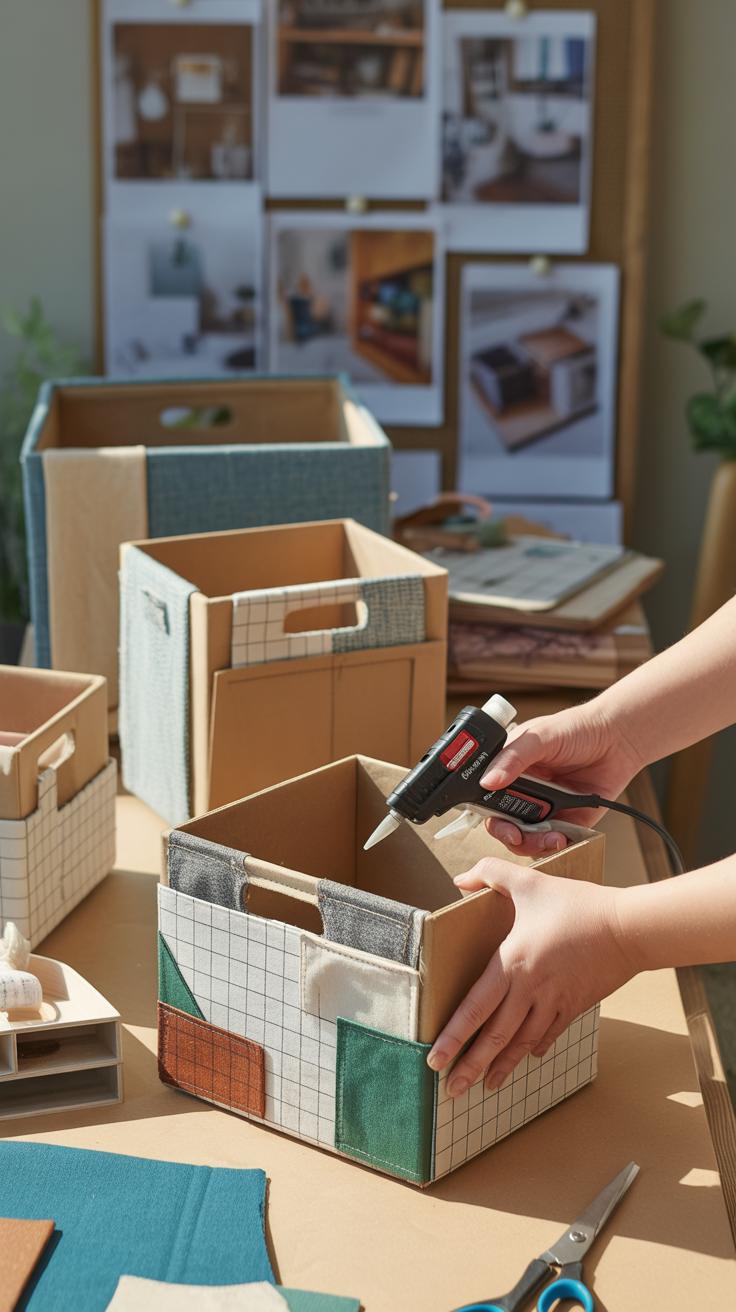
Creating Recycled Paper Storage Containers
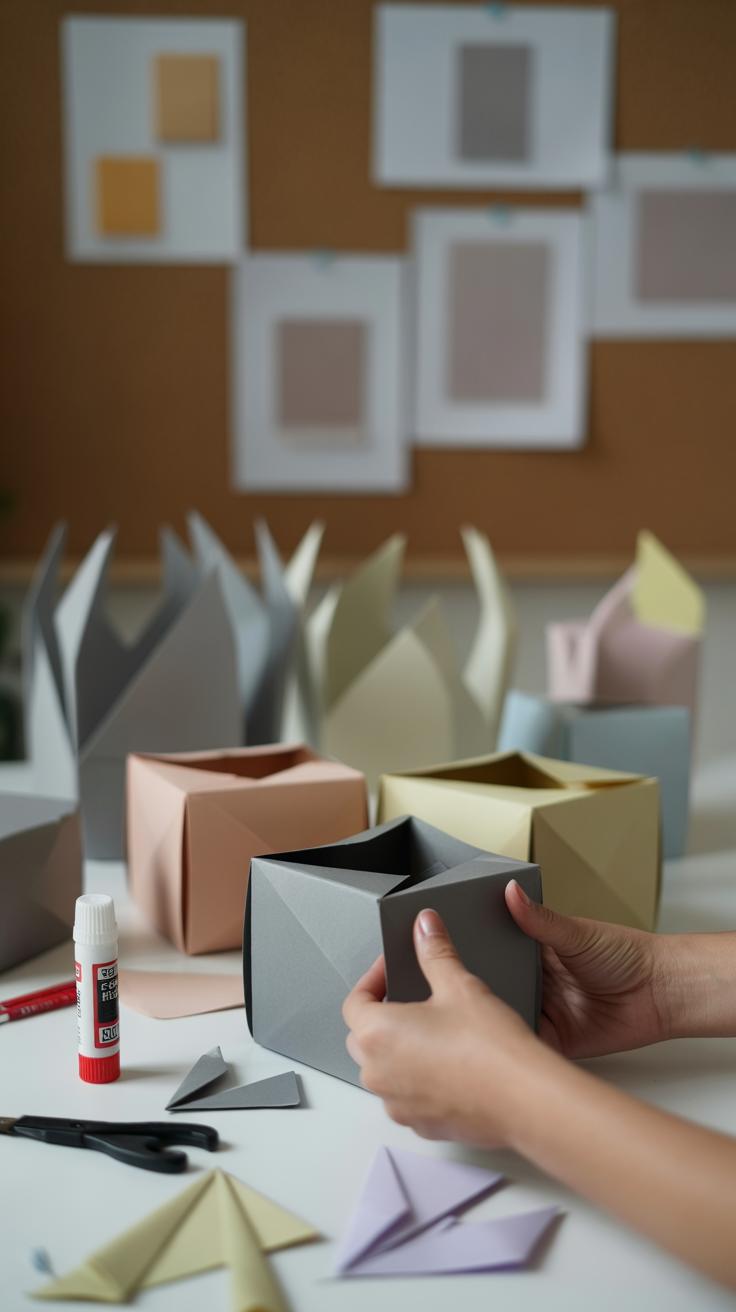
Simple Box Containers from Cardboard
If you’ve got some cardboard lying around—maybe from old boxes—turning it into storage containers is surprisingly easy. Start by cutting a square or rectangle base, then cut four side panels. Fold the edges up carefully and secure each side by gluing or taping. You don’t have to be perfect here; a little unevenness adds character.
For small items like stationery or craft bits, these handmade boxes work really well. Try scoring the fold lines lightly before folding—this helps keep edges sharper. You could also experiment with different shapes: rectangles, trapezoids, or even hexagons can store items uniquely, though they take a bit more planning.
Decorating Paper Containers

Making these boxes is just the start. Decorating turns them from plain to personal. You might paint them with acrylics—just thin layers so the cardboard doesn’t warp too much. Another idea is to glue fabric scraps on the outside. It’s a bit more work but softens the look and strengthens the box.
If you’re using old book pages, consider layering them with a decoupage medium; it’s like glue but dries clear and creates a smooth surface. You can even write notes or doodle lightly over the pages to add a handwritten touch. Of course, leave room for imperfection—it’s part of the charm.
What do you have around that could personalize your boxes? Maybe scraps of wallpaper or newspaper comics. It’s oddly satisfying to turn what looks useless into something you want to keep on your desk or shelf.
Using Glass Jars for Organized Storage
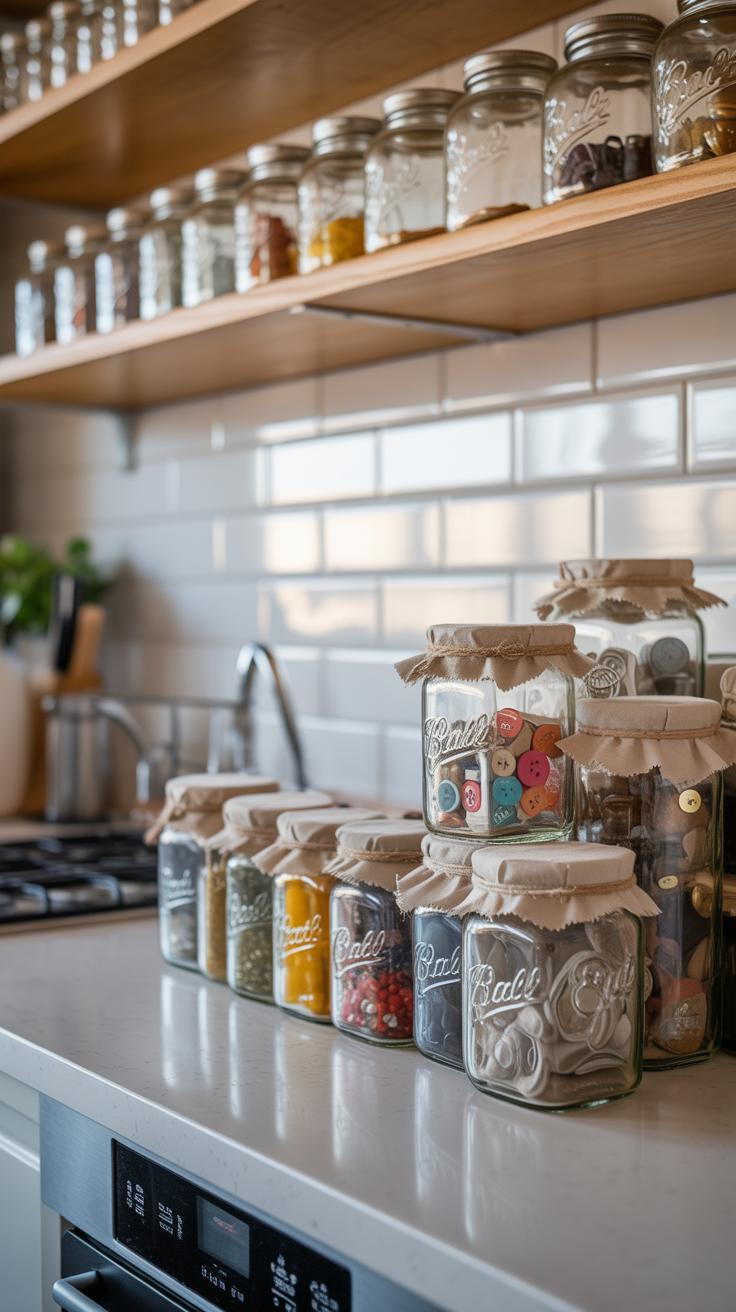
Glass jars make useful storage containers for all sorts of things around the house. You can repurpose them to keep your kitchen spices neatly lined up or your bathroom cotton balls within easy reach. Crafts enthusiasts often find them perfect for beads, buttons, or small tools. They’re clear, so you can spot what’s inside without opening the lid, which is kind of handy when you’re in a rush.
Safety matters here — glass can break, so avoid jars with chips or cracks. Also, if you’re storing anything edible, make sure lids are clean and haven’t rusted. Some jars come with metal lids that aren’t ideal for moisture, so using silicone or cloth covers works better for damp bathroom items. That’s something you might not have thought of before.

One creative idea I’ve seen is grouping jars on a wooden tray or mounting lids under a shelf to screw jars in upside down. It saves space and adds a quirky look. Could that work in your home? It’s worth a try if your countertops are overcrowded.
Cleaning and Preparing Glass Jars
Preparing glass jars for reuse takes some patience. Start by soaking the jars in warm, soapy water for at least an hour. This loosens stubborn labels and glue, which you’ll want to peel or scrape off carefully. Sometimes, leftover adhesive is a nuisance; rubbing alcohol or a bit of vegetable oil can help remove sticky residues. You may need to repeat this a couple of times.
After label removal, wash jars thoroughly to get rid of any leftover dirt or odor—especially important if previous contents had strong smells. Let the jars dry completely before storing anything inside; moisture could spoil what you put in there. Also, inspecting lids for rust or damage is smart. Replace them, if needed, to keep contents safe.
Decorating and Labeling Jars
Decorating jars isn’t just about looks—it makes things easier to find. You could paint the lids with chalkboard paint so you can update what’s inside whenever you want. Or wrap twine or fabric around the jar’s neck to add some charm and grip. Some people glue on pretty buttons, beads, or even small sprigs of dried herbs to make jars feel more personal.
Labels are crucial for quick identification. You might print or handwrite labels on adhesive paper, or tag jars with small wooden tags tied around the neck with string. Just a little effort here goes a long way, especially when you’re organizing craft supplies or spices that look similar. It’s oddly satisfying to open a cabinet where everything is neatly labeled and easy to grab.
Recycled Fabric Crafts for Flexible Storage

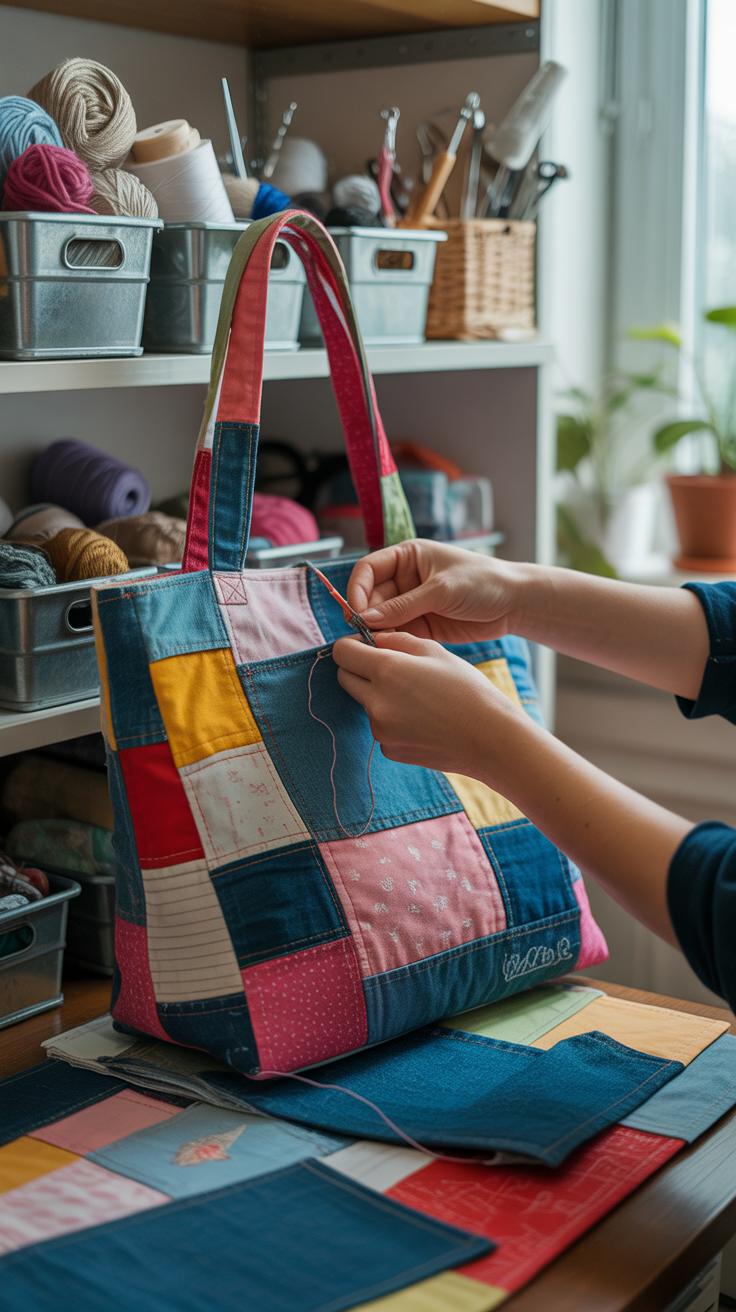
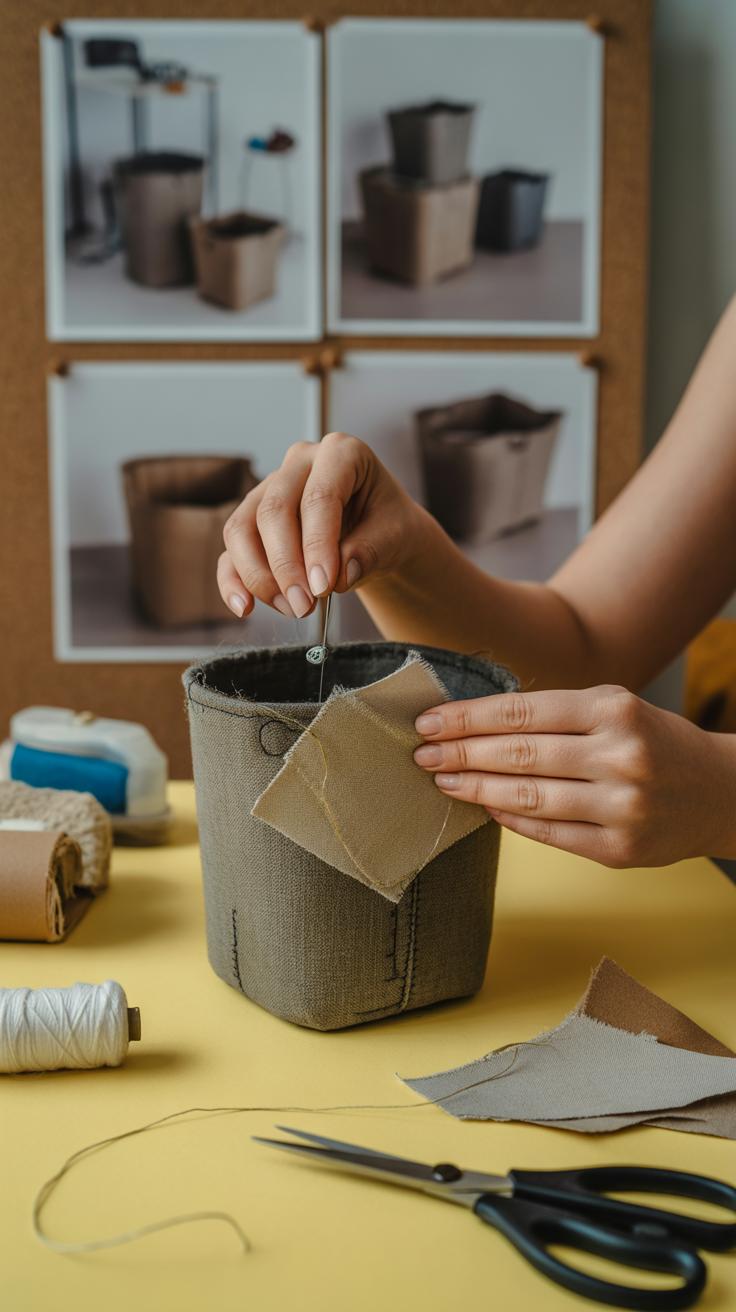
Turning old fabric into storage solutions can feel surprisingly satisfying. Whether you have worn-out clothes, leftover sheets, or fabric scraps, these materials can become useful storage bags, baskets, or organizers around the house. You don’t need to be a sewing expert to get started. Actually, there are plenty of no-sew methods that anyone can try. But if you do want to pick up a needle and thread, sewing bags or pouches offers more durability and a polished look.
For sewing storage bags, start by cutting fabric into rectangles or squares. Fold the edges in, pin them, and stitch along the seams—simple straight stitches work fine. Add a drawstring with ribbon or cord through the top hem to close the bag. You can use these to stash toys, clothes, or even tools. If sewing isn’t your thing, tying fabric works just as well. Just cut a large square, lay the item inside, and tie opposite corners tightly. It’s quick and adaptable depending on what you’re storing.
No-sew fabric baskets are surprisingly versatile. One easy way is to stretch fabric over a recycled container like a metal can or plastic tub, tucking the edges inside. Another idea: fold and glue thick fabric around sturdy parts like old cardboard to form shape-retaining baskets. Mixing fabric strips with glue and twisting them into coils can also create interesting textured containers. I tried a coil basket once, and the result was a bit uneven but functional enough for holding magazines. Sometimes, perfection takes a backseat to usefulness.
Do you have enough fabric scraps to try one of these? Experimenting with stitch length or knot sizes might seem trivial but can change the final feel of your storage piece. Whether stitched or tied, these crafts remind us that flexible storage options don’t need new materials or costly tools—just a little creativity and patience.
Wood Recycling for Durable Storage Solutions

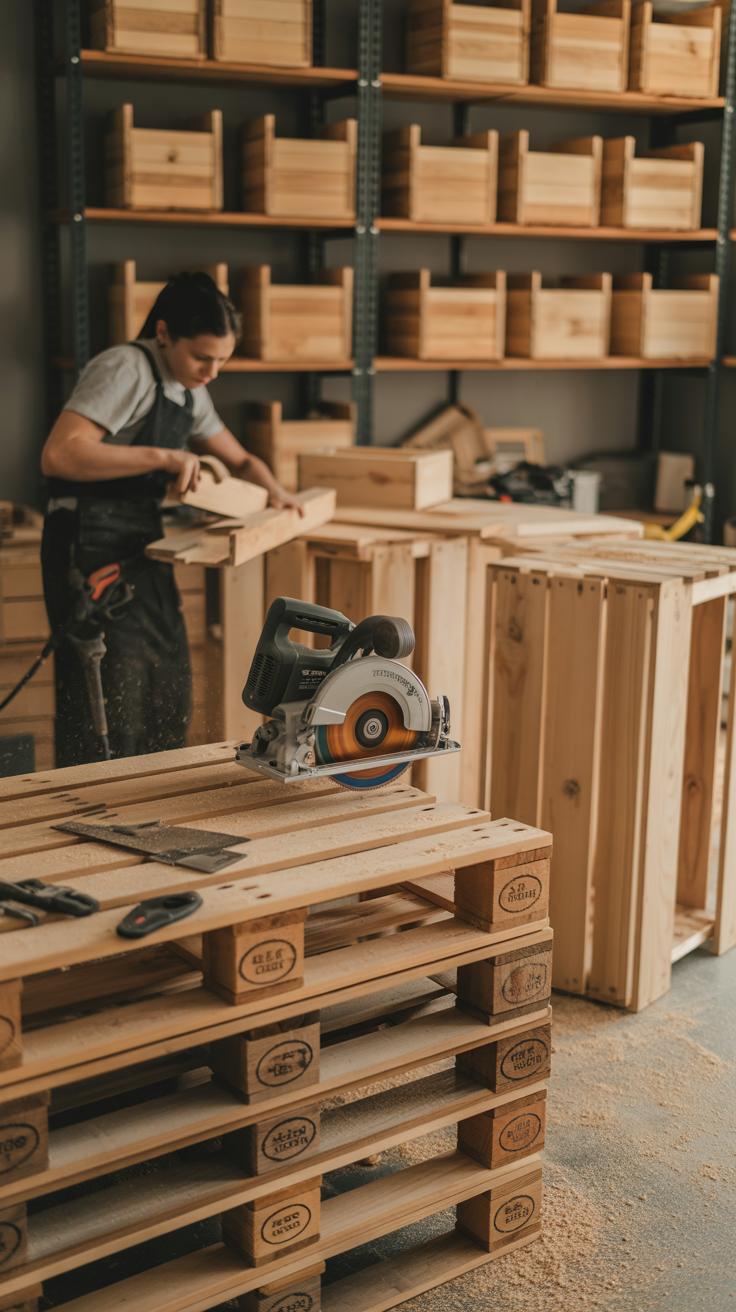
Reclaimed wood, pallets, and old furniture parts offer a surprisingly rich resource for creating sturdy storage options. Using wood you might otherwise discard gives your storage projects character and a story. It’s not always the easiest material to work with, especially if you’re not fully set up with woodworking tools—but that’s part of the charm, isn’t it? A few nails here or some sanding there can turn what looks like scraps into something quite useful.
Old pallets, for example, come with pre-cut planks and a solid frame. You don’t have to be a pro to make those plank gaps into shelves or even small side tables. I once built a shoe rack from pallets, and though it wasn’t perfect, it held up quite well. Sometimes the wood surface needs some careful cleaning and gentle sanding, but that’s about the extent of prep.
Breaking down old furniture can be trickier, but it gives you access to thicker, sometimes more refined wood pieces. Think drawer fronts repurposed as shallow trays or an old headboard turned into a wall-mounted rack. The best part is each piece retains its subtle history—almost like unfinished stories you get to complete.
Building Simple Storage Crates
Making a basic crate from recycled wood doesn’t require fancy tools or skills. A handsaw, hammer, nails, and some sandpaper are enough to get started. The idea is to cut wooden slats to size for the crate’s base and sides, then join them together. If you pick wood with nails or screws already in it, removing them carefully saves your tools and hands from damage.

My go-to design uses a rectangular frame of wood planks for the base, with vertical slats spaced evenly as its sides. You can vary the size depending on what you want to store—books, toys, or kitchen supplies. I sometimes leave gaps between slats for better ventilation, but a solid box works too. It’s not just functional; handmade crates add a rustic touch to any room.
Turning Pallets into Shelves
Repurposing pallets into shelves or small furniture means working with the pallet’s natural structure. First, check for broken boards or loose nails. Then decide if you want wall-mounted shelves or standing pieces. For wall shelves, removing the top flaps of the pallet’s boards and sanding them smooth is a good starting point.
Attach brackets or simple wooden cleats to the back, mount the pallet to the wall, and voila—a shelf with plenty of character. Pallets can also become small benches with under-seat storage, which gives you both seating and organization. Trust me, pallet projects are a bit rough around the edges, but that imperfection often adds to the appeal.
Plastic Reuse for Practical Home Storage
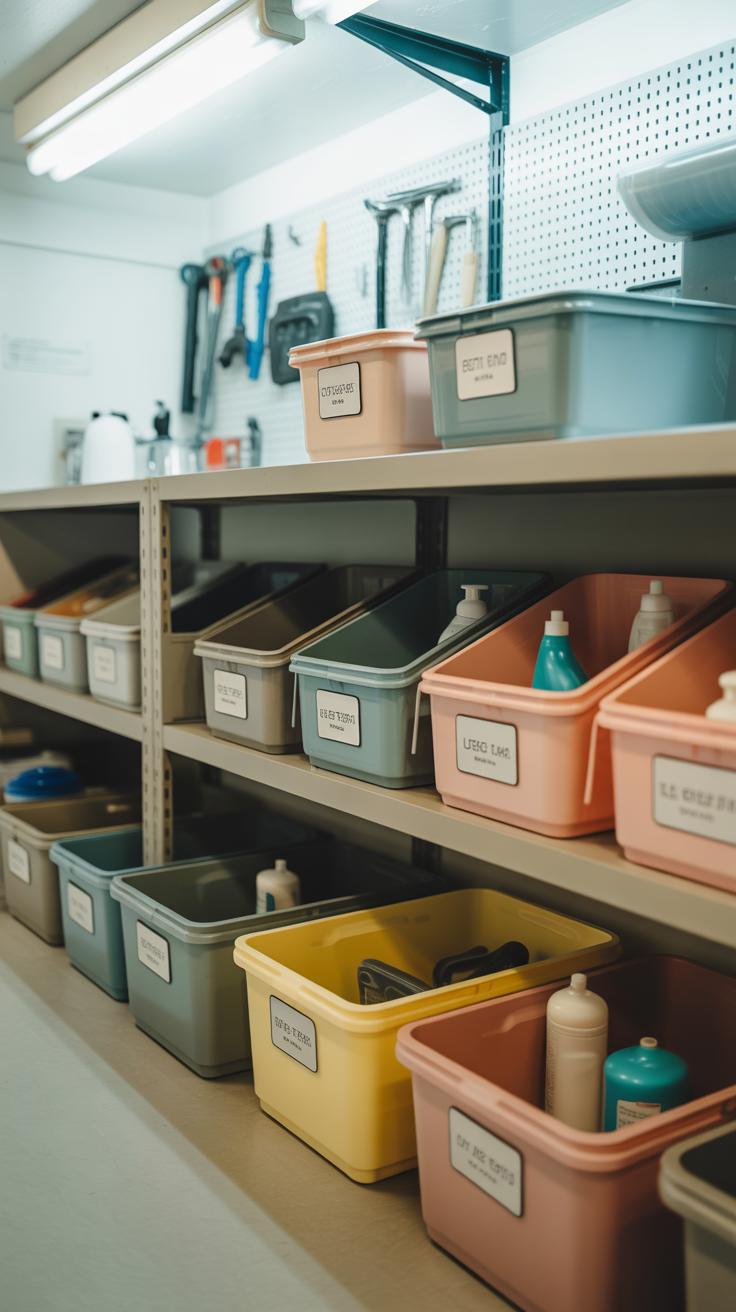
Plastic containers and bottles pile up quickly, don’t they? But before tossing them out, think about how they can help keep small items sorted around your home. Plastic bottles, for instance, can be turned into simple, usable organizers with just a few cuts.
Using Plastic Bottles as Storage
Take a typical soda or water bottle and cut it horizontally or vertically, depending on what you want. A shorter cut near the top makes a handy pen holder or paintbrush container. Cut a larger opening facing forward, and you get a small bin for screws, buttons, or craft supplies. Even seed starters are easy: just cut the bottle in half, fill with soil, and the transparent sides help track moisture and growth.
Simple tools—scissors or a craft knife—are usually enough. You might want to smooth edges with tape to avoid sharp bits. It’s surprising how well these makeshift containers fit desk drawers, shelves, or windowsills.
Recycling Plastic Containers Safely
Before reusing, clean plastic containers thoroughly—leftover food or sticky residues can attract pests or cause smells. Warm, soapy water and a good rinse usually work. Avoid plastic containers that held harsh chemicals, as they aren’t safe for home reuse.
Store your cleaned plastics in a dry, cool spot to keep them usable longer. Over time, plastics crack or discolor, so watch out for brittle pieces. Perhaps swap them out regularly to avoid clutter.
Still, plastic reuse has its downsides. It doesn’t replace reducing plastic consumption. Trying to upcycle plastic is good, but maybe also think about ways to cut back your plastic use altogether. It’s a tricky balance—using what you have without contributing to more plastic waste.
Combining Materials for Custom Storage Creations
Mixing different materials can give your storage solutions much more character and utility. Take wood and fabric, for example. A wooden basket by itself is strong but maybe a bit rough on delicate items. Line it with fabric, and suddenly you have something both sturdy and gentle—a little like a protective hug for your clutter. You might try using old curtains or scrap fabrics to add soft textures inside a wooden frame, making it more inviting and cushioned.
Plastic parts, on their own, can be useful but sometimes feel cold or flimsy. When joined with wood or fabric, plastic can add pockets, dividers, or waterproof sections that wouldn’t otherwise be possible. For instance:
- Attach plastic containers inside a wooden box to create compartments resistant to spills.
- Sew or glue plastic mesh or repurposed bags onto fabric linings for extra stretch and visibility.
- Use plastic lids as sturdy bases or covers combined with fabric walls or wooden frames.
By combining materials, you’re not just mixing supplies—you’re blending their strengths. Wood holds shape well, fabric brings softness and flexibility, and plastic offers water resistance or structure in spots you might not expect. It’s practical stuff, but also a bit personal. When you pick your materials, what memories or moods do they stir? I found that a basket I lined with floral upholstery fabric felt almost like a keepsake, not just a box.
Could your storage reflect more of who you are by mixing the things you already have? Sometimes that’s where the best craft ideas start.
Maintaining and Updating Recycled Storage Items
Taking care of storage items made from recycled materials is a balancing act. Each type of material—whether wood, fabric, or plastic—needs a slightly different touch to last longer. For wooden pieces, dust them regularly and check for loose joints or cracks. If you spot splinters or weak spots, a little sanding and glue can do wonders. It’s surprising how a quick patch can keep a basket or box usable for months more.
Cleaning depends a lot on the material. Fabric organizers usually just need a gentle hand wash or spot clean with mild soap. Plastic should be wiped with a damp cloth; harsh chemicals tend to wear off any paint or surface detailing. And wood, well, you can almost treat it like furniture: a soft brush for dust, a dry cloth to wipe, and occasionally a little oil or wax to prevent drying out. That said, sometimes these recycled crafts are a bit fragile, so test cleaning methods on a small area first.
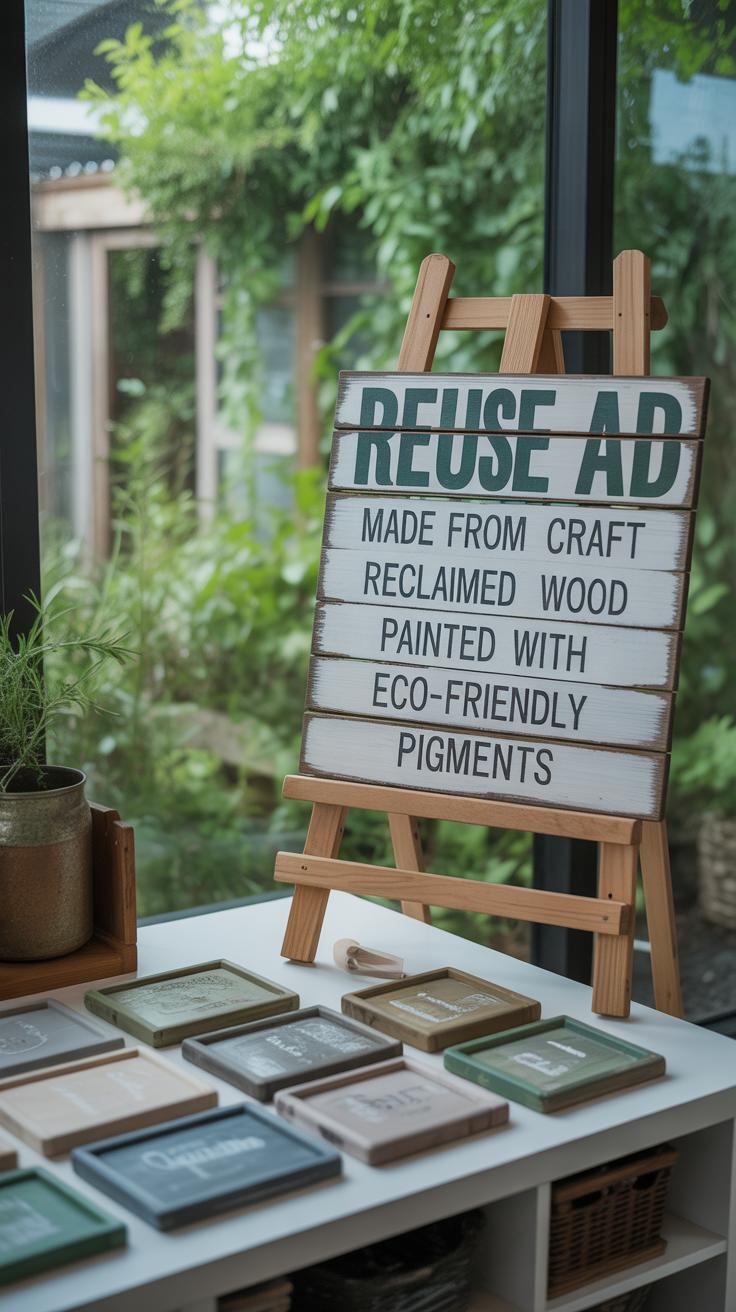
If your old storage items look tired or worn, don’t toss them just yet. Adding simple upgrades—like repainting with eco-friendly paints, attaching new handles, or lining the inside with recycled fabric—can breathe new life into them. Sometimes, just sticking on some labels or decorative elements can shift a dull box into something you actually want on display. Have you ever tried decoupage on a cardboard organizer? It’s oddly satisfying and stretches the life of something you thought was garbage.
Encouraging a Sustainable Mindset Through Crafting
Crafting with recycled materials does more than just create useful storage items—it helps shape how you think about waste and care for the environment. When you turn old jars, scrap fabrics, or cardboard into something functional, you start seeing value in things others might throw away. That shift in perspective can slowly build habits that carry over beyond your craft room, into everyday choices like buying less or sorting trash more carefully.
Getting family or friends involved adds another layer to this. Working together, even on simple projects like making pencil holders from cans, creates shared moments that emphasize reuse without feeling preachy. It’s easy—you could challenge each other to find the oddest object and repurpose it. Or try a small crafting night to swap tips and ideas. These little activities spark conversations about sustainability without making it feel like a chore.
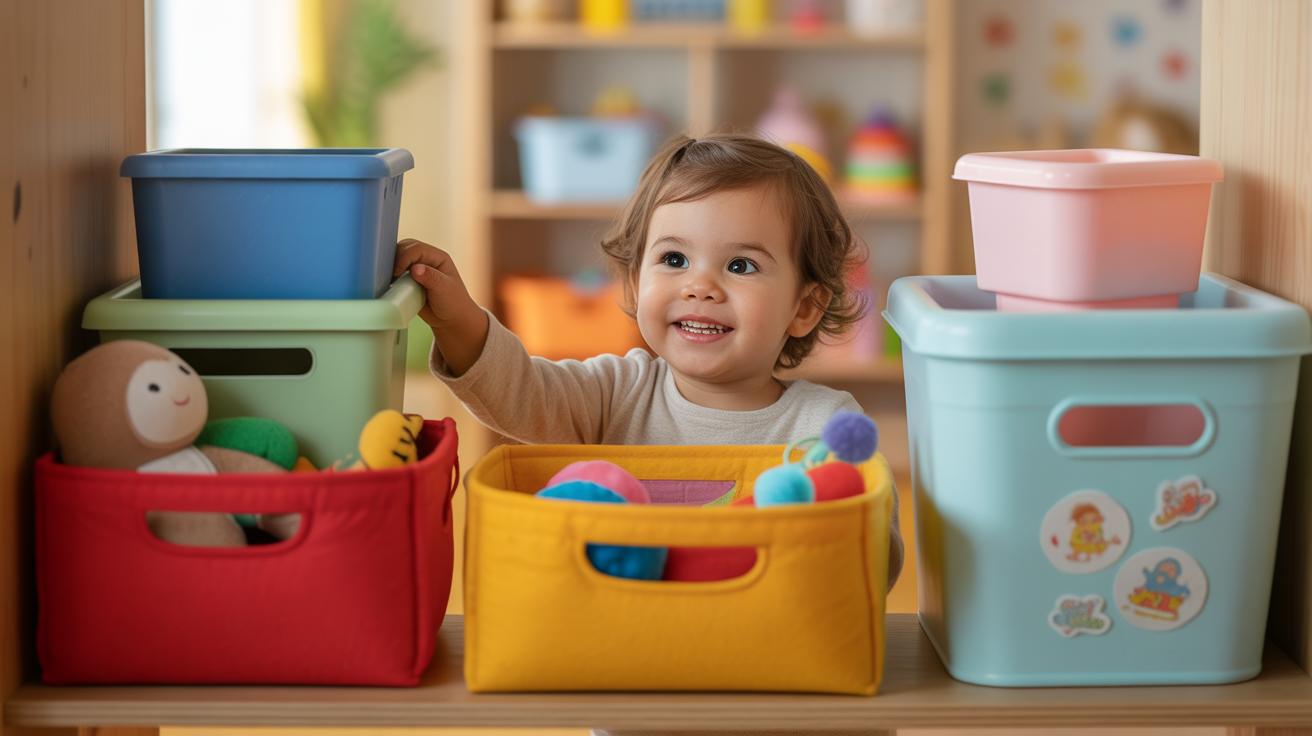
Teaching Sustainability to Children
Kids often have a natural curiosity and eagerness to learn, so crafting from recycled stuff can be a great way to teach sustainability early on. It shows them that what’s “waste” can actually become something useful or beautiful. This hands-on experience pushes the idea of reuse beyond just words. For example, turning old magazines into storage baskets or jars into mini planters helps them see waste differently.
When children create, they also develop a sense of responsibility towards their things and environment. You might notice they start asking more questions about where things come from or why some materials shouldn’t just be tossed. There’s no perfect lesson plan here—just doing it, making messes, and trying again often works best.
Sharing Your Crafting Journey
Once you’ve made some recycled crafts, sharing them can be surprisingly rewarding and maybe even motivating. You could post photos online, join a neighborhood crafting group, or bring your projects to local community centers. Showing off what you’ve made helps others see what’s possible—it’s like planting small seeds of change.
This sharing doesn’t have to be polished or professional. Often, the honest stories about mistakes, challenges, or funny mishaps inspire others more than flawless results. Have you ever hesitated to start because you thought your skills weren’t good enough? Sharing your journey, imperfections included, might be what encourages someone else to pick up those materials and give it a try.
Conclusions
Recycled crafts offer a way to keep your home tidy using materials you already have. By choosing recycled storage ideas, you help reduce waste and use resources wisely. This approach supports a cleaner environment and a more organized living space.
Start small with easy recycled storage projects and watch how they improve your home. The more you create with recycled materials, the more you contribute to a sustainable future. You can enjoy a neat home and feel good about protecting the planet.