Introduction
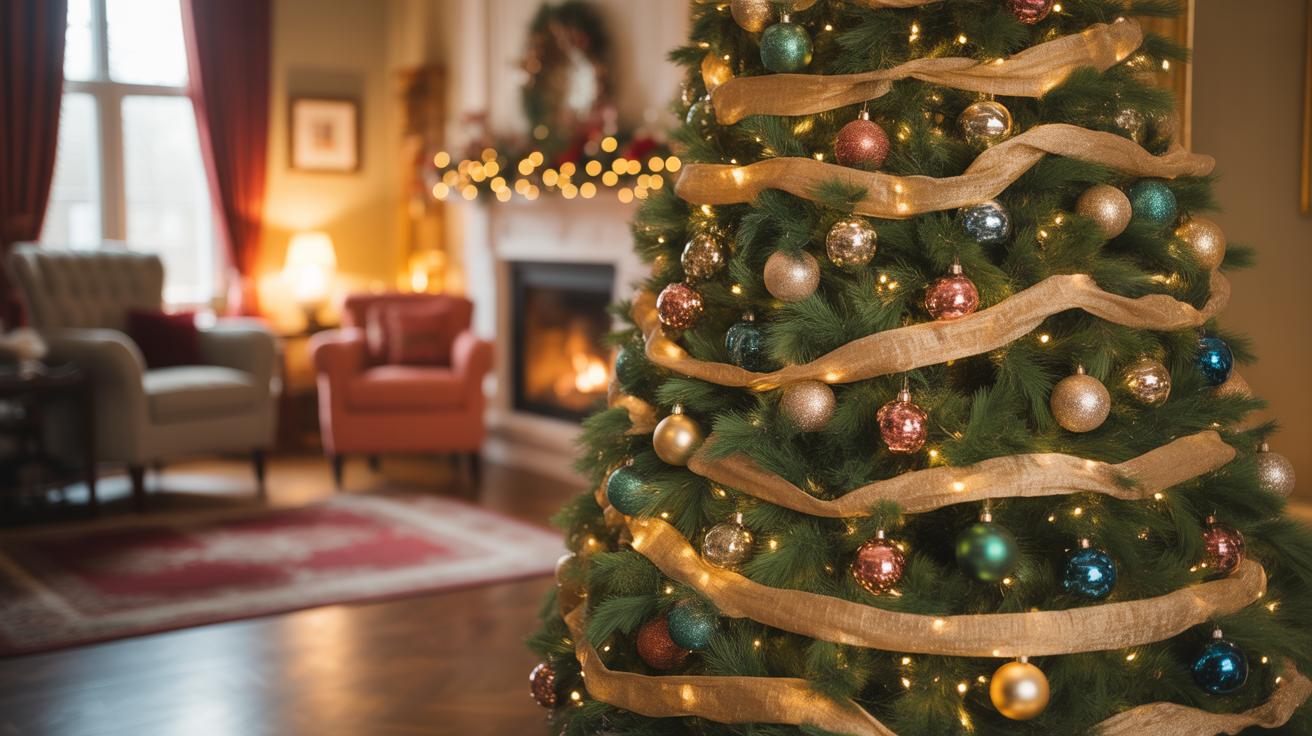
Using ribbon on your Christmas tree is an easy way to add charm and grace. It brings a new look that catches the eye. Many people decorate with ornaments and lights but adding ribbon takes your tree to the next level. It can make a simple tree look luxurious and stylish without much effort.
This article helps you learn how to choose the best ribbon and ways to place it beautifully. You’ll find step-by-step advice to create a polished holiday centerpiece. Let’s explore practical tips to decorate your tree with ribbon for an elegant style you will love.
Understanding Ribbon Types for Christmas Trees
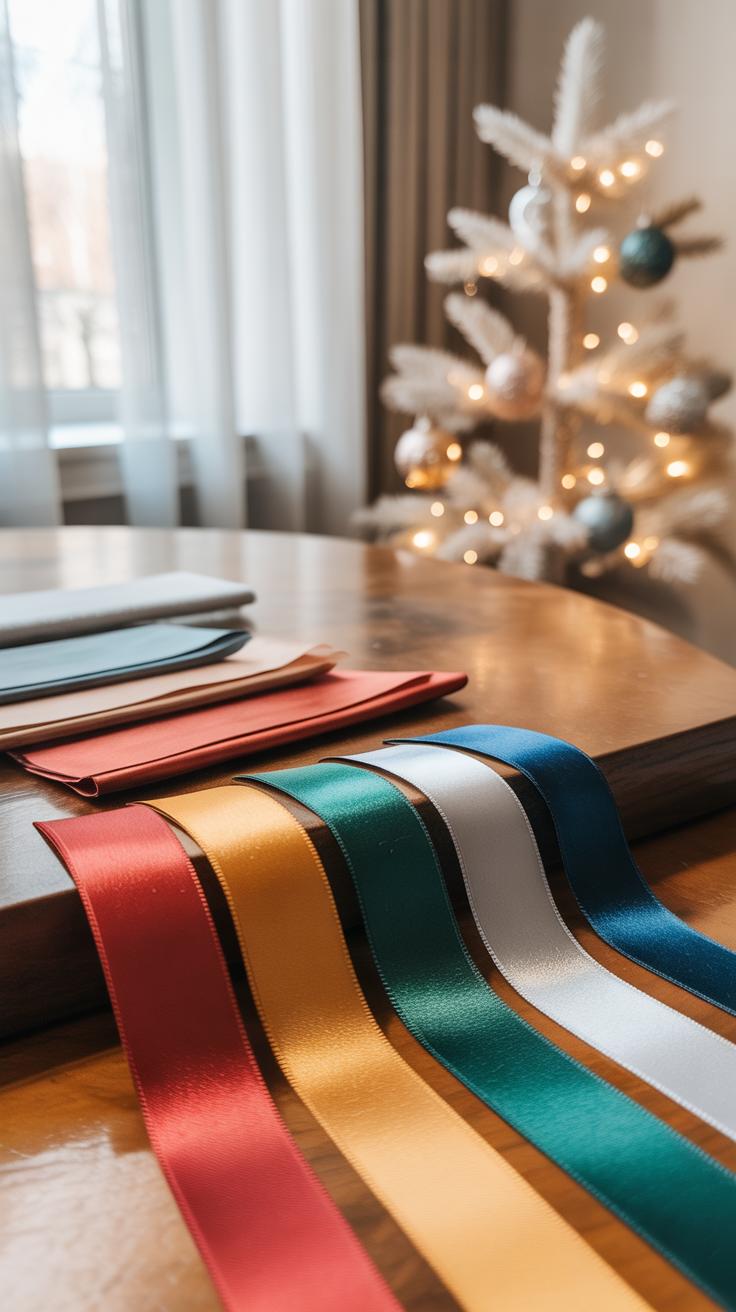
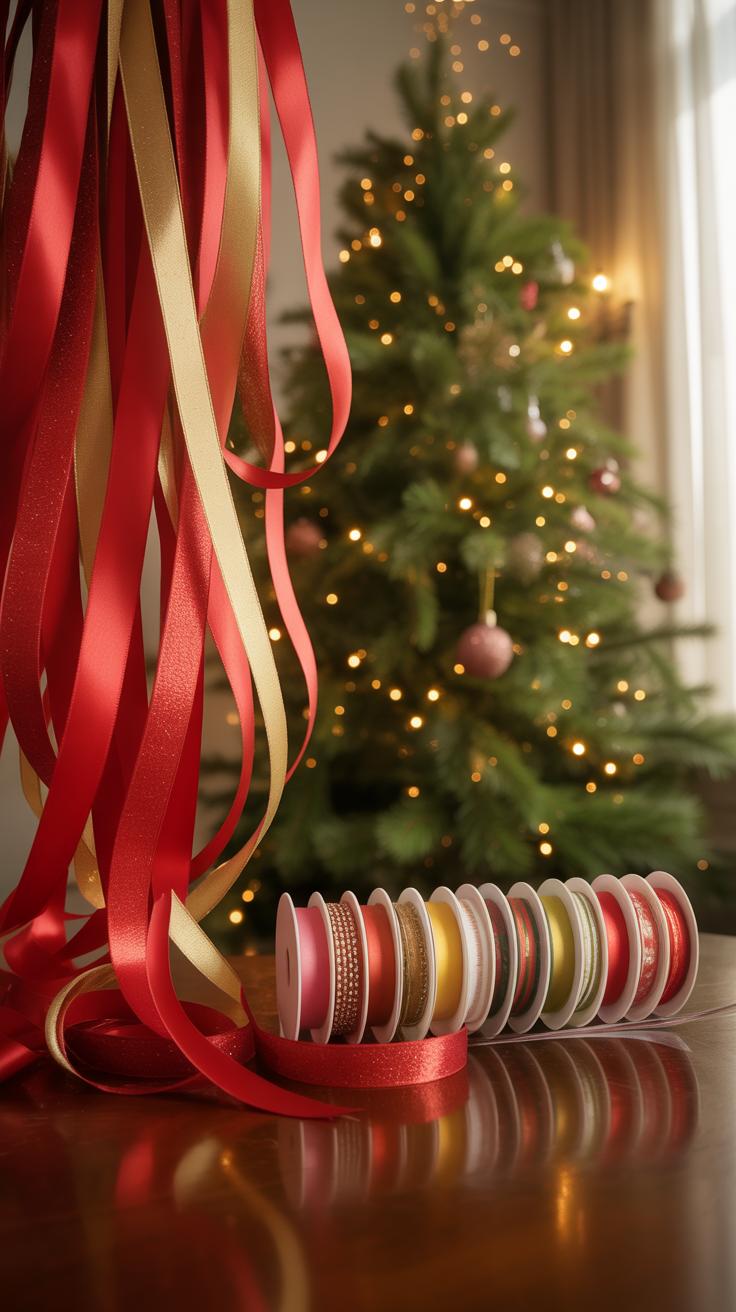
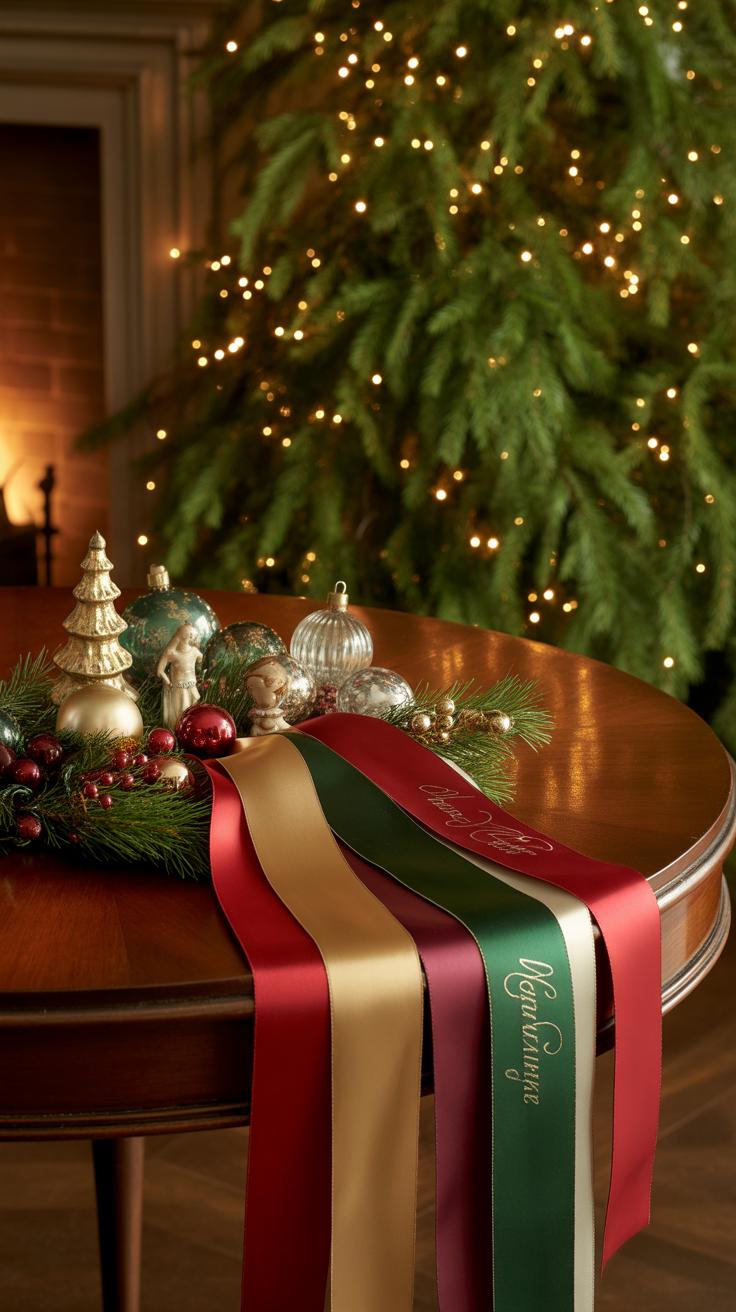
When it comes to decorating your tree with ribbon, the type you pick really matters. Ribbon isn’t just an afterthought—it shapes the whole look, sometimes in subtle ways you might not notice at first. Let’s talk about the common ribbon materials you’ll find and where they fit best.
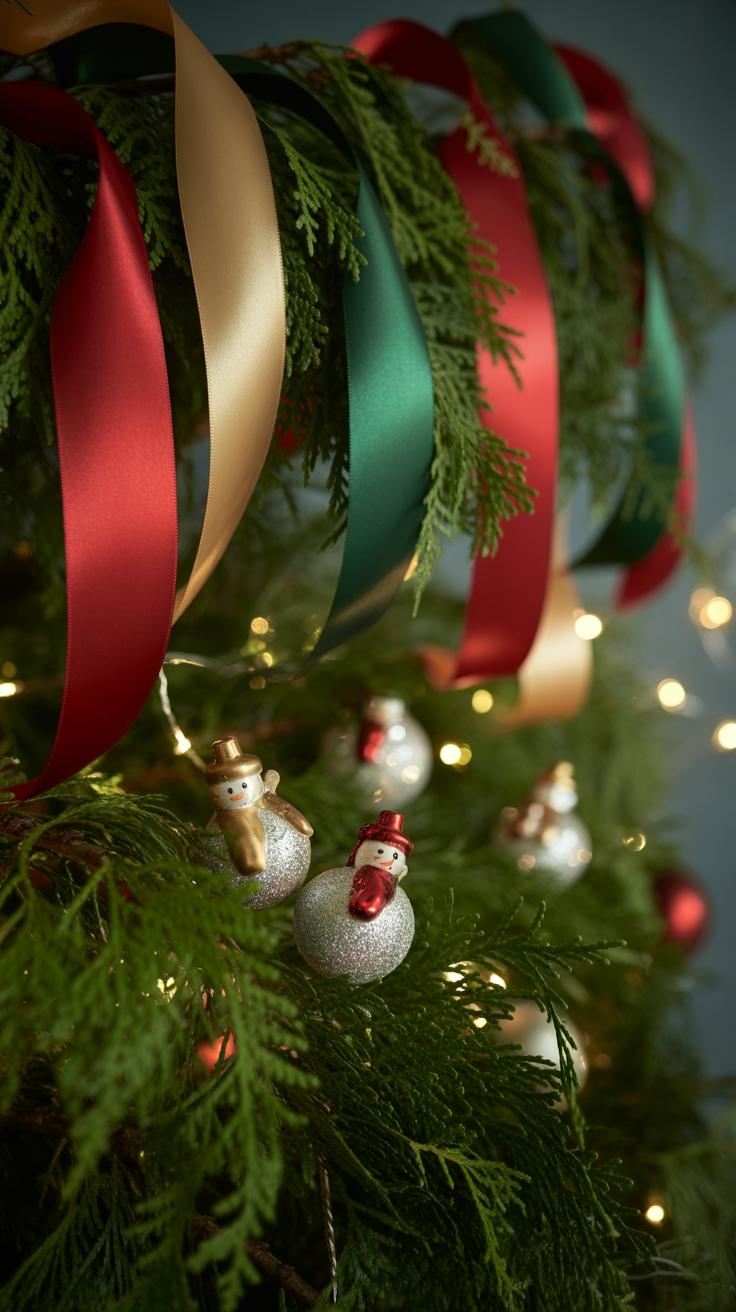
Satin ribbons bring a shiny, smooth surface that catches the light beautifully. They feel delicate and soft but aren’t the best at holding shape unless they’re wired. I’ve used satin on sleek, modern trees where that shimmer adds just enough elegance without overpowering the ornaments.
Velvet ribbons offer a totally different vibe. Thick, plush, and rich-looking, they add a cozy feeling to your tree. Velvet feels more substantial, which works great if you want a warm, layered effect. They tend to droop unless wired, so they need some structure support.
Burlap ribbons give off a natural, earthy tone. The texture is rougher and more rustic, not polished or fancy. I find burlap perfect for farmhouse-style trees or casual, outdoorsy themes. They’re less about shine and more about grounded simplicity.
Wired ribbons, no matter the material, stand out because they hold shape. You can twist, loop, or fan them, and they’ll stay put. That’s why they’re popular; you can create volume and movement without the ribbon falling flat. Still, not every wired ribbon looks good on every tree—it depends on the type and color.
Matching ribbon to your tree style is tricky. Traditional trees often call for velvet or satin to support the warm holiday feel. Contemporary or minimalistic trees might do better with satin or sheer wired ribbons, which keep things light. Rustic trees often benefit from burlap or wired burlap blends that enhance the natural look. Picking the right ribbon material can either lift your theme or clash with it. So, think about your overall vision before deciding.
Selecting Ribbon Colors to Enhance Your Tree
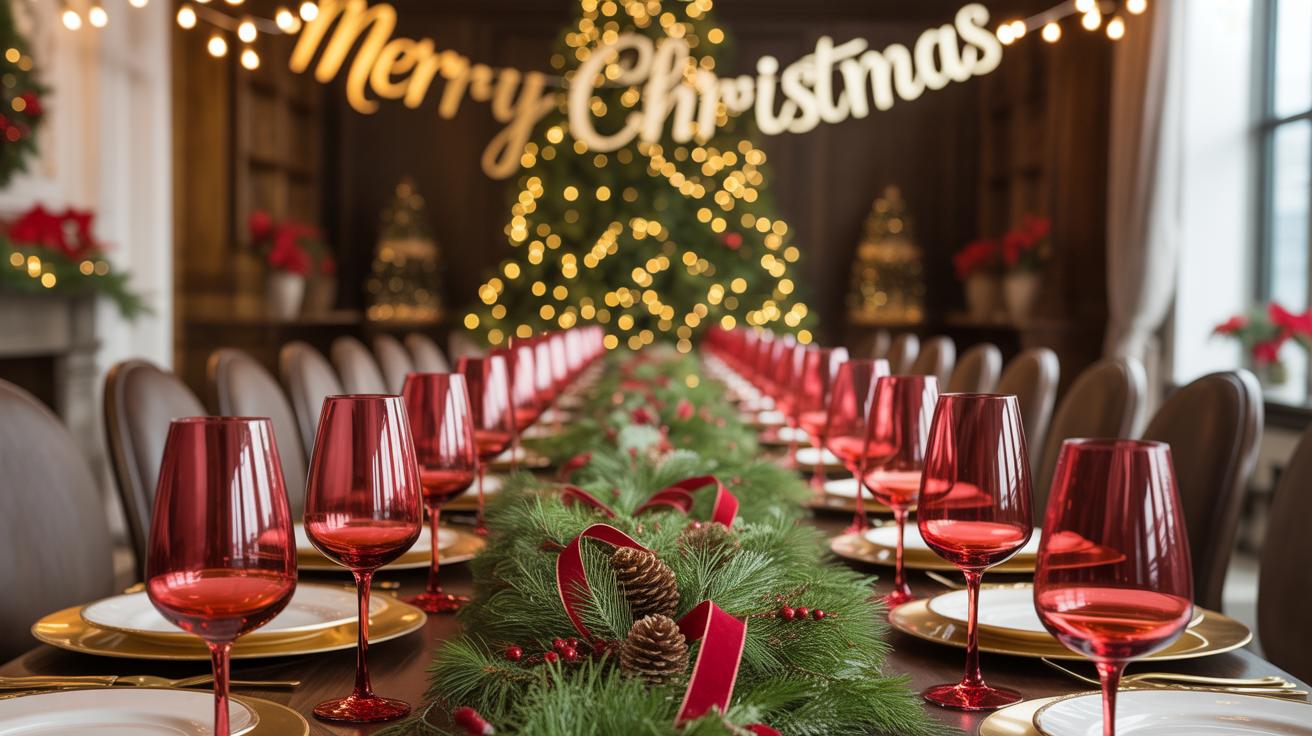
Choosing ribbon colors is more than just picking what looks pretty at first glance. It’s about understanding how those colors play off your ornaments and the room itself. You want harmony, but a bit of contrast can really make things pop. Think about the colors already in your decorations—are they mostly warm tones like golds and reds or cooler ones like silver and blues? Matching ribbons to these tones can pull your tree together, but sometimes, a subtle contrast creates depth and interest that a single palette might lack.
Try to look beyond the tree. What’s the main color scheme in your room? If your walls and furniture are neutral, vibrant ribbons can become focal points. But if your décor is already busy, softer shades might work better to avoid clashing.
Picking ribbon colors based on your chosen theme also matters. For example:
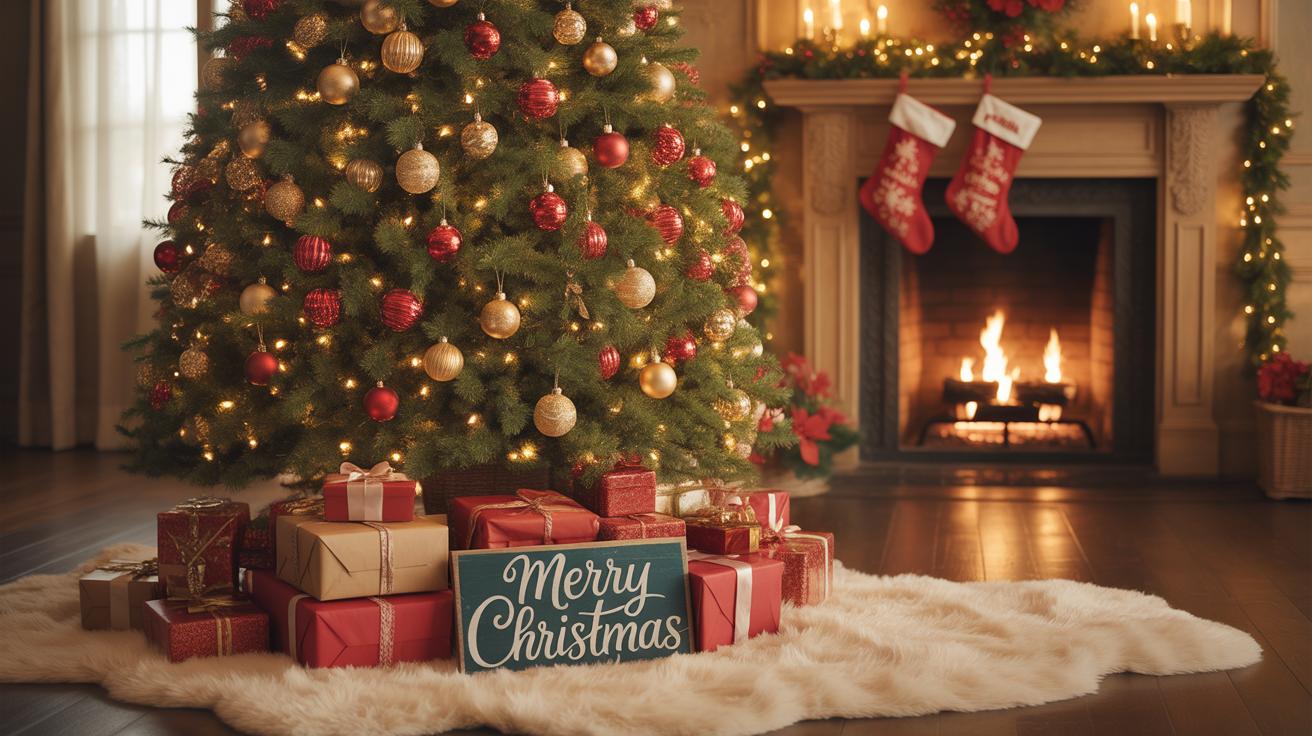
- Classic red and gold ribbons go well with traditional, nostalgic ornaments.
- Silver or white ribbons pair nicely with minimalist or icy themes.
- Deep greens or jewel tones add richness to rustic or nature-inspired trees.
Contrast can sometimes throw you off—brown burlap next to vivid red? Strange but often stunning. The trick is using it thoughtfully so ribbons don’t just fade into the background or fight for attention. What kind of impact do you want? Quiet elegance or bold flair? Consider that before you settle on your colors.
Preparing Ribbon for Decorating

When it comes to using ribbon on your Christmas tree, preparation makes a real difference. Start by deciding how long each piece should be. For instance, if you want to create big, full bows, cut longer lengths—think 18 to 24 inches or even more. Smaller loops or ruffles might only need 6 or 8 inches. I often find myself guessing first, then trimming, since it’s tricky to get it perfect on the first try.
Measuring properly can feel a bit vague. You might want several small loops on one branch but large spirals down the trunk. A good way to estimate is to loosely drape the ribbon along where you plan to place it, then cut with a forgiving margin. It’s better to have too much than too little, especially if you want to tweak shapes later.
Once cut, you can start forming shapes. Bows are classic—fold the ribbon back and forth, then pinch the center. You might use wire or twist ties to hold them in place. Loops can add volume when stacked or layered. I sometimes twist the ribbon before looping to add an unexpected texture that catches the light differently. Ruffles take a bit more patience. Gather the ribbon carefully and gently bunch it, creating soft, uneven waves. It’s a delicate balance between too tight and too loose.
Spirals are another interesting option. You can twist the ribbon around a pencil or your finger, then release it to coil naturally before positioning it on the tree. These shapes add dimension and keep things from looking flat or predictable. Have you tried mixing these forms or combining different widths of ribbon? It creates a subtle complexity that’s worth experimenting with.
Techniques to Attach Ribbon on Tree Branches
When it comes to placing ribbon on your Christmas tree, there are a few ways to achieve different looks. You might try weaving, looping, or draping the ribbon on the branches, each giving a unique effect. It can be tempting to stick with one method, but mixing them up often makes the whole thing feel more natural and elegant.
Weaving Ribbon Through Branches
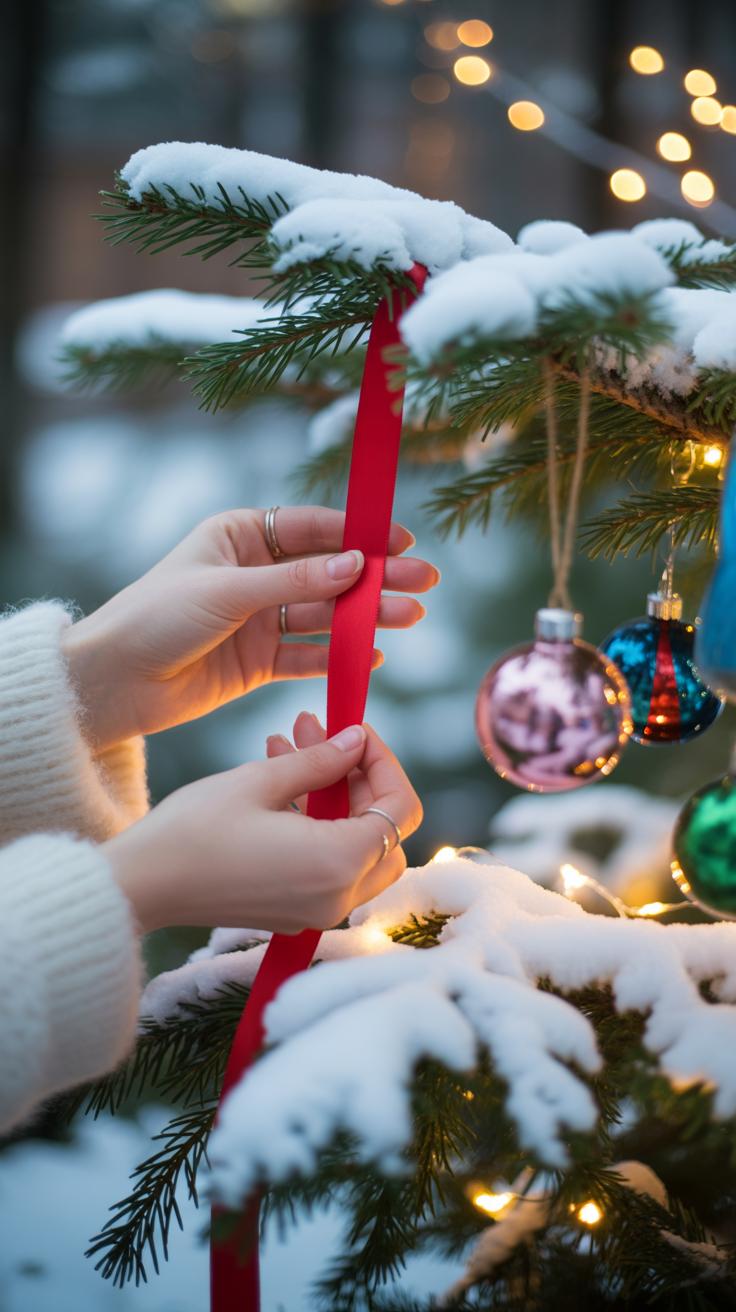
Weaving ribbon through the branches offers a fuller, more textured appearance. To do this, start at the top of the tree by tucking the end of your ribbon into a sturdy branch. Then, gently wrap the ribbon around the branches horizontally or diagonally, slipping it in and out as you move downward. The goal is to let the ribbon peek through naturally, not just hang on the outside.
Keep the ribbon snug but not too tight—you don’t want to bend branches unnaturally. It helps to use a pretty wide ribbon for this technique so the coverage feels substantial. I usually stop every few feet to adjust the spacing and make sure the ribbon doesn’t bunch awkwardly or slip off. Sometimes the branches near the middle or bottom are less dense, so a little extra tuck-in can make the ribbon appear seamless.
Draping Ribbon for Soft Flow
Draping ribbon loosely is great when you want a relaxed, flowing look. Here, you let the ribbon cascade gently from one branch to another, almost like a soft waterfall. Start by anchoring the ribbon at the top of the tree or on a strong branch. Then allow it to hang down and swoop around bigger branches below.
Securing draped ribbon can be tricky. Tie it gently at certain points to keep the flow from getting too messy—think of these ties as soft stops rather than tight knots. Sometimes slipping the ribbon around thicker branch bases also holds it in place. If the ribbon feels too stiff, it loses that natural waviness, but too loose and it might slip right off. I tend to tweak the draping until it looks just right, which usually takes a couple of tries.
Adding Ribbon Bows and Accents
Making ribbon bows that hold their shape on a Christmas tree isn’t as tricky as it sounds. Start with a length of ribbon about 12 to 18 inches, fold it into two loops like a classic bow, and then pinch the center tightly while tying a small piece of floral wire or twist tie to secure it. The wire keeps everything in place without slipping off branches. It might take a couple of tries to get the loops even, but that’s normal—sometimes a little asymmetry adds character.
Once you’ve got the bow tied, gently fluff the loops for fullness. You don’t want perfectly symmetrical either; a bit of unevenness makes the decoration look natural. If the ribbon is wired, you can also bend the tails slightly to fit the branch curves.
Adding accents with these bows works best when you think about the tree’s overall shape. Place bows sparingly at focal points—perhaps near clusters of ornaments or where the lights focus. The goal is to draw attention subtly rather than overwhelm.
- Try placing bows at the mid-level to break up empty spaces.
- Accent the upper sections to guide the eye up toward the tree topper.
- Use smaller ribbon bows lower down; it helps ground the look.
- Balance shiny ribbons with matte ones for visual interest.
It’s tempting to cover every branch, but less can be more here. Slowly step back as you place the bows and see if the tree feels balanced or weighed down on one side. It doesn’t have to be perfectly symmetrical — sometimes a couple of accents on one section and fewer on another make the tree look more dynamic and inviting. How do you decide where to put each bow? Trust your instincts, then adjust as you go. The process can be surprisingly relaxing.
Combining Ribbon with Other Decorations
Layering Ribbon with Lights
Placing ribbon alongside Christmas lights can really change the mood of your tree. You don’t want to just toss ribbon on top of lights or vice versa; instead, try weaving them together gently. I’ve found that starting with the lights first works best. Once the tree is lit, add ribbon in loose spirals or cascading loops, allowing the glow of the lights to shine through the spaces in the ribbon.
Some ribbons, especially those with a bit of shimmer or sheer qualities, reflect light in subtle ways. This can create a soft, layered effect that’s quite nice. But be careful—too thick a ribbon placed directly over a light can block the sparkle, and that might feel a bit off. So, spacing is key. Consider pushing the ribbon slightly away from dense clusters of lights. It’s almost like giving each element its own breathing room.
Have you ever noticed how the lights nearly peek out from behind delicate ribbons? It can feel like the ribbon is framing the light rather than covering it. That little detail adds depth and makes the whole tree more interesting to look at, especially when viewed from different angles throughout the day.
Blending Ribbon with Ornaments
When working with ornaments, ribbon can do more than just fill gaps. You can actually use ribbon to highlight certain ornaments, drawing the eye without stealing the show. One method is to loop ribbon around the ornament hooks or tie small bows just above or below a special bauble. That way, the ribbon acts like a soft frame.
Another approach is to interlace thin ribbon strands between clustered ornaments. This creates a subtle visual link between them, making the arrangement feel intentional rather than random. But here’s the tricky bit: if the ribbon is too bold or wide, it might overshadow delicate or detailed ornaments, which defeats the purpose.
On the other hand, if your ornaments are large and simple, pairing them with wider, textured ribbons can enhance their impact. It’s almost like the ribbon gives them a stage. You might want to test what feels right by stepping back and seeing how your eyes move across the tree. Does the ribbon guide you or distract?
Garlands and other décor can also team up well with ribbon, but maybe that’s a topic for later, or at least a careful look when you’re decorating. The balance between all these elements is what makes your tree look intentional rather than cluttered or forced.
Maintaining Ribbon on Your Tree
Keeping ribbon neat on your Christmas tree can feel tricky once the holiday buzz kicks in. Ribbons tend to shift or droop, especially when the tree gets bumped or the house warms up. To hold that elegant look, you want your ribbons to stay crisp and in place.
Securing Ribbon to Prevent Slippage
One straightforward way is to use thin wire or twist ties, discreetly hidden behind branches. They act like little anchors, holding the ribbon firmly without being noticeable. Clips made for decorations also work well. I’ve found that wrapping a soft wire around a loop or fold in the ribbon and then attaching it to a sturdy branch keeps things stable. It’s a bit fiddly sometimes, but it saves a lot of “readjusting” later.
Sticky tape usually won’t work well, since it can pull the fabric or leave marks. Instead, strategically threading ribbon through dense parts of the tree gives natural grip, but that’s only reliable if your tree is thick and full.
Taking Down and Storing Ribbon Safely
When it’s time to take everything down, treat your ribbon gently. Untie any knots or clips instead of pulling strands free. Rolling the ribbon loosely around a piece of cardboard or a spool prevents wrinkles. Avoid folding it too tightly—that often leaves creases that just won’t smooth out next year.
Store your ribbons in a dry, cool place. Plastic bins with a bit of breathing space help keep them dust-free and ready for another season. Some people wrap their ribbons in tissue paper to protect delicate fabrics, which I think is a good idea if you’re storing silk or velvet ribbons.
Ribbons left in tangled piles almost never survive. So while it may seem simple, a bit of careful storage is key to preserving their charm and usability year after year.
Creative Ideas with Ribbon on Christmas Tree
Ribbon on a Christmas tree isn’t just filler—it can shape the whole look if you use it creatively. One idea that always catches my eye is wrapping ribbon in spirals down the tree. Starting near the top and gently winding downward creates a flow that feels both natural and intentional. You want to avoid tight, rigid spirals; let the ribbon have some softness, so it moves with the branches rather than against them. This invites the eye to move along the tree, linking ornaments and lights together in a subtle way.
Another approach is creating cascading, waterfall-like ribbons. Here, you let ribbon strips fall loosely, layered on one another. It’s less structured than spirals and can lend a bit of drama or lightness depending on the ribbon’s width and texture. Think about mixing sheer and solid materials for contrast.
Then, there are the large statement bows. They instantly grab attention and break any monotony. Place just a few – maybe one near the top and a couple staggered lower down – to avoid overcrowding. Large bows can anchor your design, and their scale makes even simple ribbons feel grand. When I first tried this, I was surprised how much impact a well-sized bow could make without needing extra decor around it.
Personalizing Your Tree with Ribbon Choices
Choosing ribbon for your Christmas tree offers a chance to express a bit of who you are, beyond just decorating. Your favorite colors say something about you. Maybe you prefer deep burgundies or cool silvers, rather than traditional reds and greens. These choices make the tree feel like it belongs to you, not just the season.
Think about how certain colors connect with your mood or memories. Blue might remind you of winter’s quiet, while gold can feel warm and festive. Don’t hesitate to break away from what’s expected. After all, your tree is a canvas, and ribbon is a simple way to splash personality onto it.
Mixing ribbon styles can add layers of interest, even if that sounds tricky at first. Pair shiny satin with rustic burlap. Combine narrow stripes with wide solids. This contrast can draw the eye and give your tree depth. You might start cautious but end up surprised by how these mixes work together. It’s about experimenting, not perfection.
Here are a few ideas to get you thinking:
- Use a single color but different textures of ribbon to keep it subtle yet varied.
- Try overlapping ribbons of different widths for a casual, yet planned effect.
- Don’t be afraid to combine classic patterns like plaid with solid metallics for something unexpected.
Ultimately, the ribbons you pick should feel like they belong—and if they don’t, tweak and adjust until they do. It might take time, but that’s part of making the tree truly yours.
Conclusions
Ribbon adds a special touch to your Christmas tree. By choosing the right color and material, you can design a look that matches your home and taste. The methods to attach the ribbon help keep your tree neat and beautiful through the holidays. Feel free to try different patterns and widths to make your tree unique.
Remember, decorating is about your joy. Ribbon on your Christmas tree makes it easier to express your style with grace. Use the ideas shared here to make a tree that feels warm and elegant every holiday season. Enjoy the process and the lovely results.


