Estimated reading time: 14 minutes
Introduction
How to cut cultured marble is a crucial skill for DIY enthusiasts looking to customize marble installations in their homes, especially for areas like vanity tops and countertops. Cultured marble, known for its aesthetic resemblance to real marble, combines the beauty of natural stone with the resilience of manufactured materials, making it a popular choice for modern home improvements. However, cutting this material requires specific tools and techniques to maintain its elegant appearance and ensure precision. Tools such as a circular saw equipped with a carbide-tipped blade or an angle grinder are essential for making clean cuts without damaging the delicate surface.
When undertaking the task of cutting cultured marble, it’s important to work in a well-ventilated area or even outdoors to manage the marble dust. Preparing your workspace adequately by securing the marble piece with clamps on a stable surface can make a significant difference in the outcome. For those delving deeper into this project, accessing resources through a browser before proceeding is advisable—ensure JavaScript is enabled to explore how-to videos and tool reviews that can offer additional guidance. Whether trimming to fit a custom cabinet space or adjusting dimensions for installation, the right preparation and understanding of the material’s properties are key to achieving a professional-grade finish with minimal chipping.
Key Takeaways
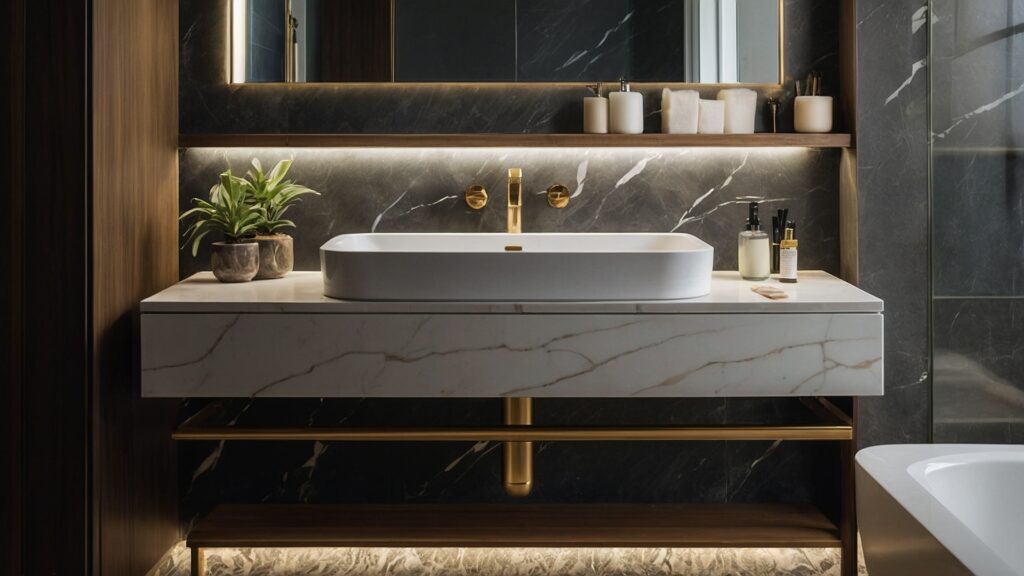
- The versatility of Cultured Marble: Cultured marble is not just beautiful; it’s also incredibly versatile. Perfect for vanity tops and countertops, it’s a popular choice for adding elegance to bathrooms and kitchens.
- Cutting Tools and Techniques: To cut cultured marble, you’ll need specific tools like a circular saw, an angle grinder, and the right blade. Using these tools carefully is important to avoid chipping and achieve a clean cut.
- DIY Friendly with Care: Cutting cultured marble is a DIY-friendly task, requiring attention to detail and care. Whether trimming a vanity top or shaping a countertop, knowing how to do it right makes all the difference in achieving that professional, neat look.
Understanding Cultured Marble and Its Unique Cutting Requirements
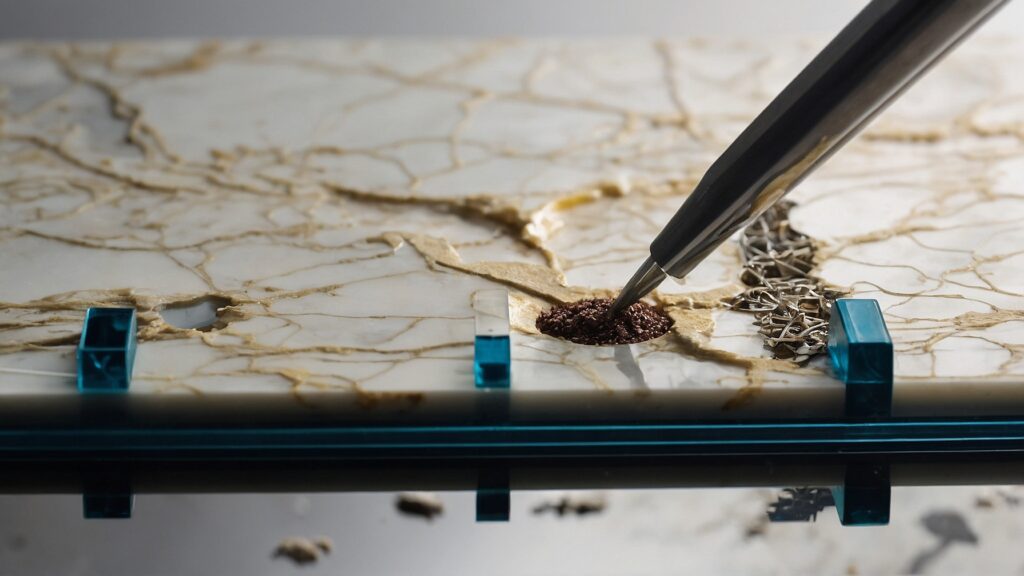
Understanding Cultured Marble and Its Unique Cutting Requirements involves recognizing the specific needs when working with this versatile material. Cultured marble, a blend of marble dust and plastic resins, presents a unique set of challenges and requirements for cutting, primarily due to its composite nature. To maintain its pristine appearance and avoid scratches, using a carbide-tipped saw is essential, as the abrasive qualities of marble dust necessitate a blade that can cut cleanly without causing damage. Additionally, when you may need to cut cultured marble for fitting or adjustments, it’s advisable to cut from the bottom side to minimize visible marks.
For intricate cuts or to trim pieces to size, ensuring you have the right grit and abrasive tools is crucial to prevent any undesired scratch marks. It’s also recommended to cut outside or in a well-ventilated area to manage dust. Resources like Fine Homebuilding Magazine or video shorts on home improvement websites can provide further insights into handling and cutting cultured marble, offering a treasure trove of tips from joining all access forums to reading up on code checks and exploring webinars for professional advice.
The Composition of Cultured Marble
Cultured marble is made by blending crushed marble with polyester resins and adding a color pigment. This mix is then poured into molds to create various shapes and sizes for bathroom and kitchen installations. This process makes it more uniform in appearance and color than natural marble, which can vary greatly.
Components and Properties of Cultured Marble
| Component | Property |
|---|---|
| Marble Dust | It provides a natural look and feel |
| Polyester Resins | Adds strength and durability |
| Color Pigments | It gives consistent color and unique patterns |
Cutting Challenges Specific to Cultured Marble
Cutting cultured marble requires specific techniques because of its unique composition. It’s not as hard as natural stone, but it’s not as soft as wood, either. You need to use the right type of blade – usually a diamond blade – to avoid chipping and to get a smooth cut. The cutting process also produces dust, so it’s important to work in a well-ventilated area and wear safety gear.
Cultured marble is a beautiful, durable, and cost-effective alternative to natural stone, made from a blend of marble dust and resins. Its uniform appearance and customizability make it a popular choice for home installations. However, cutting it requires special care and tools to ensure clean, precise cuts without damaging the material.
Essential Tools and Materials for Cutting Cultured Marble
In tackling the task of cutting cultured marble, having the essential tools and materials at your disposal cannot be overstated. A carbide-tipped saw emerges as the hero of this narrative, providing the precision and strength needed to cut through cultured marble without compromising the material’s integrity. This specific type of saw ensures a clean cut, vital for maintaining the smooth, appealing surface of the marble. For those looking to trim or make specific adjustments, employing a fence or guide alongside your saw can help achieve straight, accurate cuts. Moreover, preparing your workspace with a plywood base or a piece of wood underneath the cultured marble can protect both your tool and the surface beneath from accidental damage.
It’s also crucial to maintain a cleaner working environment, ensuring that your cutting tools are free from debris that could mar the marble’s finish. For enthusiasts seeking to shop the store for these specialized tools or delve deeper into the craft through DVDs, podcasts, or online resources, it’s advisable to ensure your browser supports JavaScript for a better experience. Engaging with these resources not only enriches your understanding but also enhances the quality of your work, making the journey from amateur to adept a smoother transition.
Importance of a Diamond Blade
Unlike traditional blades, a diamond blade embodies the pinnacle of cutting technology, designed to address the unique challenges cultured marble presents. Its edges, embedded with diamond particles, do not merely cut; they grind through the material with unparalleled precision. This method ensures that the integrity of the cultured marble is preserved, avoiding common pitfalls such as chipping or cracking that can mar its luxurious appearance.
Particularly when need to trim smaller or more detailed work—like fitting vanity tops or custom-shaped countertops—the diamond blade’s precision is non-negotiable. It’s essential for both professionals and DIY enthusiasts to make sure to use a diamond blade to maintain the aesthetic and structural integrity of cultured marble installations. By choosing the right tools, such as the diamond blade, and following best practices, you can ensure your cultured marble projects are completed to the highest standard, echoing the craftsmanship and quality that define fine homebuilding and renovation.
List of Recommended Diamond Blades:
- Continuous Rim Diamond Blade: Best for a smooth, chip-free finish.
- Turbo Rim Diamond Blade: Ideal for quick cuts, though slightly less smooth.
- Segmented Rim Diamond Blade: Good for rough cuts in a shorter time.
Other Necessary Tools and Materials
Besides the diamond blade, you’ll need other tools and materials for a successful cutting project. An angle grinder or a circular saw is perfect for cutting cultured marble. These tools offer the power and precision needed for straight and clean cuts. Additionally, you’ll need:
- Safety Goggles: To protect your eyes from dust and debris.
- Dust Mask: To prevent inhaling marble dust.
- Measuring Tape and Marker: For accurate measurement and marking of cutting lines.
- Clamps: To hold the marble in place while cutting.
- Work Gloves: To protect your hands.
Choosing the right tools and materials is crucial for successfully cutting cultured marble. A diamond blade is the most important tool, ensuring clean, precise cuts. Tools like angle grinders, circular saws, and essential safety equipment are also necessary to complete the task efficiently and safely. With these tools, you’re well-equipped to handle any cultured marble-cutting project.
Step-by-Step Guide to Cutting Cultured Marble
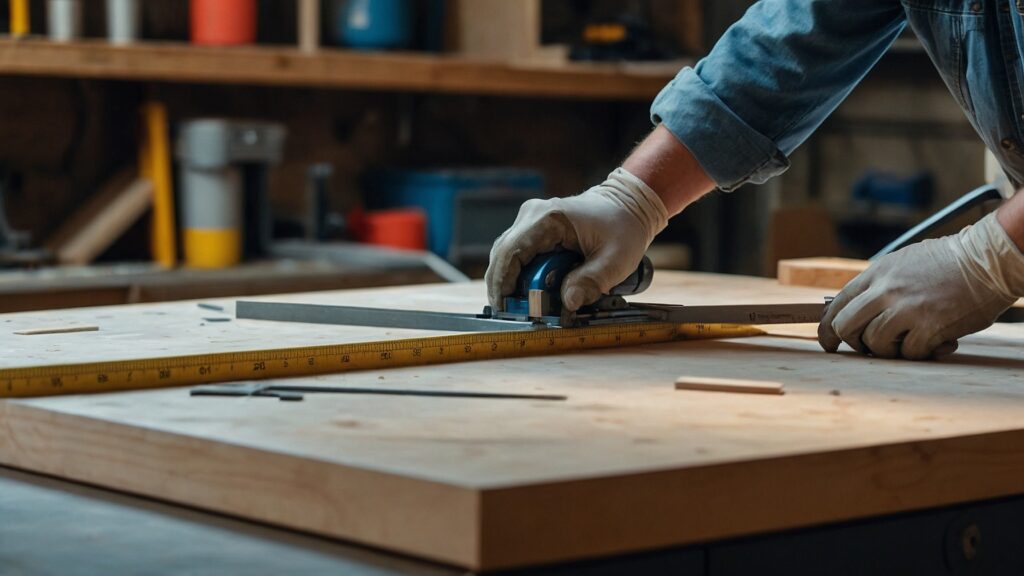
First, preparing your work area is critical; ensure you have a stable surface and that your saw will cut without hindrance. A carbide-tipped blade is essential for its ability to cut through cultured marble smoothly, minimizing the risk of damage. Before cutting, mark the area of the marble you need to trim, using a non-permanent marker for clear visibility. When cutting, always start from the side to get a cleaner edge on the visible side of the marble. It’s advisable to proceed slowly, letting the blade do the work, to prevent chipping or cracking. For intricate shapes or small pieces, consider using a hacksaw with a diamond blade for greater control. Throughout this process, safety cannot be overstressed; wearing protective eyewear and a dust mask is non-negotiable. Remember, taking your time not only ensures a professional-quality cut but also maintains the integrity and beauty of the cultured marble, reflecting the craftsmanship and attention to detail that elevates home projects from good to great.
Setting Up Your Workspace
Before you start cutting, setting up your workspace properly is vital. Choose a stable, flat surface to work on and ensure plenty of light. You’ll also want to ensure good ventilation, as cutting cultured marble can create dust. Secure the marble slab with clamps to prevent any movement while cutting. Safety is paramount, so wear protective gear like safety goggles, a dust mask, and gloves.
“Proper preparation of your workspace is half the battle won. Secure and well-lit conditions are essential for precision cutting,” says Joe Kasser, a professional marble craftsman.
The Cutting Process
- Measure and Mark: Measure the area where the marble will be installed and mark the cutting lines on the marble using a marker. Be as precise as possible.
- Install the Diamond Blade: Fit your circular saw or angle grinder with a diamond blade.
- Cut Along the Marked Line: Begin cutting along the marked line. Move slowly and steadily, letting the blade do the work. Avoid pushing too hard, as this can cause chipping.
- Cool the Blade: If the blade gets hot, pause and let it cool down. Overheating can damage both the blade and the marble.
- Finish the Cut: Once you’ve cut through the marble, gently sand the edges to smooth any roughness.
Cutting cultured marble requires careful preparation and the right tools. You can achieve clean, precise cuts by setting up a stable workspace and following the measured steps for cutting. Safety is crucial, so take your time and work with care to ensure a successful and safe cutting process.
Tips for Smooth and Precise Cuts in Cultured Marble
Achieving smooth and precise cuts in cultured marble is key to maintaining its beauty and functionality, especially for vanity tops and countertops. With expert tips, you can enhance your cutting technique, making flawless finishes every time.
Techniques for Reducing Chipping
Chipping can be a major concern when cutting cultured marble. To reduce chipping, use a high-quality diamond blade designed for marble. Make sure the blade is sharp and in good condition. Begin your cut with a gentle scoring pass, which creates a shallow cut line. This helps guide the subsequent deeper cuts and reduces the likelihood of chipping. Maintaining a steady, controlled pace while cutting; rushing can lead to mistakes and unwanted chips.
Dean Mutia, a seasoned marble cutter, advises, “Always cut cultured marble with a steady hand and sharp blade. A light initial scoring pass can make a huge difference in reducing chipping.”
Using the right blade and technique is crucial to getting smooth and precise cuts in cultured marble. A gentle scoring pass to start and a steady hand during cutting can significantly reduce chipping, ensuring a clean, professional finish. Patience and the right tools are your best allies in achieving flawless cuts.
Common Mistakes to Avoid When Cutting Cultured Marble
Cutting cultured marble requires a mix of precision and caution. Even experienced DIY enthusiasts or professionals can make mistakes. However, being aware of these common errors and knowing how to avoid them can make a big difference in your project.
Overcoming Common Cutting Challenges
- Using the Wrong Blade: One of the biggest mistakes is using a regular saw blade instead of a diamond blade. A diamond blade is designed to cut through the hard surface of cultured marble without causing damage like chipping.
- Rushing the Cut: Another common error is rushing through the cutting process. Cultured marble requires a slow, steady approach to ensure a clean cut. Rushing can lead to uneven edges or even breakage of the material.
- Inadequate Measuring and Marking: Improper measuring and marking can lead to either too big or too small cuts. Always double-check your measurements and ensure your marking is clear and accurate.
Avoiding these common mistakes can greatly improve your experience of cutting cultured marble. Using the correct tools, particularly a diamond blade, taking time during the cutting process, and ensuring accurate measurements and markings are key to achieving perfect results. Patience and attention to detail are your best tools when working with cultured marble.
Expert Advice: Finishing and Installing Cut Cultured Marble
Once you have successfully cut your cultured marble for that perfect vanity top or countertop, the next steps are finishing and installation. These steps are crucial for ensuring the aesthetic appeal, longevity, and functionality of the cultured marble in your space.
Best Practices for Finishing
Finishing cultured marble involves key techniques to ensure a smooth, polished look. First, gently sand the cut edges with fine-grit sandpaper to smooth out any roughness or small chips. This makes the edges safer and prepares them for a seamless installation. Next, if necessary, apply a sealant to the cut surfaces, especially if they will be exposed to moisture, like in a bathroom setting. This sealant helps protect the marble and maintain its lustrous finish.
Case Study: A real-world example comes from a recent bathroom renovation project. After cutting the cultured marble to size for a custom vanity top, the contractor used a combination of sanding and sealing to prepare the marble for installation. The result was a seamlessly integrated vanity top that looked beautiful and stood up well to daily use and moisture exposure.
Finishing and installing cut cultured marble involves careful sanding of the edges and, if needed, sealing the surfaces. These steps ensure the material’s beauty and durability, especially in moisture-prone areas like bathrooms. With the right finishing techniques, your cultured marble installations can achieve aesthetic elegance and long-lasting functionality.
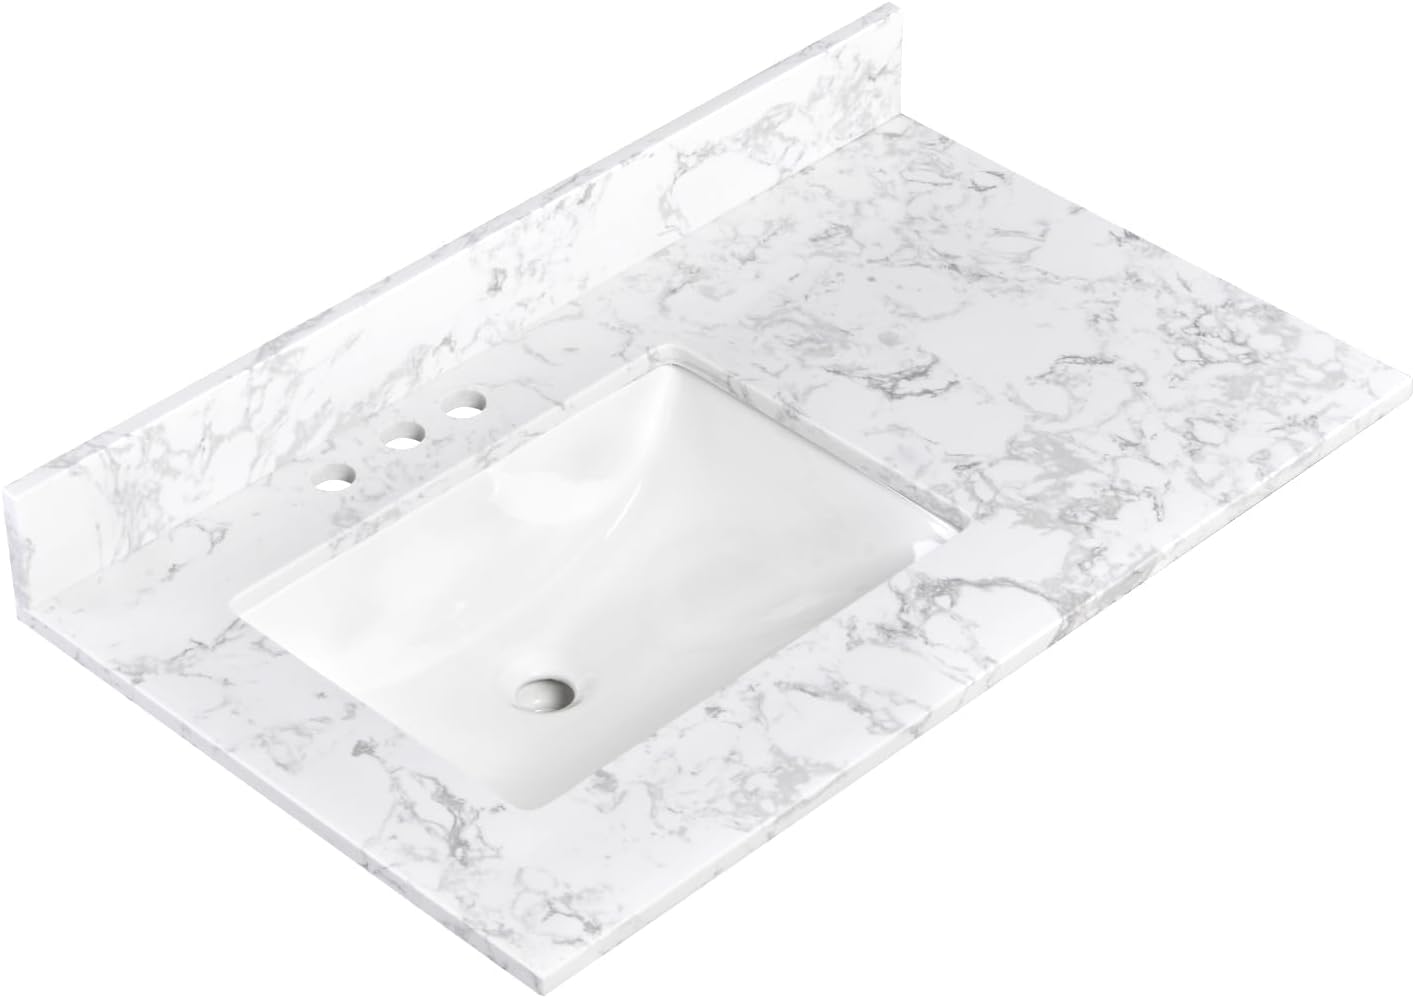
- White Engineered Stone Vanity Top with Sink
- Left Offset Sink,Vanity Countertop 8 Inch Faucet
- 3 Hole Spread with Backsplash
- (Not included Faucet)
Conclusion
Learning how to cut cultured marble effectively is key to achieving beautiful, lasting results in your home renovation projects. Whether you’re installing a vanity top or crafting a unique countertop, using the right tools like a masonry blade in a circular saw ensures precision and minimal damage to the material. As a DIY project, it can enhance both the functionality and privacy of your spaces. For the best results, consider subscribing to a newsletter or joining a discussion forum for ongoing tips and updates on cutting cultured marble vanity and other remodeling projects.
By employing a router and a belt sander, you can refine your craftsmanship, ensuring smooth and aesthetically pleasing finishes. If you encounter any issues with your tools, remember to check if JavaScript is disabled and please enable JavaScript on your browser before proceeding for better guidance online. Remember, taking these steps not only protects your investment but also transforms your home with a touch of elegance that like real marble, adds significant value and appeal.
James Dunnington leads the James Dunnington Collection, featuring five unique blogs: a practical Pet Care Guide, an enlightening Ancient History Blog, a resourceful Home Improvement Guide, a cutting-edge Tech Innovation Guide, and a strategic Online Money Making platform. Each site delivers valuable insights designed to empower and inform. For updates and more tips, visit our Contact Us page to sign up for our newsletter, ensuring you never miss out on the latest content from any of these dynamic fields.