Introduction
Wall hanging DIY ideas offer a smart way to add storage to your home without taking up floor space. By using your walls, you can create useful and decorative storage solutions that fit your style and needs. DIY projects let you customize storage, making your space tidier and more organized.
This article explores various wall hanging storage ideas. You will learn about different methods and materials to make practical storage units by yourself. These ideas focus on keeping your things in order while making your home look neat and welcoming.
Understanding the Benefits of Wall Hanging Storage
Using wall hanging storage can make a surprisingly big difference when you’re dealing with limited space. Instead of relying on bulky floor units, you free up valuable floor area, which instantly makes a room feel less cramped. This is especially useful in small apartments, tiny kitchens, or tight bathrooms where every inch counts.

Think about a narrow hallway cluttered with shoes and coats—a few simple wall hooks or shelves can clear that floor mess right away. Or consider a bedroom where a floating shelf takes the place of a bulky dresser. Your floor is no longer a no-go zone, making it easier to clean and move around.
Beyond saving space, wall storage helps keep your belongings visible and accessible. There’s something about having things out in the open, yet neat, that reduces the chance of losing track of stuff. You’re less likely to toss things here and there if you have a specific place for each item. Things tend to stay tidier when they’re in plain sight and easy to reach—this can cut down on stress, especially during busy mornings when you just need to grab your keys or mail quickly.
Sometimes I find it works best to mix hanging baskets, hooks, and slim shelves—a bit of variety keeps the organization practical without feeling too rigid. It’s almost like giving your walls a second job that they do quietly but well. Do you ever wonder why we don’t use our walls this way more often? It’s a neat trick that can really change how you live in a small space.
Choosing the Right Materials for Wall Hanging Projects
Picking the right material for your wall storage can be tricky. Wood often stands out because it’s easy to work with and brings a classic look. Pine, oak, and plywood are popular choices—each with a mix of affordability and strength. Pine is softer and cheaper, good for small shelves or hooks, while oak is tougher and lasts longer, though it costs more. Plywood offers versatility but may need sealing to avoid warping. Wood can handle weight well and gives a warm, natural aesthetic that blends with many decors.

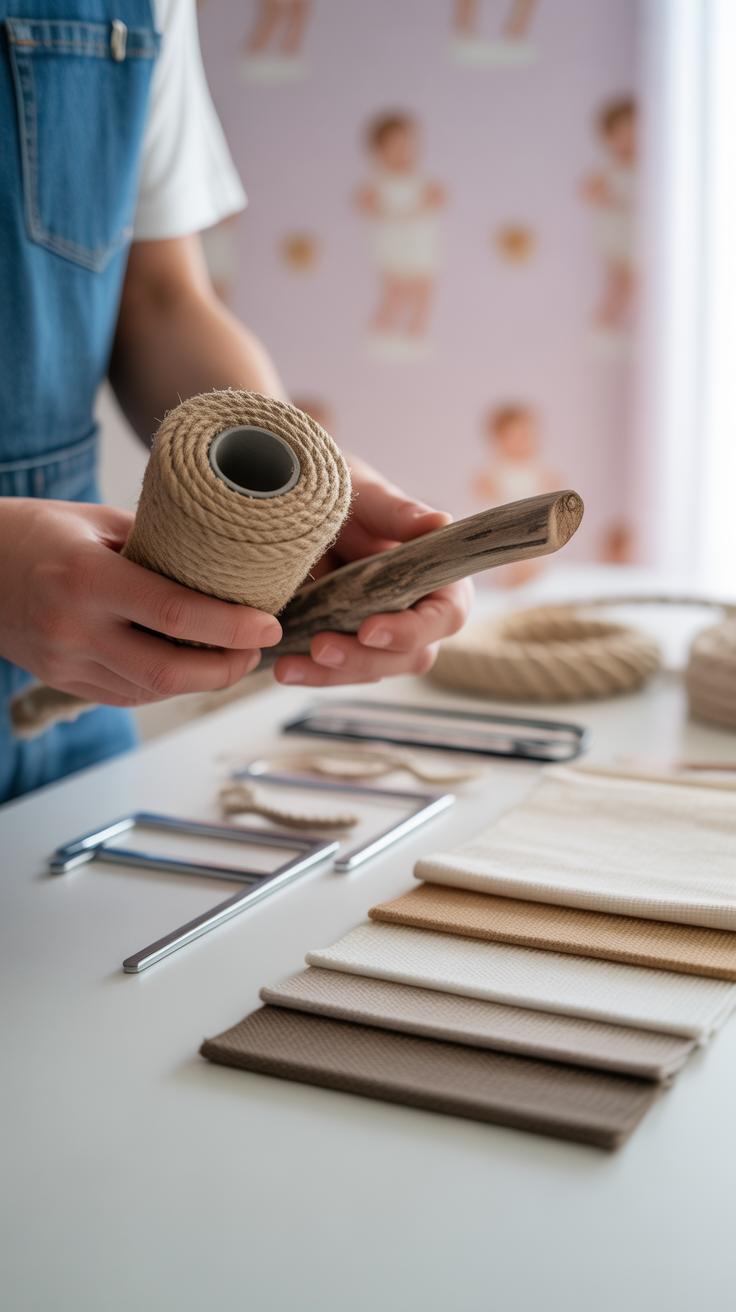
On the other hand, metal offers a different vibe. Metal brackets and rods support heavier loads without bending, especially useful for industrial-style shelves. Unlike wood, metal can be a bit harder to cut or drill unless you have the right tools. Still, its durability often justifies the effort. Then there’s fabric—think pockets or nets made from canvas or felt. Fabric is flexible and lightweight, perfect for organizing small items or soft goods. It won’t hold heavy things, but it adds a soft touch and can often be sewn or tacked up with minimal hardware.
Choosing materials sometimes feels like balancing cost, strength, and style. You might want to combine materials—wood shelves supported by metal brackets or fabric pouches hung from wooden rods. Each choice impacts how your project looks and how it performs. So, ask yourself, what will you store? How much effort do you want to spend shaping your materials? This might clarify your options more than any guide can.
Basic Tools and Safety Tips for Wall Hanging DIY
Essential Tools List
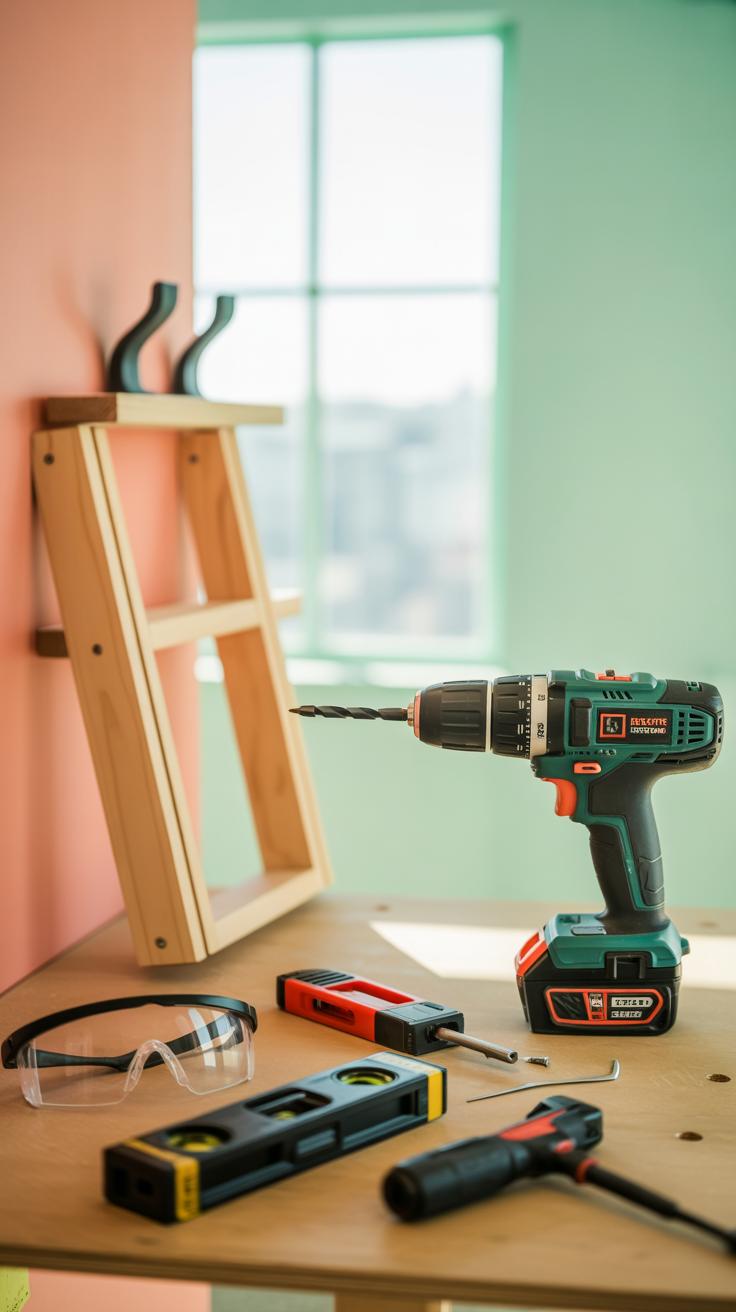
If you’re gearing up to attach shelves or hooks to your walls, certain tools will make your work smoother—and safer. A drill is essential for creating holes where screws and anchors will go. You need that power and precision; manual screwdrivers can work but often slow things down and tire your hands. Screws hold your items firmly, and anchors help distribute weight, especially in drywall or plaster walls where studs aren’t available.
Don’t forget a level—nothing beats a crooked shelf for bad vibes. This tool ensures your installation looks right and functions well. Measuring tape matters too; guesswork leads to mistakes, and you don’t want holes in the wrong spots.
Other helpful tools include a stud finder, which reveals the strong wooden studs behind your walls, and a pencil to mark measurements. Sometimes, pliers or a wrench may come in handy depending on your hardware. Each tool serves a distinct purpose—taking shortcuts rarely pays off, trust me.
Safety First with Wall Mounting

When it comes to securing shelves or hooks, safety should never be afterthought. Heavy items demand firmly anchored walls. If you skip proper anchors, your shelf could come crashing down. I once ignored this advice and paid for it with a broken plant pot (not fun, believe me). Using anchors rated for the weight you plan to hang is critical.
It’s generally risky to mount heavy storage on drywall alone without hitting a stud. Studs can carry more load but locating them isn’t always straightforward—hence the stud finder’s value. Also, avoid hurried drilling near electrical wiring or plumbing. You can’t always see what lies beneath the wall surface.
Wear basic protection—glasses to guard against dust, and keep a steady hand on your drill. Don’t rush. Secure installation isn’t just about strength; it’s peace of mind that your wall hanging will last without causing damage or accidents. Would you want your carefully crafted shelf tumbling down unexpectedly? I didn’t think so.
Creating Simple Wall Hooks for Hanging Items
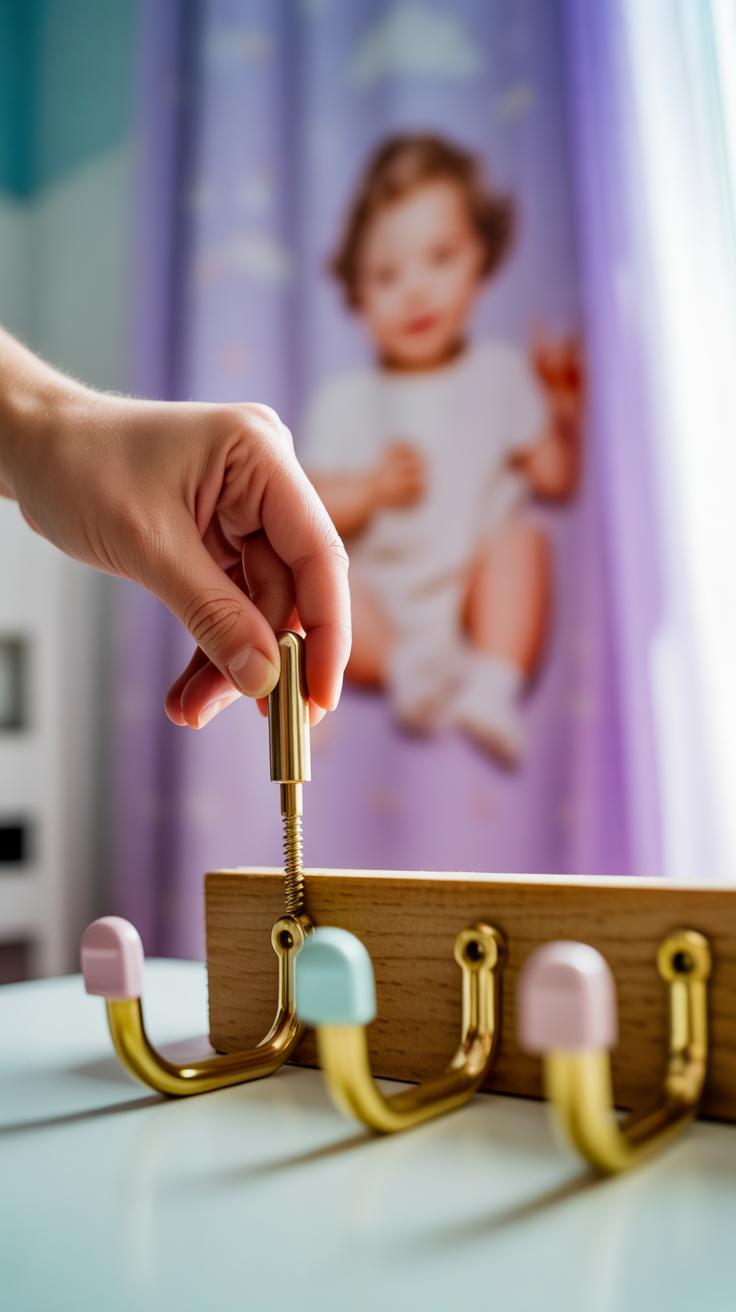
Making your own wall hooks can save space and add a personal touch to your home. When it comes to shapes, you don’t have to stick to the usual rounded or straight hooks. Think about simple geometric shapes like triangles or rectangles, or even something a bit more playful like branches or pegs. Materials can vary too—wood is classic, but metal or repurposed items can work well.
DIY Wooden Hooks

Start with a solid piece of wood, maybe leftover scrap from other projects. Cut small blocks or simple L-shapes about 3 to 5 inches long. Sand the edges smoothly to avoid splinters, then finish with a clear varnish or paint to match your style. Mounting is usually straightforward: use a stud finder to locate wall studs for secure screw anchors. If you can’t hit a stud, wall anchors work well—but be sure they’re rated for the weight you expect. I once tried just sticky hooks for winter coats, and they didn’t last more than a week.
Using Metal and Other Materials for Hooks
Metal hooks offer durability for heavier items like backpacks or umbrellas. You could buy simple steel hooks or repurpose old hardware—think coat hooks from discarded furniture or bent metal rods. When choosing metal, make sure the finish won’t rust and the hooks are thick enough to hold weight without bending. If you’re after something unique, old keys, utensils, or even drawer handles can turn into interesting hooks.
One thing that trips people up is underestimating the load on the hook. Don’t just pick the prettiest hook—check if it can carry the weight you need. If you want daily usability, stronger materials and solid wall attachment make all the difference.
Building Wall Shelves for Books and Decor
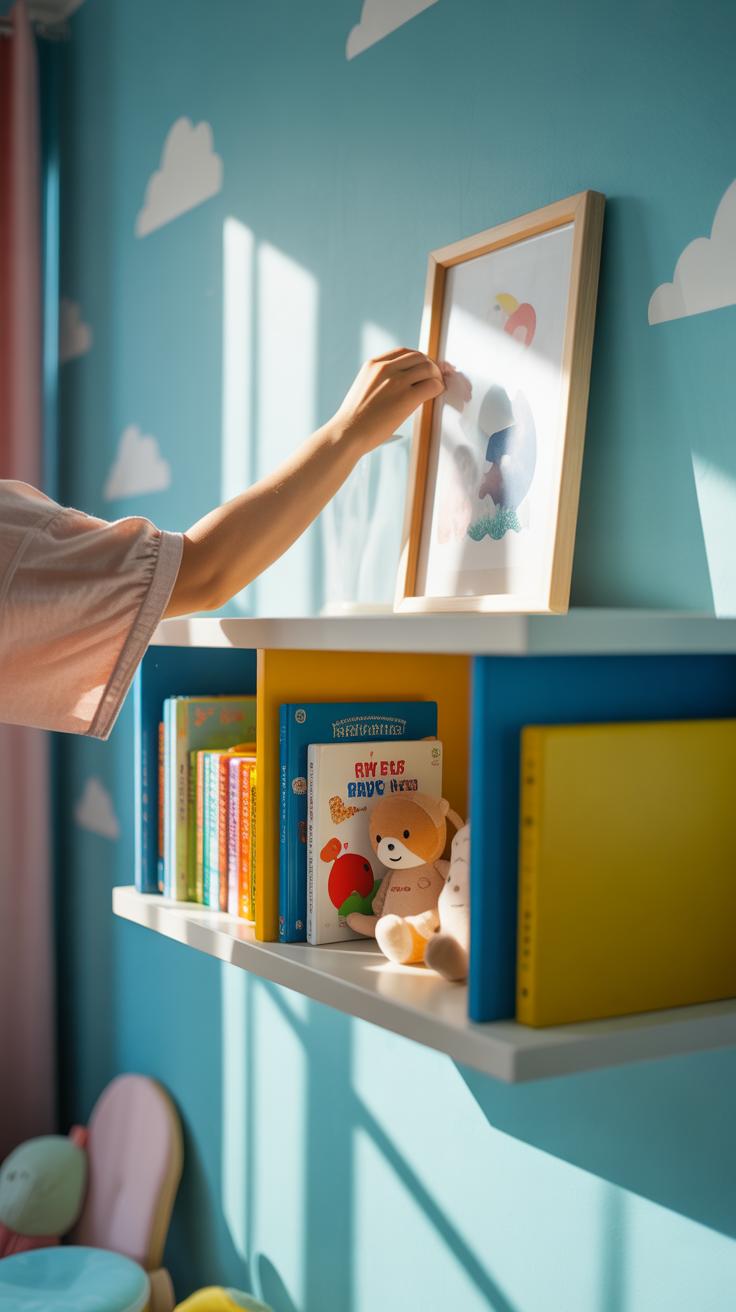
Designing and building wall shelves might seem straightforward, but getting the details right makes all the difference. Start by measuring the space you want to use carefully, thinking about what you plan to put on the shelves. Books need sturdier, deeper shelves, while decor items might do fine on narrower ones. Mark your measurements on the wall and double-check them — it’s easy to get a bit off, which messes up alignment later.

Cutting wood yourself lets you customize size and style, but if you’re not confident with a saw, pre-cut boards work just fine. Sand edges to avoid splinters, and consider painting or staining before mounting. Mounting can be tricky; for heavy loads like books, find wall studs or use strong anchors. Light decor shelves can sometimes get away with drywall anchors, but I tend to trust studs better.
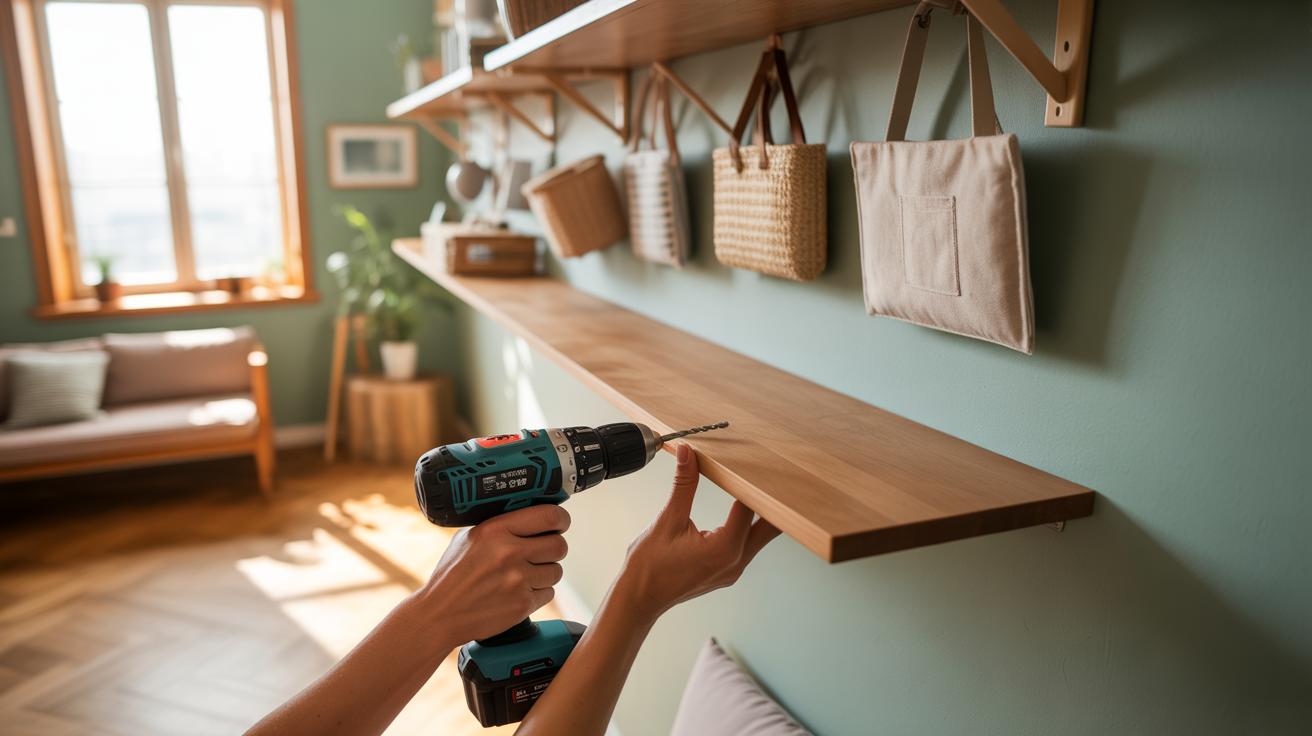
Straightforward Floating Shelves
Floating shelves hide their supports, giving a clean, modern look. To make them, you need a sturdy bracket fixed into the wall studs with a metal rod or cleat that slips into a hollow in the shelf board. Drill precisely, or the shelf won’t sit flush. The lack of visible brackets means less distraction from your displayed items, which I appreciate. Plus, they free up space underneath—you can tuck small items below without clutter.
If you want something simple but sleek, this method works well. Just make sure your brackets are rated for weight; floating shelves can fail when overloaded. I once overloaded a floating shelf with heavy books, and it bent—lesson learned.
Box and Corner Shelves
Box shelves are simple cubes you mount on the wall—great for displaying small objects or organizing knick-knacks. They can be made from scrap wood and painted to suit your décor. Mount them with small brackets or screws directly through the back panel. They add a bit of dimension to your walls, which can make a room feel interesting, not flat.
Corner shelves take advantage of often ignored wall corners. They’re handy for plants or small decor and can turn a dead space into something useful. Building these involves cutting wood pieces to fit the corner angle, often 45 or 90 degrees. Secure them firmly, since corners might bear weight in odd directions. I found that corner shelves reduce clutter on tables, which is a nice bonus. They don’t hold much weight, though, so keep that in mind when deciding what to store there.
Using Wall Hanging Storage for Specific Rooms

Kitchen and Bathroom Storage
In kitchens, wall-mounted storage can make a big difference—spice racks are a classic example. A simple wooden or metal rack hung near your stove keeps spices within reach, and you can even DIY one with small jars and labels. Utensil holders attached to the wall free up drawer space, so your counters stay clearer. You might hesitate, thinking a magnetic knife strip is just for pros, but it actually saves space and looks neat.
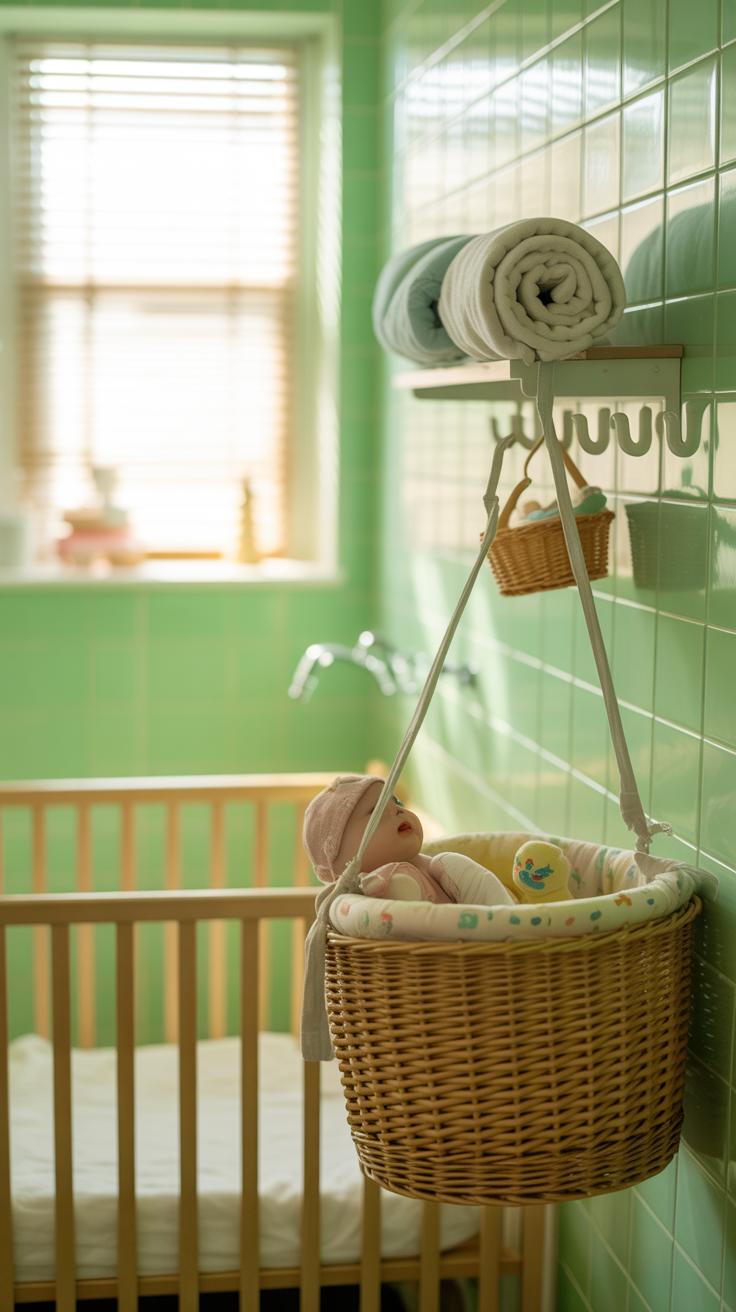
For bathrooms, towel racks or hooks mounted on walls are surprisingly handy. Open shelves can hold toiletries, but hanging baskets also work if space’s tight. Often overlooked: the inside of cabinet doors. Attach small racks or hooks there for extra storage—maybe for brushes or hair tools. You may find yourself wondering how you ever lived without these simple additions.
Bedroom and Garage Storage
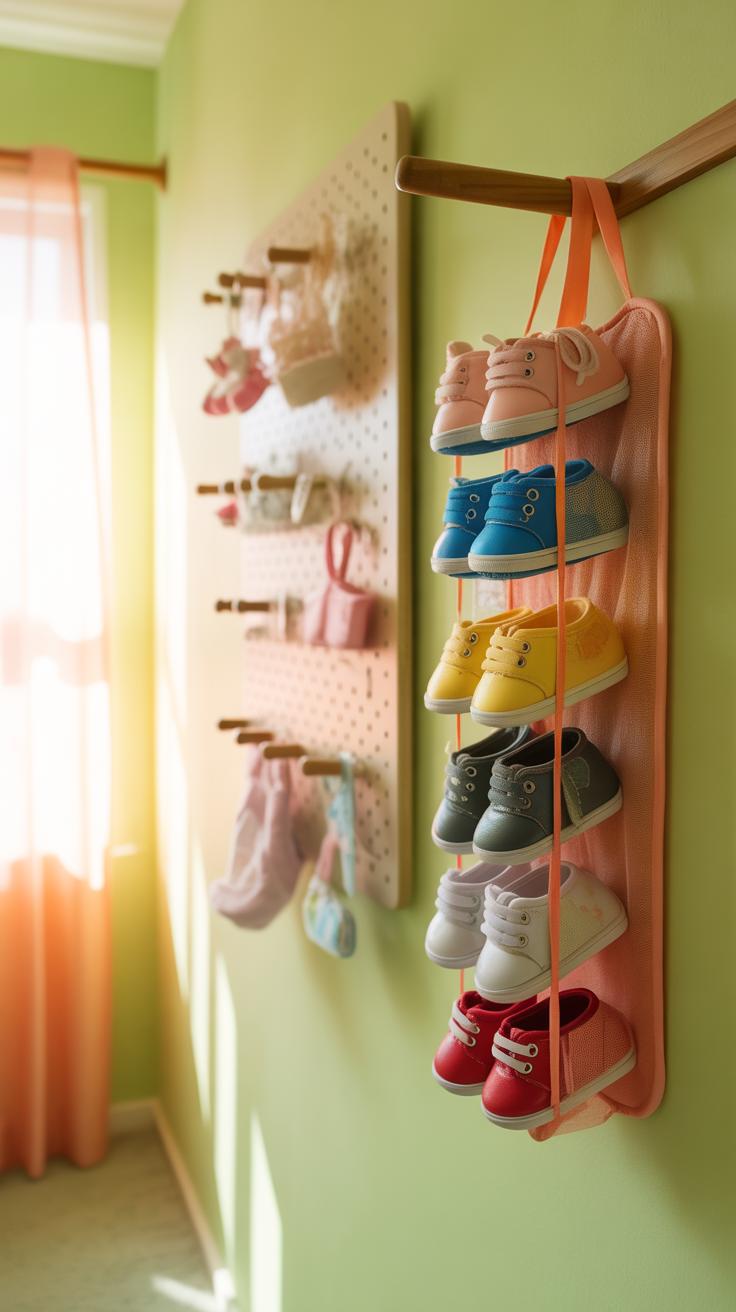
Bedrooms benefit from wall storage beyond just shelves. Jewelry racks, for example, keep necklaces and bracelets untangled and visible—making morning routines smoother or, well, sometimes more complicated if you hang too many things. A framed corkboard or pegboard can also serve dual purposes—display photos or organize accessories.
Garages often feel chaotic but using wall space can bring order. Compact tool organizers with slots or hooks make tools easy to grab and put away. Consider pegboards too, which let you rearrange as needed—though, maybe you’ll leave it cluttered for a while before committing. Shelves for paint cans, bins, or gardening supplies can be wall-mounted, keeping floors clear and safe.

Each room has its quirks, and wall storage should match your habits. What might work great for your kitchen might feel impractical in the bathroom. Sometimes you just have to try different setups to see what sticks.
Decorative and Functional Wall Hanging Ideas
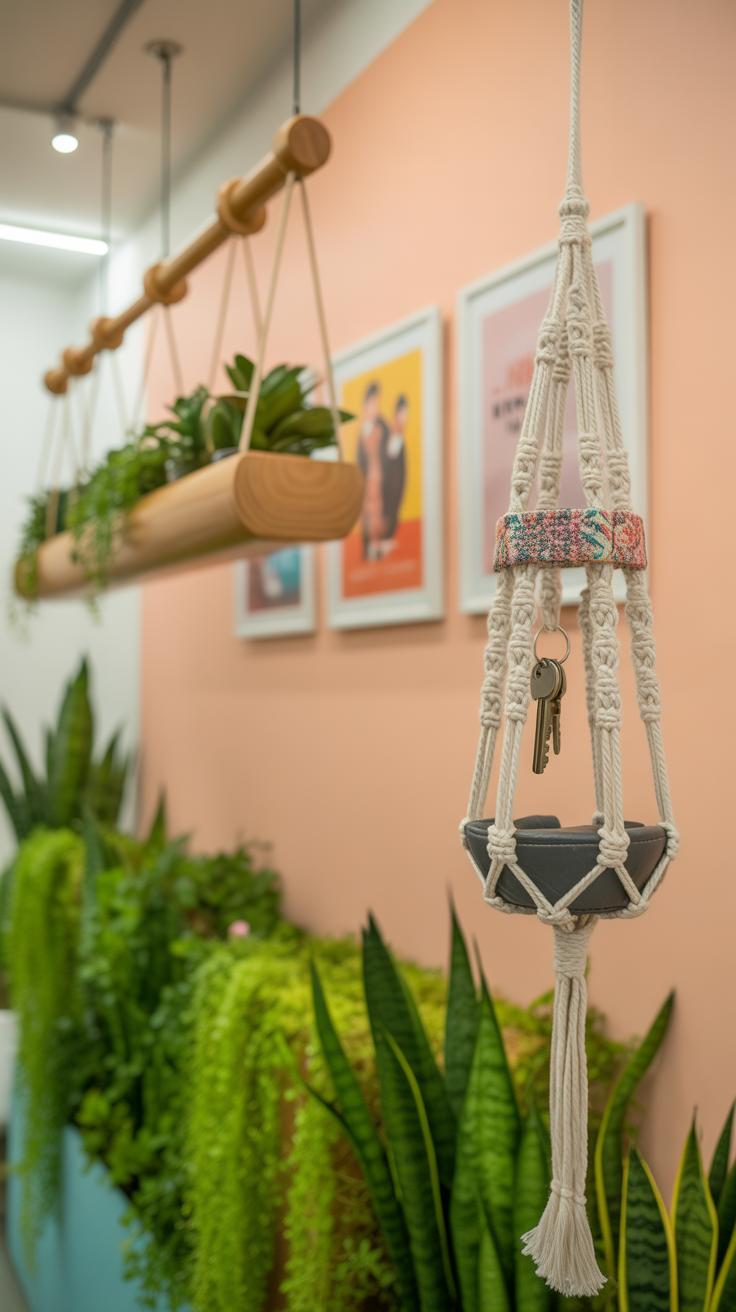
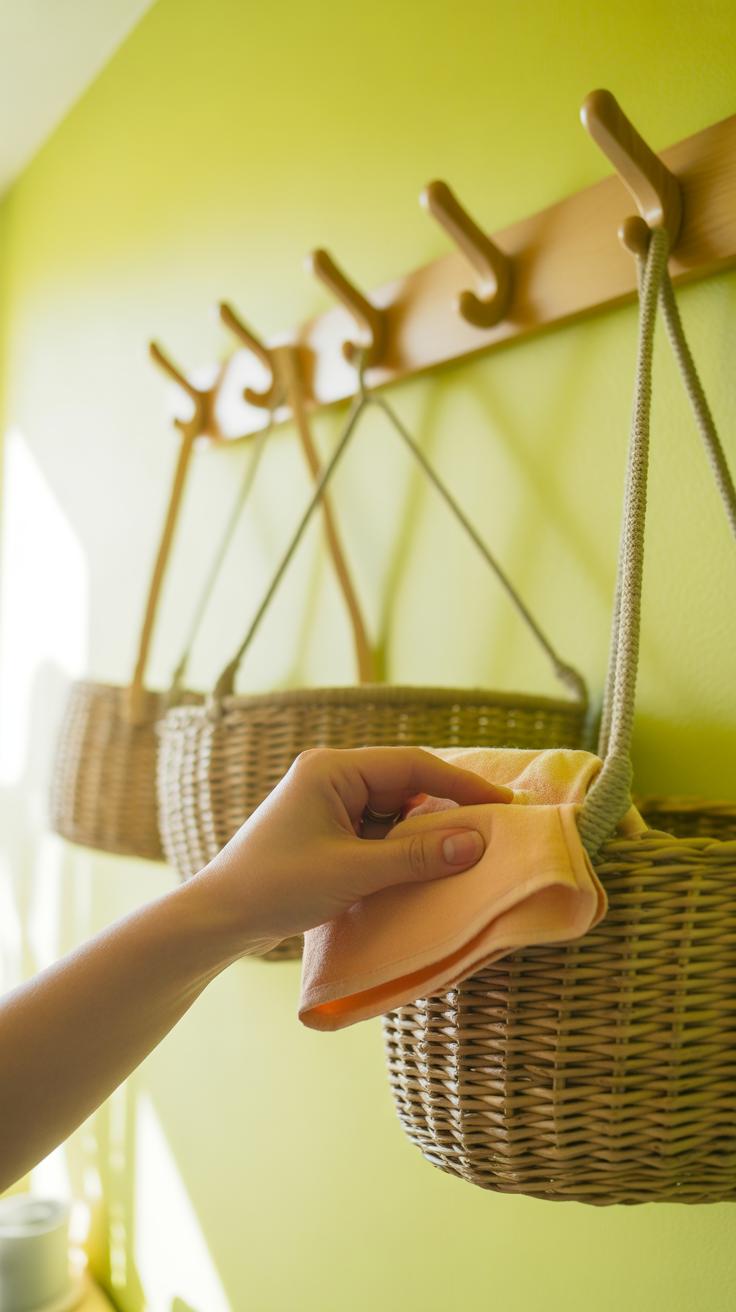
When you think about wall hangings, you might picture artwork or photos—simple decoration. But it can go beyond that, blending style and storage in ways that surprise you. Take woven baskets, for instance. Hung on walls, they aren’t just for holding stuff; their textures and natural materials can soften a room’s feel. You can stash almost anything in them: mail, scarves, craft supplies. I once hung a few baskets near my entryway and suddenly had a place for keys and gloves that didn’t clutter the table.
Hanging nets work similarly. They add a casual, breezy look while corralling light objects like toys or yarn balls. Their flexible shapes conform to what you put inside, which gives the wall an ever-changing character—sometimes practical, sometimes just a bit fun.
On the other hand, shelves shaped like letters or geometric forms mix the decorative with the functional differently. Imagine spelling out a word with shelves that hold books, plants, or knickknacks. It catches your eye but also helps you organize. Geometric racks, especially triangles or hexagons, create small compartments perfect for grouping items without overwhelming the space.

These kinds of wall hangings let you rethink storage entirely. Can something be both art and shelf? Can your walls tell a story and hold everyday items? Trying this might challenge how you see your space—and maybe, just maybe, encourage you to keep walls tidy simply because they look good.
Maintaining Your Wall Hanging Storage
Cleaning and Care
Keeping your wall hangings clean is more straightforward than you might expect, though the approach depends on what material you’ve used. For wooden shelves or racks, a simple dusting with a dry cloth or a slightly damp one often does the trick. Avoid soaking wood; it can warp or weaken over time. Wicker baskets need gentle brushing or a vacuum with a soft brush attachment to remove dust from crevices. Fabric pockets or organizers might need spot cleaning or even occasional gentle washing—just check the fiber type first.
Regular cleaning helps prevent buildup that could affect both appearance and use. When dust or grime settles, it can eventually reduce the stickiness of hooks or roughen surfaces, making storage less practical. Keeping spaces clean means your wall storage stays trustworthy and inviting, even if it’s holding everyday clutter.
Checking Stability and Repairs
When was the last time you looked closely at how well your wall storage stays put? It’s easy to forget—but neglecting those mounts and anchors can lead to unexpected falls. Give everything a quick shake now and then, especially after heavy use or seasonal changes, to see if anything feels loose or wobbly.
Loose screws or slipping anchors can often be tightened with a screwdriver or replaced with a sturdier option. For drilled holes, using wall plugs or toggle bolts can restore strength. If hooks bend or shelving brackets begin to sag, small adjustments might be enough rather than a full replacement. Sometimes, you might need to rethink the weight you place on a certain element—that too can prevent damage.
When I ignored a slightly unstable basket shelf once, it didn’t fall immediately but over weeks started leaning noticeably. A quick fix with stronger anchors saved me from an annoying mess. So, check often. It’s safer and saves effort later. Do you check yours as often as you should? It might be worth a look before the next accidental droppage.
Planning Future Wall Hanging Projects
Assessing Your Storage Needs
Take a good look around your home. What items keep piling up with nowhere to go? Maybe your kitchen utensils, craft supplies, or even shoes could use some dedicated wall space. Think about where clutter tends to gather and ask yourself which things you reach for most often. That’s usually a good sign these need easier access, maybe on a wall. Don’t rush this step—sometimes, you only realize what needs storage when you pause and observe daily habits. Consider hidden corners, awkward nooks, or blank walls that could serve better purposes. And be honest: What items annoy you by being out of place? Those frustrations can guide your priorities.
Designing and Measuring Before You Build
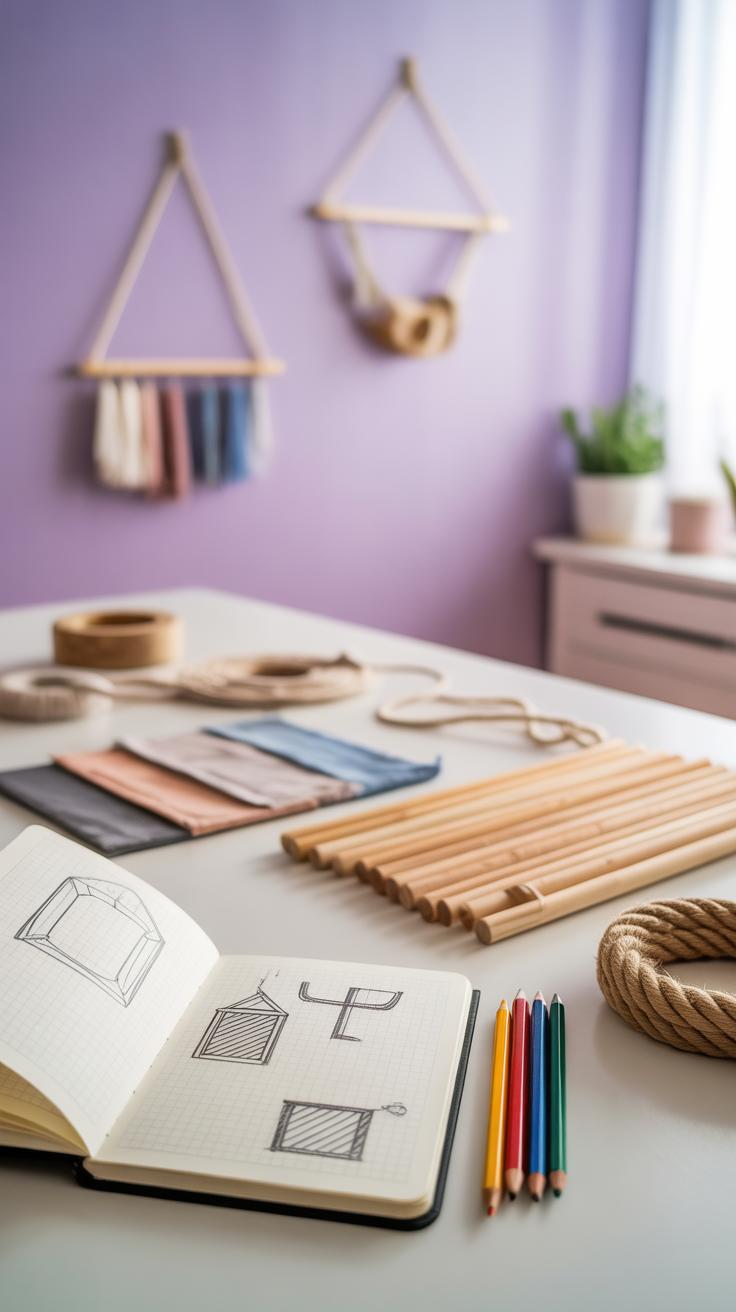
Before you rush into cutting wood or buying hooks, sketch it out. A rough drawing on paper can save a lot of trouble later. Jot down your ideas next to measurements of the walls where you want to hang your project. Measure height, width, and the distance between studs if possible. That way, you avoid those frustrating moments when your new shelf is either too big or too small for the spot. Don’t worry about artistic skills—the goal is simply to visualize how your idea fits the actual space. Try imagining how the project will interact with furniture, doorways, or light switches. Sometimes, a small change in size or shape can make a big difference in usability and look.
Conclusions
Wall hanging DIY projects are a great way to increase your storage and keep your home organized. They make use of empty wall space, giving you more room for living without clutter. By creating your own wall storage, you can choose designs and sizes that suit your needs perfectly.
With simple tools and materials, you can build functional and attractive storage that saves space and keeps your belongings easy to find. Start with small projects and try new ideas. Your walls can become important helpers in your daily life, making your home more comfortable and tidy.


