Introduction
DIY home improvement offers an excellent way to make your living space more comfortable and personalized. For first-time renovators, it can seem overwhelming at first. This article explores essential DIY home improvement projects that you can confidently undertake to enhance your home step-by-step.
By tackling these projects, you understand the basics of home renovation. The tasks focus on improving both the inside and outside of your house, making your home safer, more energy-efficient, and visually appealing. Let’s explore the practical steps to start your home improvement journey right away.
Understanding Your Home Improvement Needs

When you start thinking about improving your home for the first time, it can feel overwhelming. What should you focus on first? Safety usually tops the list, and rightly so. Faulty wiring, unstable stairs, or mold can pose real risks around the house. Then, there’s comfort — little annoyances like a drafty window or a leaky faucet may seem minor but can add up to a daily nuisance. Plus, keeping an eye on energy use isn’t just about bills; it can sometimes reveal hidden problems that impact your home’s lasting value.
Walking through your home with a critical eye can reveal surprises. Look for things that don’t seem right: flickering lights might hint at old wiring, water stains could signal plumbing troubles, and cold spots near windows or doors often mean poor insulation. These small signs can help you spot problem areas before they get worse.
Once you’ve identified some issues, you face the tricky part—deciding what to tackle first. Here’s a practical way to set your priorities:
- List your repairs or upgrades, large and small.
- Consider which ones affect your safety—those come at the top.
- Think about comfort—will fixing that noisy door improve your day-to-day life?
- Estimate costs roughly; some projects might surprise you.
- Weigh impact versus budget—sometimes a quick fix is better than a pricey overhaul.
I once spent weeks debating whether to fix my drafty door or upgrade the bathroom sink. Fixing the door not only made the room warmer but also saved on heating bills, so it took priority. What you prioritize might shift as you learn more or as your budget changes, and that’s okay. Staying flexible helps you keep going without feeling stuck.
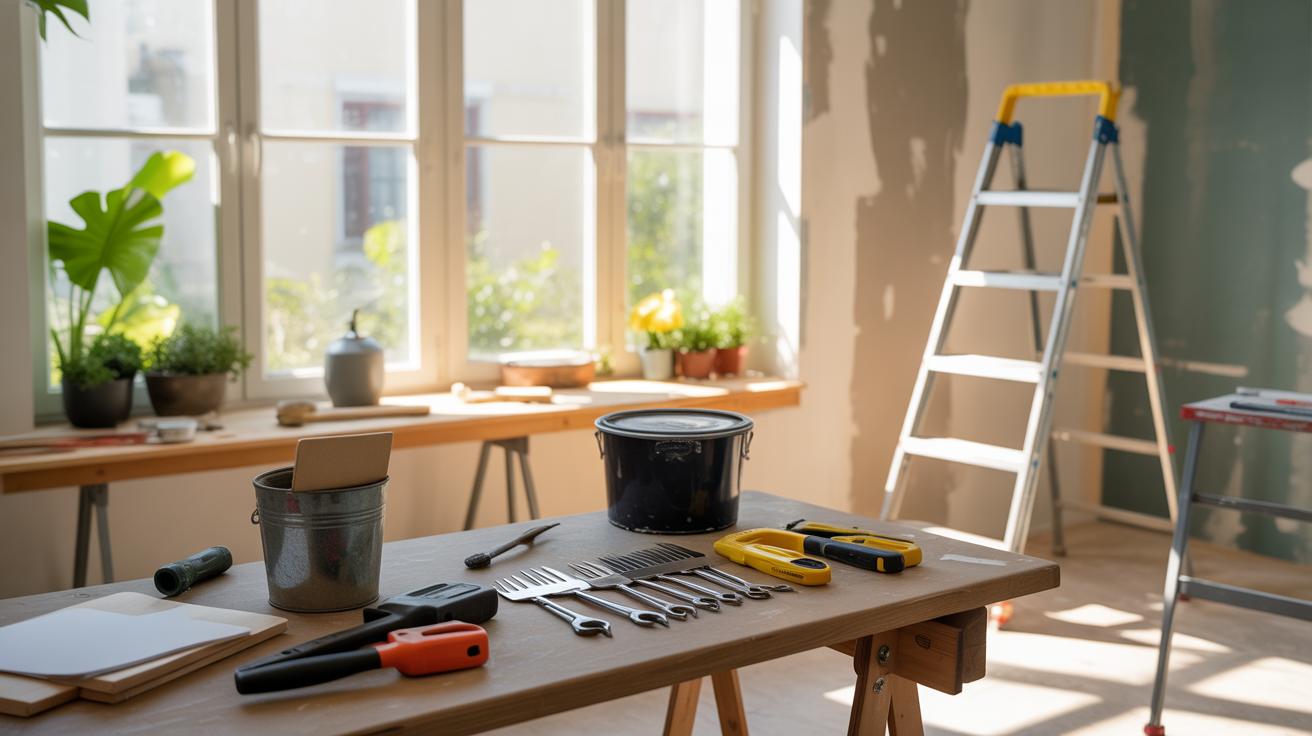
Gathering Tools and Materials
Starting your DIY journey means first getting a grip on the tools and materials you’ll need. It’s tempting to think you can just jump in, but careful selection here saves headaches later. Think of this stage as your foundation—it’s where you decide what to invest in and what you can make do without, at least for now. You won’t need every power tool on the market, but some basics are almost always essential.
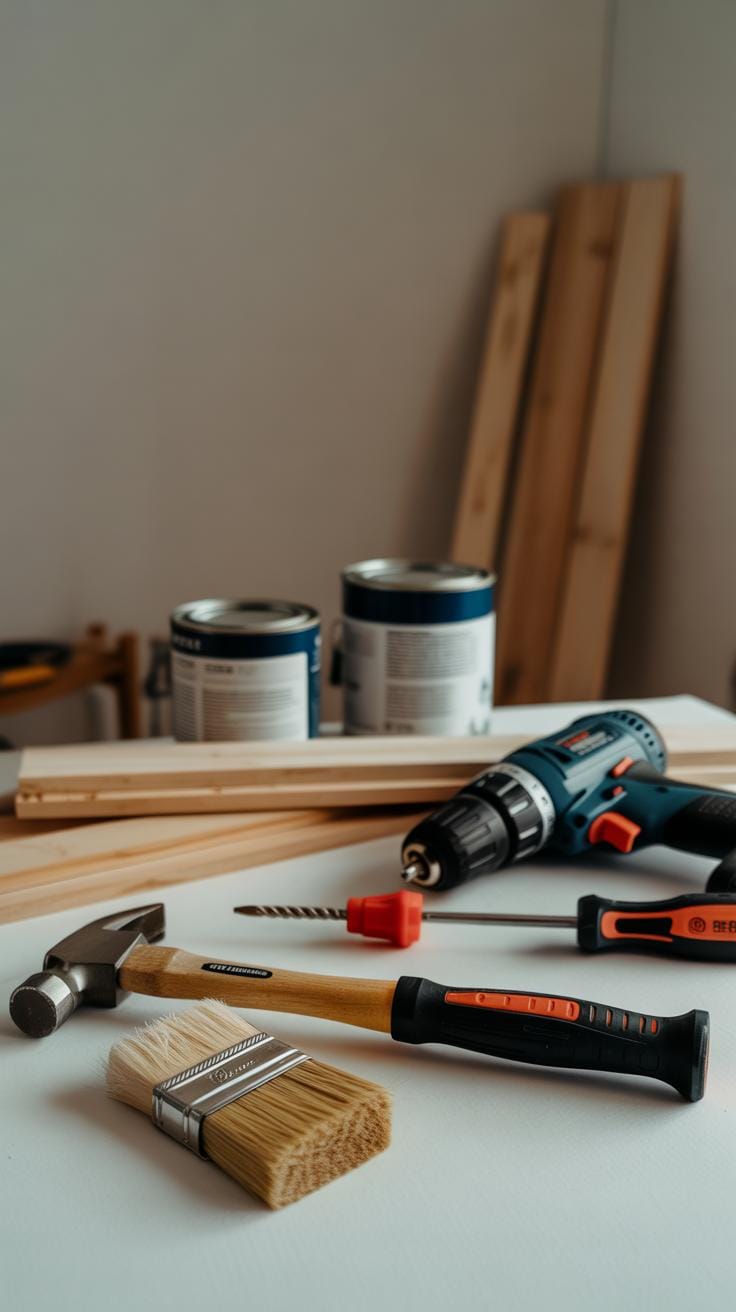
Essential Tools Every Beginner Needs
Some tools almost always show up in beginner toolkits for a reason:
- Screwdrivers: Both flat-head and Phillips are useful. They’re small but often indispensable—without them, many tasks stall.
- Hammer: For nails, small demolition, or tapping things into place. Choose one with a comfortable grip; your hand will thank you.
- Electric drill: Perhaps the most versatile of all. Drilling holes or screwing in fasteners becomes manageable, and it even speeds up the work.
- Tape measure: Accurate measurements are critical. Even small errors can throw off the whole project.
- Safety gear: Gloves, goggles, and ear protection can feel excessive at first, but once you’ve nipped a splinter or heard a drill buzzing too close, you’ll understand better.
Choose quality tools within your budget—they don’t need to be top tier, but cheap and flimsy often cost more in frustration. I’ve learned this by trying to save a few bucks, only to end up replacing a screwdriver.
Where to Find Quality Materials and Help
Materials can be overwhelming to source. Your local hardware store offers a chance to see and feel the wood, paint, or screws you pick. Staff might answer questions—though some know more than others. If you’ve never chosen paint types or drywall patches, plant yourself nearby and ask.
Online sources provide endless tutorials and buying options. Websites like YouTube or home improvement forums can clarify what kind of paint finish fits your room or how thick plywood should be. But not every video is accurate or complete. So, cross-reference what you learn offline and online.
You might also check big-box retailers for convenience, but independent stores sometimes sell better-suited products for specific needs. Experiment with small purchases before scaling up.
Ultimately, assembling your toolkit and materials thoughtfully helps you avoid stalls at the crucial moment—and keeps projects moving without unnecessary stress.
Basic Wall Repairs and Painting
Fixing Wall Damage
Small holes and cracks can make walls look neglected, but fixing them is simpler than you might think. Start by cleaning around the damaged area to remove dust or loose paint. For tiny holes—like those from nails—just apply a small amount of spackle or putty with a putty knife. Press gently, then smooth the surface so it’s flush with the wall. Bigger cracks may need a bit more filling and patience. Let the patch dry fully; this can take from 30 minutes to a few hours depending on the product and room conditions.
Once dry, lightly sand the patch until it’s even with the surrounding wall. Don’t over-sand or you’ll create new dips. It might feel a bit fiddly at first, but with practice, you’ll get a sense for the right pressure and amount of compound needed.
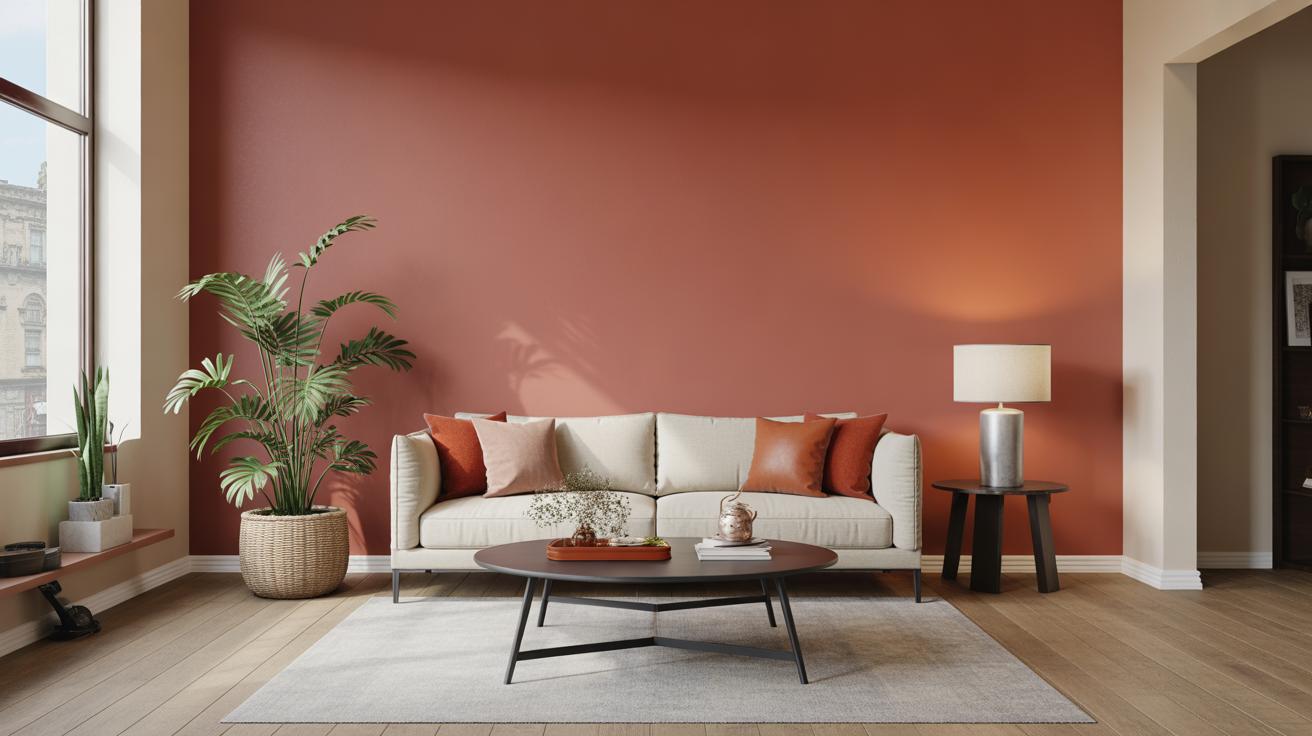
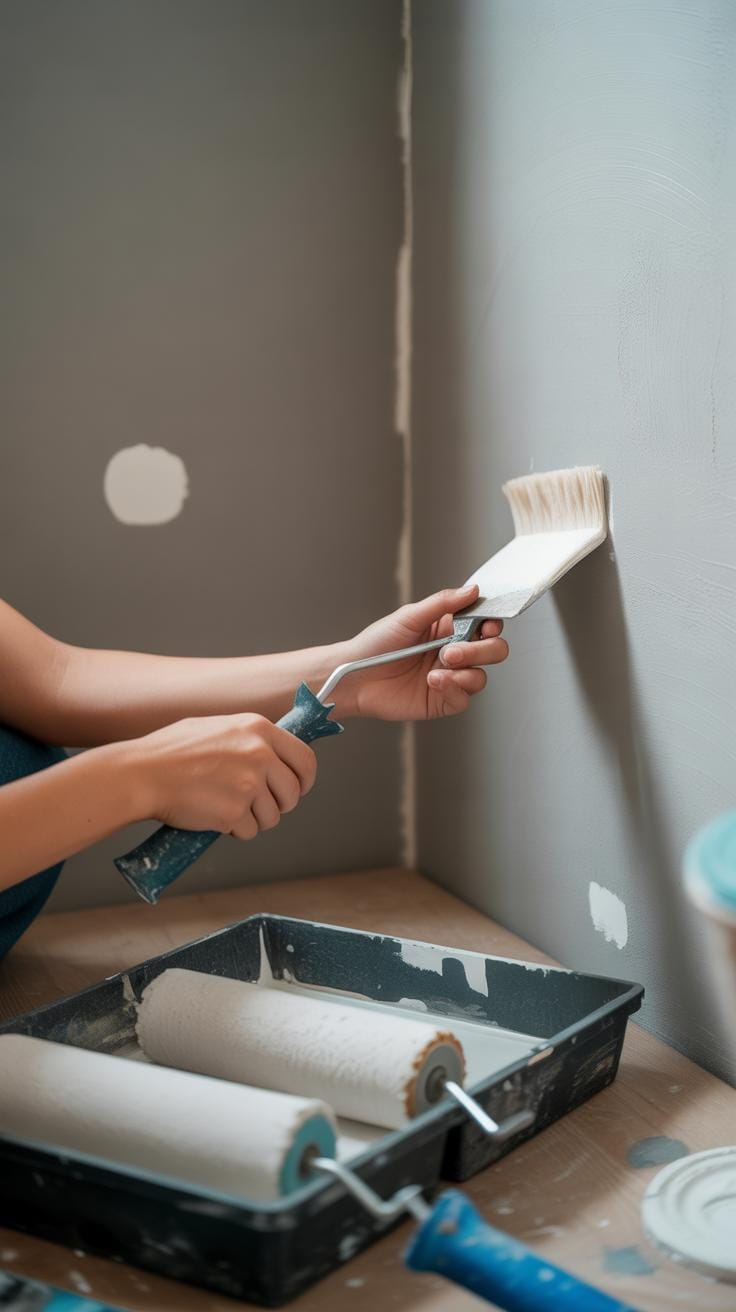
Choosing and Applying Paint
Picking paint isn’t just about color. Think about your room’s use and lighting. Matte finishes hide imperfections better, while satin or eggshell offer a subtle shine and are easier to wipe clean. Glossy paints shine bright, but every bump shows, so best for trim or doors.
Before painting, stir your paint thoroughly. Use a good-quality brush or roller for smoother results—cheap tools can leave streaks or uneven spots. When you start painting, work in sections, applying thin coats. Thick paint often drips or peels later. Let each coat dry completely before the next. If you wonder how many coats to apply, test with a small area first; sometimes two suffices, but darker colors might need more.
Painting can be a bit unpredictable. Maybe you’ll get a perfect finish on the first try. Or maybe not. Either way, these basic steps help you cover scratches and holes, slowly turning your walls into something you’re proud of.
Improving Your Homes Lighting
Upgrading your lighting fixtures can instantly change how a room feels and functions. When you swap out old bulbs and fixtures for something newer, brighter, and more energy-conscious, you might be surprised by the difference. You don’t always have to overhaul everything; sometimes just changing one pendant light or adding a few LED bulbs makes the space more inviting and easier to use.
Selecting the Right Light Fixtures
Choosing lighting depends a lot on what each room is for and how you want it to feel. For instance:
- In a kitchen, brighter, whiter lights help with prepping meals, so consider fixtures with high lumen output and a cool color temperature.
- For living rooms or bedrooms, warmer lights create a cozy mood, so softer bulbs or lamps with fabric shades work well.
- Bathrooms benefit from layered lighting—think vanity lights combined with ceiling fixtures for clarity without shadows.
Match the style to your décor, yes, but don’t get stuck on matching every piece perfectly. Sometimes mixing styles adds character. Also, think about fixture size; a huge chandelier might overwhelm a small room, but a delicate fixture could feel out of place in a large space.
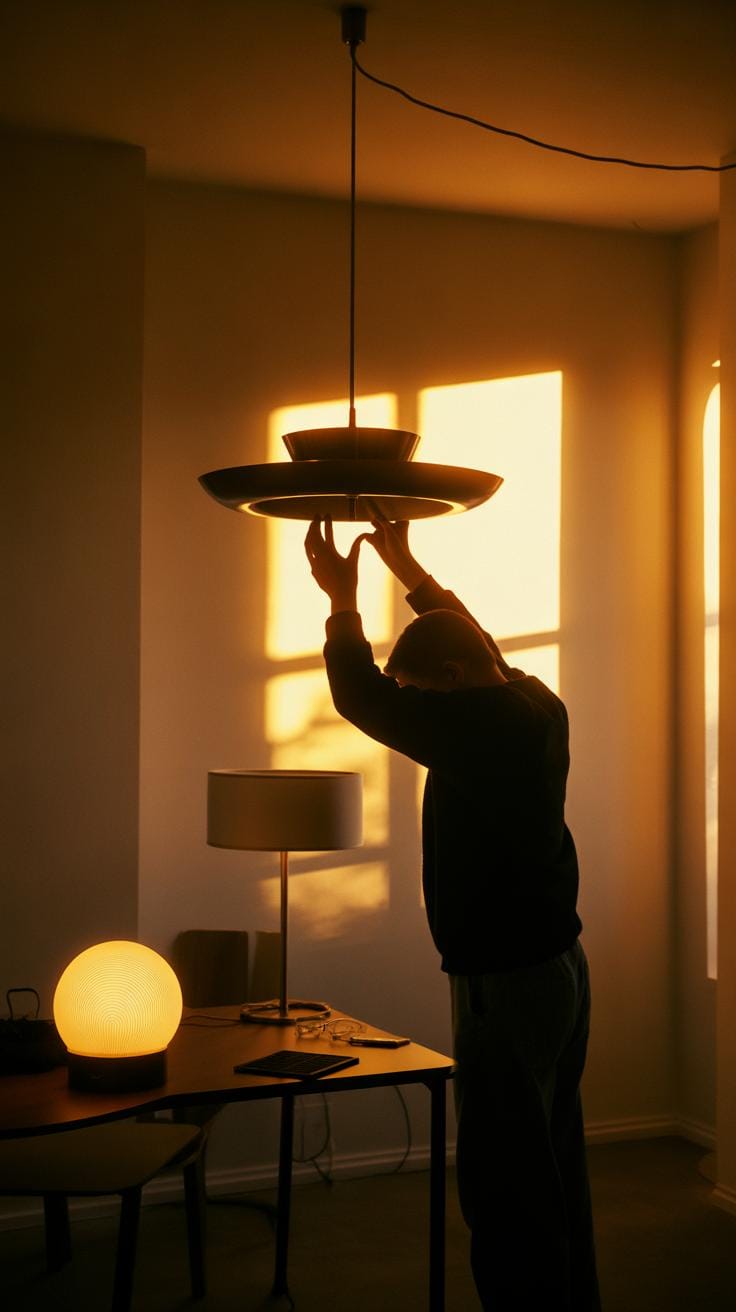
Replacing and Installing Fixtures Safely
Tackling fixture replacement yourself isn’t hard, but safety is key. First, shut off the power at the breaker. It’s easy to overlook that step and then realize your hands are too close to live wires—not fun.
Next, remove the existing fixture carefully, noting how the wires connect. Taking a photo with your phone can help you remember wiring arrangement. When installing the new fixture:
- Match the wire colors—usually black to black, white to white, and green or bare copper to ground.
- Use wire nuts to secure connections tightly.
- Ensure the fixture is firmly mounted; loose fixtures can be dangerous or just annoying.
Don’t rush. If anything feels off or confusing, stop and double-check or ask for advice. Better to be cautious than end up needing an electrician later. And finally, consider swapping old incandescent bulbs for LEDs—they last longer and lower energy use, though sometimes the light feels slightly different, which you might or might not like.
Fixing Plumbing Issues
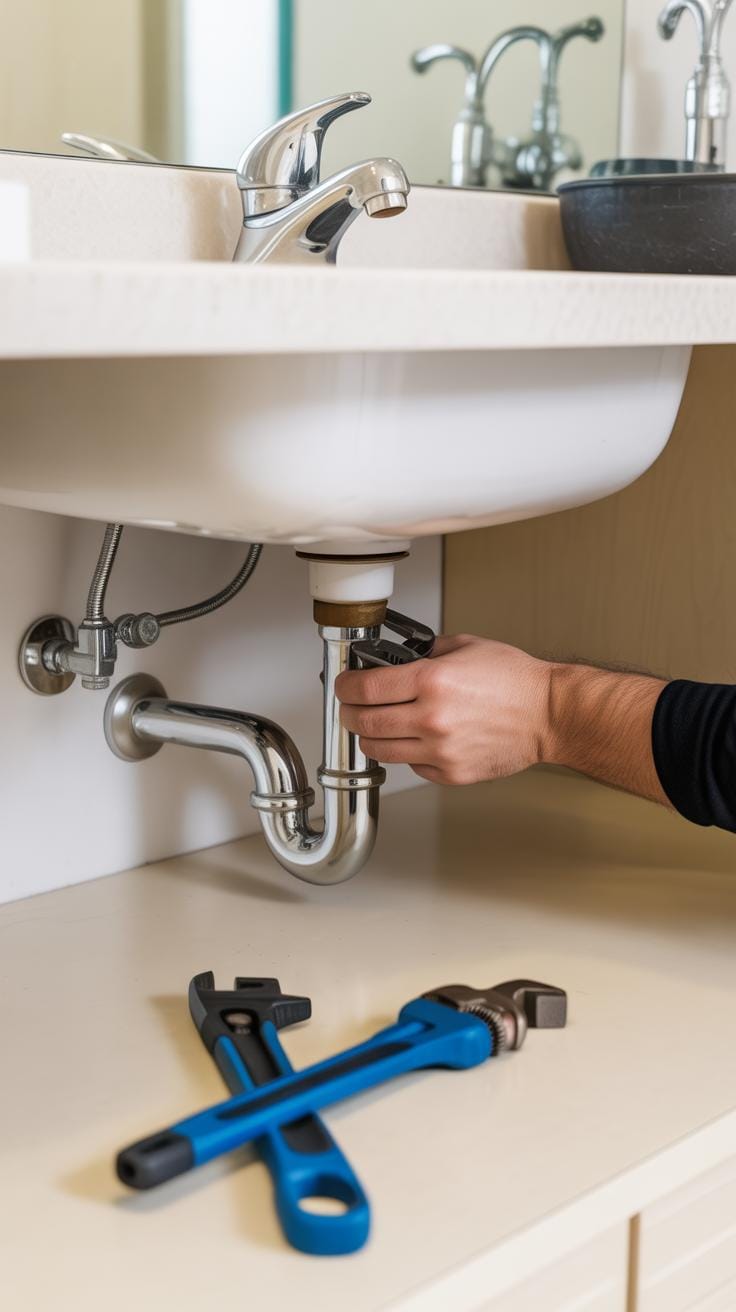
Plumbing problems can feel overwhelming, but many fixes are simpler than you might think. Start with leaks—sometimes, just tightening a loose pipe or fixture stops the drip. To find leaks, check under sinks or near appliances for moisture or stains. Touch pipes to detect dampness or listen closely for water sounds when everything’s off. Replacing worn-out washers or faulty faucets often solves leaks without calling a pro.
Dealing with clogged drains can test patience. Instead of reaching first for harsh chemicals, try a plunger or a drain snake. These tools work well for hair or minor blockages. You might also pour a mix of baking soda and vinegar down your drain, wait a bit, then flush with hot water—this natural method can clear some obstructions gently.
Patience matters. Sometimes, it takes a few tries to fully clear a clog or fix a leak. Yet, tackling these tasks yourself builds confidence and cuts down on pricey repairs. Have you noticed that you catch leaks faster once you look carefully? It’s a small skill that goes a long way in home maintenance.
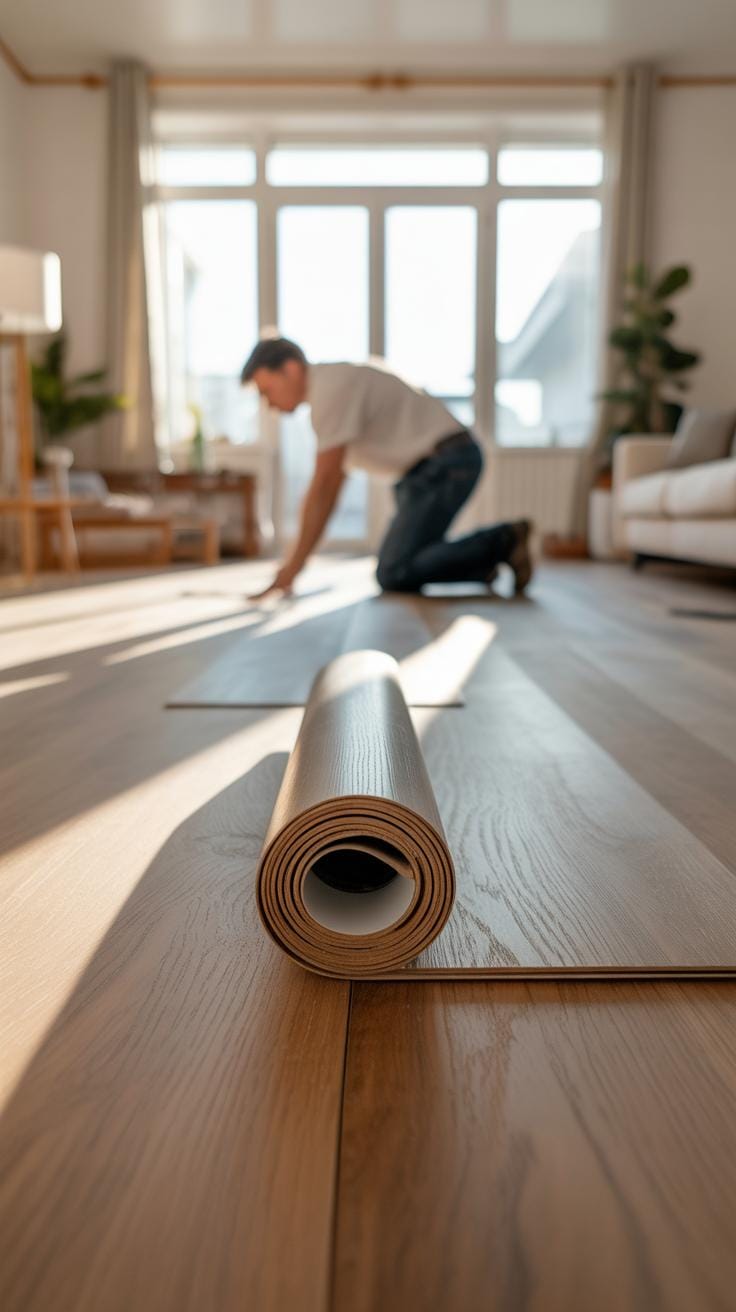
Enhancing Floor Surfaces
Floors often take a beating, whether from daily traffic, pets, or just the odd accident. Keeping them clean is the first step toward making any room feel fresh. For wood floors, gentle sweeping combined with a damp mop works best—too much water can cause warping, which is frustrating to undo. Vinyl floors handle moisture better, so you can be a bit more liberal with your cleaning routine. Using a mild cleaner or a mix of vinegar and water usually does the trick without leaving residues.
When scratches or minor damage appear, you don’t always need to replace the entire floor. For wood, mixing a bit of walnut oil or using a wood filler stick close to your floor color can mask scratches surprisingly well. Vinyl floors can be patched with repair kits, or a small piece of matching vinyl glued carefully over the damaged spot. These fixes aren’t perfect but can buy you time.
If you’re thinking about installing new flooring, vinyl and laminate are good entry points. Both involve floating floors that click together without glue or nails—great for beginners. Start by leveling your floor, then lay an underlayment to reduce noise and protect against moisture. Work along the longest wall, clicking panels snugly. Patience helps here; forcing pieces might damage edges. Remember, cutting pieces precisely around corners or doorways can be tricky but just take your time with a utility knife or saw. The satisfaction of walking on floors you installed yourself is worth the effort, even if it doesn’t look showroom perfect right away.
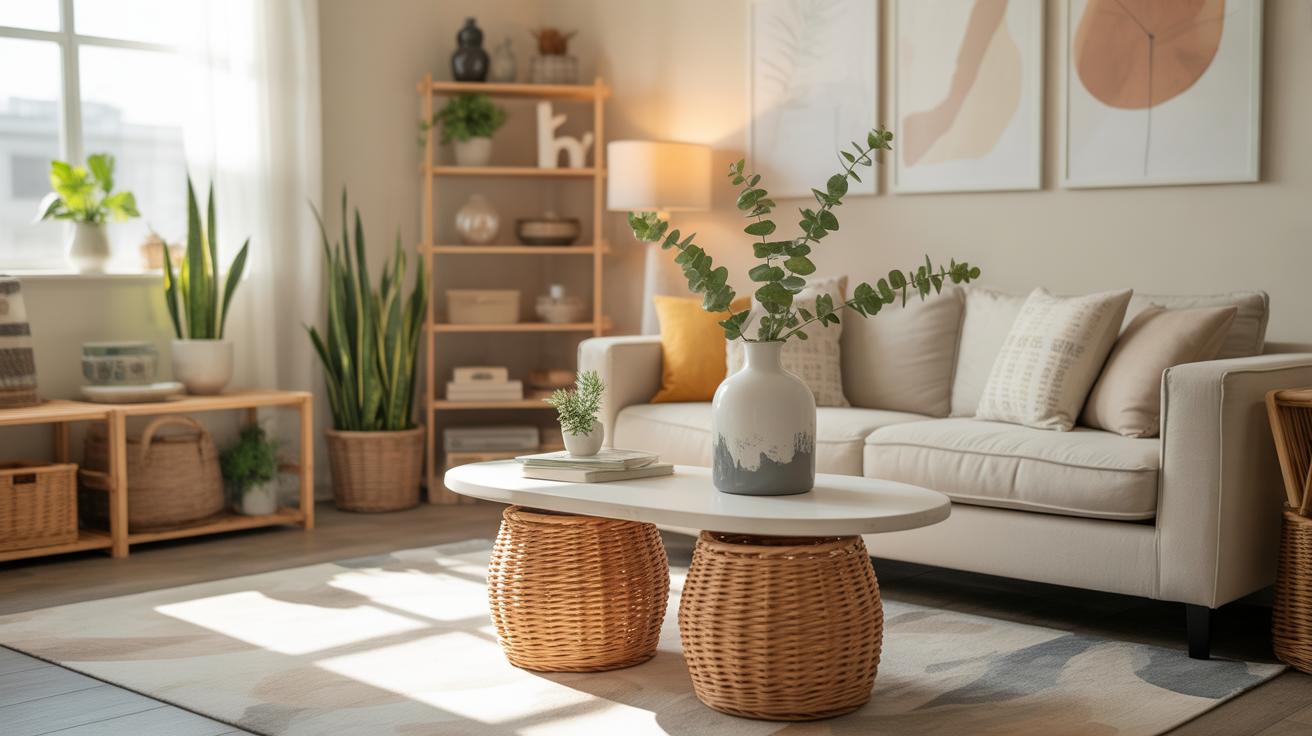
Creating Storage and Organization

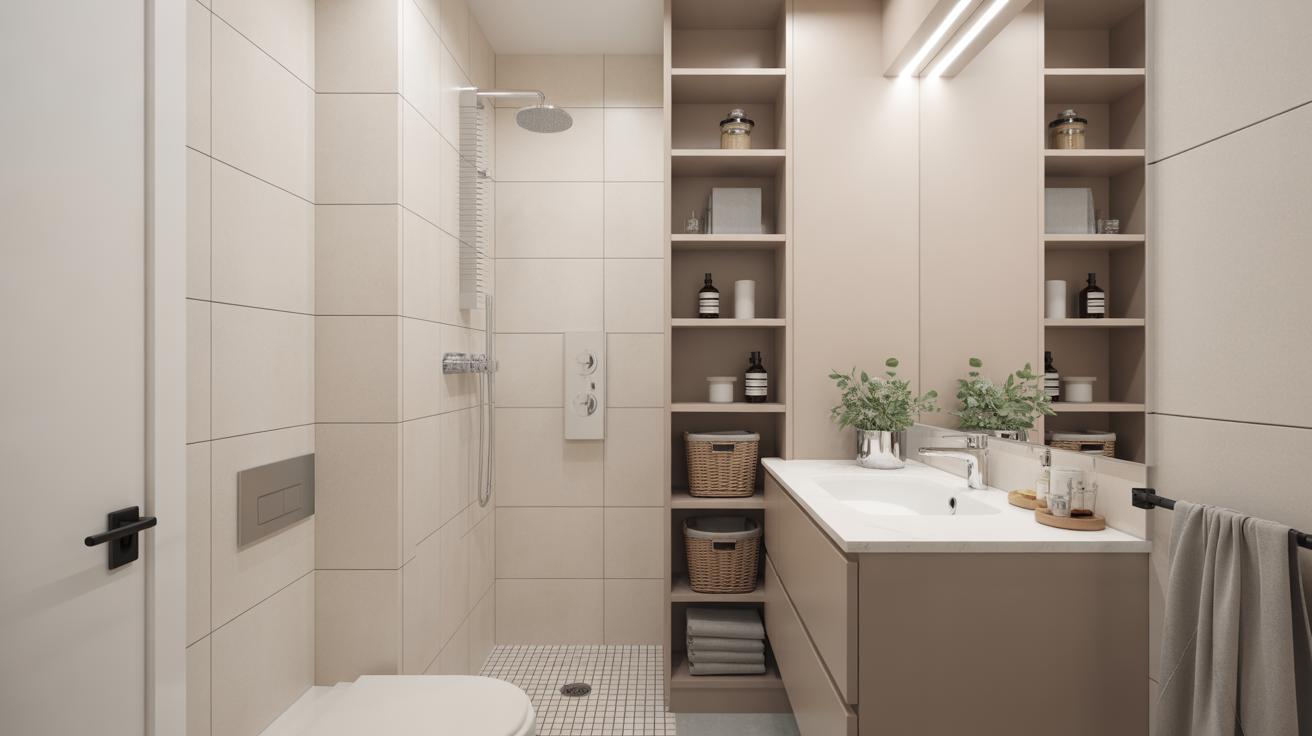
Planning Storage to Fit Your Space
Figuring out the right storage for your space can be tricky. It depends a lot on the size of the room and the type of items you want to store. For example, a small bedroom doesn’t need bulky cabinets—maybe open shelves or under-bed storage works better. But what about those awkward corners? Maybe adding a tall, narrow shelving unit fills that gap nicely.
Ask yourself: How often do you access these items? Do you want them hidden or on display? Sometimes, it’s worth measuring everything first, even the doorways and windows, to make sure your storage won’t overcrowd the room. You might think a big unit looks good on paper but ends up feeling cramped in real life.
Start by making a list of what you want to organize and where you’ll need it. Then, think about vertical space—walls usually go unused and can hold surprisingly heavy shelves. Trust me, saving floor space by going up can change how the whole room feels.
Simple DIY Shelves and Cabinets
Building your own shelves or cabinets doesn’t have to be intimidating. Using some basic tools and materials, you can create storage tailored exactly to your needs. Start with sturdy plywood or MDF boards; they’re affordable and easy to work with. Cutting straight lines might take some practice—don’t hesitate to ask a neighbor or friend for help if your first cut isn’t perfect.
Mounting shelves safely means finding studs in the wall and using proper anchors. I learned the hard way that just screwing into drywall isn’t enough for heavy items. Cabinets require a bit more work but follow the same principle: assemble the frame first, then add shelves or doors.
Try painting or staining your shelves before attaching them. It saves a mess later and makes clean-up easier. Small details like sanding edges make a difference you might not expect—your hands will thank you, and the shelves will look more polished.
Energy Efficiency Upgrades
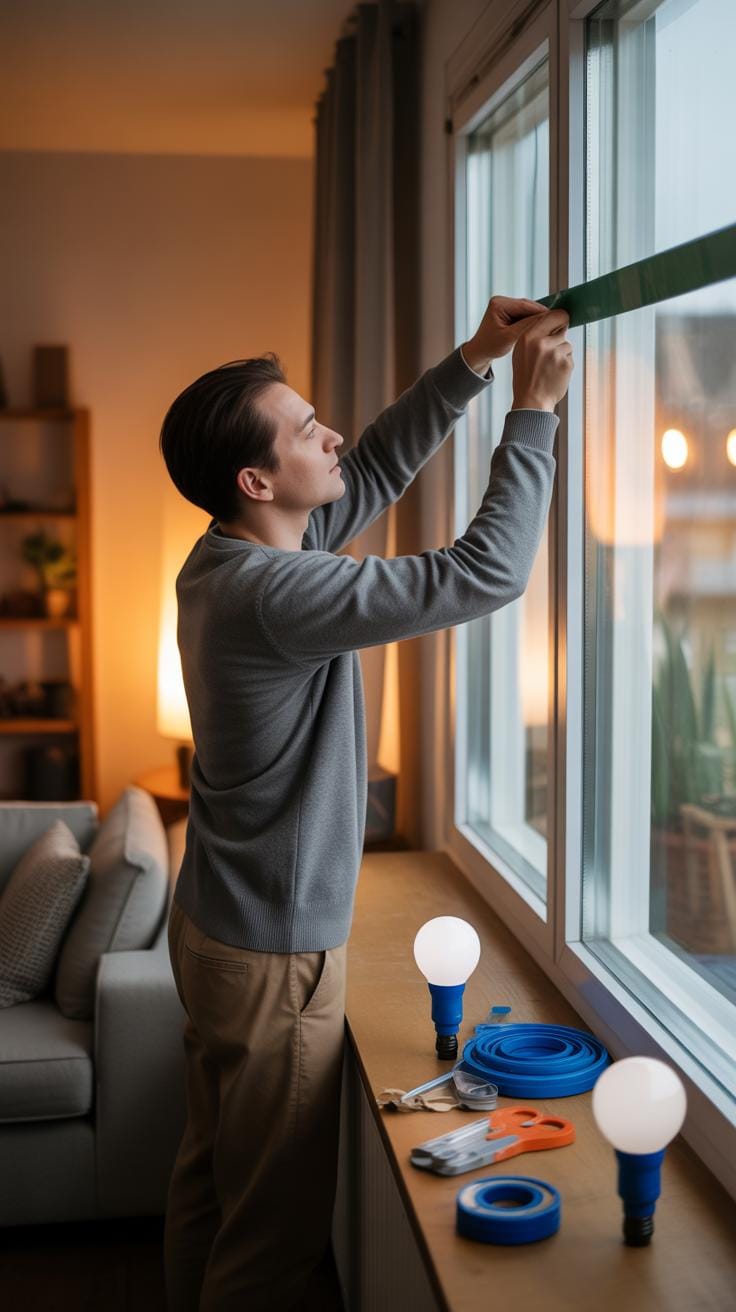
When you’re starting home improvement projects, thinking about energy can feel a bit… abstract. But actually, some small tweaks around your home make a noticeable difference—and not only in your bills. For instance, sealing leaks around windows and doors might sound tedious, but it really does keep warmth where it belongs during cold months. You can usually spot drafts by just feeling with your hand or using a simple candle to watch for flickering flames. Once found, applying weatherstripping or caulking takes little time and barely any skill.
Adding insulation might seem like a bigger job, but you don’t always need to tear into walls. Simple measures like insulating your attic hatch or adding foam gaskets behind switch plates block unseen spots where heat escapes. These changes don’t just help your comfort but hint at a more intentional home.
Lighting is another area where small changes count. Swapping out old bulbs for LEDs isn’t just about saving energy—it’s also about how your home feels. LEDs fit most fixtures easily and usually last years, which saves you frequent replacements. Plus, they don’t get hot, which feels nicer if you’re in a small space.
Have you noticed your energy bills creeping up, even with the thermostat under control? Maybe these simple upgrades could be why. And if you don’t want to rush, try doing one room at a time—little by little makes it manageable and less overwhelming.
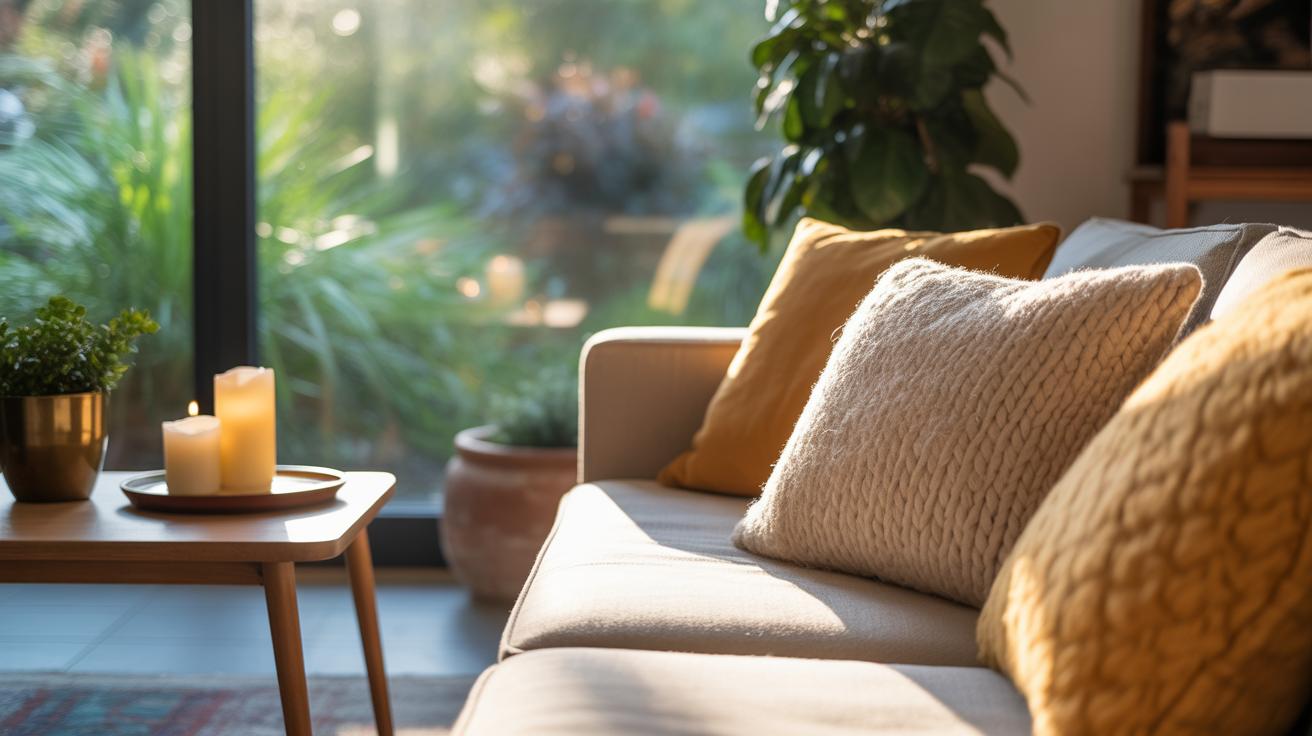
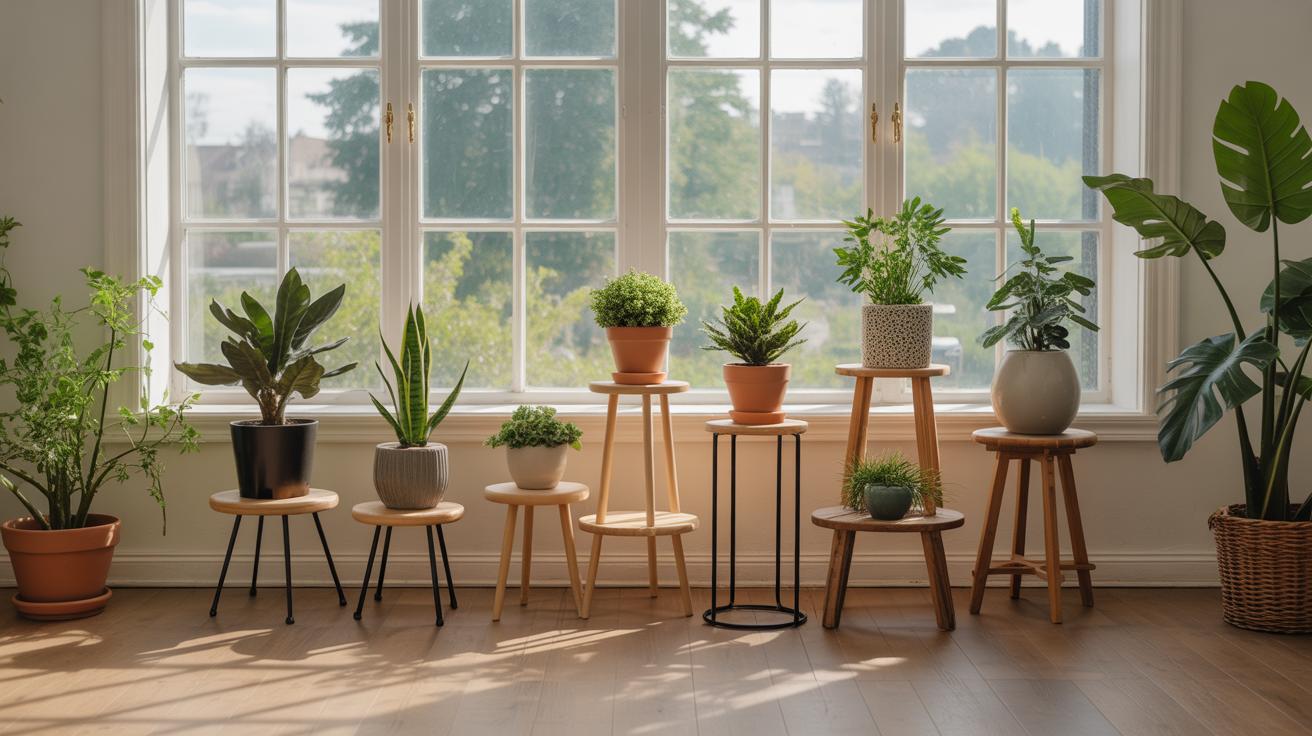
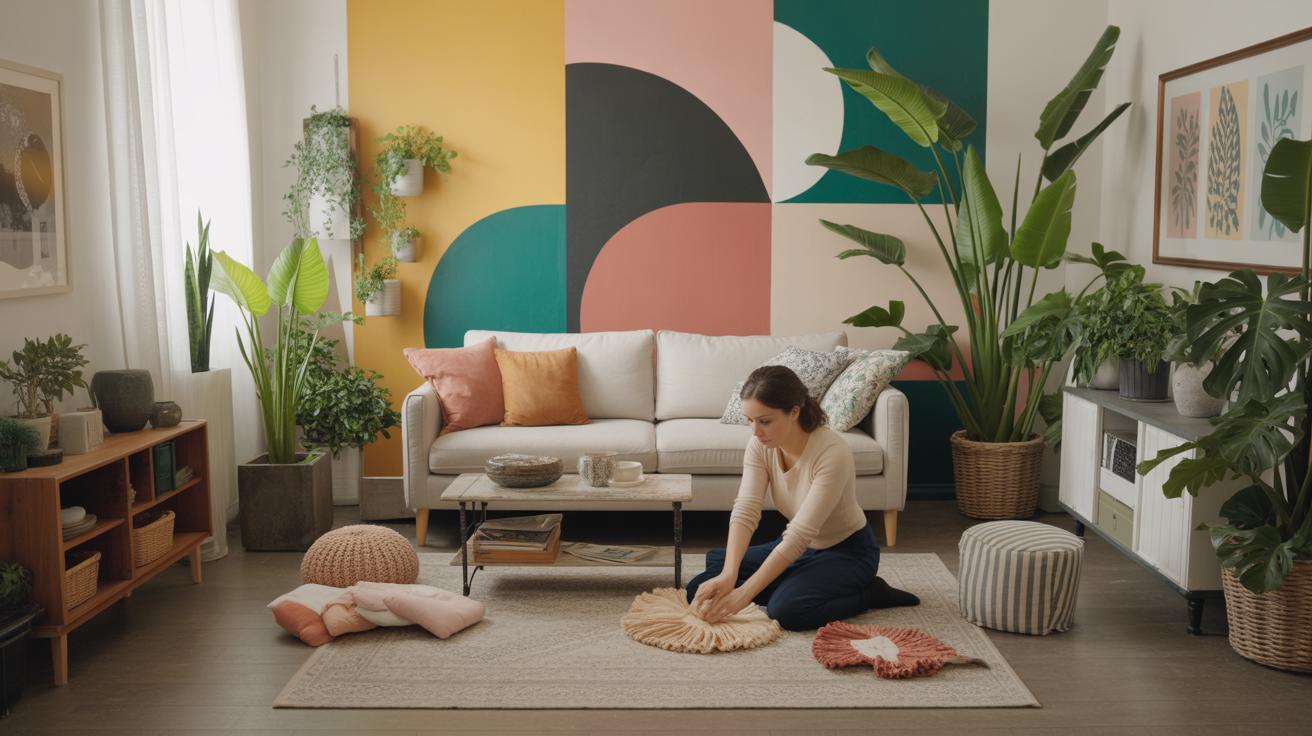
Finishing Touches and Personalization
Once the heavy work is behind you, it’s tempting to just call it done and move on. But adding simple decorative touches can truly make a space feel like yours. Think about curtains that softly frame your windows or rugs that add warmth underfoot. These aren’t just accents—they can change the entire mood of a room without much hassle.
Wall art is another easy way to reflect your taste. Maybe a mix of framed photos, prints, or even something handmade. Don’t feel pressured to fill every blank space immediately; sometimes, leaving a bit of empty wall allows the eye to rest and gives you room to evolve your style gradually.
Maintaining what you’ve done might not sound thrilling, but it’s what keeps your improvements looking fresh over time. Small habits, like wiping down surfaces regularly or checking for loose fixtures, save you effort later. You might find that a little oil on door hinges or re-caulking around sinks keeps things functional longer than expected.
How often should you deep clean or touch up paint? Well, it depends—some spots age faster. Kitchens and high-traffic areas might require more attention. Still, the key is not to wait until things look bad; staying ahead helps preserve your work.
Have you noticed how personal touches invite you to enjoy your space more fully? Sometimes it’s as simple as that favorite throw pillow or a quirky lamp. They might seem small, but these details quietly shape how your home feels day-to-day. What little things would make your space feel more like you?
Conclusions
Starting with these essential DIY home improvement projects equips you with valuable skills and results in a more pleasant and efficient home. You learn to manage your resources, solve problems, and enjoy the satisfaction of making positive changes with your own hands.
Your journey in home renovation grows as you complete each project. These simple yet effective projects build confidence and prepare you for bigger challenges later. Keep improving your space, and remember, every small effort counts toward a better home.