The Illusion Of “Warmth”: Why Most Cabin Lighting Fails
You’re Chasing A Feeling, Not A Design
You want your cabin to feel like home because you’re tired of fluorescent offices and cold apartments. The problem is that “cozy” isn’t a light bulb spec—it’s a response your brain generates when multiple variables align correctly, and most people optimize for only one: color temperature. They buy a 2700K bulb, screw it in, and wonder why the space still feels hollow. Warm bulbs alone don’t create atmosphere. They create orange light that your brain registers as incomplete information.
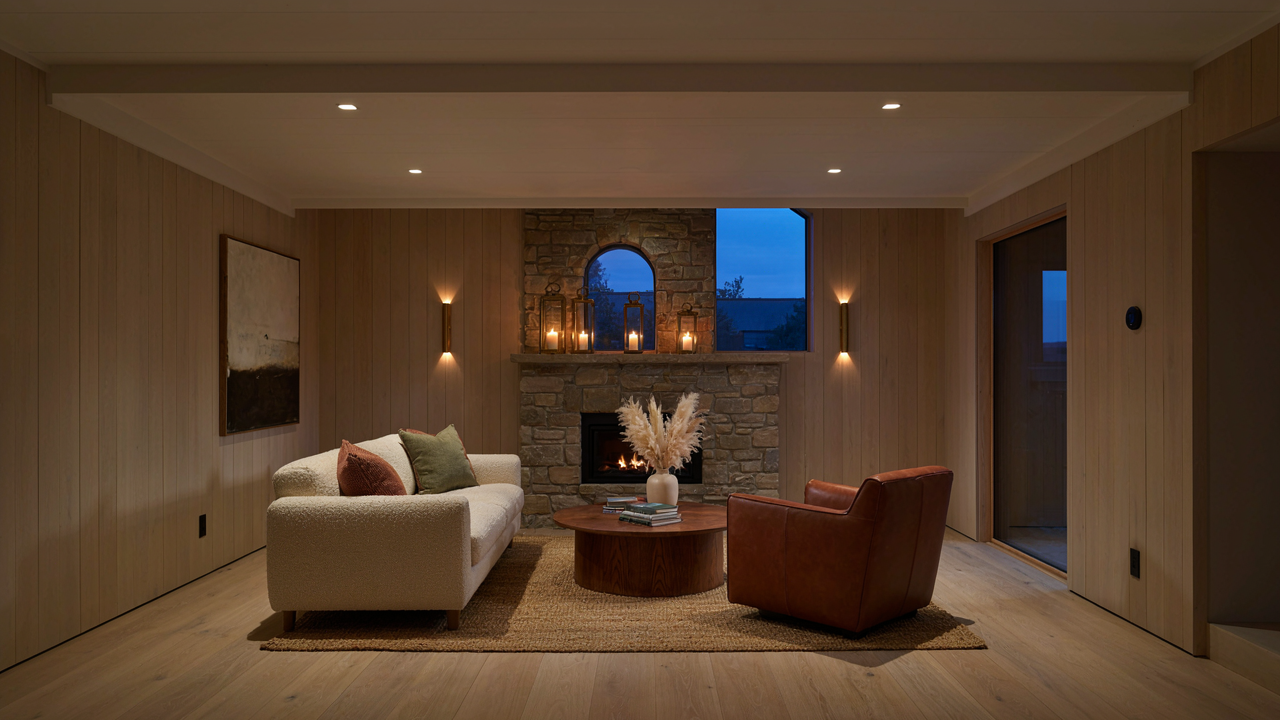
The real mechanism comes from lighting design, not just bulb choice. Your brain judges a room’s atmosphere through contrast, shadow quality, and how light distributes across surfaces. A single warm bulb overhead casts flat shadows and bleaches texture. A strategically placed lantern at eye level creates depth, makes materials visible, and triggers the psychological markers of intentional space. The difference isn’t about warmth—it’s about whether the light tells your brain someone designed this room or just plugged something in.
Brightness Versus Intention
Lumens measure output. Intention measures impact. Most cabin lighting advice treats these as the same problem and defaults to “add more light.” This is incomplete thinking. A 1000-lumen fixture overhead drowns spatial depth and makes a cabin feel like a garage, even if the color is warm. Meanwhile, 300 lumens from a lantern positioned at sitting height creates visible texture, prevents dead zones, and gives you the psychological signal of shelter.
The mechanism is layering. One light source is a hazard—it forces your eyes to adapt to a single brightness level and eliminates shadow, which your brain reads as absence of depth. Three or four light sources at different heights and intensities create visual hierarchy, allow your eyes to rest in dimmer zones, and let you control mood without switching fixtures. Position matters more than wattage. A 40-watt lantern placed 5 feet away and slightly above eye level does more atmospheric work than a 60-watt overhead bulb.
The Strategic Dimming Protocol: Controlling The Visual Hierarchy
Layered Illumination: Ambient, Task, Accent Redefined
You want people to feel something intangible in your cabin without understanding why—and lighting is the mechanism that delivers it. The real architecture of cabin lighting borrows from theater lighting design, where intensity ratios determine visual focus. Ambient light sets a baseline, task light enables function, and accent light directs attention. Most cabin owners treat these as separate problems. They’re actually one system where each layer’s brightness must relate proportionally to the others. Without this ratio, the eye has nowhere to settle, and the space feels chaotic.

Ambient lighting should consume 50 to 60 percent of your total installed wattage capacity. This is the foundation that fills the room—your lanterns on beams, overhead fixtures, or wall-mounted pieces. Task lighting adds specific brightness where function demands it: bedside tables, kitchen counters, reading nooks. Accent lighting, the smallest layer, highlights architectural features or creates focal points. The mistake isn’t adding all three. The mistake is making accent lighting as bright as ambient, which destroys hierarchy and makes everything equally important, which means nothing is.
Eliminating Visual Noise Through Calculated Shadow
Darkness is functional, not decorative. Most cabin designs fail because owners light every surface equally, turning a three-dimensional space into a flat, fatiguing environment. Shadow creates depth. It separates planes. It tells your eye where to look because contrast, not brightness, drives attention. A well-lit cabin uses shadow strategically to define zones and reduce visual noise. This means intentionally leaving areas dim, letting upper corners fade to near-black, and directing light only where it serves a purpose.
Place your primary light sources below eye level when possible, directing illumination upward or at walls rather than into the room center. This mimics how firelight works—the oldest form of cabin lighting. Lanterns hung at 6.5 to 7 feet create shadows that follow the structure of the cabin, making rooms feel larger and more defined. Dark alcoves and shadowed ceiling planes calm the nervous system because they provide visual rest. Install dimmers on all primary ambient circuits so you can compress or expand the shadow-to-light ratio based on time of day and occupancy needs.
Lanterns Reimagined: Beyond The Ornamental Gimmick
Where You Actually Place Them Matters
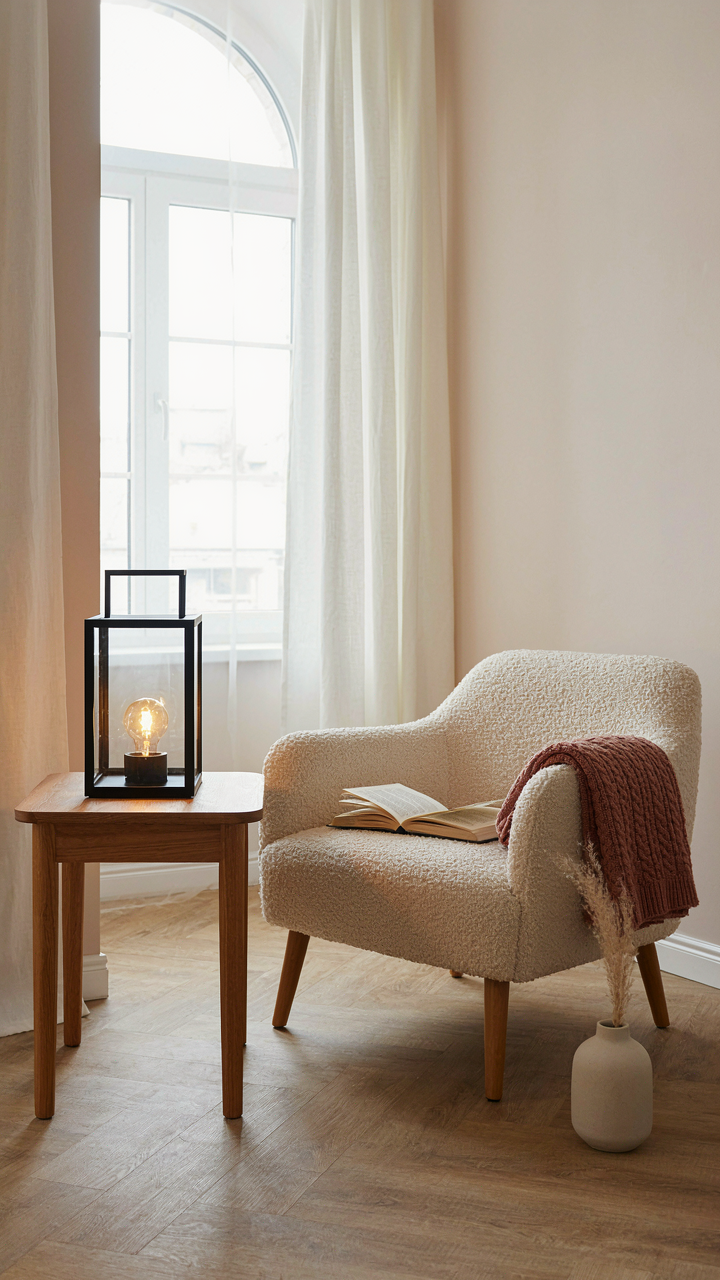
You want lanterns because they signal “intentional” without effort. Here’s the reality: lanterns are light sources with a specific beam pattern, and physics dictates what that pattern does in your space. A lantern creates a pool of illumination around its base, with rapid falloff beyond arm’s reach. This isn’t decorative—it’s optical geometry. Most people hang them symmetrically on walls or cluster them on tables, which spreads light too thin across the whole room. Instead, position lanterns at task points: beside a reading chair, flanking an entry, or at a kitchen island’s perimeter where you actually need focused output.

The mechanism is concentration. Instead of one central overhead fixture flooding 400 square feet of space, you’re creating multiple small zones that each serve a purpose. A lantern 18 inches from a seating area throws enough light to read without spilling wasted lumens into the ceiling. Place lanterns 3 to 4 feet apart along a pathway or around a perimeter to create visual flow without gaps. This strategy reduces total wattage while improving usability because light hits where hands and eyes operate.
Modern Lanterns That Dodge The Tourist Trap
The advice that lanterns feel dated is half-right. What feels dated is the faux-rustic metal cage lantern mass-produced for cabin tourists. Modern iterations strip the ornament and keep the geometry. Industrial metal lanterns with minimal hardware, often in blackened steel or raw aluminum, work because they’re honest about being functional light containers, not pretend heirlooms. Look for designs where the material speaks for itself—no faux distressing, no plastic panes trying to mimic glass.
The real shift happened when designers stopped decorating lanterns and started respecting their form. A simple rectangular lantern in matte black with a warm 2700K bulb reads as contemporary, not themed. The key detail: the lantern’s size should match the scale of your space. A 12-inch lantern in a 9-foot ceiling looks proportional; an 8-inch one disappears. Buy based on mounting height and distance from the viewer, not sentiment. A lantern works when you forget it’s supposed to feel rustic and just notice the light it throws.
The “Wood Beams” Fallacy: How To Illuminate Without Blinding
Uplighting Vs Downlighting On Structural Elements
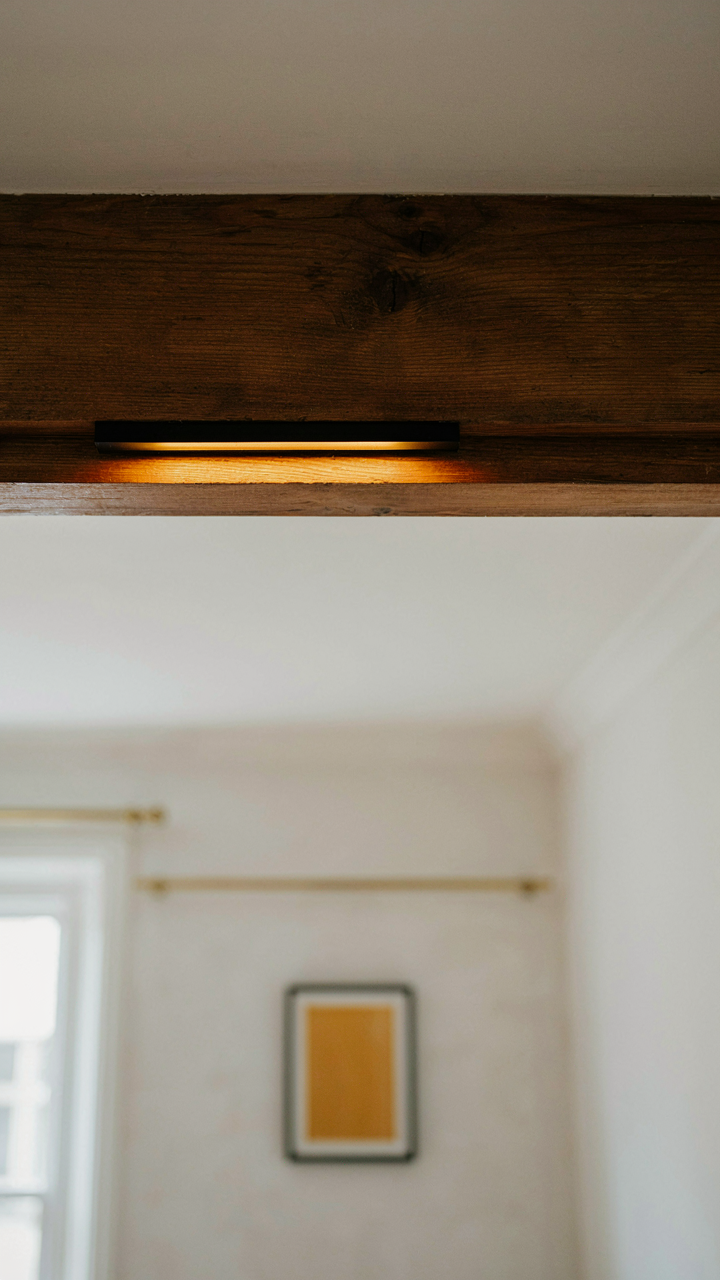
You want exposed beams to look like a design feature instead of a dark void, but most people get this wrong and end up either washing out the texture or creating a cave. The physics term is “angle of incidence”—the angle at which light hits a surface determines what you see. Downlighting from above flattens beams and hides their depth. Uplighting from below or from the sides reveals grain and dimension because it catches the beam’s actual topography.

Uplighting from floor level or wall-mounted fixtures illuminates beams from underneath, creating shadow and highlight contrast that reads as texture and presence. Position fixtures to graze across the beam rather than blast straight up into it. This isn’t about brightness—it’s about trajectory. A 60-watt warm bulb placed correctly will outperform a 100-watt bulb placed wrong. Test placement before installing permanent fixtures.
Highlighting Texture Without Creating Harsh Glare
The common advice to “add more light” is the opposite of what you need here. Glare happens when light bounces off a reflective surface directly into your eyes, and it destroys texture perception instantly. Use diffusion and distance. Warm bulbs matter, but positioning matters more. A 2700K bulb placed six feet away hitting a beam at a 45-degree angle produces texture. The same bulb two feet away creates glare wash.
Lanterns work because they naturally diffuse light through glass or fabric, spreading rays instead of beaming them. Mount lanterns offset from the beam, not directly beneath it. Use bulbs rated no higher than 60 watts in enclosed lanterns. The mechanism is simple: indirect light that travels through a diffusing material before reaching the beam surface reveals grain without overwhelming the eye.
Cabin Lighting: The “Lodge Lighting” Blueprint For Impact
Fixtures As Architectural Load Bearing Elements
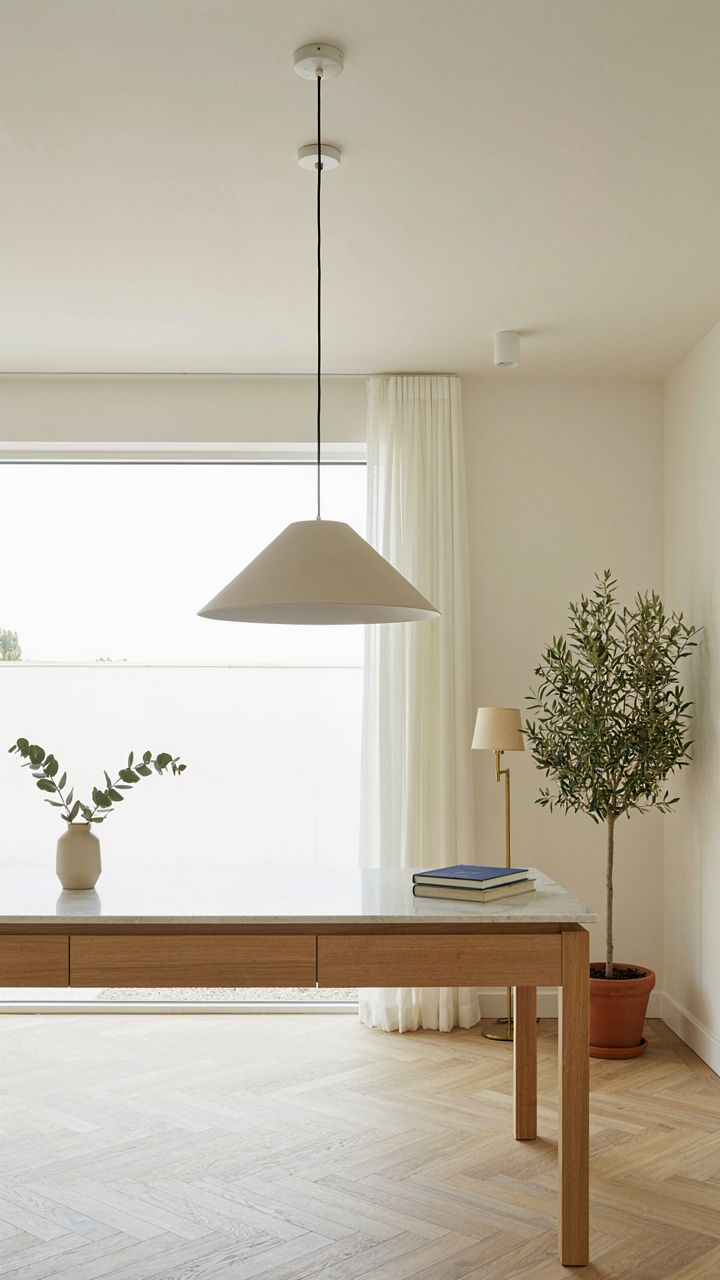
You want cabin lighting to feel intentional because sloppy lighting signals you haven’t thought about the space, and people notice. The real mechanism is treating each fixture as a structural decision, not a decoration you add after the room exists. In architecture, load-bearing walls define the skeleton. Lighting fixtures should define yours too—positioned where they anchor sight lines, frame functional zones, and create visual weight distribution across the room.

Lanterns mounted on stone pillars, pendant lights above island counters, or sconces flanking a fireplace aren’t accessories. They’re anchor points that organize how eyes move through the cabin. Place a fixture, and you’ve created a node. The space reorganizes around it. Most people hang lights in dead spots and wonder why the room feels flat. Start by mapping where people actually stand and move, then mount fixtures there. The fixture becomes part of the architecture, not a surface-level add-on.
Scale Matching Your Actual Ceiling Height
This is where generic advice fails. Interior designers tell you fixture size should match room size. Useless. What matters is proportional tension between the fixture and the volume it occupies. A standard 8-foot cabin ceiling with an oversized statement lantern creates visual compression. The light dominates instead of integrating. Undersized fixtures in the same space disappear into nothing, wasting the opportunity to anchor the room.
Measure your ceiling height first. For 8-foot ceilings, lantern diameter should sit between 12 and 18 inches. For 10-foot ceilings, move to 16 to 24 inches. The fixture occupies enough visual real estate to matter without overwhelming the space. Test proportion by standing directly under where you’ll mount it and looking up. If your instinct says it’ll look cramped or lost, you’re reading scale correctly. Trust that instinct and adjust diameter or mounting height accordingly.
The Warm Bulb Deception: Color Temperature As A Psychological Lever
Kelvin Temperature Beyond Warm White Assumptions
You want cabin lighting to feel “cozy” because you’re afraid your space reads as generic or cheap. Here’s what nobody says plainly: the entire warm-versus-cool framing is marketing, not physics. Kelvin temperature is a measurement of light wavelength, borrowed from materials science. A 2700K bulb doesn’t emit coziness. It emits longer wavelengths that your brain processes differently than 5000K light does. The mechanism is optical, not emotional.

Most cabin advice stops at “use warm bulbs and it feels nice.” Wrong. A 2700K bulb in a poorly reflective space with harsh shadows feels worse than 4000K light in a well-designed room. Color temperature is one input in a system. The output depends on fixture placement, diffusion, room surfaces, and the specific task you’re performing. A lantern with 2700K light and no diffuser creates pools of brightness surrounded by shadow. That reads as strain, not refuge. The actual move is matching color temperature to both your circadian needs and visual function, not treating it as a standalone cozy button.
Light’s Effect On Circadian Rhythm
Your body doesn’t care about aesthetic preferences at 10 PM. Circadian biology is non-negotiable, and this is where cabin lighting decisions either work with your sleep or sabotage it. Blue wavelengths suppress melatonin production. Warmer light suppresses it less. That’s the only mechanism that matters operationally. Ambient 2700K lighting after sunset aligns with your body’s natural light cycle because sunlight shifts toward longer wavelengths as the sun lowers.
The trap is assuming 2700K everywhere solves the problem. It doesn’t. A 2700K overhead fixture at full brightness at 9 PM still disrupts sleep onset if it floods your visual field. The real protocol: use 2700K or lower after sunset, keep lux levels low (under 300 lux for ambient cabin space in evening hours), and position light sources to avoid direct line-of-sight to your eyes when sitting. Lanterns work here because their geometry naturally diffuses and redirects light. Install one on a dimmer. Dim to 40-50% after dark, then assess your sleep latency over two weeks.
Log Cabin Lighting Ideas Interiors: Engineering Visual Flow
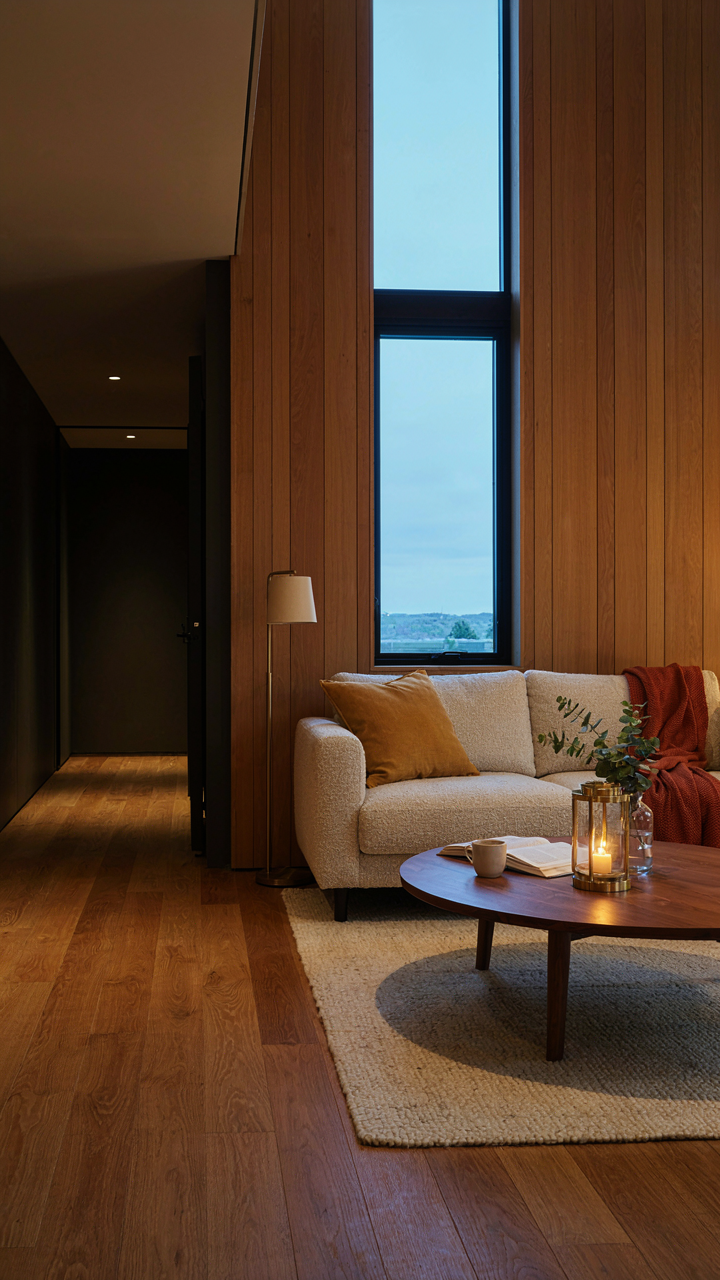
Contrast Creates The Rooms You Don’t Build
You want people to feel oriented without thinking about it, which means you need them to sense where one space ends and another begins. Borrowed from figure-ground perception in visual design, contrast is the mechanism: your eye tracks light intensity shifts the same way it tracks object edges. A dark corner adjacent to a bright focal point doesn’t just look intentional. It tells your nervous system there’s a boundary.

Most cabin lighting advice treats brightness as a uniform problem. Wrong. Brightness variance is the actual tool. Place a warm 2700K lantern at 300 lumens near your seating area, then drop ambient light in the adjacent hallway to 100 lumens or less. You’ve drawn an invisible line without adding a wall. The eye reads the shift instantly.
Light Routes Movement Without Signage
Humans follow light the way they follow paths. This isn’t preference, it’s neural wiring from when fire meant survival. Your cabin interior can exploit this by layering brightness to suggest direction without obvious instruction. A brighter landing guides feet toward stairs. Dimmer perimeter lighting tells occupants the edges exist without drawing attention to them.
Lanterns placed at decision points work better than ambient ceiling fixtures for this purpose. Mount one at a hallway intersection. Mount another where guests naturally hesitate between two routes. The warm glow becomes legible navigation. People move through your space with purpose because light showed them where to go, not because you explained it.
Cabin Lights Interior: The “Less Is More” Commandment
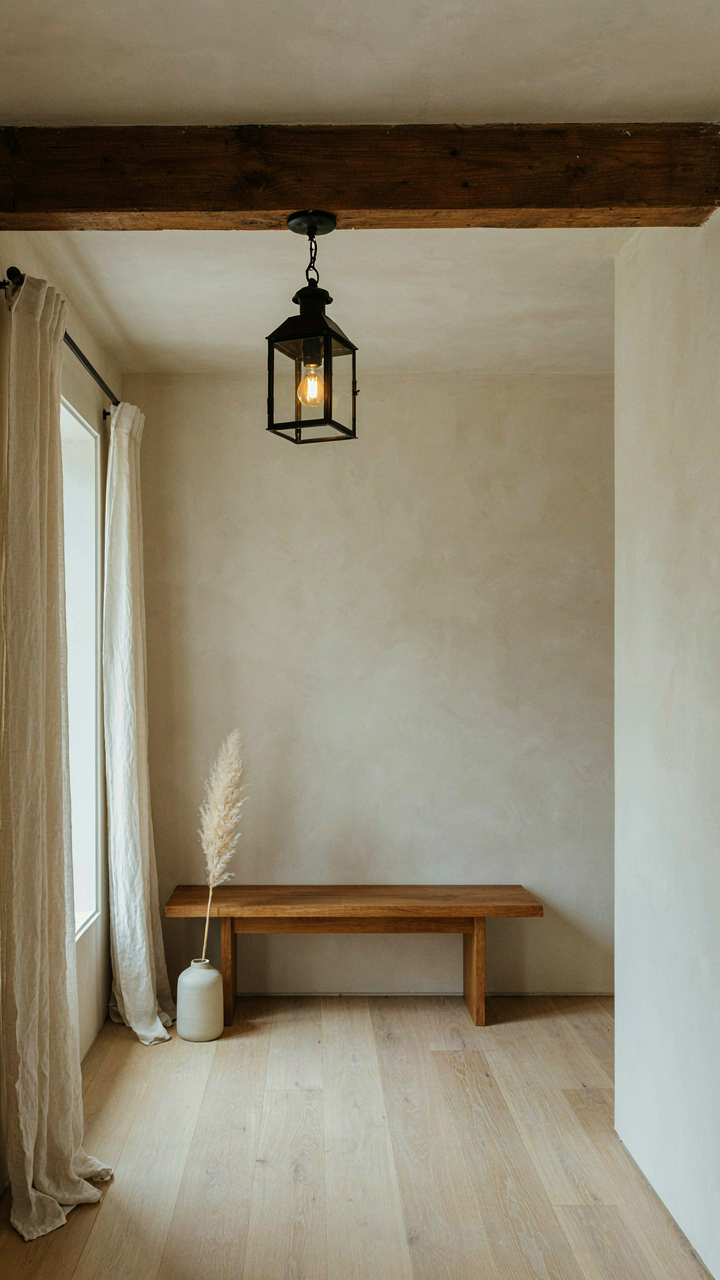
Stop Adding Fixtures You Don’t Need
You want your cabin to feel intentional because you’re tired of spaces that feel like committee decisions. The mechanism is simple: every fixture you add either solves a specific task or it competes for attention. Most cabins fail because owners install lights for coverage, not purpose. A lantern on the table works. A recessed can light in the corner doesn’t. One creates a reason to look there. The other just exists.

Start by identifying the actual activities in each room. Reading needs task light. Cooking needs task light. Gathering needs ambient light. Walking the hallway needs just enough to not trip. Write these down. Then remove every fixture that doesn’t serve one of these functions. This isn’t minimalism for Instagram. It’s the difference between a cabin that feels settled and one that feels nervous.
The Brutalist Path To Actual Illumination
Brutalism in architecture prioritizes structure and function over decoration, rejecting ornament as dishonest. Apply this to cabin lighting: expose the source rather than hide it. A bare Edison bulb in a metal cage tells you exactly what’s happening. A frosted dome that diffuses light everywhere accomplishes nothing except using more electricity.
The hardest part isn’t removing fixtures. It’s resisting the urge to soften them once they’re installed. A lantern hanging from a beam looks unfinished until you stop expecting it to match something else. The real work happens when you commit to letting the light source be the design element. Mount it where it functions. Leave it visible. Measure success by whether you can read, cook, or navigate, not by how the space photographs.
The “Adaptive Illumination” Framework
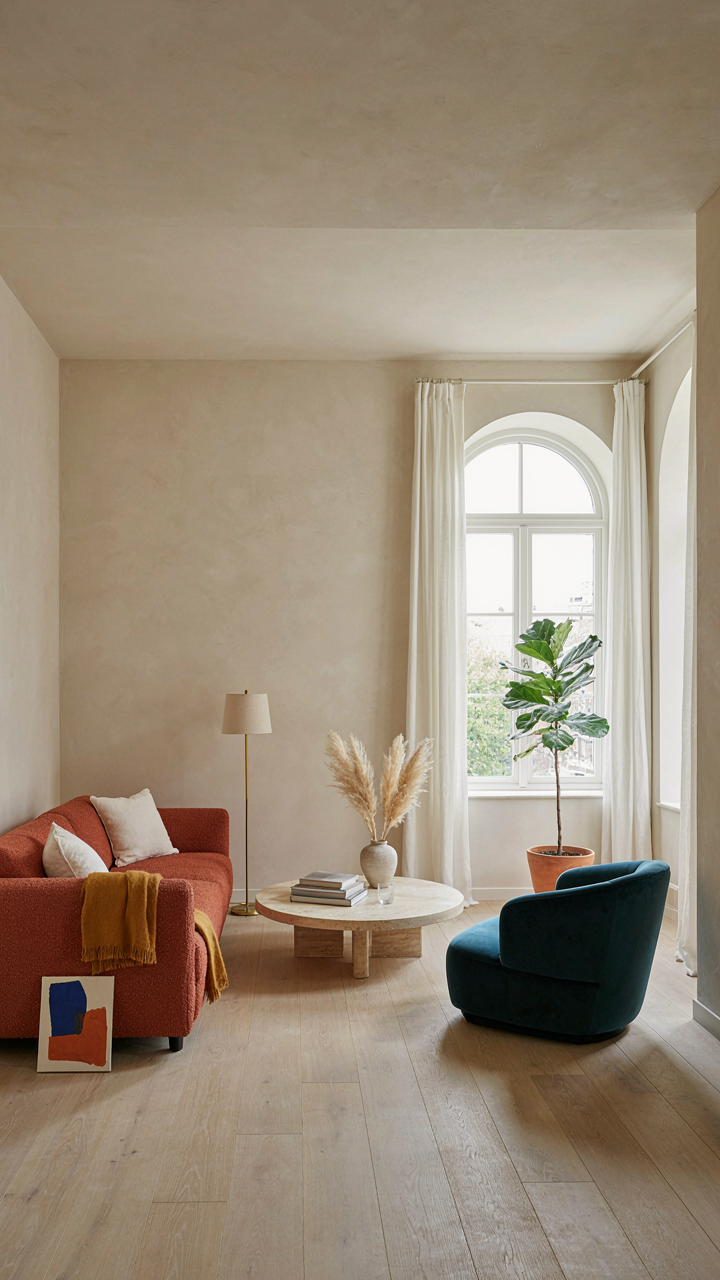
Modulating Intensity Across Time And Task
You want cabin lighting to feel “right” without thinking about it, which means you’re really after control without effort. The mechanism is simple: light intensity must shift because your eyes and circadian rhythm shift, and a static setup fights both. Morning tasks need different foot-candles than evening reading. Noon requires different color temperature than dusk. Most cabin designs ignore this entirely, treating lighting like decoration instead of a system that tracks context.
- Early morning (6-9 AM): Use 3000-4000K with 300-500 lumens to support alertness without jarring the system after sleep.
- Daytime tasks (9 AM-3 PM): Increase to 4000-5000K and 500-800 lumens for detail work like reading or cooking.
- Late afternoon (3-6 PM): Drop back to 3000K, holding 400-600 lumens as natural light fades but day isn’t fully done.
- Evening social time (6-9 PM): Lower to 2700K with 200-350 lumens to trigger melatonin production without killing conversation.
- Pre-sleep (9 PM onward): Reduce to under 200 lumens at 2000-2700K, eliminating blue wavelengths that suppress sleep signals.

The practical move is installing dimmers on your lanterns and warm bulbs, then building a routine tied to clock time rather than mood. Don’t rely on “feel”—your eyes adapt too fast to notice degradation. Set specific lumen targets per time block and actually measure them with a light meter app or basic hardware store meter. Your system works when you stop thinking about it and start following the protocol.
Building Feedback Loops Into Your Lighting Environment
Cybernetics—the study of control systems and feedback—reveals the core flaw in static cabin lighting: it has no sensor and no response mechanism. Your space can’t know if you’re reading, eating, or winding down, so it can’t adapt. The real systems (your eye, your circadian rhythm) are constantly sending signals that go ignored. Install dimmers that respond to these signals: manual dimmers for deliberate control, and consider basic occupancy sensors in high-traffic zones to prevent waste.
The feedback loop closes when you measure outcomes, not just inputs. Track how you actually sleep after different evening light protocols. Note which task intensities prevent eyestrain. Adjust bulb positions or add diffusers based on glare complaints. One cabin designer we know tests lantern placement by sitting through a full evening cycle and logging discomfort points. After three weeks of small tweaks, the system becomes invisible because it’s finally aligned with reality instead of guesswork.
Mastering The Unseen: The Physics Of Reflected Light
Surface Reflectivity: Enhancing Or Absorbing Light
You want this section to make you sound intelligent at dinner. Here’s what actually matters: the reflectivity coefficient of your cabin’s surfaces determines whether your lantern light dies on contact or bounces around the room. Physics calls this albedo—the fraction of incident light a surface reflects. A white pine wall reflects roughly 50-60 percent of light. A dark stain absorbs 80 percent or more. Your lantern’s effectiveness isn’t about wattage alone. It’s about what the room does with the light after it leaves the bulb.
Most cabin advice ignores this entirely. People buy expensive lanterns and place them in dark wood boxes, wondering why the space still feels dim. The mechanism is straightforward: select surfaces based on their reflective properties, not their appearance. Matte finishes scatter light diffusely. Glossy finishes create specular reflection—direct bounce paths that can create hot spots or shadows. In a cabin, matte white or light cream walls amplify your lantern’s reach by 40-50 percent compared to dark wood. Paint or whitewash increases effective illumination without adding wattage.
Calculating Bounce: Manipulating Light With Materials
Light bounce isn’t random. Geometry controls it. If you place a lantern at desk height against a single wall, light travels outward, hits the wall at an angle, and reflects back at an equal angle—basic law of reflection from physics. But add a second surface perpendicular to it and light bounces between them, multiplying passes through the cabin. Corner placement traps and recirculates more photons than wall placement.
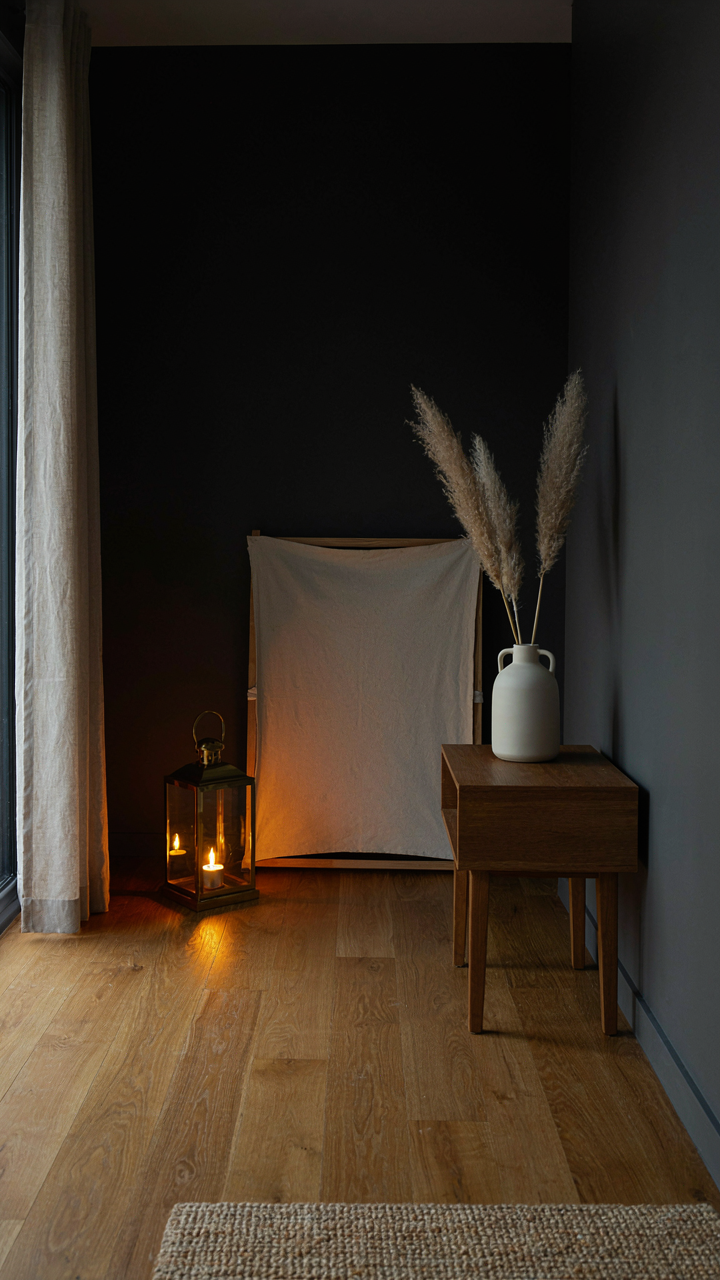
Material selection compounds this effect. Polished metal reflects 90 percent of light with directional precision. Unfinished wood reflects 30-40 percent and scatters it. Fabric absorbs 70-90 percent. Strategic placement of reflective surfaces behind or beside lanterns creates secondary light paths that fill shadows. A light-colored canvas backdrop behind a lantern in a dark corner adds illumination without a second light source. The protocol: identify your darkest zone, measure the wall reflectivity, then position a single reflective material perpendicular to your lantern’s primary light direction to capture and redirect 15-25 percent additional light into dead zones.
Your True Obstacle Isn’t Finding The Right Bulb; It’s The Fear Of Deviating From Expected Mediocrity
Most people keep their cabins dim and cold because that’s what cabins “should” look like. You’ll break that pattern today by replacing one overhead fixture with a single warm lantern. Not tomorrow. Not when you have time. Today. Watch what happens when you actually control the light in a room instead of accepting what came with the walls. The cabin you want doesn’t require permission or a perfect plan. It requires you to stop waiting and start burning brighter.