Beyond Aesthetics: The Hidden Structural Cost Of Cottage Dormer Windows
Where The Roof Fails First
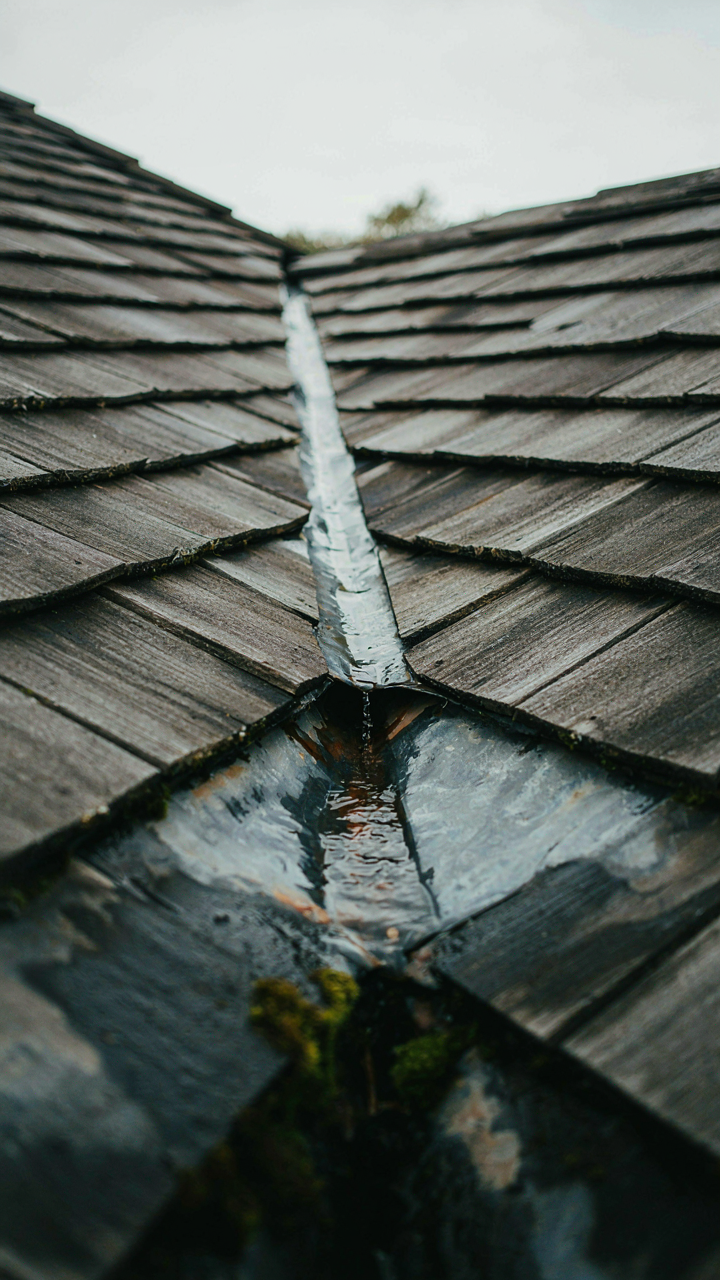
You want the character without admitting you’re terrified of a roof leak. Here’s what actually happens: dormer windows create discontinuities in the roof plane, and discontinuities concentrate stress. Think of it through structural engineering: a continuous roof membrane distributes load evenly across rafters. A dormer interrupts that plane, forcing the roof to route water and snow load around a new obstacle. The junction points where the dormer meets the existing roof become failure zones because materials there experience competing tension directions simultaneously.
The real cost emerges over time, not during installation. Water doesn’t leak straight down at a dormer junction—it pools, freezes, and forces its way into the framing. Most cottage dormer failures happen at the valley where the dormer slope meets the main roof, specifically where flashing sits. Roofers know this, which is why flashing installation at dormers requires precision that basic shingle work does not demand. Skip this detail and you’re not fixing a small problem in five years—you’re replacing rotted fascia and interior framing in fifteen.
Load Routes Shift When You Cut The Roof
The mechanism here comes from structural load distribution: removing roof framing to install a dormer redirects weight that previously traveled straight down the rafter system. Those pounds now channel around the opening, flowing through the remaining rafter segments and down to the wall plates below. This isn’t theoretical—it changes which beams carry stress and how much they carry. A cottage dormer doesn’t just add a window; it rewires your roof’s load path.
Headers and trimmer rafters become the critical elements. They absorb the load that the removed section used to carry, then transfer it laterally to adjacent rafters. The wall below the dormer absorbs concentrated point loads instead of distributed weight. If that wall wasn’t designed for dormer installation, you get uneven settlement, cracking in plaster, and doors that jam. The fix requires structural engineering before construction, not after you notice the problem.
The Thermal Leak: How Your Dormer Window Undermines Efficiency
Where Insulation Breaks Down
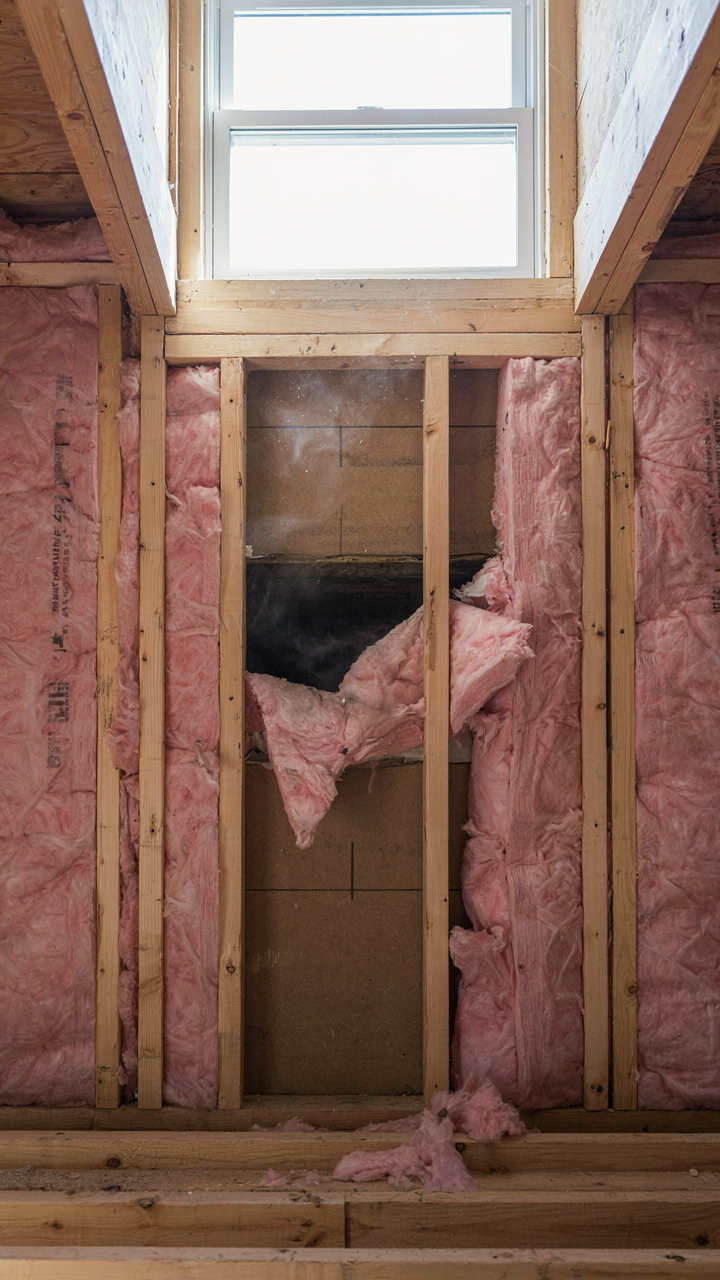
You want the light and the aesthetic without admitting the dormer window is thermally compromised by design. Here’s the mechanism: dormers create what thermal physics calls a “discontinuity”—a break in the insulation envelope where the roof plane meets the vertical wall of the dormer box. The wall cavity that runs up and behind the dormer cannot maintain consistent R-value because the geometry forces corners and junctions that interrupt material placement. Insulation batts don’t bend around the frame angles. Foam board sheets leave seams. The result is a concentrated cold zone.

The real problem isn’t the window itself. It’s the structural pocket around it. Traditional cottage dormers use a simple framed opening: headers, king studs, and rough sills that create inherent weak points. Modern builders sometimes stuff these cavities with loose-fill to compensate, but gravity and settling create voids over time. You cannot see where the insulation failed until the heating bill arrives. The only reliable fix is rigid foam blocking the entire dormer cavity during construction, installed before drywall closes the space.
Air Sealing And What Happens When You Skip It
The common advice says caulk and weatherstrip around the dormer window frame. That solves maybe forty percent of the problem. The real leak pathway runs through the roof-to-wall joint where the dormer cheek meets the cottage roof plane. This joint flexes seasonally, opening and closing micro-gaps. Air moves through that interface before it ever reaches the window gasket. Building science confirms this: pressure differentials drive infiltration at structural transitions first, perimeter seals second.
Moisture compounds the failure. Warm interior air contacts cold surfaces around the dormer cavity during winter. Condensation forms inside the wall cavity where you cannot see it. The drywall and framing stay damp for weeks. Mold begins growing in the insulation. The wood frame softens. You discover the damage only after structural rot has advanced. Seal the roof-to-dormer joint with flexible, non-shrinking sealant before installing trim. Install a vapor barrier on the warm side of the insulation during framing, not after.
The “Light” Myth: When Dormers Create More Glare Than Illumination
Where The Sun Actually Hits
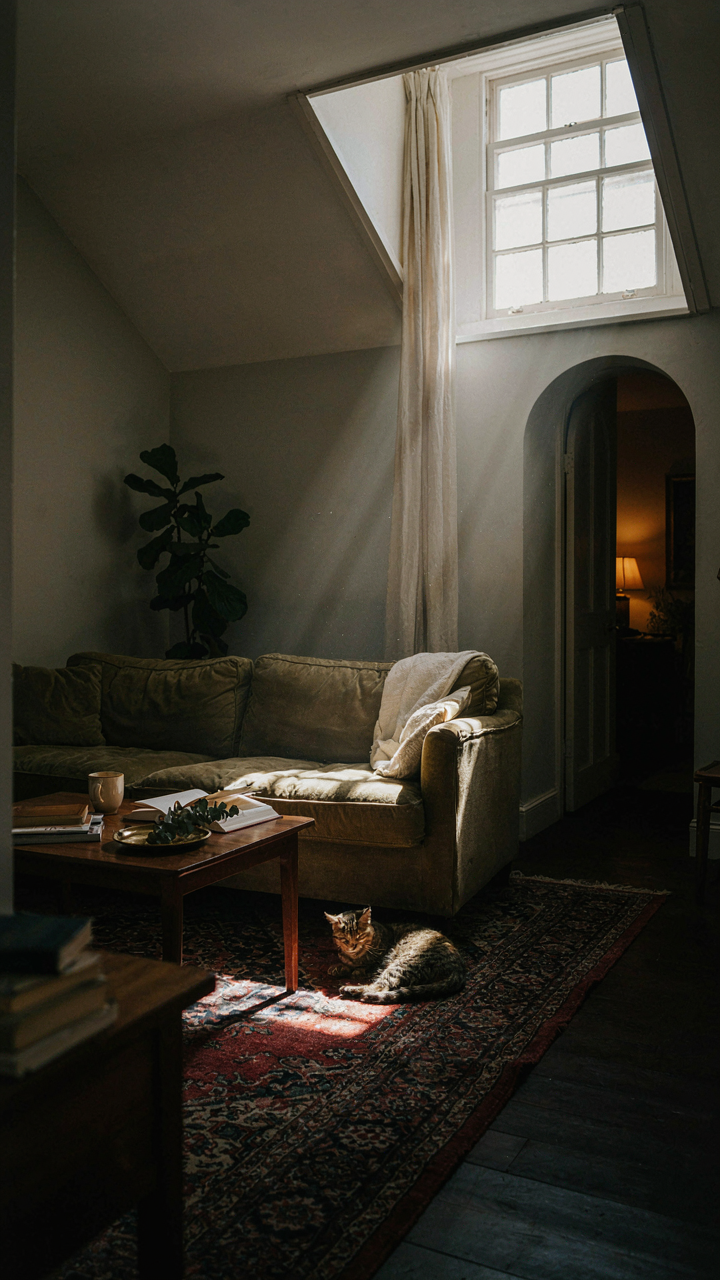
You want dormers because you think they flood your cottage with light. That’s the dream. But physics doesn’t care about your intentions. Dormers work like light collection devices, and collection only matters if you understand sun path—the trajectory the sun takes across your sky based on latitude, season, and time of day. A south-facing dormer in winter captures low-angle sun. A north-facing one captures almost nothing. Most people install dormers then get surprised by where light actually lands.

Sun path analysis reveals the real constraint: orientation and latitude determine what you get. A cottage in northern regions experiences extreme seasonal shifts. Summer sun angles differ radically from winter. East and west-facing dormers create morning and evening glare problems that render rooms unusable during those hours. The dormer window itself becomes a hot spot—bright enough to wash out everything else in the room. Positioning matters more than size, but most builders treat dormers as afterthoughts rather than optical instruments.
Internal Surfaces Determine Your Outcome
The common advice says dormers add light, period. Wrong. What actually happens depends on what bounces light around inside your cottage once it enters. This is optics applied to interior design: light dispersion. Inside your room, surfaces act as reflectors or absorbers. White or cream-colored walls and ceilings near the dormer window multiply illumination by bouncing light deeper into the space. Dark wood paneling, furniture, or thick curtains kill that advantage immediately. You can add a dormer and still have a dim cottage if your interior surfaces swallow light instead of moving it.
The glazing itself matters as much as the opening. Single-pane glass in old cottages reflects interior light back into the room during daylight, reducing net light gain. Double or triple glazing improves transmission but costs more upfront. Reflective interior finishes within two meters of the dormer window control glare and distribute light evenly. Without this, you get bright spots on walls and dark corners simultaneously. Measure the reflectance values of your planned interior colors before committing to the dormer location.
The Dormer Window Paradox: Trading Volume For Unusable Space
How Sloped Ceilings Kill Room Function
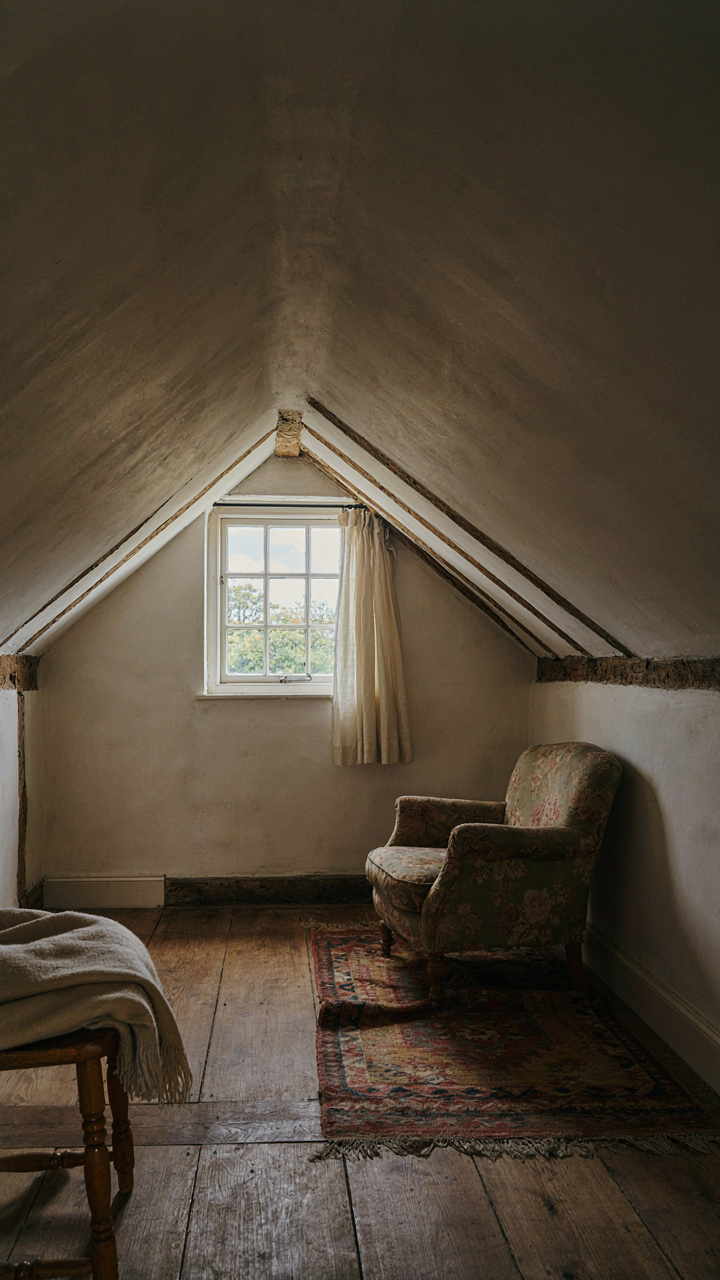
You want a dormer because you believe it solves the attic problem. It doesn’t. Geometry—the branch of math that governs physical space—treats a dormer like a cone: light enters at the peak, but usable floor area shrinks the further you move toward the perimeter. This is the fundamental constraint nobody names when they show you those pretty renovation photos.

A cottage dormer creates what architects call a “head height zone”—typically a 6-foot minimum clearance where furniture and people actually belong. Outside that narrow band, the ceiling slopes away fast. You gain brightness across the entire room, true. You gain almost no functional square footage. The sloped walls become dead zones where nothing useful fits except decoration or storage you’ll never access.
The Real Limitation With Placement
Most design advice says “work with the slope” or “embrace the angles.” This avoids the actual problem: a dormer forces you to compress all daily living into a smaller footprint than the attic’s raw dimensions suggest. Beds must float in the center. Dressers belong only under the highest point. Desks block windows. Work backwards from this constraint, not forwards from the aesthetic.
The trade-off is real and permanent. You solve a light problem and create a layout problem in the same move. Before committing to a dormer, measure your attic width and calculate where a 6-foot line would sit. That line is your actual usable space. Everything beyond it is visual benefit only, not functional improvement. Measure before you build, not after.
The “Character” Trap: Generic Dormer Window Ideas That Dilute Charm
Match Your Dormer To The Actual House
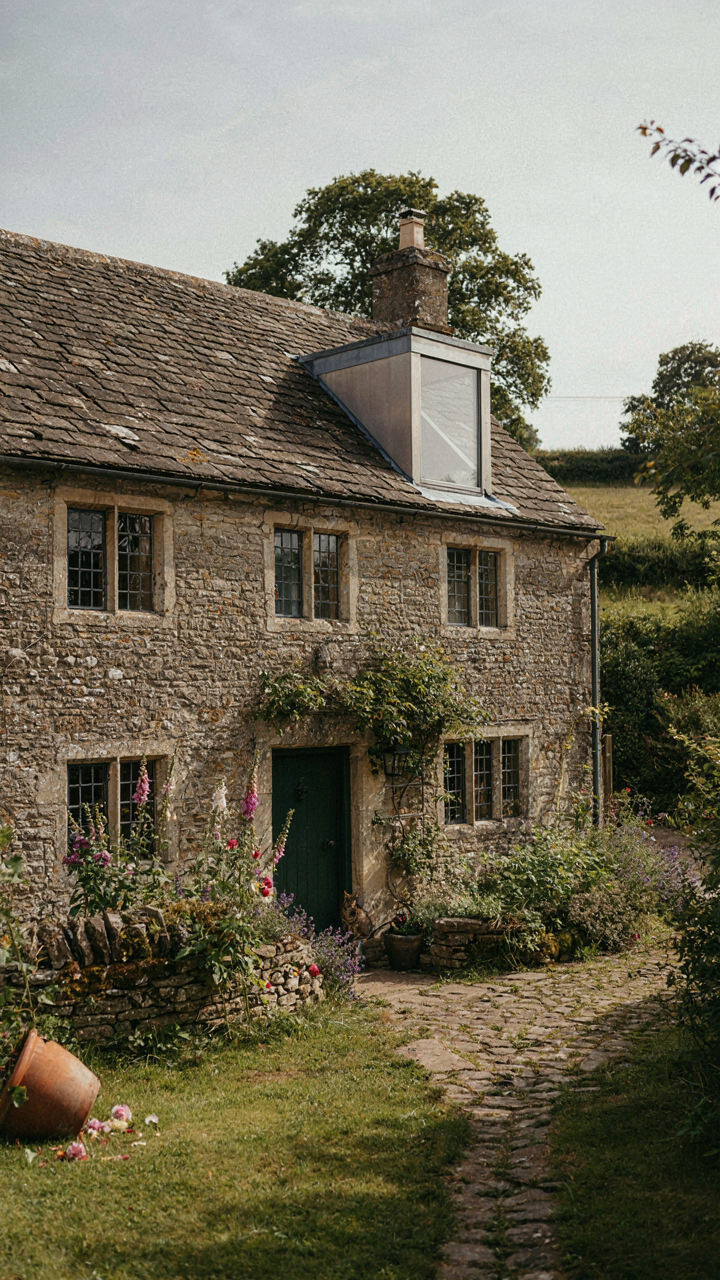
You want people to think you have taste. That’s why you’re drawn to cottage dormers in the first place, and why generic advice about “adding charm” feels right until you build it. The real mechanism is simple: dormers work through contrast and proportion, not sentiment. Borrowing from architecture’s load-bearing principle, a dormer succeeds when it transfers visual weight properly. A shed dormer on a 1920s cottage reads as an afterthought. A gabled dormer on the same house reads as intentional because the roof pitch already speaks that language.

Your cottage’s original roof angle, wall height, and fenestration pattern already established a visual contract with whoever looks at it. A dormer that ignores this contract feels tacked on, no matter how “charming” its details are. Match the dormer’s pitch to your roof pitch. Match its scale to your window bay spacing. Match its material to what’s already there. These aren’t preferences, they’re structural decisions about how the eye reads the whole composition.
Avoid The Architectural Costume
The common advice tells you to add character through details: cute shutters, decorative trim, vintage glass. This is backwards. You’re building a costume instead of solving for context. Architectural pastiche happens when you stack borrowed details without understanding why they worked in their original setting. A steeply pitched dormer roof might look precious on a 1970s ranch addition but necessary on a genuine 1800s farmhouse where snow load drove every decision. The detail didn’t create character, the constraint did.
Stop collecting cottage aesthetics and start reading your house’s actual design logic. If your cottage was built when function determined form, dormers followed material limits and weather patterns, not trend cycles. A modern dormer that ignores those originating constraints will always signal “renovation” instead of “original.” The work is backward engineering why your house’s existing elements exist, then extending that same logic forward. Your dormer becomes coherent only when it solves a real problem your cottage actually has.
The Entropy Protocol: Managing Dormer Window Lifecycle Degradation
Where Water Enters, Rot Begins
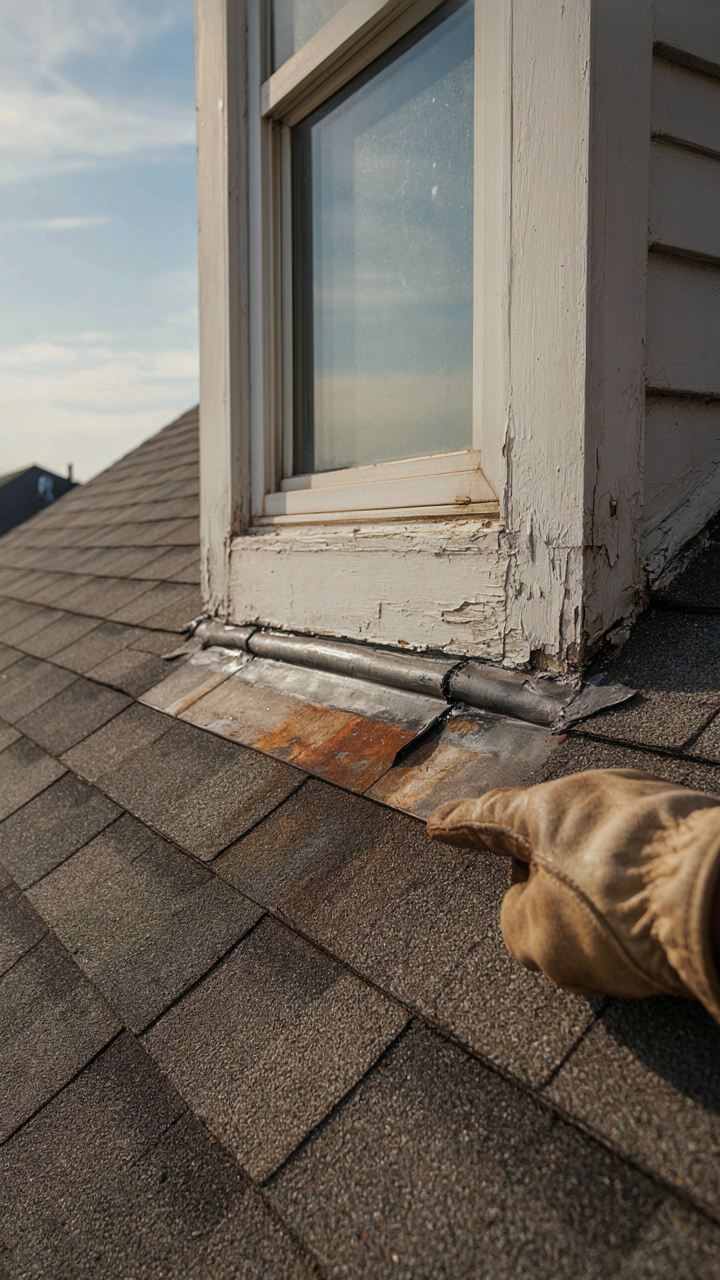
You want this section because you’re afraid of invisible damage eating your investment from the inside out. In military strategy, you identify the breach point first—the exact location where the enemy gains entry and compounds damage over time. With dormers, that breach is the flashing junction where the roof plane meets the vertical wall. Water doesn’t care about your aesthetic choices; it finds the weak seal and exploits it systematically. Most homeowners catch problems only after structural wood shows staining, by which point remediation costs triple.

The flashing failure mechanism is straightforward: thermal cycling moves materials at different rates, sealant loses elasticity within 5-7 years, and capillary action pulls moisture into wood grain beneath the visible surface. You stop this by understanding that the flashing system—not the window itself—determines the dormer’s lifespan. Copper or lead-coated flashing outlasts aluminum because it resists oxidation corrosion. The seal between flashing and roof membrane matters more than the window’s frame material.
Your Maintenance Schedule, Indexed By Season
Seasonal inspection prevents the slow accumulation that becomes catastrophic. Spring checks catch ice dam damage from winter expansion. Summer heat exposes sealant failures that winter masked. Fall clears debris that traps moisture. Winter identifies ice dam formation patterns before they cause backups into the wall cavity.
- Spring flashing audit: Inspect for lifted or separated flashing edges after freeze-thaw cycles. Look for water staining on interior ceiling below the dormer. Check that gutter system properly diverts water away from the flashing seam.
- Summer sealant inspection: Run a putty knife along all perimeter joints. If sealant peels away or crumbles, schedule replacement. Test caulk flexibility by pressing gently; hardened sealant has failed and needs removal and reapplication.
- Fall debris removal: Clear leaves and moss from dormer roof surfaces and gutters. Decomposing organic matter traps moisture and accelerates wood rot. Check for standing water pooling on roof planes adjacent to the dormer structure.
- Winter ice dam management: Monitor ice buildup along the dormer-to-roof transition. Install heating cables if ice consistently forms in that zone. Ensure attic insulation is even to prevent warm spots that trigger melting.
- Annual interior inspection: Check inside the attic or walls adjacent to the dormer for moisture, staining, or soft wood. Catch problems before they spread into the structural frame. Document changes with photos to track progression.
The real maintenance protocol is this: you move from visual inspection to hands-on repair within 48 hours of identifying a failure. Delaying sealant replacement for a season lets water penetrate beyond the visible surface, where it works unseen for months before manifestation.
Before The Build: Essential Dormer Window Drawing & Planning Mistakes
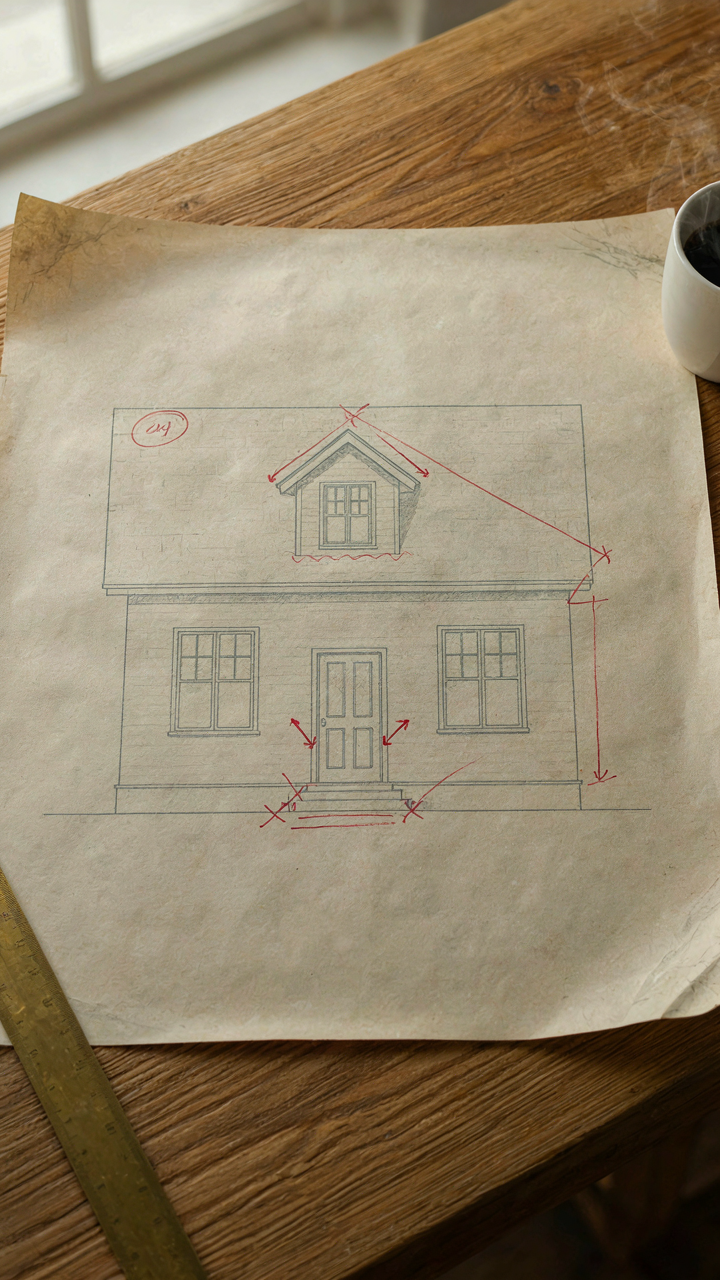
Building Code Compliance Isn’t Optional
You want to avoid a costly teardown and the shame of a failed inspection. Here’s the mechanism: building codes exist because dormers create structural vulnerabilities. They interrupt the roofline, add dead load to the frame, and create water infiltration points. Your local jurisdiction has specific rules about dormer height, setback from the ridge, roof pitch, and flashing depth. These rules differ by region based on snow load, wind speeds, and seismic activity.

The common mistake is assuming your contractor knows local code. They don’t always. Get the building department’s specific requirements in writing before any drawings go to a contractor. Verify setback distances from the ridge, minimum roof slope for your dormer type, and required flashing specifications. Call your local building department directly. Ask for the exact code section that governs dormers in your jurisdiction, not a general explanation. This single step prevents rework and fines.
The Wrong Contractor Derails Everything
Vetting a contractor for dormer work is not about references alone. It’s about verifying they’ve actually built dormers in your climate zone and understand the failure modes specific to that region. A contractor skilled in flat-roof installations will not automatically excel at dormers. Dormers demand precision in flashing, understanding of water management, and knowledge of how local weather patterns stress the connection points.
Ask potential contractors to show photos of completed dormers from at least three to five years ago. Request access to homeowner contact information from those projects. Call those homeowners and ask specifically about water leaks, ice dam formation, and any settling or cracking. Ask the contractor to explain their flashing strategy and why they use that particular approach for your roof pitch and climate. Their answer reveals whether they understand the mechanism or are running through a standard playbook.
Rethinking Roof Dormers: Alternatives To Avoid Common Blunders
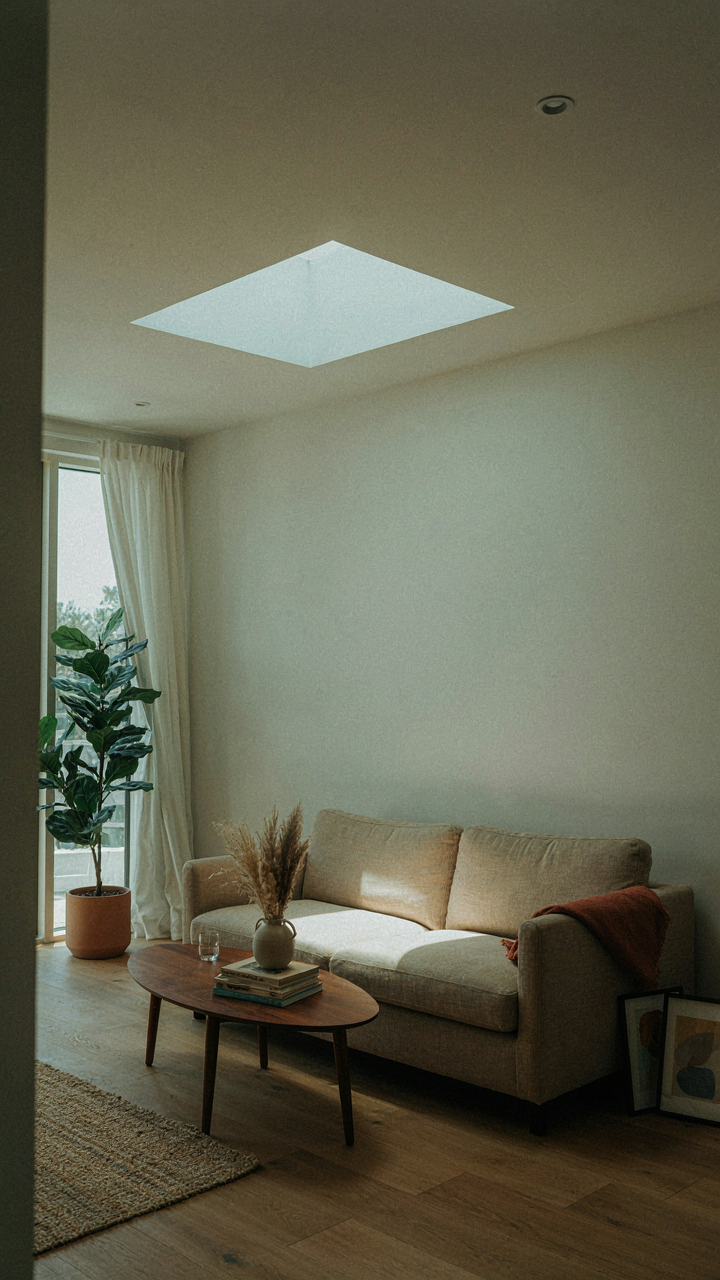
Where You Place Your Skylight Matters More Than Its Size
You want to believe a bigger skylight fixes a dark room. It won’t. Light behaves like water—it follows gravity and angle, not intention. Skylights fail because people install them where the roof pitch happens to be convenient, not where the sun actually travels. South-facing placement captures direct gain in winter when you need it most. North-facing skylights deliver flat, shadowless light that feels institutional. The mechanism is simple: angle of incidence determines angle of reflection. Get the orientation wrong, and you’re just framing a view of clouds.

Size becomes irrelevant if placement wastes the light you’re already paying to capture. A properly positioned small skylight outperforms a large one facing the wrong direction. The installation itself matters less than the seasonal path of the sun relative to your cottage’s latitude. Measure your roof’s true south orientation before cutting any opening. Position the skylight where morning or afternoon rays actually hit the plane you’re opening.
Interior Mirrors And Reflective Surfaces Do The Real Work
Everyone talks about adding more skylights. Nobody mentions that reflected light travels just as far as direct light, and it costs nothing to redirect. Mirrors placed opposite a window or skylight double the effective illumination in a room without touching the roof. This is basic optics, not design theory. Most cottages have dark corners not because they lack light sources but because light hits one wall and dies. Strategic reflective surfaces intercept that wasted light and bounce it into dead zones.
Install high-quality mirrors at angles that catch and redirect ambient light toward seating areas or work surfaces. Glossy wall finishes and light-colored ceilings multiply this effect. Position reflective elements before you cut into the roof. Once you understand that interior redirection costs time, not money, you stop assuming dormers are your only solution. This approach preserves the cottage’s exterior character while solving the actual lighting problem inside.
The Ugly Truth: Your Cottage Dormer Is A Symptom, Not A Cure
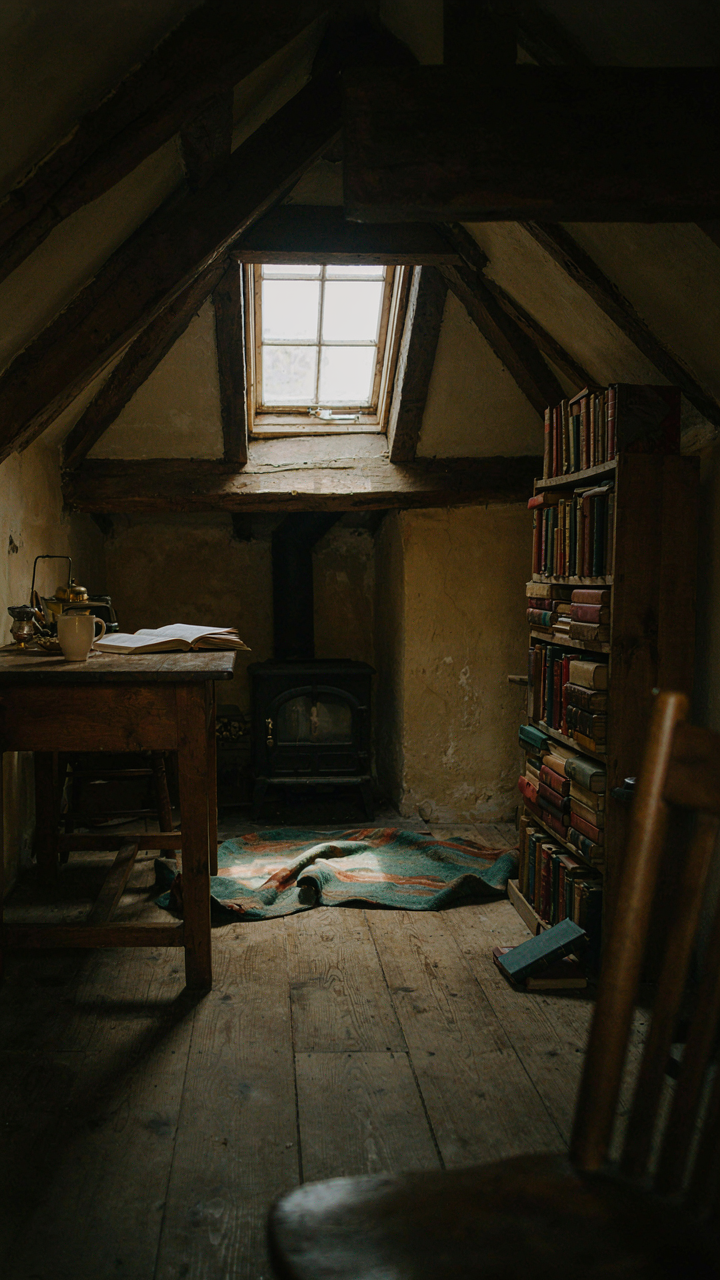
Most people install cottage dormer windows because their home feels dark and cramped. They think the window fixes it. Wrong. The dormer exposes a deeper problem: you built or bought a space that doesn’t match how you actually live. The light matters less than the fact that you finally admitted your cottage needs to work harder. Stop treating dormers as decoration. Use them as permission to redesign the entire room around better function. Your real problem isn’t darkness. It’s that you’ve accepted mediocre spaces for too long.