Introduction
Refreshing your living space can be simple and fun with the right DIY projects. Stylish decor DIY projects help you create a fresh look tailored to your taste without spending a lot of money. With a few basic tools and materials, you can transform your rooms into comfortable and personalized spaces.
DIY projects encourage creativity and make your home feel unique. Whether you want to add a pop of color or create new furniture pieces, there are many ideas you can try. This article will guide you through easy and stylish decor DIY projects, helping you bring new life to your home.
Understanding Your Space and Style
Evaluating Your Living Area
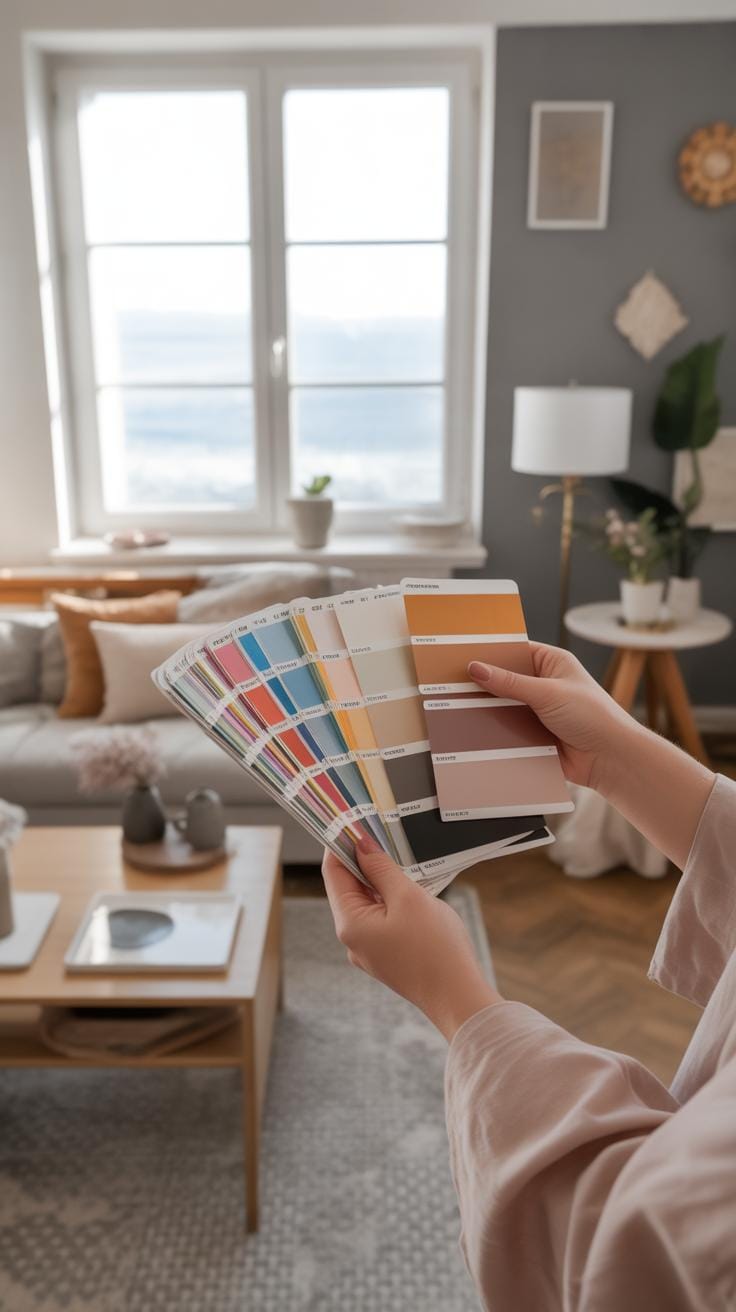
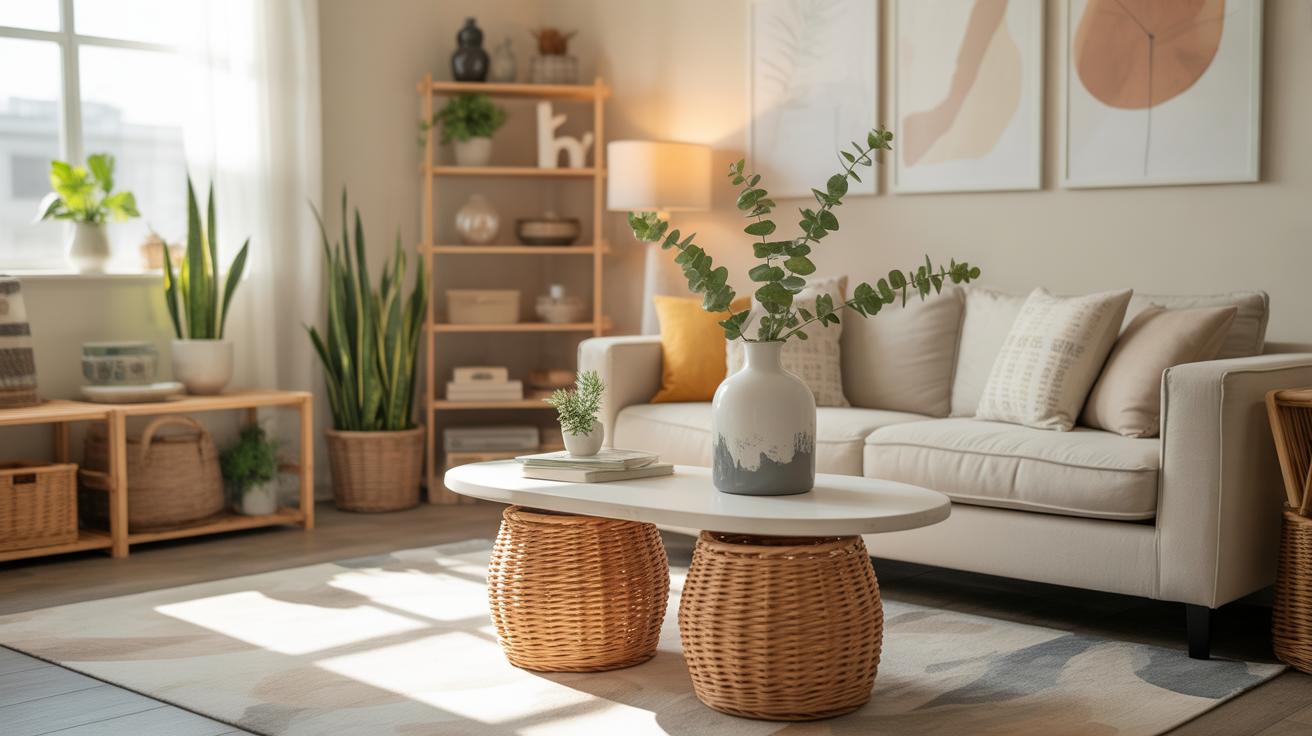
Start by taking a slow walk around your room and really look at it. What draws your eye first? What feels off or tired? Maybe the lighting is too harsh in the evening or there’s a dark corner nobody uses. Think about how your furniture is arranged—does it encourage conversation, or does it feel scattered and awkward? Colors matter too; chilly blues might make a space feel cold, while faded yellows could age the room.
Notice spots that seem cluttered or empty. Could a small table fit better elsewhere? Is the rug pulling the space together or just adding noise? These observations help spot what needs a refresh. Sometimes just tweaking one thing—like moving a lamp or trying new curtains—can change the whole vibe. But before jumping into projects, ask yourself what really bothers you and what you want to feel instead in your space.
Defining Your Personal Style
Figuring out your style isn’t always straightforward. You might like modern clean lines but feel drawn to rustic textures at the same time. Minimalist means simplicity, sure, but it can feel cold unless warmed up with personal touches. Rustic recalls nature and warmth but risks becoming cluttered if overdone. The key is figuring out what matches the way you live and who you are.
Try looking through magazines, online boards, or even your own photos. Take note of rooms you like and why—maybe it’s the calm colors, the types of furniture, or how open the space feels. Your personal style is more about what feels comfortable and authentic than following trends exactly. Don’t be afraid to mix styles if it suits you or your home’s architecture.
By tuning into the details of your space and your sense of style, you’ll pick DIY projects that not only look right but also feel right. It’s about making your home your own, not creating a showroom.
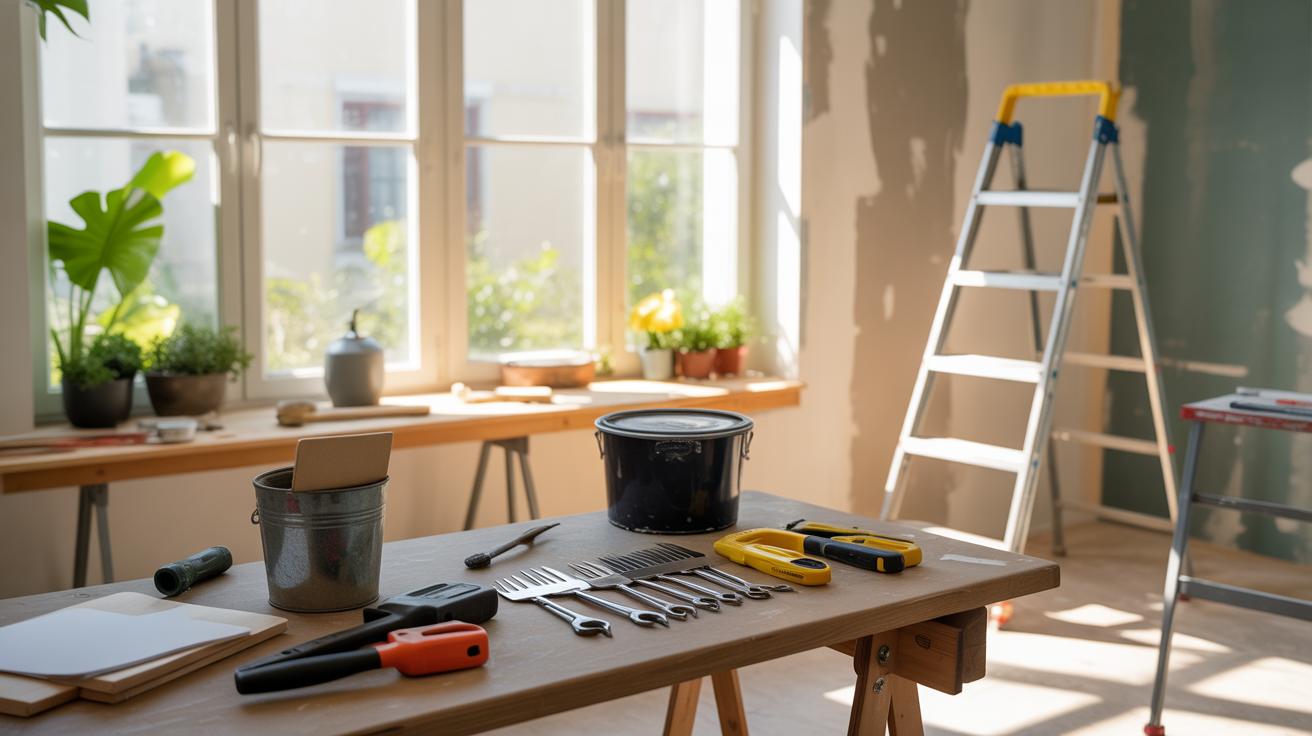
Gathering Materials and Tools

Before you dive into your first project, it helps to know what tools and materials you might need. It’s tempting to think you have to buy every gadget out there, but really, for most beginner decor projects, a handful of basic tools will do just fine. Think scissors, glue guns, paintbrushes—simple stuff that you can find almost anywhere.
Scissors are your go-to for cutting fabric, paper, or thin wood sheets. A glue gun sticks things fast and holds them firmly; it’s especially handy for combining different materials. Paintbrushes vary in size, but grabbing a few with different widths can cover most painting needs, from bold strokes to delicate detail.
Where to find these? Often, dollar stores, craft shops, or even hardware stores have affordable options. Online marketplaces sometimes offer kits meant for beginners—that can be quite convenient. It’s tricky though, because quality matters too; cheap tools might frustrate you later, but you don’t want to invest too heavily right away.
Materials depend on the style and type of project you choose. Wood is versatile—great for shelves, frames, or signs. Fabric works well for pillows or wall hangings and can add texture. Paper might sound basic but can turn into stunning collages or origami decorations. The key is matching material to what fits your space and vibe; for example, rustic wood pairs well with natural or vintage styles, while fabric prints can brighten up a minimalist room.
Would a smooth paper backdrop distract in your cozy nook? Maybe fabric would be better there. Thinking through these choices a bit beforehand might save you some trial and error. Personally, I’ve gone overboard on materials, only to realize a simpler option worked better. Don’t stress too much—just try to get what feels right for your project and space.
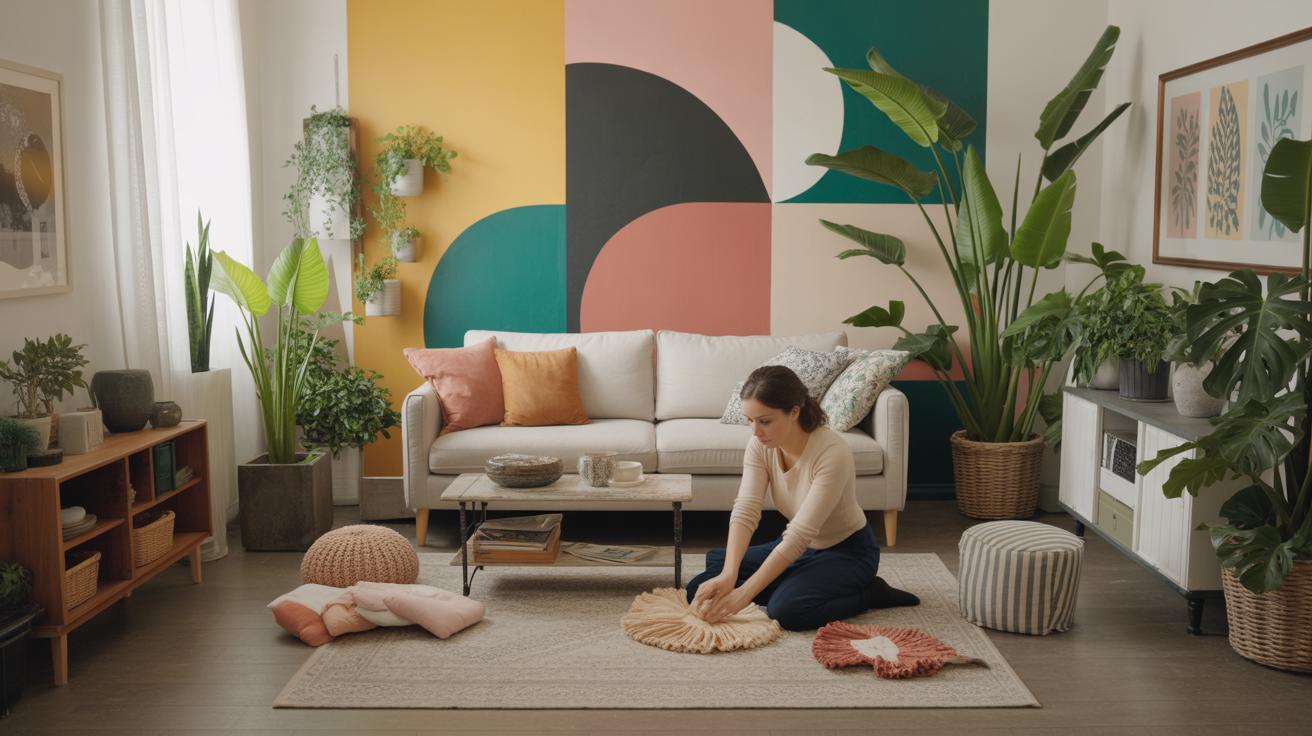
Creating Wall Art on a Budget
Making your own wall art doesn’t have to cost much. You can create something that feels personal and stylish with just a few simple steps and inexpensive materials. Sometimes the best pieces come from trying things out without spending a fortune.
Painting simple designs is probably the easiest place to start if you’re new to this. You don’t need to be a skilled artist to make an impact. Basic shapes like circles, lines, or even random brush strokes can add a modern touch. I remember trying geometric patterns on scrap canvases and being surprised at how a few colors mixed on a palette could completely change a room’s vibe. You could try:
- Using painter’s tape to create sharp edges or stripes
- Playing with color blocks in muted or bold tones
- Simple abstracts that don’t require precision—just let your hand move freely
Painting is forgiving, so don’t worry if you don’t get it right the first time. Sometimes a fresh coat of paint or layering shapes creates more depth.
Another approach is making collages or photo walls. Collect photos, magazine cutouts, postcards, or any interesting paper bits. The real trick is in the arrangement. Mixing sizes, colors, and frames—or skipping frames altogether—creates an eclectic look that feels spontaneous but considered. I once covered a wall with old travel photos and magazine clippings, overlapping and moving things around until it didn’t feel cluttered. It’s kind of like telling a story visually.
Here are some ideas for a collage:
- Arrange photos in a grid for a structured look or scatter them randomly for a casual feel
- Use clips or string to hang pictures if you want something less permanent
- Combine 3D elements like dried flowers or ticket stubs for added texture
Does creating your own art sound less intimidating now? You might find that these projects not only brighten your walls but also give you a bit of freedom to experiment without pressure.
Upcycling Old Furniture
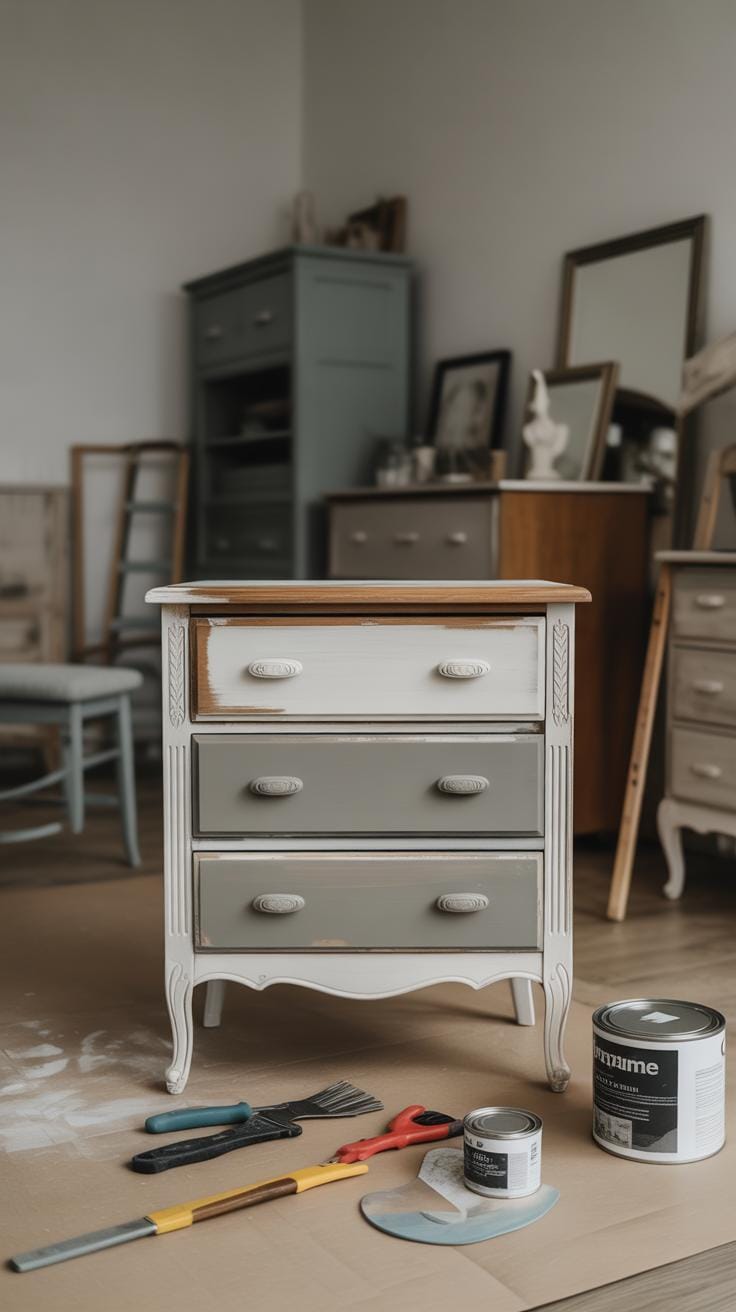
Preparing Furniture for a New Look
Before you jump into painting or swapping out handles, you’ll need to get the piece ready. This means cleaning off any dirt, grease, or old finishes that might get in the way. I usually start with warm, soapy water and a bit of elbow grease—sometimes a cloth isn’t enough, so a gentle scrub with a brush does the trick.
Next, sanding is essential. It smooths rough spots and helps new paint stick better. Don’t worry about perfect smoothness; a slightly rough surface actually grips paint more effectively. I tend to use medium-grit sandpaper at first, then finish with a finer one if the wood’s in good shape.
Repairing is often overlooked but worth the time. Loose joints, missing screws, or small cracks can be fixed with glue, clamps, or wood filler. You might wonder if it’s really necessary, but trust me—well-repaired furniture lasts longer and looks cleaner after a makeover.
Painting and Decorating Techniques
When it comes to painting, there’s a lot of room to play. A simple solid coat can renew an old dresser, but stencils offer a chance to add character. I tried a geometric pattern once—it was slightly uneven, but that gave it charm. Why stick to just flat paint? Chalk paint is popular because it needs less prep and has a matte, vintage feel.
Don’t forget about hardware. Handles and knobs are like jewelry for furniture; changing them can completely shift the look. Sometimes, just swapping out old, bulky pulls for sleek, modern ones refreshes an entire piece. You can find lots of affordable options that suit whatever style you’re going for.
Other decoration ideas include distressing the paint for a worn look or adding a coat of clear wax or sealant to protect the finish. It might feel a bit tedious, but these steps make a difference over time.
Making Decorative Storage Solutions

Storage doesn’t have to be dull or hidden away. You can actually make it a feature in your space by crafting your own decorative storage pieces. For instance, building simple shelves is a straightforward project. Using basic wooden planks or old crates can give you a rustic yet practical shelf that holds books, plants, or trinkets. If you’re thinking about crates, stacking and securing them on a wall can add dimension and character—though sometimes they require a bit of sanding or reinforcement.
Then there’s the fun part: decorating storage boxes. Plain cardboard or wooden boxes can quickly become stylish by covering them with fabric, wrapping paper, or even paint. I’ve tried painting boxes in pastel colors with minimal patterns—simple dots or stripes—and it’s surprising how much it changes the vibe of the room. Sometimes you might want something more textured, like wrapping a box with rope or adding stenciled designs, which makes the project feel more personal.
What’s nice is these projects blend form and function—you get tidiness with some visual interest. Do you prefer clean lines and smooth finishes or a more worn, cozy feel? Either way, making your own storage can shift your space in subtle but satisfying ways.
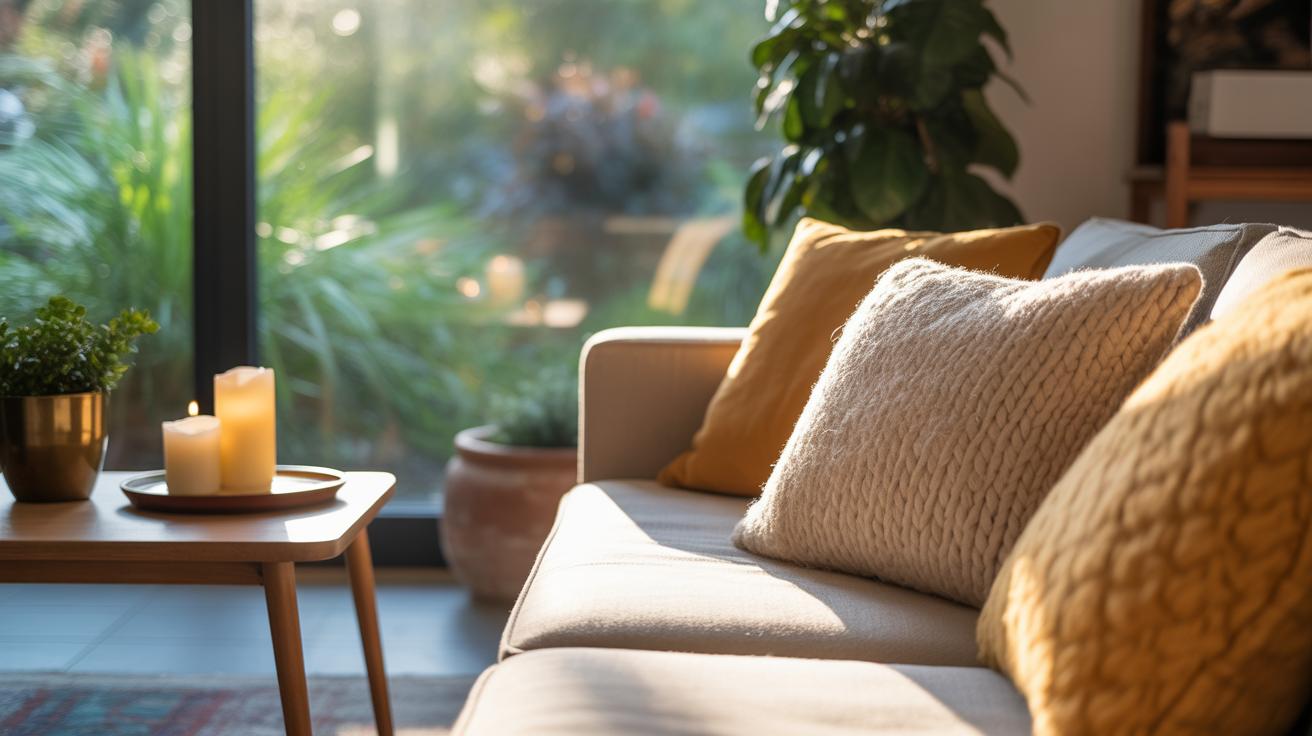
Crafting Soft Furnishings
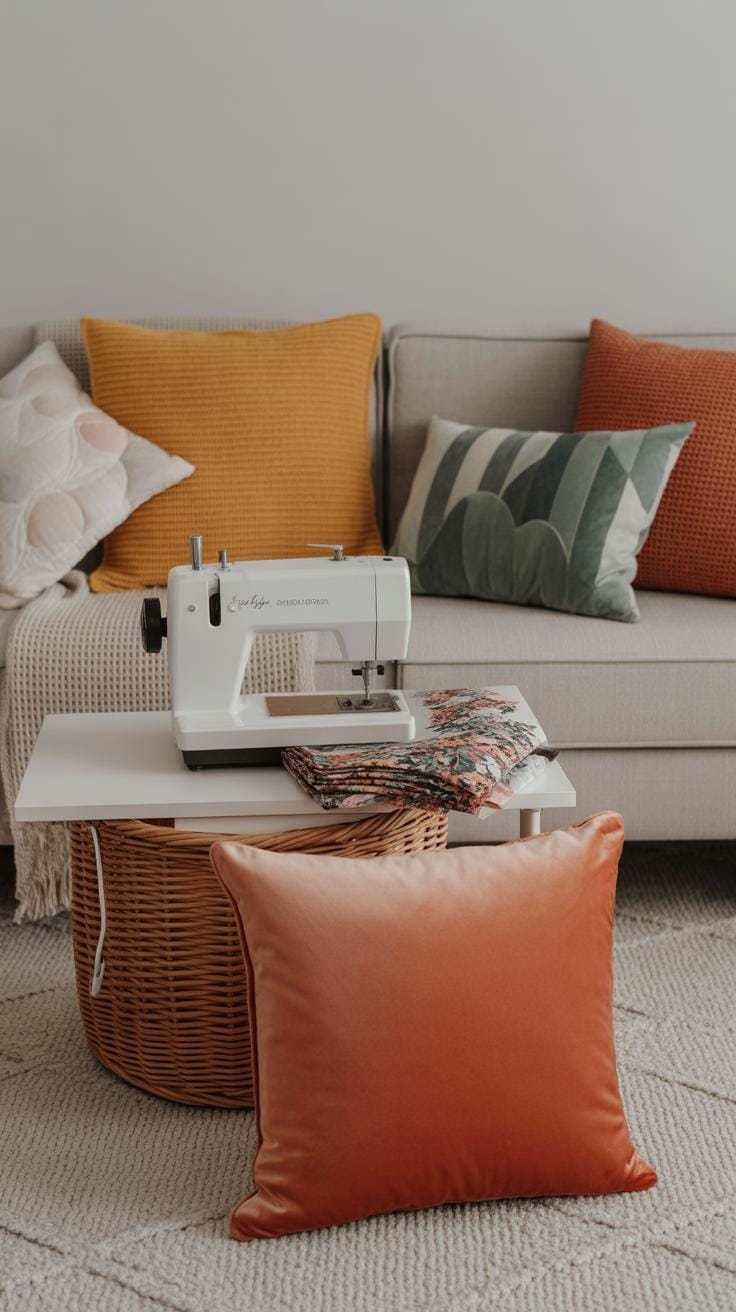
Soft furnishings like pillows, curtains, and tablecloths are great starters if you want to refresh your space without buying new items. Whether you sew or skip sewing completely, these projects can feel surprisingly manageable. Maybe you’ve never picked up a needle and thread, or maybe stitching is just not your thing—either way, there’s a way to make it work.
Simple sewing projects include basic pillow covers where you just need to cut fabric and stitch straight seams. Don’t stress over perfect edges; a little imperfection gives handmade pieces character. Curtains can be as straightforward as hemming fabric panels or adding simple ties. Tablecloths might even be an opportunity to practice hemming corners or attaching decorative trim.
If sewing feels daunting, no-sew methods come handy. Fabric glue or double-sided fusible tape can replace tedious stitching for hems and seams—useful for curtains or lightweight pillows. Iron-on adhesive tape also helps keep fabric in place and looks surprisingly neat. You might find that these quick fixes save you hours, even if they’re not quite as durable as sewn edges.
Thinking about what fabrics to choose? Cotton is forgiving for beginners, and felt works well with no-sew techniques because it doesn’t fray. Experiment, don’t worry too much about mistakes—that’s part of the fun. Sometimes the best decor comes from what you learn while messing up just a little.
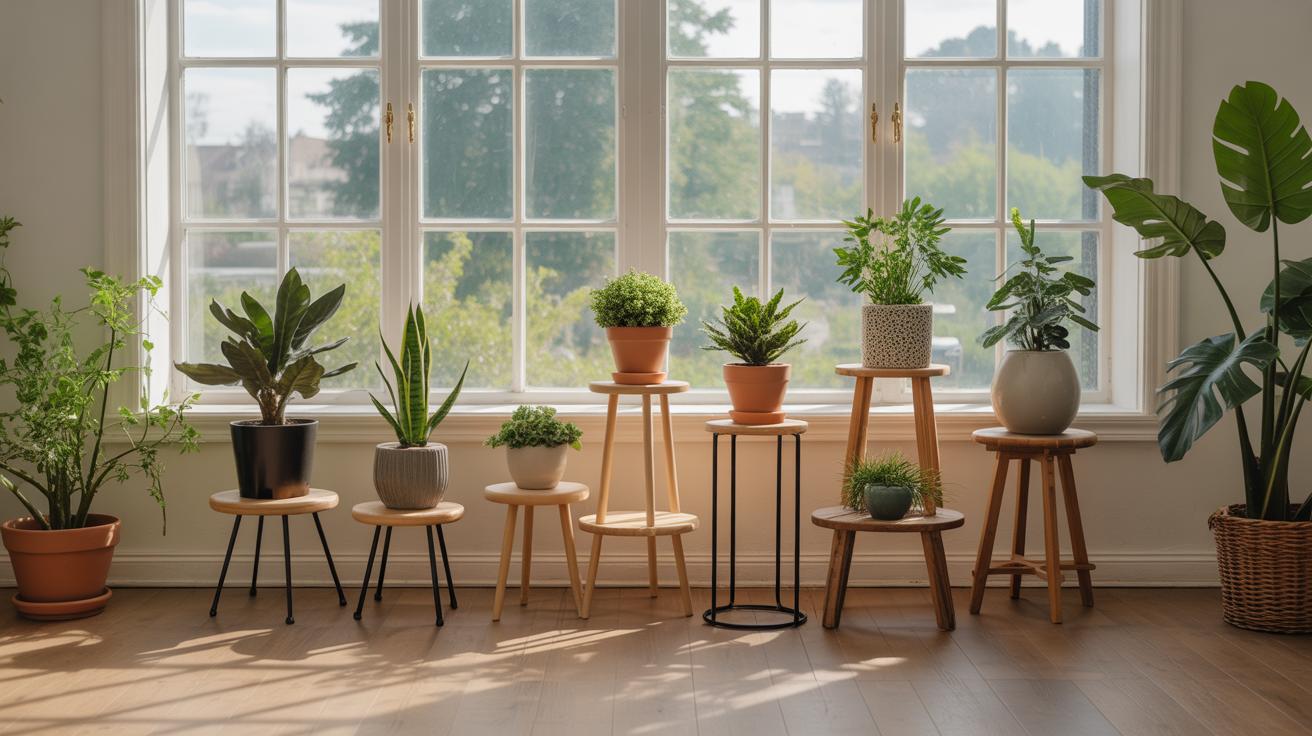
Adding Greenery with DIY Plant Holders
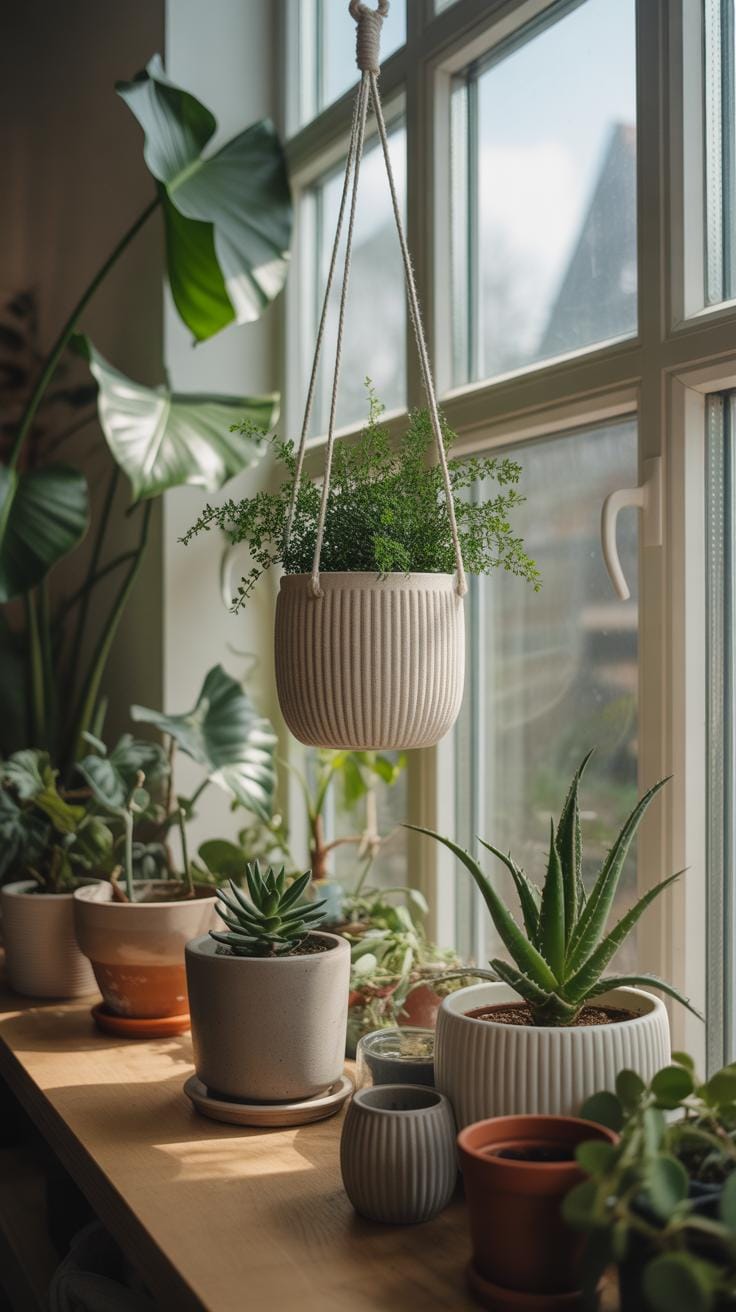
Bringing some greenery into your space can instantly refresh it. But plain pots hanging around might feel a bit dull. That’s where making your own plant holders comes in—it adds personality and a touch of creativity to your plants.
Macrame Plant Hangers
Macrame plant hangers are surprisingly simple to make once you get the hang of a few basic knots. You don’t need to be an expert crafter, just patient enough to practice the square knot and the gathering knot. These two are the backbone of most plant hanger designs.
Start with about four strands of cord, roughly a few meters long, depending on the size of the hanger you want. Tie them together at the top with a lark’s head knot to create a loop for hanging.
Then, create square knots at intervals. These knots not only secure the structure but form the classic woven look. Finish by gathering the cords at the bottom around the pot with a gathering knot. It’s a neat way to keep the pot stable. Experiment with spacing and length. It doesn’t have to be perfect; even a little asymmetry can add charm.
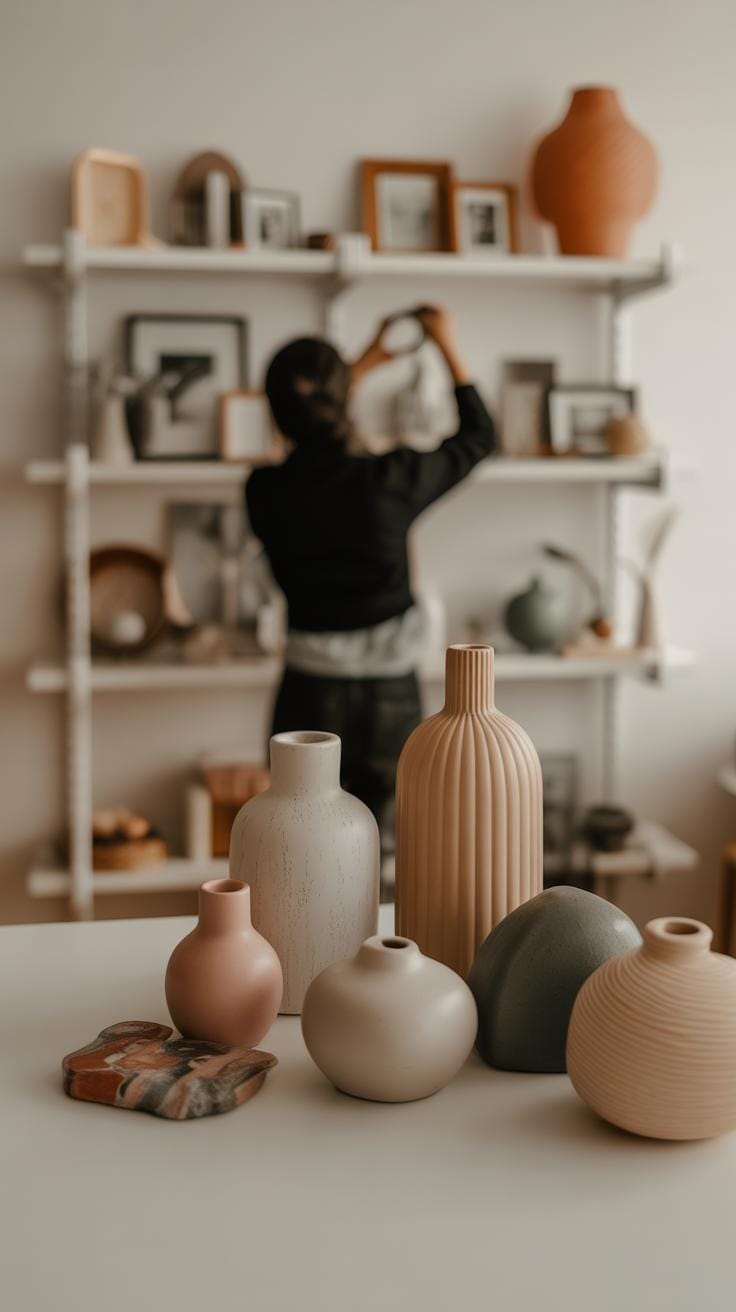
Painting and Decorating Pots
Plain pots sometimes look so… plain. Painting them can be a fun way to brighten your corners. Acrylic paint works well on terracotta or ceramic pots, and you might enjoy the chance to pick colors that fit your room’s vibe.
You could try these ideas:
- Use painter’s tape to make simple stripes or geometric shapes.
- Go for a wash effect by diluting paint with water for subtle color.
- Experiment with hand-painted patterns—dots, leaves, or abstract designs.
- Mix materials like twine or fabric glued around the rim for texture.
Even recycled containers like tin cans or jars can become stylish holders with a little paint and creativity. If you worry about water damage, a clear sealant helps protect your artwork. Sometimes the imperfect brush strokes or a little drippage add a kind of handmade warmth that store-bought pots can’t match.
Lighting Up Your Space Creatively
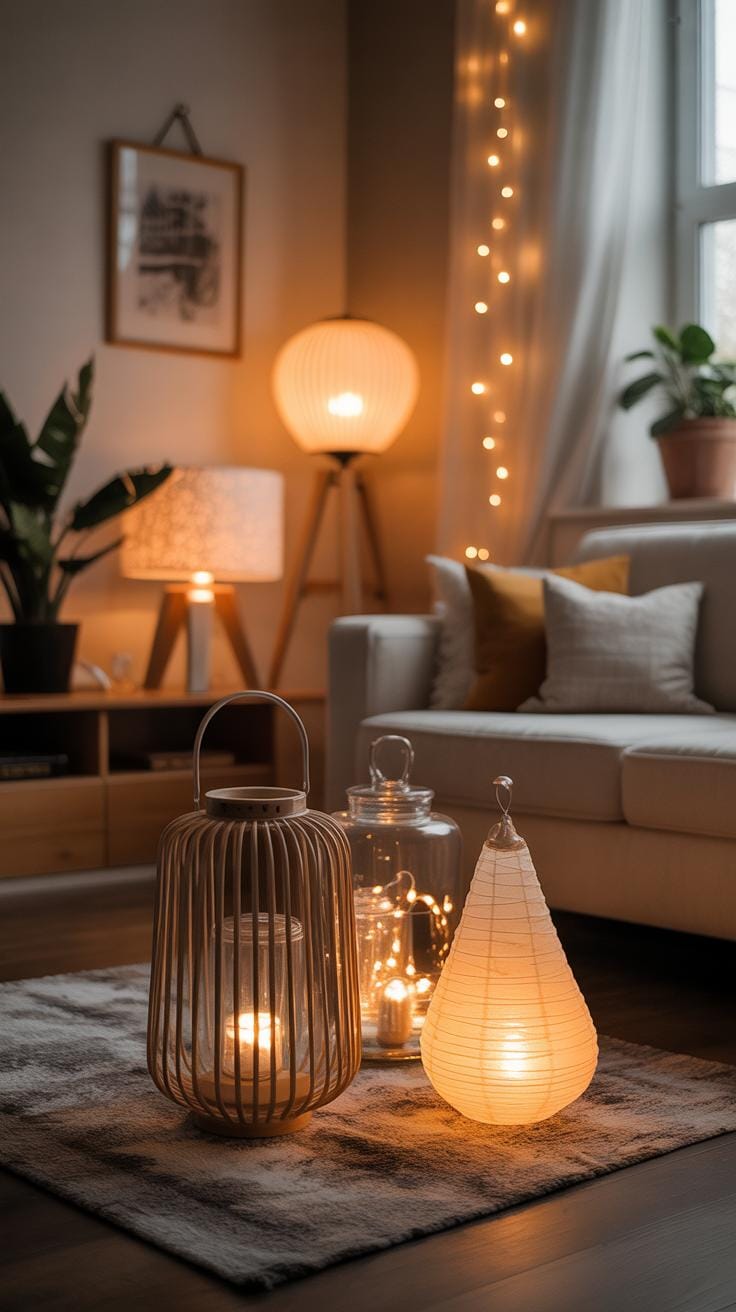
Creating Unique Lamp Shades
Making your own lamp shades can change the vibe of a room without much fuss. You could start with simple materials like paper or fabric. I once tried weaving strips of burlap around a basic wire frame—it wasn’t perfect, but it gave a nice, rustic glow.
Paper works well too, especially if you fold it into shapes or cut out patterns. Imagine how light spills through those gaps. And if you want something softer, fabric wrapped tightly around an old shade frame can look surprisingly polished.
Try layering materials or adding small details—like lace or dried flowers—to the lamp shade’s surface. The key is experimenting; there’s no one “right” way. What’s fun is seeing how different textures and colors change the light quality.
Decorating with String Lights
String lights aren’t just for holidays. They can accent walls, wrap around furniture, or drape across ceilings. One small idea: pin them vertically behind sheer curtains to create subtle, twinkling walls. I tried this once, and it made the whole room feel cozier in a quiet way.
You can also cluster string lights inside glass jars or bottles—think about candle holders but with an electric twist. It’s about using light to highlight spots, not just illuminate the whole space. That makes the lighting feel personal, maybe even a bit unexpected.
Don’t hesitate to mix string lights with other decor, like hanging photos or small plants. The arrangement can be random or planned, but it should feel a bit like your space is telling a story, not just lighting up the room.
Personalizing with Handmade Accessories
Small handmade accessories can really shift the feel of a room. Think about coasters, trays, or wall hooks—items you often overlook but that hold a surprising amount of personality. Making these yourself gives you control over colors, textures, and shapes, tailoring your space in ways store-bought pieces rarely allow.
Crafting Coasters and Trays
Coasters and trays are perfect DIY starters. You don’t need fancy tools or materials; simple wood slices, cork squares, or even leftover tiles work well. Try sanding wooden coasters for a smooth finish, then add paint or stain to match your style. Cork, being lightweight and water-resistant, is also great. You might glue small tiles onto a wooden base to create a unique mosaic tray. It sounds complicated, but it’s really about layering basic elements. And you get the bonus of something fully functional—and not just decorative.
Decorative Wall Hooks
Wall hooks often get passed over, but they are a fantastic chance to mix style with utility. You can buy plain hooks and personalize them with paint, fabric, or small embellishments. Another route is repurposing items like drawer pulls, knobs, or even pieces of driftwood. Attach them securely, and suddenly your wall offers character and extra storage. It’s weird how adding something as simple as a hook can make a space feel more “you,” as if it quietly speaks your style without shouting.
Planning and Organizing Your DIY Projects
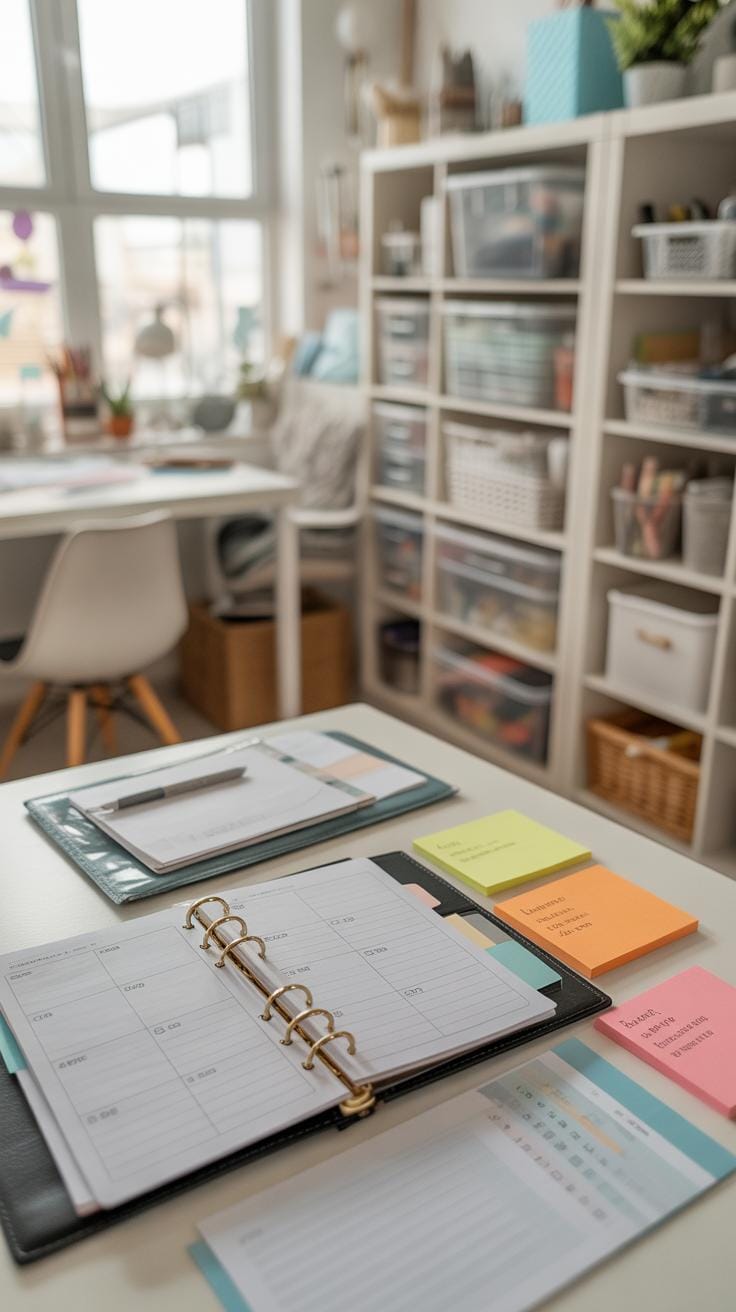
Taking on several DIY projects at once can feel overwhelming. But if you pause and map things out, it’s easier to stay on track without losing steam. One approach is to divide your projects into smaller, manageable steps. For example, if you’re making wall hooks, start with gathering materials in one session, then move on to assembling, and finally, finishing. Breaking work down stops you from feeling stuck halfway through or jumping between tasks endlessly.
Creating a schedule—even a loose one—helps too. You don’t have to plan every minute, but setting specific goals for each day or weekend can make a difference. It’s tempting to dive straight in, but giving yourself deadlines, like “I’ll finish sanding by Thursday,” can keep motivation up without adding pressure. Sometimes life gets in the way, and that’s okay; flexibility doesn’t mean losing sight of your goal.
Keeping your workspace tidy affects progress more than you might expect. If tools and supplies are scattered all over, it’s harder to find what you need, and accidents become more likely. Consider using containers or small bins for parts and tools. After finishing a step, take a few minutes to clean up—it keeps your space inviting and reduces frustration. Also, think about safety: sharp tools should be stored safely, and surfaces wiped down regularly. I’ve noticed that when my workspace is messy, the projects drag on longer, so even a quick sweep can change the vibe of your whole effort.
Conclusions
DIY decor projects offer a chance to improve your space while enjoying the process of making something by hand. By using simple materials and focusing on your style, you create a home that feels inviting and reflects your personality. Each small project builds your skills and confidence in home decoration.
Remember, every change you make can brighten your space and create a more pleasant atmosphere. Start with manageable projects and gradually try new ideas. Your living space can become a place of comfort and joy, made more special by your own hands.


