Introduction
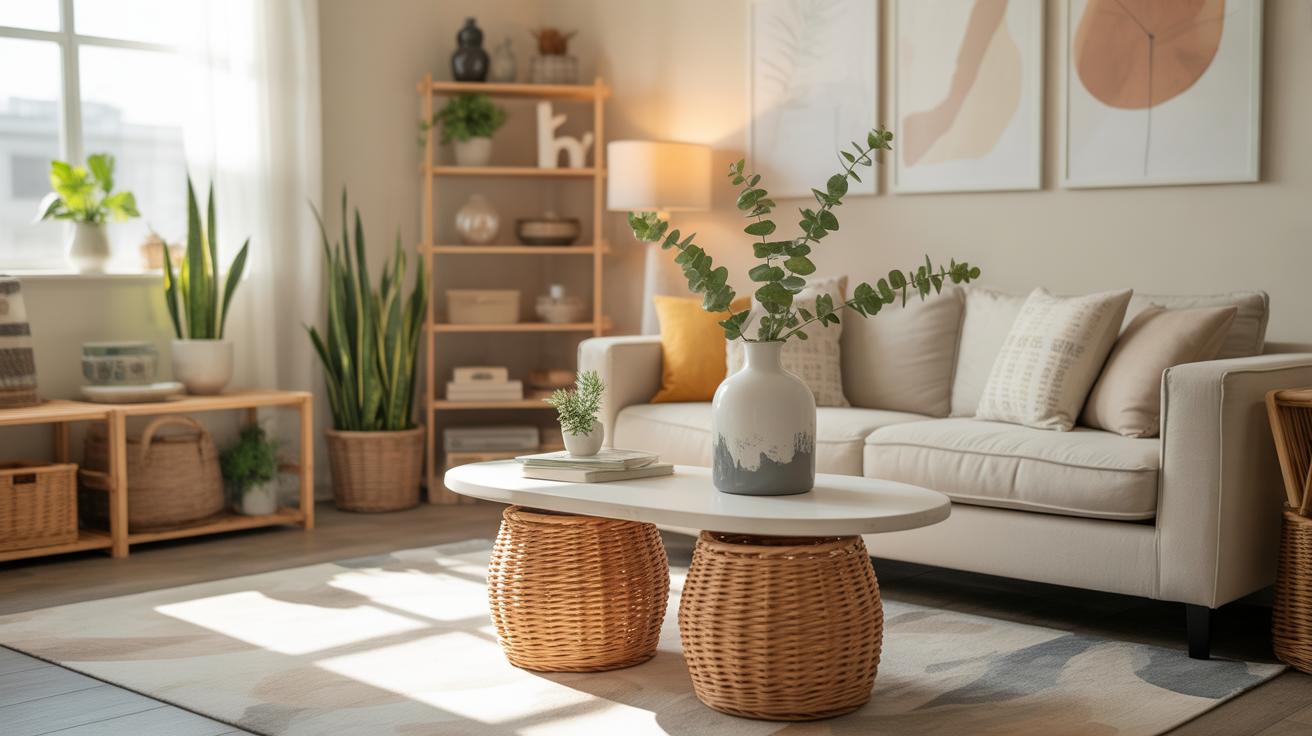
Easy DIY home decor on a budget is about making your living space stylish without spending a lot of money. You don’t need to buy expensive furniture or decorations. With some creativity, affordable materials, and simple techniques, you can give your home a fresh new look. This article shares tips and ideas to help you achieve a beautiful home environment that reflects your personality and taste.
You will learn how to find or reuse materials that cost less, make clever design choices, and personalize your space easily. This journey into DIY home decor helps you discover the joy of crafting your surroundings. Let’s explore practical ways to make your home stylish while keeping your budget in check.
Choosing The Right Budget Friendly Materials

Picking materials that are both affordable and dependable can feel tricky, but it’s definitely doable. Recycled wood is a great starting point. It often comes from old furniture or pallets and holds up well for shelves, frames, or even small tables. It might need some sanding or a fresh coat of paint, but that’s part of the value—you get quality wood without the usual cost.
Fabric scraps are another easy choice and surprisingly versatile. You can find these at fabric stores’ clearance sections or even from old clothing. Pillow covers, table runners, or patchwork wall hangings can come from pieces that would otherwise be discarded. They don’t always look perfect right away, but that can add character.
Thrifted items often feel overlooked but can be golden sources, like picture frames or decorative bowls. They’re usually sturdy, inexpensive, and ripe for a quick update like painting or reupholstering. If you’re careful to inspect for damage or wear, these materials can last much longer than you’d expect.
Where To Find Affordable Home Decor Materials
Have you checked thrift stores or garage sales lately? They’re treasure troves if you know what to look for. Keep an eye out for solid furniture pieces or fabric rolls. Sometimes you can snag something almost free, but quality can vary, so testing sturdiness and checking for stains is worth the extra minute.
Online marketplaces offer a constant flow of budget materials. Look for local “free” listings or discounted lots of supplies heading to landfills. Recycling centers sometimes provide scraps or discarded items at low prices—you’d be surprised what finds you can make.
Garage sales can yield unexpected gems but come with unpredictability. Early visits often reveal better goods, but prices can be flexible late in the day. When you find something promising, consider its condition and potential, rather than just the initial look. Sometimes a little repair work changes everything.
Tips For Using Recycled And Upcycled Materials
Repurposing old things isn’t just money-saving—it’s also kind of fun, in a hands-on way. For example, turning glass jars into lamps or storage containers involves minimal cost and makes things feel personalized. Old doors or windows can become unique wall art or headboards.
Recycled fabrics from worn-out clothes can become braided rugs or even patchwork quilts. This reduces waste and brings a cozy feel to your space. Sometimes the materials don’t match perfectly, and that mix can actually add more personality than new, uniform items.
Upcycling can extend to furniture, too. A chipped dresser can become an entryway bin with a little paint and new hardware. Each project asks you to think creatively, which not only saves money but creates stories in your space. Isn’t there something satisfying about that?
Simple Painting Techniques To Refresh Your Walls
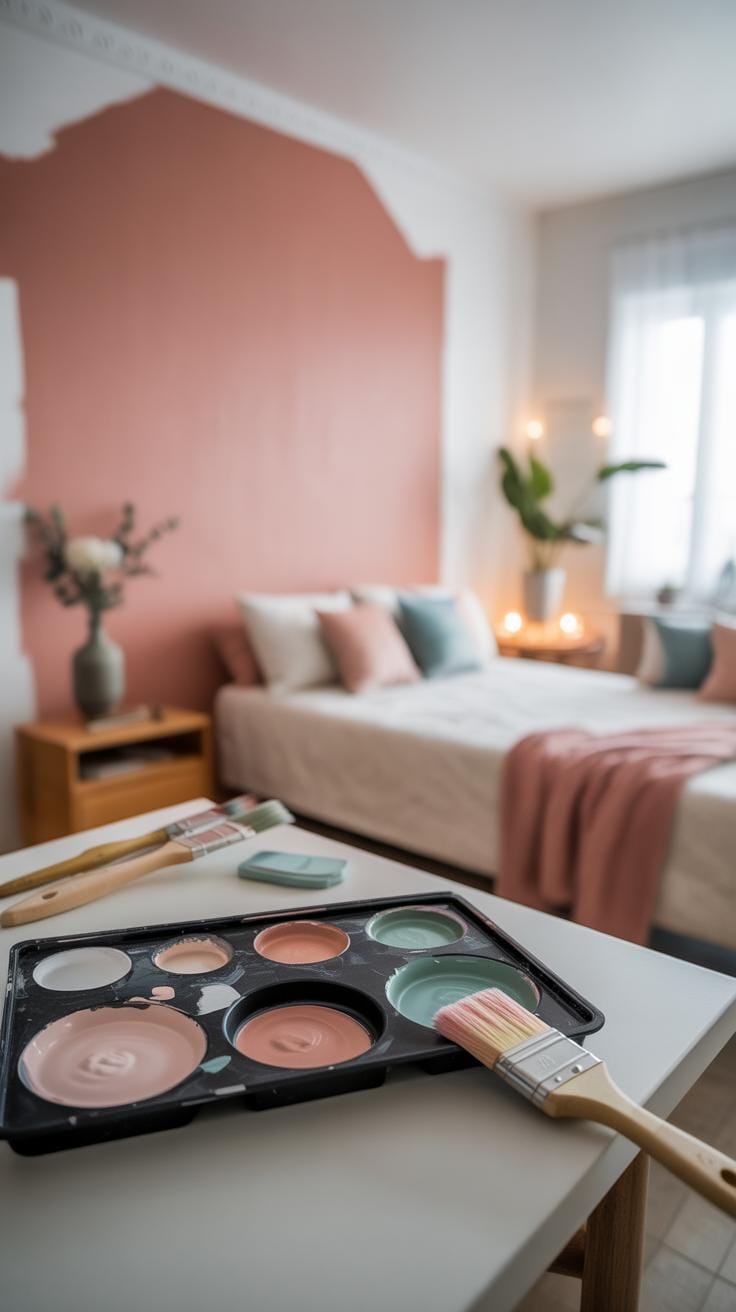
Painting your walls can change a room dramatically without costing much or needing special skills. Accent walls are a popular choice—pick one wall and give it a bold or contrasting color. It breaks the monotony and draws attention without painting the whole room. You only need a roller, some painter’s tape, and a brush for corners.
Stencils add personality too. They’re straightforward; place the stencil, dab paint with a sponge or brush, lift and repeat. Stripes aren’t just for ceilings or kid’s rooms. Use painter’s tape for sharp lines—vertical stripes can make a room seem taller, while horizontal ones can widen a space.
Color blocking is another way to experiment. Paint large blocks of different colors on the wall. Minimal tools needed, but careful measuring helps. These ideas keep costs low, require few materials, and can fit most DIY comfort levels—even if you’re a bit nervous about the process.
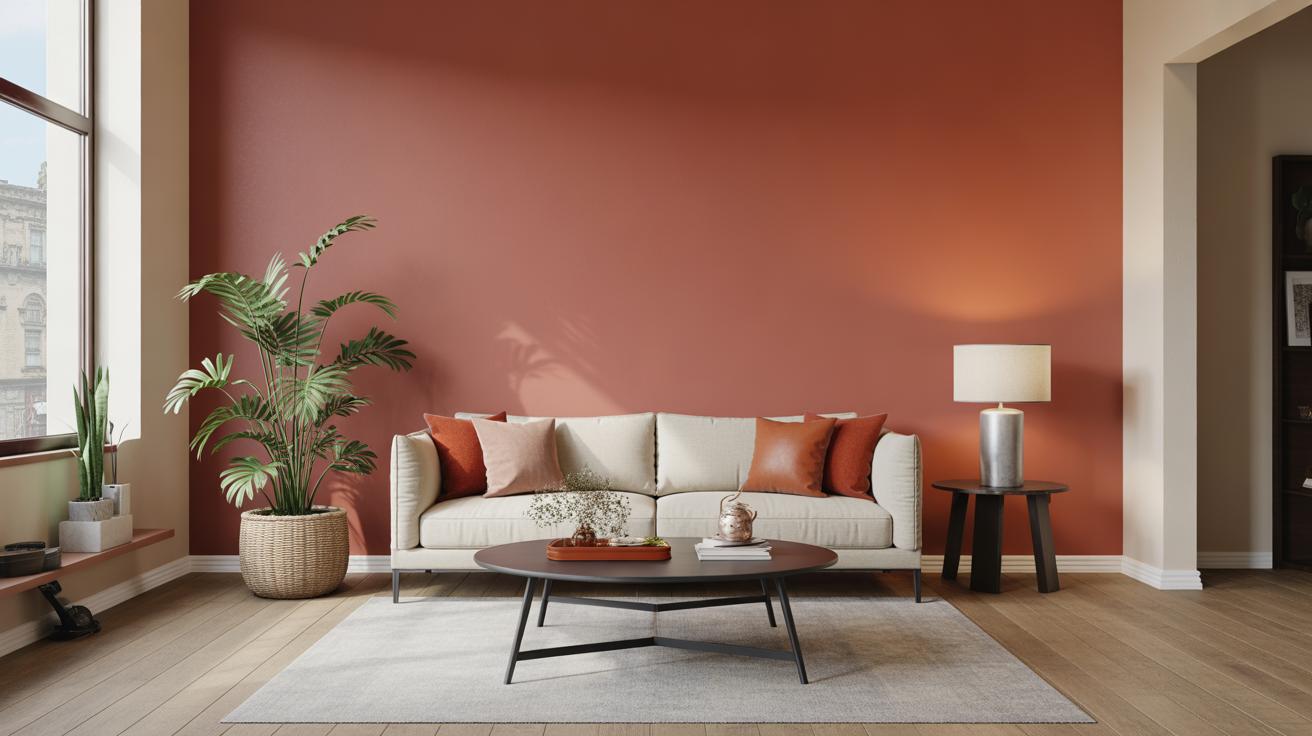
Choosing Colors That Enhance Your Space
Picking the right color depends on your room’s size, lighting, and the mood you want. Smaller rooms often benefit from lighter, neutral tones; they make spaces feel larger. Still, sometimes a deep hue can work if used thoughtfully—like on one wall or ceiling, especially if the room has plenty of natural light.
South-facing rooms get warm sunlight, so cooler shades can balance that. North-facing lighter rooms might welcome warmer colors to avoid looking too cold. Think about the mood too. Soft blues or greens can calm a bedroom, while brighter shades like yellows or reds energize kitchens or living rooms.
Don’t shy away from bold colors, but don’t rush. Test samples on your walls for a few days to see how they change in different lights. It’s surprisingly common to like a color in the store but feel unsure once it’s on your wall.
Creating Patterns And Textures With Paint
Adding patterns or textures can make plain walls far more interesting. Painter’s tape is a simple tool to create geometric shapes or stripes. Just mask off areas, paint over, let it dry, and peel the tape carefully for clean lines. It’s tempting to pull off tape too soon—don’t rush it.
Sponges and rollers can build texture easily. Dab a sponge dipped in paint for a mottled effect; it’s subtle but adds depth. Rollers with coarse surfaces produce a rough pattern—think stucco or fabric-like finishes. If you want a step-by-step:
- Clean and prime your wall for good paint adhesion.
- Apply your base color and let it dry completely.
- Use painter’s tape for shapes or stripes.
- Dab or roll your secondary color or texture.
- Let everything dry well before removing tape or adding finishes.
It’s not about perfection—textures welcome slight irregularities. They can hide small flaws and make your space more inviting. Remember, even slight mistakes can give character rather than ruin the look.
DIY Furniture Makeovers On A Budget

Old furniture often carries more charm than new pieces, especially when given a bit of care. Sanding and painting worn surfaces can completely refresh a dresser, table, or bookshelf without spending much. Start by lightly sanding to remove old paint or varnish—this helps the new finish stick better. You don’t need a fancy sander; regular sandpaper and a little elbow grease work fine. Remember to wear a mask to avoid dust inhalation. After sanding, wipe down the piece to clear dust and apply a primer if possible—this boosts paint adhesion and longevity.
Picking the right paint is key. Chalk paint is popular because it’s forgiving and often doesn’t require primer or extensive prep. Latex paint also works well for most projects and cleans up easily with water. Two thin coats with light sanding between can create a smooth, durable finish.
If painting feels like too much trouble, changing hardware such as knobs and handles can refresh furniture in minutes. Small details like these can shift the style entirely.
Then, there’s fabric. Reupholstering might sound daunting, but you can update chairs and sofas by replacing worn covers or adding new cushions without complicated sewing skills. Budget fabrics like canvas or cotton prints work well and serve as great starters for your project. If sewing isn’t your thing, strong fabric glue or staple guns offer quick fixes that hold up surprisingly well.
Thinking about these little changes, have you realized that you might have a fairly stylish piece hiding upstairs just waiting for attention? Sometimes the best decor is closer than you expect.
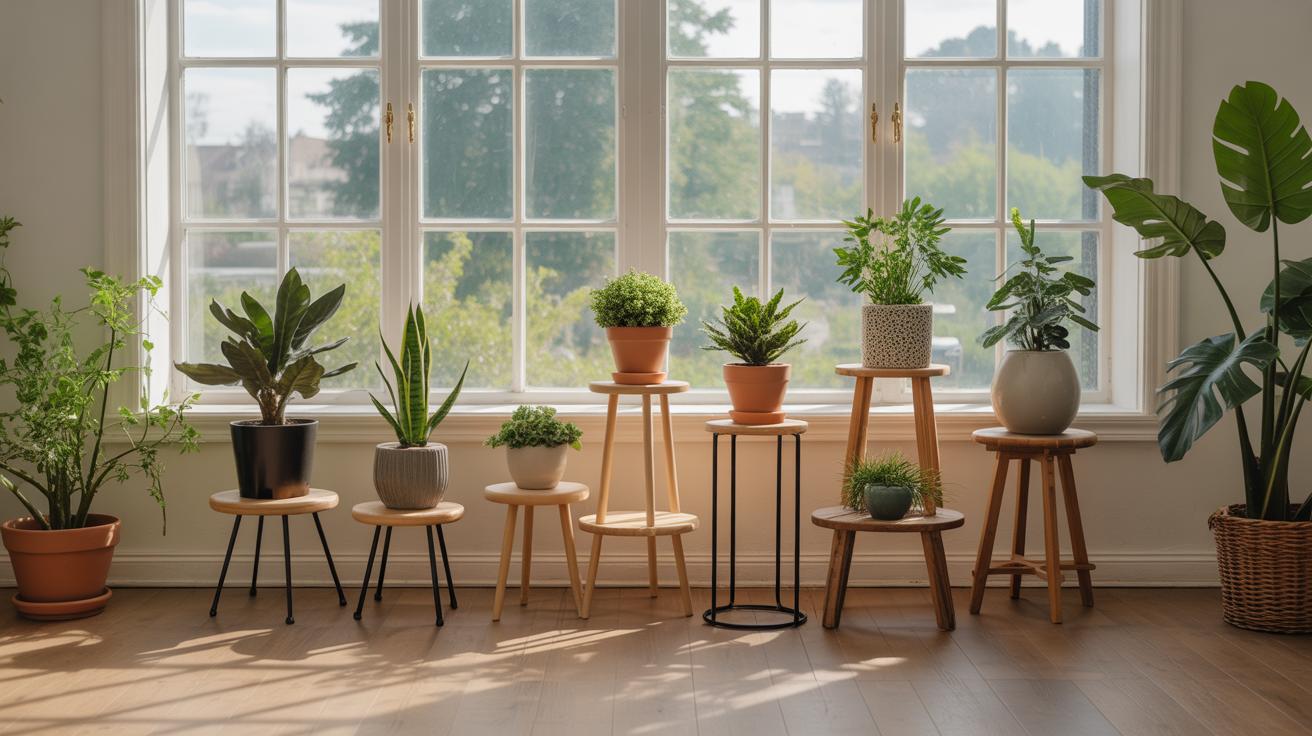
Creating Stylish Decor With Everyday Items
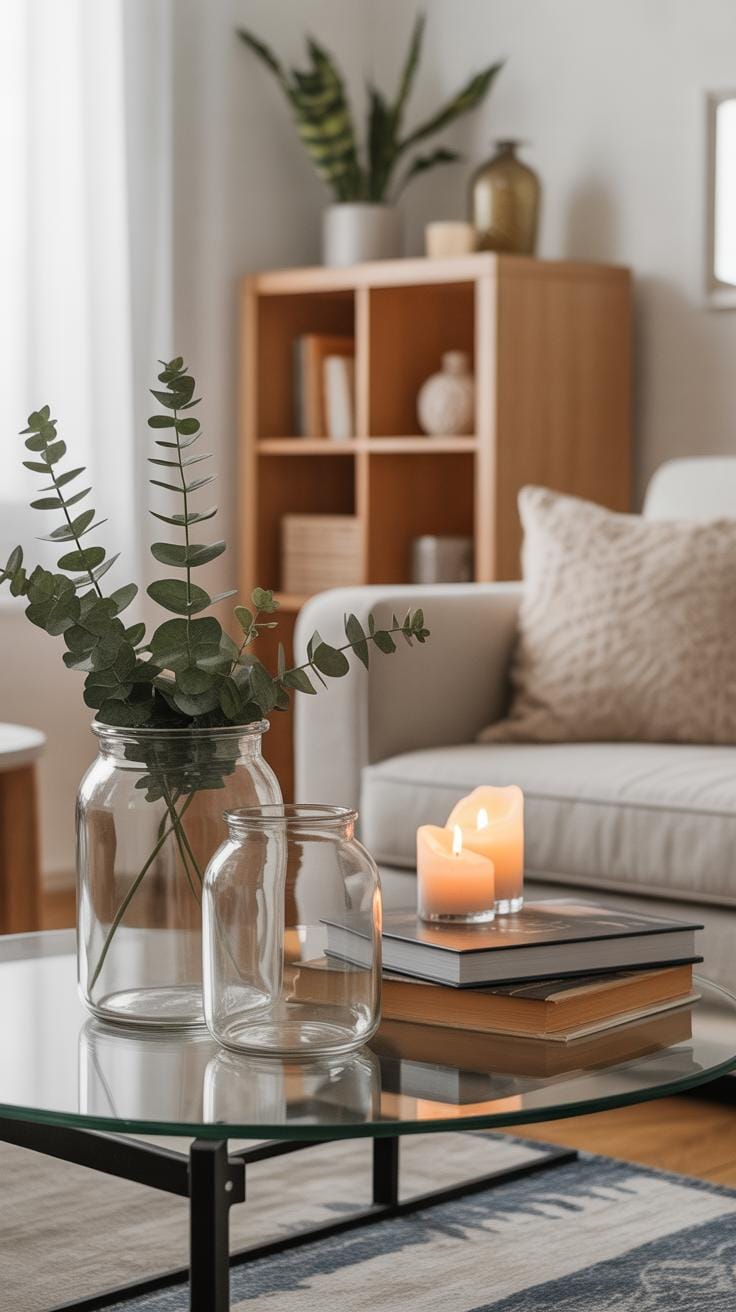
Using things you already have around the house to spruce up your space is not only budget-friendly but also kind of fun. It makes you look at everyday objects differently. Take jars, for example. Clear glass ones from pasta sauce or jam can become simple vases. Just wash them well, then fill with fresh flowers or even dried twigs for a minimalist look.
Photo displays offer another easy way to add personality without spending much. String some twine along a wall and use clothespins to hang printed photos, postcards, or kids’ artwork. It creates a casual, rotating gallery that’s easy to update whenever you want a change.
Then there’s wall art made from recycled materials. Old magazines, fabric scraps, and even cardboard can be reshaped and glued onto frames or canvases. I’ve tried cutting colorful magazine pages into geometric shapes and arranging them into patterns—it’s surprisingly satisfying and adds instant color.
Making Wall Art From Simple Materials
Starting with basics is key, especially if you’re new to DIY. Pick a sturdy backing like cardboard or a plain canvas. Then, gather scraps of paper, fabric pieces, or small found objects like buttons or shells.
Try this step-by-step idea:
- Cut paper or fabric into shapes or strips.
- Arrange them loosely on your backing, experimenting with layers and colors.
- Glue each piece down carefully but don’t stress about symmetry—imperfection makes it interesting.
- Add elements like string or beads for texture if you like.
Let it dry flat, then hang or lean it against a wall. You don’t need fancy tools, just patience to play around until it feels right. Sometimes the simplest materials give the most unexpected results.
Repurposing Jars And Containers For Decor
Jars, tins, and containers are a treasure trove if you don’t want to buy new decor items. Decorating them can be quick and satisfying. For candle holders, wrap twine or lace around a jar and place a tealight inside. The soft glow becomes cozy and adds a homemade charm.
Planters are another great option. Small jars can hold succulents or herbs. Painting or decoupaging the outside changes their look completely. I remember trying chalk paint on an old tomato paste tin—it looked quite rustic and suited my kitchen shelf nicely.
Look around. What containers do you have that can serve a second life? Even a chipped mug or a tin can becomes a conversation piece after a little creative effort. It makes your space both unique and personal, without stretching your budget at all.
Smart Storage Solutions To Declutter And Decorate
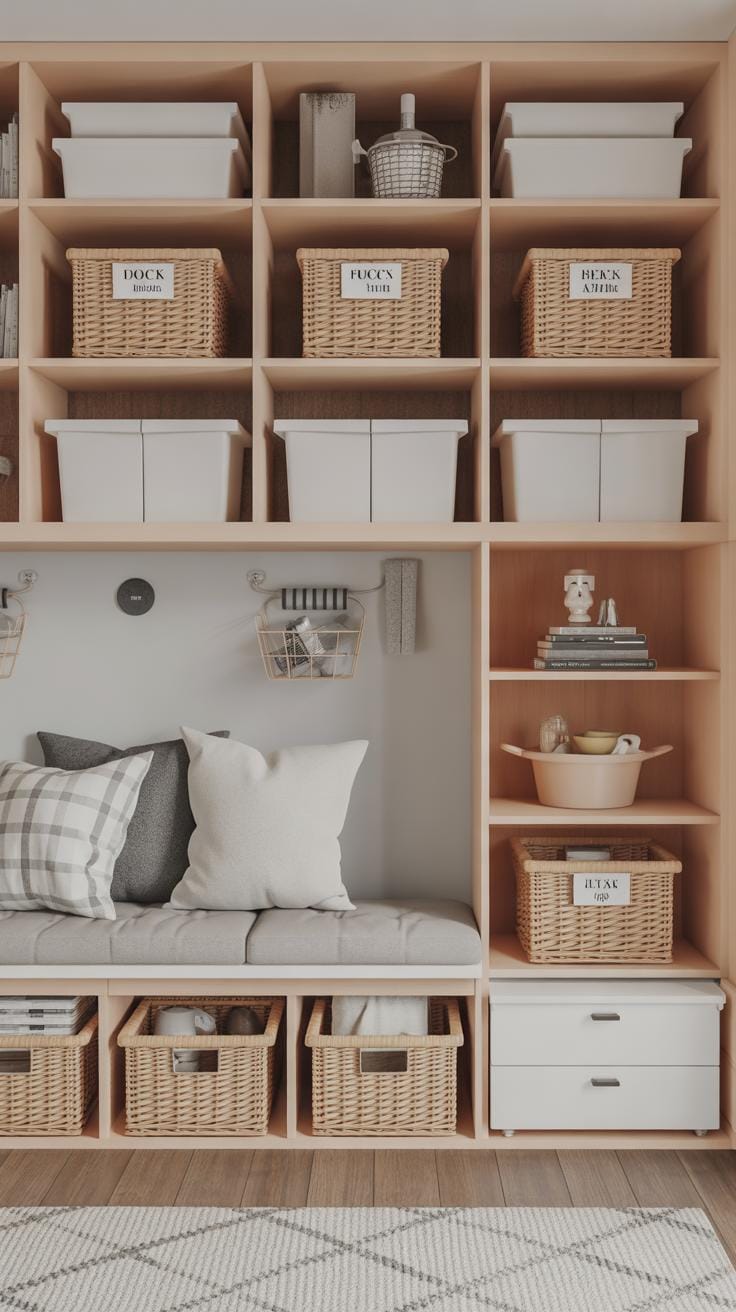
Getting your space organized doesn’t have to mean dull boxes shoved in corners. Storage can actually add style if you choose or create pieces thoughtfully. For example, DIY shelves can be surprisingly simple—some wooden planks, a few brackets, and a little effort can give you extra surfaces that look good and hold your stuff. I’ve found even putting shelves in odd spaces, like above doorways or inside closets, frees up floor space and adds personality.
Those baskets and boxes… they’re more than just catch-alls. Think of natural woven baskets or fabric boxes in colors that match your room. They keep things neat but also bring texture and softness. Sometimes, just grouping several baskets on the floor or a shelf creates a visually pleasing pattern while hiding clutter.
And don’t forget about multi-use furniture. A bench with storage inside, or a coffee table with drawers, can help small spaces breathe. It’s easy to overlook these options when you’re focused on style, but combining both means you get a cleaner, more inviting room without spending much.
Building Simple Shelves And Organizers
You don’t need fancy tools or materials to build shelves that work well. I’ve put together some shelves using pine wood and basic brackets from the hardware store. The trick is measuring your space carefully and cutting boards to fit exactly. It’s worth spending a bit of time on sanding and painting or staining for a cleaner look. Better to have a rough finish that fits perfectly than a polished shelf that’s awkwardly sized.
Another idea is to create simple organizers from crates or repurposed wood boxes. Stack a few, secure with screws, and you have a modular unit that fits your needs. They’re easy to rearrange and can double as side tables or nightstands, which is great if you want pieces that serve more than one function.
Creative Uses For Baskets And Boxes
Baskets and boxes don’t have to be hidden away. When chosen right, they become parts of the decor themselves. For instance, a wicker basket can hold magazines or blankets in the living room, making the space feel cozy. Smaller boxes with lids work well on shelves to store remote controls or chargers without leaving cables tangled and visible.
What’s nice is that you can mix textures—like a metallic box paired with a soft fabric basket—to add some contrast. Curious about patterns? Try baskets with stripes or subtle colors that complement your wall or furniture tones. A practical tip I discovered: label these containers lightly with chalkboard paint or tags. It keeps things tidy without looking too clinical.
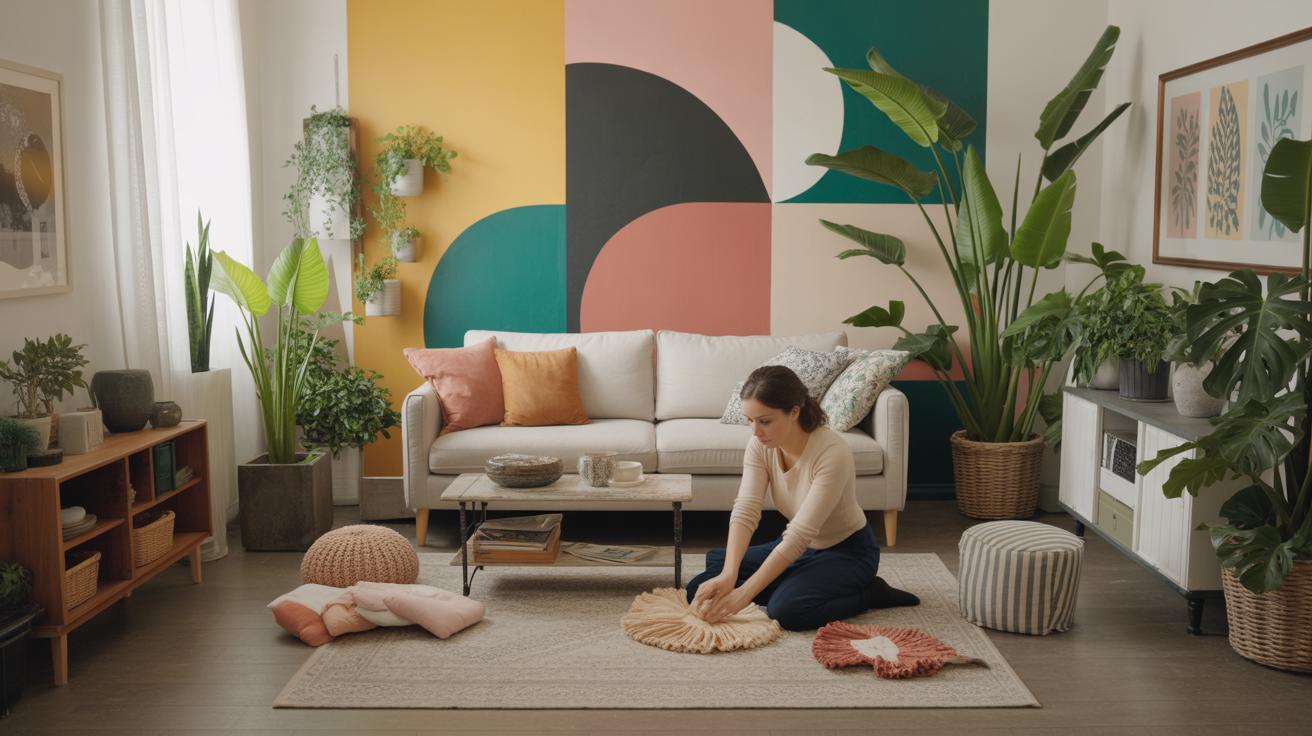
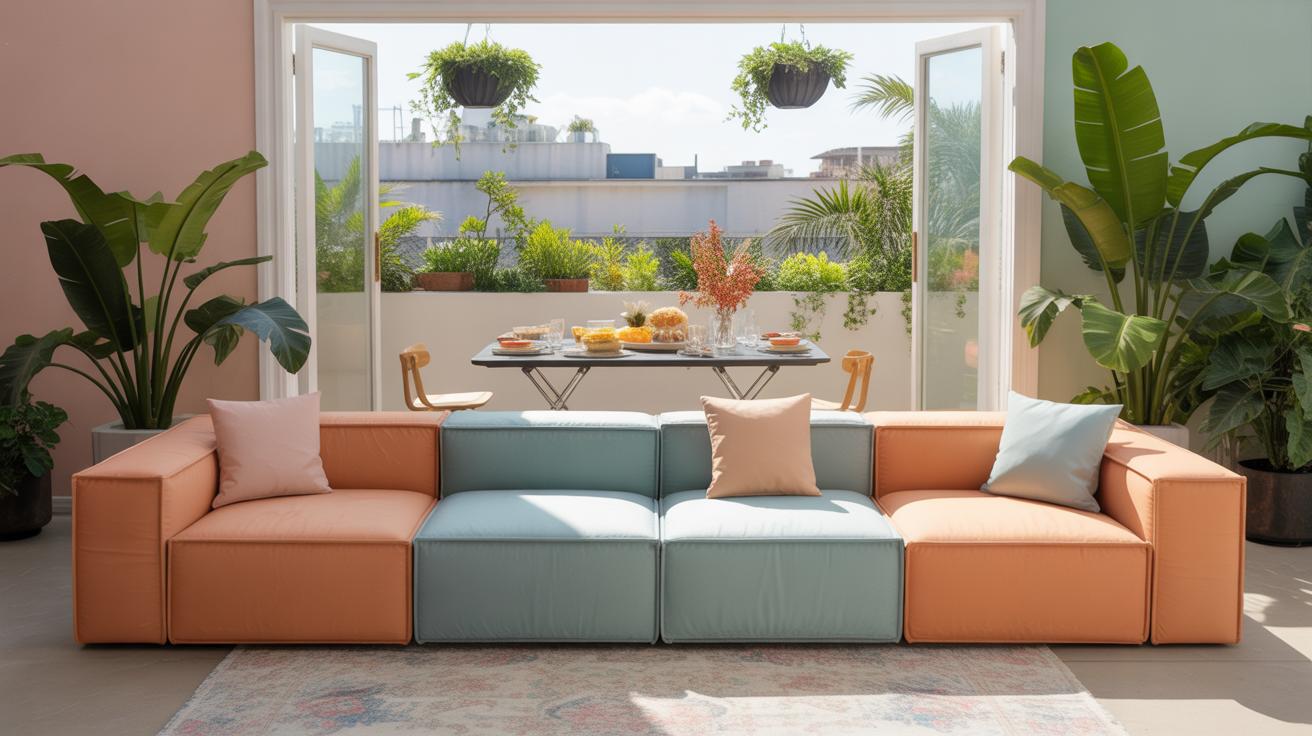
Personalizing Your Home With DIY Textiles
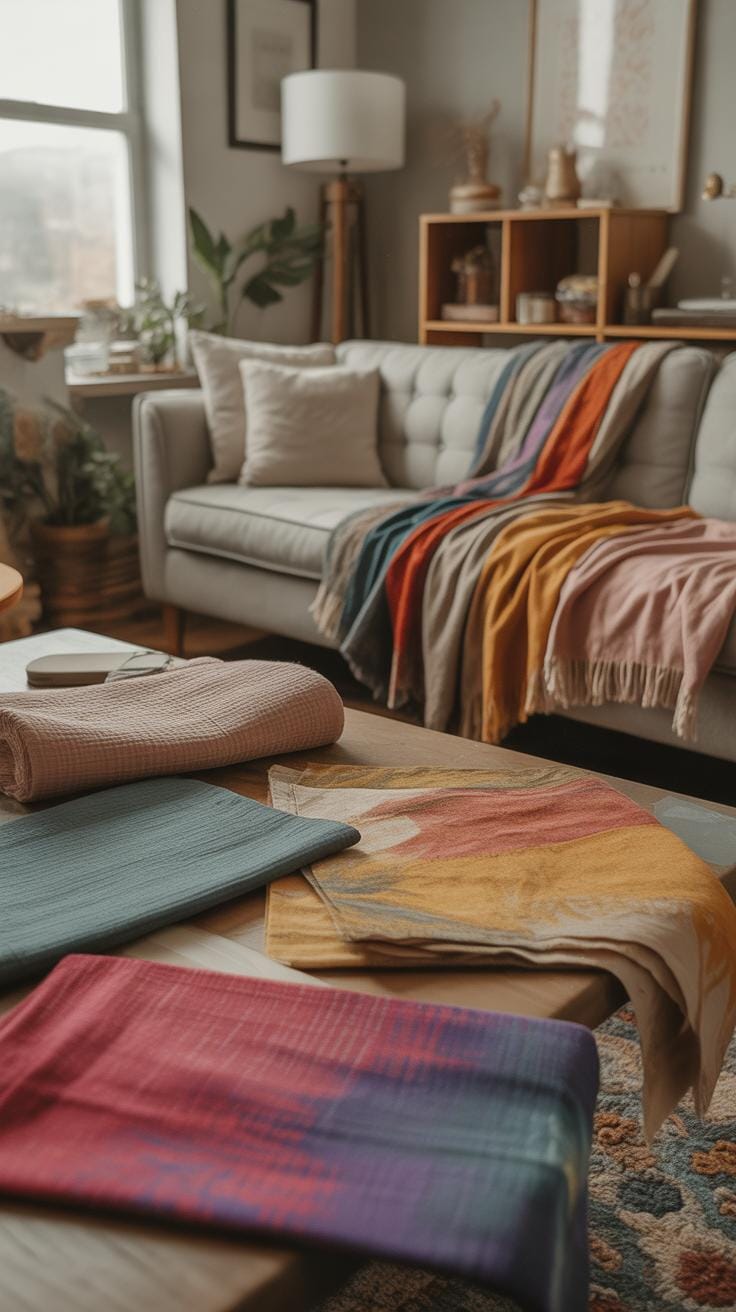
Textiles—pillows, curtains, rugs—they do a lot more than just cover furniture or floors. They set the mood of a room. Changing or adding them can be an affordable way to give your space a fresh vibe without spending much. Even small touches can shift how a room feels, from cozy to sleek, or even a bit playful.
If you’re new to sewing, don’t worry. Basic stitches like the running stitch or slip stitch get the job done. You can practice on fabric scraps first, maybe an old shirt or pillowcase that’s no longer in use. If sewing sounds daunting or you’re short on time, no-sew options exist too. Fabric glue, iron-on tape, or even hot glue can hold seams and hems together.
Making your own pillows and cushions is surprisingly simple—and a good use for fabric remnants or thrifted clothes. Cut two equal pieces into your desired shape, sew around the edges leaving a gap, stuff with old pillows or fabric scraps, then close the gap. For a no-sew version, you can tie fabric squares around a soft pillow insert or stuff and stitch edges with a needle and thread just enough to secure.
When it comes to curtains, consider using bedsheets, tablecloths, or even large scarves. You can hem edges quickly by folding and ironing before attaching curtain rings or loops—no fancy sewing machine needed. Rugs can be a bit trickier, but braided rag rugs made from old t-shirts or layered fabric glued onto a stiff backing create a unique look. Sometimes sewing strips into a braid and stitching the braid into a circle works well—this may take time, but it’s a project you can chip away at.
What fabric colors or textures do you think could brighten your room right now? Playing with textiles lets you experiment on a budget, switching things up whenever inspiration strikes.
Lighting Ideas To Enhance Ambiance

Making DIY Lamps And Lanterns
Building your own lamps or lanterns can change the feel of a room without breaking the bank. Glass jars or empty bottles make easy bases—you just need a lamp kit or string lights to turn them into light sources. Using paper lanterns is another simple route; just fold and shape the paper around a small LED bulb. I tried a few jar lamps once, and while they look great, it’s key to keep bulbs low-heat or LED to avoid any fire risk.
Also, avoid placing anything flammable near your DIY lamps. That means no fabric scraps hanging close or paper too near a hot bulb. If you work with candles inside lanterns, make sure air flows freely and you never leave them unattended. Safety might sound a bit strict, but it’s worth keeping in mind when you want cozy lighting that lasts.
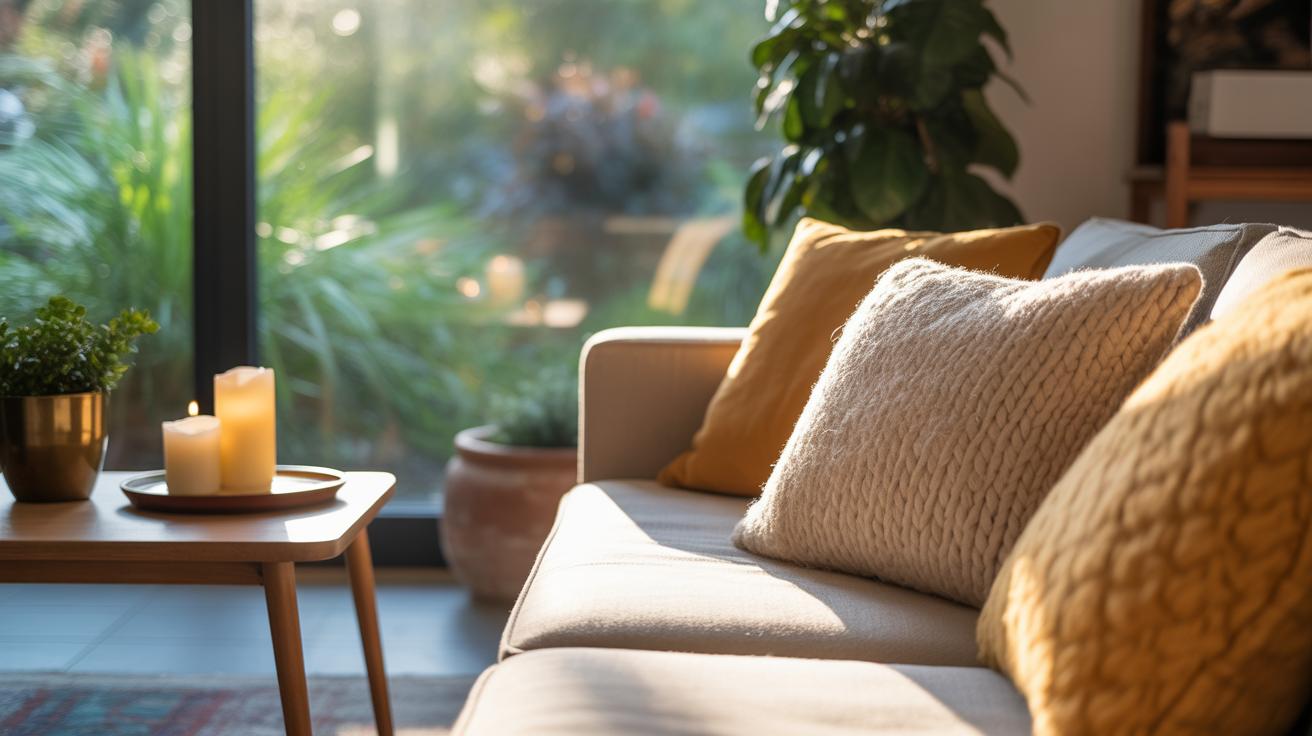
Using Candles And Fairy Lights Creatively
Candles and fairy lights are great for adding warmth and softness to a space. Try grouping candles of varying heights on a tray or inside glass containers. I sometimes mix jars with string lights for a kind of glowing centerpiece that works well on shelves or tables. It’s fun to experiment with textures too—placing fairy lights inside translucent bottles changes the vibe completely.
Thinking outside the box, draping fairy lights around a mirror or curtain rod can create subtle sparkle. You might wonder if more lights mean more fuss. Not necessarily—sometimes less is more, and just a small cluster can do the trick. The real question is: what mood do you want? Bright and lively, or quiet and mellow? Playing with candles and fairy lights lets you switch it up whenever you want, which feels pretty good.
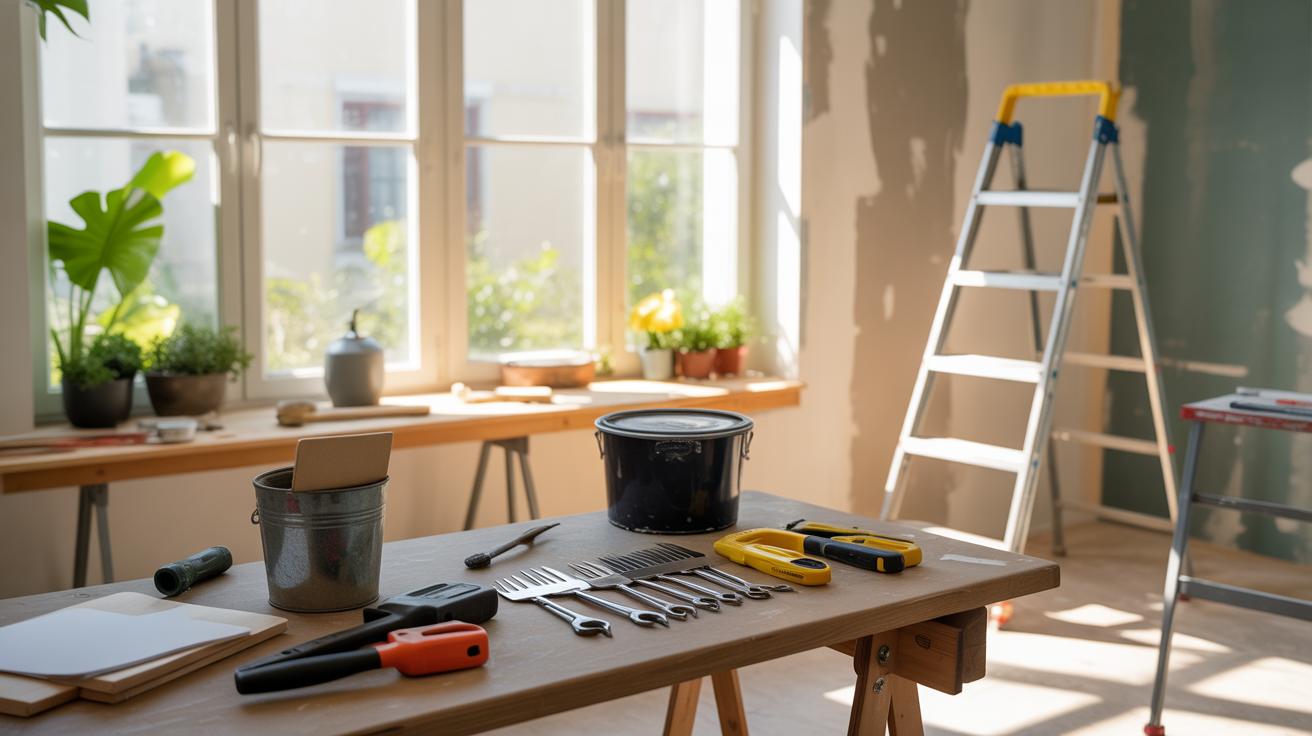
Planning And Budgeting Your DIY Home Decor

Setting A Realistic Home Decor Budget
Before you dive into your DIY projects, take a moment to figure out how much you can reasonably spend. This doesn’t mean you have to decide on an exact number right away—think of it more as a flexible ceiling. Look at your finances and what feels comfortable, but leave some wiggle room. Unexpected costs tend to pop up, and it’s better to expect that than be caught off guard.
When you set your budget, include both materials and tools—you might already have some tools, but sometimes you’ll need to pick up basics like brushes or glue guns. Try hunting for deals at local craft stores, online marketplaces, or even secondhand shops. Tracking expenses as you go helps, too—a simple spreadsheet or an app can keep you honest and aware of where your money’s going. This part isn’t the most thrilling, but trust me, it saves headaches later.
Organizing Projects For Best Results
Once you have your budget, it’s time to plan your projects step-by-step. Start by listing all the tasks you want to tackle and then prioritize them. Which ones impact the space most? Which can wait? Breaking them down into smaller, manageable chunks makes everything feel less overwhelming.
Set rough timelines, even if they’re loose. It’s easy to underestimate how long something takes or to get distracted by other ideas. For example, repainting a cabinet might seem quick but prepping and drying times add up. If you space things out, you’ll likely finish more and spend less impulsively. Think of it like a slow, steady process rather than rushing headfirst into every project at once.
Conclusions
Making your home look great on a budget is possible with the right approach. Using affordable materials and simple techniques allows you to enjoy a unique space without spending too much money. The ideas shared here encourage you to be creative and resourceful. You’ll feel proud when you see the changes you made with your hands.
Remember, decorating is a personal experience. Your style and comfort come first. Start small, plan smart, and enjoy every step as your space becomes more beautiful and welcoming. DIY home decor shows that stylish living doesn’t need to be costly.