Introduction
Creating a pool in your backyard can transform your outdoor space into a personal retreat. Pools offer a refreshing way to relax, exercise, and entertain guests. A DIY pool can be a cost-effective and fulfilling project that adds value to your home. This article explores practical pool ideas you can build yourself to develop an inviting backyard oasis.
Backyard pools come in different styles and sizes to fit your space and budget. From above-ground kits to custom in-ground designs, DIY pool projects provide many options. This guide covers ideas you can build step-by-step, including simple designs, materials, and enhancements. You’ll find motivation for turning your yard into a private getaway with a pool that suits your lifestyle and environment.
Planning Your DIY Pool Project
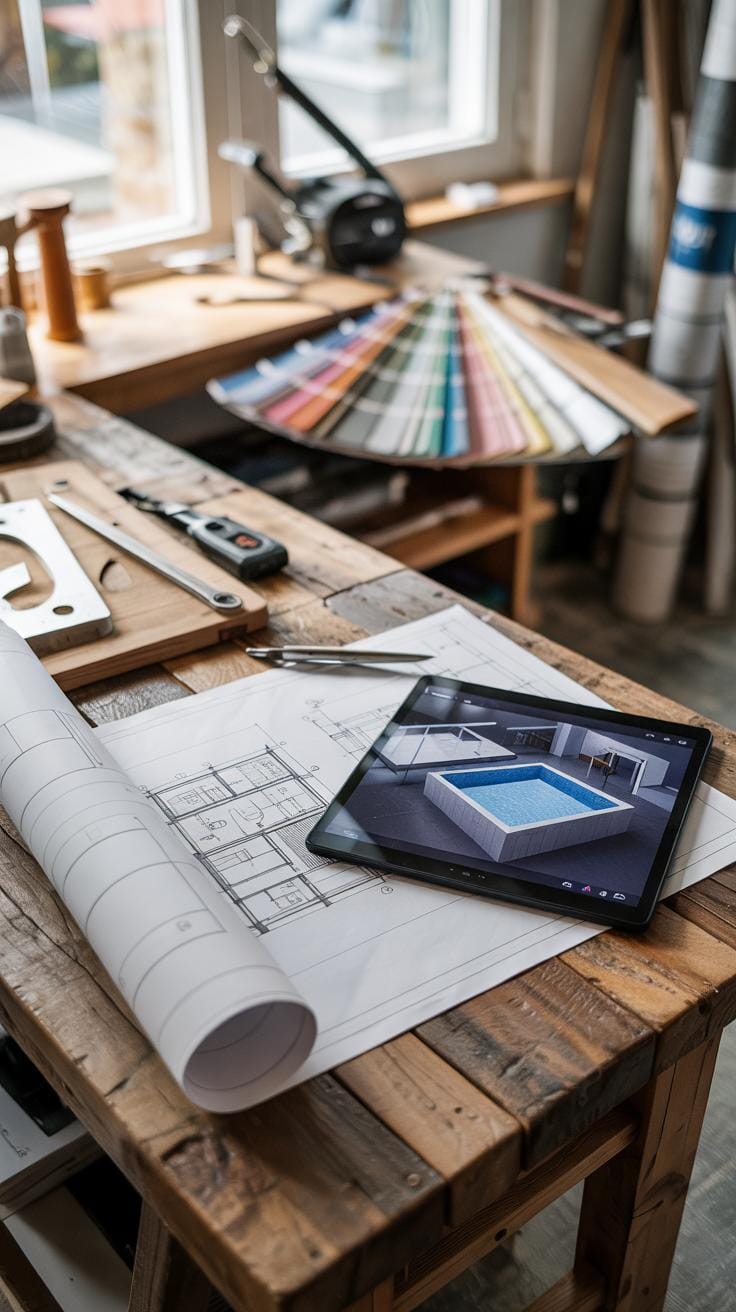
Starting your backyard pool project needs careful planning. First, assess the space you have. How much room will your pool take without crowding your yard? Think about the shape and size that fits your activities and available area.
Set a realistic budget. What can you spend on materials, tools, and permits? Include unexpected costs to avoid surprises. A clear budget helps keep your project on track.
Explore pool styles that suit DIY builds. Some require more skill and time than others. Choosing the right type makes the job manageable.
A solid plan acts as your guide. It helps you organize tasks and time efficiently. Without it, you risk delays and errors. Have you mapped out your steps clearly before you start digging?
Assessing Your Backyard Space
Measure your backyard accurately with a tape measure. Record the length, width, and any slopes. Check for underground pipes or roots that could block digging.
Consider soil type. Sandy soil drains well but might need extra support. Clay soil holds water and could cause drainage problems.

Look at sun exposure during different times of the day. Do you want your pool in full sun, shade, or a mix? Sunlight affects water temperature and comfort.
Also, evaluate how easy it is to reach the pool area. Can equipment and materials enter without trouble? Accessibility saves time and effort during construction and maintenance.
Understanding Local Rules and Permits
Check local building codes before starting. Each area has rules about pool size, fencing, and safety features. Ignoring these can stop your project midway.
Visit your city or county website to find necessary permits. You may need permits for excavation, electrical work, or plumbing. Submit plans if required to avoid fines.
Some zones limit pool placement near property lines or wells. Ask your neighbors or local office about any restrictions.
Following local laws helps your project run smoothly. Have you contacted the local building department yet to get all the details straight?
Choosing the Right Type of DIY Pool
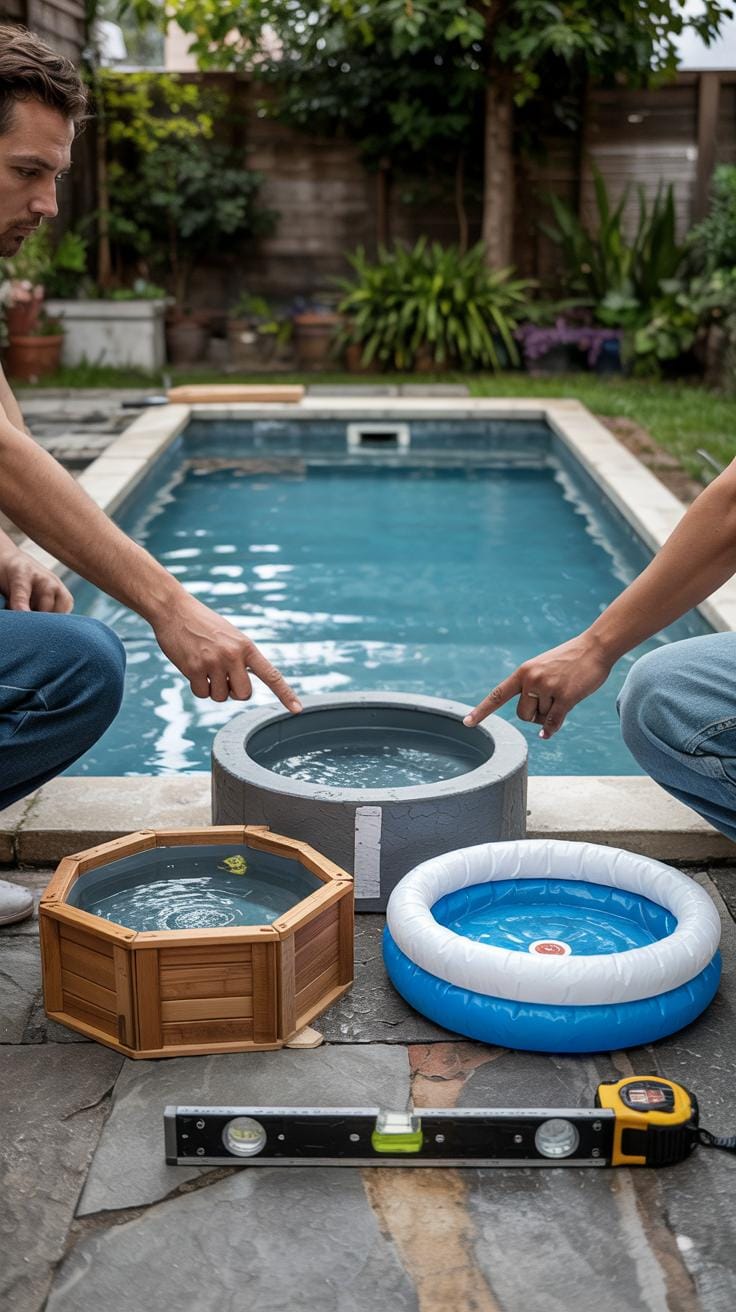
Choosing the best DIY pool depends on your space, budget, and skills. Inflatable pools offer a quick, affordable way to enjoy water without much effort. They are lightweight and easy to move but may not last as long and usually aren’t very deep.
Above-ground pool kits require more work but bring greater durability and size options. These kits often include frames made from steel or resin and stronger liners. They sit above your yard’s surface and can be installed within a weekend.
In-ground pools need more planning and skill. Building one yourself demands excavation, plumbing, and concrete work, but the result is long-lasting and highly customizable. This type costs the most time and money but adds real value to your home.
Ask yourself: How much time can you invest? Do you want portability or permanence? What fits your budget? Your answers will guide you to the pool type that suits your backyard oasis best.
Inflatable and Portable Pools
Inflatable pools stand out for easy setup and low cost. You can inflate them in under an hour using a pump, then fill with a garden hose. Sizes range from small wading pools to larger ones fit for adults.
These pools are lightweight and can be stored away when not in use. Their depth typically measures less than 2 feet, which limits swimming but works well for cooling off or play.
Durability is a downside. Thin vinyl may tear or leak after a season or two, especially if placed on rough or uneven ground. Inflatable pools work best for renters or those wanting a temporary pool without major work.
Above-Ground Pool Kits
Above-ground pools arrive as kits containing frame parts, liners, pumps, and filters. They use metal or resin frames that provide sturdier support than inflatables. Assembly usually takes a day or two, depending on the size and complexity.
These pools hold deeper water, often over 4 feet, allowing more comfortable swimming. Materials resist weather and wear better, extending pool lifespan with proper care.
Look for kits with clear instructions and customer support. Consider pool shape and size to fit your yard. Choose corrosion-resistant frames to reduce maintenance. Above-ground pools balance DIY ease with quality, making them a solid step up from inflatable options.
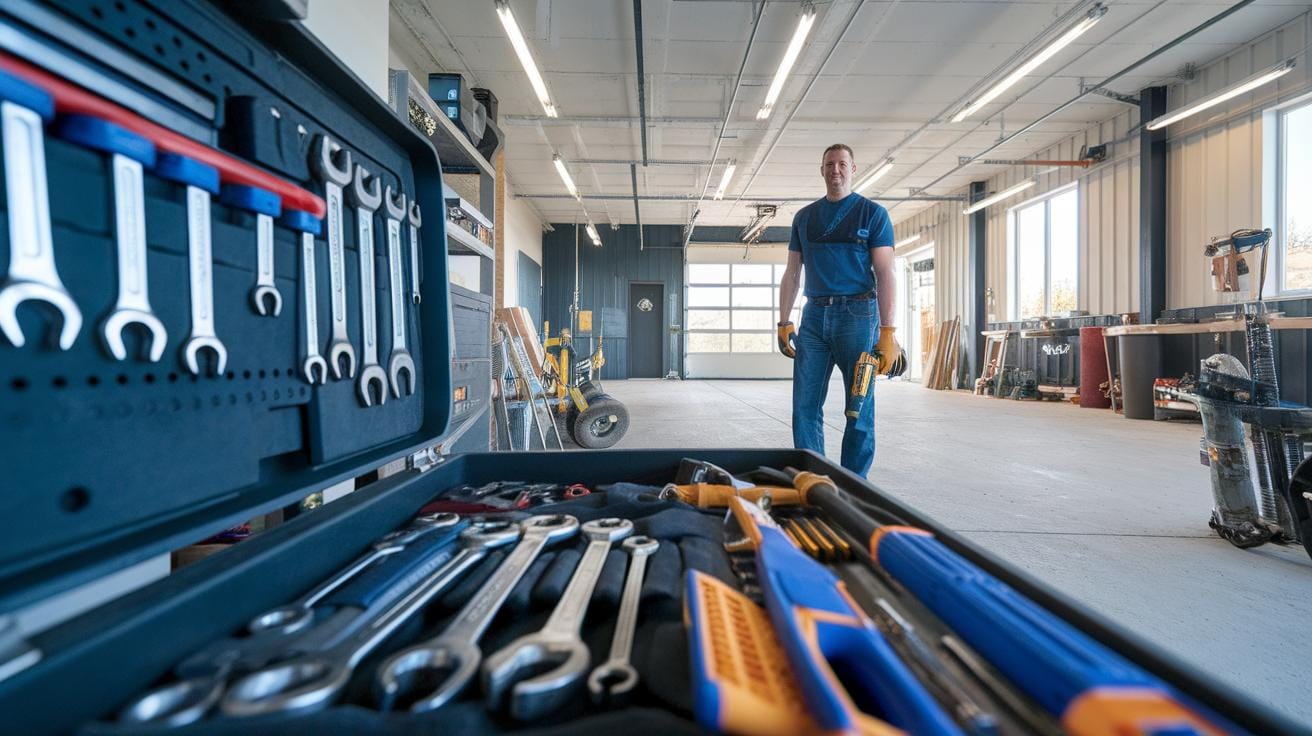
Materials and Tools Needed for Building DIY Pools
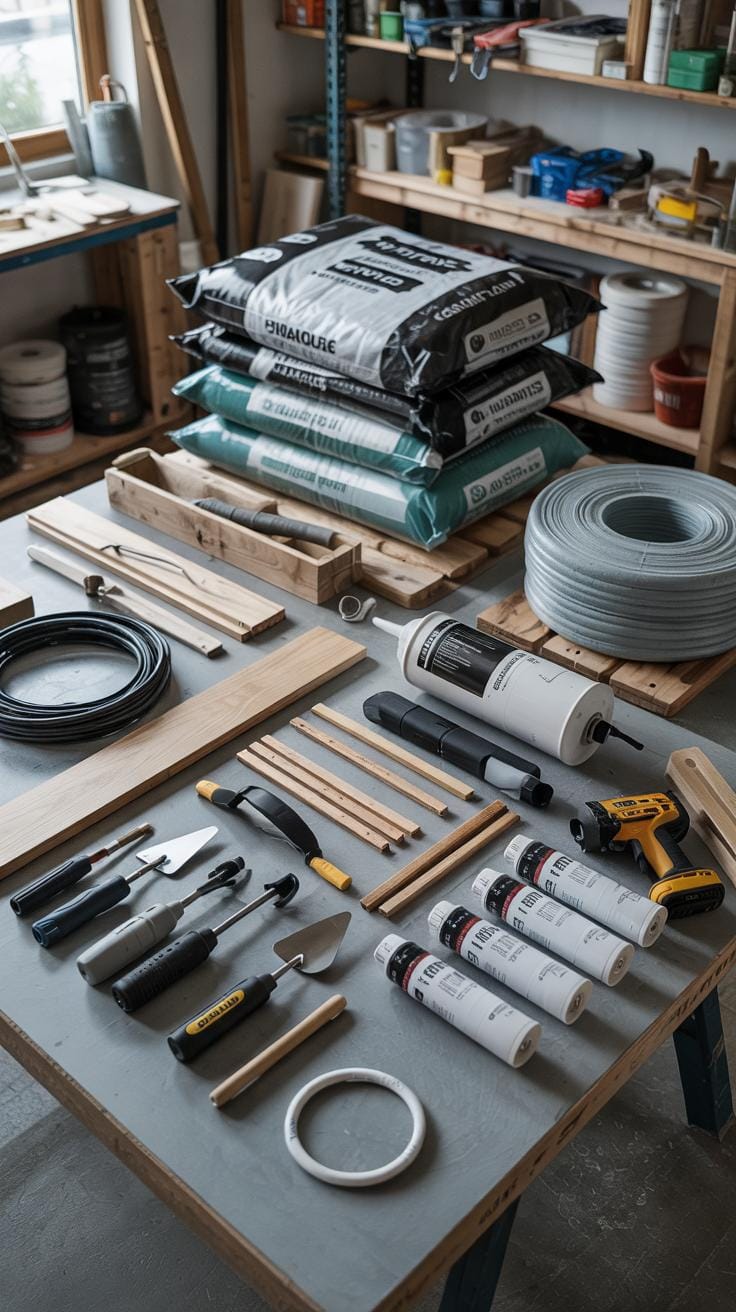
Your choice of materials and tools affects how long your pool lasts and how safe it will be. Different pool types need different supplies, so know what works best for your project.
Good materials resist water damage and handle weather changes. For example, some pools use PVC linings that are flexible and easy to install but may need replacing sooner. Metal frames offer strong support but can rust if not treated properly. Wood creates a natural look but requires sealing against moisture. Concrete stands up well over time but costs more and needs skill to pour correctly. Fiberglass pools are smooth and low maintenance but can be expensive upfront.
Choose materials that fit your budget and your local climate. Think about how much maintenance you want to do, too. Durable materials reduce repairs and keep your pool safe.
Tools make the job easier and your pool stronger. You’ll need shovels and digging equipment for excavation. Welding machines help connect metal parts securely. Water pumps assist with draining or filling. Cleaning tools keep surfaces ready for finishing steps.
Don’t forget safety gear like gloves and goggles. Invest in good quality tools to avoid breakdowns mid-project. What tools are you comfortable using? Choosing the right materials and tools at the start sets your backyard oasis up for success.
Selecting Pool Construction Materials
Select materials based on cost, maintenance, and how long they last. PVC linings are affordable and quick to install but may tear more easily over time. Metal frames provide strength but need rust-proof coating and regular checkups. Wood adds warmth to your pool’s look but needs weatherproofing to avoid rot.
Concrete pools stay strong for decades and handle heavy use. They require more work upfront and often professional help. Fiberglass pools come ready-made and are smooth on the skin, with less upkeep, but may have higher initial costs.
Consider your climate when picking materials. Hot, sunny areas might wear down wood faster. Wet climates can cause rust or mold. Reflect on how much you can spend on both installation and upkeep. Selecting wisely minimizes repairs and keeps your pool safe and clean.
Essential Tools for DIY Pool Projects
Basic digging tools include shovels, pickaxes, and possibly a rented mini-excavator for larger pools. You’ll use these to carve out the pool area accurately. Welding machines become necessary if you build metal frames to hold pool walls.
Water pumps help manage water levels during construction, especially in rainy areas or if your site has a high water table. Cleaning tools like brushes and vacuums keep your pool surfaces free from debris before sealing or lining.
Protect yourself with gloves, eye protection, and sturdy footwear. Using high-quality tools often speeds work up and delivers better results. Think about your experience with these tools—some require practice for safe handling.
What tools do you already have? Renting or borrowing could save money. Planning your tool list carefully supports smoother construction and a better final pool area.
StepbyStep Construction Process

Start by choosing the right location for your pool. Clear the area completely of plants, rocks, and debris. Use stakes and string to mark the exact shape and size on the ground. Check the land’s slope to make sure it is level or prepare to level it to prevent water pooling unevenly.
Excavate the marked area to the desired depth, digging carefully to avoid sharp angles or uneven surfaces. Think about proper drainage—making small slopes or installing drainage pipes can help prevent water from collecting beneath or around your pool.
Once the hole is ready, assemble the pool’s frame. Use strong materials such as treated wood or metal braces and follow the design specs. Secure corners tightly to keep the structure stable when filled with water.
Next, position your pool liner or shell smoothly inside the frame. Remove wrinkles and fix edges to stop leaks from forming. Testing the fit before adding water can save time and money.
When filling the pool, fill slowly while checking for any shifts in the frame or liner. Keep an eye out for leaks or weak spots throughout the process. Take time every step to inspect your work—stability and safety should guide your actions from digging to the final water fill.
Preparing the Site and Digging
Clear the site completely by removing grass, roots, and rocks. Use a shovel or rented excavator for larger pools to dig out the pool shape. Mark your boundaries with spray paint or string to keep digging precise.
Level the ground inside the marked area using a long straight board and a level tool. Uneven ground can cause water to pool improperly or damage the structure.
Drainage is crucial. If your yard holds water after rain, consider adding a drainage system. Dig a small trench or install drainpipes around the pool base to keep excess water away and protect your pool’s foundation.
Assembling the Structure and Lining
Build the pool frame by attaching wall panels or assembling wood or metal supports according to your pool’s design. Use screws or brackets to reinforce joints tightly.
Install the liner next. Unroll it carefully, centering it inside the frame. Smooth it out gradually, pushing out air bubbles as you go. Use a pool adhesive or liner tape on seams to prevent leaks.
Attach liner edges firmly to the top rim, ensuring there is no slack that could cause damage. After filling the pool partially with water, check the frame for any bending or movement that could indicate weak spots.
Maintaining structural integrity during assembly will help your pool last longer and remain safe for everyone using it.
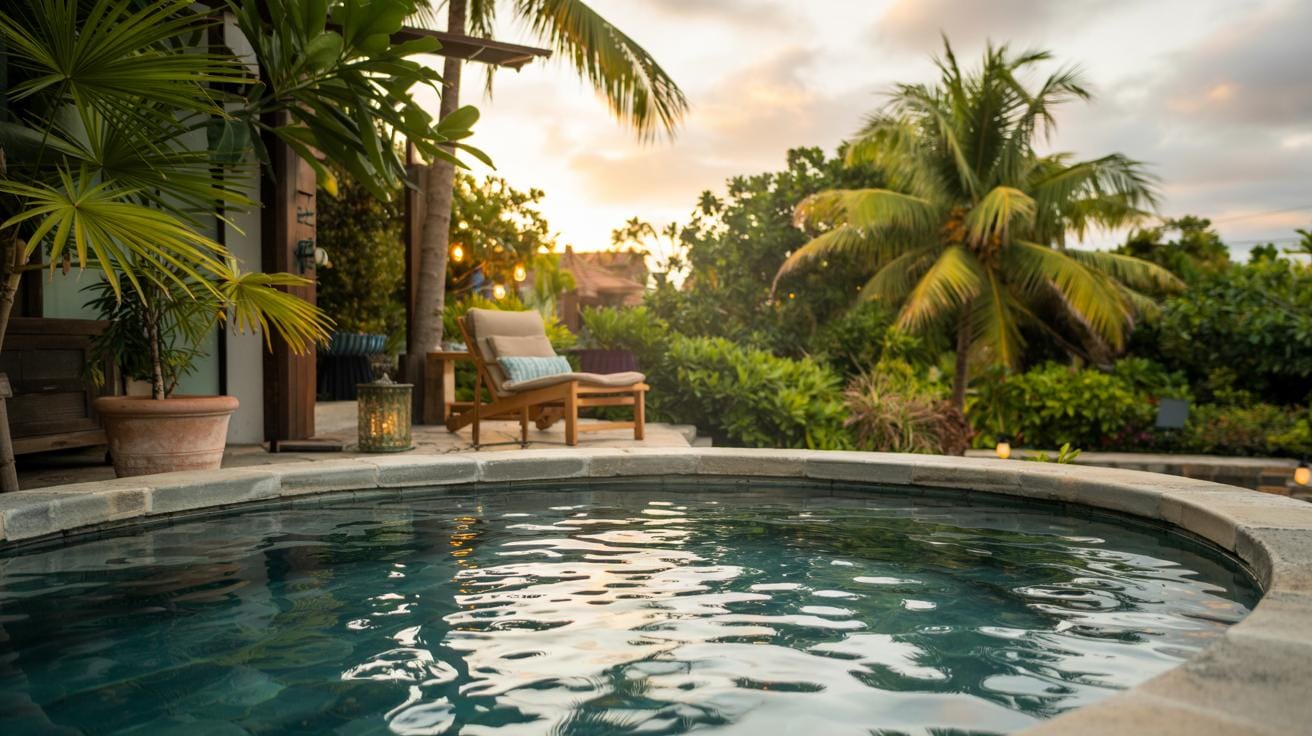
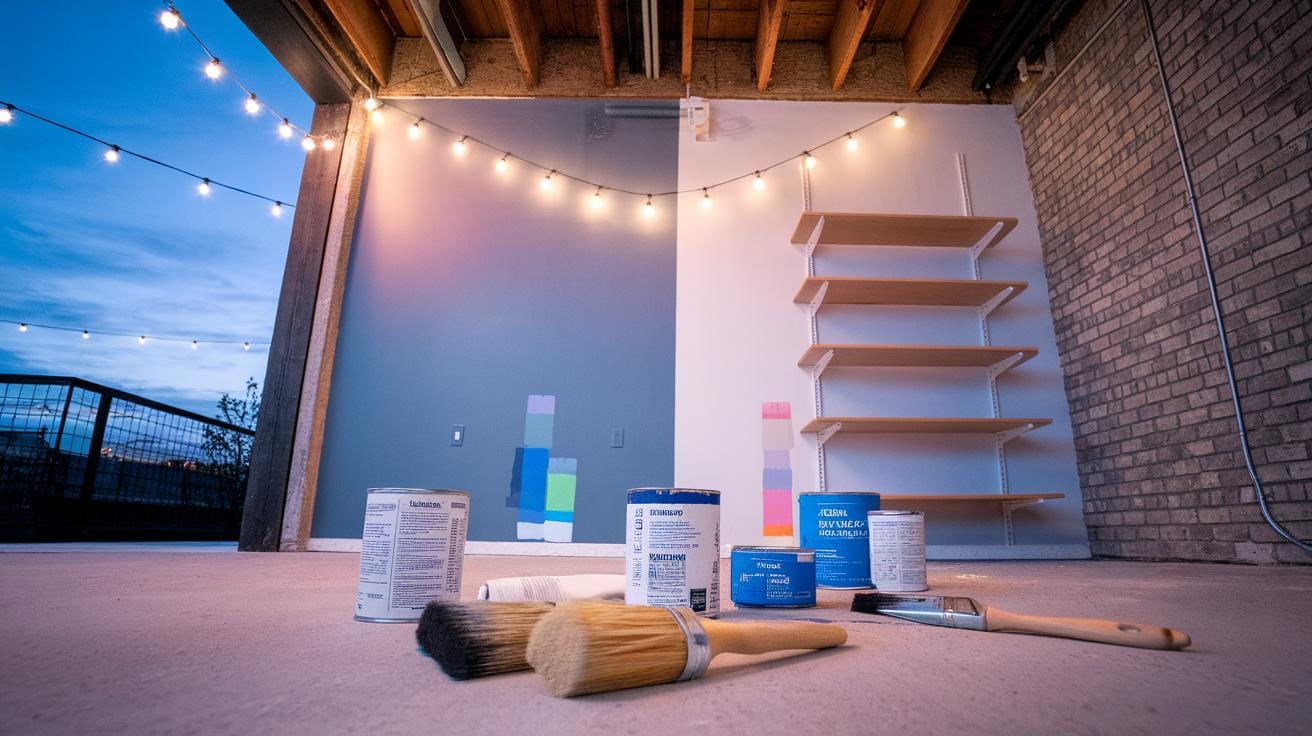
Enhancing Your Pool with DIY Features
Adding features around your pool transforms it from just a swim spot to a backyard oasis. Start with simple touches like a wooden or composite deck. It provides a secure and comfortable area for lounging, dining, or sunbathing.
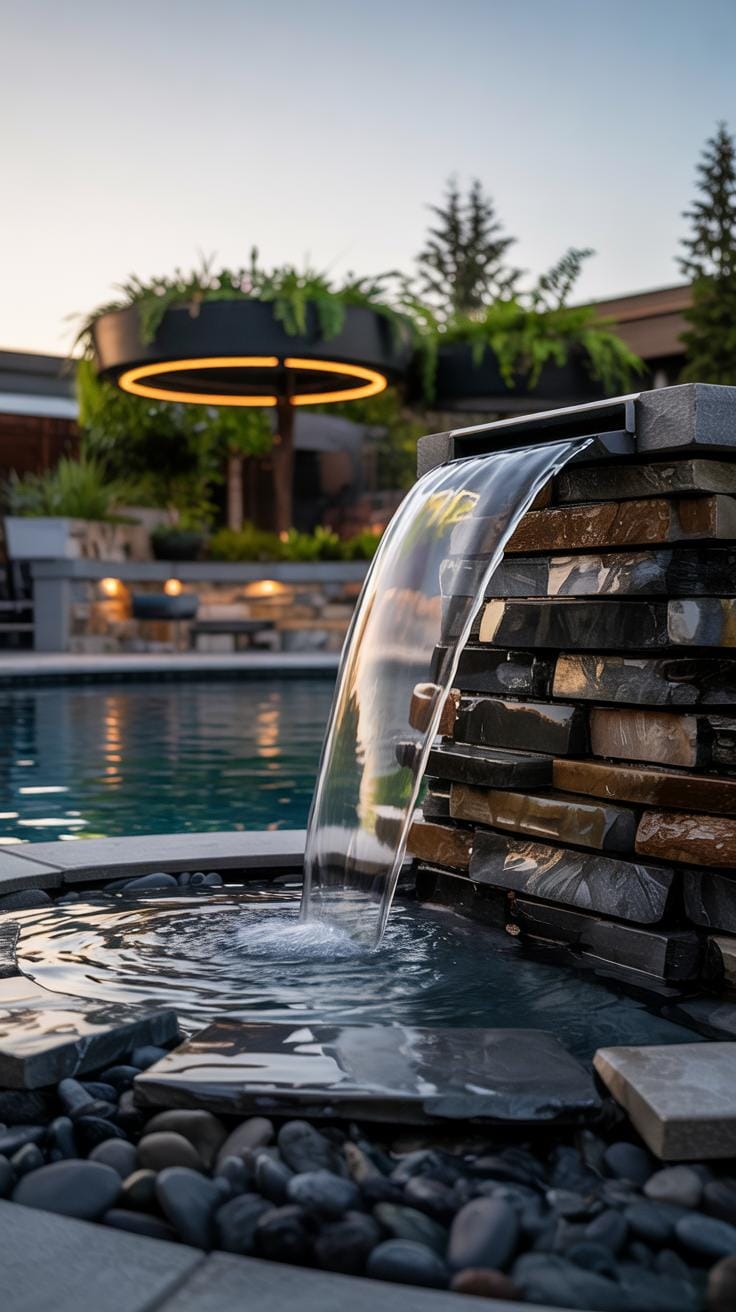
You can install solar or LED lights along pathways and pool edges to extend usability after sundown and set a relaxing mood. Small water features such as fountains or waterfalls add gentle sounds that reduce noise from outside and make your space feel peaceful.
Affordable landscaping using native plants or potted greenery softens hard surfaces and improves your pool’s look without heavy maintenance. Include plants that tolerate wet environments and don’t shed leaves often to keep cleaning easy.
Have you thought about how each feature might serve your family’s needs? A simple water filter upgrade could keep water clearer with less effort. Think about what will boost your pool time most while staying within your budget.
Building a Simple Pool Deck
Creating a deck next to your pool adds both style and function. Choose pressure-treated wood or composite materials for durability and low upkeep. Start by marking a flat area and building a frame with sturdy posts set in concrete.
Space the deck boards closely but leave small gaps to allow water drainage. Use non-slip screws and sand edges to prevent injuries. Including steps or a ramp can improve access and safety.
Consider leaving room for furniture or a grill. Cover the deck with a sealant or stain to protect it from weather damage. What size fits your backyard best? Planning before buying materials saves money and time.
Adding Lighting and Water Features
Lights and water elements offer more than decoration. Solar lights are easy to install since they don’t need wiring and work well in sunny spots. LED strips with waterproof coating can outline pools and pathways, brightening your backyard.
Small fountains or waterfalls can be added by installing a low-flow pump and tubing. Position these near the pool edge for splash effects and soothing sounds that mask background noise. These features create a calm atmosphere and invite relaxation.
Combining lighting with water highlights your pool after dark and makes evenings more enjoyable. If your budget is tight, start with solar lights and add fountains later. Which part of your poolside would benefit most from light or movement?
Maintaining Your DIY Pool
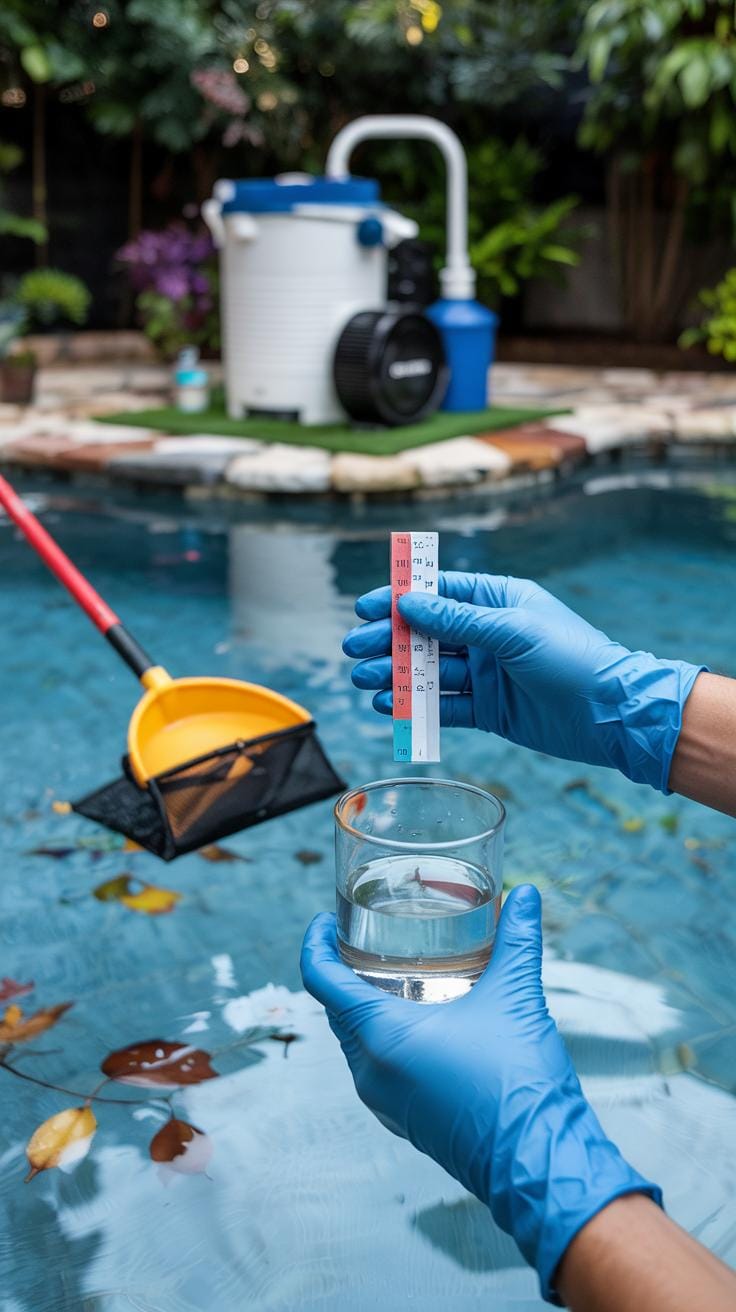
You built your pool to enjoy a backyard retreat. Keeping it clean and safe takes regular effort. Skimming the surface daily removes leaves, bugs, and dirt before they sink. Using a pool vacuum once a week cleans the bottom and prevents grime buildup. This simple step extends the life of your pool liner and keeps water clear.
Testing your water’s chemical balance is key. Check chlorine and pH levels twice a week using test strips or a liquid kit. Keep chlorine between 1 and 3 ppm and pH around 7.2 to 7.6 to prevent algae and protect your skin. Adjust chemicals carefully, following package instructions.
Setting a cleaning calendar helps you stay consistent. When was the last time you vacuumed your pool? Could your water balance use more attention? Regular check-ins save time and money by preventing bigger problems.
Routine Cleaning and Water Care
Skimming debris removes floating leaves and twigs before they damage your pump. Do this every day or at least three times a week during heavy shedding seasons. Vacuuming the pool floor once a week clears dirt that brushing alone cannot remove. Brush walls and steps weekly to stop algae growth.
Balancing water chemicals protects swimmers and equipment. Use test strips or kits to measure chlorine, pH, alkalinity, and calcium hardness. Test water twice a week during summer and weekly during cooler months. Add chlorine tablets or liquid based on results. Adjust pH with baking soda or muriatic acid if needed.
These simple routines keep your water clean and safe. When was your last water test? Establishing a habit makes pool care manageable and lets you enjoy your oasis more.
Equipment Inspection and Repairs
Your pool’s pump and filter do the hard work of keeping water clear. Check them every two weeks for leaks, strange noises, or slow water flow. Clean or replace filters as recommended in your manual. A clogged filter reduces efficiency and can damage the pump.
Pool liners and seals also need attention. Look for cracks, tears, or bulges along the edges. Small leaks cause water loss and pose bigger repair bills if left alone. If you spot damaged liners or hear unusual pump sounds, decide whether a quick fix is possible or call a professional.
Regular inspections prevent small issues from turning into costly repairs. When was the last time you inspected your equipment? Catching problems early keeps your pool running smoothly all year long.
Safety Tips for DIY Pools
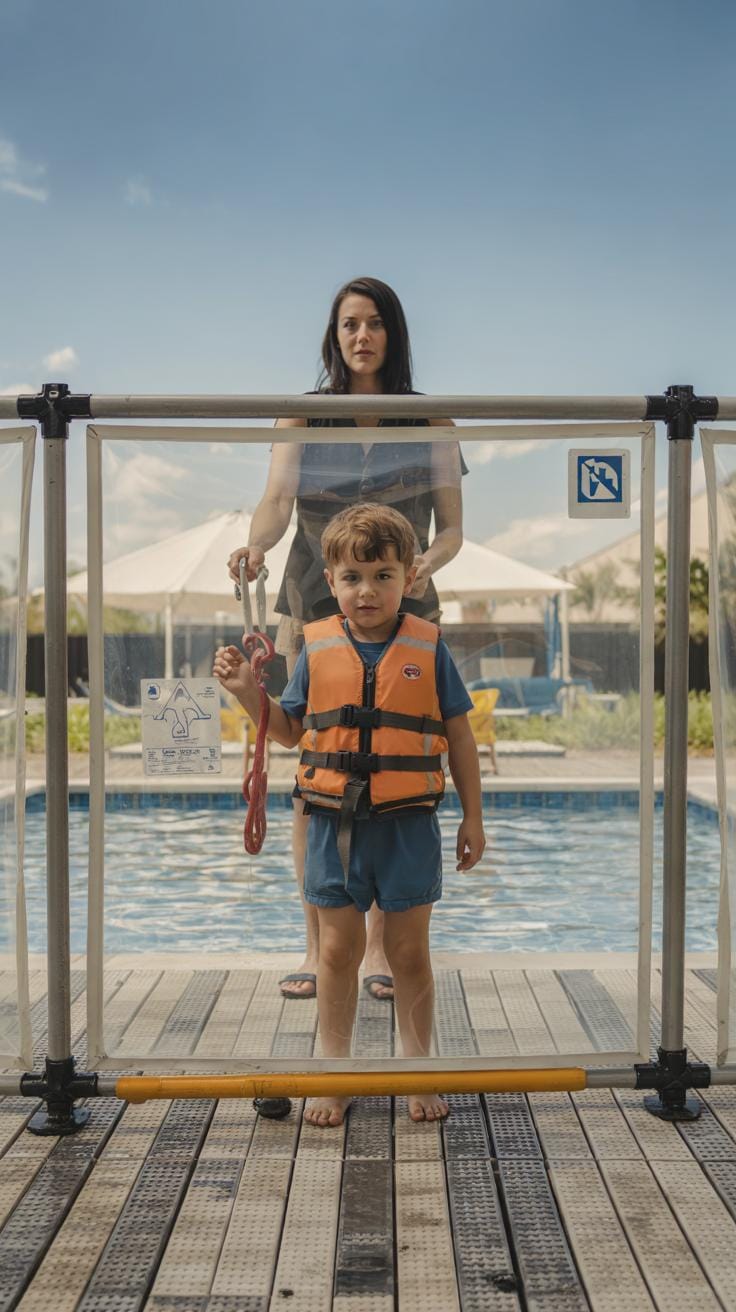
Creating a backyard pool is exciting, but safety must come first. You need to protect children, pets, and everyone who uses the pool from accidents. Think about who will be around the pool and what risks they might face. Simple safety steps can prevent serious injuries.
Install physical barriers that stop unsupervised access. Use pool covers that block entry when the pool isn’t in use. Clear rules about pool use keep swimmers safe, especially when kids are around. Never leave anyone alone in or near the water. Ask yourself if your setup limits risks before you enjoy your pool fully.
Checking with local safety regulations can help you meet required standards. These measures build a safer pool area that lets you relax, knowing everyone is secure. Safety does not need to be complicated—small actions make a big difference.
Installing Barriers and Covers
You must have a fence around your pool that meets local laws. The fence should be at least four feet tall with a self-closing, self-latching gate. Choose materials that fit your yard style, like metal, vinyl, or wood, but don’t skip strong locks. Avoid fences children can climb easily.
Pool covers are another key barrier. Safety covers that lock in place can prevent accidental falls. If you prefer automatic covers, ensure they are maintained regularly to work correctly. Solar covers help keep debris out while blocking access at the same time. Check that covers fit snugly and support weight if stepped on.
Think about your pool’s location and who visits your yard to pick the right barriers. Proper barriers reduce risks even when you’re busy or indoors.
Supervision and Emergency Preparedness
Active supervision is necessary whenever the pool is in use. You cannot rely on gadgets alone or brief check-ins. Always have a responsible adult watching swimmers, especially children. Learn CPR and basic first aid; knowing how to respond saves lives. Local courses often offer easy lessons.
Keep rescue tools like a life ring, reaching pole, and a phone nearby. These should be visible and accessible at all times. Set clear pool rules: no running, no diving in shallow spots, and swim with a buddy. Explain these rules before anyone enters the water.
Ask yourself: Would your setup allow quick action if something went wrong? Planning ahead creates a safer pool area. Simple preparation combined with close attention makes your DIY pool experience more secure for everyone.
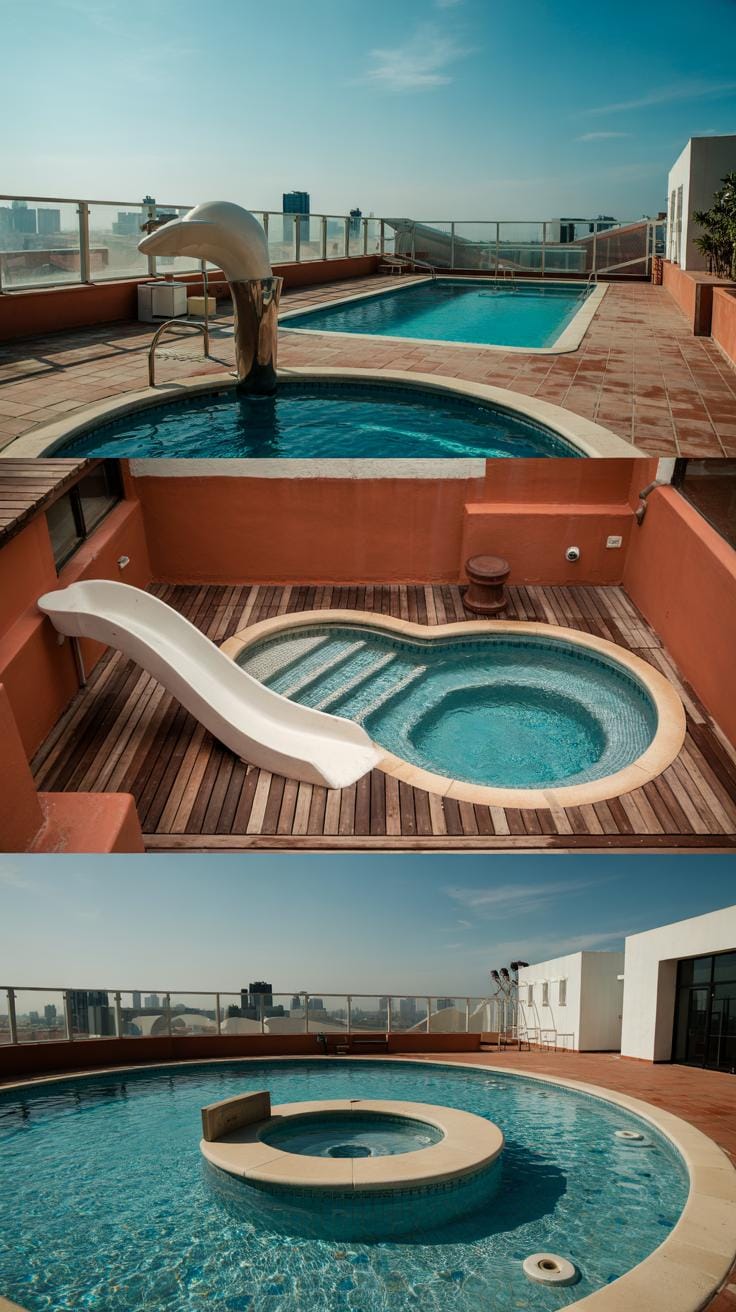
Inspiring DIY Pool Ideas to Try
Creating your own backyard pool can match your lifestyle and taste perfectly. Natural pools use plants and biologic filters to keep the water clean, offering an eco-friendly alternative to traditional chlorine pools. These pools blend with your landscape, providing a calm and chemical-free swim experience.
If space is tight, consider a plunge pool. These compact pools fit small yards and can include stylish water features like fountains or LED lighting. A well-designed plunge pool becomes a quiet retreat for cooling off or relaxing after a long day.
Think about what you want from your pool. Do you want something low-maintenance and green, or a modern spot to chill? Combining sustainable practices with your design helps the environment and lowers costs over time. What kind of pool feels right for your home and daily routine?
Natural and Eco-Friendly Pool Options
Natural swimming pools clean water using plants and a biological filtration zone instead of chemicals. Aquatic plants filter impurities, creating a balanced ecosystem that supports clear water and safe swimming. Setting up this type of pool involves dividing the pool into a swimming area and a regeneration zone filled with plants.
This setup reduces the need for pumps and harsh cleaners, cutting energy use and costs. The look suits those who want an organic feel in their yard while helping local wildlife. Would you like your pool to act as a small pond, blending with native plants and attracting birds?
Small and Stylish Plunge Pools
Plunge pools use limited space well and offer a refreshing dip without the upkeep of large pools. They often include benches and steps, making them perfect for relaxing or socializing. Adding water jets or mini waterfalls can enhance their appeal while saving space.
Choosing materials like concrete, fiberglass, or wood lets you tailor the style to your yard. Smart lighting options can extend use into the evening. How can you transform your small yard into a stylish pool area that fits your pace of life?
Conclusions
Designing and building your own backyard pool can be rewarding. Pools bring a functional and enjoyable feature for your family and friends. DIY options range from smaller, easy setups to more advanced custom pools. Focus on proper planning, materials, and maintenance to ensure your pool lasts and performs well. The pool should blend with your yard’s look and meet your daily needs.
Backyard pools are an investment in leisure and home value. A DIY pool allows you to control costs and customize features. Consider safety, comfort, and appearance while creating your design. With patience and the right approach, you can achieve a backyard oasis that offers refreshment, recreation, and relaxation year-round.


