
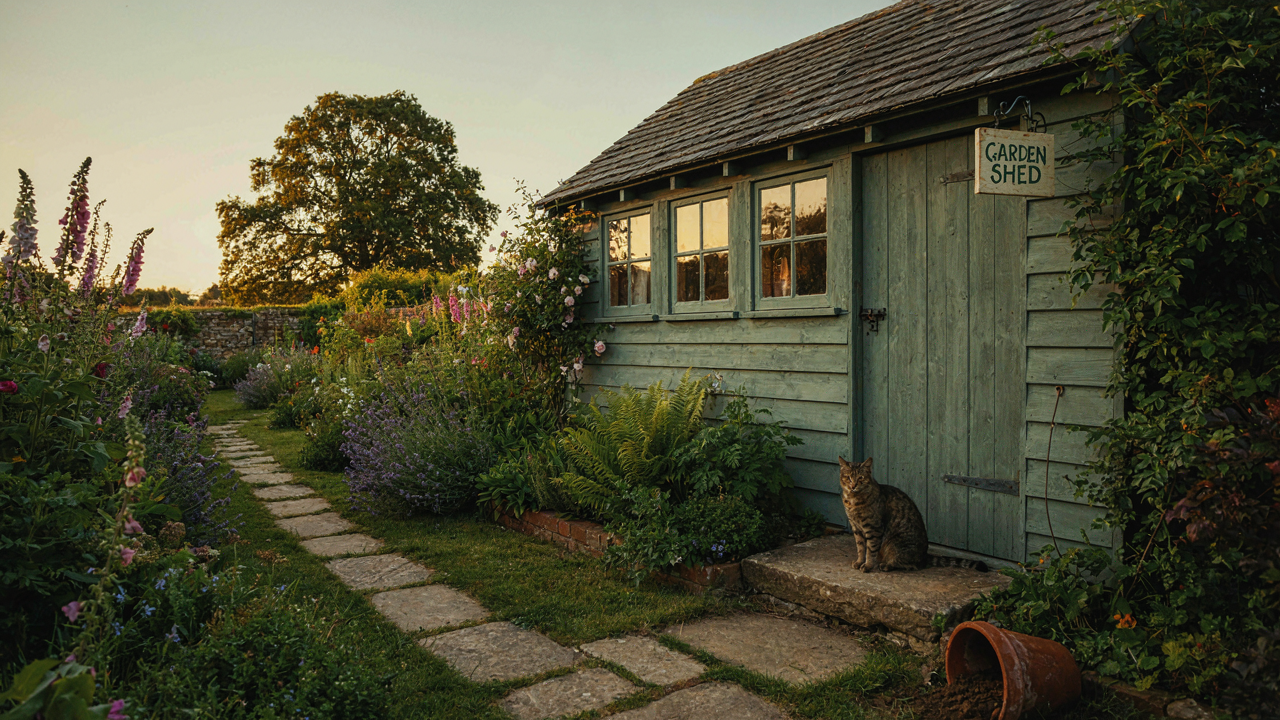
Shed Windows: The Illusion Of Good Enough
What Generic Windows Actually Cost You
You want to believe a standard window is fine because admitting otherwise means more work and money. Here’s the mechanism: mass-produced shed windows ship with frames designed for speed, not shed conditions. They use single-pane glass, thin aluminum or vinyl frames, and minimal sealing—optimized for warehouse storage, not moisture cycling or temperature swings. You pay upfront for cheap and collect losses through condensation, rot, and replacement cycles.
The hidden cost isn’t the window price. It’s the structural damage that follows. Condensation trapped between cheap frames migrates into wood framing. Within two seasons, you’re replacing rot. A proper shed window prevents this by using materials engineered for outdoor exposure: tempered glass, sealed frames with drainage channels, and gaskets rated for UV and humidity. The real expense is the one you don’t see until the shed wall fails.
Why Shed Conditions Demand Different Design
Standard windows fail sheds because they’re designed for houses—controlled environments with HVAC systems that regulate humidity and temperature. Sheds lack this buffer. Economics teaches us the concept of context dependency: the same asset performs differently under different conditions. A single-pane vinyl window works in a climate-controlled home. In a shed exposed to seasonal temperature swings and moisture, it becomes a liability. The vinyl expands and contracts more than the glass, breaking the seal.
Shed windows need frames that move with the structure instead of fighting it. Aluminum with thermal breaks prevents condensation on interior surfaces. Polycarbonate or tempered glass resists thermal shock. Most cheap options use standard residential spec sheets applied to sheds—a fundamental category error. You need to specify materials based on actual shed conditions: no HVAC, direct sun exposure, high humidity in winter, temperature shifts of 40+ degrees between seasons. Verify that any window you choose lists shed or uninsulated-structure use in the spec sheet.
The Thermal Dynamic Of She Shed Exterior: Beyond The Pane

How Heat Actually Moves Through Glass
You want this section because you’re afraid your shed will become a sweat box in summer or a freezer in winter, and you need proof it won’t. Here’s the mechanism: thermal energy transfers through three pathways that physics calls conduction, convection, and radiation. In shed windows, conduction dominates. Heat travels directly through the glass itself when temperature differs between inside and outside. Single-pane glass conducts heat fast. Double-pane glass slows it down by trapping air or gas between layers. The air gap acts as resistance to energy flow, measured in R-value. Higher R-value means slower heat transfer.

Your window placement controls which surfaces receive direct solar radiation. South-facing windows gain heat year-round in the Northern Hemisphere. West-facing windows create afternoon heat spike. North-facing windows receive minimal direct sun but constant diffuse light. East-facing windows warm the shed in morning. The orientation determines your baseline thermal load before any insulation strategy kicks in. If you orient windows without accounting for seasonal sun angle, you fight physics instead of working with it.
Sealing Air Leaks Before Insulation Matters
The common advice stops at “add insulation,” which misses the real problem. Air leakage through gaps around window frames destroys R-value gains. A single 1/8-inch gap around a window frame can negate half the insulation benefit of upgrading from single to double pane. Caulking perimeter seals beats material upgrades when your baseline has holes. Weatherstripping on operable windows prevents convection loops that pull conditioned air out. Without sealed perimeter, your insulation strategy fails before it starts.
Ventilation strategy requires the opposite logic. You need planned air movement, not accidental leakage. Ridge vents and soffit vents create passive air circulation that removes moisture and heat stratification. Active ventilation through a small fan works when passive flow doesn’t meet demand. The rule: seal what you control, then ventilate what you want. Install backer rod in large gaps first, then caulk over it. Measure and seal before buying any insulation product.
She Shed Exterior Ideas: The Psychology Of Placement
Where Light Hits The Work Surface
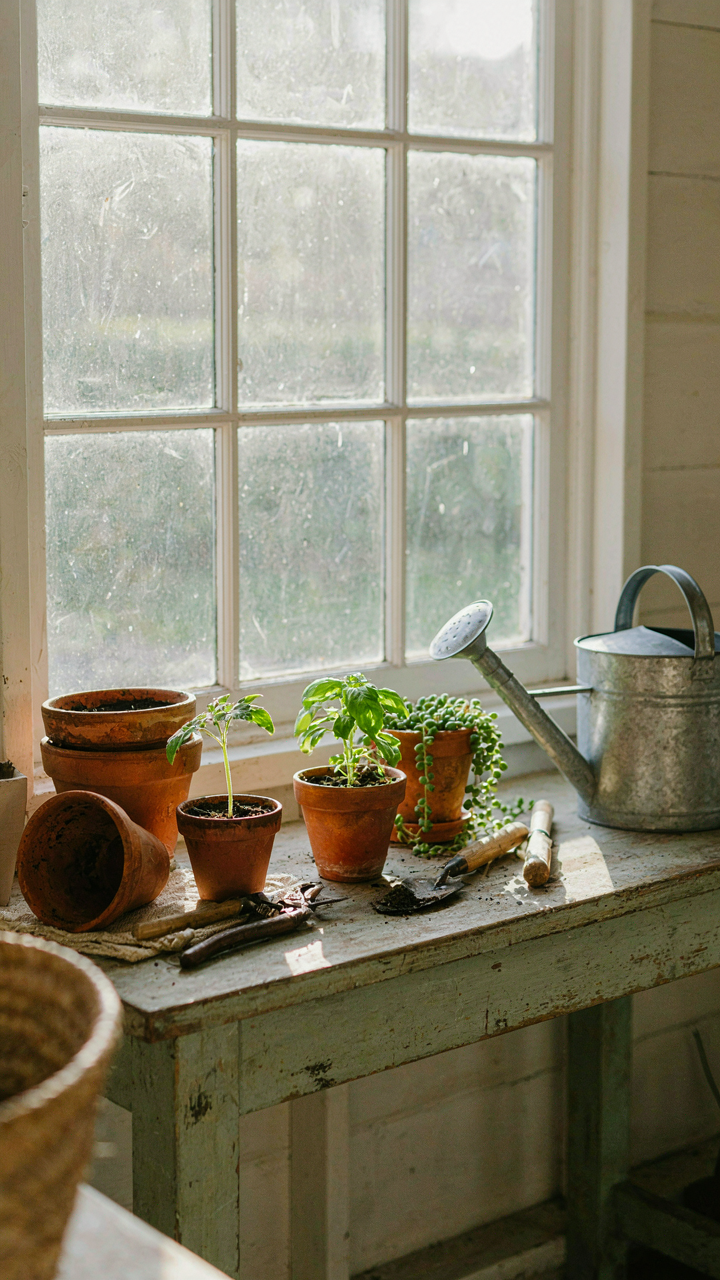
You want this space to feel intentional because you’re tired of half-finished projects and wasted money on spaces that don’t work. Placement mirrors the principle of photometry: light intensity drops as distance from the source increases. A window on the wrong wall reaches your workbench as diffused afternoon glare. A window on the right wall delivers direct, usable illumination for task work. The north wall gives consistent, shadowless light. The south wall delivers intense heat and variable shadows throughout the day.

Task-specific areas need positioning before you order the shed. A potting bench demands north or northeast exposure. A woodworking station requires overhead or north light to eliminate hand shadows. Shelving for seed storage works anywhere because it doesn’t demand task clarity. Most people install windows arbitrarily, then complain about poor visibility. Calculate where you’ll spend active work time, then place your windows to front that zone directly.
Sightlines And The Boundary Effect
The real tension isn’t privacy versus aesthetics. It’s control. A window placed high and small shields interior activity from street view while still admitting light. A large, low window broadcasts everything inside and reads as transparent, which feels riskless to neighbors but exposes your space. Strategic placement uses the shed’s own walls and any existing structures to create “boundary layers” that interrupt sightlines without blocking light.
Two medium windows positioned on opposite walls create cross-ventilation and fracture sightlines so no single vantage point reveals the full interior. One window set at eye level on the side wall facing a fence uses the fence itself as a privacy barrier. This is cheaper than choosing smaller panes and delivers both function and the visual read you actually want. Install windows where they perform dual duty: they admit light while directing how people see the space from outside.
The Visibility Matrix For Shed Windows
What You Actually See From Inside
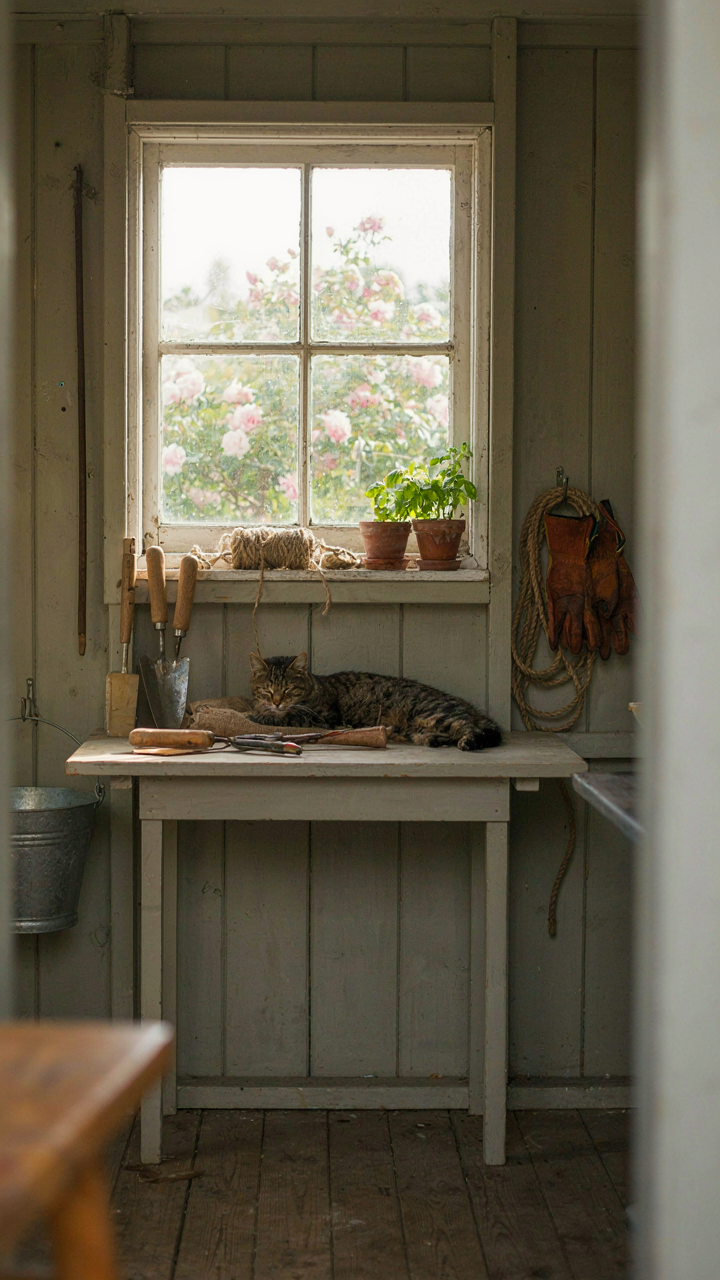
You want your shed to feel less like a cave and more like a workspace, which means you’re secretly worried a dark interior will force you to admit you wasted money on the whole project. That’s the real motive here. The mechanism is simple: window placement determines sightline depth and usable workspace clarity.

Positioning matters more than size. A single window placed at eye level (48 to 60 inches from the floor) gives you functional light across your main work surface. Two windows on perpendicular walls create cross-ventilation and eliminate dead zones where shadows pool. Corner placement amplifies brightness without eating wall space you need for storage or benches.
How Neighbors Actually Judge Your Property
Everyone says “curb appeal matters,” then installs mismatched windows that broadcast neglect from the street. Real aesthetics work through architectural coherence, not aesthetic feelings. Your shed windows either align with your home’s existing window style or they signal that you don’t maintain details.
Match your shed windows to your house in profile and material. If your home has horizontal sliders, use sliders on the shed. If your home features divided-light casements, replicate that grid pattern. Shed windows that echo your house style read as intentional design. Windows that clash read as afterthought. The window becomes the translator between structures, and neighbors subconsciously notice that translation the moment they see it.
Window Greenhouse Ideas: The Unsung Biome Creator
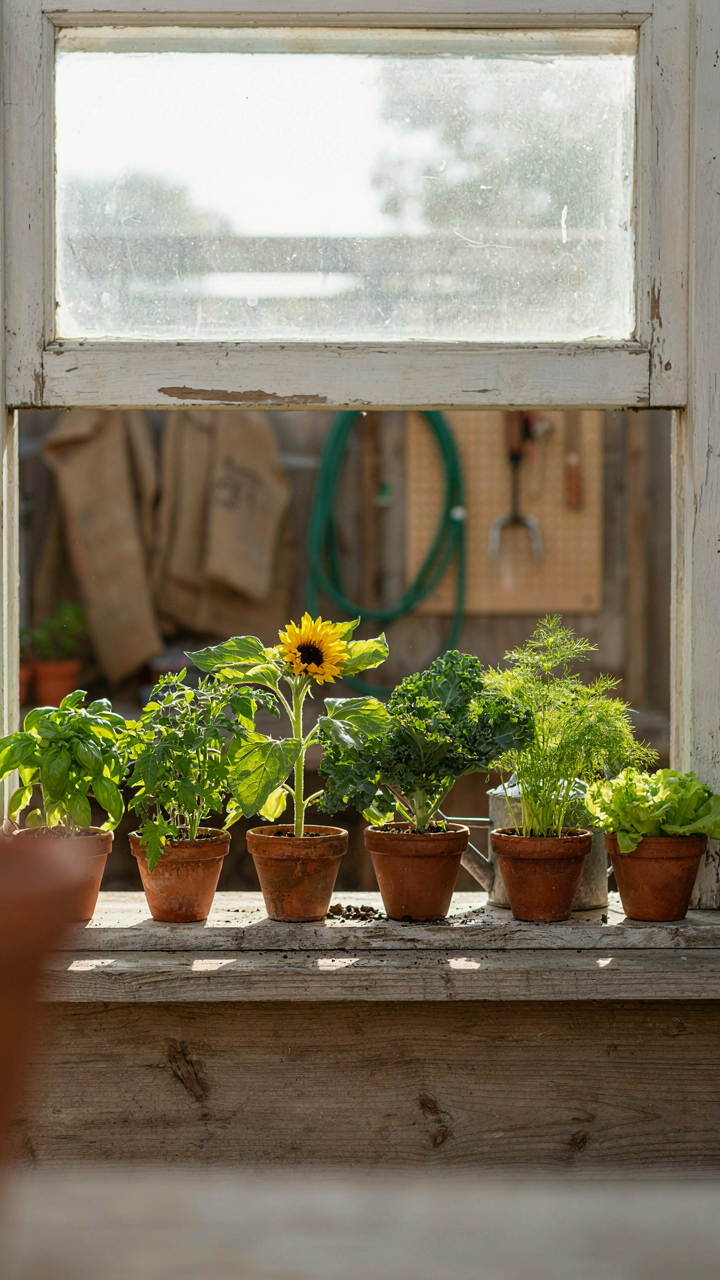
How Windows Shape Plant Microclimates
You want a shed that looks purposeful and justifies the space it takes up. Here’s what matters: windows control the microclimate inside your shed by regulating temperature swings and humidity layers. Thermal mass works the same way in plant propagation as it does in architecture. A single south-facing window on a shed creates a temperature differential between the glass surface and interior air. This difference drives convection, moving warm air upward and creating zones where tender seedlings thrive and where hardier stock tolerates cooler pockets.

The mechanism is straightforward. Double-glazed windows maintain a stable internal temperature by reducing heat loss at night and moderating peak gains during the day. Single-pane glass won’t cut it if you’re serious about year-round propagation. Position shelving directly under south or west-facing windows to capture direct solar radiation during the growing season. At night, that same glass becomes a thermal liability, so you need thermal mass inside the shed, like water barrels or concrete benches, to absorb daytime heat and release it slowly. Without mass, temperatures crash after sunset and kill young plants.
Passive Solar Gain As Operational Infrastructure
Stop thinking of your shed windows as decoration. They’re heating systems you don’t have to fuel. Passive solar gain in horticultural contexts follows the same principle as passive house design: you orient glazing to capture winter sun while minimizing summer overheating through strategic placement and overhang. A properly positioned shed window acts as a free heat collector from November through March.
The practical protocol: install your largest windows on the south side of your shed if you’re in the Northern Hemisphere, angled to catch low winter sun angles. Eaves or a roof overhang should block direct summer sun when the sun is higher in the sky. This single design choice eliminates heating costs during spring propagation season and extends your growing calendar by weeks. Measure your latitude, then calculate the angle of winter sun at noon, and size your overhang accordingly. That calculation determines whether your shed stays 45 degrees on a February morning or drops to freezing.
She Shed Greenhouse Ideas: Cultivating A Micro Ecosystem
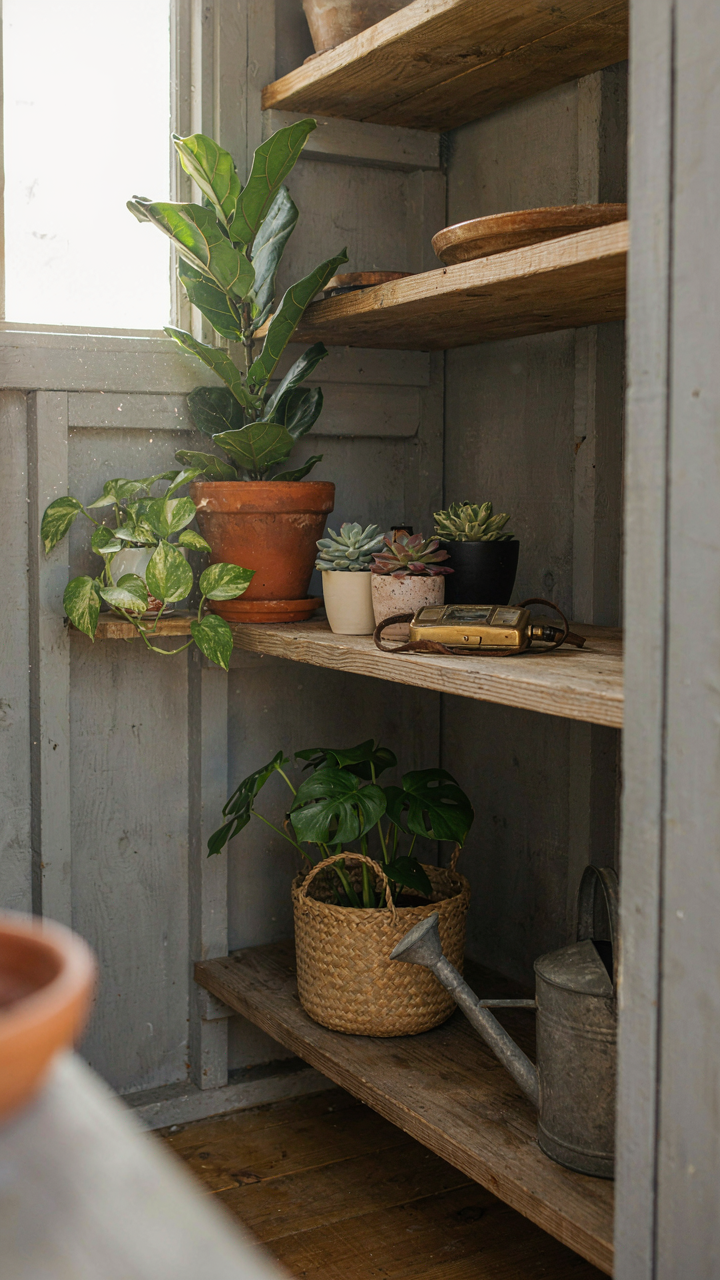
Nature’s Light Strategy
You want this to feel like a legitimate growing space, not a decorated storage box. Here’s the mechanism: biology teaches us about light interception, the principle that organisms position themselves to capture maximum photosynthetically useful radiation. Your shed window becomes an interception device. Plants don’t care about aesthetics. They care about spectrum, angle, and duration. When you design windows through this lens, you stop choosing them for looks and start choosing them for what actually grows.

Most shed owners treat windows as afterthoughts. They install whatever fits the opening. The real move is understanding that light behaves differently depending on direction, season, and glass type. South-facing windows capture the most intense light but create heat stress in summer. East-facing windows give morning light without afternoon burn. Glass thickness and clarity directly affect how much usable light reaches your plants. This isn’t poetry. It’s physics applied to plant survival.
Window Design Aligned With Growing Needs
The consensus advice here is wrong: bigger windows don’t automatically mean better growing conditions. More glass means more heat loss in winter, more temperature swings, and potentially more algae growth on interior panes. What matters is placement and glass selection. Double-glazed tempered glass holds heat and protects plants from exterior temperature shock. Polycarbonate panels transmit light efficiently while diffusing it evenly, preventing hot spots that kill seedlings. Single-pane glass is cheaper but creates radical temperature shifts that stress plants.
Position your shed so the primary growing bench faces south or southeast. Install windows at heights that direct light onto foliage, not onto the floor where it bounces and wastes. Use adjustable louvers or internal shade cloth to control intensity during peak summer months. This requires a protocol: measure your light levels with a meter in different seasons, then adjust physical barriers accordingly. Don’t guess. Measure, adjust, measure again.
Window Greenhouse: Beyond The Pretty Picture
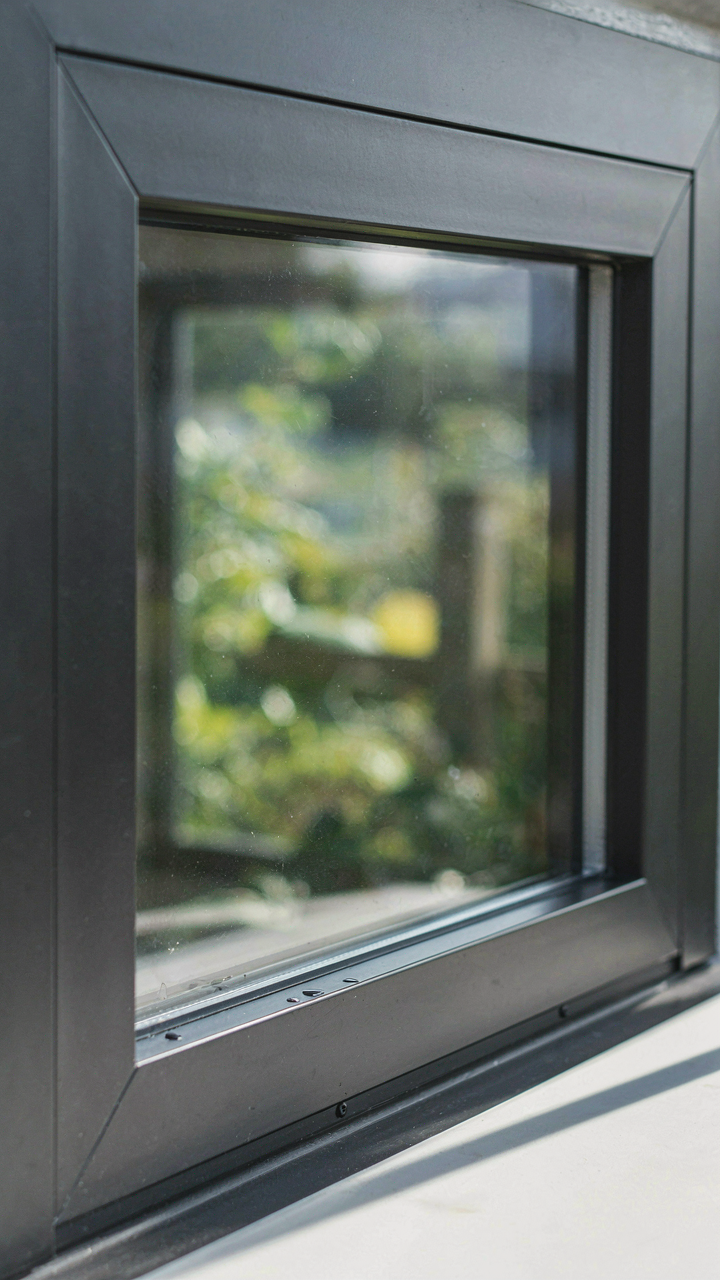
The Frame That Holds Everything Together
You want a shed window that looks good five years from now without you thinking about it. That won’t happen by accident. The real mechanism here comes from materials science: thermal stress cycles—the expansion and contraction of materials as temperature swings between seasons—will destroy any window system that doesn’t account for it from the start.

Wood frames absorb moisture and swell. Aluminum frames conduct temperature differentials that crack glass. Vinyl frames become brittle in UV exposure. The glass itself expands and contracts at a different rate than whatever holds it. You need a frame material that either moves with the glass or doesn’t move at all. Aluminum with thermal breaks, vinyl designed for outdoor shed conditions, or pressure-treated wood sealed completely work. Single-pane glass in a wood frame will fail. The seal between frame and glass matters more than frame material alone because that’s where water enters and stays.
The Thing Nobody Does Until It’s Too Late
Maintenance advice for shed windows is usually vague: “keep them clean.” That’s useless. What actually breaks windows is trapped moisture and failed caulking, not dust. Check the caulk line where the frame meets the shed wall every spring and fall. If it’s cracking, pulling away, or discolored, replace it entirely. Caulk doesn’t repair well—you remove the old stuff, let the frame dry for two days minimum, and apply a fresh, continuous bead. Silicone caulk lasts longer than acrylic, though it costs more and requires mineral spirits for cleanup. The glass itself needs nothing beyond an occasional wash, but the drainage channels at the frame bottom must stay clear of debris or water pools and freezes inside the frame cavity, pushing the glass out under hydraulic pressure.
Outdoor Window Shutters: The Security And Style Protocol
Stopping Theft And Weather Before They Start
You want shutters because you’re terrified of losing what’s inside your shed. That fear is rational, but most people install shutters wrong because they treat them as decoration instead of a barrier system. Security uses defensive depth: multiple layers that slow attackers and distribute damage. Shutters function the same way. They’re your first perimeter before anyone reaches the glass.
- Solid panel shutters: Block sightlines into the shed and prevent forced entry attempts. Metal frames with no gaps eliminate leverage points for prying tools.
- Operable hinged shutters: Allow ventilation control while closed and can be latched from inside with a crossbar or bolt. Requires weekly inspection of hinge pins and fasteners.
- Louvered shutters: Permit airflow and partial visibility while deflecting rain away from window panes. Less effective for security but work well on utility sheds where theft is lower risk.
- Polycarbonate inserts: Provide break resistance without blocking light entirely. Cost more than wood but outlast painted wood by years and need no maintenance.
- Hardware grade: Use stainless steel or galvanized fasteners rated for exterior exposure. Brass and painted steel corrode in damp climates and fail within two seasons.
Weather damage compounds faster than most owners realize. Rain driven horizontally penetrates standard window frames. Shutters redirect water down and away from the seal. Wood frames swell when wet, and this cycling degrades them in years instead of decades. Close shutters during storms and leave them closed for 24 hours after. This prevents water from re-entering compromised frames during the drying cycle.
Integration Without Visual Conflict
Most advice tells you to match shutters to shed siding color. That’s lazy and visible from 50 feet away as a mismatch. The real move is to repeat one material and finish you’ve already used on the shed structure itself. If your shed has metal roof trim, use metal shutter hardware. If it has board and batten siding, use wood shutters with the same stain or paint schedule. Repetition reads as intention, not compromise.

Shutter proportion matters tactically. Mount them so they cover the full window frame with minimal overlap into the siding. Oversized shutters that extend beyond the frame announce poor installation. Position hinges at the top and bottom of the window, not at the corners. This creates a clean line that aligns with how the eye reads vertical elements on a shed. The shutters should look like they grew from the wall, not got bolted on as an afterthought.
Barn Windows: The Enduring Legacy Of Function And Form
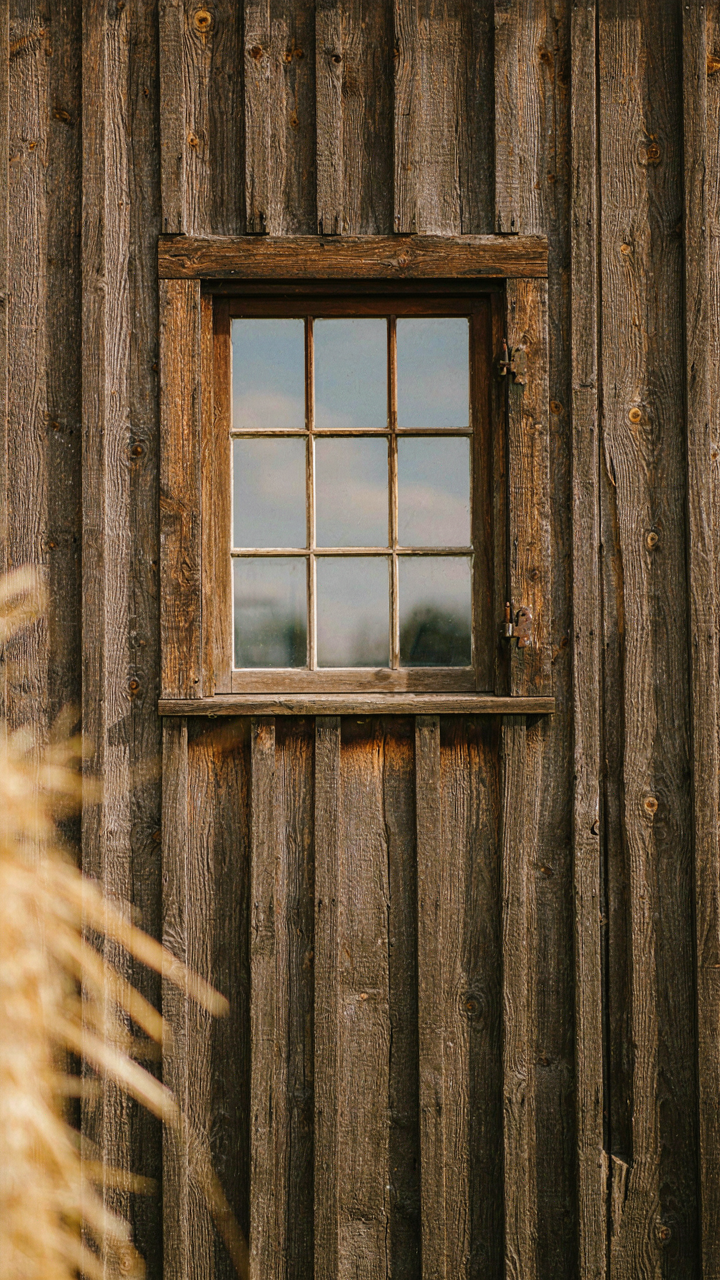
When Farmers Built Better Than Architects
You want barn windows because they signal you understand something most people miss: real craftsmanship predates trend cycles. Barn windows work because they solved a mechanical problem before aesthetics became the sales pitch. Farmers needed light, ventilation, and structural integrity in one frame. They couldn’t afford to rebuild every decade. The solution was overbuilt: thick frames, minimal moving parts, materials chosen for longevity not cost.
This constraint forced elegance. Barn windows typically featured fixed panes with minimal glazing bars, reducing failure points and heat loss. The frame geometry itself—deep set into masonry or timber—provided thermal mass and weather resistance. Steel or hardwood construction meant the window lasted longer than the building it occupied. That durability wasn’t accidental. It was the only economics that made sense for rural property owners.
Stealing From The Past Without The Inefficiency
Everyone says “bring back traditional design.” That’s lazy. What actually works from barn windows is the engineering, not the nostalgia. Modern shed owners can borrow the frame depth and material quality without accepting the maintenance burden or poor insulation values of original barn glass. Double-glazed units now fit traditional frame profiles. Hardwood can be specified with modern sealants that outperform original linseed oil finishes by decades.

The real mechanism: isolate what solved the core problem from what was merely the technology available at the time. Barn windows solved light penetration and frame stability. The original materials and construction methods were the solution set available then, not the only solution. Replace single glazing with insulated units. Use stainless steel hardware instead of iron. Keep the frame proportions and depth that provided thermal performance and visual weight. Install them with modern flashing protocols to prevent the rot that plagued original installations.
The “Curated Light” Method: Designing For Intent

Match Your Window To The Work Inside
You want your shed to look intentional from the outside, but what you really care about is whether the light setup actually serves what happens in there. Here’s the mechanism: light quality determines task performance, and task performance determines whether you use the space or abandon it. A woodworking shed needs different light than a potting bench. A hobby studio needs different light than storage. Start by naming the primary activity. Not the fantasy activity. The one that will happen 80 percent of the time. Then work backward from that task’s light requirements instead of forward from what looks good.
Natural light enters a shed through windows at angles determined by the sun’s path, latitude, and the building’s orientation. South-facing windows in the Northern Hemisphere receive consistent, predictable light throughout the day. North-facing windows provide diffuse, shadowless light but less intensity. East and west exposures create morning or afternoon peaks with corresponding shadows. Your work schedule matters too. If you use the shed in early morning, east exposure handles it. If afternoon is your window, west exposure works better. Match the window placement and type to when and where the work actually happens.
Glass Type Shifts What Light Does
Most people choose glass type by price or appearance. That’s lazy. Different glass formulations alter light transmission, UV blocking, and thermal properties in ways that directly affect your work and material longevity. Standard clear glass transmits roughly 90 percent of visible light but passes most UV radiation. Tempered glass offers safety on impact but doesn’t meaningfully change light quality. Low-emissivity glass reduces heat transfer, which matters less for unheated sheds but improves comfort in shoulder seasons.
Acrylic panels transmit light similarly to clear glass but cost less and handle impact better, making them practical for working sheds where tools move around. Polycarbonate offers superior impact resistance and better UV filtering if you’re storing light-sensitive materials or plants. The choice isn’t about preference. It’s about identifying what compromises the materials or task you actually keep in the shed, then selecting the glass that prevents that compromise. If you’re propagating seedlings, UV-filtering glass protects them. If you’re storing varnish or paint, blocking UV matters. If you’re woodworking, you need glare-free light to read grain, so diffuse or partially frosted glass performs better than crystal clear.
The Real Obstacle Isn’t The Window; It’s Your Fear Of Committing To A Vision
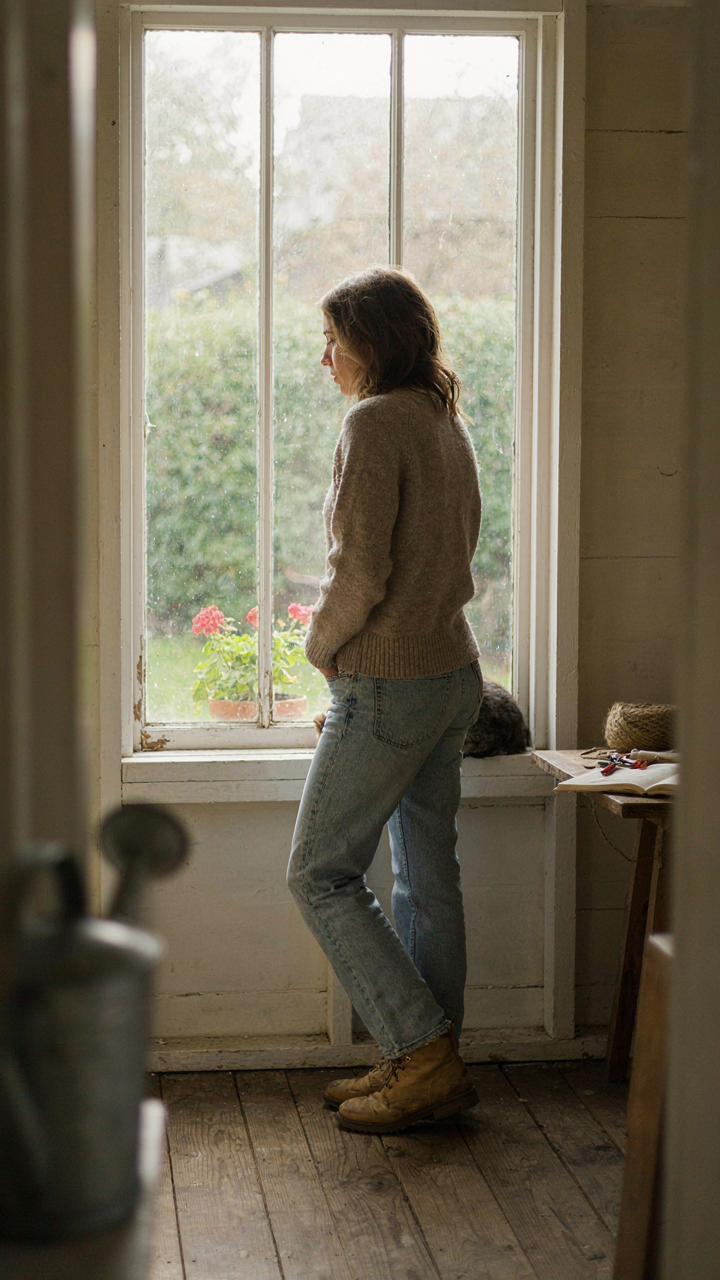
You already know which garden shed windows you want. You’re stalling because choosing wrong feels permanent. It’s not. Pick one today. Order it. The worst that happens is you learn what doesn’t work, which beats learning nothing while your shed collects dust. Your shed doesn’t need perfection. It needs light and a decision from you.