Introduction
Hanging pictures on the wall is a simple way to enhance your living space. Whether you want to decorate your home, showcase memories, or add character to your office, putting pictures on your walls can make a significant difference. Choosing the right pictures and arranging them properly creates a pleasing visual experience that reflects your style. The process might seem straightforward, but doing it well takes some skill and planning.
When you hang pictures like a pro, you maximize both the beauty and function of your wall display. It involves selecting proper tools, understanding the space, and mastering basic techniques for balance and alignment. This article will guide you through the essentials and help you avoid common mistakes. You will learn how to organize your picture wall efficiently so each artwork or photo looks its best in your space.
Choosing the Right Wall and Space for Your Pictures
Picking the perfect wall or area for your pictures starts with thinking about lighting. Natural light highlights details and colors but can fade art over time. Consider how much sunlight hits your wall during the day before placing your artwork.
Wall color affects how your picture stands out. Light walls can brighten dark frames, while darker walls make light frames pop. Think about contrast and harmony to boost the visual appeal.
Size matters. Large pictures need space to breathe. Too crowded a wall makes your display look cluttered. Match your picture size with available wall space and keep it balanced with nearby furniture.
Furniture placement influences where to hang art. A picture above a sofa should fit the furniture width. Also, low furniture calls for lower hanging heights. Ask yourself: Does the wall and space enhance or compete with the artwork?
Understanding your wall’s characteristics
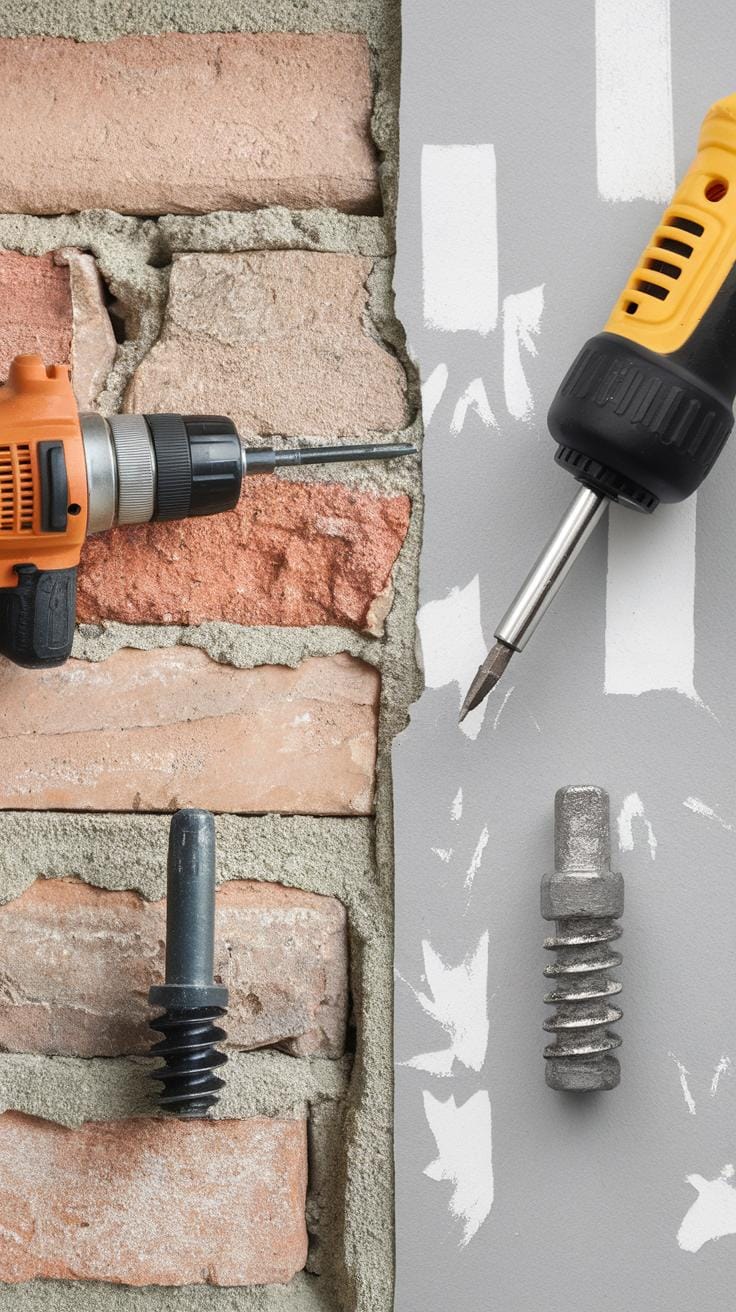
Walls come in different materials like drywall, brick, or plaster. Each needs specific tools for hanging pictures safely. Drywall holds standard nails or hooks, but brick requires special anchors or masonry screws.
Wall texture changes how pictures attach. Smooth walls allow flush hangs while textured surfaces may create gaps or tilt your frame. Test with a small hook first to see how steady your picture stays.
The wall’s color plays a role in choosing the frame and picture style. Dark walls can absorb light and make colors dull. Lighter walls reflect light and brighten up darker images. Consider repainting if your current color distracts from your artwork.
Matching pictures to room style
Think about the room’s purpose before picking picture styles. In a living room, larger, eye-catching art can create a focal point. In a bedroom, softer images with calming colors work better.
Match your pictures to your room’s style. Classic furniture fits well with traditional framed prints or landscapes. Modern décor calls for abstract or minimalistic art with sleek frames.
Size selection matters when matching your room style. Large pictures suit spacious rooms with few decorations. Smaller artworks are perfect for busy rooms filled with furniture and other items.
Ask yourself: Does the picture support the room’s vibe? Will it complement furniture instead of competing with it? Finding the right balance improves how your space feels and looks.
Tools and Materials You Need for Hanging Pictures
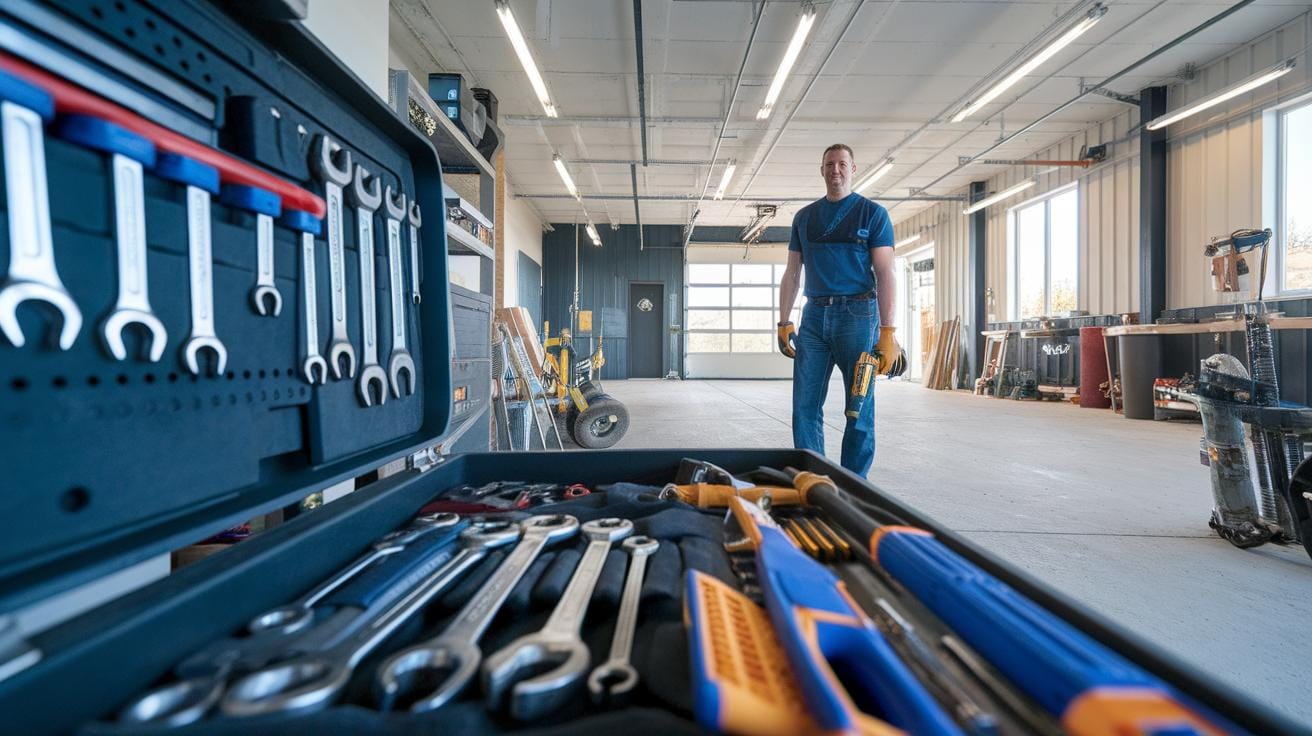
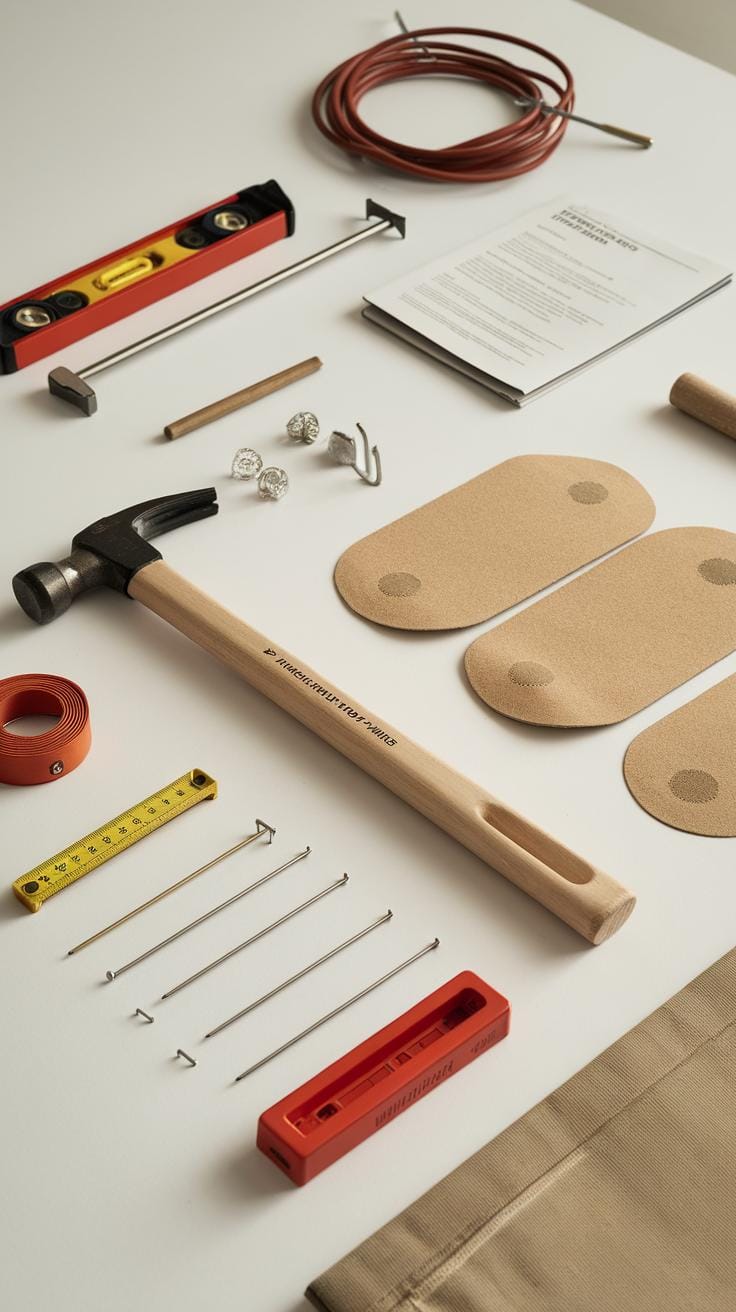
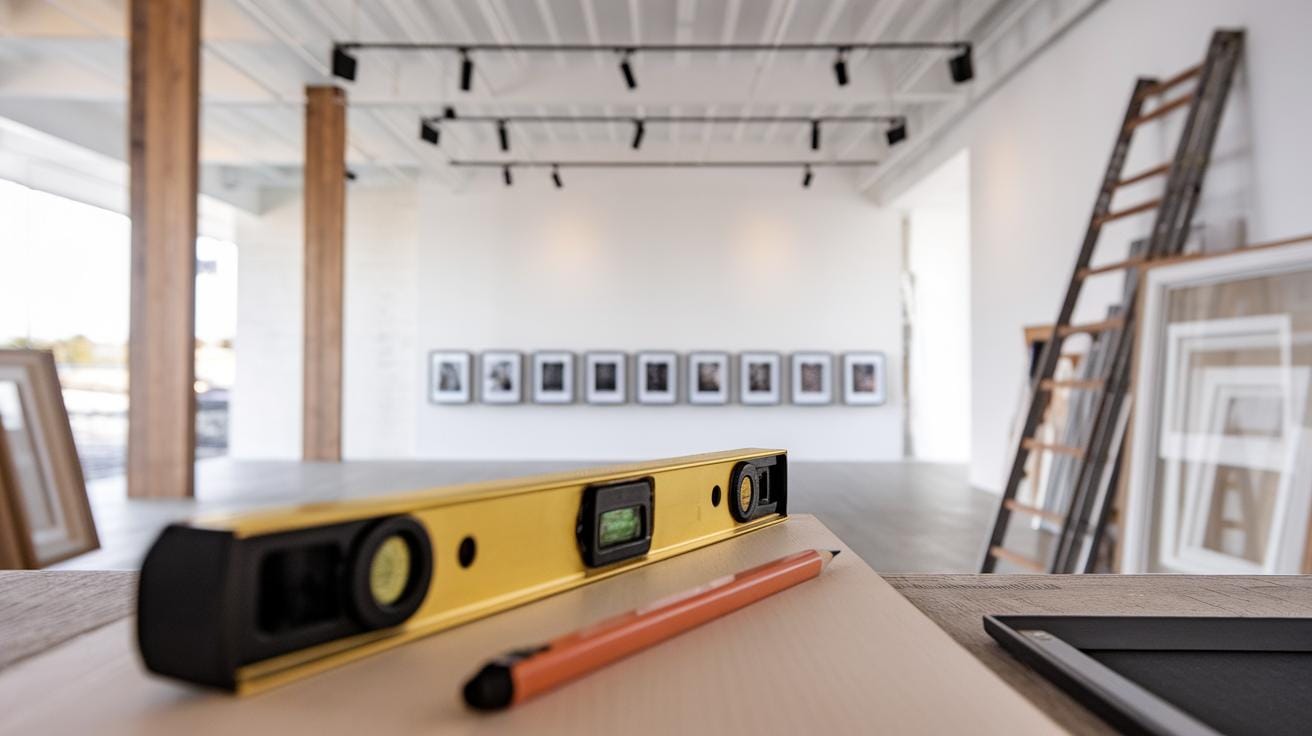
Having the right tools makes hanging pictures easier and more precise. Essential items include nails, hooks, a measuring tape, a level, a hammer, and special fasteners. Nails and hooks hold the picture securely to the wall. Measuring tape helps you find the right height and alignment. A level ensures that your picture hangs straight. The hammer drives nails or hooks into the wall without causing damage. Special fasteners like wall anchors or picture hangers provide extra support, especially for heavy frames or drywall.
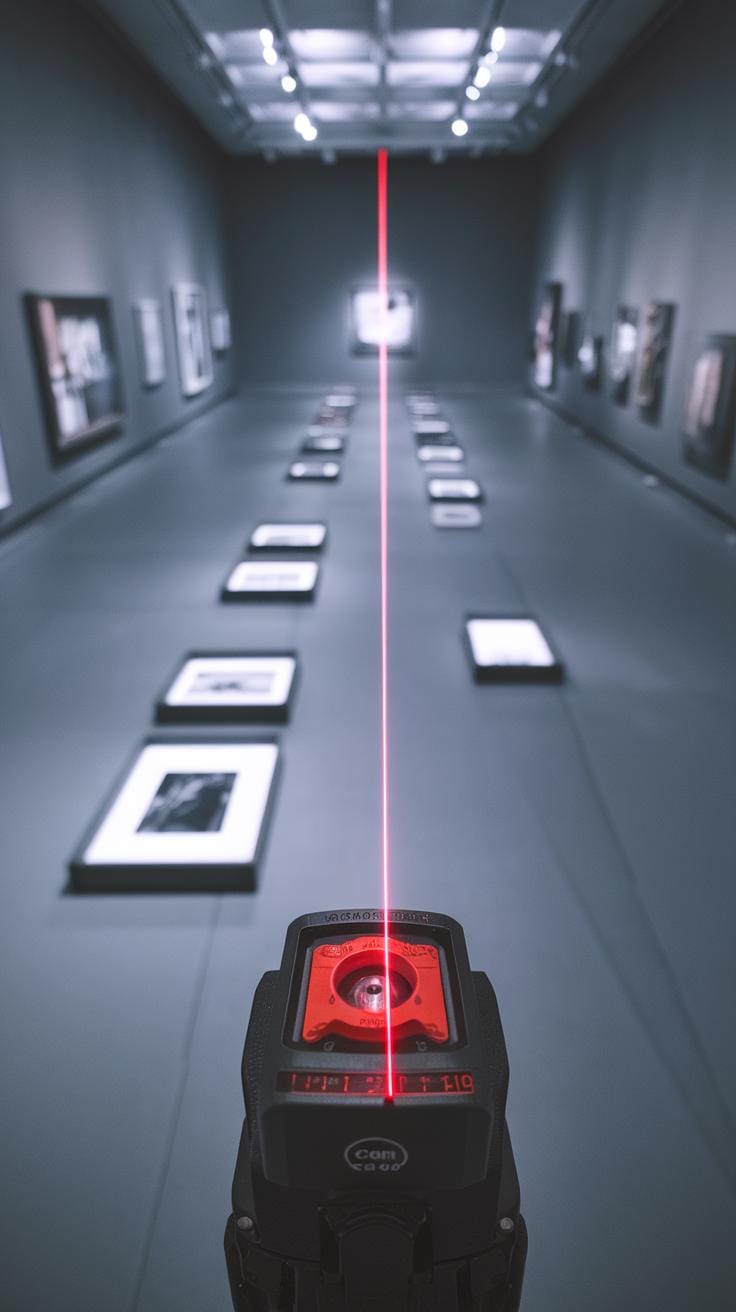
Choosing quality tools prevents accidents and saves time. For example, using a level with a built-in laser line can speed up placing multiple pictures evenly. You might wonder which tools matter most for your particular wall and picture weight. Knowing what each item does helps you work confidently and hang pictures perfectly every time.
Selecting the right hardware
Different walls and picture weights need different hardware. Lightweight frames under 10 pounds usually hang well with simple nails or adhesive hooks. Medium weights between 10 and 25 pounds require sturdier hooks or plastic anchors placed into drywall. Heavy frames, over 25 pounds, must have metal anchors or wall screws, especially on drywall or plaster.
If your wall is brick or concrete, use masonry nails or screws with anchors made for these materials. Wooden walls allow nails or screws to go directly in, but choose sizes that won’t split the wood. Matching the hardware to your wall type and picture weight prevents the frame from falling and damaging your wall or art.
Using tools effectively
Start by measuring and marking where the picture will hang. Use a measuring tape to find the desired height for the center of the frame. Mark this spot lightly with a pencil. Place the level on the mark to check horizontal alignment. Adjust marks as needed until the bubble in the level is centered for a straight hang.
When hammering nails or hooks, tap slowly at first to avoid damaging the wall. If you hit resistance, try a different angle or wall spot. Hold the hook steady while hammering to keep it straight. Double-check your measurements before hanging the picture to avoid redoing the work.
Would you rather fix one crooked picture or get it right the first time? Using these tools with care and precision will save you effort and keep your walls looking neat.
Preparing Your Wall and Pictures Before Hanging
Start by examining the wall surface where your picture will hang. Look closely for any cracks, peeling paint, or uneven spots. These issues can weaken the support for your picture. If you find a loose patch of paint, gently scrape it away and smooth the area with sandpaper. Walls with damp spots or mold require repair before hanging anything to avoid damage or accidents. A clean, dry, and sturdy wall creates a safe base for your frame.
Focus on your picture frames before placing them on the wall. Check the backs for secure hanging hardware like hooks, wires, or brackets. Tighten or replace any loose parts to prevent your picture from falling. If the frame has glass, clean it carefully to avoid fingerprints or smudges. Preparing both surfaces—the wall and the frame—makes sure the picture stays put and looks its best.
Checking Wall Condition
Inspect the wall for cracks or holes that might affect hanging. Tiny cracks might hold nails well, but larger ones risk the picture falling. Run your hand over the surface to feel for bumps or peeling paint. Paint that flakes off easily means you should touch up the area or select a different spot. Check if the wall is textured, as rough surfaces sometimes require special hooks to secure better. These steps help you avoid damage and keep your picture steady.
Measuring and Marking
Use a measuring tape to find the exact spot for your hook. Measure from the floor and the sides of the wall to center your picture where you want it. Mark this spot lightly with a pencil so you can erase it later. Don’t guess—double-check your measurements by holding the picture up as a test. If your frame uses wire, measure from the top edge of the frame to where the wire will rest when hung. Mark the wall accordingly to place the hook at the right height. Accurate marking saves time and keeps your picture level and balanced.
Determining the Best Height and Placement for Hanging Pictures
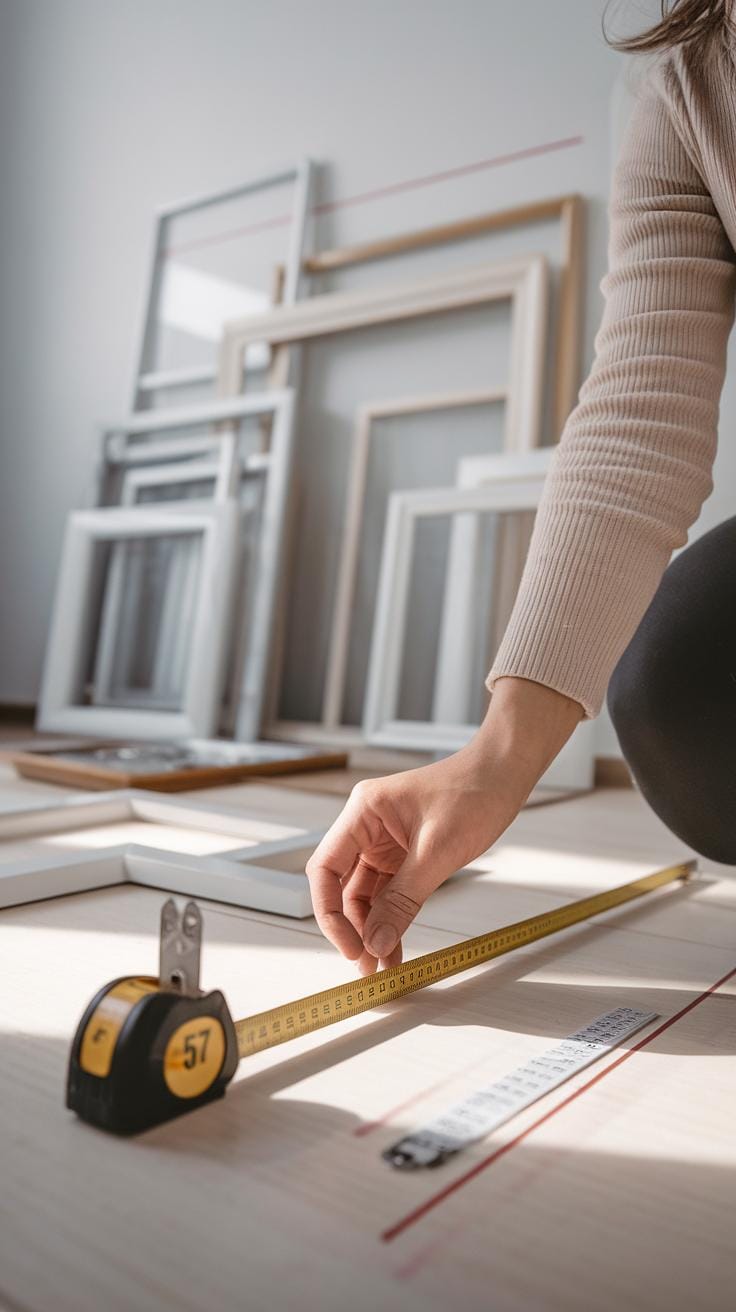
Finding the right height to hang your pictures changes how comfortable and appealing they look in a room. People usually place artwork so the center of the picture sits near eye level for most viewers. That height is about 57 to 60 inches from the floor, which fits well in living spaces like dining rooms or living rooms where people stand or sit.
The type of room affects this choice. In rooms where you mostly sit, like a bedroom or office, consider lowering the picture a few inches. Think about the average height of the people in your home. Will children see this wall most often? Adjust accordingly. A picture too high can cause neck strain. Too low, and it feels disconnected from the space.
Ask yourself where you want to focus attention and which furniture pieces are near the wall. The ideal placement relates to not just height, but also how the picture interacts with shelves, sofas, or tables nearby. These relationships balance the whole look.
Standard eye-level height rules
The main rule is to place the center of your picture about 57 to 60 inches above the floor to match most adults’ eye level. This height brings pictures into a natural line of sight. In galleries, 57 inches is the standard because it works well for standing viewers.
For rooms where you mostly sit, lower the center by three to five inches to avoid strain. Hallways might need pictures hung slightly higher since people mostly stand and move past quickly. When hanging pictures above furniture, leave about 6 to 12 inches between the top of the furniture and the bottom of the frame so the picture feels connected without crowding.
Measure carefully before nailing or drilling. Use a tape measure and mark with painter’s tape to preview placement. Stand back and look before making holes.
Considering group arrangements
When hanging multiple pictures together, spacing is key. Groups can form grids where each frame lines up evenly, or clusters where pieces cluster around a focal point. Both need consistent gaps between frames.
Leave about 2 to 5 inches between frames, depending on wall size and picture size. Smaller gaps create tighter, more intimate groupings. Larger gaps help spread out bigger collections so the wall doesn’t feel cluttered.
Use painter’s tape to outline the overall shape of your grouping on the wall before hanging. This preview helps you balance the visual weight and avoid crowded or lopsided arrangements. Groupings look best when centered as a whole on the wall or above furniture. Think about how the group relates to room features and walkways too.
Try arranging pictures on the floor first, experimenting with shapes and order. Which picture draws your eye first? Do others support or distract from it? Adjust the spacing to create harmony.
Hanging Pictures on Different Wall Types Safely
Different walls require different techniques for hanging pictures securely. Drywall, the most common type, needs anchors if the picture is heavy. Simply driving a nail into drywall can lead to slipping or damage. For brick or concrete walls, use special masonry screws or anchors that drill directly into the hard surface. Plaster walls are fragile and may crack easily. You should avoid using excessive force and select anchors designed for plaster to prevent damage.
Have you encountered loose hooks or fallen pictures before? Understanding your wall type makes your hangings safer and steadier. For example, a simple plastic anchor works well with drywall but fails on brick. Using the right fastener increases stability and protects your walls from wear and tear. Before hanging, always check the wall’s condition and weight limits of your anchors and screws.
Using anchors and screws correctly
Picking the right anchor and screw depends on your wall and picture weight. For drywall, use plastic or metal anchors for anything heavier than a few pounds. Plastic anchors are easy to install for light items, while metal anchors hold heavier frames. Masonry walls need expansion anchors or sleeve anchors that fit tightly in drilled holes. You must use a drill with a masonry bit to install these safely.
Insert screws fully, so the fastener grips the wall firmly. Do not overtighten screws, as this can damage anchors or your wall. Always match screws to the size of your anchors—oversized screws can break anchors, while too small screws won’t hold. Leave enough screw head exposed so your picture wire or hanger fits comfortably.
Avoiding wall damage
To prevent wall damage, avoid hammering nails or screws blindly into surfaces. Use a stud finder to locate studs behind drywall for the best support. For plaster walls, drill pilot holes before inserting anchors to reduce stress and cracking. When drilling into brick or concrete, clean dust out of holes before inserting anchors to ensure a tight fit.
Consider picture weight before choosing hardware. Heavy frames require more robust anchors or multiple support points to spread the load. If you plan to change or move pictures often, opt for removable wall hooks that do not leave large holes or cracks. Using protective pads behind frames can reduce pressure marks on the wall surface.
Balancing and Aligning Pictures for a Professional Look
Balancing and aligning your pictures creates a clean and polished display. Start by deciding on equal spaces between frames. A common gap ranges from 2 to 4 inches, depending on the wall size and picture dimensions. Too much space can make the arrangement look scattered, while too little might make it feel cramped.
Lay all pictures on the floor first to try different layouts. This helps you see how the arrangement flows and feels balanced. Consider grouping similar sizes or mixing larger and smaller frames to avoid placing heavy pieces all on one side. Ask yourself: does the layout guide the eye naturally across the wall?
Once satisfied, mark the wall lightly where each picture’s center will hang. Keeping these tips in mind will help your arrangement look intentional and well thought out, giving your room a professional finish.
Using a level and tape measure
Use a tape measure to space pictures evenly by measuring from edge to edge or center to center. Measure twice before marking to reduce errors. Place painter’s tape on the wall to mark those measurements without damaging the surface.
A level ensures each picture hangs straight, avoiding a crooked look that sticks out. Hold the level on the top edge of the frame and adjust the hook or nail until the bubble is centered. For hanging multiple pictures in a row, check the level several times along the lineup. Do you notice how small changes in angle affect the overall symmetry?
Using these two tools together helps you place pictures with precision and confidence every time.
Visual balance tips
Mix pictures of different sizes and shapes to avoid a static look. Place larger frames near the center or bottom to anchor the group, with smaller ones around. Vary the frame colors lightly, keeping some consistency to tie the display together.
Think about how colors in the pictures work with each other and the room. A bold, colorful piece might be balanced out by a few simpler, muted prints nearby. Ask yourself: does the arrangement feel stable, or does one corner feel heavier than the rest?
Try to balance visual weight, not just physical size. Sometimes a small, dark frame draws more attention than a large, light one. Adjust until your eye moves comfortably through the arrangement. This way, your pictures will create harmony and a professional look on the wall.
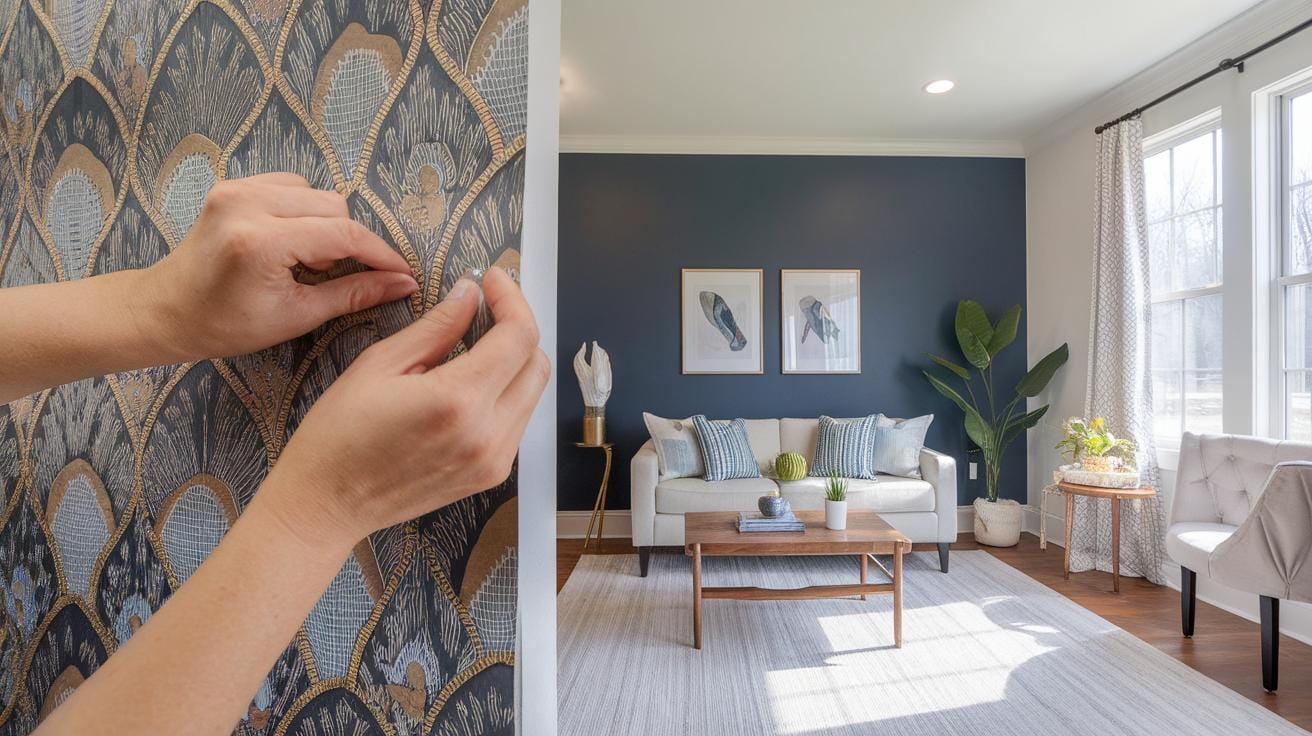
Creative Picture Hanging Ideas and Styles
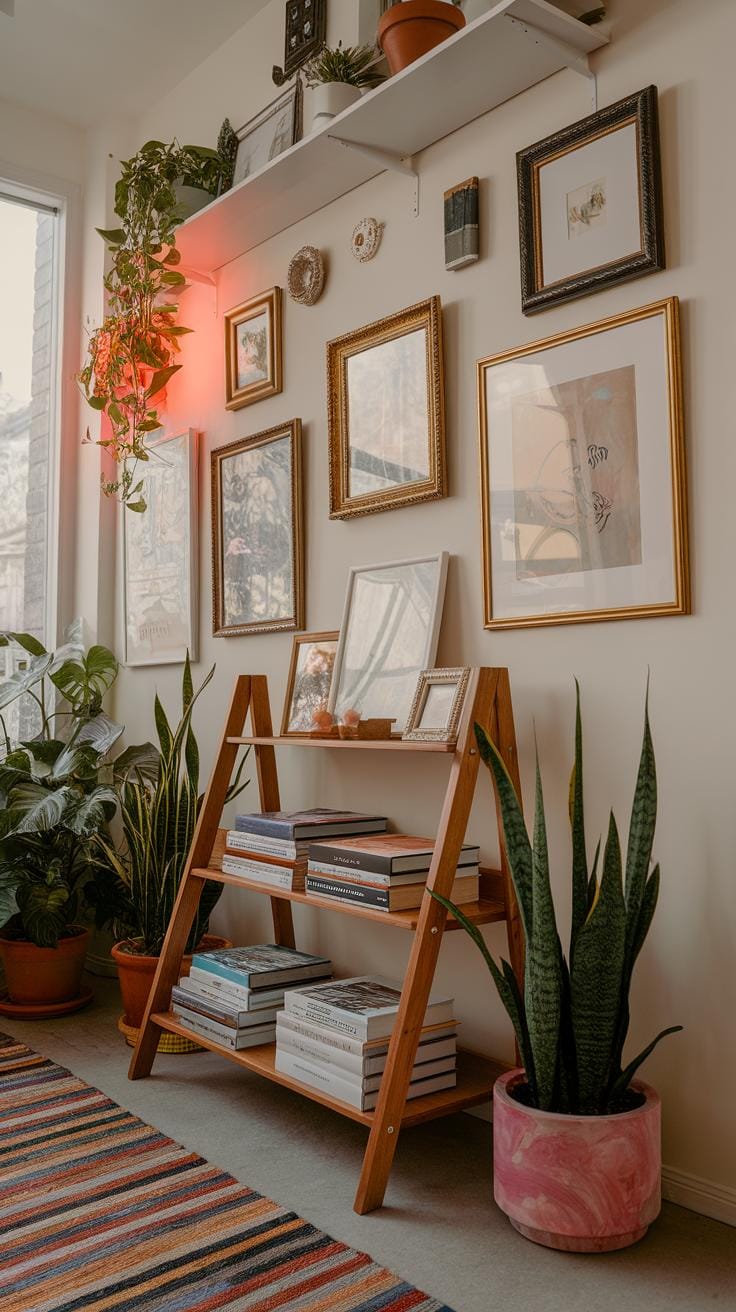
Creating a visually striking picture display involves more than simply placing frames on a wall. You can arrange your pictures in various creative ways to make each space feel unique. Consider grouping your images into galleries, where multiple frames relate by theme or color. Grids offer neat, symmetrical setups, perfect for uniform artwork or photos. If you like a less structured look, mix and match different sizes and shapes for an eclectic style. Ask yourself: Do you want a calm, organized wall or one that sparks conversation with surprises? Think about the room’s purpose and what story your pictures tell. Using these ideas helps your walls reflect your style clearly and keeps your displays fresh and engaging.
Gallery Wall Techniques
Planning a gallery wall starts with choosing a theme or color scheme. This keeps your group of pictures feeling connected rather than chaotic. Lay the frames out on the floor or use paper templates on the wall to try different arrangements before committing. Aligning frames at a consistent height along one edge helps maintain order. Leave equal space between each piece—about 2 to 3 inches works well. You might include similar art styles or related subjects to create cohesion. Think through how individual pictures interact with each other. Does one photo enhance the next? This careful planning keeps your gallery wall looking intentional and inviting.
Mixing Frames and Art
Combining different frame styles adds personality to your display. Try pairing sleek metal frames with rustic wood ones to balance modern and cozy vibes. Contrast simple photo prints with textured paintings or three-dimensional wall art to add depth. When mixing, find common elements like color or theme that connect your pieces. You could use black and white frames but vary their thickness, or pick frames in different finishes that share a similar tone. This approach draws the eye across your arrangement while avoiding clutter. How can you blend your favorite artworks without overwhelming your space? Experiment with mixes until you find a setup that feels just right for your walls.
Maintaining and Updating Your Picture Displays

Keeping your picture displays fresh takes more than just good initial placement. Regular care helps your framed artwork and photos look their best over time. Dirt and dust can build up unnoticed on frames, dulling their appearance. To keep them bright, use a soft microfiber cloth or a feather duster to clear dust weekly. For deeper cleaning, dampen the cloth slightly with water or a mild soap solution, but avoid harsh chemicals that can damage frame finishes or glass.
Switching up your pictures can give your space a new feel without much effort. Think about rotating photos or artwork with the seasons. For example, display bright, sunny scenes in summer and cozy, warm tones in winter. This practice keeps your walls interesting and reflects the changing environment around you. How would altering your display each season change the mood of your room?
Regular frame cleaning
Dust accumulates on picture frames quickly. Using a dry microfiber cloth is the safest way to remove it regularly. Avoid sprays or chemical cleaners unless they are designed for picture frames. If the frame is wooden, a slightly damp cloth followed by drying with a soft towel works well. For metal and glass surfaces, gentle wipes with water suffice, but dry immediately to prevent streaks.
Cleaning frames carefully prevents scratches and protects materials from damage. Regular maintenance saves time and money by preventing the need for repairs or frame replacements. Try setting a monthly reminder to check and clean your picture displays. This creates a habit that keeps your frames looking consistently good.
Switching pictures seasonally
Rotating artwork or photos injects new energy into your room. You might swap out light, nature-inspired images in spring for richer, warmer pieces in autumn. Consider keeping extra prints or digital copies ready to print, so you can easily change what’s on display.
Changing pictures doesn’t require extra nails or hooks if you install flexible hanging systems like rails or clips. This setup lets you update your gallery without damaging walls. Seasonal rotations invite reflection on your growing collection and keep your decor feeling intentional instead of stagnant.
What feelings would your space evoke if you changed the art you see every few months? Experiment to find what refreshes your home best.
Troubleshooting Common Picture Hanging Problems
Pictures often end up crooked, even after careful hanging. Small shifts in the wire or slight bumps can tilt your frame. Instead of taking the picture down, try placing a small piece of sticky putty or a rubber bumper behind the lower corners. This stabilizes the frame and keeps it straight. You can also adjust the wire length slightly or move the hook within the wall anchor to fine-tune the alignment without creating new holes.
Holes from nails or anchors can mar your wall once you remove pictures. Filling these holes requires a simple approach. Use a spackling compound to fill the gaps, then smooth it out with a putty knife. After it dries, gently sand the area until it feels flush with the wall. Touch up the spot with matching paint to blend the repair seamlessly. This method restores your wall’s clean look with minimal effort.
Unstable hanging often results from using the wrong hardware. Make sure to match your picture’s weight with appropriate anchors or hooks. For heavier frames, wall anchors designed for drywall or masonry provide secure support. Inspect hooks and wires for wear before rehanging pictures. Tighten or replace them if needed to avoid future instability. What changes could you make to your current hanging setup to ensure your pictures stay put?
Conclusions
Getting your pictures hung correctly adds style and personality to your rooms. Understanding the tools, wall types, and methods ensures stability and keeps your pictures safe. Taking the time to plan your layout helps to match your space and preferences, turning walls into expressive areas. Remember to think about scale and spacing to maintain harmony on your walls. Your wall can tell your story in a way that appeals to you and your visitors.
Practicing professional hanging techniques will save you time and effort. It reduces the risk of damage to walls and pictures. Using proper hardware tailored to your wall type will keep everything securely fastened. Balance your composition by focusing on alignment and using visual guides like measuring tools or templates. Your pictures become focal points that enhance your environment and offer long-lasting enjoyment. What will your walls say about you?


