Introduction
Tackling home repairs yourself can save money and boost your confidence in handling household issues. Many common repairs do not require professional help and can be completed with basic tools and clear guidance. Learning DIY repair techniques opens possibilities to fix leaks, patch walls, unclog drains, and make other essential repairs efficiently.
This article provides you with straightforward repair strategies that you can start today. You will find step-by-step prompts that cover diagnosis, basic tool use, and practical fixes. Are you ready to enhance your home maintenance skills and reduce repair costs? Let’s explore how you can manage common household problems with confidence and care.
Understanding Basic Home Repairs
Home repairs involve fixing or maintaining parts of your house that wear down or break over time. These can range from small tasks like tightening loose doorknobs to bigger fixes such as patching cracks in walls or repairing plumbing leaks. Knowing how to spot common problems early helps you keep your home safe and comfortable.

You should check things like faucets, electrical outlets, and walls regularly. Simple fixes, such as sealing small cracks or tightening pipes, can stop bigger problems later. For example, a tiny leak under your sink might seem minor, but if ignored, it can cause water damage and mold growth.
Routine maintenance keeps your home in good shape and reduces repair costs. What small repairs could you handle today to avoid future headaches? Taking time to learn basic repairs now will save money and frustration later.
Common Household Issues You Can Spot Early
Leaks are one of the first signs of home problems. Look under sinks and near water heaters for water stains or puddles. Cracks in walls or ceilings can show structural stress or moisture issues. Pay attention to doors and windows that stick or don’t close properly; these might mean settling or frame damage.
Worn-out fixtures like dripping faucets or loose cabinet handles should not be ignored. They hint at wear and tear that can worsen. Check your home monthly by walking through rooms and looking for water spots, peeling paint, or frayed cords.
Could a simple monthly walk-through save you money? Regular inspection helps you catch problems before they grow. You don’t need special training—just a careful eye.
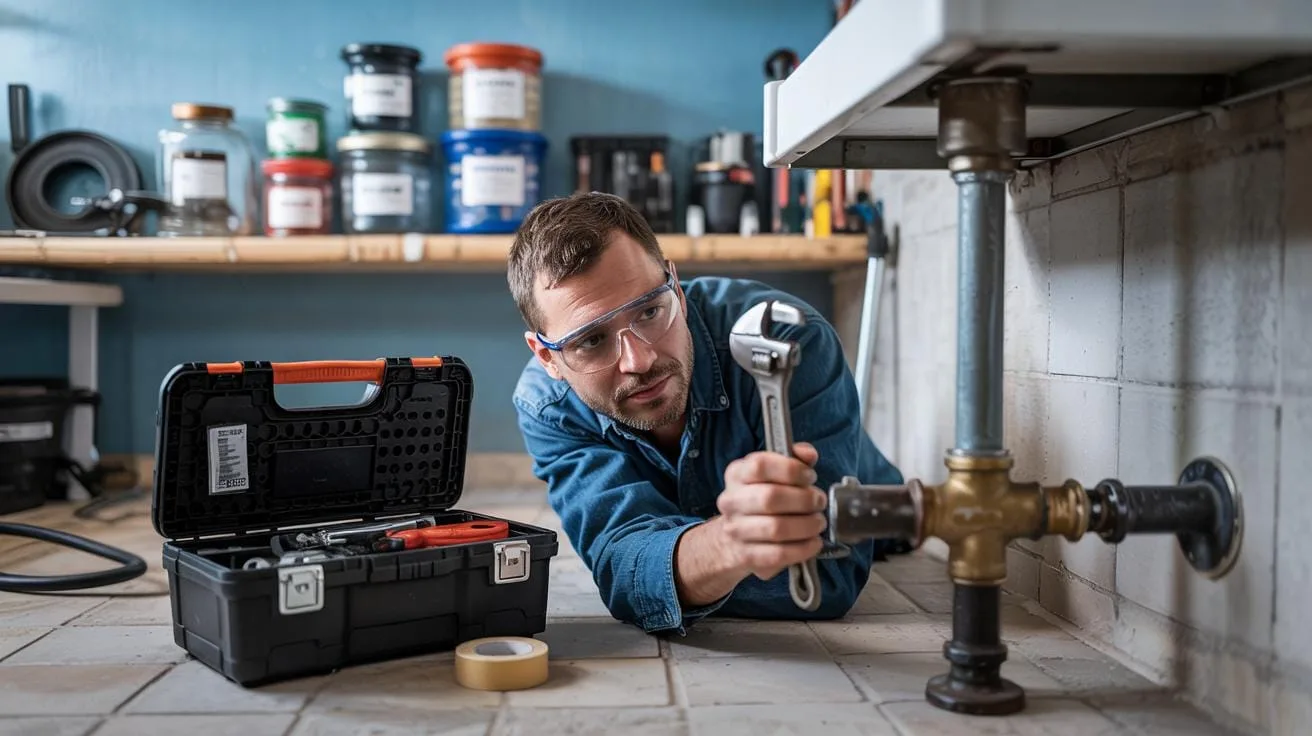
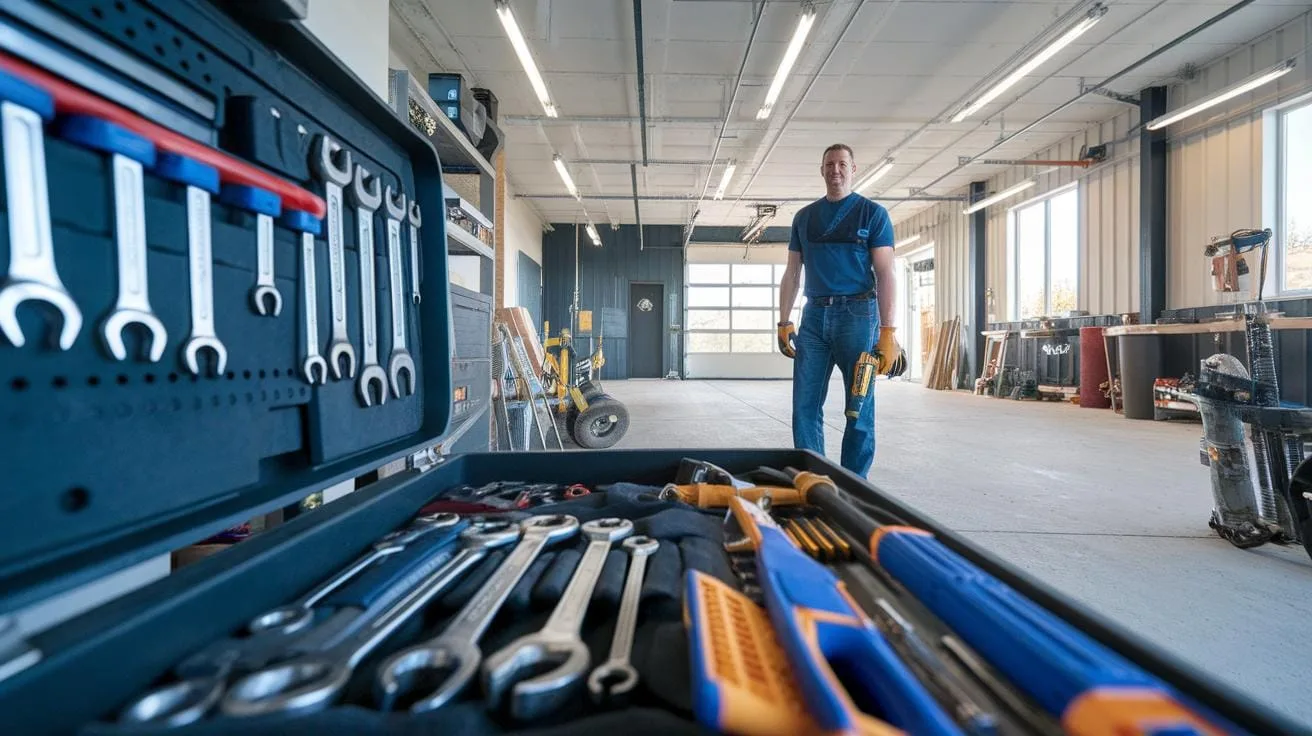
Tools Every Homeowner Should Have

A few basic tools let you tackle many repairs on your own. A set of screwdrivers with flat and Phillips heads helps with tightening or removing screws. Pliers grip and twist wires or small objects. An adjustable wrench fits different bolt sizes for plumbing or equipment work.
A hammer is handy for driving nails or removing old fixtures. A tape measure ensures precise cutting or installation. A utility knife opens boxes or trims materials. You might also want a flashlight for dark spaces and a level to keep things straight.
How many of these tools are already in your home? Having the right tools saves time and lets you fix problems quickly. Start with these essentials to build your repair skills.
Fixing Leaky Faucets and Pipes
Identifying Leak Sources Quickly
Check your faucet and pipes regularly for leaks. A dripping sound or visible water drops are clear signs. Look for wet spots under sinks or around pipe joints. Sometimes, leaks appear as water stains or mold on walls or cabinets. Do you hear a constant drip even when the faucet is off? That often means a worn washer or seal inside the faucet. In pipes, listen closely for small hisses or see if water meters move when no water runs. Identifying the exact leak spot saves time and effort. Does the leak come from the faucet handle, spout, or the pipe beneath? Pinpointing the source helps you prepare the right tools and parts before starting the fix.
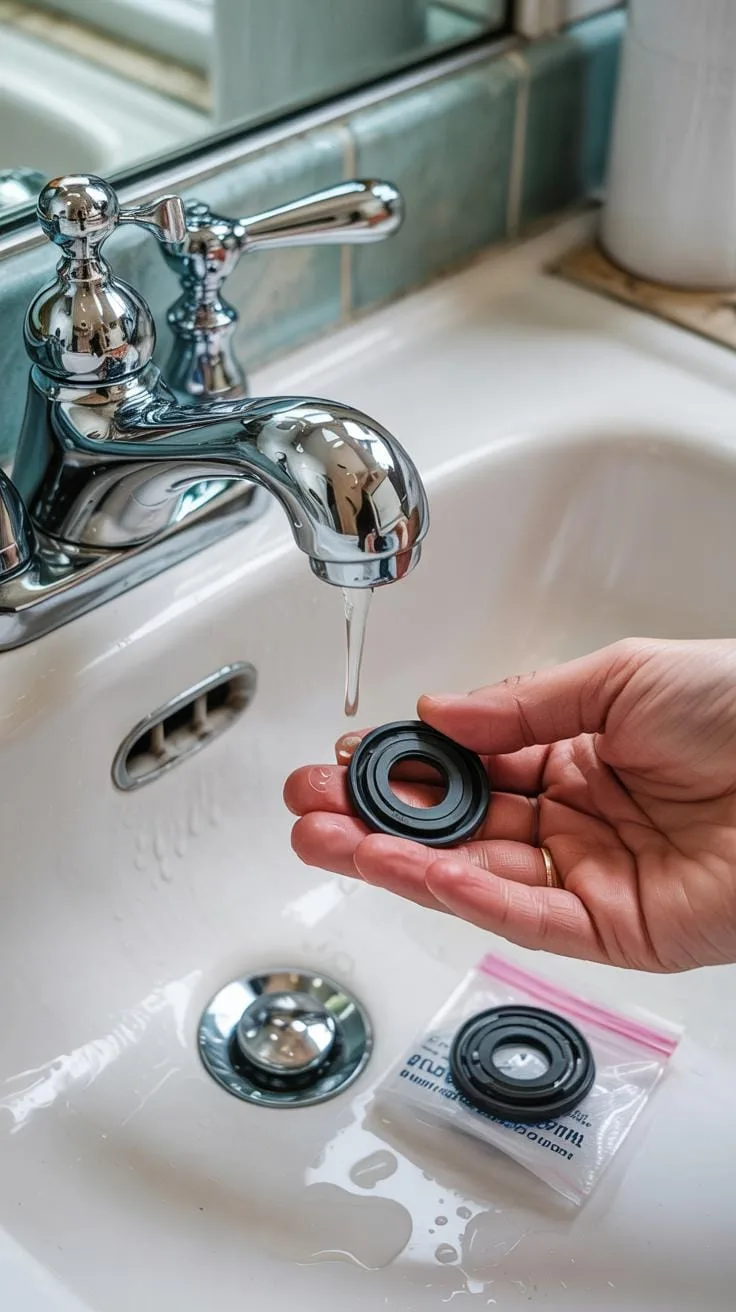
Replacing Washers and Seals
First, turn off the water supply to the leaking faucet or pipe, usually found under the sink or at the main valve. Open the faucet to drain any remaining water. Use a wrench or screwdriver to remove the faucet handle or access the leaking section. You will find a washer or seal that may look cracked, flattened, or worn out. Take out the old washer carefully. Replace it with a new washer or seal of the same size and type. Reassemble the faucet or pipe parts tightly to avoid future leaks. Turn the water back on and test for any drips. Did the leak stop? If not, check your installation or consider replacing more damaged components. This small repair often prevents bigger water damage and lowers water bills immediately.
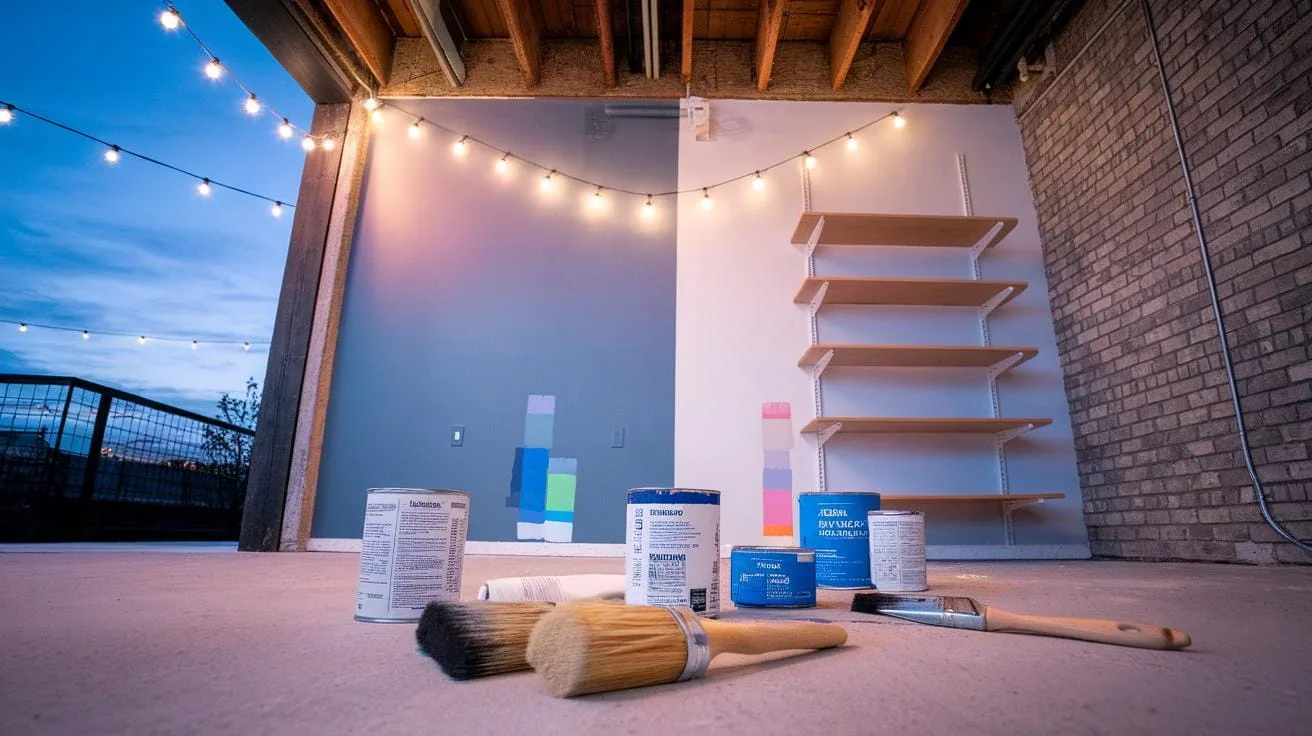
Patching Walls and Repairing Drywall
Small holes and cracks in your walls don’t need to wait for a professional fix. Most drywall repairs can be done by you with basic tools and materials. Start by removing any loose debris around the damaged area. Use a utility knife to cut away rough edges, creating a clean, rectangular space to work on. This helps the patching material stick better to the surface.
For holes larger than a few inches, consider using a drywall patch or mesh tape to reinforce the repair. Apply a layer of joint compound or spackling paste over the hole using a putty knife, pressing it firmly to fill all gaps. Let the compound dry fully before sanding down to a smooth surface. Choose sandpaper with fine grit to avoid damaging surrounding drywall.
After sanding, wipe the area clean before priming and painting. Match the paint color to your wall for a seamless finish. How much smoother will your room look once these small flaws disappear?
Preparing Damaged Wall Areas
Before fixing your drywall, clear the area around the damage. Remove dust, dirt, or grease by wiping it with a damp cloth. This step helps the patching compound stick better. Chipping away any loose plaster or drywall with a putty knife creates a solid base for the repair.
Use a utility knife to make clean edges around the hole or crack. Avoid leaving ragged sections that can cause the patching material to peel later. If the damage is deep, gently brush away crumbs and dust so the filler will bond well.
Using a primer on the exposed drywall before patching often improves adhesion. Have you checked the wall for small dust particles that could interfere with the repair? Taking time to prepare fully makes the entire process smoother and more durable.
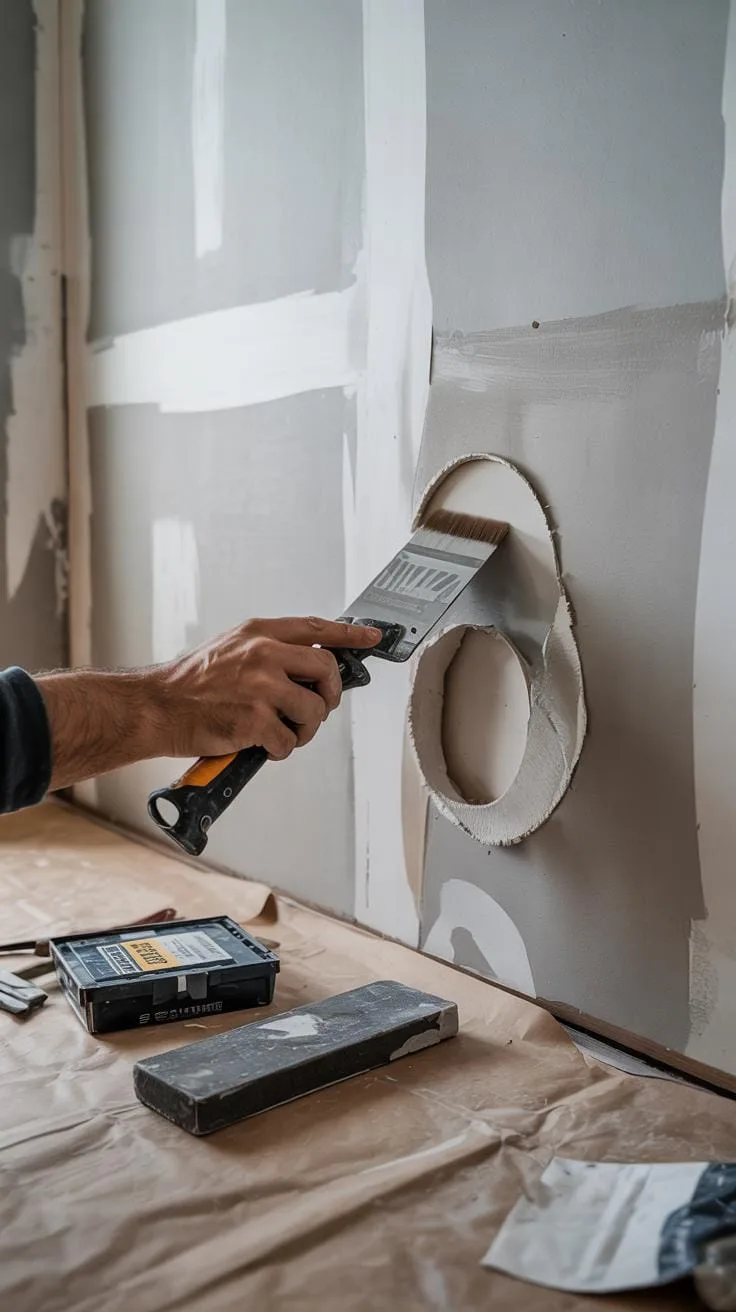
Applying Patch and Finishing

Start by applying patching compound with a putty knife. Spread it evenly over the damaged area, pushing it firmly into cracks or holes. Apply thin layers, letting each dry before adding more if needed. This builds a strong, level surface.
After the patch dries, sand it with fine-grit sandpaper until smooth and flush with your wall. Wipe away dust before painting. Choose a primer if needed to help the paint stick evenly.
Paint over the repaired spot using a brush or roller. Blend the edges into the surrounding wall for a uniform look. Ask yourself whether the repaired area blends well or stands out. With careful application, your wall will look as good as new.
Clearing Clogged Drains and Toilets

Clogged drains and toilets often cause headaches at home. You can fix many blockages safely without harsh chemicals that might damage your pipes. Using a plunger is often the quickest and simplest solution. When you notice water draining slowly or a toilet that won’t flush properly, resist the urge to pour chemical cleaners down the drain. These products can corrode your plumbing and harm the environment.
Instead, focus on physical methods and natural remedies to clear clogs. A plunger creates suction and pressure that can shift the blockage and restore flow. For minor clogs, household items like baking soda and vinegar work well to break down buildup over time. Regular maintenance with these natural solutions can help prevent stubborn clogs before they start.
Using a Plunger Effectively
Pick a plunger that matches your fixture. For sinks and tubs, use a cup-shaped plunger. For toilets, choose a flange plunger, which has an extra ring to seal the toilet drain. Before plunging, add enough water to cover the plunger’s cup or flange. Without water, the suction will fail.
Place the plunger over the drain or toilet hole to form a tight seal. Push down firmly, then pull up sharply, keeping the seal intact. Repeat this pumping motion 10 to 15 times. Check if the water drains properly after each attempt. If it does not clear, try again after a few minutes. Avoid lifting the plunger while pressing down, since losing the seal weakens the suction force.
Natural Solutions for Minor Clogs
Combine half a cup of baking soda with half a cup of vinegar for a gentle clog buster. Pour the baking soda into the slow drain first, then follow immediately with the vinegar. You will hear fizzing as the solution reacts to break down grease and debris.
Let the mixture sit for 15 to 30 minutes, then flush with hot water. If the clog is mild, this can clear the drain without plumbing tools. Using this method regularly helps prevent build-up from forming.
Have you tried natural cleaners instead of chemical products? They cost less and protect your pipes. Give this simple mix a chance before calling a plumber or reaching for a commercial cleaner. Your plumbing will thank you.
Maintaining Electrical Fixtures and Switches
Checking for Electrical Problems
Recognizing trouble with electrical switches and outlets can prevent bigger issues. Flickering lights or outlets that don’t hold plugs firmly are common signs of trouble. If a switch feels hot or sparks when flipped, stop using it immediately. A burning smell near any fixture points to a serious problem. You might notice outlets that only work intermittently or switches that fail to turn devices on and off properly. Pay attention to circuit breakers that trip frequently, as this often links to faulty outlets or switches. Ask yourself: Have you seen any unusual behavior like these in your home? Early detection keeps you safe and helps avoid costly repairs later.
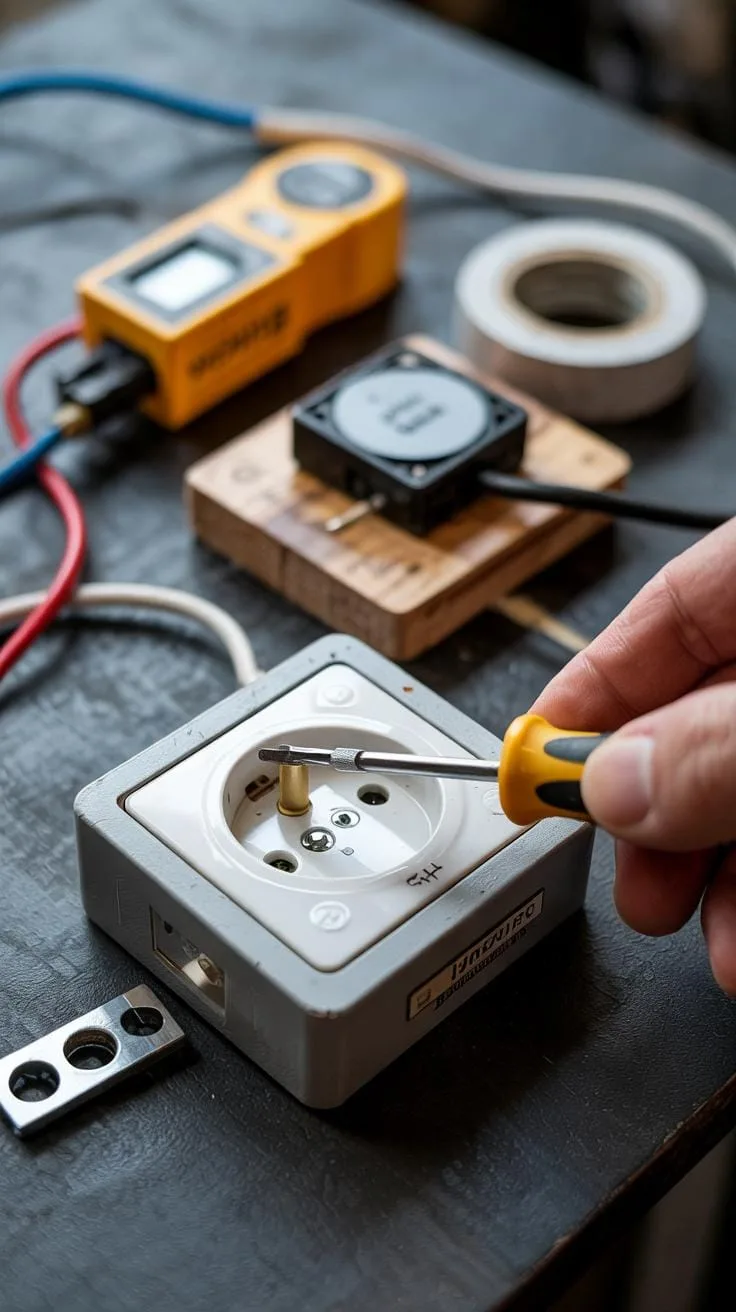
Replacing Switches and Outlets
Always turn off power at the circuit breaker before touching electrical parts. Use a voltage tester to confirm no current runs through the wires. Remove the switch or outlet cover with a screwdriver. Carefully unscrew the device from the wall box. Take note of how wires connect to each terminal—taking a photo helps. Disconnect the wires gently. Attach these wires to the new switch or outlet, matching the same terminals as before. Tighten screws firmly but don’t overtighten. Push the new device into the box and screw it in place. Replace the cover plate. Turn the power back on and test the device to make sure it works. Is your outlet or switch working smoothly now? Safety first every time you work with electricity.
Emergency Repairs for Water Damage
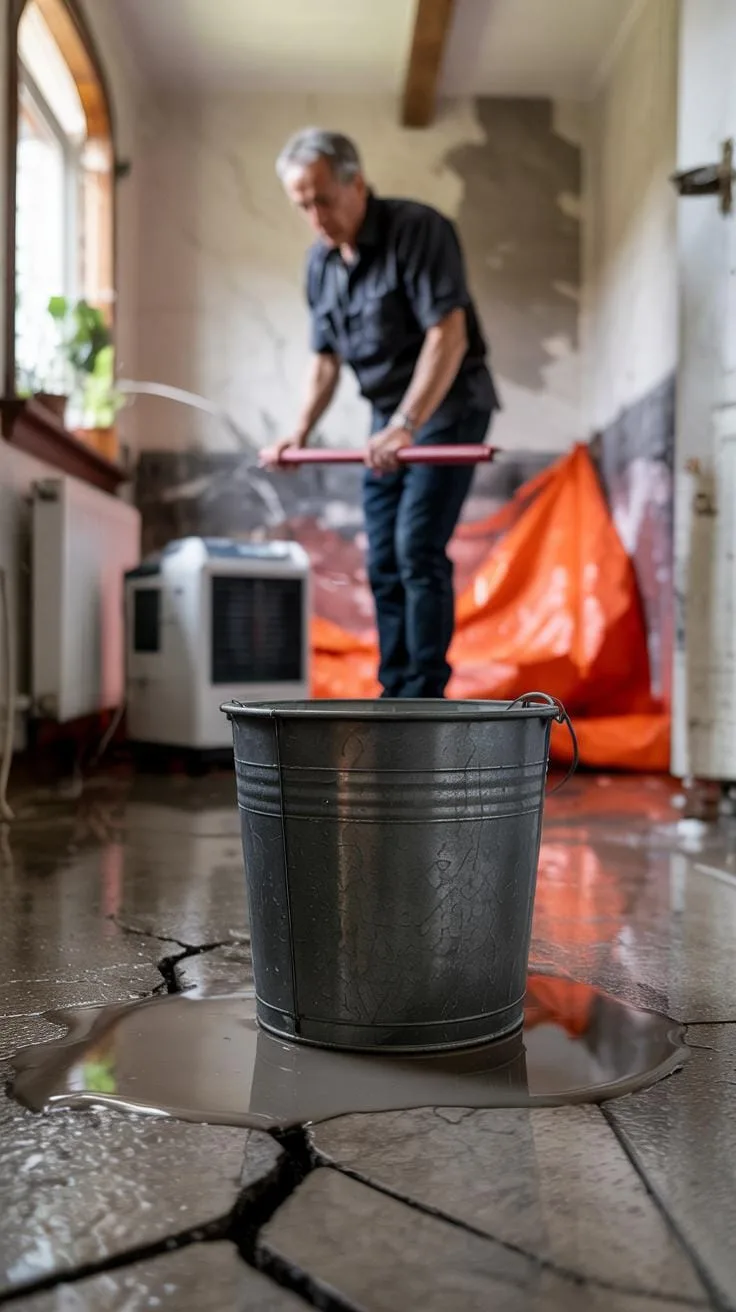
When water starts leaking or a pipe breaks, acting fast can minimize damage. Your first move should be to stop the water source immediately. Know where your main water valve is located—usually near the water meter or where the main line enters your home. Turning this valve off fast can stop flooding before it spreads.
Once the water is off, you need to slow or block any leaking areas. Use thick towels or old rags to soak up water and place buckets underneath drips to catch it. Temporary patches on pipes, like applying waterproof tape or a pipe clamp, can hold leaks until a plumber arrives. Wrap plastic sheeting around a crack if you have no tape.
These quick steps can protect your floors, walls, and belongings. Could you find your valve under pressure? Practicing this now saves stress later.
Shutting off Water Supply Quickly
Locate your home’s main water shut-off valve before an emergency happens. It is often by the water meter outside or inside the basement or crawl space. Turning this valve clockwise shuts off water to the whole house.
In an emergency, do not waste time searching. Keep an accessible flashlight near the valve if it is in a dark spot. Turning the valve until it stops will halt all water flow inside your home.
Have you tested your valve recently? Some valves rust or get stuck after years of no use. Try it gently every few months to ensure it works smoothly.
Temporary Repairs to Stop Water Flow

If a pipe bursts or leaks, stop water from spreading while waiting for help. Wrap the leak tightly with waterproof tape or duct tape if available. Pipe repair tape can seal small cracks temporarily.
When no tape is at hand, use thick towels folded around the leak and squeeze them tightly. Place a bucket under the leaking area to catch water. Using a pipe clamp or even a piece of rubber secured with hose clamps can hold pressure briefly.
These fixes are short-term and not a replacement for plumbing repair. What materials do you have nearby to improvise? Being ready with simple tools can reduce damage significantly.
Fixing Broken Windows and Screens
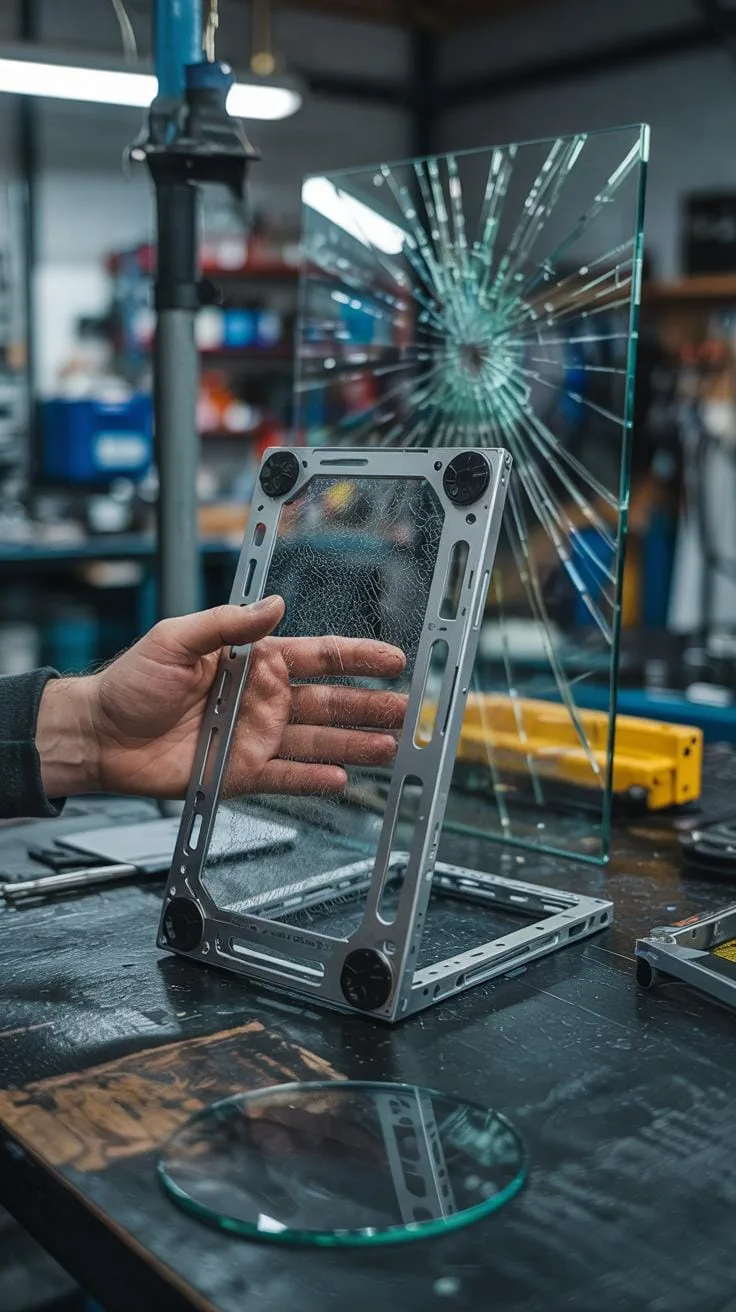
Safely Removing Broken Glass
Start by protecting your eyes with safety goggles and wear thick gloves to avoid cuts. Lay down a drop cloth or newspaper to catch falling shards. Carefully remove any loose glass pieces from the frame by gently pulling them out, beginning with the largest pieces. Use needle-nose pliers to grip smaller shards. Avoid using bare hands, even if the glass looks stable. Sweep the frame edges with a putty knife to clear out old glazing compound or debris holding glass in place. Dispose of broken glass in a thick, puncture-resistant container. How often do you check your home for small window cracks that could turn dangerous? Taking this step now will prevent accidents before you replace the glass.
Installing New Glass and Screens
Measure the window opening, including width and height, from the inner edge of the frame. Subtract about 1/8 inch from both measurements for easy fitting. Mark and cut your replacement glass to size using a glass cutter tool, scoring it firmly along a straight edge. Snap the glass gently along the score line. For screen repair, measure the screen frame and cut screen mesh slightly larger than the frame. Lay the mesh over the frame and press it into place using a spline roller with rubber spline. To secure the glass, apply fresh glazing compound around the edges. Press the new pane into the wet compound and smooth it out. How confident do you feel about handling these measurements before your next window repair?
Simple Appliance Repairs You Can Do
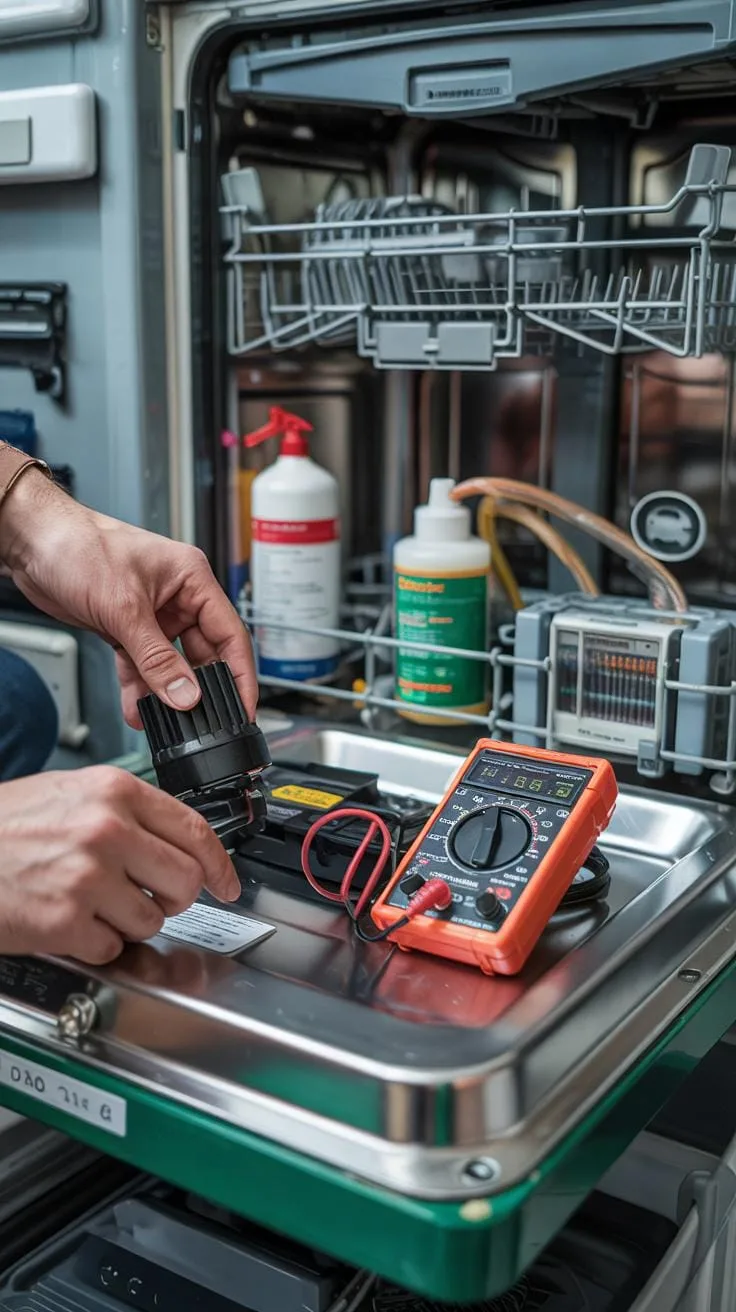
Many common appliance problems stem from clogged filters or loose parts. Your washing machine might stop draining because its filter is blocked. A refrigerator may run too long if dust covers the coils. Small parts like knobs or belts can become loose or worn out, causing appliances to malfunction.
Start by inspecting filters and accessible parts. If an air conditioner isn’t cooling well, check its filters. Remove and rinse them under water if dirty. For a dryer that isn’t spinning properly, examine belts or pulleys. Replace any broken belts by loosening screws, sliding the old belt off, and fitting a new one. Loose knobs often just snap back in place.
Have you noticed your dishwasher leaving spots on dishes? A clogged spray arm may be blocking water flow. Remove it, clean out debris, and snap it back to restore performance. Troubleshooting involves simple steps that save repair costs and extend your appliance’s life. What small fix will you try today?
Cleaning and Maintaining Appliance Parts
Cleaning filters, coils, and other parts improves appliance efficiency. Remove dust from refrigerator coils every few months using a vacuum with a brush attachment. Dirty coils cause the compressor to work harder, wasting energy and shortening its life.
Oven vents and range hoods collect grease and dust. Wipe these areas with warm soapy water regularly. Washing machine filters trap lint and debris. Check your manual to find their location and clean them every few loads.
Keeping these parts clean helps appliances run smoothly and may prevent expensive repairs. Are you sure your appliance parts get the attention they need? Setting a cleaning schedule could avoid future problems and keep everything working well.
Replacing Small Appliance Components
Replacing worn-out belts, knobs, or hoses often restores appliance function quickly. For a vacuum cleaner that won’t pick up dirt, look at the belt connecting the motor to the brush roll. Remove the cover, release tension, slide off the old belt, and fit a new one.
Knobs on stoves or washing machines can become loose or cracked. Pull off the old knob gently and push on a new replacement. Make sure it fits snugly to prevent future slips.
Hoses on dishwashers and refrigerators may develop leaks over time. To replace one, disconnect the appliance from power, turn off water supply, and loosen hose clamps with a screwdriver. Slide off the old hose and attach a new one firmly before testing for leaks.
Would you trust replacing these parts yourself with simple tools? Many small repairs only require a screwdriver and patience. Taking these steps saves money and gives a good sense of accomplishment.
Seasonal Home Maintenance Tasks
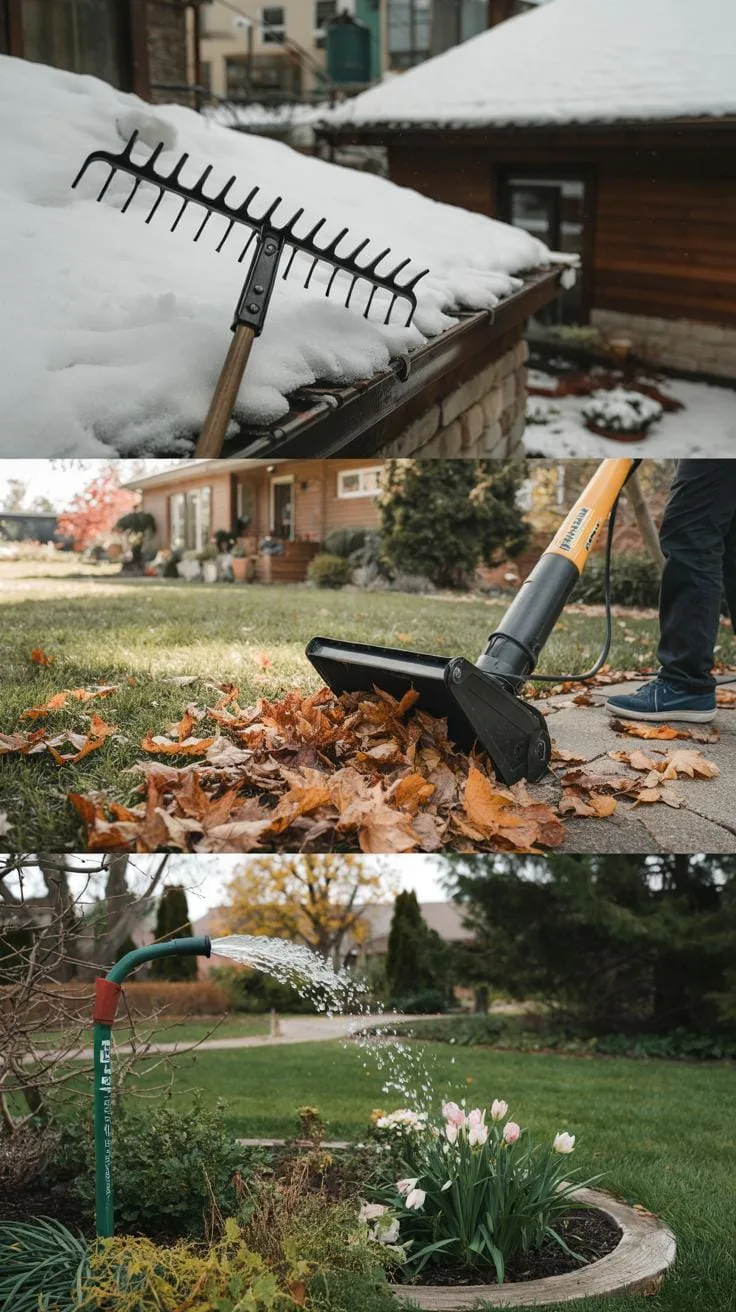
Regular home maintenance prevents costly repairs. You can protect your home by completing seasonal tasks. Tasks like cleaning gutters, replacing HVAC filters, and inspecting your roof reduce damage risks.
Changing seasons bring different challenges. For example, leaves clog gutters in fall, blocking water flow. Dirty HVAC filters lower system efficiency and indoor air quality. Roofs often face wear from snow, ice, or heavy rains.
Scheduling these tasks each spring and fall helps keep your home safe and energy-efficient. Could you set reminders to check important areas before seasons change? Staying ahead with maintenance keeps small problems from growing. You save money and avoid emergency fixes by caring for your home regularly.
Spring and Fall Maintenance Essentials
The weather shifts in spring and fall require preparing your home. Start by checking your HVAC system. Replace filters in spring to improve cooling and in fall for heating readiness.
Inspect your roof for damaged or loose shingles after winter. Fixing minor roof issues early stops leaks. Check windows and doors for drafts and reseal if needed. This keeps your energy bills down during cooling or heating season.
Look around for cracked walkways or damaged siding. Spring and fall are good times to clean outdoor spaces and repair any damage. How will you schedule these tasks this year to protect your home from wear?
How to Inspect and Clean Gutters
Cleaning gutters protects your home’s foundation and walls from water damage. Start by placing a sturdy ladder securely below your gutters. Wear gloves to protect hands from debris and sharp edges.
Remove leaves, sticks, and dirt using a scoop or your hand. Clear downspouts by running water through them with a garden hose. Check for leaks, cracks, or loose sections in the gutter system carefully as you work.
Flush gutters with water to ensure proper flow. Consider installing gutter guards to reduce cleaning frequency. Can you make this a twice-a-year habit during spring and fall? Safe and regular gutter care keeps your home dry and damage-free.
Planning for Complex Repairs and When to Call Professionals

Recognizing Repairs Beyond DIY
Not every repair fits a DIY approach. When you face wiring issues, gas leaks, or foundation cracks, handling them yourself might cause more harm than good. Ask yourself: Does this repair involve electrical or plumbing systems where safety is a concern? Are the tools or skills you have enough to fix it properly? For example, replacing a broken windowpane is doable, but fixing a broken circuit breaker likely requires an electrician. Complex repairs often need special licenses or permits that homeowners don’t have. Trying to fix these problems without experience can cost more in the long run. If you find yourself unsure or worried about safety, it’s a clear sign to bring in a professional. Your safety and the integrity of your home come first.
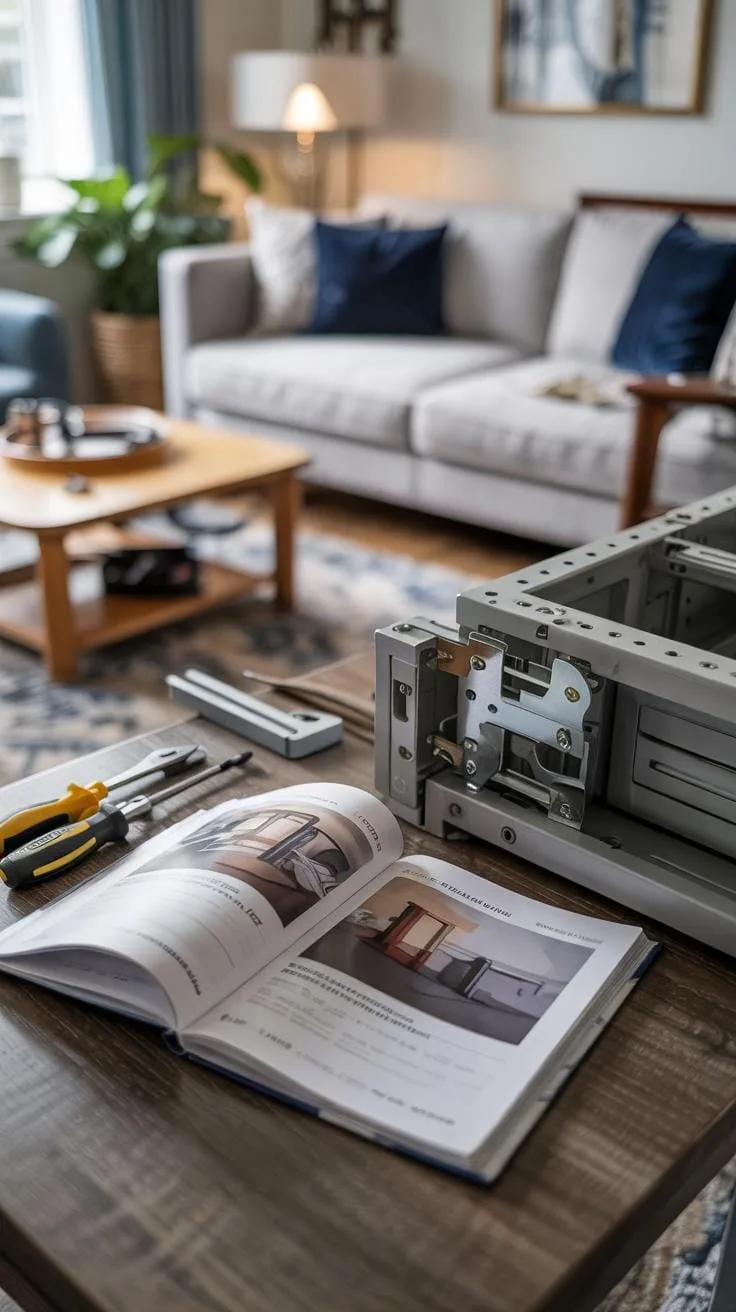
Choosing and Communicating with Contractors
Finding the right contractor requires careful research. Start by asking neighbors or friends for recommendations. Check online reviews and verify licenses or insurance. When you contact contractors, request written estimates to compare prices and services. Avoid choosing based on the lowest price alone. Clear communication helps prevent misunderstandings. Describe the problem clearly, ask about the process, and set deadlines upfront. For instance, tell them exactly what you expect and ask how they plan to handle unexpected issues. Keep a record of all conversations and agreements. Preparing this way ensures you’ll get reliable help and reduces the risk of surprises during the repair process.
Conclusions
You have discovered that many home repairs are within your reach when you understand the problem and follow practical steps. Managing leaks, patching damage, maintaining appliances, and handling emergencies can make your home safer and more comfortable. How will you apply these solutions to improve your living space?
Always remember that a good repair stops issues before they grow. With the right approach and tools, you can handle emergency fixes and prevent costly damage. Are you prepared to take control of your home’s condition and enjoy the satisfaction of doing your repairs? Start small, stay consistent, and build your skills over time.