
The Unseen Cost Of Inspiration Porn

The Trap Of Aspirational Imagery
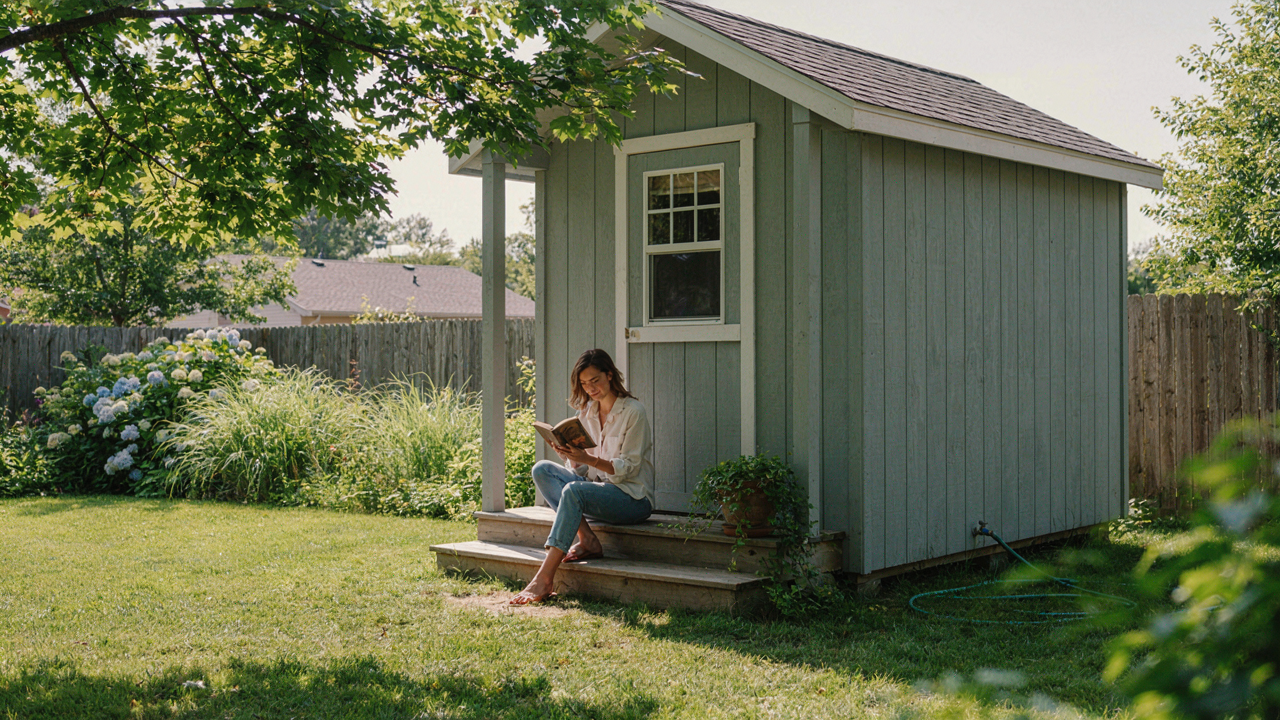
You’re scrolling because you want proof that your version exists somewhere else. The real mechanism at work is anchoring bias from economics. Your brain locks onto the first price it sees, the first aesthetic it absorbs, and treats that as the baseline for what “she shed” means. One $40,000 renovation with shiplap and recessed lighting becomes your invisible reference point. You stop measuring against your actual budget and start measuring against someone else’s execution.
Inspiration imagery doesn’t fail because it’s fake or unattainable. It fails because it’s specific. When you see one finished shed with one color palette, one material choice, one layout, you’ve unconsciously decided that’s the template. Your mind stops generating alternatives and starts collecting materials to copy. Budget constraint becomes irrelevant because you’re no longer solving a design problem. You’re executing a replica with fewer resources. That gap between the image and your wallet is where projects stall, money leaks, and the whole idea gets abandoned.
Comparison Kills Creativity And Budgets
The common advice here is “ignore what others did and focus on your vision.” That’s incomplete. You can’t unsee what you’ve already anchored to, and pretending you can is why people end up spending 60 percent more than planned. The real move is redirecting comparison from final output to constraint strategy. Compare how other builders worked within different limitations, not what they built with unlimited resources.
When you see a $4,000 shed that hits, ask what it didn’t have. No custom built-ins. No electricity. Simple roofing. One material instead of three. That person made decisions based on budget, not aesthetics first. Those decisions are your actual templates. Your project doesn’t need less money to work. It needs a different set of choices made in a different order. Start by listing what you’ll exclude, not what you’ll include. This flips the entire planning process from addition to subtraction, and subtraction is how budgets stay intact.
Beyond The Garden Tool Shed: Repurposing Gold
What’s Already On Your Property
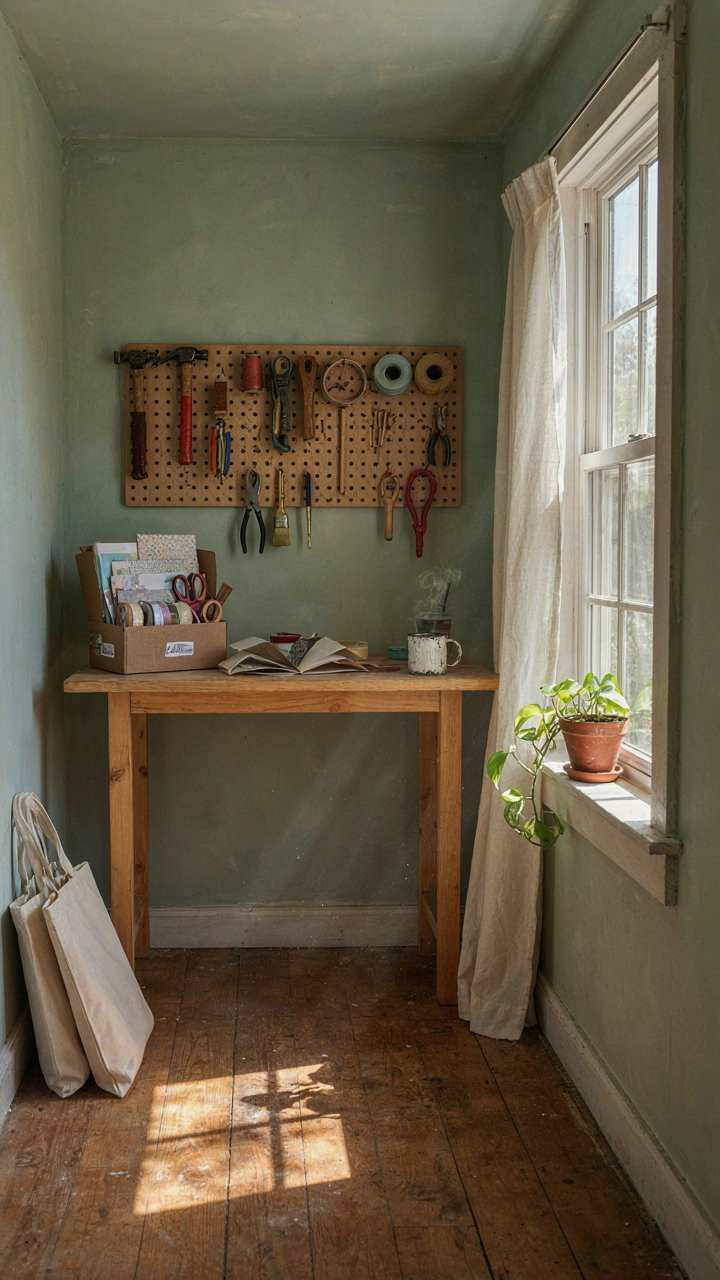
You want to believe you’re starting from scratch because it feels like a fresh beginning. The real mechanism is simpler: most people already own a convertible structure and ignore it. A storage shed, carport, garage bay, or old playhouse isn’t beautiful yet, but it has walls, a roof, and a foundation. That’s the hard part done. The question isn’t “should I build something new” but “what am I already sitting on that I refuse to see.”

Utility structures exist for one reason only: function. A tool shed stores tools. A carport shelters vehicles. Neither was designed for comfort or aesthetics. That’s your advantage. The gap between what it is and what it could be is where budget evaporates or thrives depending on how you see it. You’re not fighting an existing design vision. You’re simply adding one to bones that were never meant to refuse it.
Converting Existing Sheds Without Starting Over
The foundation work consumes money faster than anything else in construction. Pouring concrete, digging footers, dealing with drainage: this is where budgets blow up. If a shed already sits on a foundation or concrete pad, you skip the expensive phase entirely. Economics teaches opportunity cost, and skipping foundation work is the single highest-leverage decision you can make on a budget renovation.
Start with what exists. If the roof leaks, fix the roof. If the walls need insulation, add insulation. If the floor is rotted, replace sections strategically, not everything. This isn’t compromise. This is velocity. Every dollar stays in the parts that matter: climate control, interior surfaces, and the experience of being inside. The structure itself becomes invisible the moment you address its failures. Then you build the shed you actually want inside the shell you already paid for.
The “Scarcity Advantage” Protocol For Design

When Limits Force Better Choices
You want your space to feel intentional without spending cash you don’t have. That fear of looking cheap is what drives people to overfill rooms with mediocre stuff. The mechanism is simple: scarcity in budget forces elimination. In economics, this is called the constraint optimization problem. Your she shed isn’t constrained by money—it’s constrained by the need to choose what actually matters. Every dollar spent becomes a visible decision, not invisible filler. This kills bad taste faster than any design degree.

Start by listing what you actually use in that space. Not what you think you should use. Not what looks good on Instagram. Strip it down to function first, then add one piece that anchors the room visually. A single quality item—a real wood shelf, a vintage mirror, a statement light—beats five cheap ones. The budget forces you to be honest about priorities instead of hiding behind volume.
Emptiness Is The Opposite Of Boring
Most design advice says “add personality through décor.” That’s backwards for a budget build. Minimalist design isn’t about being sterile—it’s about letting the space breathe so what you do place has weight. The Bauhaus movement built this principle: form follows function, nothing extra. Your she shed with one well-chosen piece and clear walls feels designed. The same shed packed with budget décor feels cluttered.
Empty walls aren’t a problem to solve—they’re a feature you’re using. Paint one wall a real color instead of filling all four with stuff. Leave floor space visible instead of covering it. The eye travels farther in empty rooms, making them feel bigger. When you finally add something, it lands harder because it’s not competing for attention with ten other things fighting for space.
DIY She Shed Foundation: Build Cheap, Build Smart
Concrete Blocks Versus Gravel
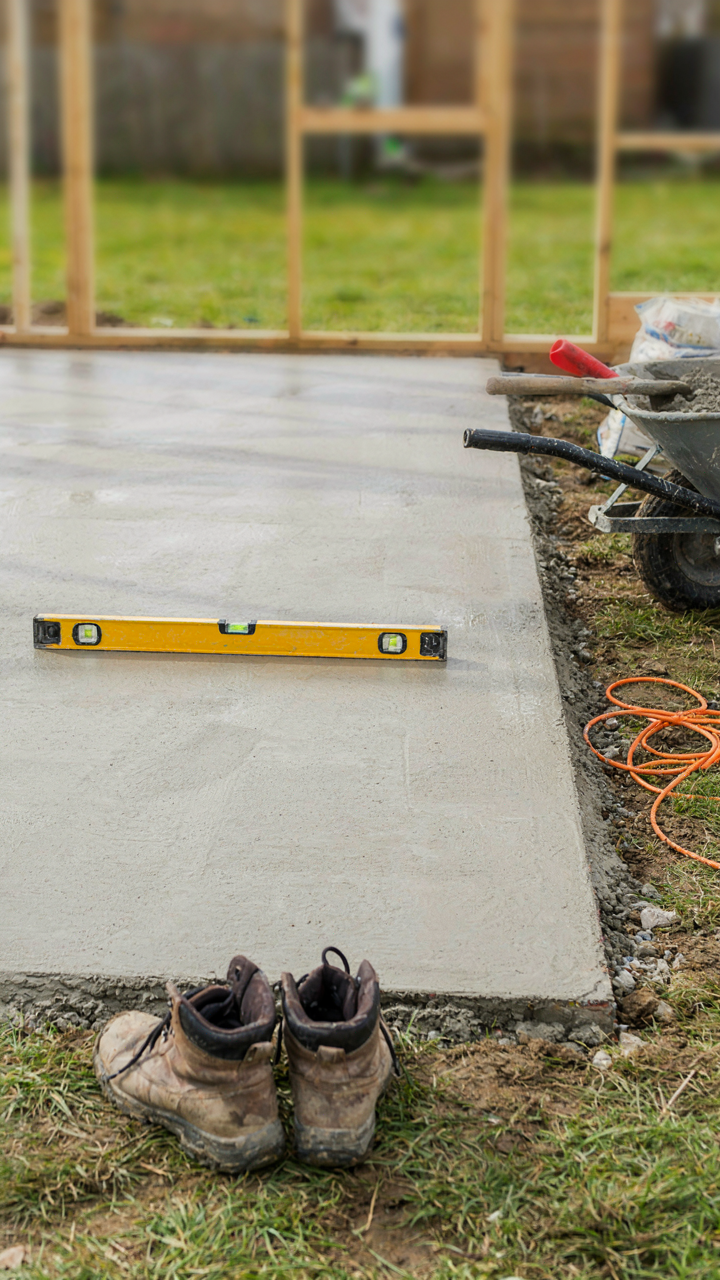
You care about this section because a bad foundation means your shed sinks, warps, or looks half-finished within two years. The mechanism is load distribution—a term from structural engineering that separates what holds up from what collapses. Concrete blocks concentrate your shed’s weight into discrete points. Gravel spreads it across a wider surface but settles unevenly over time. Blocks cost more upfront but last. Gravel requires maintenance and eventual replacement. Most budget advice skips this trade-off entirely.

Concrete blocks win for permanent structures. You set them on undisturbed soil, space them 4 feet apart under the shed’s perimeter, and they stay put for decades. Gravel works only if you accept re-raking and releveling every few years, or if your shed is temporary. The real cost isn’t the material price—it’s the labor you’ll repeat. Choose blocks if you want to build once. Choose gravel if you’re willing to maintain forever.
Leveling Without Equipment Rental
Leveling ground without a laser or bobcat means reading the terrain and working with what gravity gives you. Start with a long straightedge (a 2×4 works) and a basic level from any hardware store. Place the level on the straightedge and move it around your marked foundation area. Mark low spots. Fill them with soil, tamp it with a hand tamper or the flat of a shovel, then recheck. This takes time but costs almost nothing.
The protocol is repetition. Level, mark, fill, tamp, check. Repeat until the straightedge sits flat across all points. A hand tamper—just a flat piece of wood on a pole—compacts soil enough for a shed. Don’t overthink it. Most uneven sheds fail because the builder stopped checking after one pass. Plan for three to four cycles of checking and adjusting before you pour your foundation or lay your blocks.
Reclaimed Materials: The Archeology Of Awesome
Where To Source Free And Cheap Building Supplies
You want to feel resourceful without actually doing the work to find materials. The mechanism is simple: most free and cheap supplies exist in plain sight because people don’t know where to look. Scarcity is manufactured by laziness, not by actual supply.
- Habitat for Humanity ReStore locations: Accept donated building materials and sell them at 50-70% below retail. Focus on lumber, doors, windows, and hardware. Not every city has one, but neighboring counties often do.
- Facebook Marketplace and Craigslist free sections: People offload materials during renovations, moves, and cleanouts. Search terms like “free wood,” “free pallets,” and “free metal” yield consistent results. Timing matters: post-holiday season and spring renovation season are peak.
- Local construction sites and demolition projects: Contractors remove materials daily and often leave them curbside before disposal. Call ahead. Some sites give materials to anyone who hauls them. Others require signed liability waivers.
- Pallet networks and lumber yards: Many lumber yards and manufacturers give away pallets free for pickup. Quality varies widely. Inspect for damage, treatment chemicals, and structural integrity before committing.
- Salvage yards and architectural reclamation shops: Specialize in reclaimed wood, doors, windows, and vintage hardware from demolished buildings. Pricier than free, but cheaper than new and built-in uniqueness.

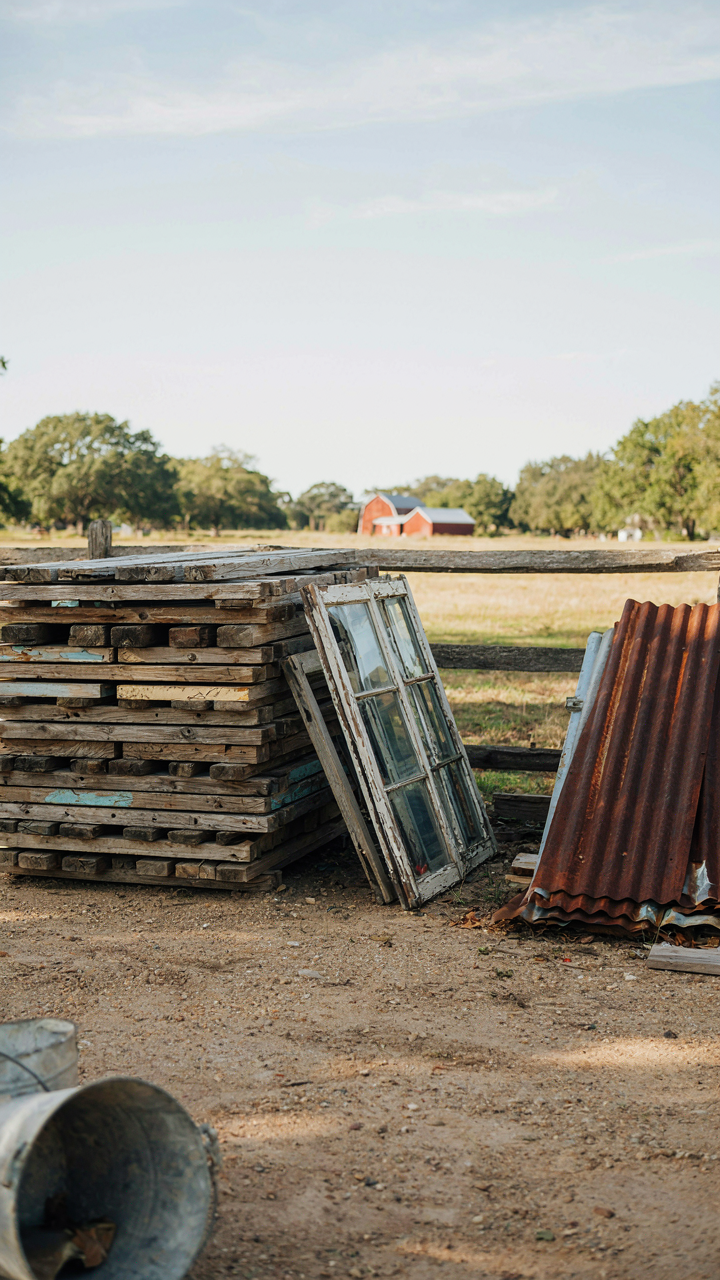
The real advantage isn’t just cost. Reclaimed materials carry authenticity that new lumber can’t replicate. A she shed built from salvaged barn wood or vintage windows reads as intentional, not cheap. You’re not building budget. You’re building character. The goal is sourcing materials before you design the space around them, not forcing materials into a predetermined plan.
When Waste Becomes The Design
Most people approach repurposing backward. They find trash, then ask what it can become. The better strategy is simpler: identify what you already have, then let it drive the aesthetic. This is constraint-based design, borrowed from systems thinking, where limitations force creative solutions that feel deliberate instead of desperate.
Old windows become wall art or greenhouse sections. Vintage doors serve as shelving or workspace dividers. Metal scraps, rusted or raw, mount as functional hooks or sculptural accents. Reclaimed brick forms a fireplace or planter base. The pattern is the same: materials with existing character eliminate the need to manufacture personality. You’re not hiding budget constraints. You’re leveraging them as your actual design language. Start an inventory of what you own, what neighbors discard, and what local demolition pulls. Build the she shed from that list, not from Pinterest.
Insulation: The “Thermal Mass” Advantage (Physics)

How Thermal Mass Actually Works
You want your she shed to feel expensive without the expense. The real mechanism is thermal mass, borrowed from physics: the ability of a material to absorb, store, and release heat energy over time. Most budget builders skip this entirely and wonder why their shed swings 40 degrees between morning and afternoon. Thermal mass doesn’t require fancy materials. It requires density and surface area working together to flatten temperature swings, which saves money on heating and cooling systems you’ll never need to install.

Materials with high thermal mass absorb heat during the day and release it slowly at night. Concrete, stone, water, and even earth-packed walls do this naturally. A four-inch concrete floor or stone feature wall costs less than HVAC equipment and actually performs better in small spaces. The mechanism is simple: dense materials store solar heat in their molecular structure. When outside temperatures drop, that stored energy radiates back into the space. You’re not paying to move air around. You’re letting physics do the work for you.
Cheap Insulation Layers That Actually Stop Temperature Swings
The mainstream advice says fiberglass batts are your only option on a budget. That’s incomplete. Fiberglass works, but it’s not the only path, and layering matters more than material choice. Batts, foam boards, and natural materials each have different R-values per dollar and different installation speeds. Your goal is stopping heat transfer at multiple points, not achieving a specific R-value number that sounds impressive.
Fiberglass batts remain the cheapest per square foot and install fast between studs. Rigid foam boards cost more upfront but cut thermal bridging through framing. Natural materials like straw, sheep’s wool, or recycled denim cost similar to batts but handle moisture better in damp climates. The real tactic: layer two cheaper materials instead of one expensive one. Install batts in the walls, then add a reflective vapor barrier facing the interior, then add a second layer of foam on the interior side of studs. You’ve created multiple obstacles to heat transfer for the price of one premium system. This stacking approach stops the temperature swings that make cheap sheds feel uncomfortable.
Wiring Your She Shed: Practical Power Solutions
Solar On Small Scale
You want power without a contractor’s invoice. Here’s the mechanism: a small solar system is just a battery that charges itself. You’re paying for autonomy, not luxury, and that changes what actually matters.

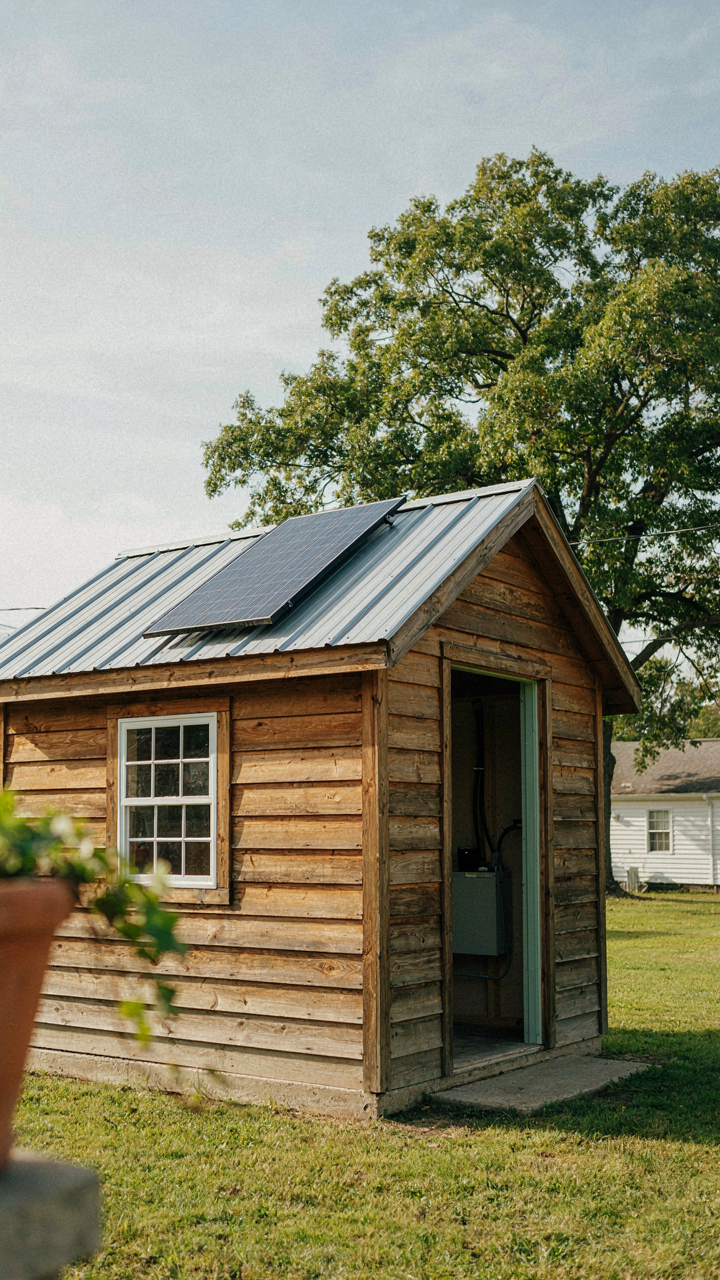
A 100-200 watt solar panel paired with a 200-400 amp-hour lithium battery bank handles lights, a fan, and device charging without grid dependency. The setup costs 1500-3000 dollars upfront but eliminates monthly power bills and requires no permit paperwork for most jurisdictions. This is why solar works for sheds: you’re not powering a house. You’re powering intention.
Sizing your system means counting what you’ll actually run simultaneously, not what you think you might want to run. A single LED strip draws 10 watts. A small space heater draws 750-1500 watts and will drain your battery in minutes. Most people fail here because they overestimate capacity or underestimate usage. Buy the battery first. Size the panel to recharge it in one sunny day.
The real constraint is not technology but honesty about what your space requires. If you need constant climate control or power tools, solar is a supplement, not a solution. If you need light and charging, it’s your entire answer. Install panels on the roof with a southern facing angle, run conduit to your battery box mounted inside, and charge devices through an inverter. That’s the full protocol.
Extension Cords: Temporary Is Not Disposable
Everyone treats extension cords like they’re temporary, which is exactly why fires start in sheds. The issue is not the cord itself but the misuse of one designed for occasions, not residence.
A properly rated outdoor extension cord handles temporary power if you follow load capacity ratings. Most sheds plug into a standard 15-amp household circuit, which means your cord needs 12 or 10 gauge wire. 16-gauge cords fail under load. Check the label. Run the cord along the building base or overhead on hooks, never buried or run through water. Coil excess cord loosely instead of tight; tight coils generate heat that damages insulation and creates fire risk.

If your shed is more than 100 feet from the house, the voltage drop becomes significant and the temporary setup stops working. You lose power to devices and damage appliances. This is the point where you either run permanent underground conduit with proper gauge wire or accept seasonal shed use. Most people choose seasonal and don’t admit it. Pick your reality before you plug anything in.
Decorating Your Small Shed: Function Over Fluff
Furniture That Pulls Double Duty
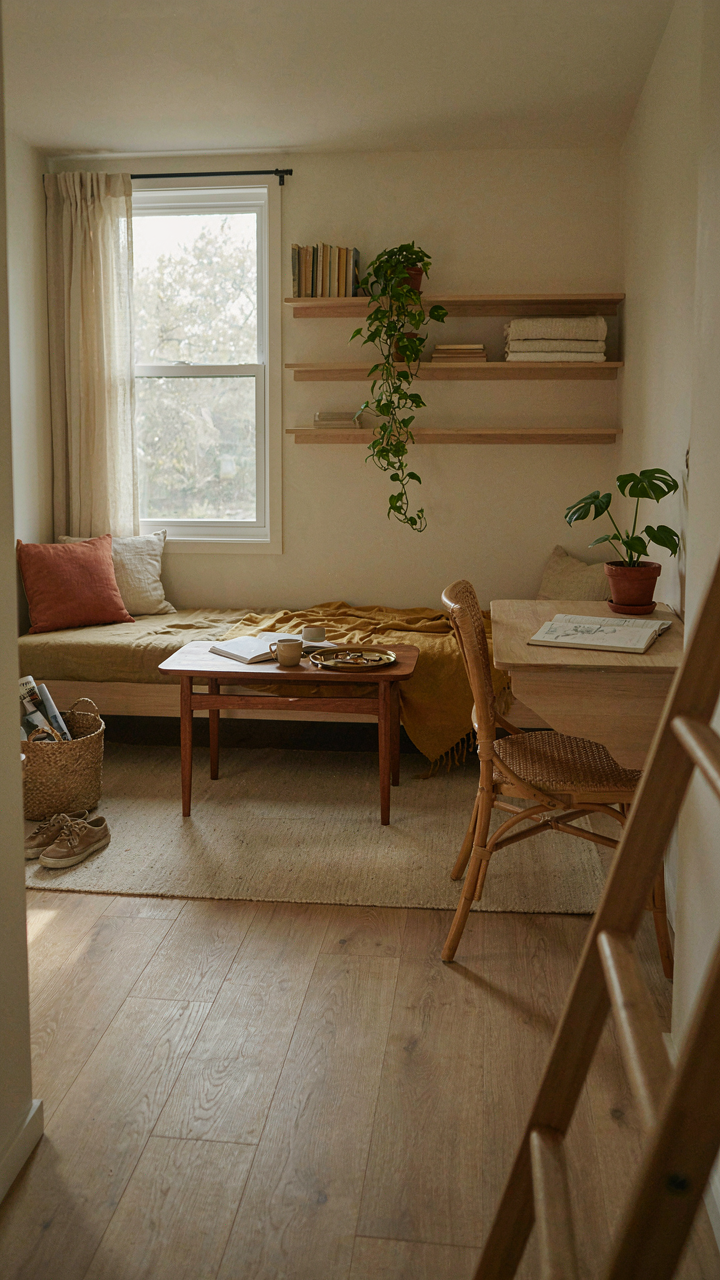
You want this space to feel intentional, not cramped. That fear of a cluttered box is what pushes people toward generic “cute” décor that wastes square footage. Borrow a principle from industrial design: constraint forces elegance. Every piece must solve two problems at once or it doesn’t enter the shed.
A storage bench becomes seating and weapon storage. A wall-mounted fold-down desk collapses when you need floor space. Shelving units with built-in cubbies hold supplies and display items simultaneously. This isn’t minimalism dressed up as philosophy. It’s math. You’re trading one purpose per item for two purposes per item, which halves your footprint while doubling usability.
Storage That Respects Reality
The common advice here is garbage: “use vertical space” while showing photos of Pinterest sheds where nothing actually lives. Real storage solves the problem nobody mentions. You can’t reach the ceiling without climbing. You forget what’s in opaque bins. Things get jammed and stick.

Use open shelving between waist and eye level for daily items. Label everything. Wall-mounted pegboards let you see and grab tools instantly. Corner shelves capture dead space without requiring you to climb. Clear plastic bins cost three dollars and show contents at a glance. Store seasonal items in labeled boxes, lowest or highest, since you access them rarely. This protocol takes an afternoon to set up and saves you hours every month searching for what you already own.
The “Personal Brand” Of Your She Shed
Start With Your Actual Problem
You want this space to feel special because you’re afraid it’ll just become another storage dump or generic craft room. That’s the real fear. The mechanism is simple: a shed without a stated purpose defaults to whatever gets thrown in first. Once that happens, reclaiming the space costs energy you won’t spend. Define the mission before you buy the first piece of furniture.
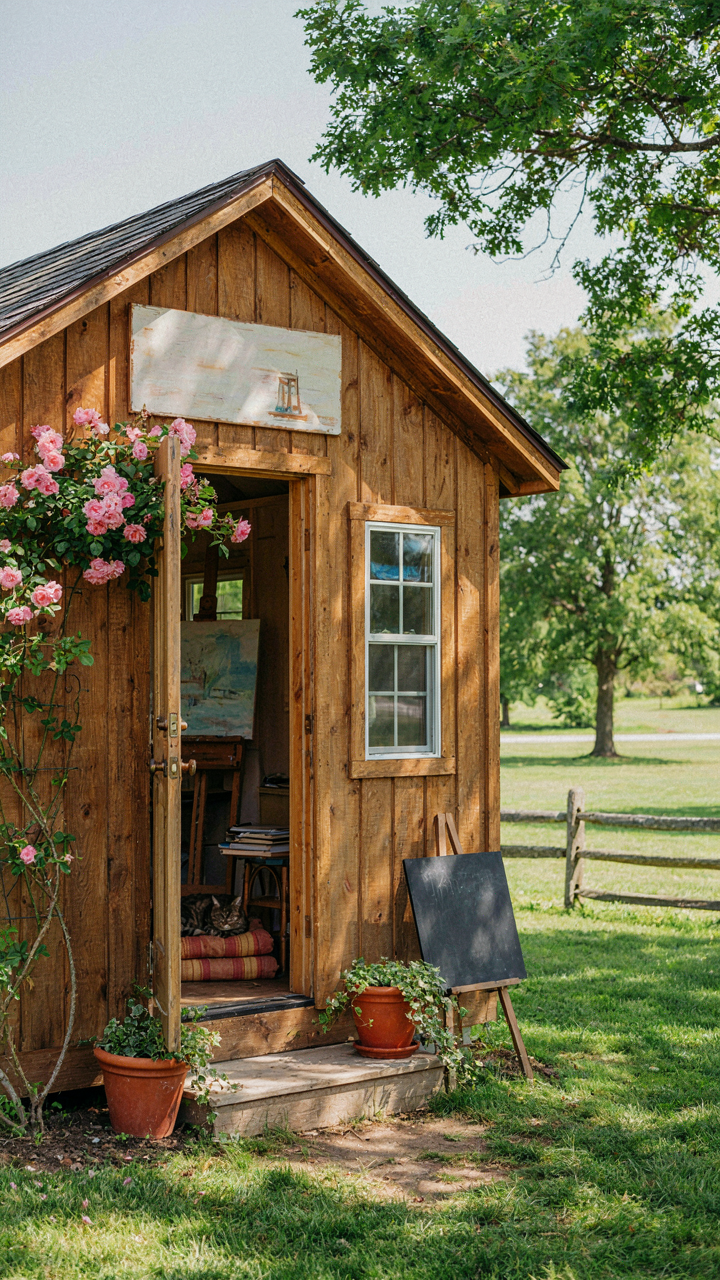
Your mission isn’t “a place to relax” or “my creative space.” Those are too broad. Mission means the specific problem this shed solves in your life right now. Are you escaping noise to focus on one skill? Building inventory for a side business? Creating a physical boundary between work and home? The specificity matters because it determines what stays and what doesn’t. A cluttered shed on a budget feels worse than a small, purposeful one.
Build It Around What You Actually Use
The common advice here is “decorate with things you love.” That’s incomplete. What matters is the ratio of objects that serve your stated mission versus objects that just look good. Think of it like signal-to-noise in information design: the higher your signal (purpose-aligned items), the stronger the space feels, regardless of budget.
Start by listing the tools, materials, or activities that define your mission. If your shed is for painting, the easel and supply storage are signal. Motivational quotes on the wall are noise. If it’s for woodworking, the workbench and tool organization matter. Vintage signs don’t. Spend your budget on the items that make your mission possible, then fill remaining space with restraint. One well-chosen element beats five decorative afterthoughts.
Maintenance: Future Proofing Your Affordable She Shed
Keep Water Out First
You’re worried about losing money on this thing. Water is the mechanism that kills every budget build before its time. One structural failure costs more than preventing it, and prevention is just deciding what water touches and what it doesn’t. Your shed’s enemy isn’t rain—it’s water that enters the structure and stays there. That distinction matters.
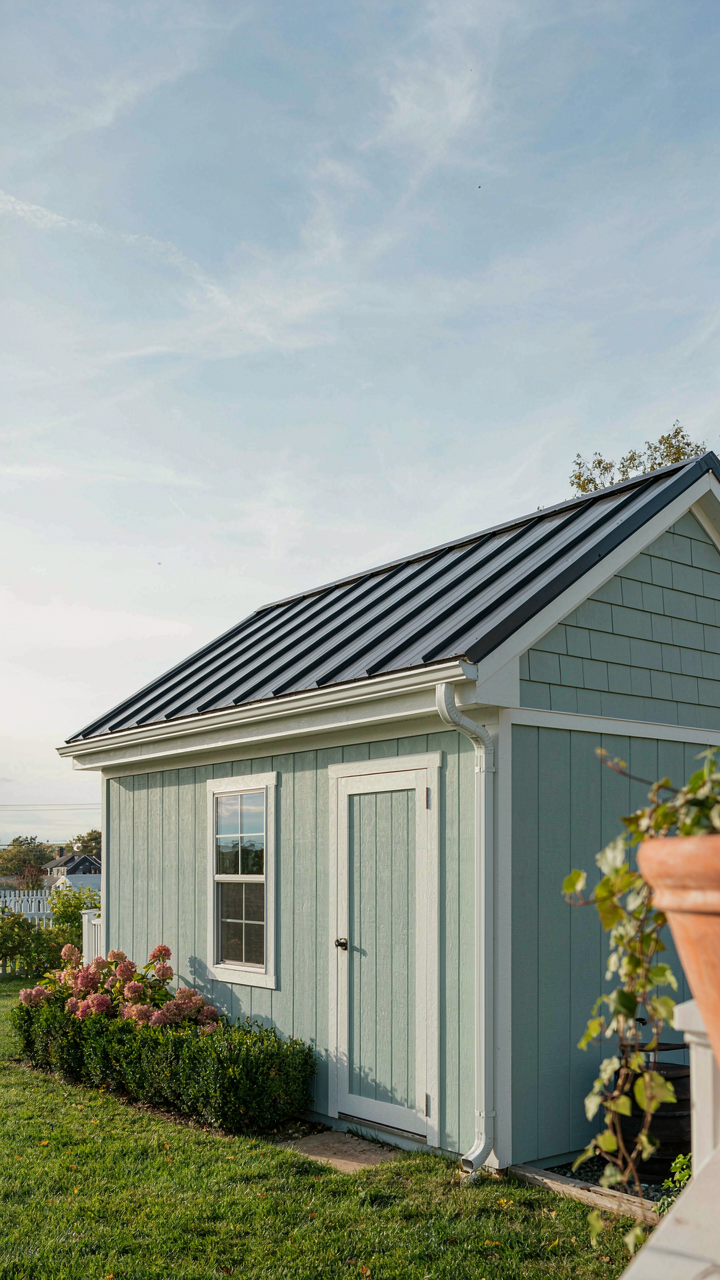
Start with the roof. Metal roofing or quality asphalt shingles with proper overhang stops most damage before it begins. The overhang matters more than material choice. Water that drips six inches past your walls stays outside the frame. Budget builds fail because people skimp on gutters or skip them entirely. Install them. Seal seams where walls meet roof and where the foundation meets framing using exterior silicone caulk rated for wood. Reapply every three years.
Stop Pest Entry Before Infestation
Rodents and insects don’t invade for fun—they invade for shelter and food access. Think of your shed like a military fortress where the perimeter is the only defense that works. Once they’re inside, removal costs time and money you don’t have. Prevention is the only rational strategy.
Seal all gaps larger than a quarter inch. Caulk openings around pipes and vents. Install metal mesh under your shed if you built it on blocks or a raised foundation. Rodents climb from below. Keep food, pet supplies, and anything that smells edible in sealed containers, never loose on shelves. Inspect the exterior quarterly for new gaps or damage. Pest problems start small and compound fast, so catch them early.
The Only Thing Truly Limiting Your Sanctuary Is Your Imagination, Not Your Bank Account
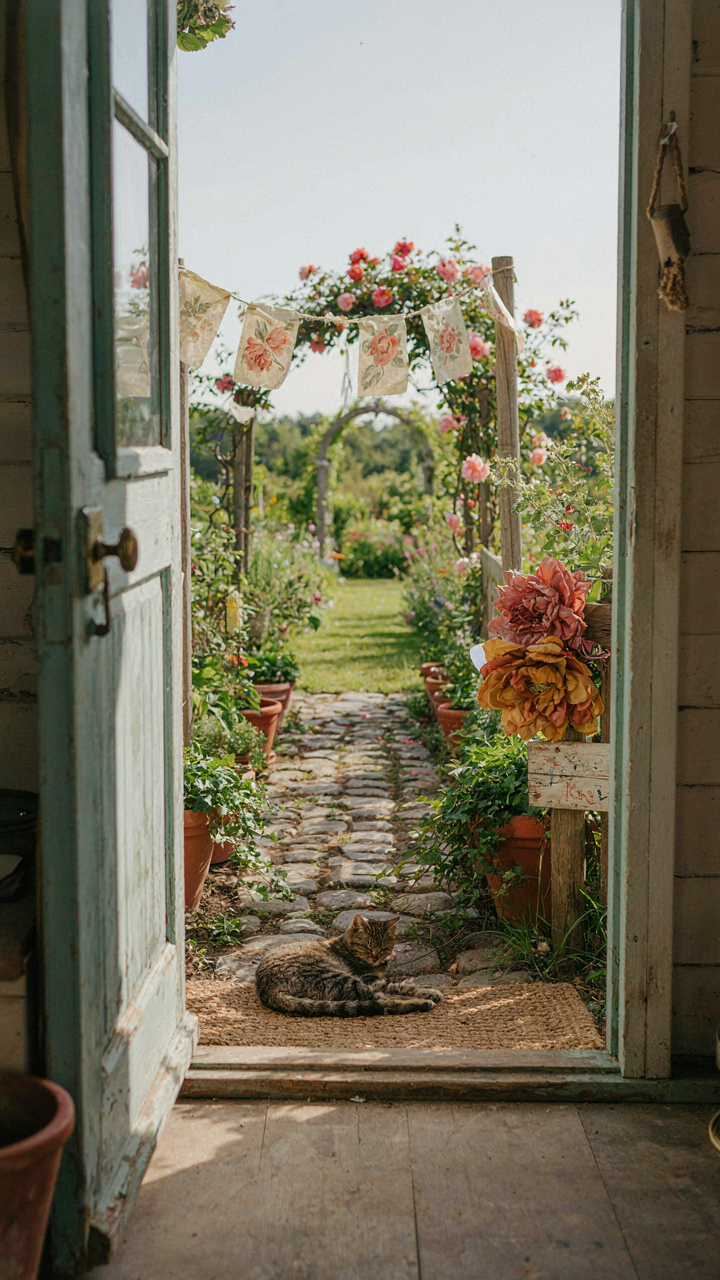
Stop waiting for permission to build something that matters to you. Your she shed doesn’t need a five-figure budget to become your favorite place on earth. It needs your decisions. Pick one thing today—one single item or corner you’ll claim—and make it yours. Everything else follows from that first move. You don’t build a sanctuary by planning endlessly. You build it by starting.