
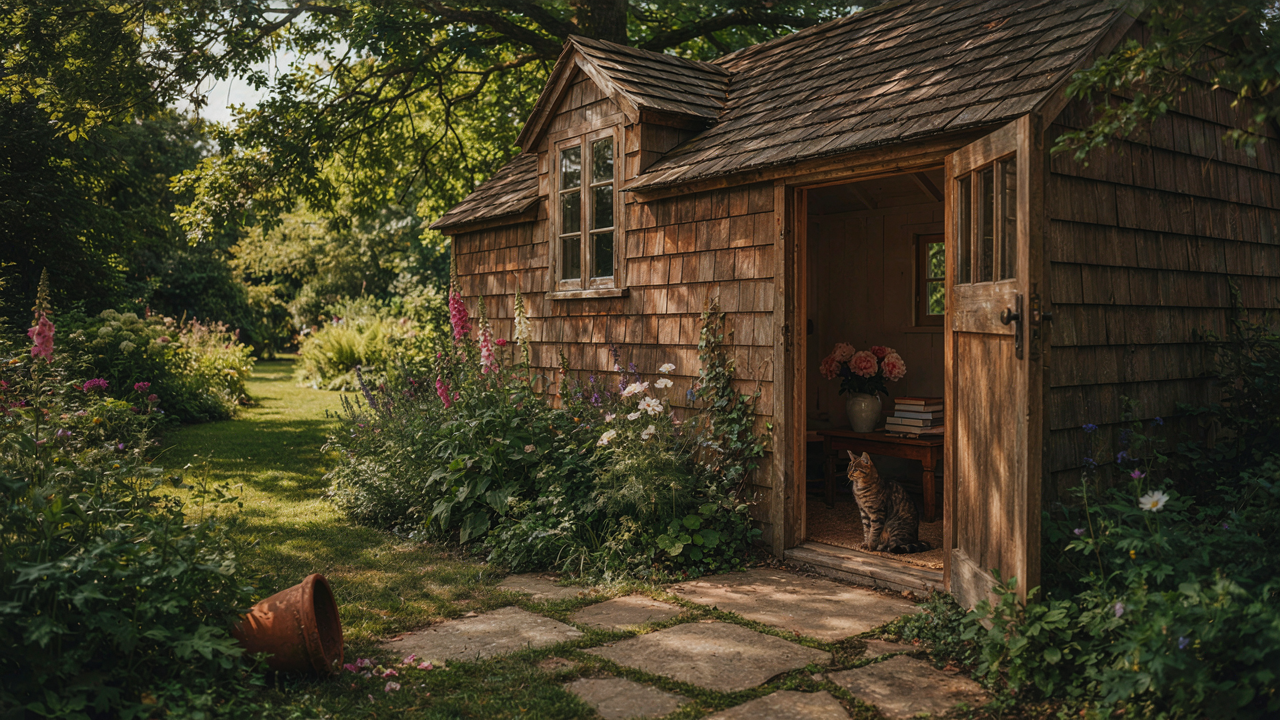
The Unfinished Shed Audit: Beyond Aesthetics

Check The Foundation Before Anything Else
You want to skip this part because it feels like you’re inspecting someone else’s problem. The mechanism is simple: a shed sits on the ground. The ground moves. Water pools. Wood rots from below first. Most people never see it until the floor fails. Start by walking the perimeter and checking where the shed meets the earth. Look for standing water, soft soil, or gaps between the base and ground. Press the floor with your boot near the corners and edges. If it gives, you have settling or rot. Document what you find with photos and measurements before you design anything.
The foundation type matters for conversion longevity. Sheds typically sit on concrete blocks, gravel, or direct soil. Concrete blocks can shift if the ground underneath isn’t compacted properly. Gravel settles unevenly over time. Soil foundation means water infiltration is almost guaranteed. If you’re converting this to regular use, not seasonal storage, you need the foundation to handle freeze-thaw cycles and weight distribution. Check local building codes for your area, as conversion often triggers compliance requirements. Get a contractor to assess before you commit to the project.
Seal The Envelope First
Most people treat weatherproofing as decoration. It’s structural defense. The roof is your first line. Walk it in daylight and look for missing shingles, curling edges, or penetration points where vents or pipes enter. Water that enters the roof finds the interior fast. Check the walls for gaps around windows, door frames, or siding joints. The floor needs damp proofing if it touches soil directly. Water wicks up through concrete and wood fibers, creating mold conditions before you ever finish the interior.
Prioritize fixes in this order: roof first, then walls, then floor. A leaking roof ruins a new she shed before the paint dries. Roof repairs are cheaper now than interior water damage later. Caulk exterior gaps with polyurethane sealant, not silicone. Silicone fails faster in temperature swings. For the floor, apply a concrete sealer if it’s a concrete slab, or add a vapor barrier under wood subfloors. The goal is simple: no water enters the structure. Every dollar spent on sealing saves five on interior restoration later.
Deconstructing The Pinterest Perfect Illusion

Function Over Trend Capture
You’re drawn to this section because you’re afraid your shed will look dated or cheap next to what you saw online. Here’s the mechanism: social media shows you outliers, not norms. A she shed works because it solves a specific problem in your life, not because it matches someone else’s aesthetic from six months ago that’s already shifting.

Trends in shed interiors move fast because they’re cheap to photograph and reshare. Shiplap, Edison bulbs, vintage signage, boho textiles—these cycle every eighteen to thirty-six months. Your shed’s bones stay put for decades. Build around what you actually do there: reading, working, crafting, hosting. The interior dressing follows function, not the reverse. When function drives decisions, your space stays relevant because relevance is tied to use, not Instagram cycles.
Avoiding The Upgrade Trap
Most conversion advice tells you to maximize every square foot with built-ins, upgrades, and finishes. That’s wrong. You don’t need to. The real cost isn’t the shed itself—it’s the compounding upgrades you’ll feel pressured to add once you’ve “started.” Insulation leads to climate control. Climate control leads to flooring. Flooring leads to wall treatments. Each upgrade justifies the next.
Shed conversions fail financially because owners treat them like primary structures instead of functional extensions. Your shed already has a roof, walls, and a foundation. Stop there. Add only what directly serves your stated purpose. Lighting, seating, and weatherproofing are non-negotiable. Everything else is negotiable until you’ve used the space for a full season and identified actual gaps, not imagined ones based on design content.
The “Utility First” She Shed Interior Design Protocol
Power And Lighting Placement Strategy
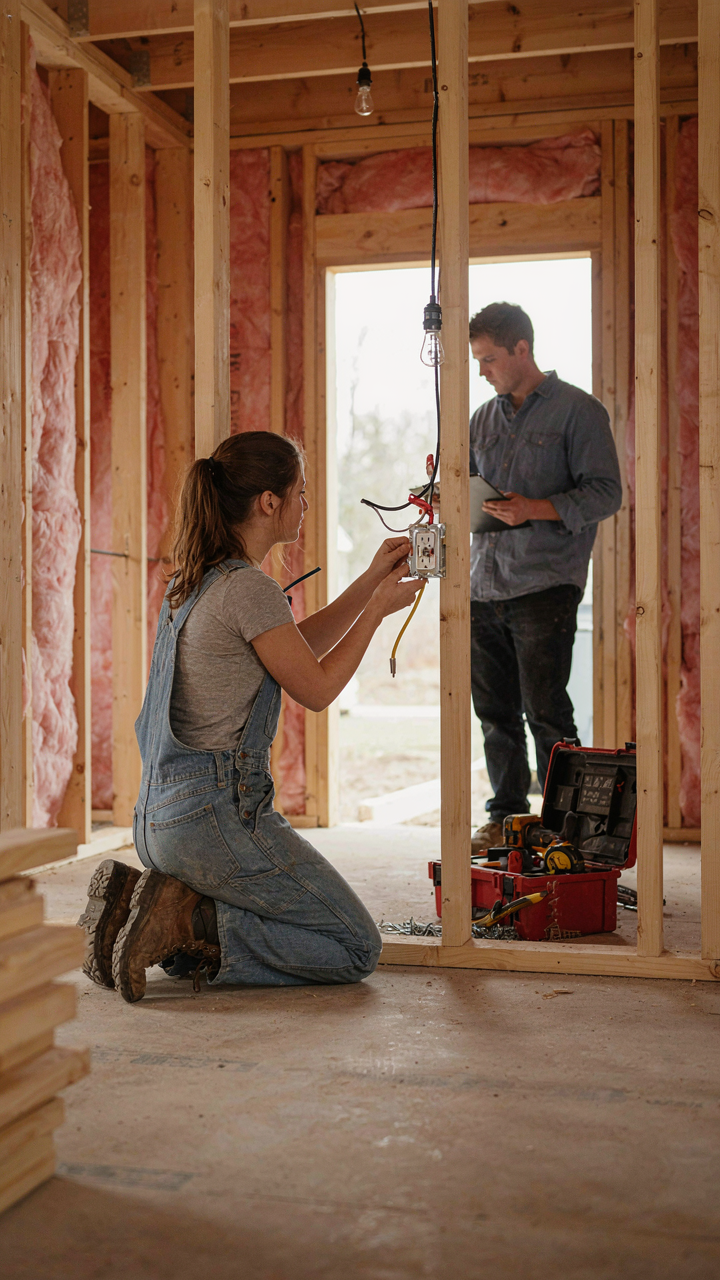
You want this space to feel intentional so visitors think you’re serious about what happens here. The mechanism is simple: power and light placement determines what activities actually work versus which ones you’ll abandon. Start by mapping where you’ll spend 80 percent of your time. The electrical outlet doesn’t go where it looks balanced on the wall. It goes where your primary activity demands it.

Most sheds have zero outlets or outlets positioned by whoever framed the structure decades ago. Run a 20-amp circuit if you’re powering tools, a space heater, or a mini fridge. Position outlets at 18 inches from the floor on working walls to keep cords clear of the floor. Overhead lighting goes directly over your work zone, not centered in the room. Task lighting beats ambient lighting every time you actually need to see what you’re doing.
Ergonomics In Real Space
Ergonomics borrowed from industrial design teaches one core principle: task performance degrades when the body compensates. A she shed isn’t a showroom. It’s a functional room where you sit, stand, or work for hours. The chair height, desk depth, and storage reach all determine whether you use the space or resent it.
Your work surface needs to hit 28-30 inches high if you’re sitting, 36-40 inches if you’re standing. Your seat should support your lower back without forcing you forward. Shelving within arm’s reach beats attractive shelving six feet up that you never access. The real protocol: mock up your activity for one hour before you finalize placement. Move a desk or table to the exact spot where you’ll work, sit there, and adjust. Only then do you anchor anything permanent.
She Shed Interior: The Art Of Deliberate Scarcity
Minimalist Furniture Choices For Maximum Space
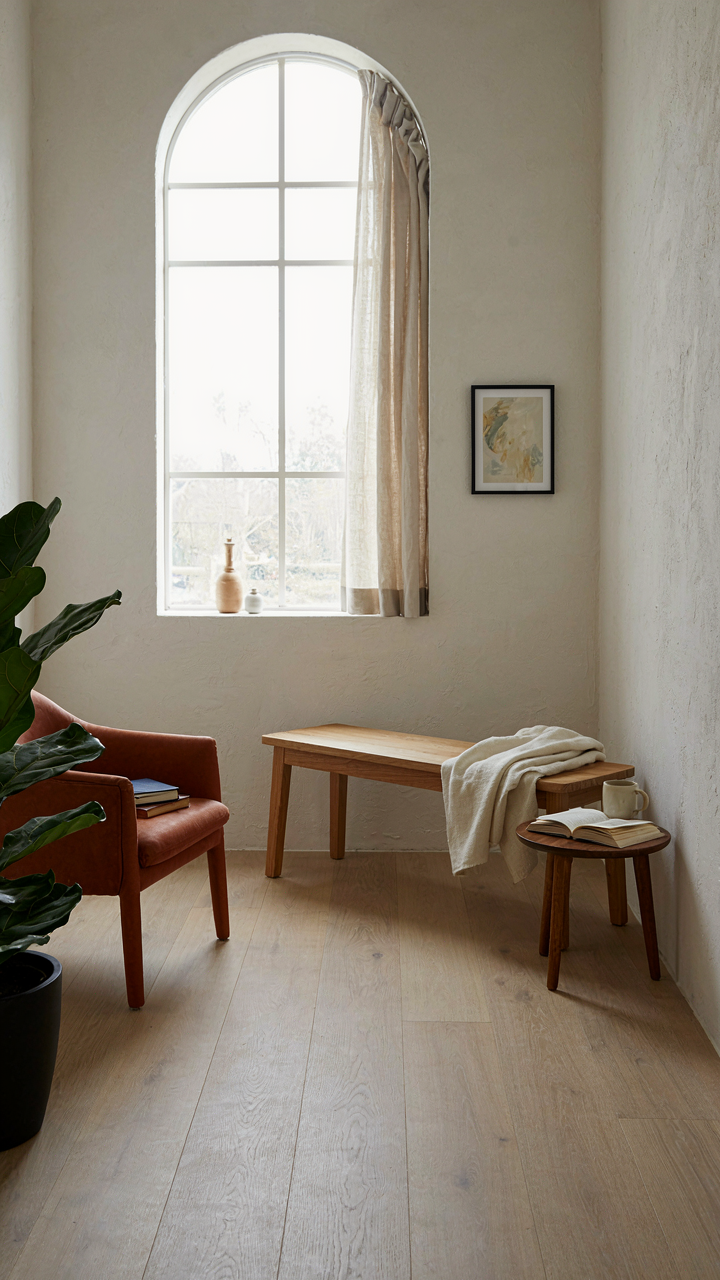
You want your shed to feel bigger than it is. That’s the real driver here, and it’s worth naming because every design choice you make next depends on understanding that constraint. Minimalism in furniture isn’t about aesthetic purity. It’s about load bearing. In structural engineering, load capacity determines what a system can handle. In a shed conversion, your usable square footage is fixed, so every piece of furniture either expands or contracts your sense of space.

The mistake most people make is buying smaller versions of normal furniture. A mini loveseat still occupies real estate and divides the room visually. Instead, choose pieces that serve multiple functions and sit low. A low platform bed with integrated storage, a wall-mounted desk, a single statement chair positioned for light and view. These reduce visual clutter and maintain sightlines. Paint furniture the same color as walls to dissolve boundaries. This is not decoration. This is spatial mathematics.
Ruthless Elimination Of Non Essentials
Everyone says declutter. Nobody says why most people fail at it. You fail because you’re deciding what to keep based on sentimental attachment or hypothetical future use. That’s emotional reasoning dressed up as planning. The actual mechanism is different. You must decide what activities you want the space to enable, then subtract everything that doesn’t directly support those activities.
If the she shed is a reading space, you need seating, light, and books. Everything else is friction. If it’s a creative workspace, you need a work surface, storage for materials, and nothing that distracts. The hard part isn’t throwing things away. It’s saying no to the objects that seem useful in theory. A rug that softens the floor but traps dust. Wall art that fills space but adds no function. A side table that looks nice but creates another surface to maintain. Start by listing what the space actually does. Then remove everything that doesn’t appear on that list.
Cozy She Shed Interior: Crafting Atmosphere, Not Clutter
Light Layers Run The Space
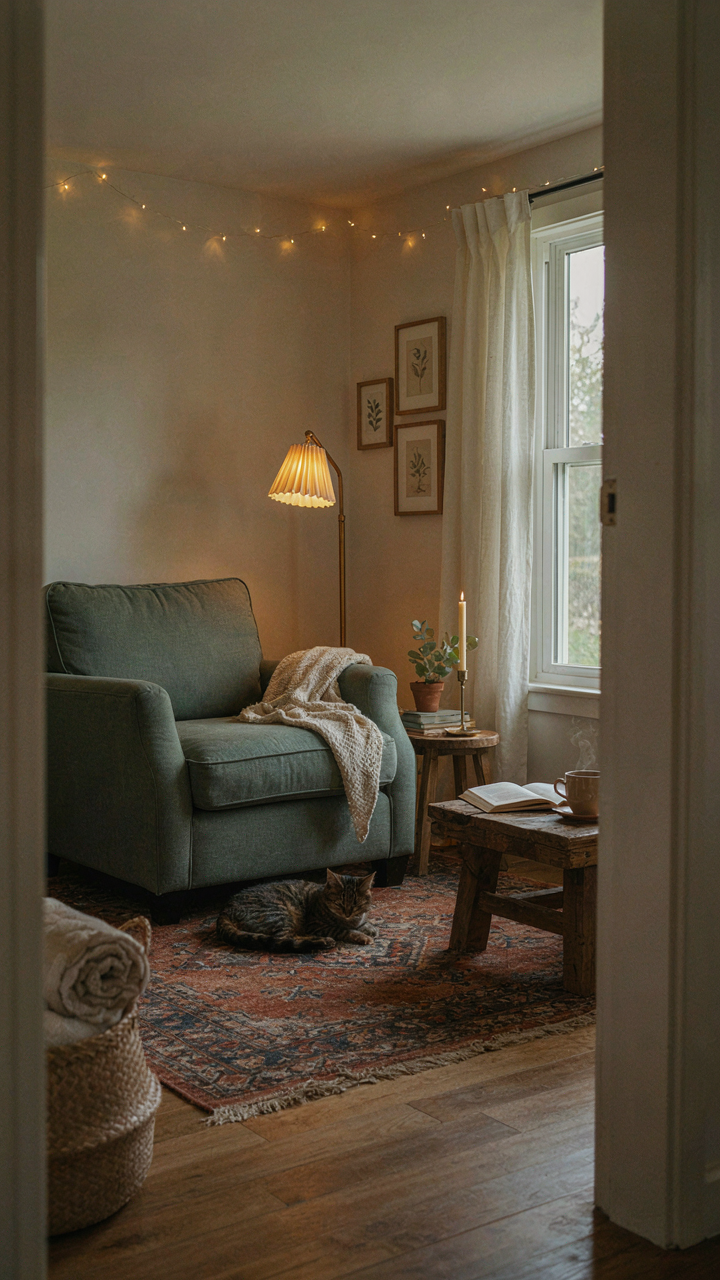
You want people to think you’ve created something intentional, not just moved furniture into a box. Here’s the mechanism: light controls what the eye lands on and when. In architectural lighting, designers layer three types: ambient, task, and accent. Your shed conversion needs the same structure. Ambient light fills the entire space. Task light handles reading or detail work. Accent light creates visual hierarchy and mood. Most people skip this and install one ceiling fixture, wondering why the space feels flat.

Start with ambient light from recessed fixtures or a central pendant. Add task lighting near seating or workspace surfaces through table lamps or wall sconces. Accent light comes last, targeting specific objects or architectural details you want noticed. Install dimmers on every circuit except task lighting. This lets you shrink or expand the mood in minutes without touching a thing. A single 2700K bulb temperature (warm white) throughout prevents the jarring shifts that kill atmosphere.
Texture Creates Presence Without Noise
Sensory design is borrowed from retail and hospitality spaces, where touch matters as much as sight. In those fields, retailers call this “tactile engagement,” and it drives longer dwell time and perceived value. Your she shed operates on identical principles. Most conversion guides suggest “adding pillows and blankets,” which is lazy advice that creates visual clutter instead of comfort. The real move is selecting textures that vary in density and temperature, then constraining your palette to three materials maximum.
Introduce one heavy texture (raw linen or wool), one medium texture (canvas or cotton), and one subtle texture (smooth ceramic or wood grain). Layer them by zone, not randomly. Rough textures near functional areas handle wear. Smoother textures near seating invite long stays. Natural fibers age visibly, which signals authenticity rather than effort. Synthetic blends hide stains better but telegraph “temporary setup” to anyone who enters. Choose based on actual use, not image: if you’ll sit there every day, prioritize durability and washability over visual impact.
Tiny She Shed, Big Impact: The Economic Principle Of Constraint

Go Vertical Or Go Home
You want to prove your shed conversion was worth the effort without spending another dime. That’s the real motive here. Economics calls this “constraint optimization”—when your input (square footage) is fixed, you must extract more value per unit by manipulating the third dimension. Most people stack boxes. Smart builders stack function.

Vertical real estate transforms a cramped shed into a functional space by redirecting your eye and your storage upward. Wall-mounted systems eliminate floor clutter that makes small spaces feel suffocating. The principle works because gravity costs nothing, but floor space costs everything in conversion projects.
- Floating Shelves: Anchored directly into wall studs, these hold weight without needing floor footprint. Install at eye level and above to avoid head strikes in tight spaces.
- Pegboard Panels: Mount full sections of pegboard to bare walls for flexible tool and accessory placement. Customizable hook arrangements adapt as your needs shift.
- Wall-Mounted Hooks: Heavy-duty hooks rated for actual load handle coats, bags, and equipment without taking up real estate. Space them 16 inches apart for structural integrity.
- Overhead Storage Racks: Suspended systems mounted to roof joists store seasonal items and bulky gear above head height. Keep frequently accessed items lower for safety.
- Corner Shelving Units: L-shaped corner mounts capture dead space that serves no function otherwise. Corners hold roughly 30 percent of most shed’s usable perimeter.
The physical arrangement matters more than the material. Every vertical inch you use is one less square foot you need to occupy on the floor. Measure twice, mount once, and prioritize items you reach for weekly near eye level.
Form Fitting Function
Forget the interior design advice about “multi-purpose pieces.” What people actually mean is: buy things that do two jobs so you don’t run out of space on the third. This isn’t clever design—it’s arithmetic.
Ottoman storage cubes that seat you while holding gardening supplies work because they solve two problems the shed creates: lack of seating and lack of storage. A folding table collapses vertical when not in use, reclaiming floor space. The best conversion projects treat furniture like software with multiple modes, not decoration.
A storage bench paired with a folding chair creates a lounge setup that disappears when you need workspace. Rolling carts slide under tables or into corners, holding supplies while remaining accessible. You’re not furnishing a room—you’re engineering density without creating the feeling of suffocation.

Small She Shed Ideas: Optimizing Layouts Like A Systems Engineer
Map Your Activities Before You Buy Anything
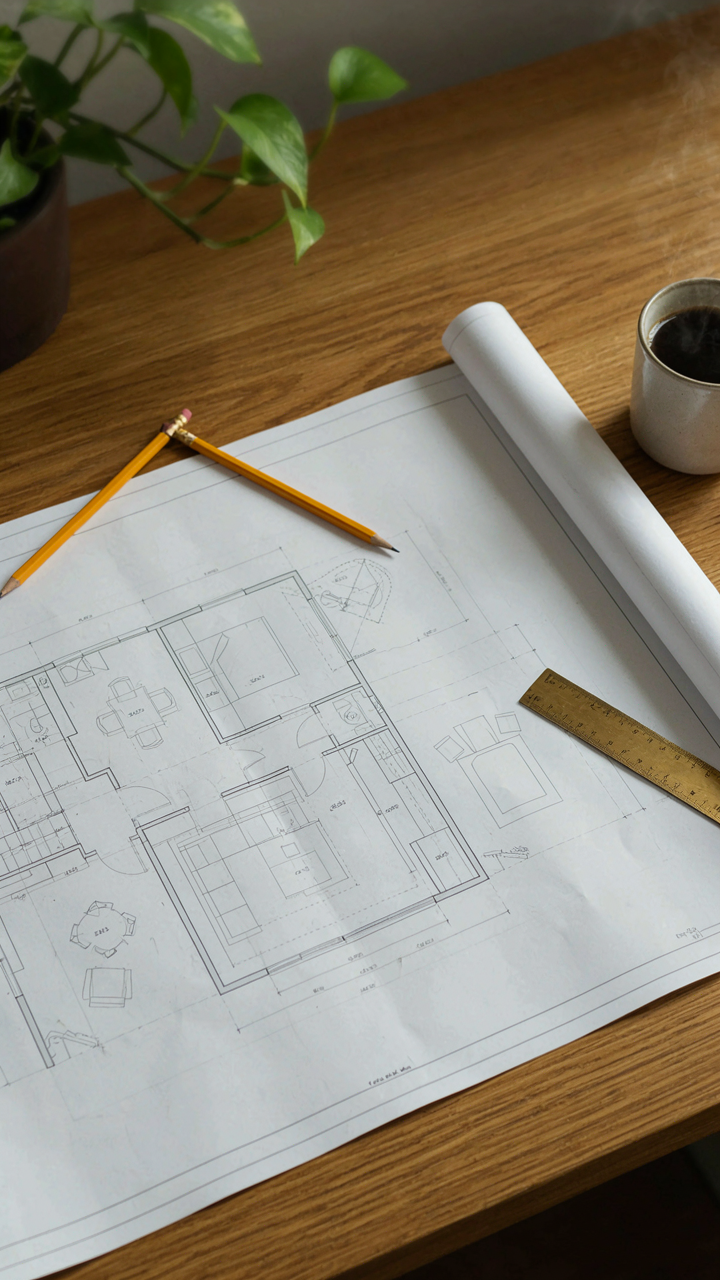
You want to feel productive in there without admitting you’re buying a space to escape. Here’s what actually matters: the shed’s usable square footage means nothing until you know what you’re doing for how long. Treat this like workflow mapping in manufacturing—you’re tracking material movement, except your material is your body and attention. Sketch the activities you’ll repeat: crafting for three hours, reading for two, hosting small groups occasionally. Time each one. Note what you need within arm’s reach versus what can live in storage.
Once you have the activity sequence, measure the clearances your body requires. A potter’s wheel needs two feet of space around it to work safely. A reading nook needs a chair and a small table—roughly four by six feet of functional floor. Sewing workstations need the table depth plus leg room. Don’t estimate. Measure your existing setup or use a furniture store’s display to verify actual space needs. Mark these zones on a scaled floor plan. Where activities overlap, you’ve found friction.
Remove Everything That Doesn’t Anchor An Activity
Lean manufacturing strips waste from production lines. Most people skip this step for personal spaces and end up with expensive storage units masquerading as she sheds. Every fixture, shelf, and piece of furniture must directly serve one of your mapped activities. A decorative mirror serves nobody. A shelf for display items serves nostalgia, not function. Remove them. The rule is ruthless: if it doesn’t enable an activity or store a tool you actually use, it leaves the shed.
This doesn’t mean spartan. It means intentional. A pegboard behind a woodworking bench earns its space because each peg holds a tool you grab weekly. Open shelving for yarn stash earns its space because you reference it constantly while knitting. A small side table earns its space because you set your coffee on it during those three-hour crafting sessions. Everything else is tax on your square footage. Measure wall space, calculate storage volume needed for active materials, then buy only what that number demands. The shed shrinks the moment you stop treating it like a showroom.

Shed Renovation Ideas: Beyond The Brushstroke
Insulation That Actually Works Year Round
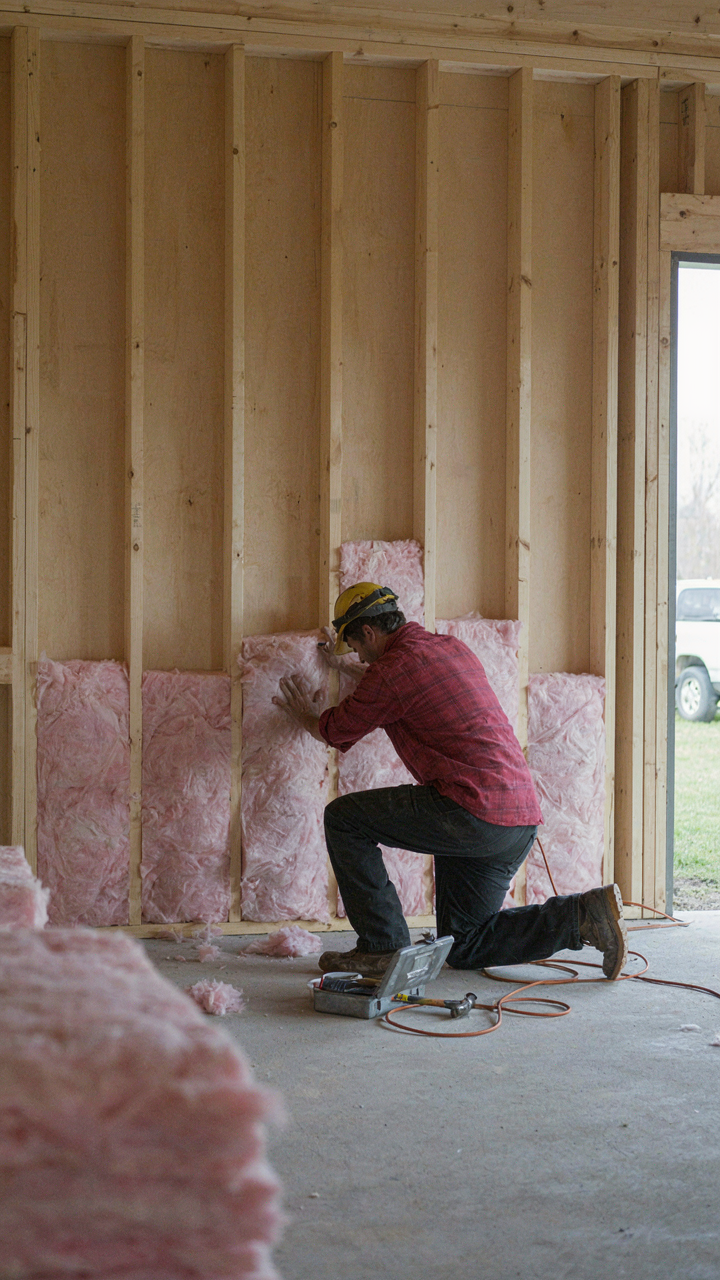
You want comfort without the electric bill shock. That’s the real reason this matters. The mechanism is simple: uninsulated sheds swing 30 to 50 degrees Fahrenheit between seasons. Insulation doesn’t prevent temperature change, it slows the rate of transfer. Fiberglass batts are cheap and ineffective for small spaces. Spray foam seals air leaks that batts miss, but costs triple. Rigid foam board sandwiched between studs and drywall beats both for a she shed because it handles moisture and doesn’t settle.
The spec that works: two inches of rigid foam (R10 to R15 value) on all walls, floor, and ceiling. Vapor barriers go on the warm side in winter, cold side in summer, or skip them entirely with closed-cell spray foam that manages moisture on its own. Install a small dehumidifier on a timer if you live in a humid region. Year-round comfort isn’t about heating or cooling capacity, it’s about slowing heat loss enough that a small space heater or AC unit can maintain 65 to 72 degrees without running constantly.
Locks And Sight Lines Matter More Than You Think
People talk about painting and furniture. Nobody talks about why you get broken into. The mechanism comes from basic crime theory: offenders avoid locations where they feel exposed. A she shed with clear windows facing the street, no visible locks, and no neighbors watching is a target. Install privacy film or sheer curtains on any window visible from the street or driveway.
Physical security requires two layers: entry hardening and deterrence. Replace the standard shed door handle with a slide bolt lock rated for exterior use. Add a hasp and padlock on the outside for redundancy. Motion sensor lights on the exterior kill the cover of darkness. If the she shed sits on a property line, position it to face your interior yard, not the street. Motion matters more than appearance—a space that signals occupancy and visibility stops most casual theft before it starts.

Garden Sheds Ideas: Integrating With Your Domain
Exterior Aesthetics That Complement, Not Compete
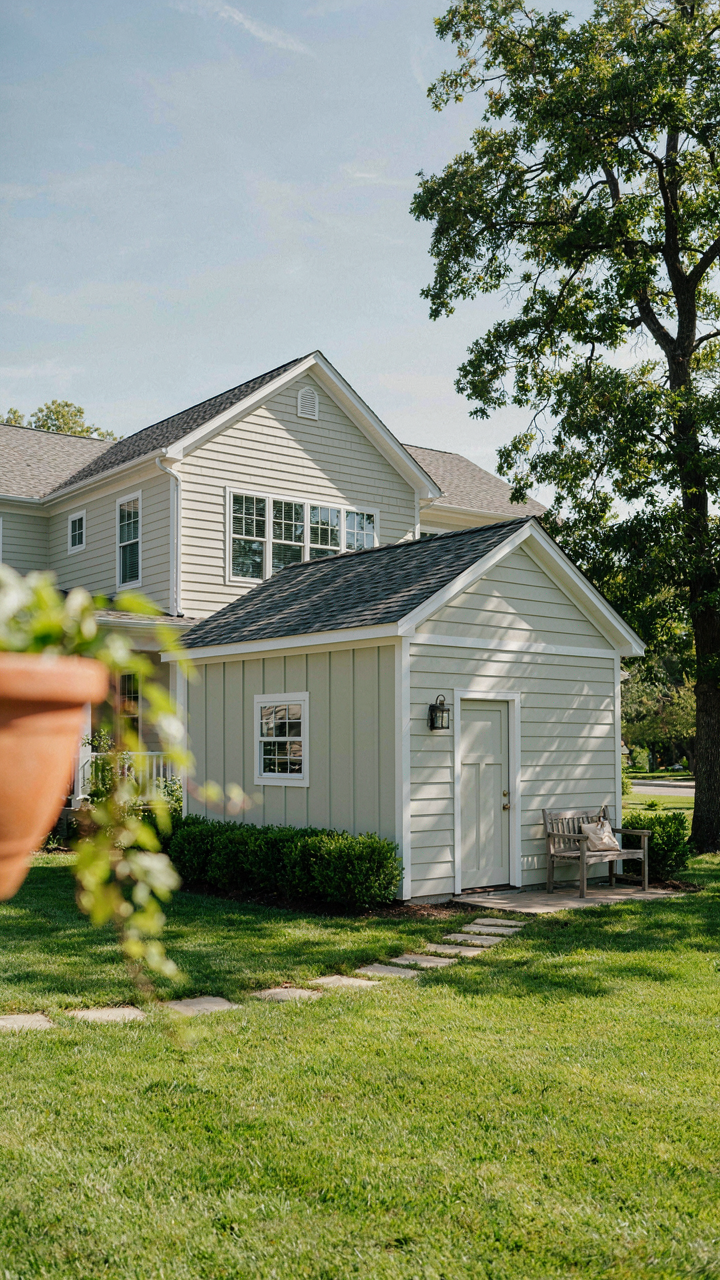
You want your she shed to look intentional, not like you bolted a prettier box onto your property. Here’s the real mechanism: your she shed’s exterior finish either extends your home’s visual language or contradicts it. Think of it like brand consistency in marketing. A Victorian home with a modern steel-frame shed screams amateur. A ranch with a matching roof pitch and trim style reads as planned. The goal isn’t matching perfectly—it’s coherence. Your shed borrows materials, colors, or proportions from existing structures on your property and develops them deliberately.
Most people stop at “pick a nice color.” That misses the work. Document what your house actually uses: roofing material, siding type, trim color, hardware finish. Your shed doesn’t copy all of it. It mirrors one or two elements and shifts the others subtly. If your home has black metal gutters and white trim, your shed might use the same black hardware but shift the siding to a complementary tone rather than matching white. This creates intentionality without cloning. The conversion succeeds when a visitor perceives the shed as part of your property’s design system, not an afterthought.
Landscaping That Supports Function And Privacy
Privacy in a she shed isn’t about hiding—it’s about framing a boundary that feels natural rather than defensive. Borrowed from landscape architecture: sight lines determine perception. Low shrubs at the perimeter don’t block sight but redirect it. You’re not building walls; you’re creating a visual pause. Strategic plantings between your she shed and neighbors or street-facing areas establish psychological separation without concrete barriers. Dense evergreens work year-round. Deciduous plants offer seasonal flexibility. The depth of planting matters more than height. A three-to-five-foot deep planted buffer feels intentional. A single row of shrubs reads as fence-adjacent and cheap.
Hardscape placement—pathways, gravel, or pavers leading to the shed entrance—serves dual purpose: it directs foot traffic and signals intentional use. This prevents the structure from appearing abandoned or unused. Orient your path approach to minimize neighbor sightlines to windows or doors. Grade the ground slightly if possible to set the shed and its immediate surround slightly lower or higher than surrounding terrain. This micro-elevation change anchors the space functionally and visually. Drainage patterns and foot traffic routes become your actual design framework, not afterthought landscaping.
The Real Obstacle Isn’t The Shed; It’s Your Permission To Claim Space

Most women don’t convert sheds because they’re waiting for permission that will never come. Not from husbands or partners or society. From themselves. You already know what you want in that space. Stop researching and start measuring. Pick one wall this week and paint it. The shed doesn’t care about your hesitation, but your future self will resent it.