The Minimalist’s Iron Law For Tiny Full Bath Design
What Actually Belongs In Here
You want permission to keep things. That’s the real ask. But a tiny cottage bathroom doesn’t work like a normal room because the constraint forces a hard binary: use it daily or remove it. Economics calls this scarcity pricing. In tight spaces, every object claims rent. A item that sits unused for three months isn’t “just stored there”—it’s consuming square footage that costs you money and comfort every single day.
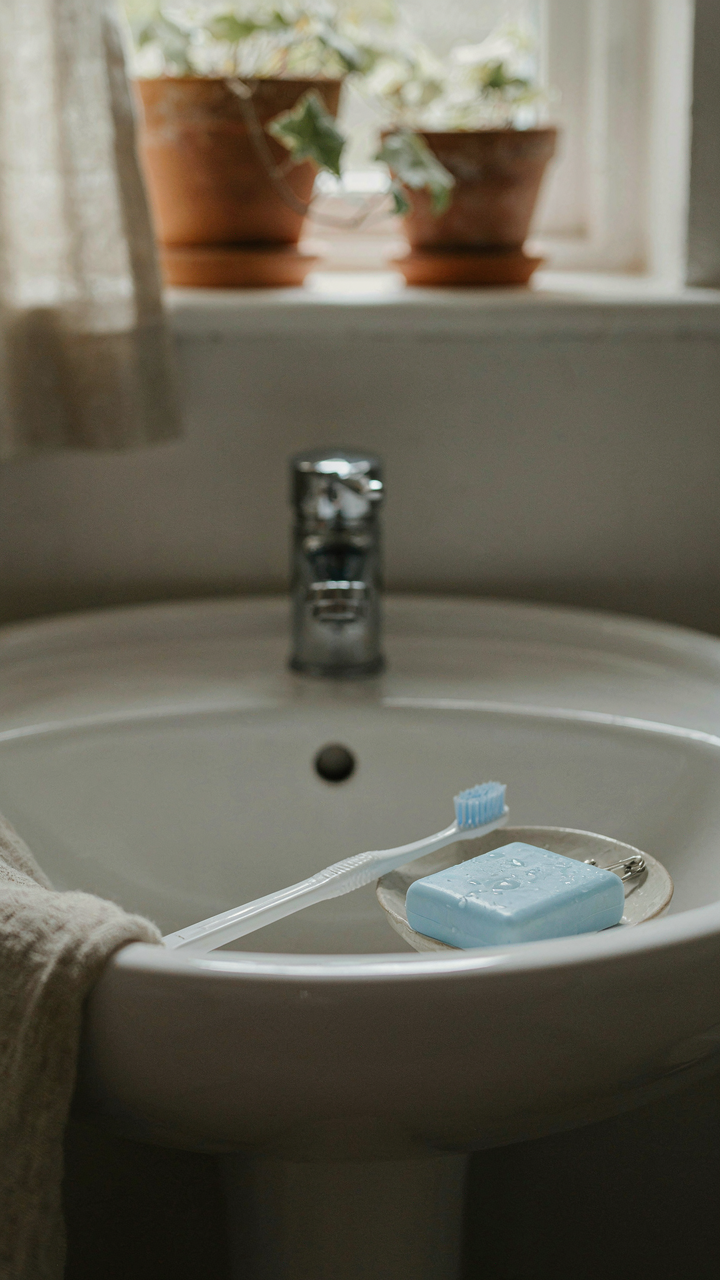
Start by listing what you actually use in the bathroom weekly. Toothbrush, soap, deodorant, medications you take there. Shower supplies. The pile shrinks faster than you think. Everything else—the decorative jar, expired sunscreen, three half-empty bottles of lotion—gets the hard no. Not maybe. Not “I might use it.” No. Sentiment doesn’t scale in forty square feet.
The Real Cost Of Maybe Clutter
The common advice says “organize better” or “use vertical space.” Wrong framing. That’s just moving clutter higher. The actual problem is that “just in case” items hijack your mental real estate and physical square footage simultaneously. You spend cognitive load remembering they exist. You spend actual inches accommodating them. Both deplete a resource you can’t replenish.
A tiny cottage bathroom demands this protocol: remove one item you haven’t touched in ninety days. Replace nothing for a week. Repeat. The friction of actually needing something forces the decision. Either you grab it within days, proving it deserves space, or you realize you lived fine without it. That’s your test. Not sentiment. Not potential. Daily utility or deletion.
Beyond Boho: Reclaiming Function In Cottage Small Bathroom Layouts
The Dead Zones You’re Already Paying For
You want to feel like you’ve maximized every inch because admitting you haven’t feels like failure. Here’s the mechanism: tiny cottage bathrooms create dead zones by default. The space between the toilet and wall. The corner behind the door swing. The gap above the toilet tank. These aren’t design flaws—they’re symptoms of layouts designed for standard fixtures, not optimized use. Most people ignore them because naming wasted space makes the problem feel permanent.

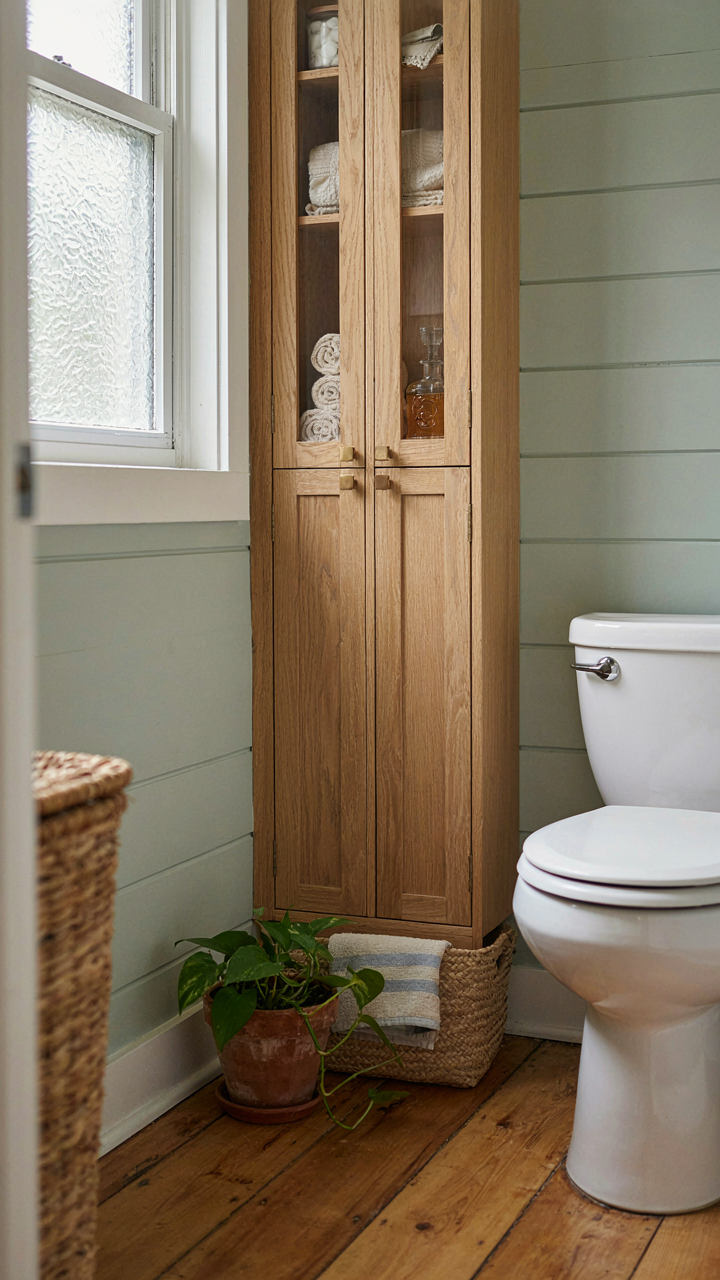
Dead zones become leverage points when you stop treating them as leftover real estate. A 18-inch gap beside the toilet accepts a narrow vertical cabinet. The wall behind a hinged door becomes storage if you mount shallow shelves before the door swings. Even the 12-inch triangle in a corner works for a small pedestal sink or corner caddy. The move is inventory first: document every unused wall segment under 24 inches wide. Then source fixtures that fit those specific dimensions rather than forcing standard sizes into inadequate space.
Stack Vertically Or Lose The Game
Architecture borrowed the term “load bearing” from structural engineering, and your tiny cottage bathroom operates on the same principle. Every horizontal surface loads your visual and functional capacity. The counter fills. The shelves fill. The floor clears only by accident. The real move is vertical dominance: wall-mounted everything from the vanity up. Floating vanities expose floor, creating air and sight lines that make 40 square feet feel negotiable instead of suffocating.
Mount the medicine cabinet above the toilet tank, not beside it. Run floating shelves to 80 inches where walls allow. Install towel bars vertically stacked rather than side by side. Use the wall space above the door for a narrow cabinet or open shelving. The protocol: measure your wall heights, then design downward from 84 inches. Fill vertical space with function before you add a single horizontal element. This reverses the typical cottage bathroom logic and recovers 60 to 80 percent more usable storage without expanding square footage.
The “Visual Expansion” Fallacy: True Space, Not Tricks, For Small Bathroom Cottage
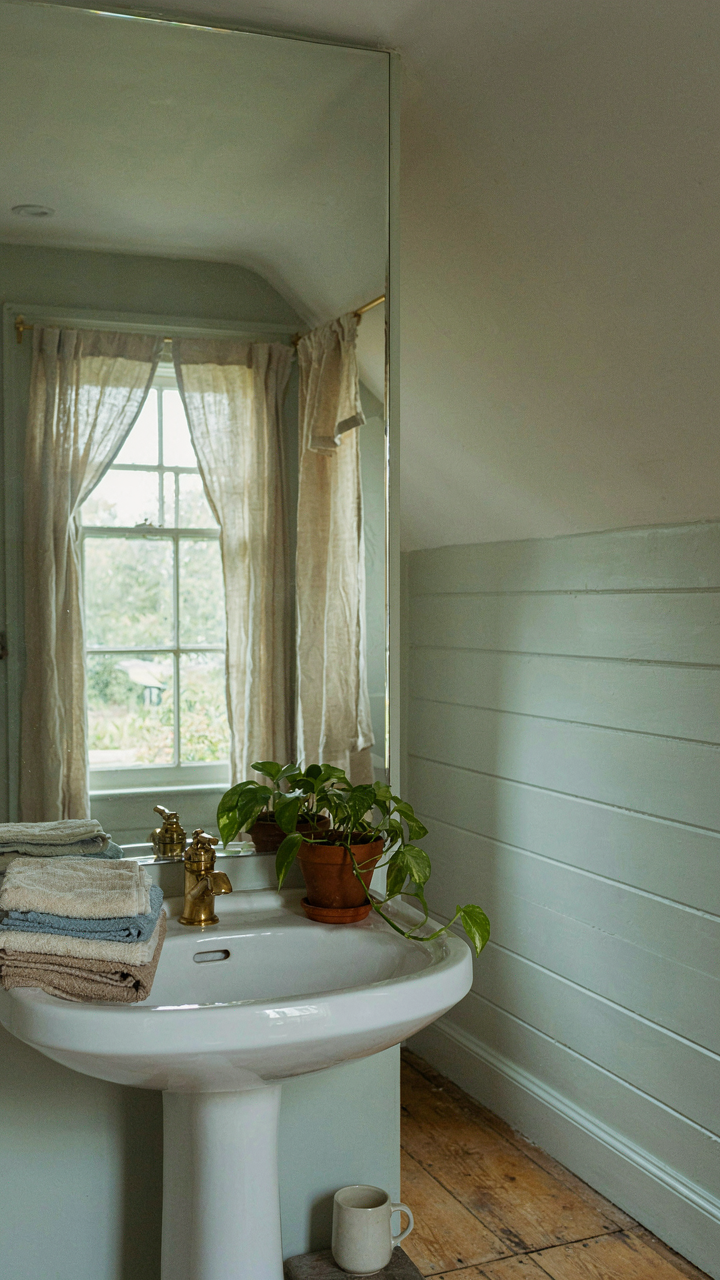
Light Sources: Natural Versus Artificial Amplification
You want the bathroom to feel bigger because you’re afraid it will feel suffocating, and mirrors alone won’t fix that lie. The real mechanism is illumination hierarchy. Natural light doesn’t just brighten a space—it creates the neural perception of depth and airiness because your brain associates unobstructed daylight with expansiveness. Artificial light has to work harder and differently. A single overhead fixture casts shadows and flattens the room. Layered artificial lighting, positioned to eliminate shadows at corners and along walls, mimics how morning sun behaves.

A cottage bathroom typically has one small window, often frosted for privacy. Maximize what enters by removing window treatments or installing sheer cellular shades that diffuse rather than block. For artificial sources, position task lighting at mirror height and ambient lighting along wall perimeters or in soffits. The goal is shadowless illumination—the absence of dark corners, not brightness itself.
Mirror Placement: Strategic Depth, Not Mere Reflection
The standard advice is wrong: a mirror doesn’t make a small bathroom bigger because reflection doesn’t change cubic footage. Mirror placement works through a principle borrowed from optics called apparent depth. When you position a mirror to reflect the light source rather than the opposite wall, you create a visual path that recedes, not bounces back. A mirror directly opposite a window amplifies natural light and creates depth perception. A mirror opposite a blank wall just confirms the wall exists.
In a cottage bathroom, place the primary mirror adjacent to the window, angled slightly to catch and redirect natural light deeper into the space. Secondary mirrors on perpendicular walls work only if they reflect lit areas, not dead zones. Never mirror a cluttered corner or the toilet. The placement determines whether the reflection reads as continuation or as confrontation. Install mirrors at eye level, extending from 24 inches above the sink to 72 inches high—this range captures the zones your brain processes as “space” in peripheral vision.
The Ergonomic Truth: Small Bathroom Rustic Fixtures That Don’t Lie
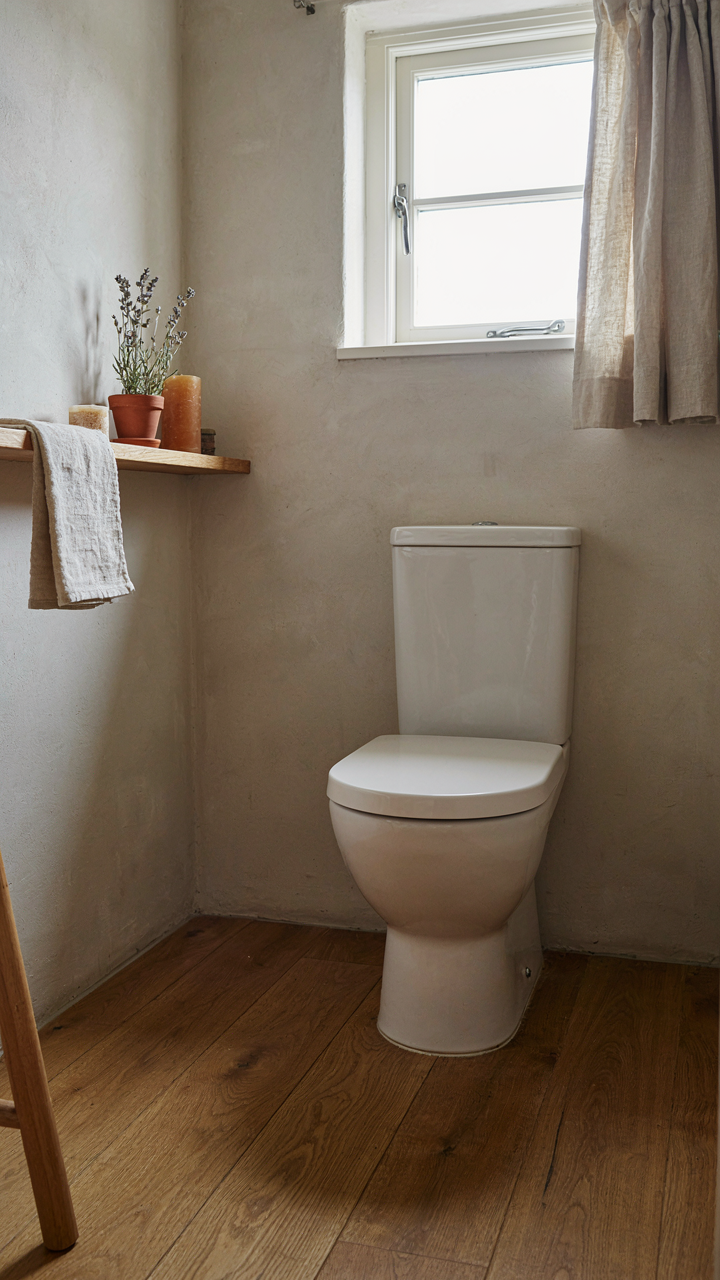
Wall Hung Versus Floor Space Reality
You want to feel like you made a smart choice, not like you’re squeezing into a closet. This is about real estate: in a tiny cottage bathroom, the fixture footprint determines whether the room functions or suffocates. Wall-hung toilets free floor space, which changes how the eye reads the entire room. They sit 15-17 inches from the wall, leaving the floor visible beneath them. This visual breathing room matters more than the 3-4 inches of actual space gained.

Floor-mounted compact toilets take up roughly 27-30 inches of length and 20-22 inches of depth. Wall-hung units occupy identical floor dimensions, but the gap underneath creates an optical illusion of openness. The real trade-off is installation: wall-hung requires solid backing in the wall for the carrier frame. In older cottages with shallow walls, this demands rerouting plumbing. Measure your wall depth before committing to either option.
Sink Placement Demands Workflow Priority
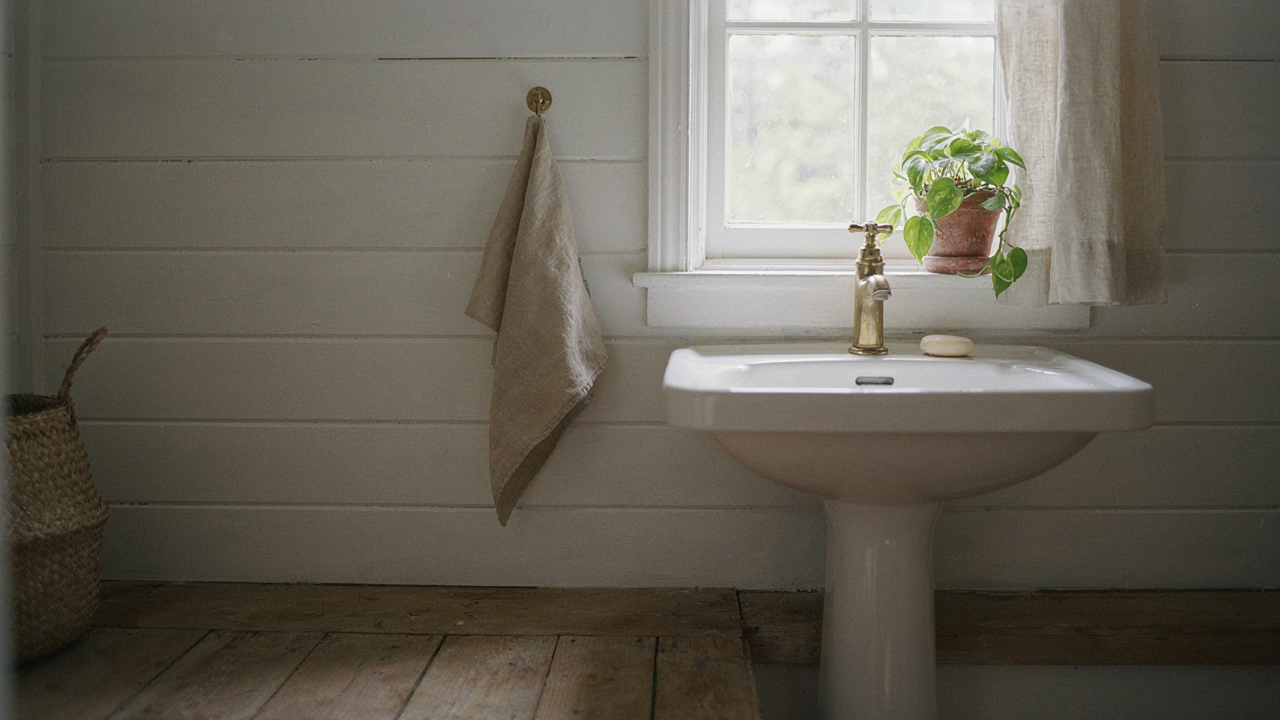
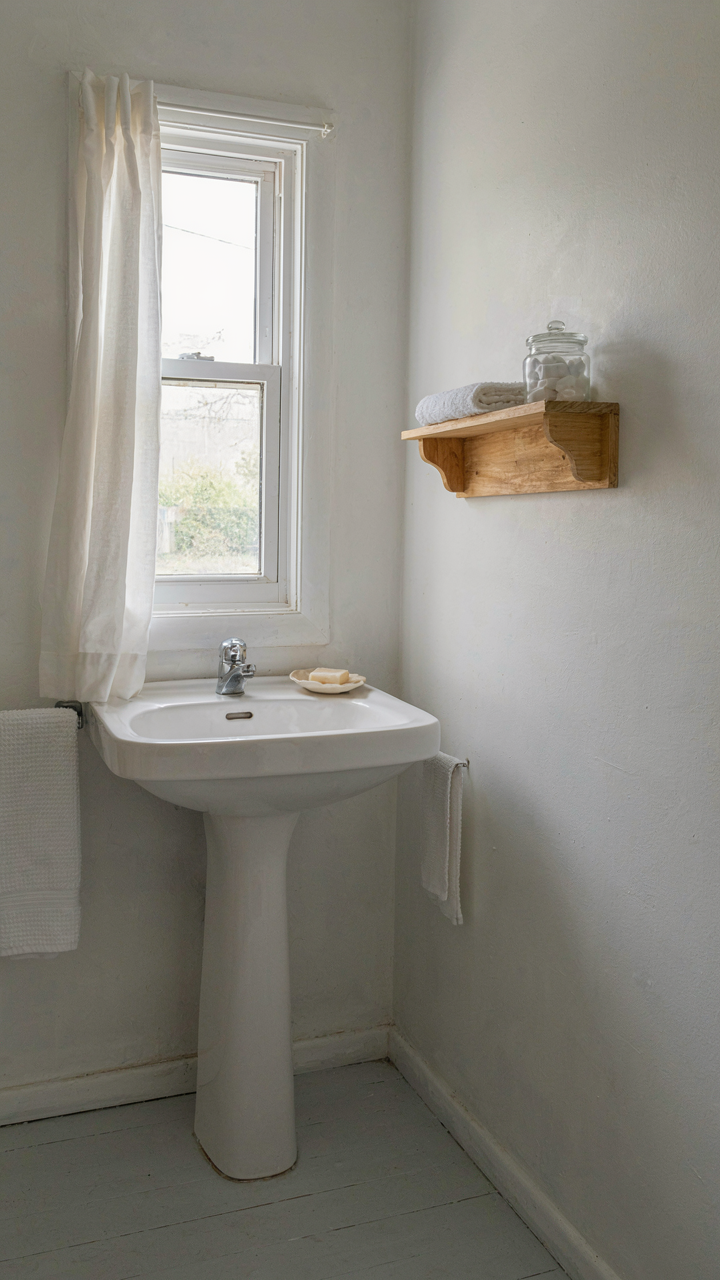
The pedestal sink is sold as the rustic cottage default, but it’s a lie built for ego. It looks quaint in photographs and provides zero storage. A corner sink or wall-mounted vanity with 18-24 inches of counter forces you to choose function over aesthetic fantasy. The pedestal’s charm costs you every practical inch you need for basic tasks.
Pedestal sinks work only if your cottage has floor-to-ceiling space and no clutter. Wall-mounted sinks with brackets create counter territory and allow under-sink storage for cleaning supplies. Corner sinks fit tight angles but limit mirror and lighting placement. Install your sink first, then arrange mirror and medicine cabinet around it. The sequence matters because a mirror positioned badly ruins the entire room’s proportions.
The “Invisible Storage” Protocol For Tiny Cottage Bathroom Essentials
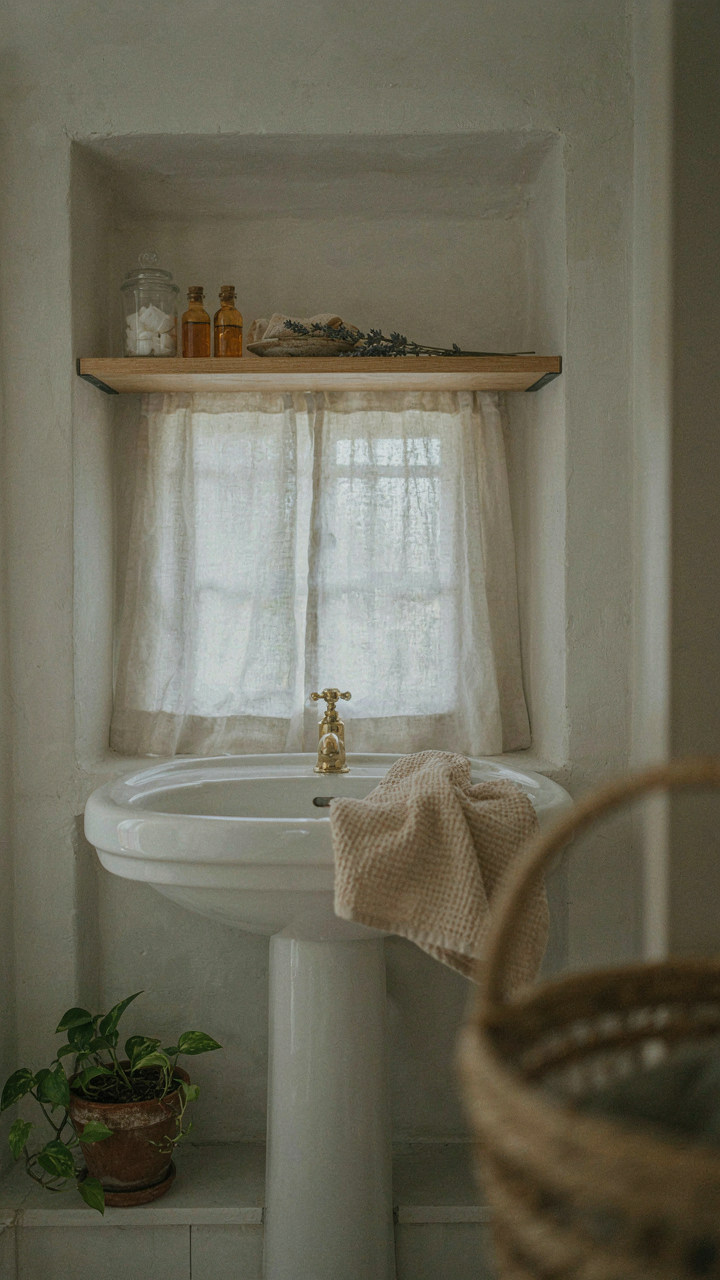
Recessed Shelving Wall Cavity Exploitation
You want storage that doesn’t steal floor space because you’re afraid the bathroom will feel smaller than it already is. That fear is valid, but it’s also the only thing stopping you from using the one resource cottages waste: wall depth. Recessed shelving borrows from architecture’s load-bearing principle—the wall itself becomes the structure instead of floating shelves that eat into the room visually. A typical cottage wall between studs runs 14 to 16 inches deep. That cavity is dead space.

Cut the drywall, frame a box between two studs, and install a shelf that sits flush with the wall surface. The shelf disappears into the wall plane instead of projecting outward. This works because your eye perceives volume based on objects protruding into the room, not objects sitting within the boundary itself. Recessed shelving adds storage without triggering the psychological compression that makes small bathrooms feel suffocating. The install requires basic framing skills and a drywall saw, but the payoff is immediate: you’ve added functional capacity without visual theft.
Drawer Organizers Internal Spatial Mastery
Most people buy drawer organizers and wonder why their bathroom still feels chaotic. They’re treating organizers like decoration instead of like compression systems. An organizer’s job isn’t to look neat—it’s to eliminate air gaps so you fit more units into less volume. Think vertically within the drawer itself using tiered risers, not just dividers that sit flat on the bottom.
Stack vertically with adjustable risers so small items don’t get buried under larger ones, forcing you to buy duplicates you can’t find. Group items by frequency of use: daily rotation at eye level, weekly rotation below, emergency stock at the back. The mechanism isn’t motivation or aesthetics. It’s dimensional efficiency. When every inch of drawer depth contains something useful instead of wasted air, you stop needing to add another cabinet, which you don’t have room for anyway.
The “Wet Room” Advantage: Redefining The Cottage Toilet Ideas Experience
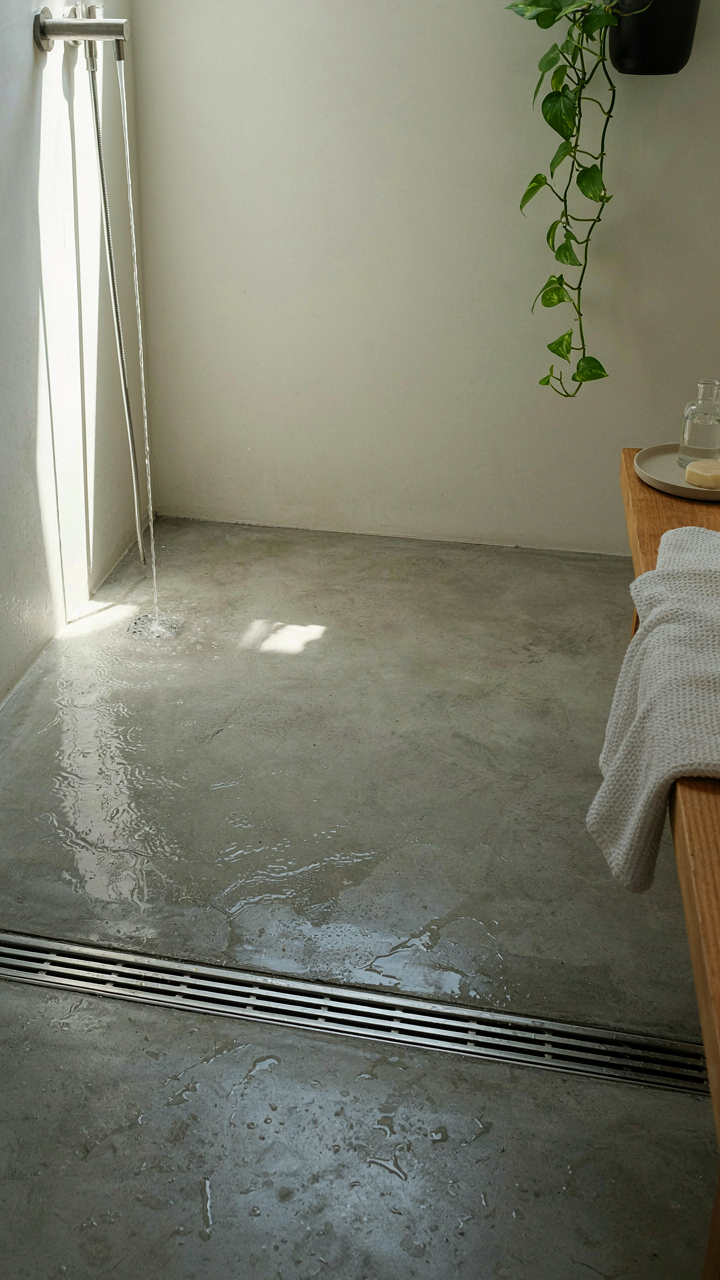
Drainage Systems Seamless Floor Integration
You want a wet room because you think it looks sophisticated. The real mechanism is this: eliminating the threshold between shower and floor removes the structural weak point where water pools, rots substrate, and creates mold. Wet rooms work in tiny cottages because they consolidate water management into one sloped plane instead of fighting gravity across multiple surfaces and corners.
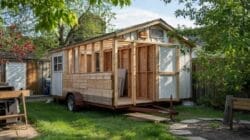
The floor must slope toward a linear drain or central point at a minimum 1:100 gradient, meaning one unit of drop per one hundred units of horizontal distance. This isn’t decorative precision. Install the drain first, then set your floor slope around it. Most cottage bathrooms fail because installers treat slope as optional. Concrete substrates or pre-sloped shower pans create the base. Tile, stone, or sealed concrete then follows the established pitch. The water moves. Nothing stays damp.
Materials That Survive Constant Moisture
Wet rooms demand materials engineered for standing water, not just splash zones. Most advice treats this as a cosmetic choice. It’s not. Porcelain tile has nearly zero water absorption because its firing temperature exceeds 1200 degrees Celsius, fusing the clay completely. Ceramic absorbs up to 3 percent water by weight. In a tiny cottage bathroom where air circulation is already compromised, that difference compounds into mold within months.
Natural stone requires sealing every 1 to 3 years depending on porosity. Slate and granite are porous despite looking solid. Sealing prevents water penetration into the stone matrix where bacteria colonize. For cottage bathrooms, this maintenance burden often exceeds the design value gained. Sealed concrete or resin-based finishes eliminate that cycle. Choose materials based on your actual maintenance schedule, not the photograph in your head.
The Permaculture Principle Of Small Bathroom Ideas Cottage Efficiency
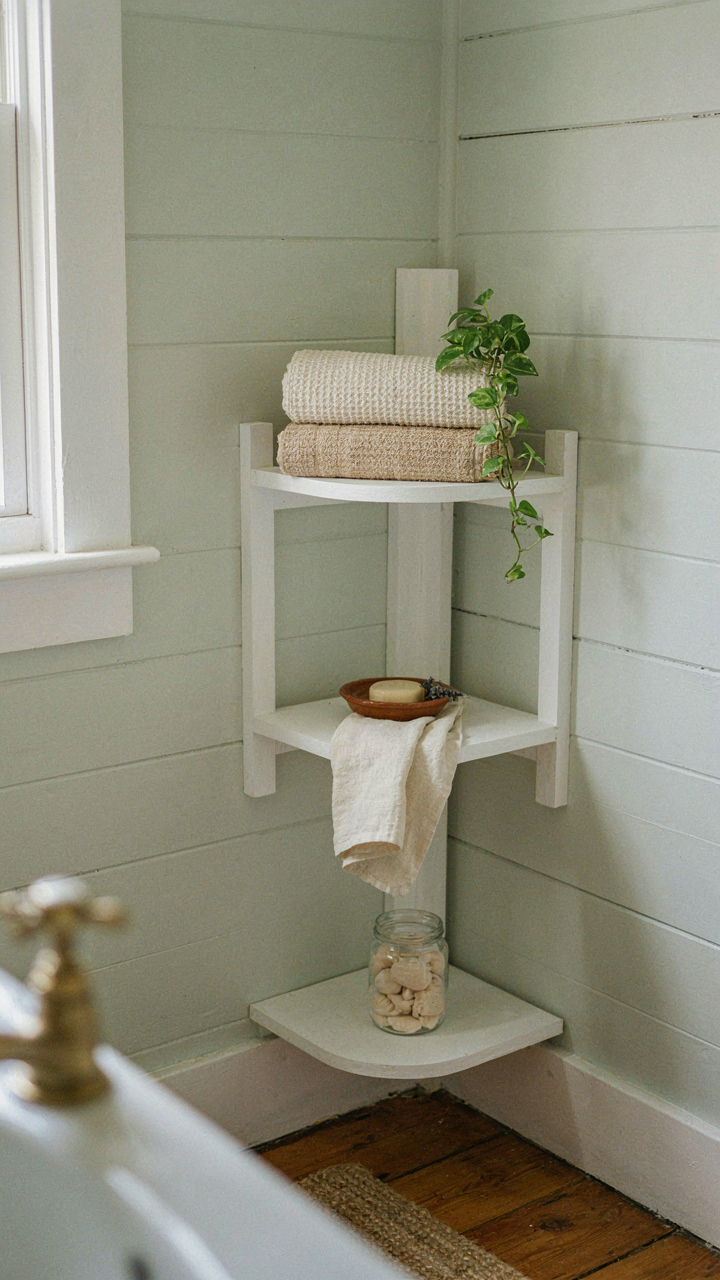
Zone Planning By Use Frequency
You’re hoping that organizing your tiny cottage bathroom will somehow make it feel less cramped. It won’t. What it will do is eliminate wasted motion and decision fatigue. Permaculture zones your land by how often you access it. Apply the same logic here: bathroom zones are determined by use frequency, not aesthetics. Daily-use items occupy arm’s reach from the toilet or sink. Weekly items live one step away. Monthly items go vertical or behind doors.

The mistake everyone makes is treating the bathroom as one zone. You end up reaching across the shower to grab what you use twice a year while your toothbrush sits on a crowded counter. Instead, map your actual usage pattern for one week. Where do your hands go most? That’s Zone One. Everything else radiates outward. This shifts you from decorating a tiny space to engineering it.
Single Fixtures That Carry Multiple Functions
The standard advice is to buy smaller versions of everything. Wrong. You don’t need a smaller sink. You need a sink that handles three jobs at once. Stacking functions means one object solves multiple problems simultaneously. A pedestal sink with integrated storage doesn’t replace storage somewhere else; it becomes your storage.
Real cottage bathrooms used combination fixtures because space was finite and materials were expensive. A mirror with a shallow shelf becomes grooming station plus medicine cabinet. A toilet with an integrated tank-top sink lets you wash your hands while water refills the bowl. A corner shelving unit becomes towel storage, product display, and visual anchor. The mechanism is constraint-driven design: when you cannot expand outward, you compact vertically and functionally. Choose fixtures that solve at least two problems before you install them.
Beyond Paint: Cottage Bathroom Ideas Farmhouse Surface Strategies
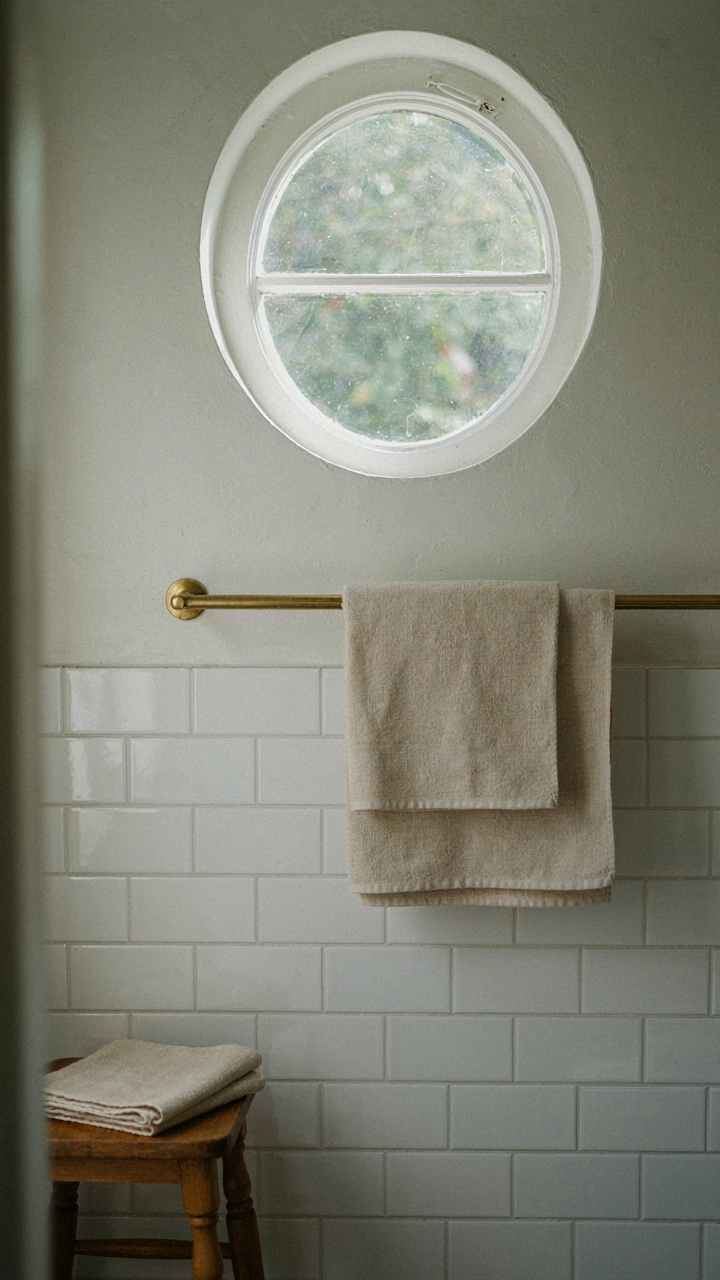
How Tile Lines Shape Perceived Space
You want the room to feel bigger without actually enlarging it. That’s the real reason you’re reading this section. Horizontal tile lines create a widening effect because your eye tracks left to right, stretching your perception of width. Vertical lines do the opposite—they pull the eye upward, making ceiling height feel more generous than it is.

In a tiny cottage bathroom, horizontal subway tiles or planks positioned at waist height anchor the space while keeping it from feeling cramped. Vertical layouts work best on accent walls or as full-height treatments behind a toilet or pedestal sink. The mechanism is simple: the direction of repetition trains your eye where to travel, and where your eye travels longest, the space feels larger.
Wall Paneling As Functional Texture
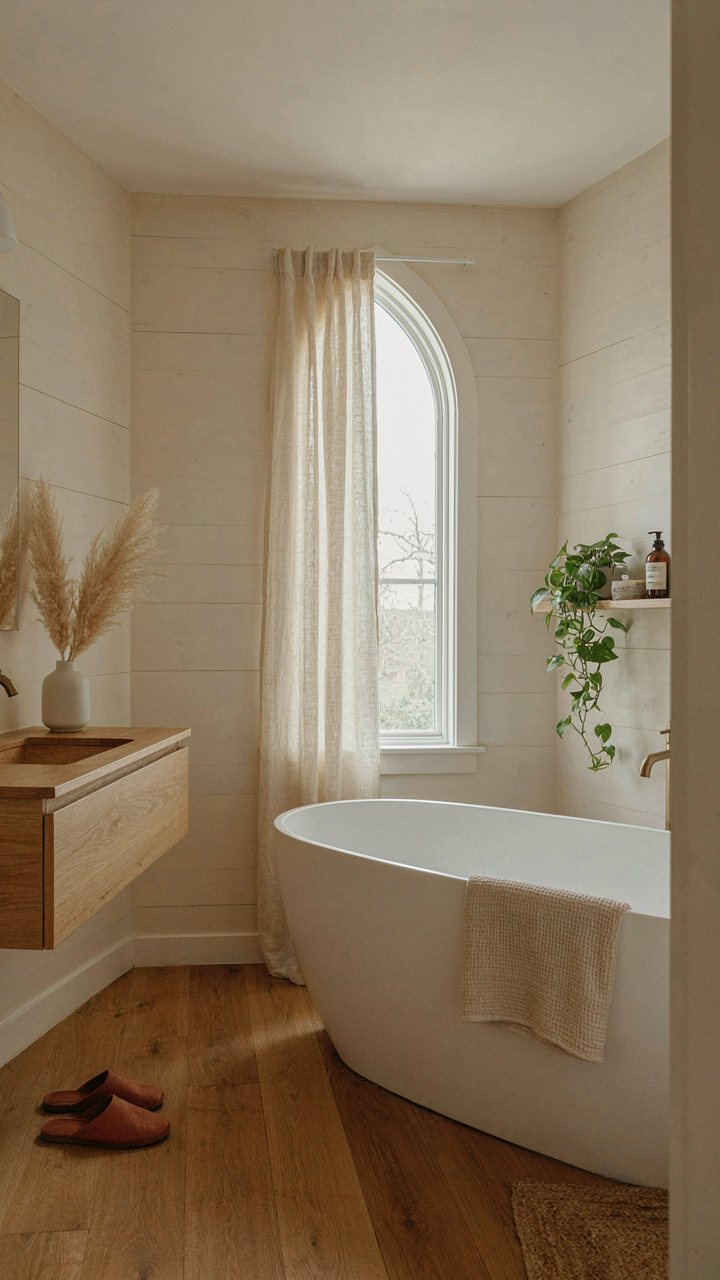
Forget the myth that paneling only works in period homes or makes rooms feel smaller. The opposite is true when you apply it strategically. Paneling breaks visual monotony and provides a textural anchor that small bathrooms actually need to avoid the claustrophobic feel of bare drywall. Wainscoting, beadboard, or shiplap interrupt the wall plane and create shadow lines that add depth without taking square footage.
Maintenance wins here too. Paneling protects walls from moisture and impact damage better than tile alone, and cottage bathrooms typically deal with humidity and splashing from older plumbing. Install it up to 36 inches on walls prone to water contact, then pair with paint or minimal tile above. This layered approach gives you texture, protection, and visual breathing room in one move.
The “Future Proofing” Imperative For Your Tiny Cottage Bathroom
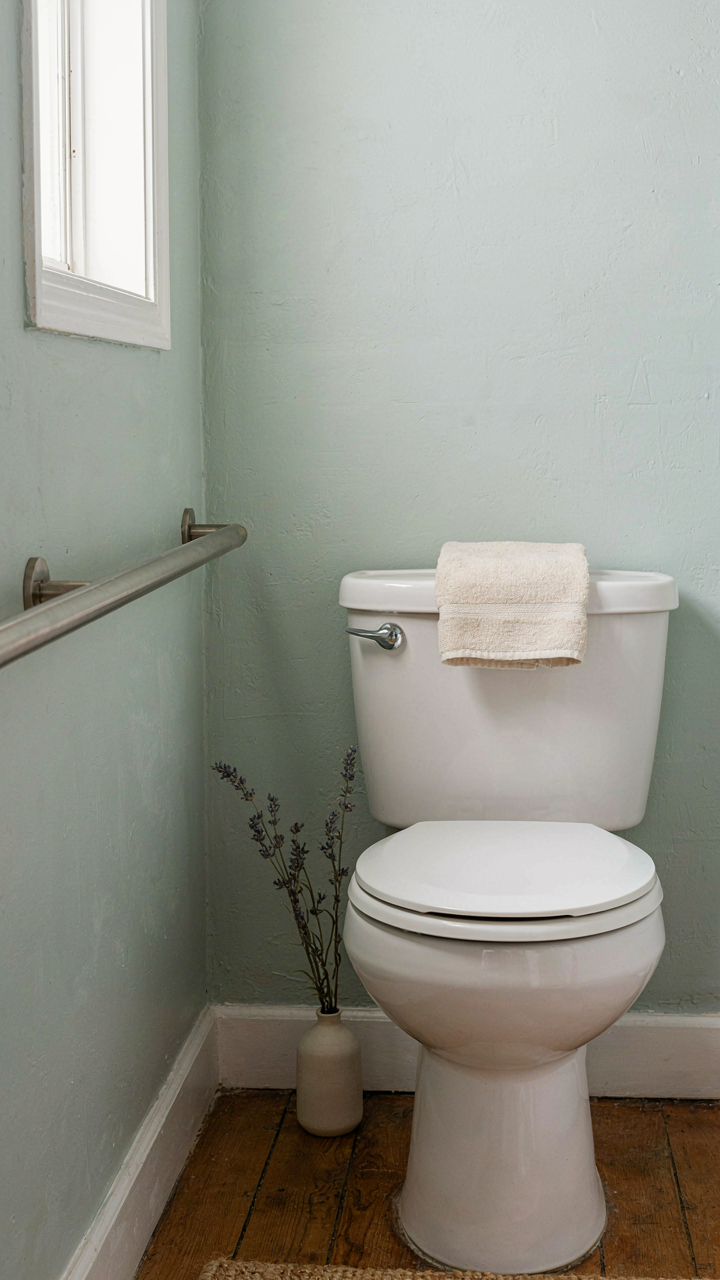
Building For Bodies That Change
You’re thinking about this wrong because you’re still designing for yourself at thirty. The real mechanism here comes from gerontology—the study of aging—which teaches us that environments either accelerate or decelerate functional decline. A tiny cottage bathroom designed only for current mobility becomes a problem the moment balance fails or joints stiffen. Wide doorways, grab bars positioned correctly, and slip-resistant flooring aren’t aesthetic choices. They’re infrastructure that prevents the bathroom from becoming a liability.

The difference between planning for accessibility now versus retrofitting later is cost and feasibility. In a cottage bathroom where space is already constrained, adding grab bars after the fact means drilling into finished walls and accepting ugly placements. Installing proper blocking behind drywall during construction takes forethought but costs almost nothing. Slightly wider doorway frames accommodate mobility aids without wasting square footage. These moves don’t announce themselves—they integrate into the design so completely that nobody notices until they need them.
Automation That Solves Real Friction
Smart tech in bathrooms is marketed as luxury convenience but that’s backwards. The actual mechanism is friction reduction through sensor-based systems that handle repeated micro-tasks. Motion sensors eliminate the need to reach for light switches when hands are wet or full. Heated floors activate only when motion is detected, not running constantly. Ventilation fans that sense humidity automatically prevent mold growth without requiring manual operation or timers that people forget to set.
- Motion-Activated Lighting: Sensors trigger lights when you enter, eliminating wet-hand switch contact and reducing accidental light waste in small spaces.
- Humidity-Sensing Exhaust Fans: Automatically run when moisture rises above threshold, preventing mold and mildew without manual intervention or forgotten timers.
- Low-Flow Smart Fixtures: Programmable faucets and showerheads reduce water consumption while maintaining pressure, critical for cottage water systems with limited capacity.
- Heated Floor Mats With Sensors: Activate only during occupancy, cutting energy waste and providing safety through warmth and slip reduction on tile.
- Smart Mirrors With Defog: Built-in heating prevents condensation buildup, which is essential in tiny bathrooms where moisture has nowhere to escape.
Install these systems during the rough-in phase, not after renovation ends. Running wiring and sensor cables before drywall closes saves hundreds in labor and prevents walls from getting torn open later. Start with humidity sensors and motion lighting—they deliver immediate friction reduction and cost under five hundred dollars per fixture installed correctly.
The Unspoken Cost Of Aesthetic Over Function In Tiny Cottage Bathroom Design
Maintenance Burden And Hidden Traps
You want this space to look intentional because you think it proves you have taste. The mechanism is simple: complex designs trap moisture, debris, and cleaning time in places you can’t reach. In a tiny cottage bathroom, every design choice compounds. Exposed shiplap, floating shelves, recessed niches, and decorative tile patterns all sound charming until you’re scrubbing mold from gaps weekly. The smaller the space, the faster problems compound into visible failures.
Maintenance burden operates like compound interest in physics, but in reverse. Each decorative element becomes a liability that accelerates deterioration of adjacent surfaces. Vintage clawfoot tubs require caulk maintenance you can’t skip. Pedestal sinks leave wall gaps that hide mold. Decorative mirrors above sinks create water damage zones. The cottage aesthetic movement romanticized these elements, but cottage owners maintained them obsessively or accepted constant rot. You cannot automate away maintenance in five square feet of bathroom. Build for cleaning, not for Instagram.
Practical Space Beats Trendy Fads
Common advice says add character through design choices. Wrong. Resale value in small properties tracks directly to how many days you can live there before something breaks or requires replacement. A tiny cottage bathroom sells on function first, not on shiplap. Buyers of small spaces are practical because they live there constantly. They calculate cost per square foot and lifespan per dollar spent.
Trendy cottage bathroom design cycles every five to seven years. Penny tile, subway tile, exposed brick accents, and wainscoting all trend upward then downward. Practical designs stay neutral: solid wall color, reliable fixtures, sealed surfaces, accessible storage. When you sell, you’re not selling nostalgia or character. You’re selling utility and the absence of deferred maintenance. Strip decoration down to what prevents decay and enables daily use. That’s what moves a compact property.
The Real Problem Isn’t Small Spaces, But Your Small Thinking About Their Potential
You don’t have a tiny cottage bathroom problem. You have a decision problem. Most people accept cramped bathrooms as permanent fixtures instead of design challenges worth solving. Stop viewing your space as a limitation and start viewing it as a constraint that forces better choices. Today, measure your bathroom and redesign one surface, vertical or horizontal. Small spaces reward intention. Constraints breed clarity.