Introduction
A workbench serves as the foundation for many types of manual work. Its design can range from simple flat tables to complex units with multiple functions. The right setup is crucial for improving your workflow and overall effectiveness in a workshop. Whether your focus is woodworking, metalworking, electronics, or general repairs, your workbench must support your specific needs. This article guides you through diverse ideas to set up an efficient and practical workbench. You will learn how to tailor the bench for various trades and tasks. Your workshop life will get more organized, and your ability to complete projects will grow.
Considering your workbench carefully affects every step of your project. Factors like height, tool storage, workspace layout, and lighting contribute to how well you work. This article offers practical tips and questions to help you build or improve your bench. By following these suggestions, your workspace will become easier and safer to use. You will find advice suitable for hobbyists and professionals alike, aiming to increase productivity and joy in your work. Let’s start building a better work environment.
Understanding the Workbench Basics
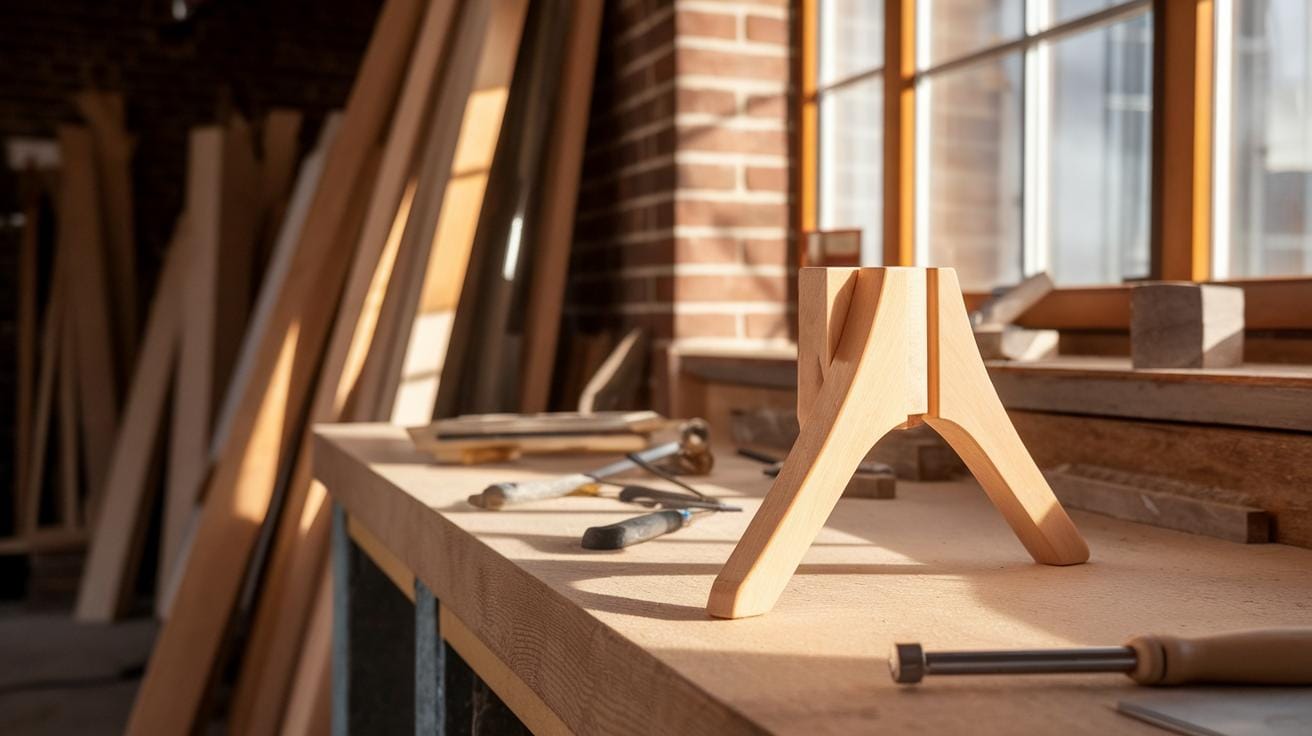
A workbench is a sturdy table designed for hands-on tasks. It provides a flat, stable surface where you can measure, cut, assemble, or repair materials. Without a proper workbench, holding tools and materials steady becomes difficult, which can affect the quality of your work and slow you down.
The types of workbenches vary based on the tasks you perform. Choosing the right one helps you work more comfortably and safely. For example, a woodworker needs a bench with a solid top that can hold clamps, while an electronics technician might require a bench with built-in lighting and specialized tool holders.
The right workbench prevents fatigue and injury by matching your workflow. Have you ever thought about how much better you could work if your bench fit your tools and posture perfectly? Picking the right workbench sets the foundation for an efficient workspace.
What makes a workbench essential
A workbench offers a stable surface for precise work. You need solidity to keep materials from shifting while you cut, drill, or sand. Movement in your workspace often leads to mistakes or accidents.
Height matters too. A bench at the wrong height can cause back strain or poor posture. Ideal heights suit your standing or sitting position, helping you maintain comfort during long projects.
Tool mounting options add to its value. Having pegs, racks, or built-in clamps lets you organize and access tools quickly. Consider a bench with a vise if you regularly work on small parts or need extra grip strength.

Ask yourself: does your current setup let you work smoothly, or do you waste time adjusting parts and tools? A good workbench reduces these interruptions and improves your focus.
Types of workbenches for different trades
Workbenches come in various shapes and materials tailored to specific trades. Woodworking benches often have a thick hardwood surface to resist cuts and dents. They usually include dog holes and vises for clamping wood pieces.
Metalworking benches use metal tops for durability and heat resistance. They often have heavy-duty frames and spaces for power tools like grinders or welders.
For electronics, benches feature anti-static mats and integrated power outlets. The surface might be smooth and easy to clean to protect sensitive components.
Gardeners benefit from benches made with weather-resistant materials and easy-to-clean tops. These benches often include storage for tools like shears and pots.
How does your trade influence the kind of bench that suits you best? Matching the material and design of the bench with your work ensures better results and longer tool life.
Selecting the Ideal Size and Height

Your workbench should fit the space you have and the tasks you do every day. Start by looking at the room size and how much open floor you need to move freely.
Choose a bench length that easily holds your tools and projects without crowding the area. If you often handle large pieces, a longer bench makes sense. For smaller tasks, a compact bench helps keep everything within reach.
Width matters as well. A wider bench adds workspace but can block the path or feel bulky. Aim for a width that supports your work without limiting movement around the bench.

Height affects your body more than you might expect. Working at the right height reduces strain and improves focus.
Think about whether you stand or sit most of the time. A bench that’s too high or low causes discomfort and slows work.
To find the right height for standing work, measure from the floor to your wrist when your arm is relaxed at your side. For sitting work, measure from the floor to your elbow while seated. These measurements guide you to a height that matches your posture.
Adjustability is another option if your tasks vary or if multiple people use the bench.
What size and height will make your daily work easier and more comfortable? Testing a few setups before building or buying can save time and improve your workflow. Tailoring these dimensions to your space and habits sets the foundation for an efficient workspace.
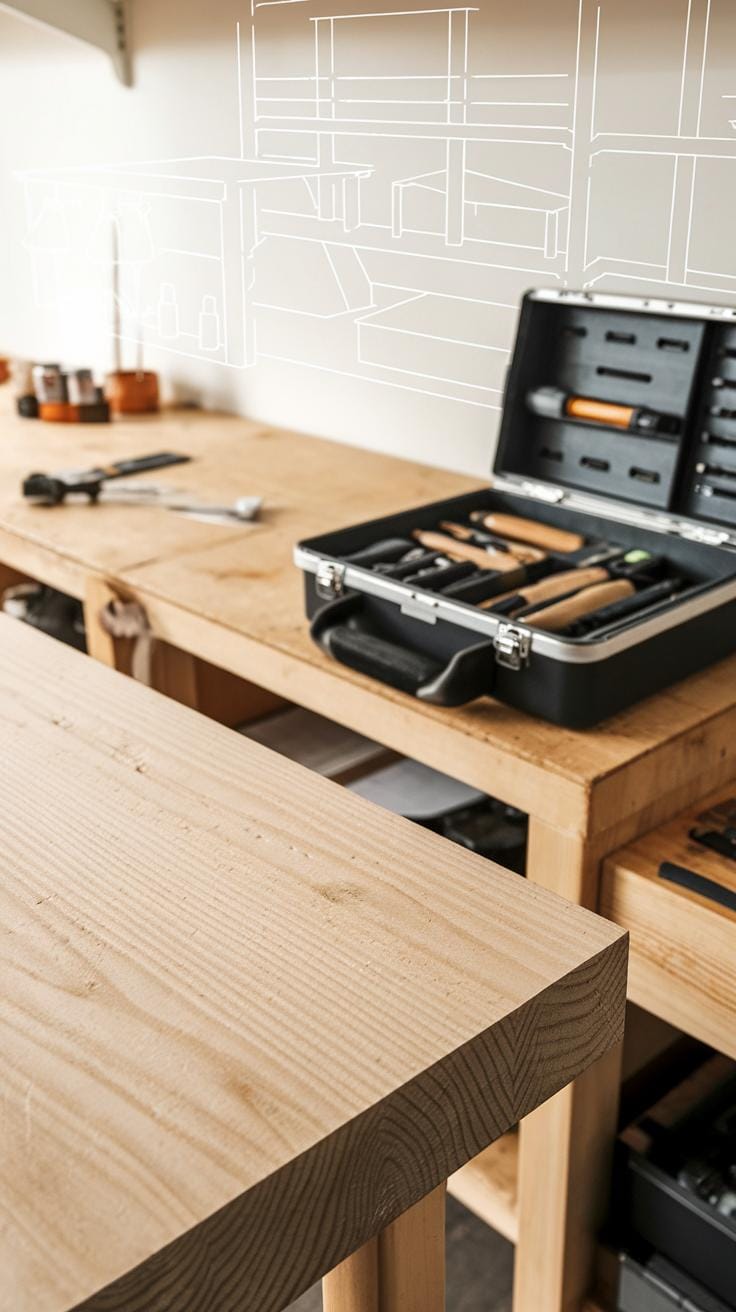
Choosing Materials for Durability and Function
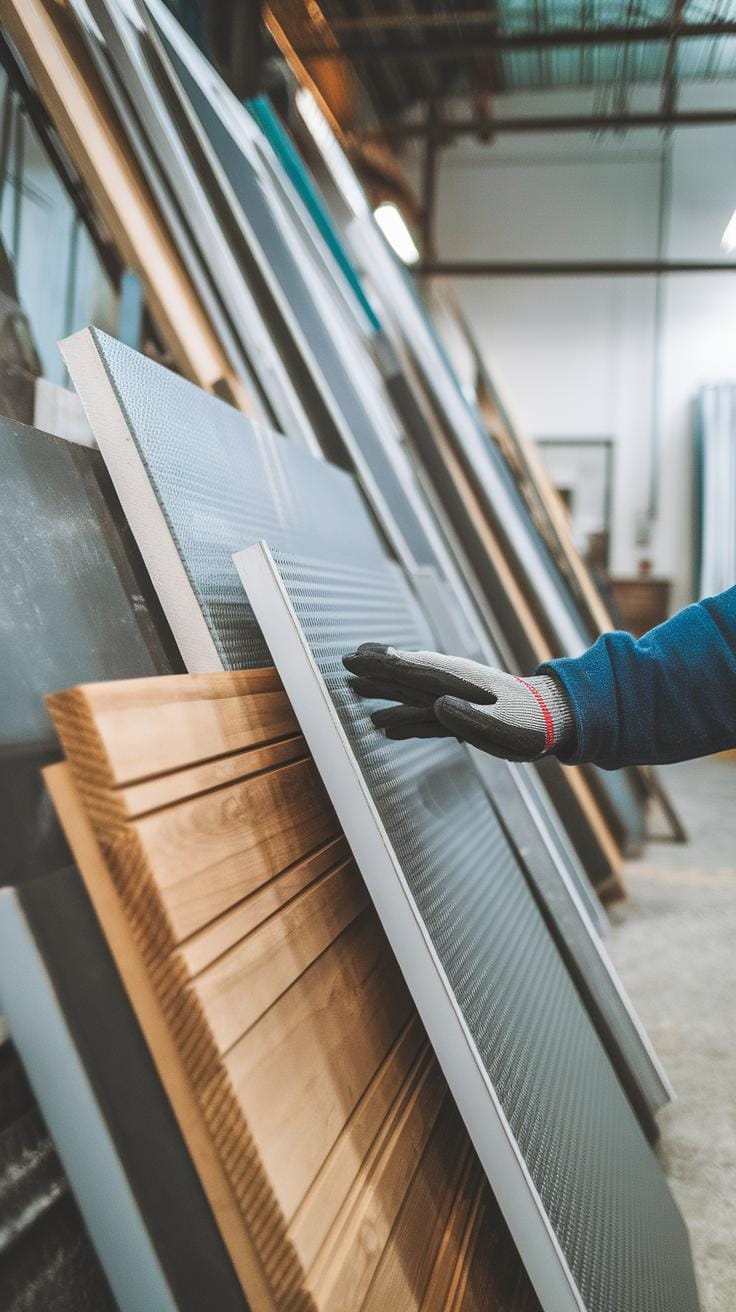
Your workbench material affects how well it will handle different tasks and how long it lasts. Wood, metal, and composite materials each bring unique qualities to the table, so picking the right one depends on your workshop needs.
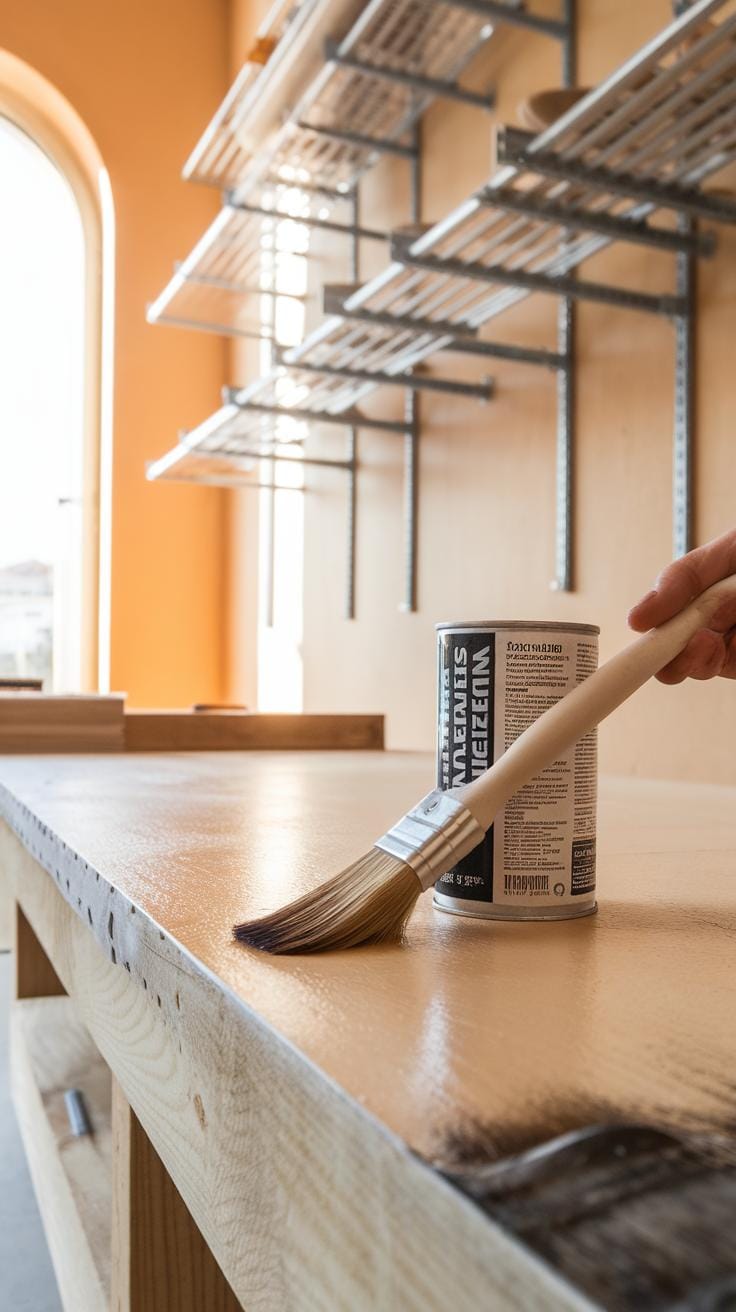
Wooden benches offer a softer surface that absorbs shocks. They reduce noise when you hammer or drop tools, which helps maintain focus during long hours. Wood also allows you to modify the bench easily by adding holes for clamps or attaching vices. Regularly sealing or oiling the surface prevents cracks and keeps the bench looking good. Are you comfortable with some regular maintenance to keep your workbench reliable?
Metal benches shine when strength and toughness matter most. Steel benches hold up well under heavy loads and resist dents and scrapes. If you work with heavy machinery or metal parts, metal surfaces stand up better over time. Composite benches combine materials like resin and wood fibers to meet specific needs, such as resistance to chemicals or moisture. These are great if you need a work surface that resists stains or extreme conditions. What kind of projects do you envision that might push your bench to its limits?
Wooden benches
Wooden workbenches offer natural shock absorption, which can protect both your tools and materials during impact. The softer surface also means fewer scratches and damage compared to harder materials. You can drill, sand, or cut the bench to add custom features like tool holders or inlays exactly where you need them. This adaptability can save time and increase comfort as you work.
To keep wood benches in good shape, clean them regularly to avoid dirt buildup. Apply linseed oil or sealant every few months to prevent drying and cracking. If your bench gets damaged, sanding the top can quickly restore a smooth surface. Would you prefer a bench that you can tailor personally, or one that requires less upkeep?
Metal and composite benches
Metal benches stand up best in heavy-duty workshops where strength and stability are critical. Steel frames and tops resist bending and support large weights without warping. They also handle heat and sparks well if you weld or cut metal. However, metal surfaces can be noisy and less forgiving on delicate materials.
Composite materials blend qualities like hardness and resistance to chemicals or moisture. For example, phenolic resin tops are tough, stay flat, and are easy to clean. These surfaces suit workshops where precision and cleanliness matter a lot, such as electronics or lab work. Think about whether you need a bench that stays resilient under harsh conditions or one that adapts to specialized tasks.
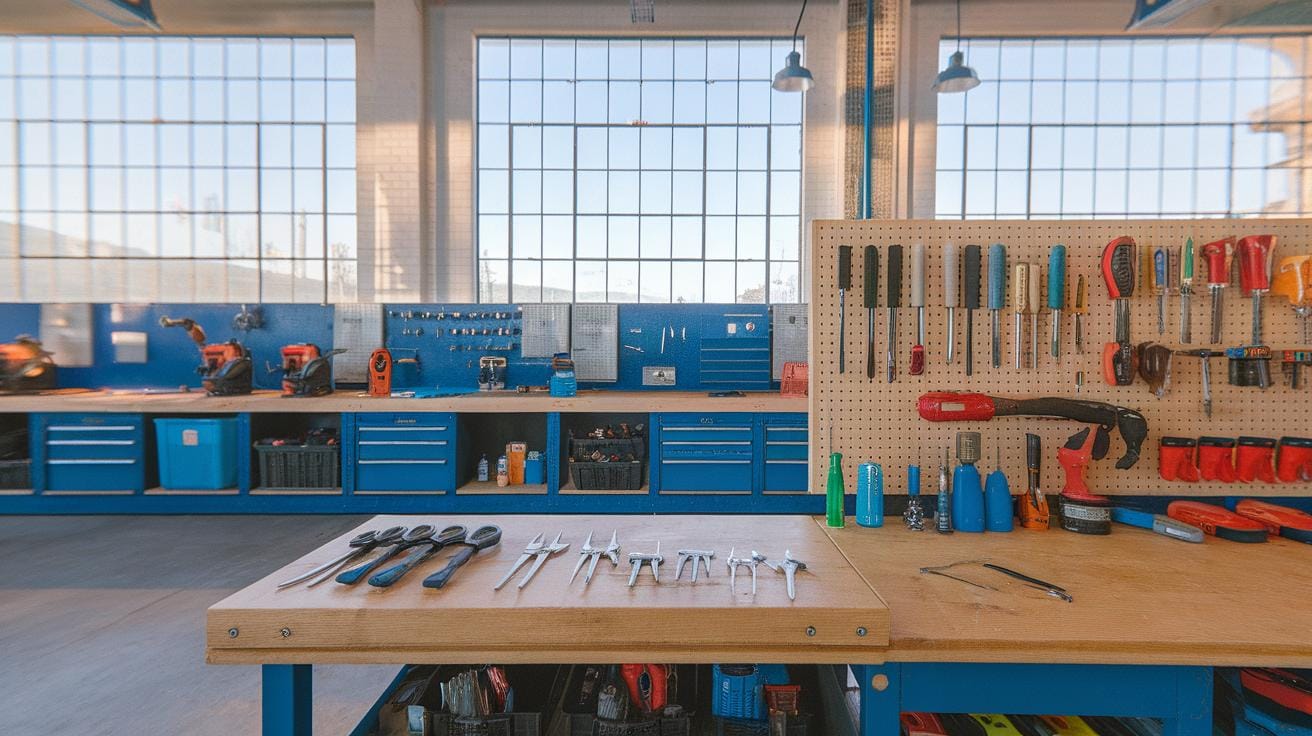
Organizing Tools for Easy Access
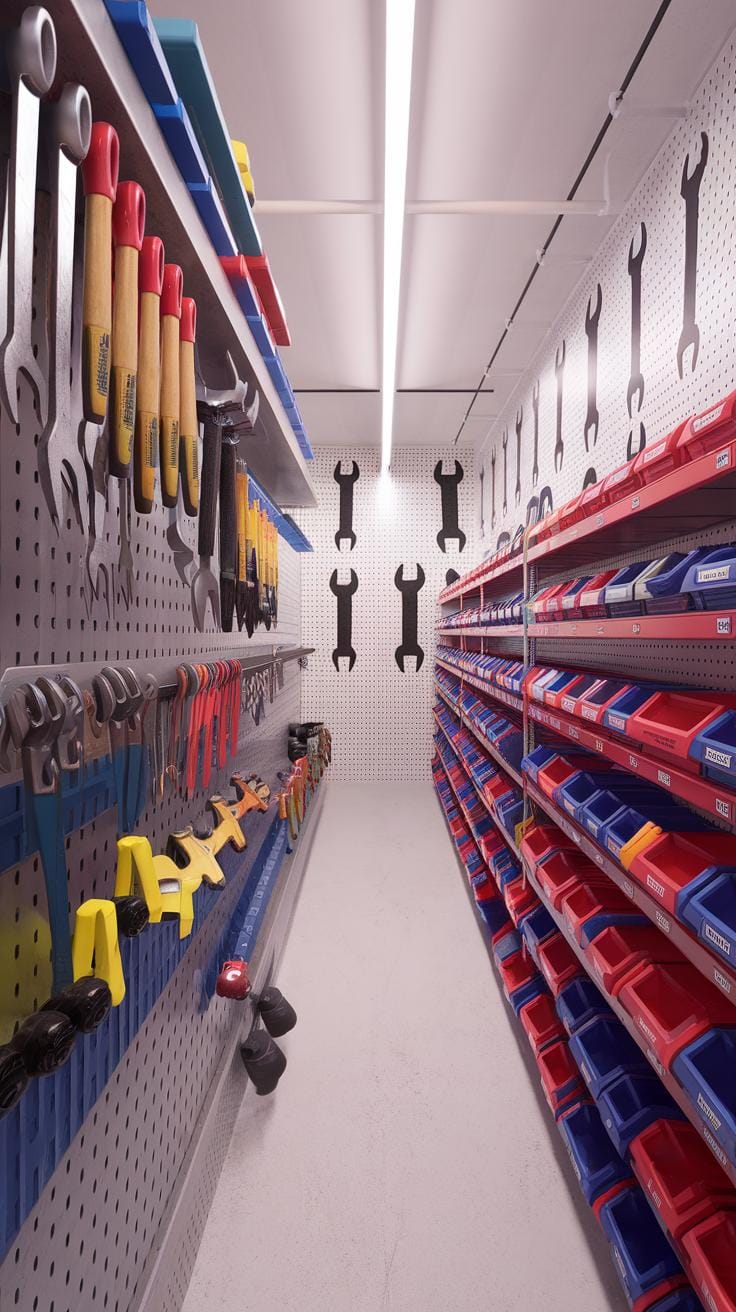
Keeping your tools within reach improves your workflow and saves time. Incorporate storage solutions directly into or around your workbench to make finding what you need quick and simple.
Drawers under the workbench offer hidden yet easy access spots for smaller tools and parts. Shelves above or beside your bench provide space for larger or less-used equipment without cluttering your workspace. Attaching a pegboard lets you hang frequently used tools like hammers, screwdrivers, or wrenches in plain sight. This setup encourages putting tools back in place immediately after use.

Think about how this will fit your workflow. Do you often switch between task types? How many tools do you use daily? Keeping just the essentials nearby speeds up your work and keeps the area calm and orderly.
Built-in storage options
Built-in storage integrates shelves, drawers, and pegboards as part of your workbench. Drawers with dividers help sort small parts like screws or nails, reducing time spent searching. Open shelves give space to power tools, manuals, or containers, keeping them off your main surface and reducing clutter.
Mounting a pegboard right behind your bench provides visual organization. Hanging your tools vertically makes them easy to grab and return. Label hooks or peg spots for each tool to maintain order. Consider clear bins or small shelves attached to the pegboard for loose parts or drills.
Carefully plan storage to suit the tools you rely on most. How much storage do you need daily, weekly, or monthly? A thoughtful design makes your workbench more than just a surface—it becomes a central hub for your workshop.
Portable and flexible storage
Some tools need to follow you around the workshop. Movable carts with wheels allow you to take your workspace to the job, not just the other way around. These carts hold tools and supplies, so you avoid repeated trips back to the bench.

Magnetic strips mounted near your station keep metal tools like screwdrivers and pliers handy and visible. Tool racks can hold drills or saws in easy-to-grab positions and move when necessary.
Flexible storage grows with your needs. Are your projects varied? A rolling cart or magnetic strips let you adjust your setup quickly. Do you work in multiple spots? Portable storage keeps your tools ready, cutting down on downtime when moving from one task to the next.
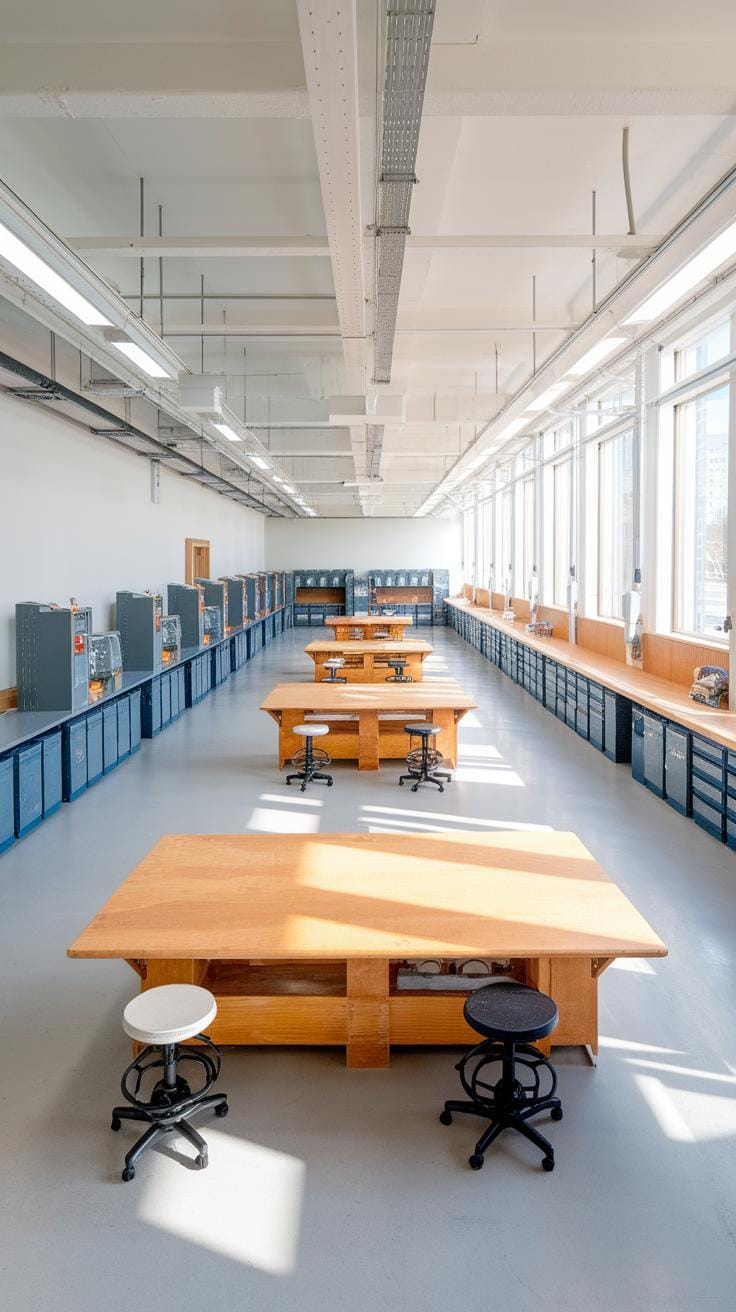
Optimizing Workspace Layout
Designing workflow around the bench
Place the tools and supplies you use most often within arm’s reach of your workbench. This reduces unnecessary steps and keeps your focus on the task. Group related tools together by task or material type. For example, keep your screwdrivers, screws, and measuring tape close if you frequently assemble items. Organize stations for specific jobs, such as sanding or cutting, near the main bench but separate enough to avoid clutter. When you design this flow, think about the order you perform tasks. Can you arrange your space so each step naturally flows into the next? Ask yourself how often you reach for a tool. If the answer is daily, it belongs closer to the bench. This simple setup saves time and keeps your workshop running smoothly.
Clearance and movement space
Clear space around your workbench allows you to move safely and handle large materials. Aim for at least three feet of clearance on all sides of the bench. This space helps avoid accidents, like bumping into sharp tools or walls. It also gives you room to maneuver long boards or bulky projects easily. Consider how doors, drawers, and equipment swing open. Do they block walking paths or force awkward movements? Arrange stations so you can walk freely without stepping over tools or supplies. Think about your workshop’s size: can you adjust the bench location or use foldable surfaces to free up space when needed? How can you keep pathways clear while maintaining easy access? Answering these questions supports a safer, more efficient workspace.
Improving Lighting and Visibility
Your workbench lighting directly affects the quality and accuracy of your projects. Poor lighting can cause eye strain and mistakes, slowing down your workflow. Aim to create bright and even illumination around your workspace. Position lights so they do not cast shadows on your work area. Consider the direction of natural light, and how it changes throughout the day. Adjust artificial light sources to fill any dim spots. Use lighting that mimics daylight to improve color recognition, which helps when working with detailed tasks or small parts. Think about how your eyes feel after hours at the bench – is the space harsh and glaring or soft and clear? Taking time to improve lighting setup decreases fatigue and keeps you focused on the job at hand.
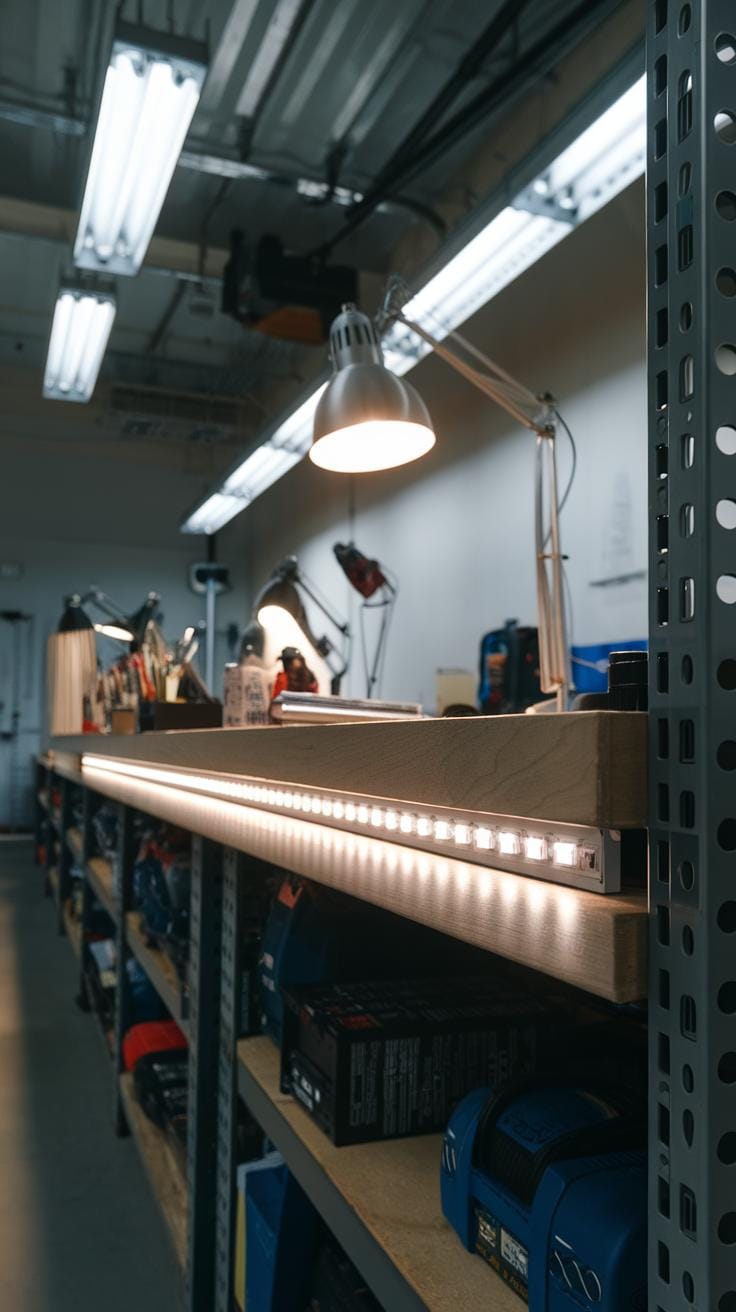
Task lighting options
Task lighting targets specific parts of your workspace where precision work happens. Adjustable lamps with bendable arms let you direct light exactly where needed. Clamp lamps are easy to reposition and save bench space. Overhead LED lighting provides bright, consistent illumination. Look for LED fixtures with high color rendering index (CRI) to show colors more accurately. Some LED panels let you adjust brightness and color temperature to match your comfort. Consider installing light bars under shelves to reduce shadows. Using multiple task lights gives flexibility for different projects. How often do you change your lighting setup based on the work you do? The right task lighting reduces eye strain and lowers the risk of errors by bringing your focus to the areas that matter most.
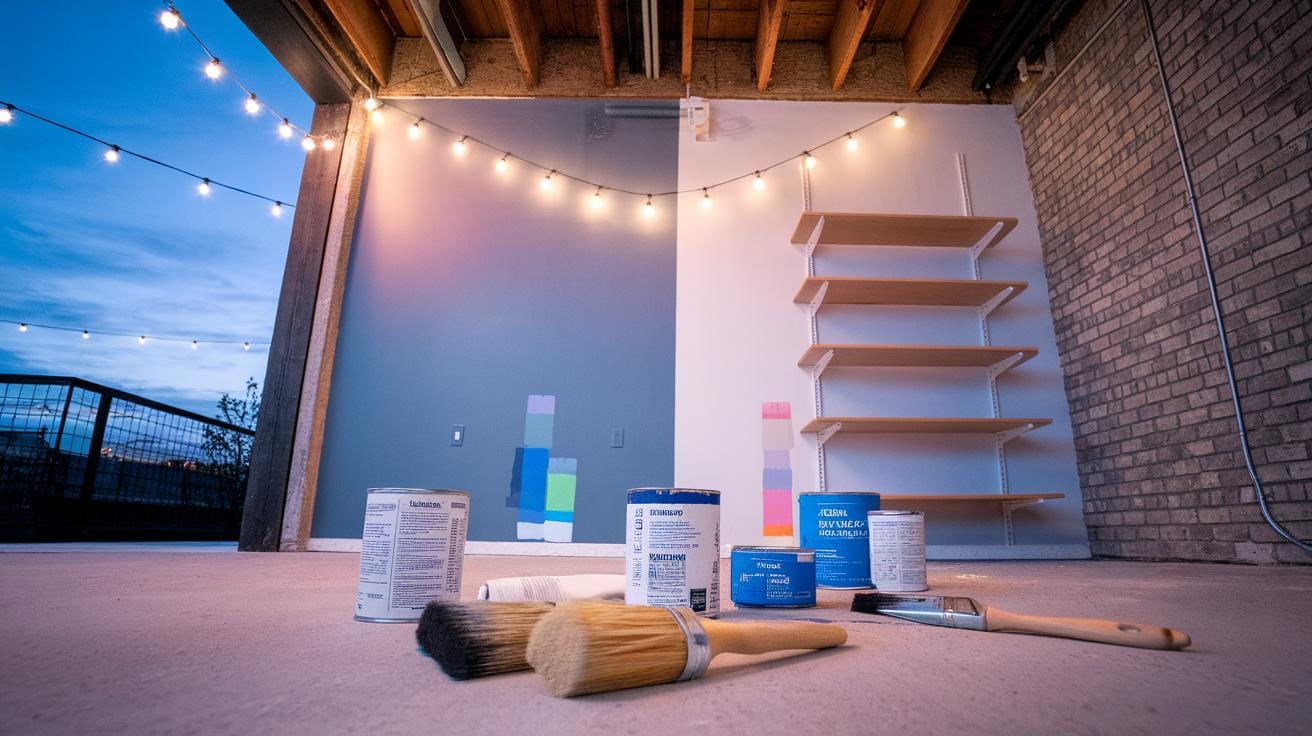
Ambient and natural light balance
Ambient lighting fills the entire workshop with a soft, even glow and reduces contrast between bright task zones and darker corners. Combine ambient light with direct task lighting to avoid sharp shadows. Use ceiling fixtures, pendant lights, or wall-mounted lamps at low wattages to create this balance. Natural light boosts energy and helps with color perception during the day. Position your bench near windows or skylights, but use blinds or sheer curtains to control glare. Think about how daylight shifts in your workspace and adjust artificial lighting to keep a steady brightness. Maintaining an even blend of ambient and natural light creates a more comfortable environment. Can your workspace maintain good visibility all day long? Proper teamwork between ambient and task lighting helps your eyes work without unnecessary strain.
Adding Safety Features Advise on safety enhancements to protect you while working at the bench
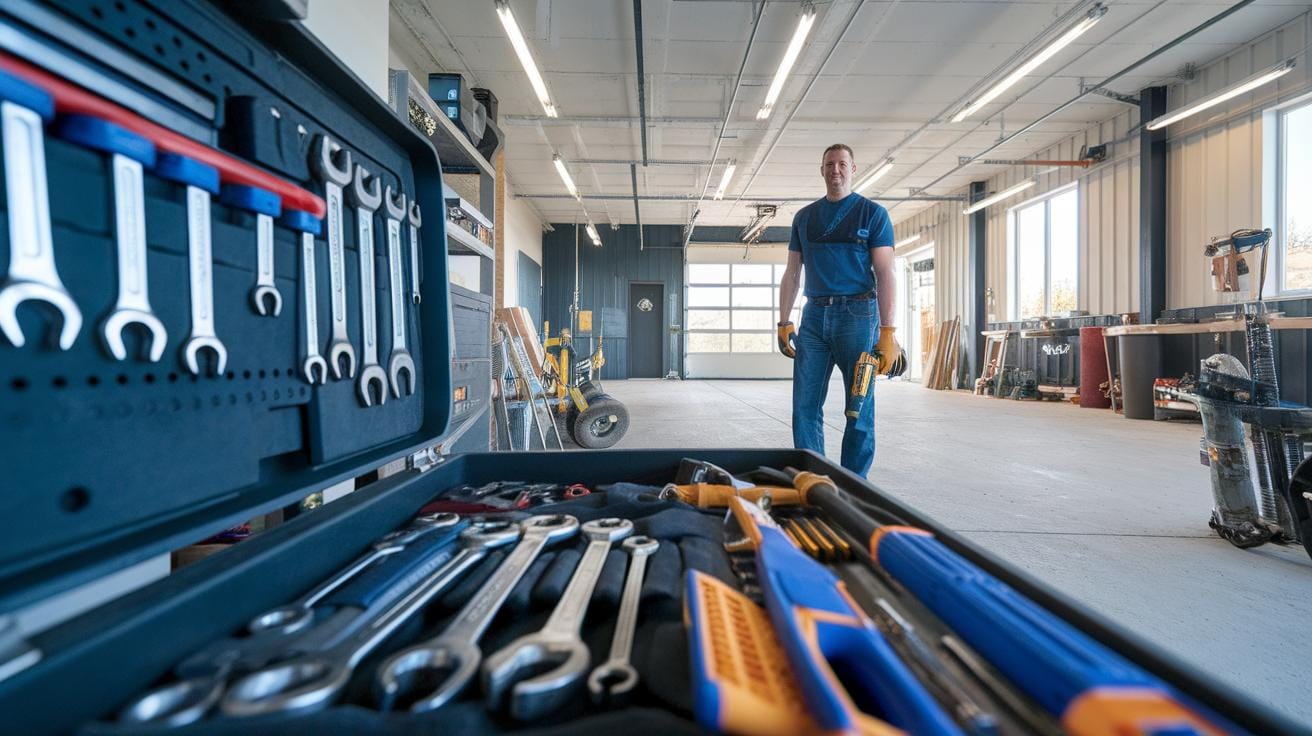
Keeping your workbench safe means focusing on how you hold your materials and manage your workspace. Secure your workpiece firmly with tools like clamps and vises. They prevent slips and sudden movements that cause accidents. For example, a strong bench vise can hold metal or wood steady when you saw or file.
Think about what would happen without a proper grip. Would your cut be uneven? Could a tool slip and hurt you? Using the right holding tools reduces these risks and lets you work with confidence.
Securing the workpiece
Clamps come in many sizes and shapes. Choose one that fits your project’s scale. Spring clamps can be great for light jobs, while C-clamps hold heavier items tight. A bench vise offers the most stable grip and frees your hands for better control.
Try mixing clamps to hold odd shapes. Secure corners with smaller clamps and the center with larger ones. This spreads pressure evenly and avoids material damage. Secure workpieces limit distractions and shorten project time. Have you checked that your clamps hold your work securely before starting each task?
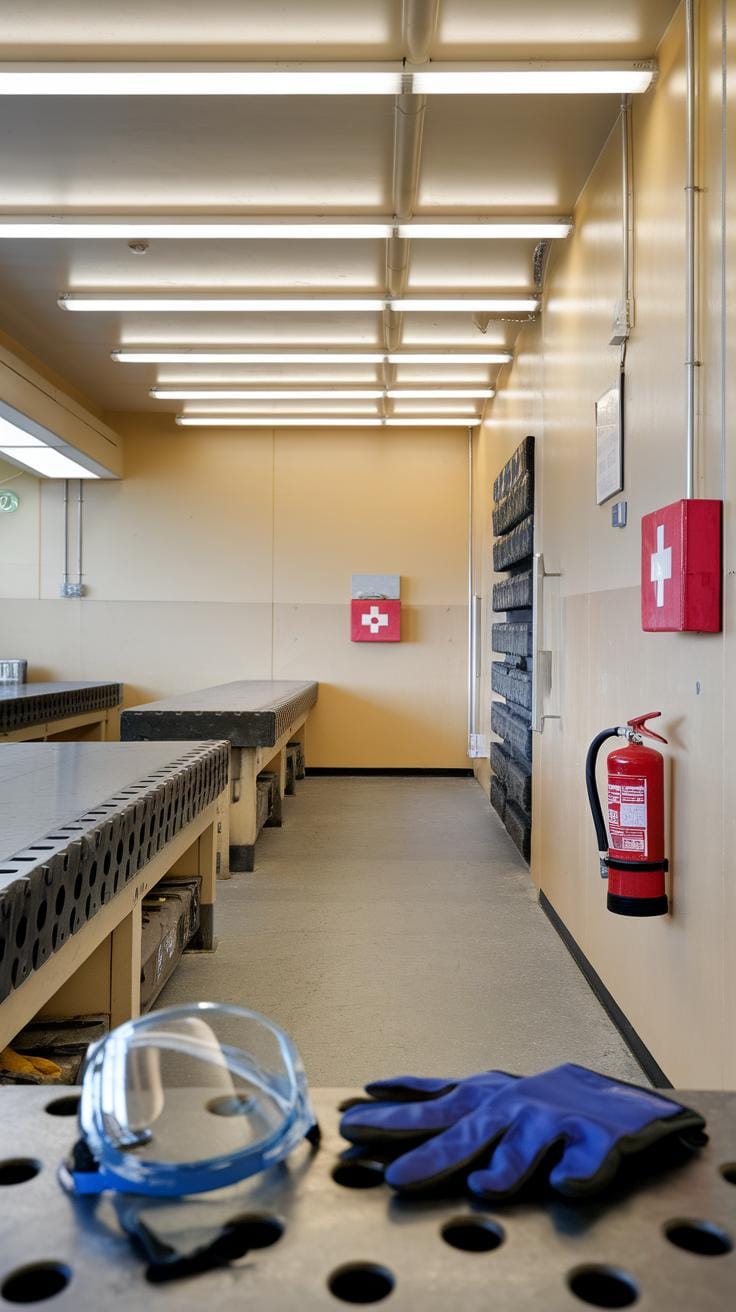
Workplace safety accessories
Safety mats underfoot reduce fatigue and keep you steady. Standing on anti-fatigue mats helps prevent slips and eases pressure on knees during long jobs. Install dedicated spots to store your personal protective equipment like safety goggles, gloves, and earplugs. Keeping this gear visible and easy to reach encourages consistent use.
Electrical safety matters too. Arrange cords to avoid trips and keep outlets clear. Use power strips with circuit breakers for overload protection. Ground your bench tools properly to avoid shocks. Have you organized your cords to keep your workspace accident-free? Small changes here can prevent serious injuries and keep work flowing smoothly.
Customizing for Specialized Tasks

Your workbench should match the demands of your craft. Tailoring it to your specific needs makes each project smoother and more enjoyable. Whether you assemble delicate electronics, shape metal, or craft fine jewelry, your bench can be more than just a surface—it becomes a vital tool in your process.
Think about the space you need. Do you require extra lighting or storage for small parts? Would adjustable height improve your posture? Custom features reduce wasted time searching for tools or switching setups. How can your workbench help you focus better on your craft?
Investing in targeted accessories transforms your bench into a workspace built for precision and efficiency. Every craft has unique requirements. Your bench should support those without clutter or compromise. Consider what tasks slow you down and start customizing to tackle those.
Bench Features for Electronics Work
Electronics work demands careful handling and organization. Your bench should have built-in power sources like multiple outlets or USB ports to power soldering irons and testing devices conveniently. Permanent or easily accessible power reduces clutter and keeps cords managed.
Anti-static surfaces are vital. Static discharge can ruin sensitive components. Look for mats or specialized coatings to protect your circuits. Shelving or small parts bins within arm’s reach keep resistors, chips, and wires sorted and visible.
Good lighting aids precision. A flexible lamp that shines directly on your work helps reduce eye strain. How can you arrange your bench to prevent accidents and errors during delicate assembly? Adding a magnifying lens or adjustable tool holders may improve your workflow.
Metalworking and Woodworking Adaptations
Heavy-duty crafts require sturdy benches. A strong frame that supports your tools and withstands hammering or clamping is necessary. Consider adding integrated metal vises or woodworking clamps designed to hold awkward shapes securely for cutting, filing, or shaping.
Storage must accommodate bulky tools like hammers, chisels, or welding equipment. Hooks or magnetic strips keep these accessible but off your main surface. A thick, replaceable wooden or metal top resists damage and can be resurfaced or swapped when worn.
Think about workflow when positioning tool mounts and vises. Can you reach everything without leaving your position? Would wheels enable flexibility to bring the bench closer to machines? Such adaptations can turn your bench into the solid foundation your craft needs.
Maintaining and Upgrading Your Workbench
Routine cleaning and repairs
Keeping your workbench clean supports a safer and more efficient workspace. Plan to wipe down the surface at the end of each day, removing sawdust, scraps, or spills that could cause damage or interfere with your next project.
Check bolts, screws, and nails regularly. Tighten any loose fasteners before they cause wobbling or structural problems. Inspect the tabletop for dents, gouges, or splinters that might affect your work quality.
Surface treatments extend the life of your bench. Apply linseed oil or a protective sealant every few months to wood surfaces. For metal benches, remove rust and touch up paint to prevent deterioration.
Do you have a set cleaning routine for your tools and workspace? Small, consistent efforts keep your bench sturdy and ready for work.
Adding new features over time
As your skills grow, your workbench should grow with you. Installing adjustable LED lighting can improve visibility without taking up much space. Think about adding a flexible arm lamp or strip lights beneath shelves.
Extra storage options help keep tools within reach. Consider pegboards, drawer units, or magnetic strips mounted on the sides of your bench. These keep your workspace free of clutter and make finding tools faster.
Powering tools directly from the bench reduces trips to the wall. Adding built-in power strips or USB outlets improves convenience and streamlines your workflow.
If space feels tight, explore ways to expand your surface. Folding leaf extensions or sliding panels can double your workspace when needed and tuck away when not.
What feature would make your workbench more efficient right now? Small upgrades can have a big impact over time.
Conclusions
Effective workbench setup is a key factor in workshop productivity. Organizing your tools, setting the right height, and optimizing your space makes work easier and faster. Throughout this article, you received actionable ideas for designing your bench to fit your needs. The goal is to create an environment where you can focus and work comfortably. Small changes can lead to better workflow and safety. You can use the advice given here to rethink and improve your current setup.
Remember, each workshop is unique. The best workbench setup adapts to your work style and project types. Keeping your workspace organized will prevent frustrations and delays. Reflect on the questions posed during this guide to figure out what works best for you. Applying these principles will help you maximize efficiency and enjoy your craft more. An effective workbench is not just furniture; it is the heart of your workshop.


