The Illusion Of Cottage Tile: Why Most Advice Misses The Mark
What Cottage Actually Means In Tile
You want the aesthetic without looking cheap. That’s the real reason you’re reading this. Cottage tile gets misused because people mistake era for style. Actual cottage bathrooms emerged from practical constraints, not design decisions. Rural homes used whatever tile was accessible and durable. The look came from necessity, not Instagram curation. Understanding this gap changes everything about material selection.
Cottage emerged as a design movement in the 1980s and 1990s, borrowing from rural European farmhouse interiors. In architecture, load matters. In tile selection, constraint matters. Authentic cottage bathrooms used small-format tiles because larger ones were expensive or unavailable. Subway tile, hex, and hand-painted ceramics all appeared in different regions based on manufacturing proximity and cost. When you pick tiles today, you’re choosing retrospectively from options that weren’t simultaneous choices in actual cottages.
Material Reality Over Visual Memory
The common advice says pick whatever looks cottage and call it done. That misses the mechanism. Cottage bathrooms endure because the tiles handle moisture, temperature swings, and regular cleaning without deteriorating. Functionality drives longevity. A tile that looks cottage but fails in six years teaches you nothing about cottage design. It teaches you about poor material selection disguised as aesthetic choice.
Porcelain and glazed ceramic handle bathroom environments better than porous natural stone or poorly fired earthenware. Cottage tile often appears rustic, but rusticity alone doesn’t guarantee performance. Grout selection matters as much as tile choice. Epoxy grout resists mold and moisture better than traditional cement-based grout. The cottage aesthetic survives because people maintain it properly, not because the look has magical properties. Install with the expectation of regular cleaning and resealing, or the aesthetic collapses into actual deterioration.
The Material Psychology Method: Decoding Tile Impact
How Texture Shifts What You Actually See
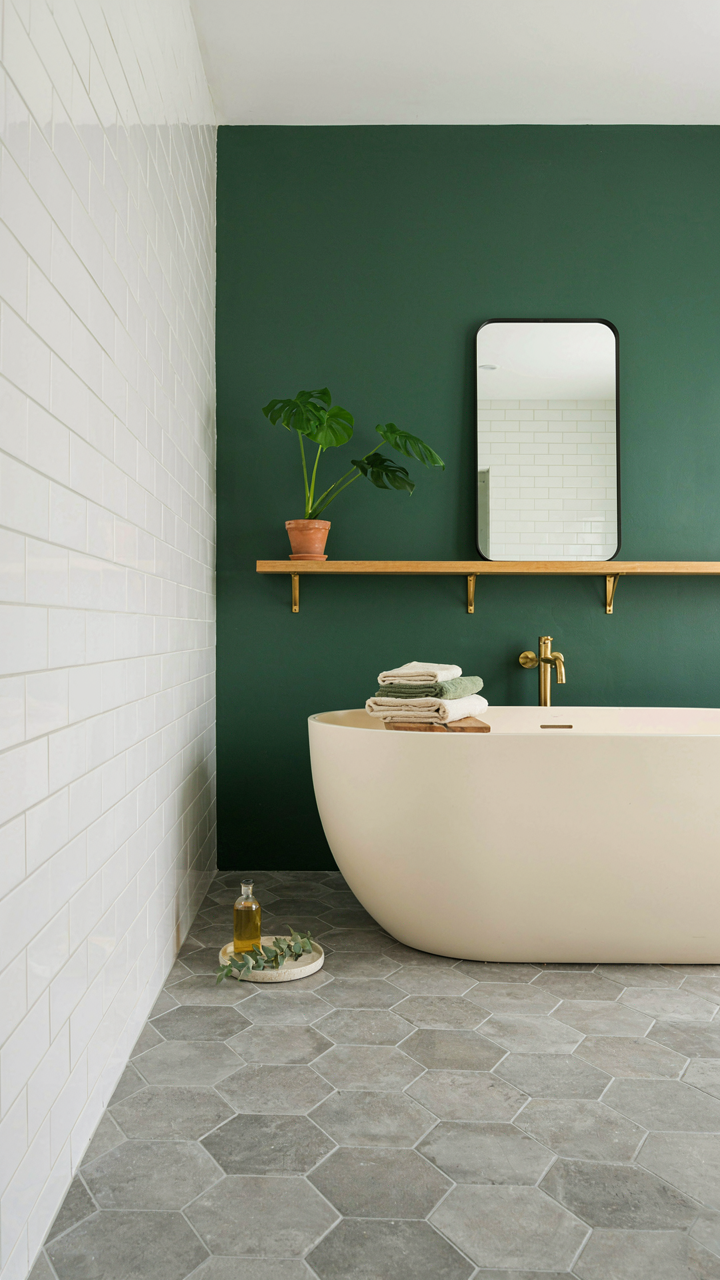
You want your bathroom to feel expensive without spending like it. Texture is the mechanism that does this work. Borrowed from optics: surface roughness controls how light scatters. Matte tiles diffuse light in every direction. Glossy tiles reflect it back at a single angle. Rough cottage tile (think handmade hex or tumbled subway) breaks the light into fragments. Your eye reads fragmentation as depth and craftsmanship. Smooth tiles read as flat and mass-produced, no matter the cost.

Texture also controls how a small bathroom feels spatially. A heavily textured surface advances toward you visually. It shrinks perceived distance and makes tight spaces feel tighter. Smooth surfaces recede. Flat subway tile in a cottage bathroom registers as institutional unless you interrupt it with texture through grout color, accent tiles, or the tile cut itself. The real play is mixing textures deliberately. Tumbled hex on the floor anchors texture. Smooth subway on walls lets the room breathe. This isn’t decoration. It’s optical control.
The Actual Color Science In Your Bathroom
Most design advice on color gets it backwards. You don’t choose colors based on what looks nice in a photo. You choose based on how light behaves at different times of day in your specific room. Warm whites (cream, off-white, pale gray) reflect soft light and hide imperfection in cottage bathrooms with inconsistent lighting. Cool whites flatten the space and make it clinical. The cottage aesthetic depends on warm undertones. Pale warm gray tile reads as intentional and curated. Pure white reads as rental-grade.
Saturation and value matter more than hue. A pale blue tile and a pale green tile feel drastically different because of undertone, not color family. Blue undertones recede. Green undertones feel organic and grounded. Saturated tiles dominate small spaces and force the eye to work harder. Desaturated tiles (muted, dusty, grayed-down versions) let the bathroom function as a background. Choose muted over saturated in cottage bathrooms under 75 square feet. Then test samples under your actual bathroom lighting at morning and evening. Apply the tile to the wall and live with it for three days before committing.
Subway Tile’s Underrated Power: Not Just For Modern Farmhouse

Where Subway Tile Actually Came From
You want subway tile because everyone else has it and you’re terrified of picking something that dates itself in five years. The real mechanism: subway tile entered American bathrooms in the 1920s through direct copying of the New York City subway system’s wall cladding. Transit authorities chose it for durability and washability, not aesthetics. The tile’s 3-by-6 proportions weren’t a design choice—they were an efficiency decision. That constraint became the entire aesthetic.

Cottages didn’t use subway tile until decades later, when American design absorbed it from institutional spaces. The tile carries utilitarian DNA, which is why it reads as honest in cottage bathrooms instead of sterile. It works because it solves a real problem: easy cleaning on irregular walls that plague older homes. The beveled edge you see now is a modern addition that softens the industrial edge, but the core function remains unchanged since the 1920s.
How Grout Lines Reshape Space
Treat grout layout like visual rhythm in architecture: the lines are load-bearing elements that control how your eye moves through the room. Running bond staggered layouts feel horizontal and stretch a narrow bathroom. Stack bond layouts feel gridded and intentional, useful when you need order. Herringbone angled layouts pull attention toward a focal point like the vanity or shower niche. Most people choose layout based on what they’ve seen before, not on what their room actually needs.
The grout line width matters more than the tile itself. Wider grout (half-inch plus) creates visual weight and reads rustic or deliberately handmade. Narrow grout (one-eighth inch) reads tighter and more refined. Vertical stack runs draw the eye upward and suit lower ceilings. Horizontal patterns ground a room with high ceilings. Measure your bathroom ceiling height first, then choose your layout pattern to correct that proportion before you order tile.
Hexagonal’s Hidden Depth: A Geometric Masterclass
Where Geometry Met Practicality
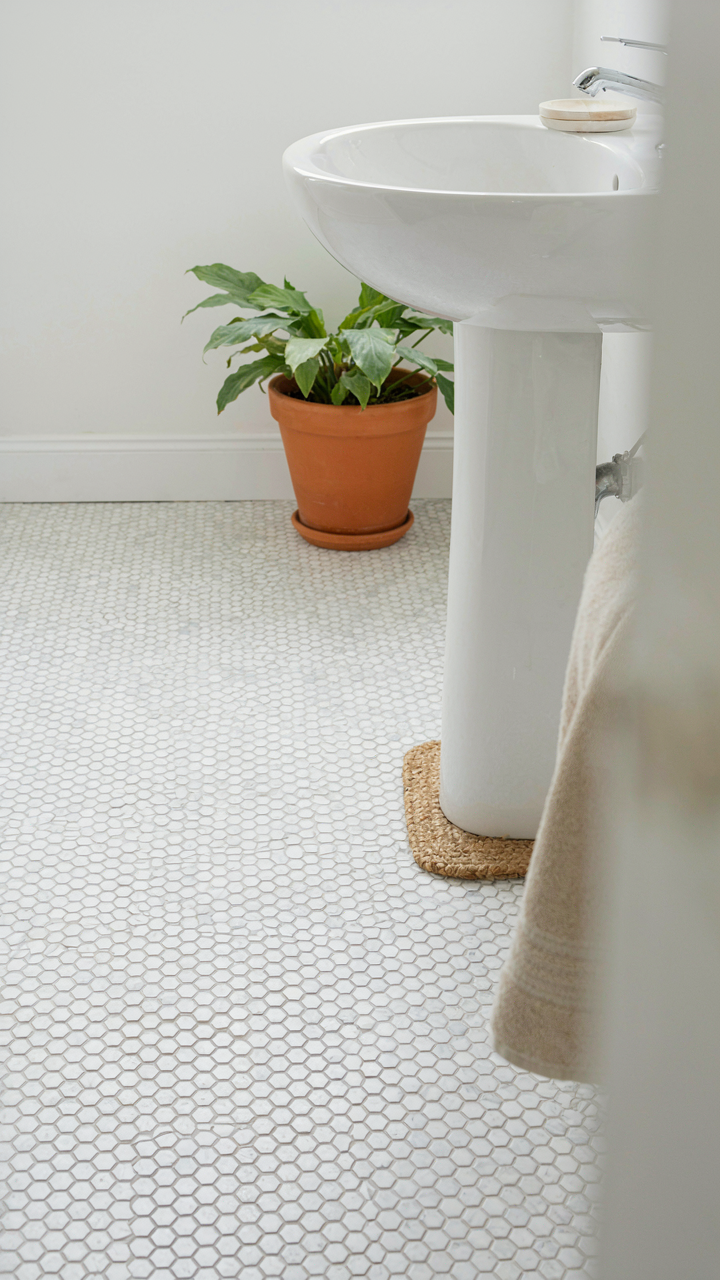
You want hexagonal tiles because they feel sophisticated and you’re worried a basic square layout makes your cottage look cheap. Here’s the mechanism: hexagonal tiles predate aesthetic preference by centuries. Medieval and Islamic tile work used hexagons for a structural reason—the shape tessellates without gaps while distributing weight more evenly than rectangles. Bathroom floors don’t need that load capacity, but your brain recognizes the pattern as intentional and competent, which is the actual value.

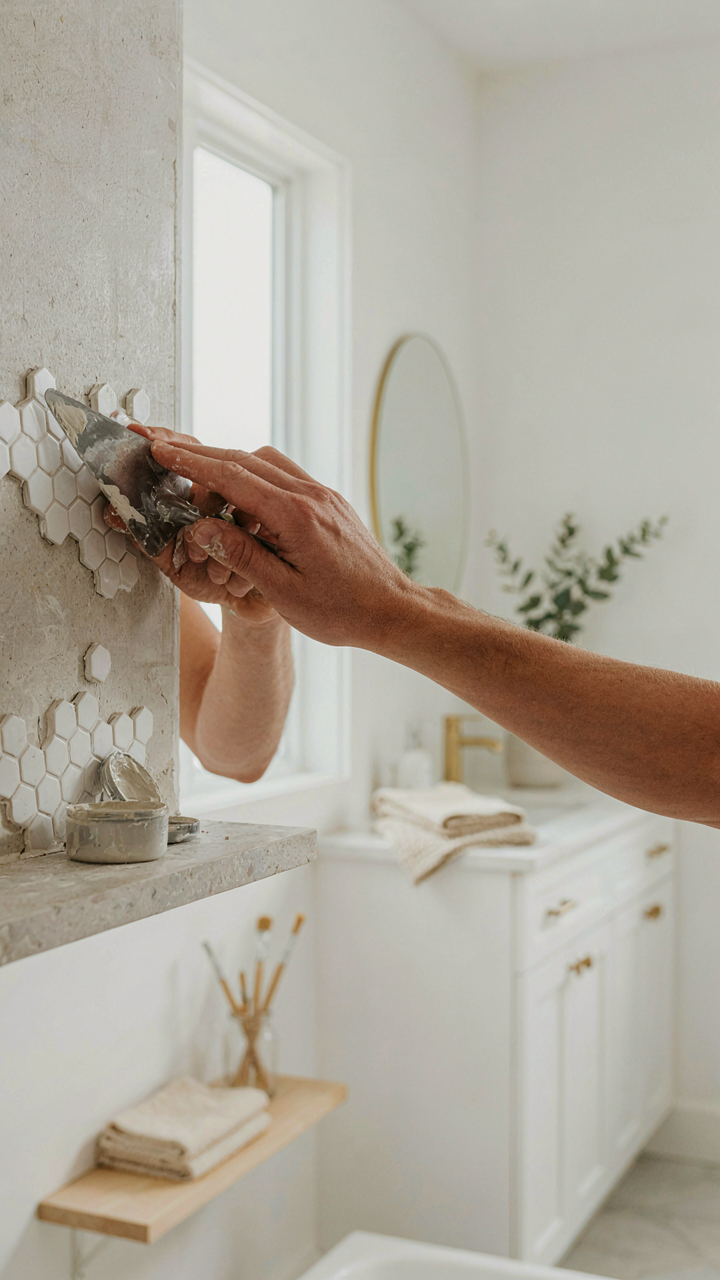
Hexagons appeared in bath applications during the Arts and Crafts movement when craftspeople rejected industrial uniformity. The shape required skill to cut and install, so it signaled quality. Modern production makes them cheap to manufacture, but the cultural memory remains. That’s why a hexagonal floor reads as deliberate even when it costs less than large-format rectangles.
Visual Rhythm Through Deliberate Repetition
Repetition in design works like rhythm in music—not by accident, but by pattern spacing. A six-inch hex tile creates visual frequency. A twelve-inch hex tile creates a slower beat. Most advice says “choose what you like,” which is lazy. The real decision is whether your bathroom’s square footage benefits from fast or slow visual movement. A small cottage bathroom (under sixty square feet) demands smaller hexagons (four to six inches) or the pattern dominates the space and contracts it further.
Place a sample on your floor at actual size for three days. Your eye adjusts to repetition, and what feels busy on day one becomes coherent by day three. This is the grout line decision no one names clearly: narrow grout (one-sixteenth inch) speeds up visual rhythm and makes the space feel busier. Wide grout (one-eighth inch or more) slows rhythm and emphasizes individual tiles. Choose based on whether your bathroom needs activation or calm.
Vintage Inspired Bathroom Tile: Avoiding The Themed Trap

Authentic Reproduction Versus Cheap Imitation
You want vintage tile because you think it signals taste and restraint. The mechanism is simpler: authentic reproduction tile holds detail because manufacturers reproduced original molds or patterns, while cheap imitation tiles use shallow stamping that flattens after a few years of moisture exposure. Real reproduction tiles from makers like Daltile’s Rittenhouse Square or Emser’s collections match historical clay bodies and firing temperatures. Fake versions use modern fast-firing techniques that produce smooth, characterless surfaces.

Examine the tile’s edge and back. Authentic reproduction shows slight variation in thickness and a porous clay body that absorbs water at a measurable rate. Cheap imitation feels uniform, dense, and often has a plastic sheen from additives meant to speed production. Ask manufacturers for water absorption rates. Reproduction tiles typically range from 3 to 7 percent. Anything below 1 percent is a sign you’re looking at a contemporary tile dressed up in vintage styling.
Mixing Eras: The Curated Vintage Approach
Most advice says stick to one period. That’s wrong. Successful mixed-era cottages work through constraint, not chaos. You’re applying the principle of visual weight from graphic design here: heavier visual elements anchor the space, lighter ones fill gaps. A primary 1920s hexagon tile in darker color becomes your anchor. A secondary 1940s subway tile in white becomes your transition. A tertiary 1970s mosaic becomes an accent on one wall only.
The rule is this: progress from simple to complex as you move down the visual hierarchy. Start with one strong reproduction tile as your shower surround. Layer a complementary tile as floor or wainscot. Add texture through grout choice and sealant finish, not additional tile patterns. Stop at three tiles maximum. The curated vintage bathroom reads as intentional because you controlled for restraint, not because you picked the right era.
The “Resilience Engineering” Protocol For Rustic Tile Bathroom

How Tile Fails Before You See It
You want to know this section will prevent expensive repairs later. That’s fear dressed as practicality, and it’s valid. Tile fails through biological adaptation—the same mechanism organisms use to exploit weak points. Grout absorbs water, expands, contracts, and creates micro-fractures. These fractures widen. The cycle repeats until structural failure appears. Most bathroom tile advice ignores this timeline entirely.

Cottage bathrooms demand acknowledgment of moisture reality. Water doesn’t respect grout lines or sealed surfaces the way marketing claims it does. Bathroom tiles endure wet-dry cycling dozens of times monthly. Movement is inevitable. Your job isn’t preventing it—it’s designing the tile system to fail gracefully, not catastrophically. Choose grout composition and tile density based on your local humidity and ventilation capacity, not on aesthetic preference.
Measuring Degradation Before Replacement
The common advice says “seal your grout and you’re fine.” Wrong. Sealed grout still absorbs water at the substrate level. You need a feedback mechanism to catch failure stages before visible damage spreads. Check grout joints quarterly by pressing firmly along seams with a thumbnail. If grout crumbles or powder releases, degradation has begun. Document these findings monthly in writing, noting which walls show changes first.
Water always travels to the lowest point of resistance. In cottage bathrooms, that’s typically where wall meets floor or where ventilation fails to extract humidity. Install a cheap humidity meter and record readings after showers for four weeks. Readings above 65 percent sustained humidity signal that your tile system will degrade faster than baseline predictions. Adjust your inspection frequency and replacement timeline based on this data point, not on how old the tile looks.
Beyond Ceramic: Unconventional Cottage Bathroom Ideas
Terracotta And Natural Stone Materials
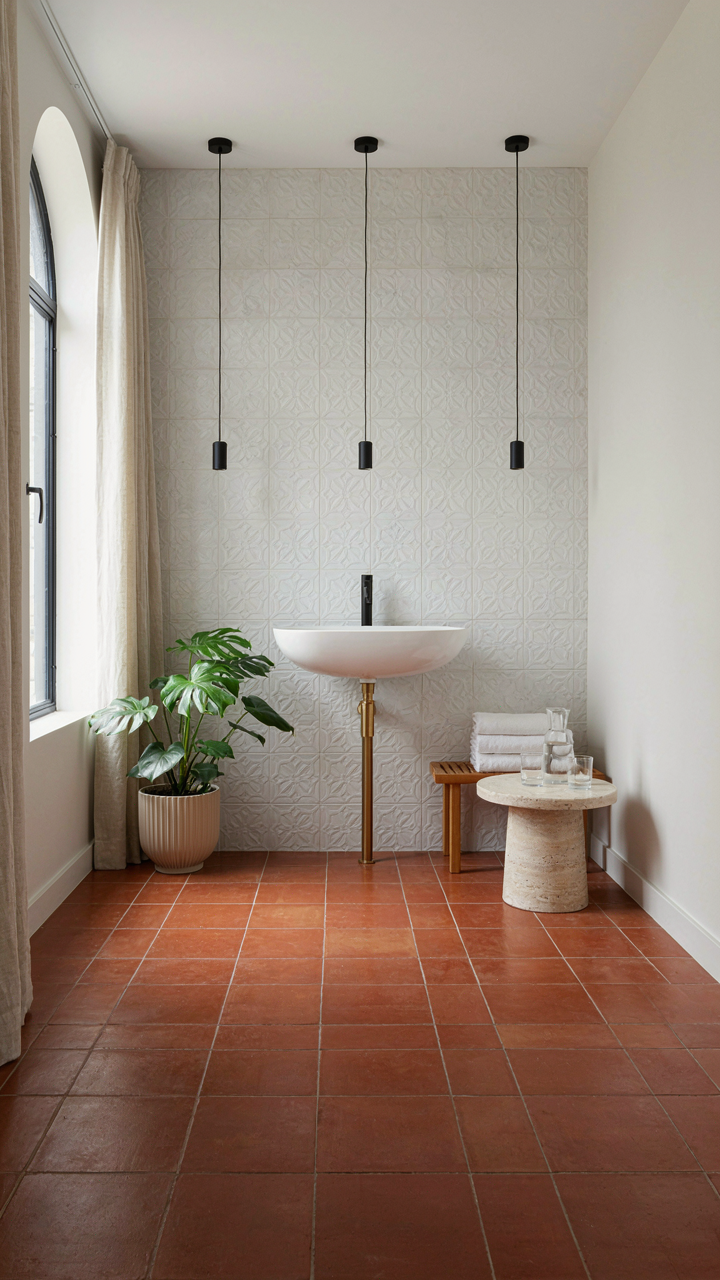
You want terracotta because it signals authenticity without trying. Here’s what people miss: terracotta isn’t a design choice, it’s a durability problem you solve with maintenance. Raw terracotta is porous. It absorbs water, stains easily, and cracks in freeze-thaw cycles unless sealed properly. Unsealed terracotta in a bathroom fails within years. You need a penetrating sealer reapplied every 18 to 24 months, or the material degrades.

Natural stone alternatives like slate, limestone, and travertine work better in cottage bathrooms because they’re already dense. Slate handles moisture without constant sealing. Limestone develops patina over time, which reads as aged without the fragility. Travertine has natural pitting that traps sediment but photographs well. All three are harder than terracotta and won’t crumble from daily water exposure. Pick one based on your climate’s humidity level and your willingness to maintain it.
Patterned Tiles And Color Logic
The advice to use blue gingham tile everywhere in cottage bathrooms is incomplete because it ignores scale dynamics. Gingham patterns work in small doses: an accent wall, a border, a single focal point. Covering an entire bathroom floor in gingham creates visual noise that fights the restful quality people actually want from cottage design. The pattern needs breathing room.
Real cottage bathrooms use patterned tiles strategically. Small hex tiles in a single color create rhythm without chaos. Encaustic tiles with geometric prints work as a feature wall behind the sink, not across all four walls. The mechanism is contrast: patterned tile only reads as intentional when it contrasts with plain surfaces nearby. Install patterned tiles on 30 to 40 percent of your visible wall space maximum, leaving plain walls to anchor the room visually.
Floor Tiles Stickers: A Temporary Fix, A Permanent Regret?
What Temporary Solutions Actually Cost
You’re drawn to tile stickers because you want the cottage bathroom aesthetic without the commitment or expense. Here’s the mechanism: temporary tile solutions trade upfront savings for compounded friction. Economically speaking, they operate like debt—you defer the real cost and pay interest through maintenance labor and repeated replacement cycles.
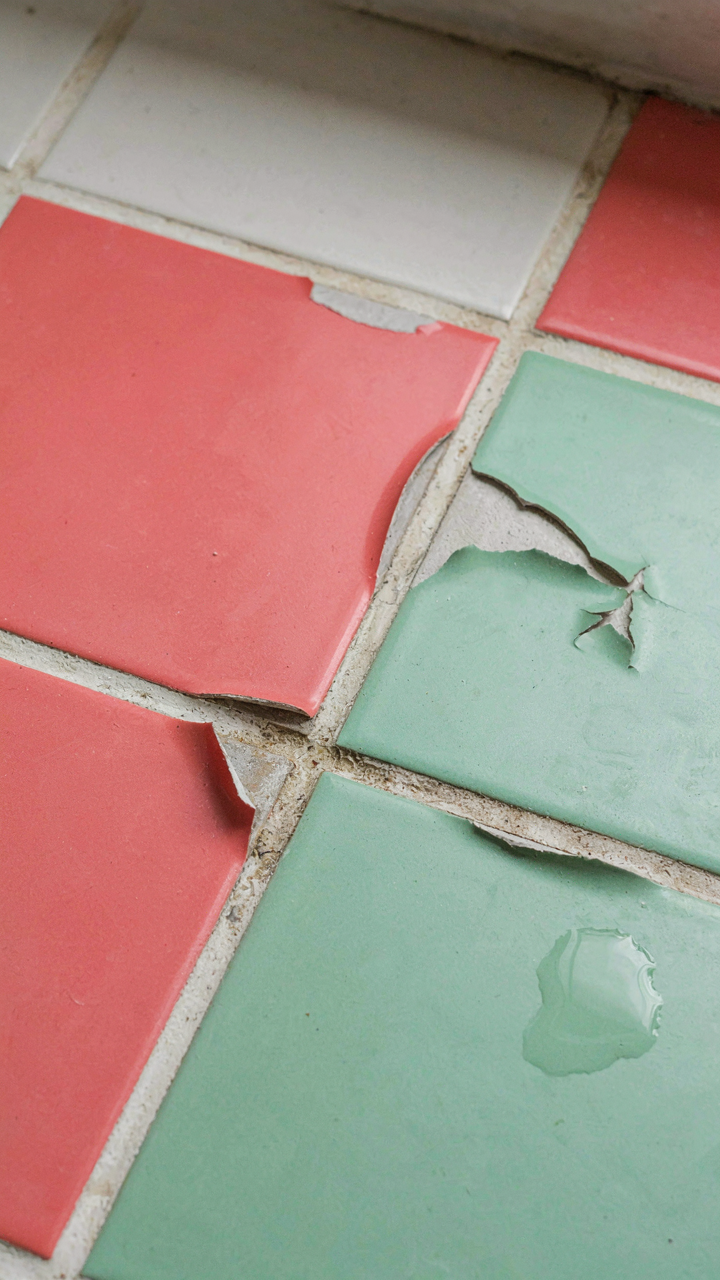
- Peeling edges within months: Moisture from shower steam and floor spray attacks adhesive bonds. Kitchen and bathroom humidity accelerates degradation faster than dry rooms.
- Visible seams under direct light: Stickers don’t align flush with grout lines. Cottage bathrooms with north-facing windows expose every misalignment ruthlessly.
- Trapped dirt and mold behind edges: The gap between sticker and substrate becomes a breeding ground. Cleaning requires careful peeling rather than simple wiping.
- Repeated adhesive residue: Removing old stickers leaves sticky film that attracts dust. You’ll spend hours scrubbing before applying new ones.
- Incompatibility with future tile work: Adhesive residue prevents proper installation of real tile later. Professional installers charge more to prep sticker-damaged surfaces.

The real cost isn’t the sticker price. It’s the cumulative time spent reapplying them every 12-18 months, plus the higher prep costs when you finally commit to permanent tile. You’re not saving money—you’re just spreading the expense across years while reducing bathroom functionality.
The Compounding Value Equation
Temporary fixes feel rational because they defer decision-making. In reality, they’re the opposite of pragmatic. Every month you run the sticker route, the permanent solution compounds in value. A proper hexagonal or subway tile installation lasts 20-30 years. Stickers last one season in a humid bathroom.
The cottage aesthetic demands surfaces that weather authentically. Real tile patinas with age and use. Stickers degrade into peeling plastic. If you’re committing to a cottage bathroom identity, choose materials that support the longevity that style requires. Install permanent tile now and recapture the mental real estate you’ve been spending on replacement cycles. That clarity alone justifies the cost difference.
The Investment Fallacy: Where Bathroom Floor Tiles Fail
Resale Value Versus What You Actually Use
You want the tile choice to be a financial hedge against future doubt. Here’s the mechanism: resale value only matters if you sell, but you live in the bathroom every day until then. The market cares about neutral subway tile and basic hex because those patterns move fast. Your personal preference matters zero times to a buyer, so optimizing for their taste while hating your own is a pure wealth transfer from your present self to a hypothetical future stranger.
Cottage bathrooms deliberately signal the opposite of mass-market thinking. A homebuyer evaluating resale value already decided they want that cottage aesthetic or they didn’t walk in the door. Tile choices that feel authentic to cottage design—handmade hex, slightly irregular subway, natural stone—hold value precisely because they’re difficult to fake with mass-produced alternatives. The real play is choosing tile you’ll keep for a decade, not tile that’s easiest to move at closing.
The Real Cost Hidden In Cheap Tile
Everyone says cheap tile saves money. They’re measuring the wrong variable. Cheap porcelain tile runs 2-4 dollars per square foot, but it has a grout absorption rate and micro-porosity that demands professional installation and sealant reapplication every 18-24 months in moisture-heavy bathrooms. Handmade or semi-vitreous tiles cost more upfront but absorb less water, crack less during freeze-thaw cycles, and don’t require the maintenance treadmill.
Cheap tile forces you into a permanent operating cost. Professional sealing in a standard cottage bathroom runs 400-800 dollars per application. Do that twice over five years and the “savings” vanish. Better tile doesn’t need retreating as often because the material itself resists moisture. Calculate total cost of ownership, not sticker price, before ordering anything. If the tile costs less than 6 dollars per square foot and isn’t from a established maker with documented water absorption specs below 0.5 percent, you’re buying future service calls.
Different Tile Designs: Crafting A Unique Narrative
Mix Materials To Signal Intentionality
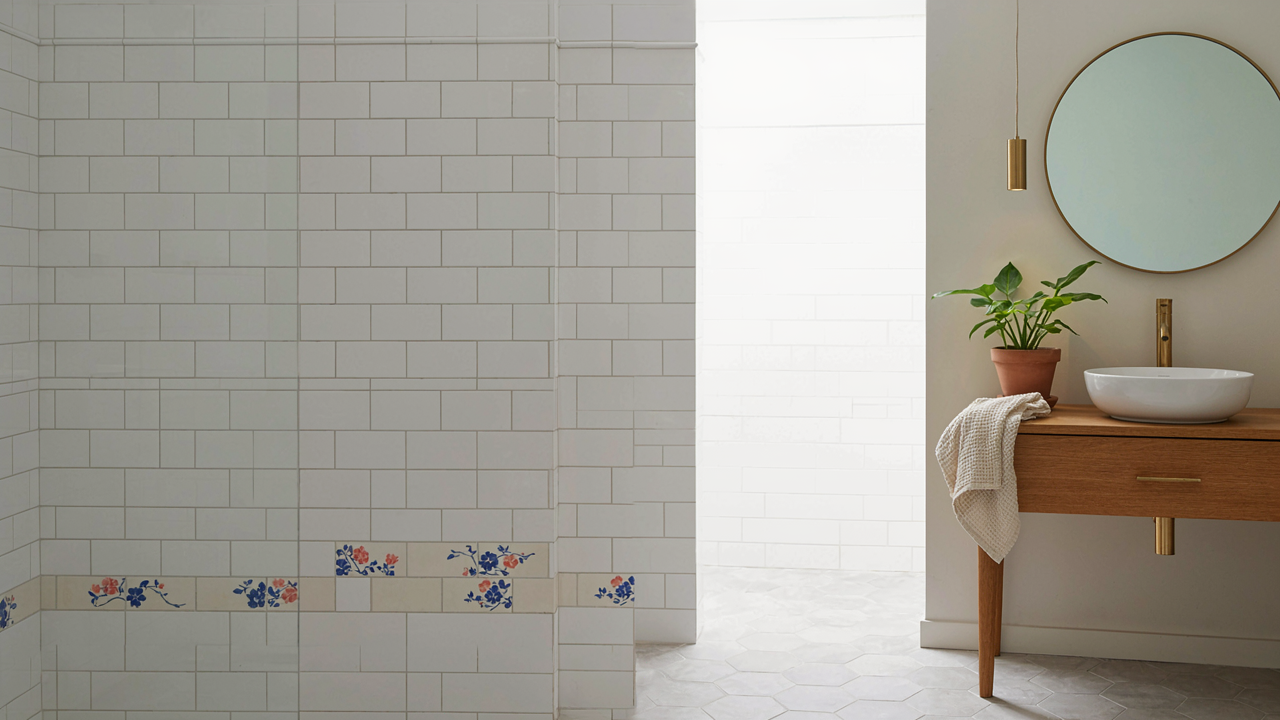
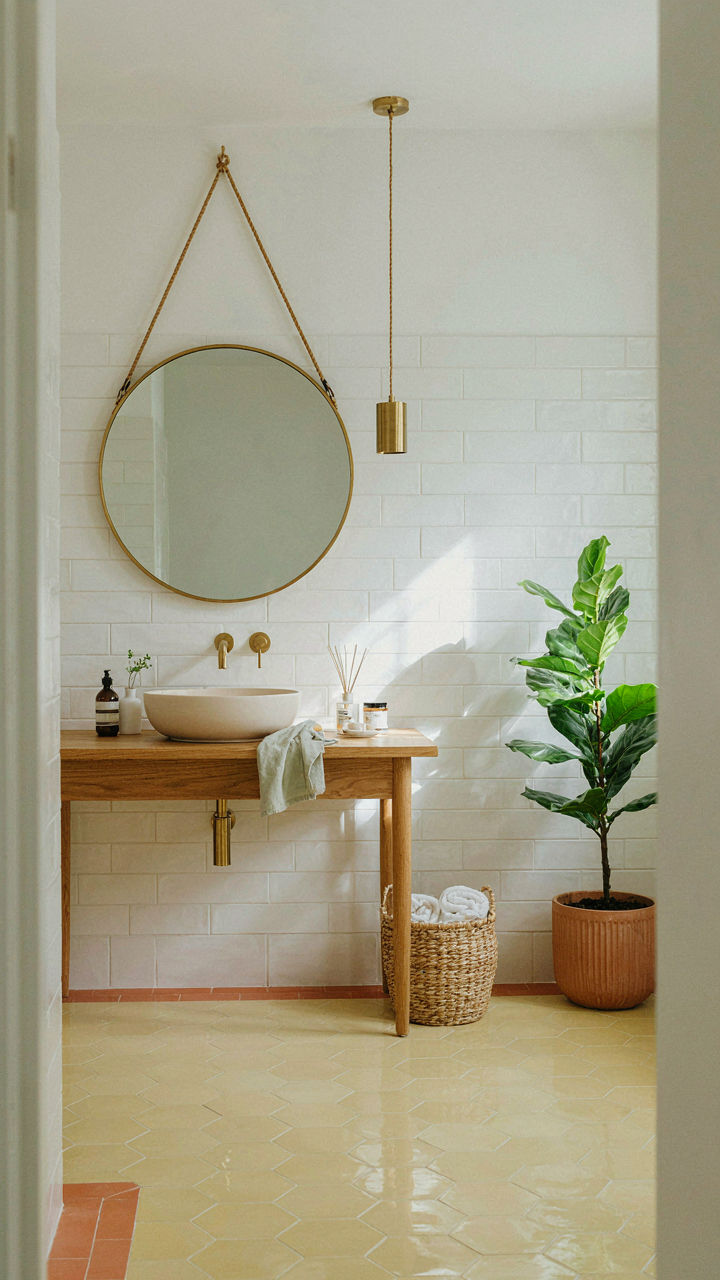
You want people to think your bathroom choices were deliberate, not default. That’s the real game here. The mechanism: contrast creates narrative. Subway tile alone reads as “I picked the safe option.” Subway tile paired with hexagon accents or terracotta borders reads as “I made decisions.” Cottages work because they layer materials. A matte white subway field with glossy hex inserts breaks visual monotony without chaos. Terracotta trim around a subway grid adds warmth without overthinking. The combination signals restraint and intention simultaneously, which is harder to fake than picking one tile type.
Mixing materials also solves a practical problem most people ignore: some tiles perform better in different zones. Glossy subway works on walls where water splashes. Matte hex or stone works on floors where slip resistance matters. By combining types strategically, you’re not being decorative, you’re being functional. The cottage bathroom succeeds because it respects what each material does best, then arranges them so the joins look considered rather than accidental. Your grout lines become the tool that ties the story together.
Personal Color Palette Over Trend Cycles
The common advice says pick neutral, timeless tiles and add color through paint or accessories. That’s incomplete. Tiles are permanent; paint isn’t. If color matters to your actual life, it belongs on the tile. Cottages historically used regional clay that determined hue naturally. Your version uses intentional color selection to do the same work. A soft sage green in hex format reads cottage without trying. A muted blue-grey in subway reads grounded. Terracotta floor tiles in cream walls create warmth that accessories can’t fake because the warmth is structural, not decorative.
The mechanism is commitment. When you choose tile color, you’re deciding what your bathroom feels like for a decade minimum. This forces you to pick colors you actually live with, not colors you think you should like. A pale yellow subway wall isn’t trendy. A dusty rose hex border isn’t Instagram bait. Both are honest choices that stick because they match how you actually experience the space daily. Start by identifying two to three colors that appear in spaces where you feel calm, then source tiles in those hues. Buy samples, live with them for a week under different lighting, then commit.
The Real Obstacle Isn’t Finding The Right Tile, But Overcoming The Fear Of Unconventional, Enduring Beauty

Most people pick safe tile because they’re afraid their choice won’t age well. But here’s what they miss: the tiles that feel risky now become the ones people ask about in ten years. Your cottage bathroom tile decision matters less than your willingness to commit to something that doesn’t scream “builder grade.” Pick one tile style that actually speaks to you today, then stop second-guessing yourself. The only bathroom tile that fails is the one you never installed because you couldn’t choose.