

The Illusion Of Simplicity: Why Most Beadboard Fails

Where Execution Actually Breaks Down
You want beadboard to feel effortless because that’s the whole promise of farmhouse design, but a room that looks thrown together requires actual precision. The mechanism is simple: beadboard fails when people treat it as a texture upgrade rather than a spatial tool that either compresses or expands perceived room volume. Most installations ignore the bead direction, panel width inconsistency, and paint finish uniformity that separate intentional from accidental.
The common mistakes cluster around three points. First, people install random widths of beadboard across a wall instead of standardizing on one dimension (typically 3.5 to 5.5 inches was standard in authentic farmhouse applications). Second, they paint it the same color as trim, erasing visual hierarchy. Third, they terminate beadboard at arbitrary heights rather than respecting sight lines or architectural logic. These aren’t aesthetic preferences. They’re execution errors that read as unfinished to anyone trained to see the difference.
The Subtle Art Of Visual Weight
Visual weight operates by the same principle as mass in physics, where denser material occupies less space but commands more attention. Beadboard’s vertical beads create optical weight through repetition, and that weight either anchors or destabilizes a room depending on where you place it. Paint that beadboard a warm off-white against darker walls, and you’ve created visual lift. Paint it the same shade as the wall, and you’ve wasted the material’s only real function.
The real move is understanding that beadboard coverage percentage determines spatial perception. A half wall of beadboard in a small bedroom signals intentional focus. Beadboard running floor to ceiling in the same space feels claustrophobic because it removes visual escape routes. Most people apply beadboard without measuring this proportion first. Establish your coverage area before installation, then verify the sight line impact by standing at the room’s natural vantage points and checking whether the eye moves through the space or gets trapped there.
Beyond The Wall: Strategic Bead Board Ceilings
The Ceiling Illusion That Actually Works
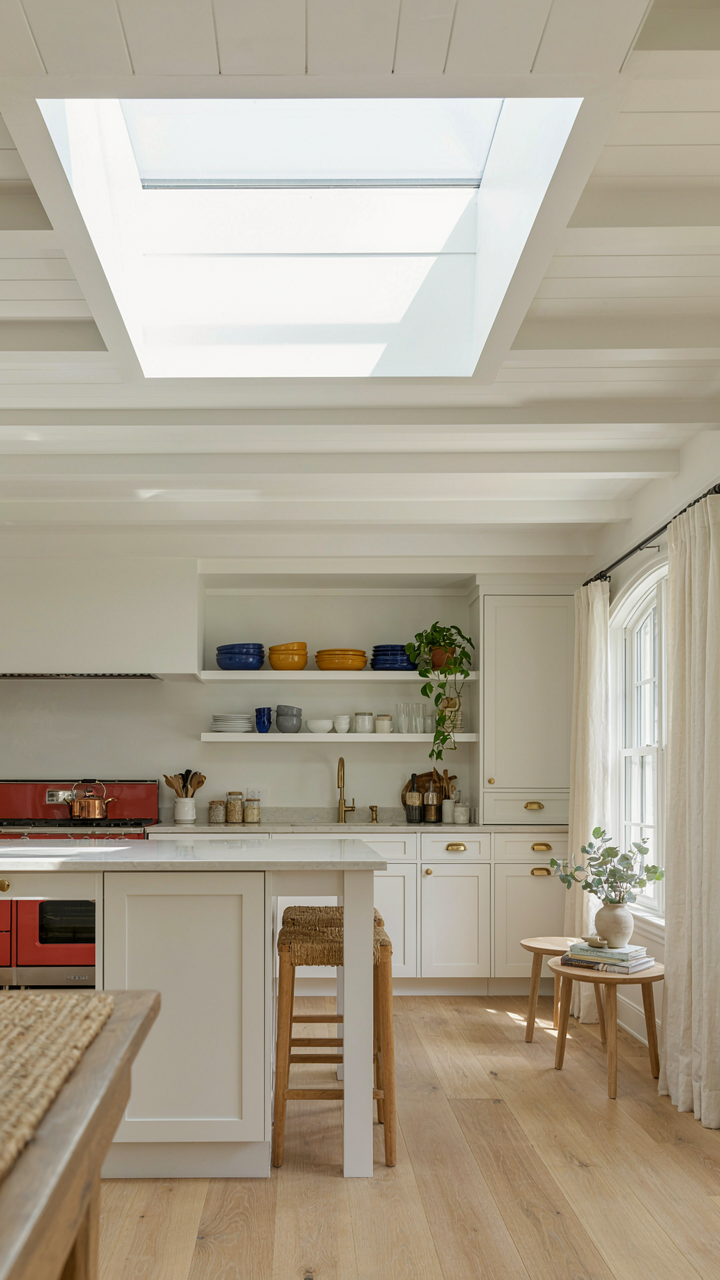
You want beadboard on the ceiling because you think it will make your space feel larger or more authentic. Here is what actually happens: beadboard on ceilings manipulates perceived room proportion through visual interruption. The vertical grooves create a rhythm that breaks up the flatness of drywall, which forces your eye to track horizontally rather than upward. Lower ceilings feel less oppressive. Higher ceilings feel more intentional. The effect is mechanical, not magical.

The pitch of the bead matters more than the material. Wider spacing between grooves (typically two to three inches) reads as open and minimal. Narrower spacing (half inch to one inch) creates visual density and draws the eye downward, compressing vertical space. Standard farmhouse beadboard ships at roughly one-inch intervals. This is the sweet spot for most residential ceilings because it avoids looking either stark or overwhelming. Install it perpendicular to the room’s longest wall to amplify horizontal expansion.
How Light Becomes Texture
Ignore the advice that says beadboard reflects light like smooth drywall. It does not. This is where people get it wrong: the grooves create shadow lines that absorb light rather than bounce it. Directional light sources hit the peaks of each bead and miss the valleys, creating micro-shadows that soften brightness. This is load bearing in optics terms. You are distributing visual weight across more surface area than a flat plane allows.
North-facing rooms with soft, diffuse light benefit most from beadboard ceilings because the shadows stay subtle and won’t read as harsh. South-facing rooms with direct sunlight can handle it too, but the shadows will be sharper and more defined. The mood you create depends entirely on whether those shadow lines feel restful or dramatic. Warm artificial light above the beadboard amplifies coziness. Cool light turns it clinical. Test your chosen light fixture and beadboard sample together before committing to installation.
Bead Board Bathrooms: The Hydrostatic Barrier Principle
Why Beadboard Fails In Bathrooms Without The Right Setup
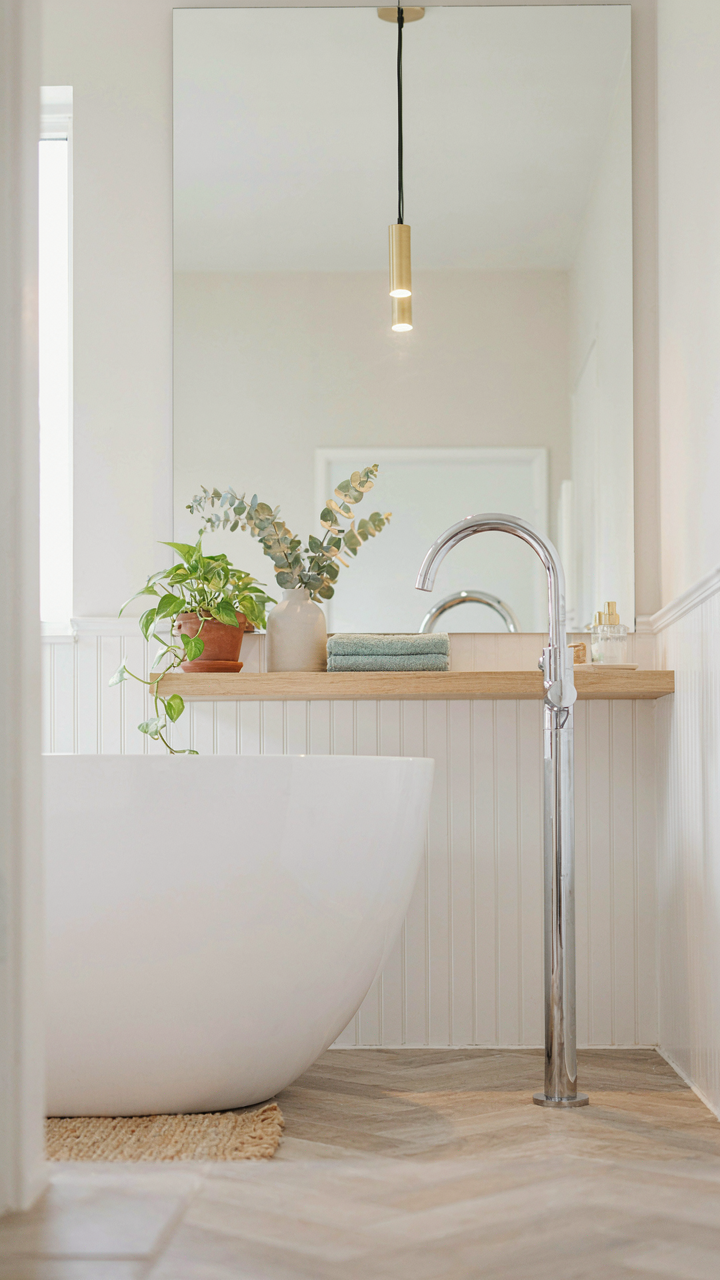
You want beadboard in your bathroom because it looks period-correct and costs less than tile. That’s the real reason. But the mechanism that kills it is water infiltration through the seams, not moisture in the air. Beadboard’s vertical grooves trap water at joints where panels meet. Standard paint doesn’t seal these gaps. Water wicks into the substrate, the wood swells, and in six months you’ve got visible damage or mold. The physics term is capillary action: water moves against gravity through tiny spaces. In beadboard, those grooves become highways for water that should never get there.

Material choice determines whether your beadboard survives or becomes expensive regret. Real wood beadboard absorbs moisture like a sponge. Engineered alternatives (PVC, composite) resist water absorption but cost more upfront and people hate the feel. If you’re using wood, you need marine-grade sealant in every groove before primer goes on. Most contractors skip this. They treat beadboard like drywall, prime it once, and move on. That’s why beadboard bathrooms fail.
Water Blocking Before Ventilation Kicks In
Good ventilation doesn’t save bad sealing. This is where conventional advice breaks down. Homeowners are told to run their exhaust fan during and after showers, and while that reduces humidity overall, it doesn’t address the water that’s already pooled in your beadboard seams. Ventilation is a long-term humidity control system, not a water extraction mechanism. Think of it like air defense versus armor. Ventilation is your defense system. Sealed seams are your armor. You need both, but armor comes first because it prevents the damage before the system has to manage it.
Install an exhaust fan rated for your bathroom’s square footage, vented directly outside, not into the attic. Run it for 20 minutes after showers end, not just during. But before that fan matters, caulk every seam in your beadboard with silicone or polyurethane sealant rated for wet areas, then apply primer that explicitly blocks moisture. Paint doesn’t seal. Sealant does. Then paint over the sealant. That layering sequence is the only protocol that keeps beadboard functional in high-moisture environments.
The Wainscoting Top Trim Ideas: The Golden Ratio Application

Panel Height And Proportional Spacing
You want your room to feel intentional, not accidentally assembled. The mechanism is this: your eye reads vertical divisions as either harmonious or off, and that judgment happens in milliseconds before you consciously think about it. Farmhouse beadboard installers borrowed the Fibonacci sequence from nature’s growth patterns, where each number is the sum of the two before it (1, 1, 2, 3, 5, 8, 13). Apply this to panel height by making your wainscot roughly 3 to 5 feet tall, which hits the sweet spot between floor and eye level without commanding the entire wall.

The ratio matters more than the exact measurement. A 36-inch wainscot in a 9-foot room creates a 1:3 proportion, which reads as balanced to the brain. If you go to 48 inches, you shift toward 1:2.25, which feels heavier. The practical step: measure your room height, divide by 2.5 to 3, and install your top trim rail at that height. This isn’t arbitrary decoration. It’s visual math that either works or it doesn’t.
Trim Profile And Shadow Line Dynamics
Most advice tells you to pick a trim profile that matches your baseboards. That’s incomplete. The real variable is shadow line depth, which creates the illusion of dimension through light and dark contrast. A flat trim casts no shadow. A profiled trim with a 1.5-inch projection creates a shadow that reads from across the room, making the wainscot appear more substantial than it is.
Farmhouse beadboard typically pairs with ogee or roundover trim at the top rail because the curve catches light at multiple angles. The shadow line runs along the underside of that curve. Install your top trim so the deepest shadow point falls 4 to 6 inches below the ceiling. This creates visual separation without eating wall space. Sand and finish the trim to match the beadboard color, then seal everything together. The shadow does the work. Paint can’t fix a profile that doesn’t project.
Beadboard With Wood Trim: Framing The Narrative
Where Trim Actually Works
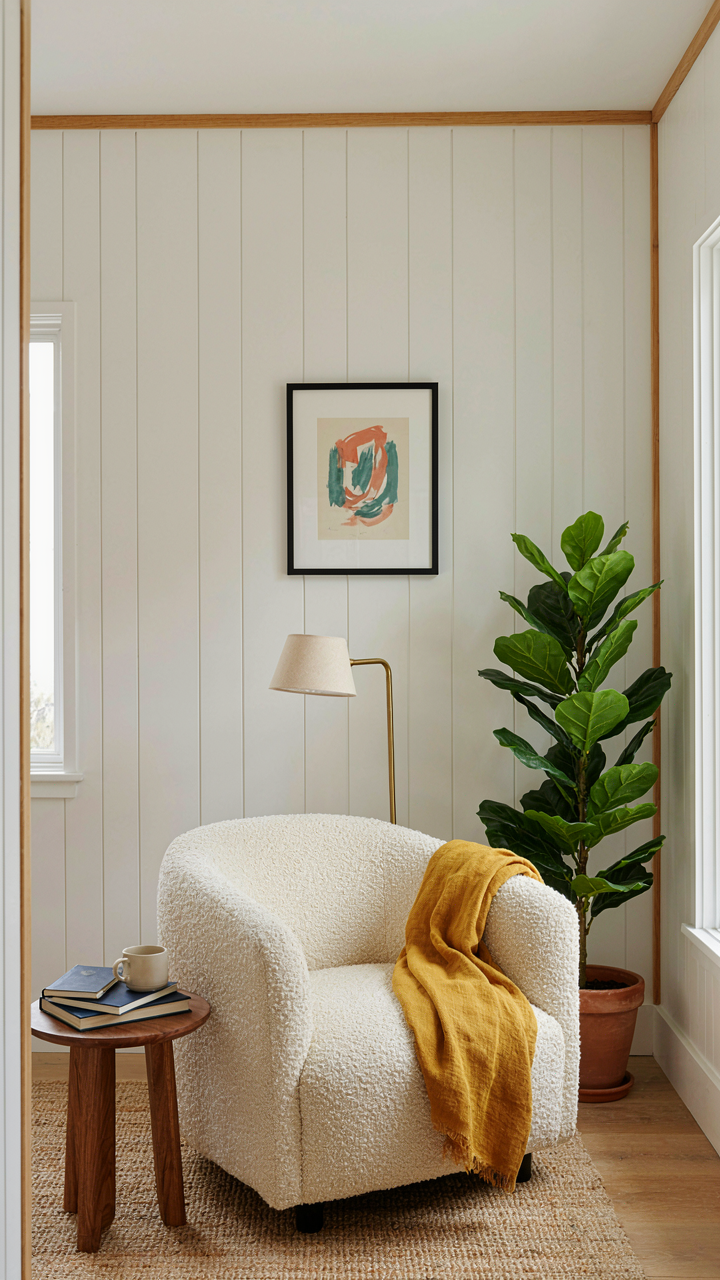
You want beadboard with trim because it signals that you know the difference between sloppy and intentional. Here’s the mechanism: trim creates visual weight distribution. In architectural terms, this is load-bearing design applied to the eye. Trim doesn’t decorate beadboard. It anchors it by creating a frame that your brain reads as “this was planned, not improvised.” Without trim, beadboard floats. With it, beadboard becomes a deliberate material choice instead of a budget solution.

The common advice says to “match your trim to your walls.” Wrong. Beadboard needs contrast to function. A painted white beadboard wall with natural wood trim reads as farmhouse. The same beadboard with white trim on white walls reads as unfinished. The trim’s job is to define the edge where beadboard ends and something else begins. Paint your beadboard one color and your trim another, or the entire install collapses into visual confusion.
Building The Right Visual Language
Stop thinking about trim as decoration. Think about it as a syntax system. Your walls and ceilings need grammar, and trim provides the punctuation. Farmhouse beadboard gains coherence when trim connects horizontally across rooms at a consistent height. Crown molding at the ceiling line, a chair rail where the beadboard terminates, a baseboard at the floor—these are structural statements that tell the viewer this room was designed as a whole, not assembled from random pieces.
The installation sequence matters more than material choice. Install your beadboard first, then your trim. This order ensures tight joints where beadboard meets wood trim instead of gaps that require caulk and ruin the line. Run your trim continuously around corners and doorways. Breaks in the trim line are visible failures. Use trim to establish sight lines that pull the eye through the space in a single direction, creating the illusion that your farmhouse room is more cohesive than it actually is.
Aesthetic Mudroom & Foyer Mudroom Entry Ways: The Transition Zone Tactic

Where First Damage Happens First
You care about this space because it’s where guests form their opinion before they even see your living room. Mudrooms and foyers take a beating—wet coats, muddy boots, humidity swings—and beadboard handles this better than drywall because it’s designed for impact and moisture. The mechanism is simple: beadboard’s vertical grooves absorb the visual chaos of clutter while its solid construction resists dents that drywall can’t defend against. Paint it white or soft cream and suddenly a functional mess looks intentional instead of neglected.

Beadboard stops behaving like a wall and starts behaving like a buffer. The material itself doesn’t care if someone slams a suitcase into it or if humidity spikes from an open door. Install it at chair-rail height around the perimeter—typically 32 to 36 inches up from the floor—and you’ve protected the zone where damage actually occurs. Above that line, standard drywall works fine because nothing hits it there. This isn’t decoration pretending to be practical. It’s practical that looks clean.
Visual Flow Into Built In Storage
Most mudroom advice tells you to add hooks and a bench and call it done. That misses the real problem: your eye doesn’t know where to rest, so the space feels chaotic even when it’s organized. Beadboard solves this by creating a visual grid that your brain reads as order, whether baskets are stacked or not. Extend beadboard up both walls and across a low section of ceiling, then anchor a simple shelf or storage cubby within that framed zone. The beadboard becomes the container that holds everything else accountable.
The mechanism at work here is visual hierarchy through material contrast, borrowed from architecture’s use of datum lines. Install beadboard as your datum—the line or plane that everything else references. A storage bench or cubby system mounted on top of beadboard reads as intentional rather than bolted on. Paint the beadboard one color and the storage structure another, and suddenly you’ve created zones without adding bulk. The eye follows the beadboard’s vertical lines up, then stops at where you’ve placed function, making that function feel like it belongs there by design.
Beadboard Styles: Beyond The Basic Bead
The V Groove And Bead Width Game
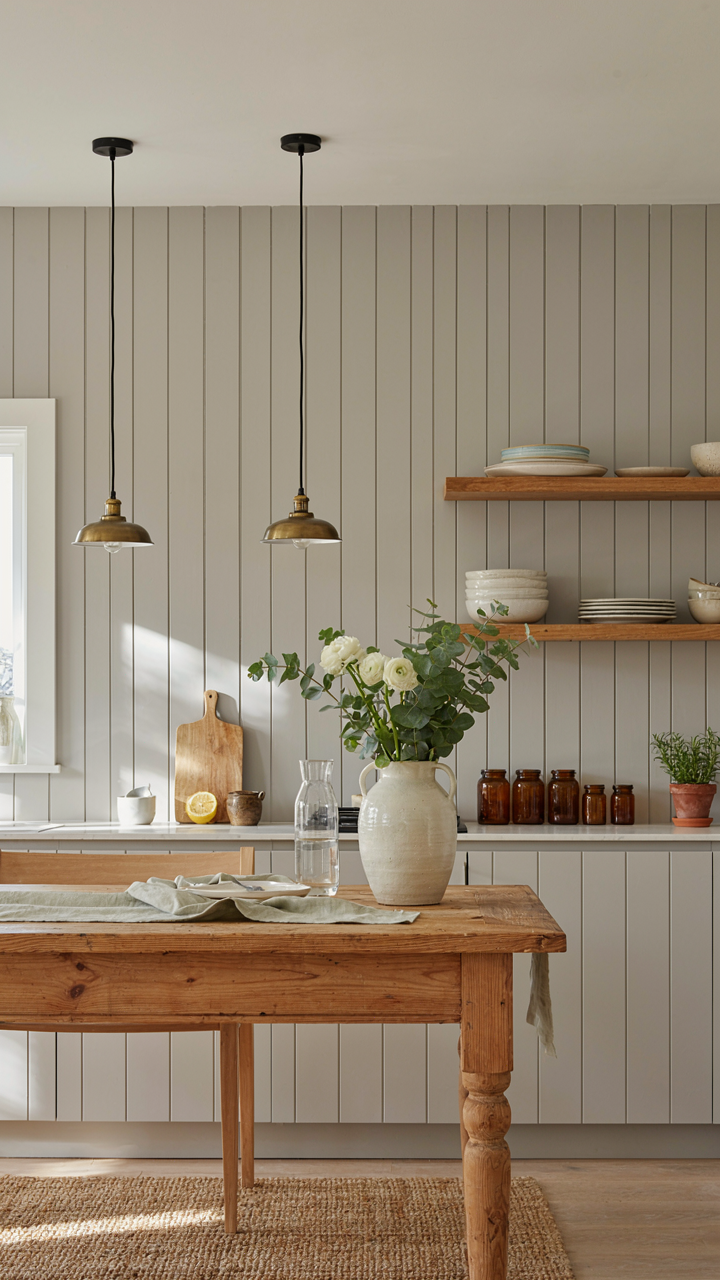
You want to know which one “looks more farmhouse” because you’re afraid of picking wrong and wasting money on material that reads cheap instead of intentional. Here’s the mechanism: V-groove beadboard creates shadow lines between boards, while square-edge beadboard sits flush. The groove depth determines visual weight. Wider beads (typically 3-5 inches) feel period-appropriate to actual farmhouse construction. Narrow beads (1-2 inches) trend toward cottage or coastal rather than authentic farm vernacular.
- V-Groove Profile: Creates distinct shadow lines between boards. Increases visual texture and hides imperfect seams. Standard on walls in 1900s farmhouses. More forgiving during installation and aging.
- Square Edge Boards: Sits flush with no groove. Cleaner, more modern read. Requires precise alignment. Shows gaps and settling more obviously over time.
- Wide Bead (3.5-5 Inches): Matches historical farmhouse ceilings and wainscoting. Fewer boards cover larger area. Creates bold horizontal or vertical lines depending on orientation.
- Medium Bead (2.5-3.5 Inches): Balanced proportion works on both walls and ceilings. Accommodates standard stud spacing. Most common in reproduction farmhouse projects today.
- Narrow Bead (1-2 Inches): Creates busy visual pattern. Requires more boards per wall. Reads more cottage or contemporary than traditional farm aesthetic.

The width choice locks in your labor cost and visual rhythm for years. Pick based on the room size and wall length, not design trends. Smaller rooms suffocate under wide beads. Large ceilings disappear under narrow ones.
Painted And Natural Finish Routes
Most people think the finish is decorative. It’s not. The finish determines whether beadboard ages with character or falls apart. Painted beadboard requires primer, paint, and maintenance every five to ten years depending on humidity and traffic. Natural finishes expose the wood grain, but they demand staining and sealing upfront and periodic refreshing. Both require honest assessment of the room’s moisture environment.
Painted beadboard (white, cream, or soft gray) dominates farmhouse design because it hides wood inconsistencies and reads clean in bright kitchens and bathrooms. Natural finishes (stain or clear coat) work in low-moisture spaces like bedrooms or formal dining rooms where the wood species matters. Knotty pine yellows over time. Birch stays neutral. Pine whitewashes if left unsealed. Pick the finish that matches your maintenance tolerance and the room’s actual function.
Bead Board Ideas: The Anti Generic Playbook
Where Beadboard Actually Works
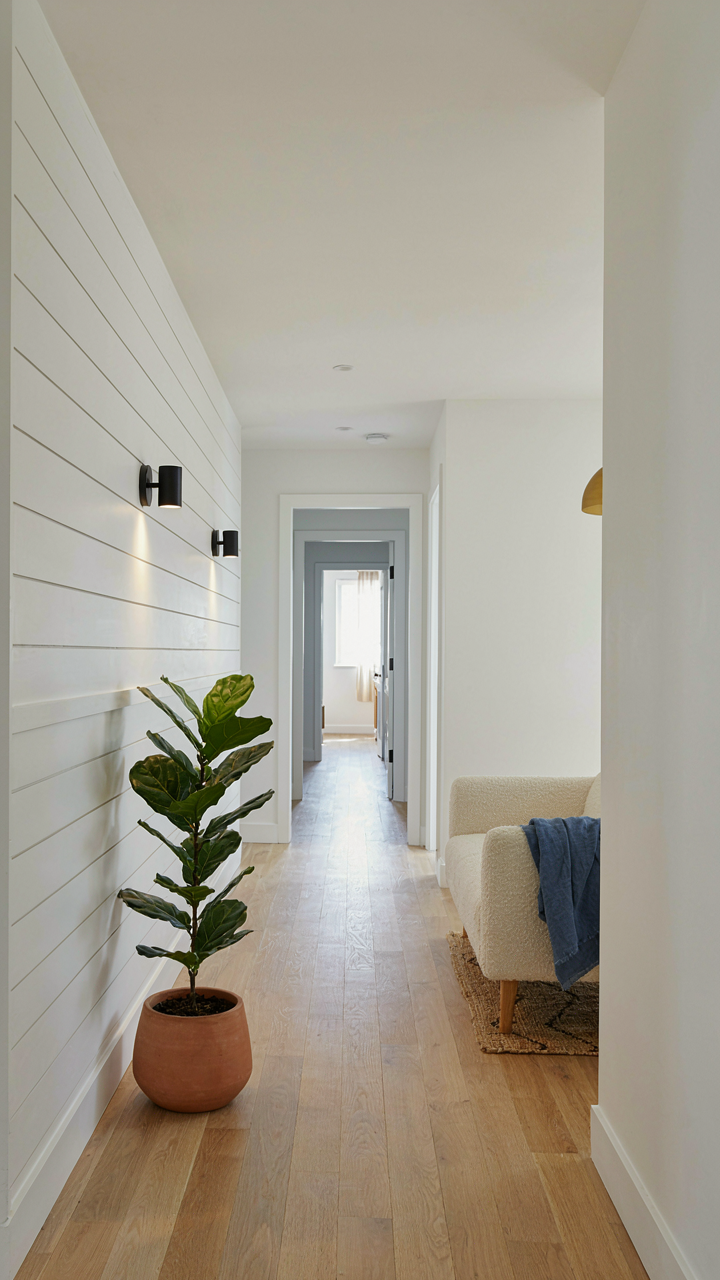
You want permission to use beadboard without looking like you’re copying a Pinterest board. The real mechanism is constraint. Beadboard works because it fills vertical space without requiring skill, and that’s precisely why most people misuse it. They treat it as decoration when it functions as a spatial anchor. Install it where the room has dead zones—half walls between rooms, the upper third of a stairwell, or the wall behind a hutch. These placements solve a real problem instead of performing farmhouse aesthetics.

Unexpected placement forces beadboard to earn its place through function. Run it horizontally across a single wall, stopping at door height instead of wrapping the entire room. Frame a built-in shelving unit with beadboard, letting the vertical grooves guide the eye to stored objects. Use it as wainscoting that terminates at the ceiling in a secondary room rather than in the obvious living areas. The moment beadboard stops announcing itself, it becomes invisible infrastructure that shapes how light and objects sit in the room.
Layering Texture Like Architectural Tension
Borrowed from materials science: beadboard creates stress relief. When you pair it with contrasting surfaces, you’re managing visual tension the same way materials absorb impact. Beadboard against raw brick or stone reads as intentional restraint, not budget constraint. Start with a smooth plaster or drywall ceiling, then introduce beadboard on one wall at chair rail height. This creates a visual break that keeps the eye from scanning the entire room as one static surface. The grooved texture absorbs light differently than flat walls do.
Layer beadboard with thick trim, shiplap, or exposed framing to create depth without clutter. Pair it with matte finishes rather than gloss to let the groove pattern do the work. A room with beadboard on one accent wall and minimal trim elsewhere reads cohesive because the texture carries the weight that ornament usually does. Install beadboard, then mount substantial shelving or cabinetry directly into it so the wall becomes a support system, not wallpaper. The texture becomes functional the moment something rests against it.
The 3 Axis Beadboard Cadence Protocol
When Vertical Boards Stop Feeling Tall
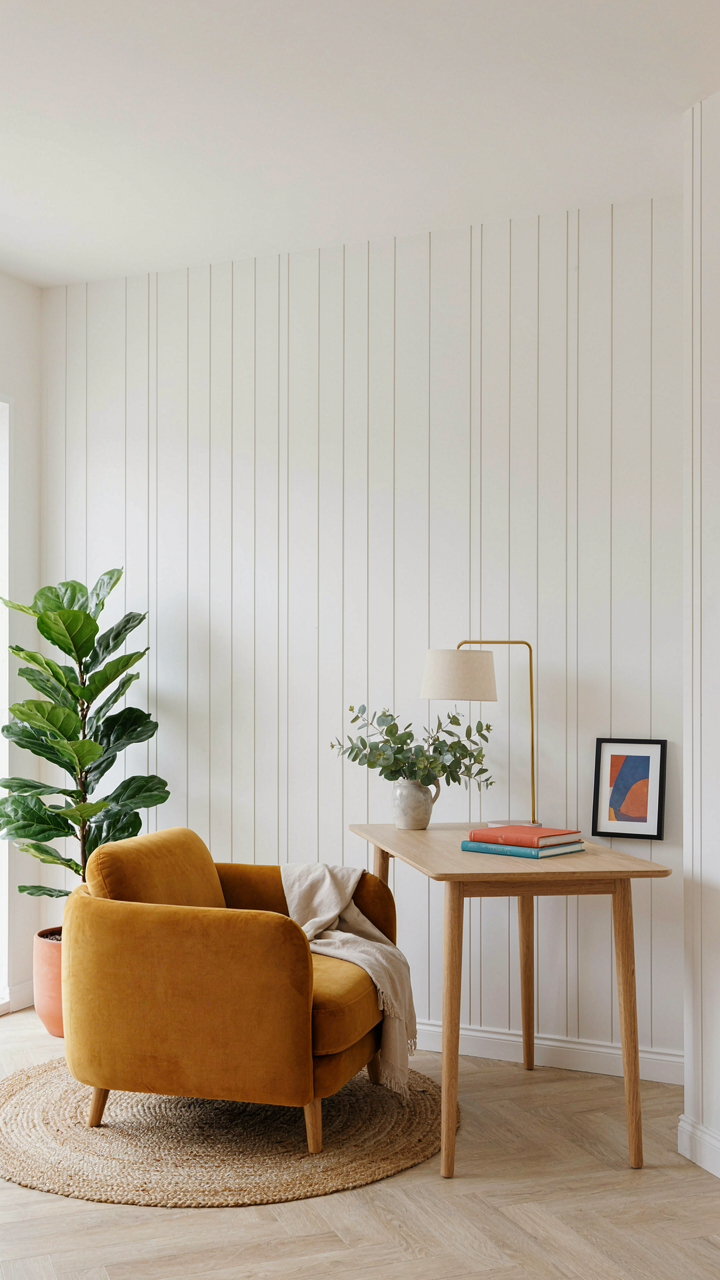
You want the room to feel bigger. That’s the real reason you care about this. Vertical beadboard doesn’t actually make ceilings higher—it trains your eye to move up instead of across. The mechanism is simple: your visual weight follows line direction. Vertical boards create what architects call “visual ascent.” Your eye travels up the grooves and stops at the ceiling instead of settling at eye level where the walls meet furniture.

The lift you get depends on board width and groove depth, not just orientation. Narrow boards with sharp grooves create more visual acceleration upward than wide, shallow grooves. Standard 3.5-inch or 5-inch farmhouse beadboard with pronounced V-grooves works harder than rounded grooves because contrast reads faster. Install vertical boards floor to ceiling without horizontal breaks if the goal is maximum perceived height. Any horizontal trim or color shift interrupts the upward momentum and cuts the effect in half.
Where Horizontal Lines Actually Live
Horizontal beadboard feels wrong to most people because the common advice says it lowers ceilings. That’s incomplete. Horizontal boards create rhythm and compartmentalization, which reads as intentional design, not compression. The real mechanism is repetition frequency. Narrow boards spaced closely create tight visual rhythm. Wide boards with greater spacing create leisurely rhythm. Neither one lowers the room if you anchor the eye properly with trim placement and color.
Run horizontal beadboard only from chair rail height down or from crown molding down to a deliberate stopping point. This prevents the full-wall monotony that actually does compress space. Horizontal boards interrupt sightlines, which forces the eye to scan left and right instead of up. That scanning motion reads as movement and activity, not as a lower ceiling pressing down. Pair horizontal orientation with vertical trim breaks every 3 to 4 feet for rhythm that holds attention instead of crushing height.
Your Real Obstacle Isn’t Beadboard; It’s The Fear Of Design Intent, Masked By Endless ‘ideas’

You don’t need more farmhouse beadboard ideas. You need permission to pick one and commit. Every scroll through Pinterest is another escape hatch from actual decision-making. Beadboard works because it solves a problem: texture, warmth, visual interest. Stop collecting inspiration and start asking what problem you’re solving in your space. Pick your wall or ceiling today. Measure it. Order the material. Design isn’t a feeling you chase. It’s a choice you make.