
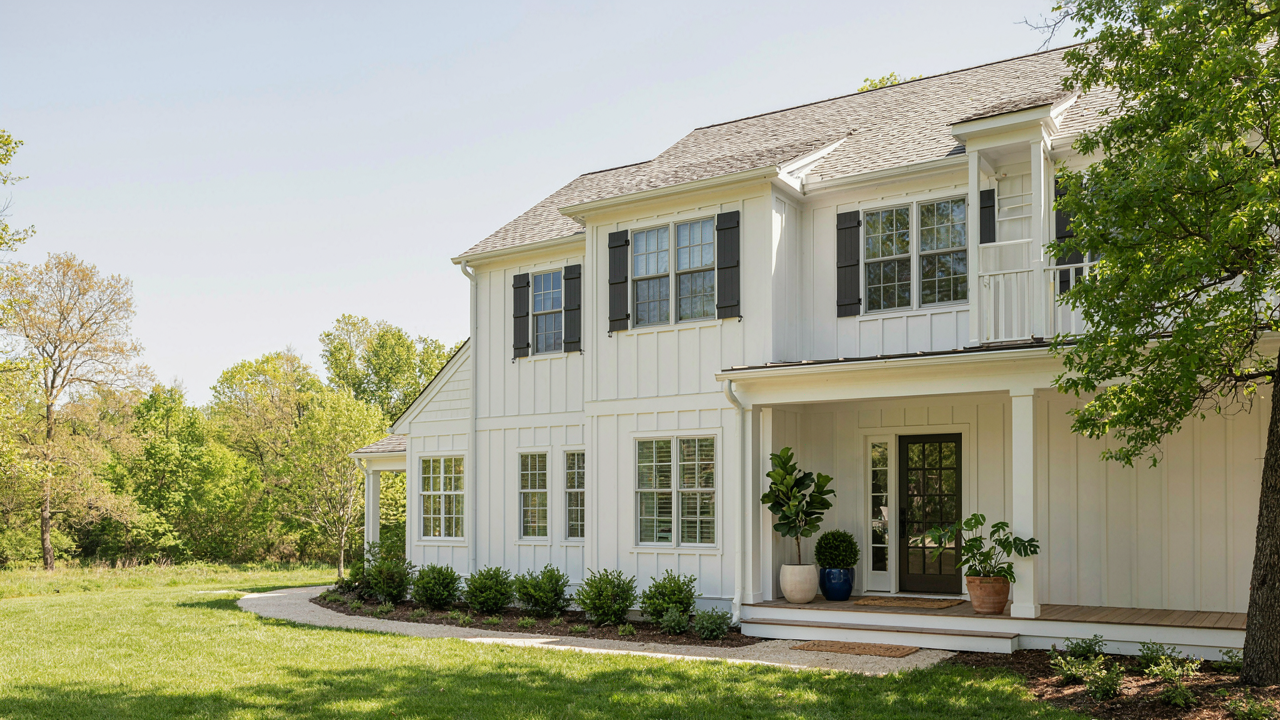
The Shutter Illusion: Why “Farmhouse” Isn’t What You Think
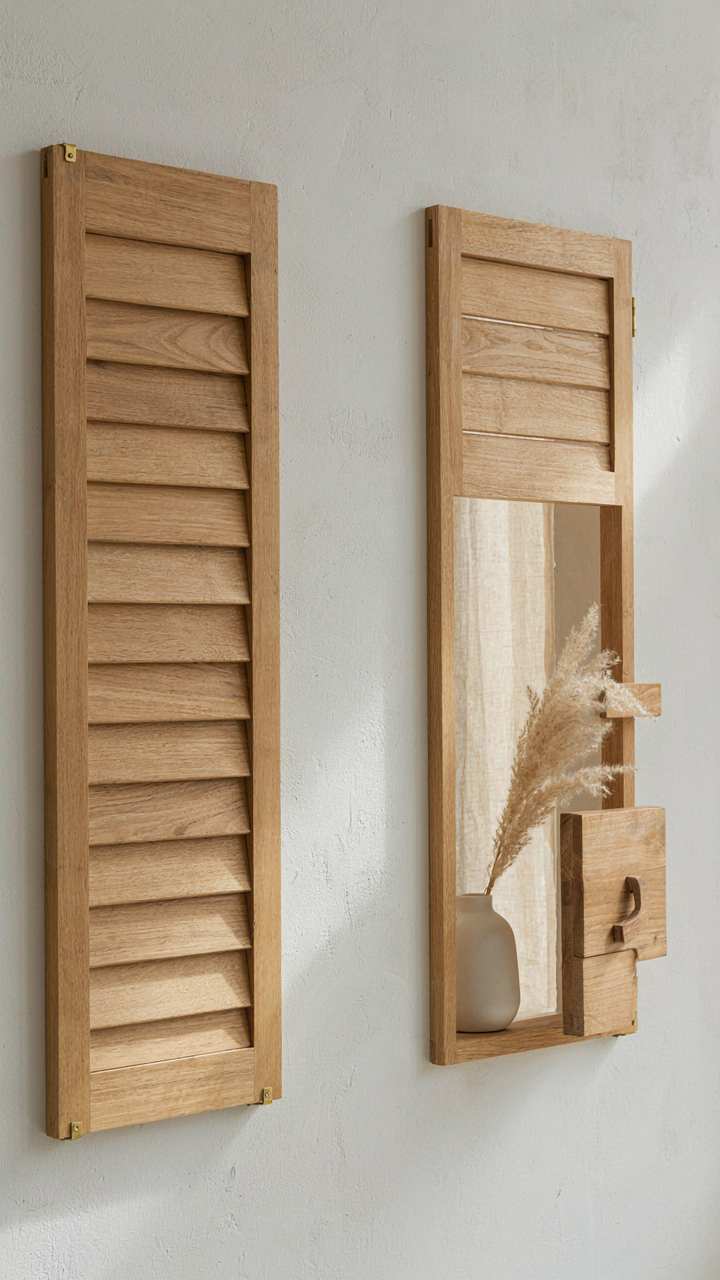
Historical Accuracy Versus What Actually Works
You want farmhouse shutters because they signal taste and restraint to people who matter to you. Here’s the mechanism: most people confuse “farmhouse” with “historically accurate to 1800s agrarian life,” then build shutters that fail at their original purpose because nobody names what that purpose was. Working shutters on actual farms protected openings and controlled light and heat. Decorative shutters that don’t operate are a separate product wearing the wrong label.
The term “farmhouse” became a design category in the 2000s, not a documentation of how shutters functioned in the 19th century. Real barn shutters were crude, heavy, and utilitarian. Modern farmhouse shutters borrow their aesthetic—board-and-batten construction, muted finishes, asymmetrical placement—but abandon their function entirely. You can’t source historically accurate working shutters and install them as decor without understanding you’re choosing a visual language, not recreating history. Accept that swap or you’ll spend money on the wrong product.
Form Follows Purpose, Not Preference
Borrowed from architecture and industrial design, the principle states that an object’s shape must serve its function first, or the form becomes ornamental noise. A farmhouse shutter either operates or it doesn’t. If it operates, it swings, latches, and seals. If it doesn’t, it’s wall trim shaped like a shutter. The market sells mostly the latter because operating hardware costs more and requires installation expertise. Nobody says this plainly, so homeowners install fake shutters expecting the visual benefit without understanding they’re paying for decoration, not function.
The decision point is simple: decide whether you want operating shutters or aesthetic ones, then source accordingly. Operating shutters need proper hinges, latches, and clearance from windows or wall fixtures. Aesthetic shutters attach flat to the wall and don’t swing. Most farmhouse shutters sold today are aesthetic. Choose this without guilt if it fits your budget and home design. What kills projects is hybrid thinking: wanting the look of function without the cost or commitment of actual function. Know which one you’re building before you price materials.
The Timber & Paint Paradox: Beyond Superficial Finishes
Wood Breaks Down From The Inside Out
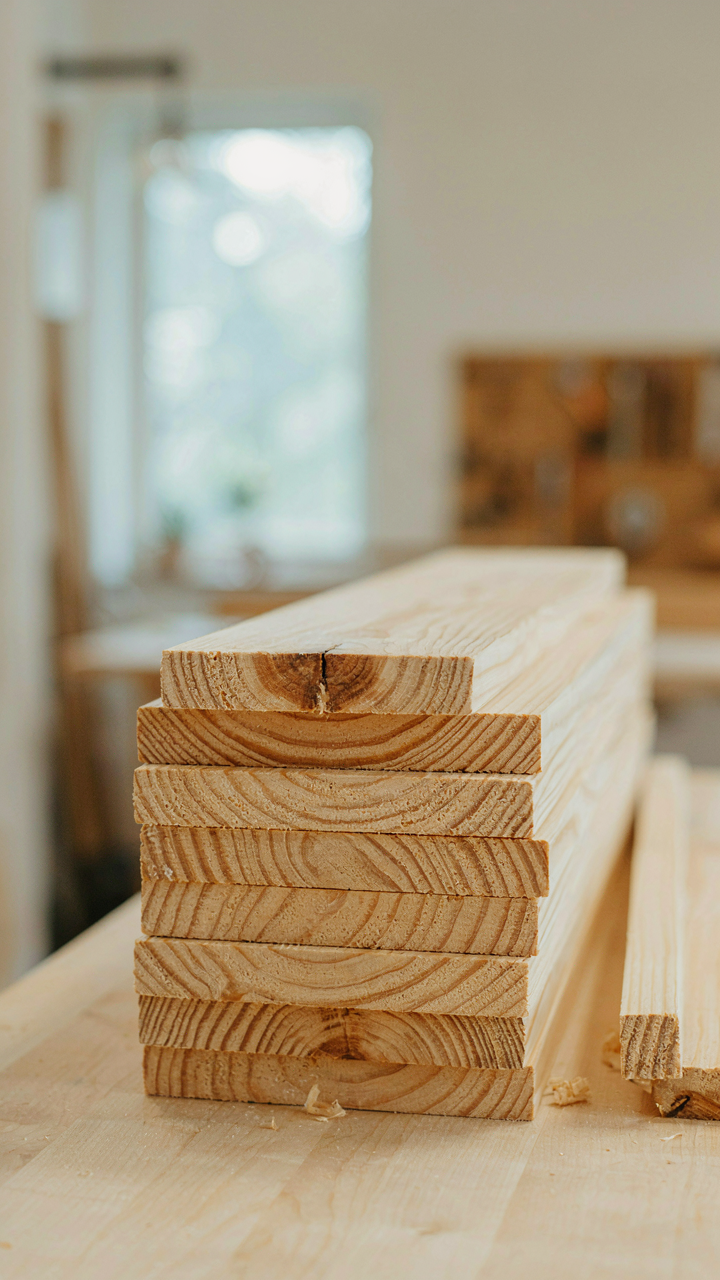
You care about this section because you want shutters that look intentional in five years, not neglected. Here’s the mechanism: wood degrades through moisture absorption and release cycles, not through surface damage alone. Think of wood like a sponge in a physics problem—it expands when wet, contracts when dry, and that constant movement creates internal stress fractures long before paint peels. Farmhouse shutters typically use softwoods like pine or cedar because they’re cost-effective and historically accurate, but softwoods absorb water faster than hardwoods and fail sooner without intervention.

The real degradation happens in grain orientation and end grain exposure. End grain—the wood’s cross-section on edges—absorbs moisture five to ten times faster than face grain. This imbalance causes the wood to cup, warp, or split. Paint alone doesn’t stop this. Proper wood selection, grain direction during construction, and finish application method matter more than which brand name appears on the can. A shutter built with grain running vertically and sealed on all six sides outlasts one that skips end grain treatment, regardless of paint quality.
Paint Functions As A Moisture Barrier
Common advice treats paint as decoration with weather resistance as a bonus. Wrong. Paint is a moisture management system where color is incidental. The paint’s job is to block water penetration into the wood substrate while allowing trapped moisture to escape—a balance that most people skip entirely. Latex exterior paint breathes better than oil-based, which matters for shutters exposed to temperature swings. Shutters painted with oil-based products on the back and latex on the front trap moisture between layers, causing the wood to swell unevenly and paint to fail within two to three years.
Application protocol determines performance more than product choice. Bare wood requires primer first, typically an oil-based primer that seals end grain and prevents tannin bleed. Two topcoats of quality exterior latex follow. Each coat needs proper drying time between applications. Most shutter failures trace back to single-coat applications or primer skipped entirely. The wood preparation step—sanding, cleaning, and patching gaps—takes longer than painting but determines whether the finish holds or fails. Skip preparation and you’re repainting every eighteen months instead of every five to seven years.
DIY Shutters: The Cost Of “Saving Money”

The Labor Math Nobody Wants To Admit
You want to believe you’ll save money doing this yourself. The real reason you’re reading this section is fear that you’re already committed to a bad decision. Here’s the mechanism: DIY shutter work demands specialized tools most homeowners don’t own. A table saw, miter saw, drill press, and quality chisels run two to three thousand dollars minimum. You’ll also need clamps, measuring gauges, and finishing equipment. Most people rent or borrow, eating rental fees and time waiting for availability.

The actual labor multiplier kills the budget. Professional builders complete farmhouse shutters in days. Homeowners take weeks, working evenings and weekends around mistakes. You’ll buy wrong lumber, cut incorrectly, sand again, repaint sections. Every error extends your timeline and your tool rental costs. The hourly rate you’re “saving” often works out to less than minimum wage once you factor in all the dead time.
When Fast Becomes Expensive
Economics calls this the tradeoff between quality and speed. Apply that principle directly to shutters: you choose two of three, never all three. Fast plus cheap means poor timber joinery and paint adhesion. Poor adhesion means repainting in three to five years instead of eight to twelve. Professional builds use mortise and tenon joinery, proper wood preparation, and paint systems designed for exterior wood movement.
DIY shutters typically fail in these areas:
- Wood Movement Accommodation: DIY builders often glue joints solid, preventing wood expansion and contraction. Professional builds use floating tenons and appropriate gaps that allow natural lumber movement without cracking paint or joints.
- Paint Surface Prep: Most DIY efforts skip sanding between primer and topcoat or use insufficient primer. Pros sand to specific grits and apply primer systems that bond to wood chemistry, not just surface.
- Hardware Installation: Improper hinge placement or undersized fasteners mean shutters sag or become difficult to operate within two seasons. Professional installation accounts for load distribution and wood grain direction.
- Moisture Barrier Failure: DIY builders often paint the face and sides but neglect the back and edges where water enters wood. Complete sealing, including back-side protection, prevents rot that ruins entire shutters.
- Stain or Paint Adhesion on Knots: Knots require specific blocking primers that DIY builds skip. Without them, tannins bleed through finish coats within months, forcing complete refinishing.
A professional shutter lasts twelve to fifteen years before needing refresh. A poorly executed DIY build needs repainting or replacement by year five. The second build or refinish eats your savings and doubles your actual cost. Calculate your real hourly rate by dividing total money spent by actual hours worked across the entire lifespan of the shutters.
Cedar Shutters: The Unspoken Investment
Why Cedar Actually Lasts
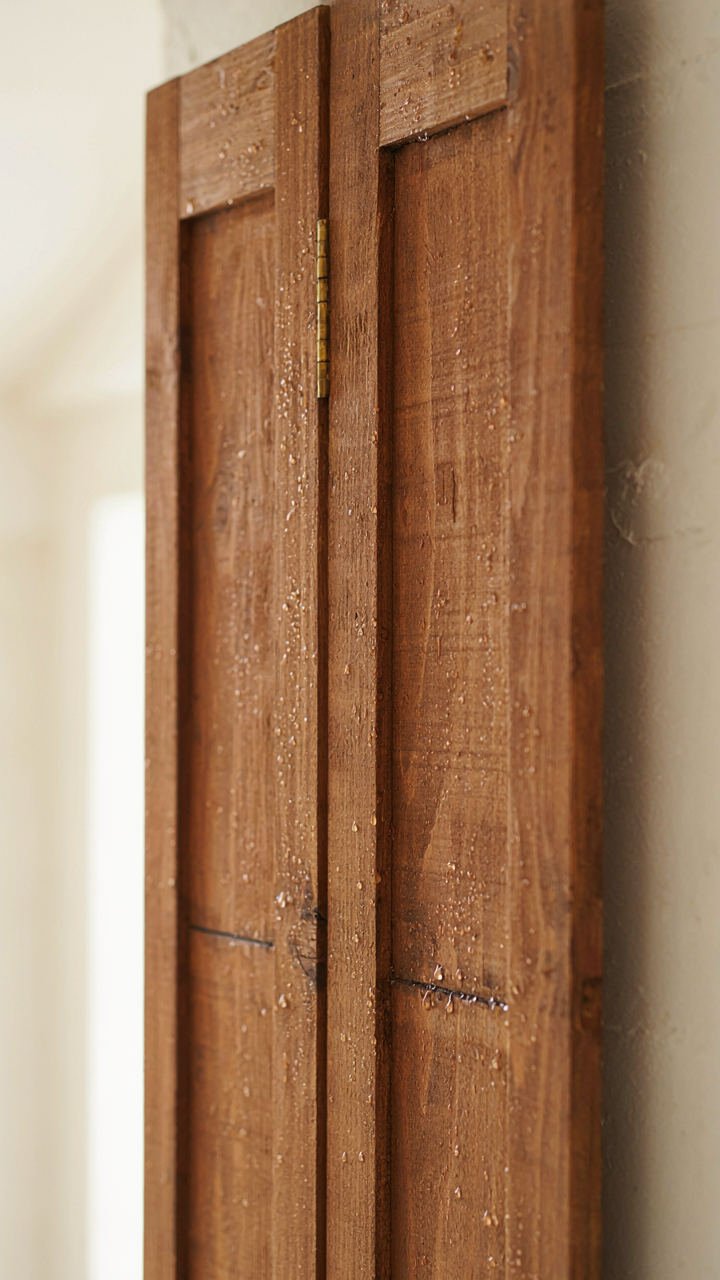
You want cedar shutters because you think they look timeless. That’s the real reason. But here’s what actually happens: cedar contains natural oils called thujaplicins that repel insects and fungi before rot starts. This is a biological defense mechanism, not marketing. The wood doesn’t rot because the tree evolved to survive in wet conditions. Cedar grows in humid regions and developed chemical resistance as a survival trait, not as a design choice. That chemistry transfers directly to your shutters and works for decades without you doing anything except leaving them alone.

The catch nobody mentions: those protective oils deplete over time, especially on shutters facing direct sun and rain. The lifespan varies based on exposure and climate, but cedar typically performs reliably for 15 to 20 years before surface degradation accelerates. You’re not buying permanent protection. You’re buying a delayed maintenance schedule compared to pine or spruce. The investment works because the payoff is genuine, not because cedar is magical.
The Weathering Cycle You Need To Track
Most shutter advice tells you to paint cedar and forget it. This is incomplete and costs you money. Cedar weathers in two distinct phases: the first five years, the wood retains its protective oils and resists damage effectively. After that threshold, exposure compounds and the surface begins checking, graying, and loosening paint. The common mistake is assuming one paint job lasts the life of the shutters. Cedar shutters demand a specific maintenance protocol to perform.
The mechanism is simple: UV light and moisture work together to break down both the wood fibers and paint adhesion. You stop this by sealing the wood every four to six years, not by ignoring it until failure arrives. Your protocol is inspect annually for paint failure or wood checking, sand and re-stain every five to seven years if left natural, or repaint cedar shutters on a similar cycle if painted. Skipping this cycle doesn’t save money. It accelerates deterioration and forces expensive replacement earlier than necessary.
Window Shutters Exterior: More Than Just Decoration
Security And Privacy Control
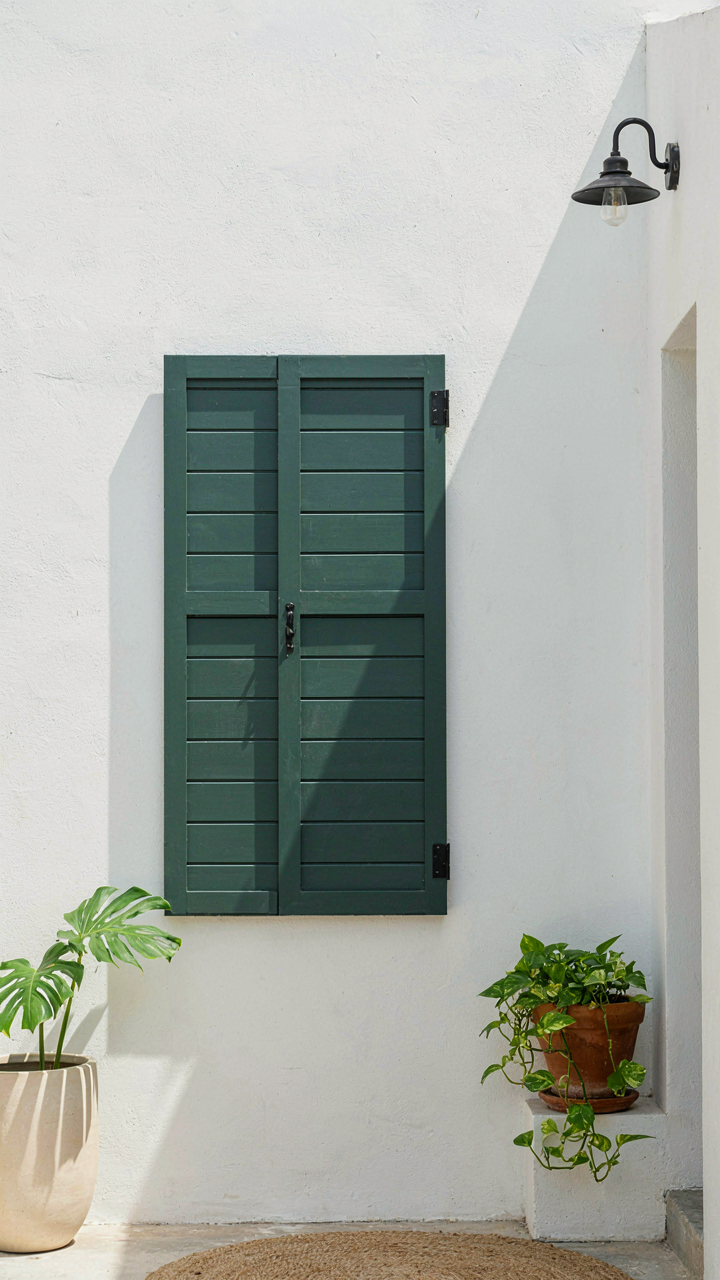
You want farmhouse shutters because you think they look good. The real reason you care is control—over who sees in, what you protect, and whether your property feels defensible. Shutters work as a mechanical barrier, borrowed from military fortification logic: the principle of layered defense. A closed shutter creates friction for entry, forces a decision point, and signals occupancy or vacancy through a visible state change.

Functional shutters—those that actually close and latch—serve as a first-line perimeter. They don’t replace locks, but they eliminate the casual visibility that invites opportunistic attention. A dark interior visible at night broadcasts an empty house. Closed shutters eliminate that signal entirely. The mechanism is simple: no line of sight, no assessment of value or occupancy, no target prioritization. Install shutters that operate smoothly and seal to the frame without gaps.
Thermal Mass And Heat Retention
The common take is that shutters insulate your home. That’s incomplete. Thermal physics doesn’t work that way—shutters don’t add insulation value in the R-value sense because they don’t trap air within their material. What they actually do is manage radiant heat transfer and reduce convective loss at the window plane. A closed wooden shutter at night blocks cold radiating in through the glass and slows the air movement along the frame perimeter.
Farmhouse timber shutters, particularly when fitted snug to the frame, reduce the temperature differential between interior and exterior air at the window. Paint seals the wood grain and improves this effect marginally. The benefit appears in draft reduction and reduced heating load cycling, not dramatic energy savings. For measurable thermal impact, shutters must close consistently at dusk and remain closed through the coldest hours. The protocol is structural—tight fit, wood construction, and disciplined operation become the variable that actually matters.
The Homeostatic Shutter Protocol: Balancing Aesthetics And Environment
Light Control As A Feedback System
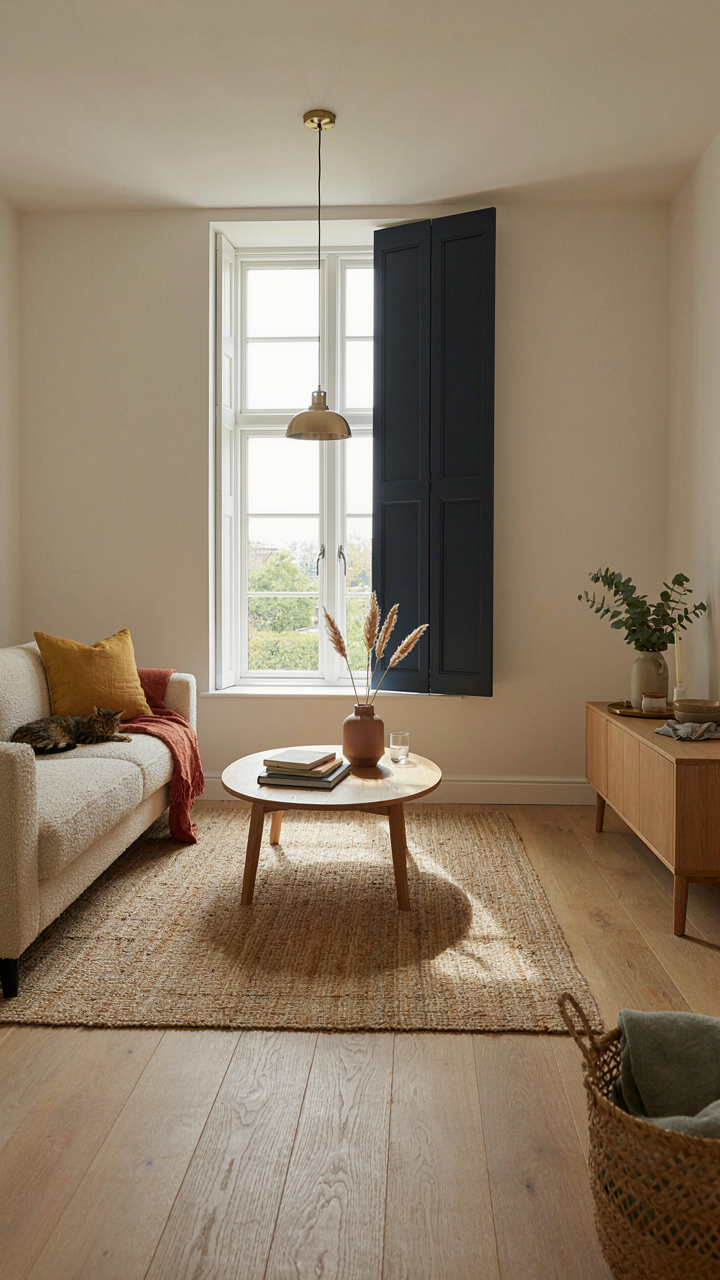
You want shutters that look right but also perform—which means you’re really asking how to stop wasting money on decoration that doesn’t earn its place. Cybernetics calls this a feedback loop: input changes, sensors detect variance, the system corrects. Farmhouse shutters operate exactly this way. Closed shutters reduce interior light by 60 to 80 percent depending on slat angle and material density. Open them and you’ve reversed the signal. The mechanism isn’t mysterious. You adjust the louver angle or swing position, observe the light level inside, then lock the shutter in place. This is active control, not passive decoration.

Most advice treats shutters as one-position fixtures: open all day, closed at night. Wrong. Functional shutters adjust continuously throughout the day based on sun angle, season, and interior needs. Morning east-facing shutters stay partially closed to block low-angle light. Afternoon west-facing shutters close more aggressively as the sun climbs. Painted wood shutters with movable louvers give you this granularity. Fixed decorative shutters give you nothing but visual weight. The performance difference determines whether shutters justify their cost or become expensive waste.
Thermal Mass And Seasonal Efficiency
Thermodynamics tells us that material mass and air gaps control heat transfer rates. Wood shutters create an insulating dead air space between the shutter panel and the window glass. A painted timber farmhouse shutter with a 1.5-inch depth and closed louvers can reduce heat transfer by 20 to 30 percent compared to an unprotected window pane. The mechanism is simple: trapped air resists temperature movement both directions. Winter heat stays in. Summer heat stays out. The paint finish seals the wood, reducing moisture variability that would otherwise compromise the insulation benefit.
Seasonal positioning strategy matters more than shutter material choice. In winter, close shutters during nighttime hours when exterior temperatures drop and interior heat loss accelerates. In summer, close shutters during peak afternoon hours on south and west exposures. This isn’t about aesthetics preference. This is about matching physical placement to thermodynamic reality. Most homeowners install shutters then never move them. Close your shutters during peak temperature differential periods and you reduce your mechanical heating and cooling load measurably over the year’s full cycle.
Outdoor Shutters: Defending Against The Elements
When Wind Becomes Your Shutter’s Enemy
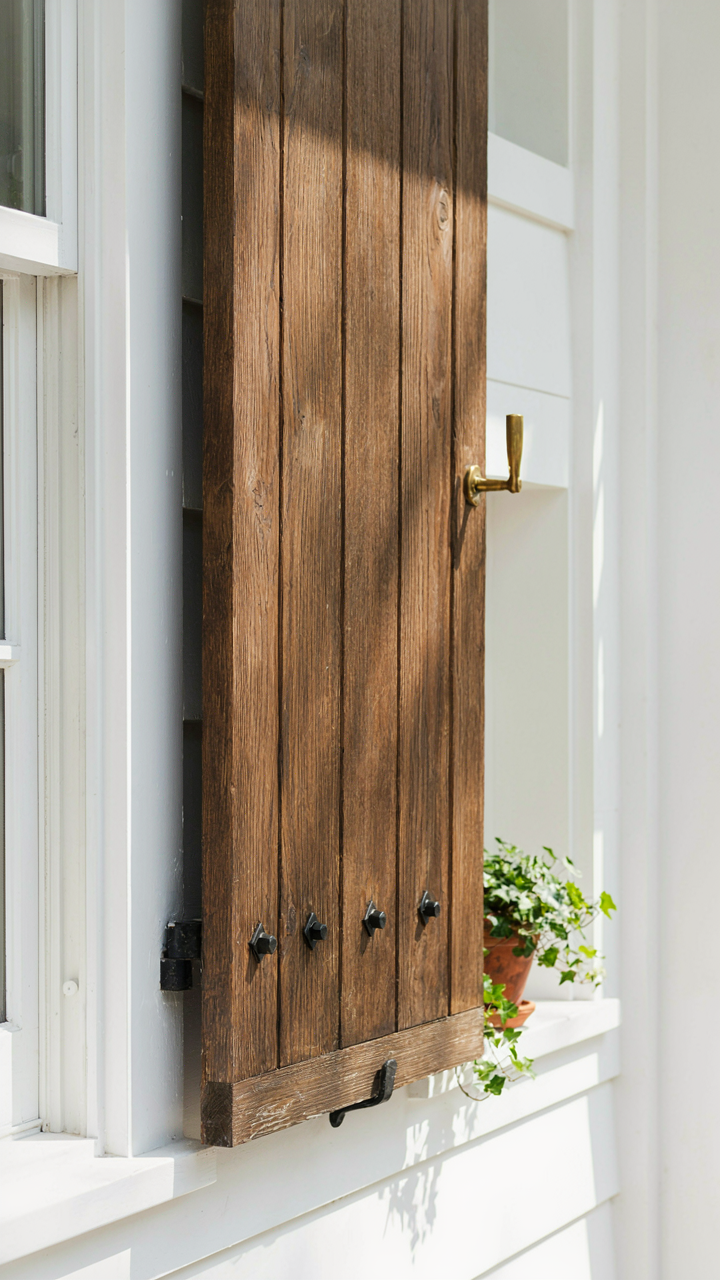
You want shutters that look intentional and permanent, not like they’ll blow off in a storm. The mechanism is simple: impact resistance depends on fastening depth and material density, not aesthetic choice. Wood shutters perform better under lateral force when mounted through the shutter frame into the house framing itself, bypassing the siding. Painted shutters on thinner stock fail because the paint masks wood that’s already compromised by moisture, creating a false sense of durability.

Storm protection requires understanding the load path. Traditional farmhouse shutters used thicker timber and mortise-and-tenon joinery because these distributed wind pressure across the entire frame rather than concentrating it at bolt points. Modern metal fasteners into wood create stress points that split. The real defense is wood thickness of at least 1.25 inches and fasteners spaced no more than 16 inches apart, bolted through the shutter frame and into the house rim board behind the siding.
Paint And Wood Need A Renewal Schedule
Everyone assumes paint protects wood. It doesn’t. UV radiation degrades the wood fiber beneath the paint layer, and painted shutters fail internally before showing external damage. The paint cracks as the wood shrinks and swells with seasonal moisture, allowing water into the substrate. This is not a maintenance problem you can ignore. Painted farmhouse shutters require full recoating every three to five years, depending on climate exposure and paint quality.
The real strategy is to interrupt UV exposure, not just add another coat. Semi-transparent stains penetrate the wood and filter UV rays rather than blocking them at the surface. They allow the wood to breathe while maintaining visibility of the grain. Solid-color stains split the difference: they block more UV than semi-transparent options but still let wood move slightly. Whichever you choose, establish a recoating protocol tied to your gutter cleaning schedule. When you clean gutters, inspect shutters for paint failure and sand, prime, and repaint any compromised areas before moisture penetrates the wood structure.
Cottage Shutters: Scale And Proportion Principles
Architectural Harmony Matching Existing Lines
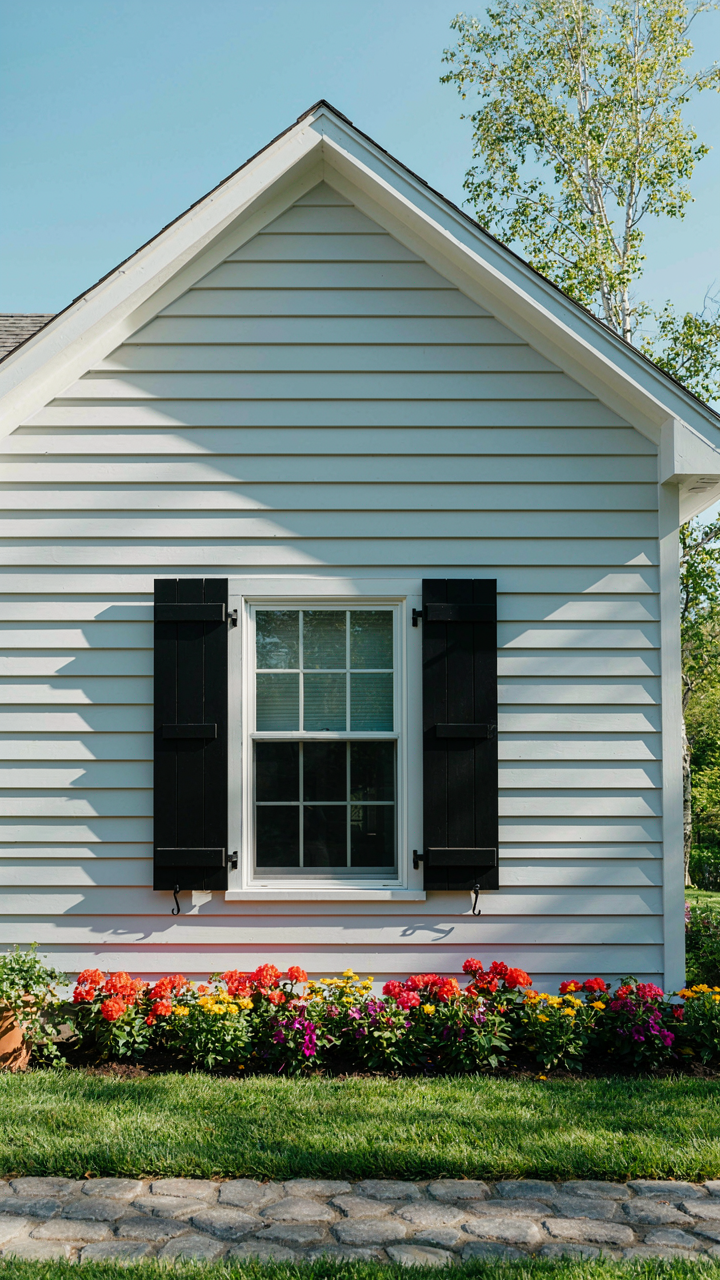
You want your shutters to look intentional, not like an afterthought that signals you didn’t understand your own house. The mechanism is simple: shutters either echo or contradict the vertical and horizontal rhythm your home already established. A farmhouse built with tall, narrow windows needs tall, narrow shutters. A low-slung cottage with squat openings needs stockier proportions. Match the line weight—the visual thickness of your frame—to what’s already there. Shutters that ignore this read as costume.

The real error most people make is scaling shutters to the shutter itself rather than to the entire facade composition. Your shutter height should track with the window-to-wall ratio of your house’s era and style. Early American farmhouses typically ran shutters at 2.5 to 3 times the window width in height. Georgian cottages compressed this ratio. Measure your longest architectural line—roofline, cornice, siding run—and let your shutter proportions echo that same interval. This isn’t decoration. It’s visual grammar.
Visual Weight And Facade Balance
Physics applies to visual design too: load-bearing distributes weight across points, and your shutters are weight-bearing elements on the visual plane. A dark shutter on a light facade carries more visual mass than a light shutter on the same wall. This imbalance can make a symmetrical house look lopsided. Paint your shutters in colors that have the same tonal value as their surrounding wall, or go darker only if you’re adding shutters to both sides of multiple windows in balanced rhythm.
The mechanism that breaks balance is asymmetry without intention. One heavy shutter on a gable reads as broken. Two heavy shutters on matched windows read as intentional contrast. If your farmhouse has uneven window placement—common in additions and renovals—use shutter color and finish to create artificial symmetry. Paint shutters on the heavier side lighter, or leave one wall unshuttered to anchor visual weight to the architecture, not the decoration. This stabilizes the entire composition.
Rustic Shutter Ideas: The Erosion Of Authenticity
When Distress Becomes Decoration
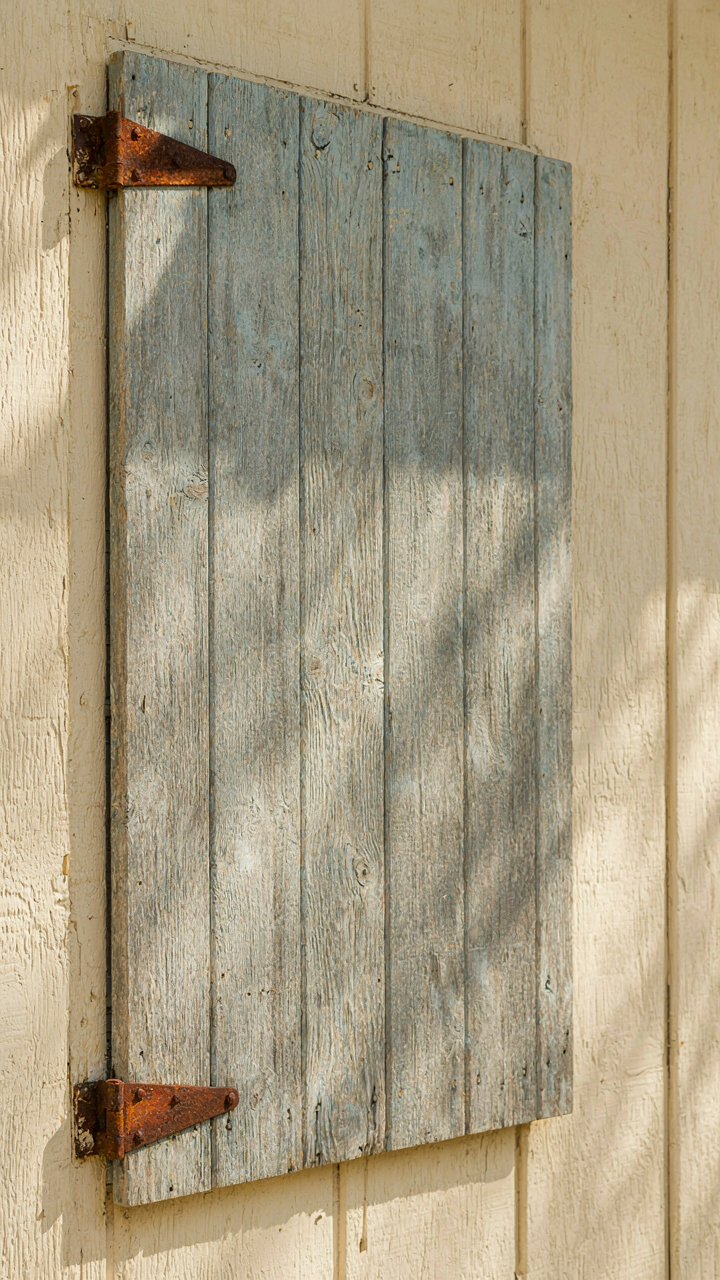
You want distressed shutters because they signal you didn’t try too hard—that effortless, inherited aesthetic that costs three times what clean wood does. The mechanism is simple: artificial distressing uses sandpaper, wire brushes, and chemical stains to simulate decades of weather in hours. Real patina requires actual time. The gap between them is where most farmhouse designs fail. Paint manufacturers now sell pre-distressed finishes. Hardware stores stock “antiquing” products. The market has commodified the look so thoroughly that owning it signals the opposite of what you intended.

Historical shutters show erosion patterns tied to specific exposures. Western-facing wood develops different wear than northern shade. Salt air creates edge-bleaching. Rain runoff creates vertical streaking. Artificial techniques can’t replicate this specificity because they don’t account for the actual physics of your property. A distressed finish applied uniformly to all shutters reads as costume, not history.
Natural Wear: The Evidence Your Shutters Must Show
Farmhouse shutters that lasted more than fifty years show wear in predictable places: hinge stress points, the lower third from water splash, areas where hands grip during opening. Early American structures reveal this pattern consistently. The wood around hinges shows compression marks. Paint fails first where shutters bang against siding. The bottom edge shows splintering and water damage specific to ground-level moisture. None of this happens randomly. The wear tells the operational story of the shutter.
To earn an authentic appearance, your shutters need to age according to their actual function and location. Orient them to face sun and weather. Let them move seasonally with moisture changes. If they’re decorative, accept they’ll remain pristine or paint them flat without texture. The worst choice is the middle ground: stationary shutters with applied distressing. Commit to function or commit to maintenance. The pretense costs more time than either alternative.
The Real Obstacle Isn’t Style Choice, But A Failure To Align Aesthetics With Actual Function

Most people pick farmhouse shutters for how they look in photos. That’s backwards. You pick them because they solve a problem: light control, insulation, or authentic character that matches your home’s bones. The style follows the function, not the other way around. Before you buy anything, write down what you actually need these shutters to do. The aesthetic that wins is the one that works.