
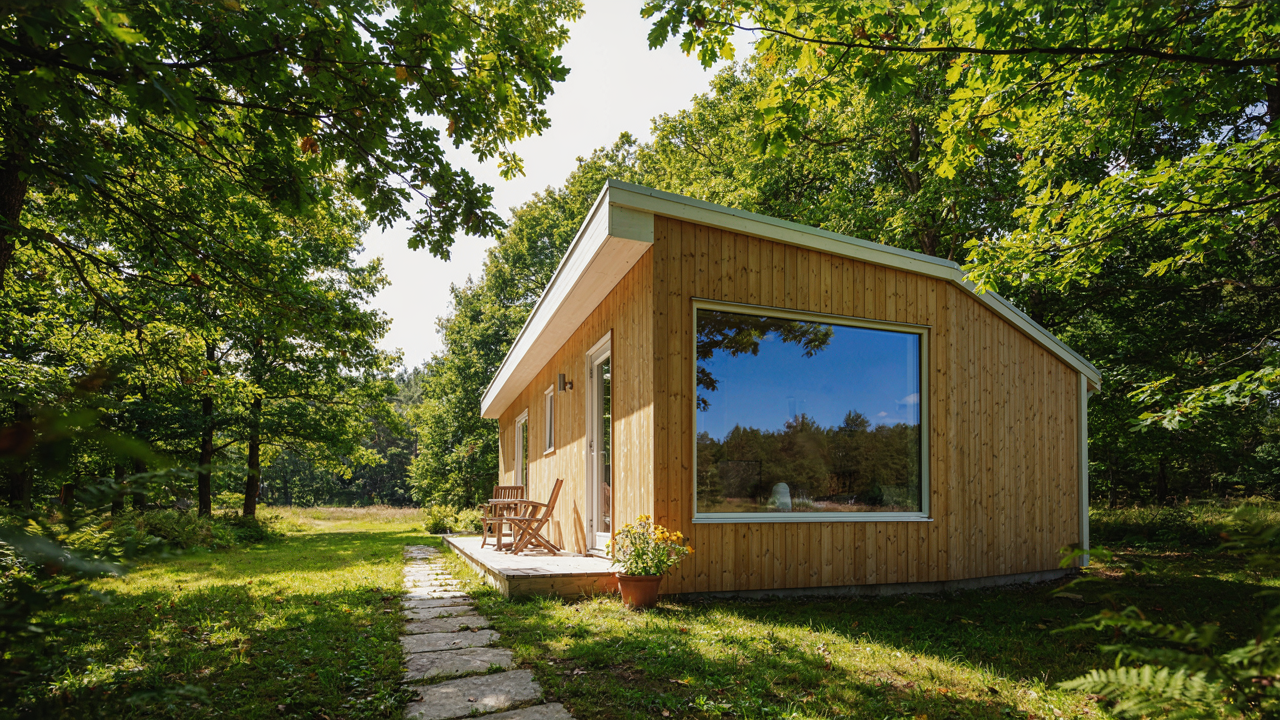
The Shed To Cabin Conversion Delusion: Why Most Fail

The Permit Trap Nobody Mentions Until It’s Too Late
You’re thinking about this because you want to believe the rules don’t apply to you. Here’s the mechanism: zoning enforcement doesn’t care about your intent or budget. It cares about what the land is classified for and what structures are legally permitted on it.
Most jurisdictions restrict accessory structures to specific square footages, setback distances, and intended uses. A shed stays a shed in the eyes of code. The moment you add plumbing, electrical, sleeping quarters, or permanent habitation features, it becomes a dwelling unit. That triggers completely different requirements: separate permits, inspections, foundation specifications, and often impossible-to-meet code standards for a converted structure. Call your local building department before you buy the shed. Ask three specific questions: Can accessory structures be converted to habitable use? What size limits apply? What are the electrical and plumbing requirements? Document their answers in writing. Your weekend fantasy ends in fines or forced demolition if you skip this step.
The Foundation You Can’t Retrofit
Borrowed from structural engineering: load capacity and substrate compatibility determine whether a structure survives stress. A shed foundation was engineered for dead load only, meaning the weight of the structure itself. A cabin foundation must handle live load, which includes people, furniture, snow accumulation, and lateral forces from wind.
Most sheds sit on concrete piers, concrete pads, or blocks with no frost line consideration. This works in stable climates but fails in freeze thaw cycles. When ground freezes, it expands. Shallow foundations heave, crack, and shift. You cannot bolt a habitable structure to an inadequate base and expect it to pass inspection. The real cost isn’t the conversion, it’s the foundation work: full excavation, frost line depth holes, proper concrete footings, and sometimes a complete pier replacement system. Get a soil engineer to assess the existing foundation before you commit money. If it needs replacement, the project cost doubles or triples instantly.
Beyond Pinterest: Real Costs Of A Shed Tiny Home Conversion

What Actually Gets Hidden In Your Budget
You want the number because you’re afraid it’s higher than you can admit to your spouse. The real mechanism is that shed conversions don’t fail on the structure—they fail on the systems nobody sees until they touch the walls. Electrical, plumbing, and insulation aren’t add-ons. They’re the skeleton that determines whether your weekend retreat functions or becomes a glorified storage box that costs thirty grand.

Most sheds ship with zero infrastructure. You’re not upgrading existing systems; you’re installing them from scratch into a box designed to hold tools. Insulation alone costs $1,200 to $3,000 depending on climate zone and material choice. Electrical runs from your main panel and requires either a licensed electrician or pulled permits. Plumbing, if you add it, means trenching or running lines through frozen ground. None of this shows up in the shed’s original price tag.
What Doubles When You Stop Guessing
Contractors know material costs move. You don’t budget for this, so it moves without you. Lumber prices fluctuate based on lumber futures, not sentiment. Copper wire prices track actual commodity markets. When you lock a quote for four months and material costs rise twenty percent mid-build, your contractor absorbs it or stops work. Labor compounds the problem—skilled trades bill by the hour, and permitting delays add weeks.
The mechanism here is lag time. You get a quote in January for a March start. By March, your electrical materials cost fifteen percent more. Your HVAC unit has a twelve-week lead time now instead of six. Labor rates rise quarterly in most markets. Build a contingency line item of twenty to thirty percent of your hard costs, not ten. Then track actual invoices weekly. This isn’t pessimism—it’s reading the actual numbers instead of hoping they stay flat.
The “Utility First” Protocol For Shed House Interior
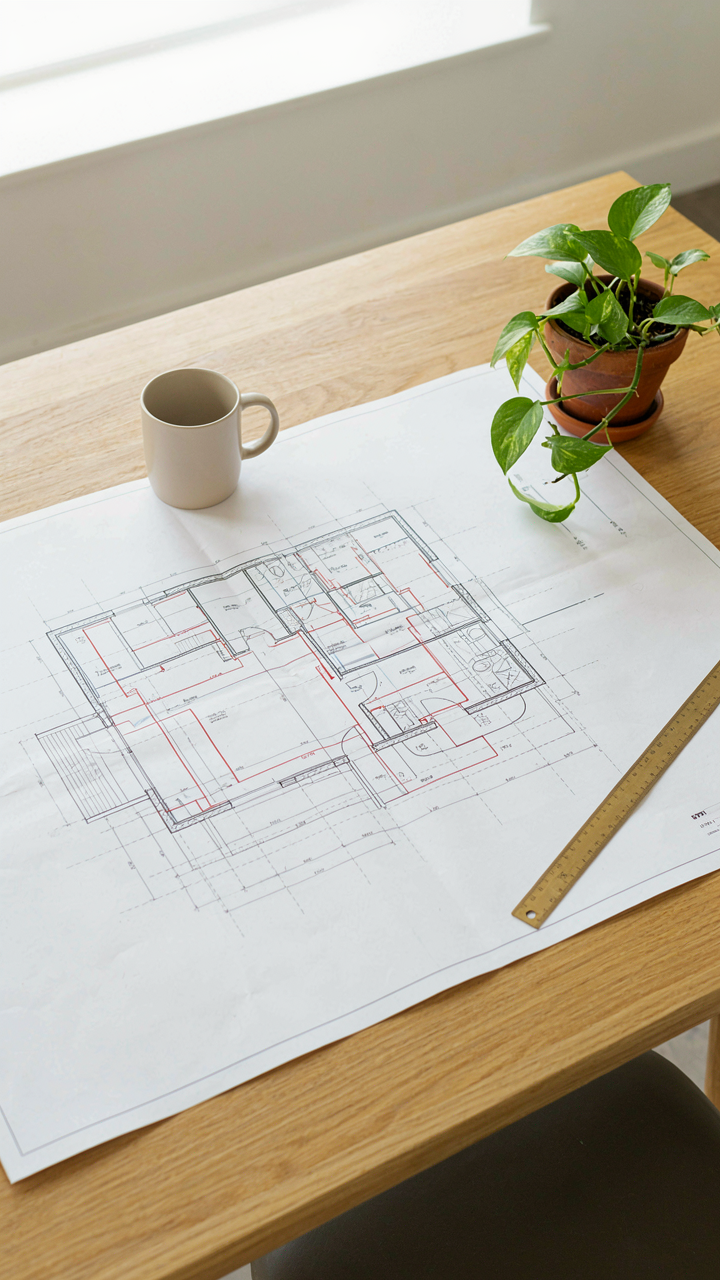
Systems Come Before Surfaces
You want this to look finished on day one. That’s the trap. A cabin with perfect walls and broken plumbing is a money pit wearing new paint. The real mechanism here is load-bearing priority: in structural engineering, load paths determine where force travels first. In shed conversion, utility paths determine where your money and time actually go. Run water, power, and waste removal before you touch drywall. Everything aesthetic sits on top of what actually works.

Most people reverse this. They frame out a bedroom, pick paint colors, then realize the electrical panel should live somewhere else. Now they’re running conduit through finished walls or calling an electrician to redo work. The corrective cost exceeds the preventive cost every time. Map your utilities on paper before cutting into framing. Know exactly where your water line enters, where it drains, where the electrical service connects, and where waste exits the shed. This takes four hours of planning and saves forty hours of reconstruction.
Route, Consolidate, Verify
Before you run a single wire or pipe, establish zones. Electrical conduit and water lines can share a wall cavity if they’re separated by blocking or a chase. This is common in residential framing, but most people don’t apply it to sheds because sheds weren’t designed as occupied spaces. Stack your wet wall on one side of the shed. Run all plumbing through it. Run electrical parallel to it, not through it. Keep HVAC ducting away from both.
- Water supply: Route from entry point through a protected chase on the north or shaded side to minimize freeze risk and UV damage to lines.
- Drain and waste: Slope all drain lines 1/4 inch per foot minimum, running them separately from supply lines, toward the exit point or septic connection.
- Electrical service: Run from your meter or disconnect through conduit in a dedicated path, consolidating all circuits in a single panel location for easy access.
- HVAC return and supply: Separate these paths to prevent short-cycling; place return air intake away from supply duct discharge and exterior walls prone to temperature extremes.
- Waste management: If using a composting toilet or incinerator toilet, locate it away from living areas and water sources; verify local codes permit your chosen system.
Verification is the step people skip. Before you seal walls, pressure-test water lines, circuit-test all outlets with a multimeter, and confirm drain slope with a level. Catching a leak or wiring fault after drywall is up costs three times what it costs now. Document every utility location with photos and measurements. Post a diagram inside the electrical panel and near the water shutoff. Future you, or future owners, will need this.
Structural Integrity: Your Backyard Structures Aren’t A Cabin (Yet)
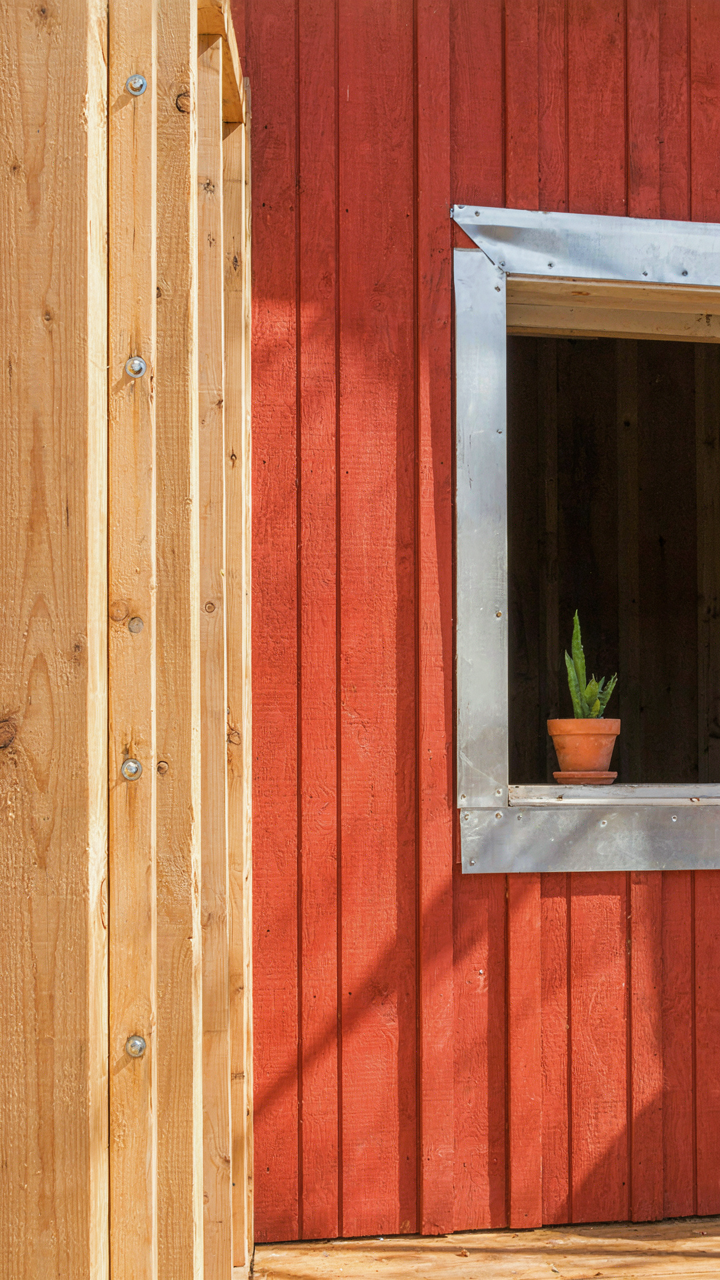
Reinforce Framing And Subfloor For Liveable Loads
You’re afraid the thing will collapse under winter snow or your weight, so you’re reading this section. That fear is rational, not because sheds are inherently weak, but because they’re engineered for dead load only—the weight of the roof and walls sitting still. Liveable load is different. People, furniture, concentrated weight in one corner, snow stacking unevenly—these are dynamic forces a storage shed never anticipated. The mechanism is simple: your shed’s floor joists and wall framing were sized for zero occupancy. Converting it means recalculating load capacity and reinforcing where the math fails.

Start by identifying joist spacing and depth. Most sheds use 2×6 or 2×8 joists spaced 16 inches on center. That works for stored tools. It doesn’t work for a person jumping or a wood stove sitting in one spot. If your subfloor flexes noticeably underfoot, joists are undersized. The fix is either sister joists (bolting a second joist alongside existing ones) or replacing the entire floor with properly graded lumber. This is non-negotiable. Do the math before demolition—measure joist spacing, measure snow load requirements for your climate zone, then consult load charts or hire a structural engineer to confirm your subfloor can handle sustained occupancy.
Weatherproofing And Sealing Against The Elements
Most shed conversion advice tells you to caulk gaps and call it done. That’s incomplete. Weatherproofing is about continuity of the moisture barrier, not random sealing. Think of it through the lens of fluid dynamics: water moves downward and inward along the path of least resistance. A single gap below a window defeats an otherwise sealed wall. Sheds typically have single-wall construction with no continuous vapor barrier. Cabins need it.
Your conversion requires three layers working together: an exterior weather barrier (usually roofing felt or house wrap), proper flashing at all penetrations, and interior vapor management. Flashing is the mechanism that stops water—metal or rubberized strips that overlap like roof shingles, directing water down and away from framing. Install it at every window, door, roof-to-wall joint, and pipe penetration. Caulk seals the micro gaps flashing doesn’t cover. The order matters: flash first, then caulk. Reverse that sequence and you’ve trapped water behind the flashing. Your conversion is only weatherproof when water cannot find a continuous path to the interior framing.
The “Minimalist Leverage” Method For Shed To Tiny House Cabin
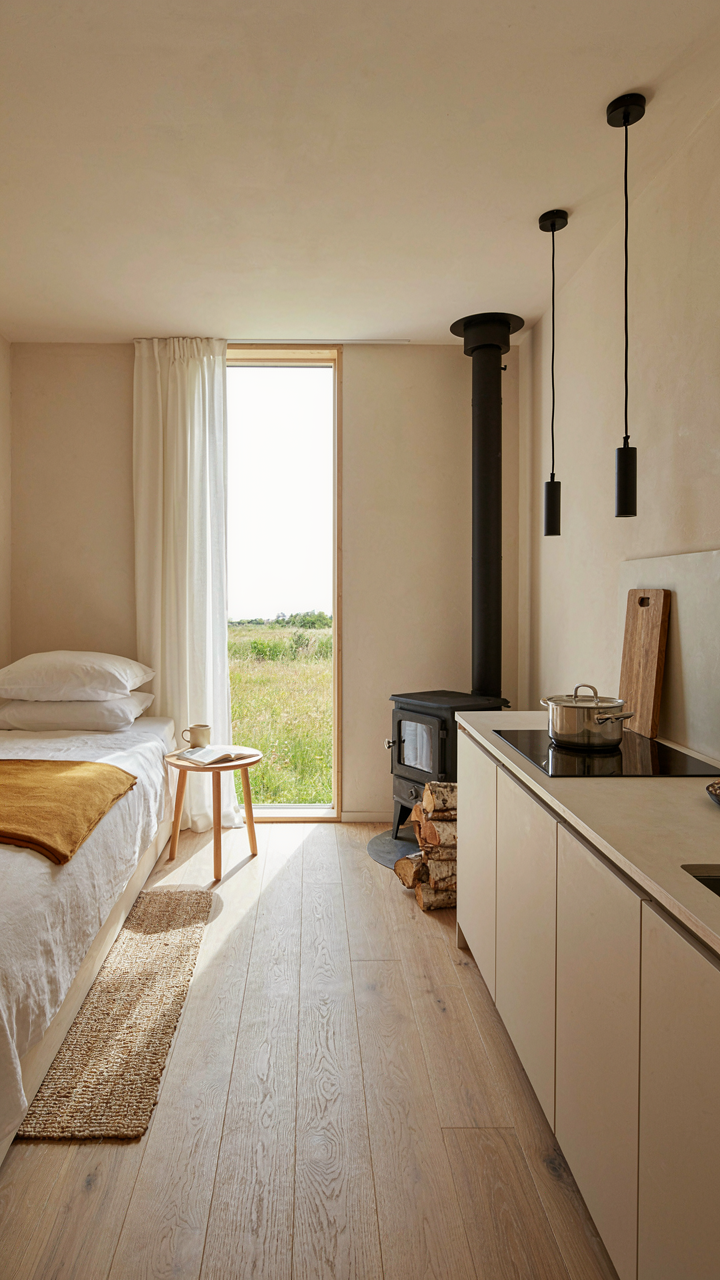
Strip Down To What Actually Works
You want permission to build something small without feeling like you’re settling. Here’s the mechanism: economics calls it the Pareto Principle, and it maps directly onto shed conversions. In most spaces, 20 percent of features generate 80 percent of the utility. A bed. Heat. Light. Storage. Water access. Everything else is negotiable friction masquerading as necessity.

Most conversion guides bloat the spec sheet because they’re afraid of looking incomplete. They list insulation R-values, electrical redundancy, backup systems, finishes that match some aesthetic fantasy. Strip that noise. A functional weekend cabin in a converted shed needs sleeping, climate control, basic cooking, and one usable work surface. That’s the 20 percent. The remaining 80 percent of budget and labor should vanish into those four systems, not spread thin across ten mediocre ones.
Design For Collapse And Reconfiguration
Multifunctional furniture isn’t about looking clever. It’s about owning the same square foot twice. A platform bed with drawers underneath captures dead space. A fold-down desk mounted to the wall claims zero floor area when closed. A bench with hinged storage becomes seating, sleeping overflow, and gear containment in one footprint.
Common advice says pick dual-purpose pieces for aesthetic reasons. Wrong. Pick them because you have finite space and infinite demands on it. A table that converts to sleeping surface, work bench, and dining eliminates the need for three separate structures. Install everything wall-mounted or elevated on legs to preserve sight lines and floor mobility. This is the protocol: measure your core activities, then find the single piece that serves at least two of them. That becomes your anchor. Everything else cascades from the space it opens.
The 16×40 Shed House Interior: Maximizing A Small Footprint
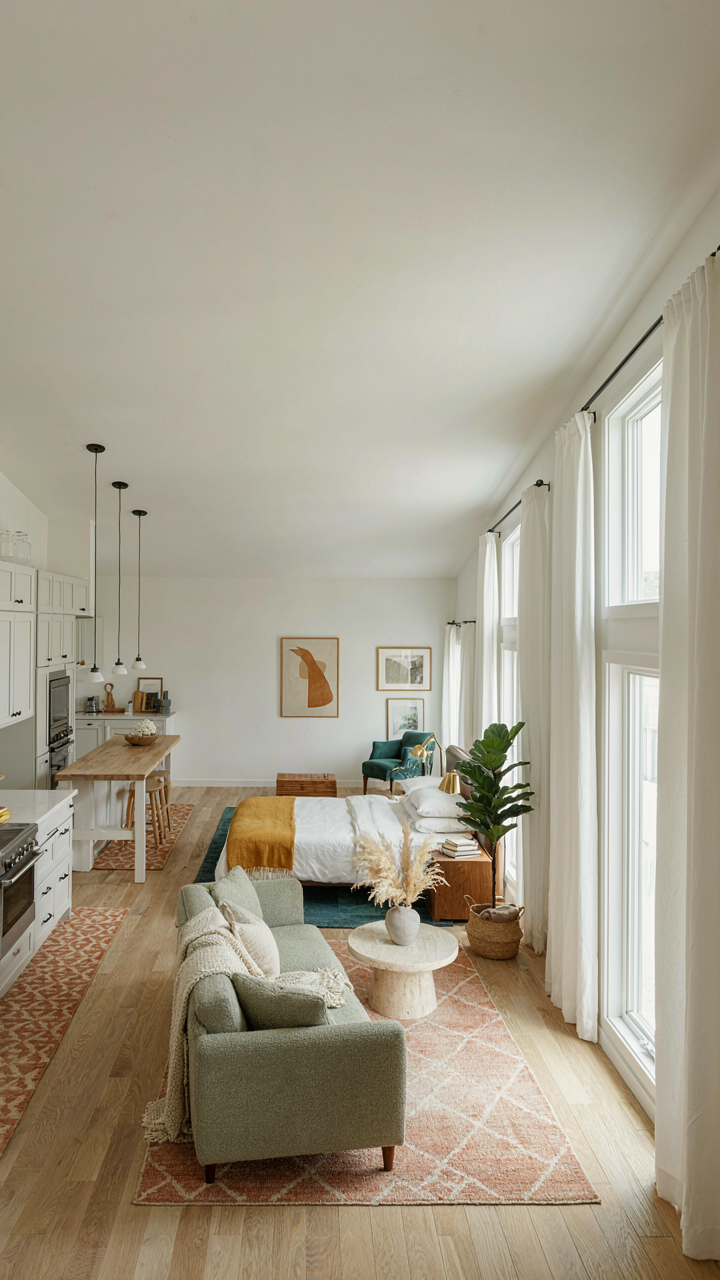
How To Zone Without Walls
You want this to feel like a real home, not a storage unit you sleep in. That’s the real tension. The mechanism is borrowed from retail design: anchor points. Furniture placement and flooring transitions create psychological zones without eating square footage to drywall.

A 16×40 shed gives you 640 square feet. Divide it using furniture orientation, not construction. Position your bed perpendicular to the longest wall. Float your kitchen along one end. Angle the seating area in the middle. This forces movement patterns that make each zone feel distinct and contained. Flooring transitions amplify this. Lay vinyl or tile under the kitchen. Use area rugs to define sleeping and living zones. The eye reads these divisions as real rooms even though sight lines never break.
Built In, Not Added On
Most people buy furniture for cabins and wonder why they feel cramped. The problem is they’re adding mass to an already tight footprint. Built-ins solve this by replacing furniture with construction. Vertical is your only direction now.
Install floor-to-ceiling shelving on at least two walls. This stores 40 percent more than a dresser occupying valuable floor space. Under-bed storage on rolling platforms doubles sleeping zone capacity. Kitchen cabinets mounted 18 inches higher than standard height create overhead storage above counter work. Mount a murphy desk or fold-down table on one wall for work surfaces that disappear when not in use. A murphy bed itself frees 80 square feet for daytime living in a 16×40 footprint. Each built-in removes the need for separate furniture pieces and maintains circulation paths.
Diy Shed To Tiny House: When To Build, When To Buy

Know Your Actual Skill Level
You want to believe you can do this yourself because it feels cheaper and more authentic. The real mechanism is simple: most people overestimate their competence on projects involving structural integrity. Think of it like load-bearing capacity in engineering—your skills have a maximum threshold, and exceeding it doesn’t fail gracefully, it fails catastrophically. A shed converted poorly becomes a liability, not an asset.

Honest assessment means listing what you’ve actually completed, not what you’ve watched videos about. Roofing, electrical rough-in, plumbing, and framing are not beginner tasks. If you’ve done substantial renovations before—not just paint and drywall—you have a foundation. If you haven’t, outsourcing structural work isn’t giving up, it’s being rational about risk and resale value.
The Math Between Diy And Professional Services
Conversion services cost more upfront because they compress risk and timeline. The common advice says DIY saves money, but that assumes zero mistakes, zero callbacks, and zero delay. A professional conversion typically runs 30 to 50 percent higher than solo work, but the actual cost comparison requires you to factor in your hourly rate and the probability of needing to hire someone else to fix your work halfway through.
If you earn meaningful income doing something other than shed conversion, your time has a dollar value. Paying someone to handle the build while you keep working is often the better trade. If you enjoy the work and have genuine free time, DIY makes sense only if you’re willing to accept the project taking two to three times longer than a contractor’s estimate. The decision point is whether you’re trading money for time or time for money.
How To Build A Tiny Cabin: The Unromantic Essentials
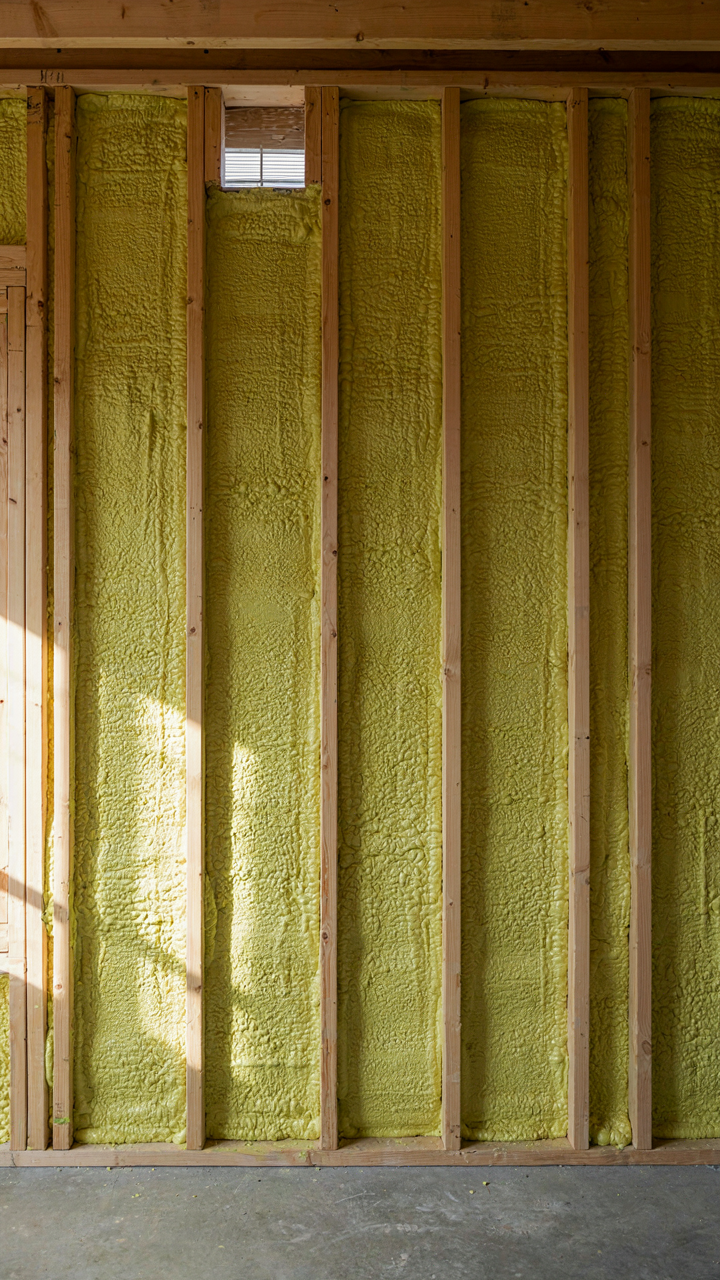
Insulation And Ventilation Strategy
You want people to think you’re roughing it while staying comfortable. The real move is understanding that insulation and ventilation work against each other until you stop treating them as separate problems. Thermodynamics says moisture follows temperature gradients, so your shed walls will rot from the inside out if you insulate without a vapor strategy. Most conversions fail here because builders add insulation and call it done.

The mechanism is simple: warm air holds more moisture than cold air. When that warm air hits a cold surface inside your walls, it condenses. You need insulation that resists this and ventilation that controls it. Fiberglass batts fail in cold climates because they absorb moisture. Closed-cell spray foam works, but it’s expensive. The practical answer is rigid foam board on the exterior (before siding) paired with interior air sealing and a small soffit-to-ridge vent run. This dries your walls to the outside, not inward. Install continuous foam sheathing before your final exterior layer, tape all seams, and run one passive vent from low to high inside the rafter bay.
Heating And Cooling That Doesn’t Drain Power
People assume tiny cabins need tiny systems. Wrong. A shed-to-cabin space loses heat fast because surface area to volume ratio destroys you at small scales. Your 200-square-foot cabin loses proportionally more heat than a 2000-square-foot house. A single propane heater or wood stove works, but it creates dead zones and won’t cool. The real system accounts for the fact that you’re fighting physics, not just comfort.
A mini-split heat pump (single zone) solves both heating and cooling with 70 percent efficiency gains over resistance heat. Mount the outdoor unit on the north side to avoid solar gain in summer. Insulate your ducts if they run outside the conditioned space. Backup with a sealed propane heater for emergency heat when outdoor temps drop below 5 degrees Fahrenheit. Size the mini-split for your actual load, not your square footage, because surface area is your enemy. Run the system on a timer so you’re not heating an empty cabin midweek.
Shed Tiny Home Conversion: Long Term Maintenance And Value
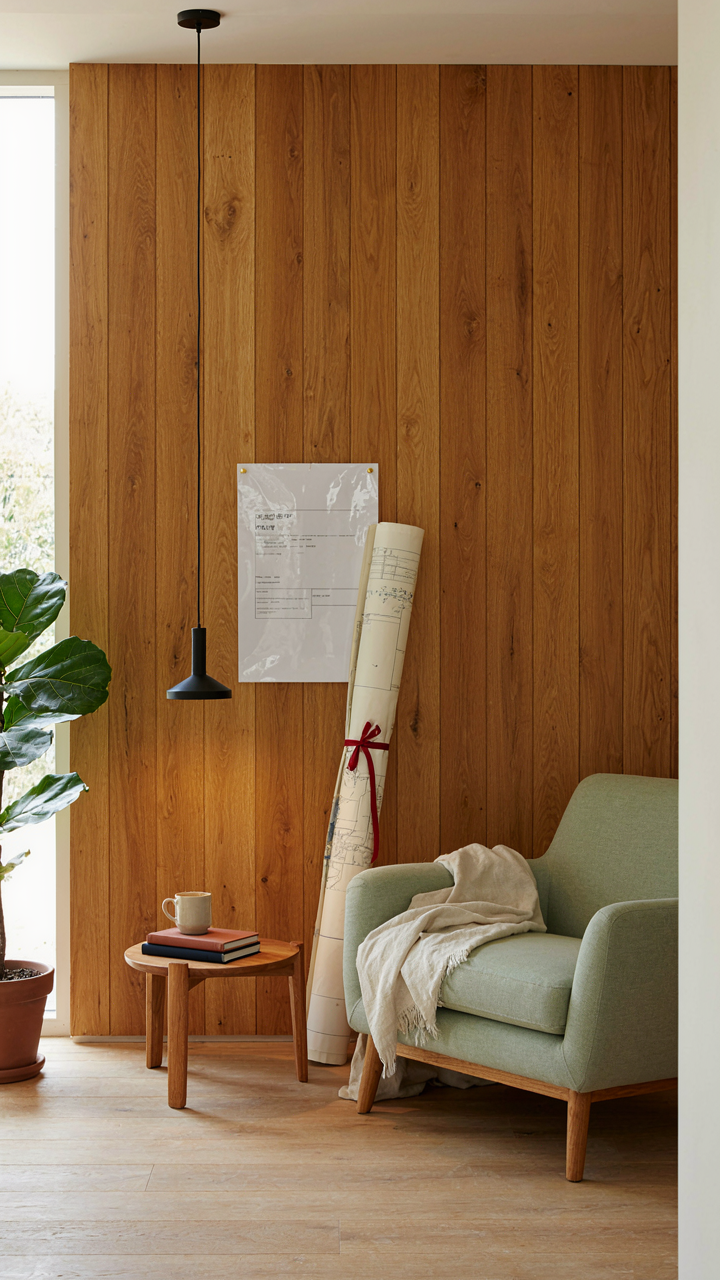
Materials That Actually Last
You’re really asking whether this conversion will still function in ten years without bleeding money. The mechanism is simple: material degradation accelerates in confined spaces with temperature swings and moisture traps. Wood frame sheds fail fastest because they weren’t engineered for year-round occupancy. The framing absorbs moisture differentially, the vapor barrier fails at seams, and rot spreads before you see it. Metal shed frames don’t rot but transfer temperature like a radiator, making insulation your actual structural problem, not the frame itself.

The durable conversion uses materials rated for their exposure, not materials chosen for initial cost. Pressure-treated lumber for the frame, closed-cell spray foam insulation that doubles as air barrier, and metal roofing with proper pitch and drainage. Concrete or gravel foundation with perimeter drainage prevents groundwater from turning your floor into a sponge. Steel or composite decking outlasts wood subflooring in moisture-prone conversions. The single highest-leverage move: run a continuous vapor barrier on the warm side of insulation and seal every penetration with compatible sealant before drywall.
Property Rights And What Conversion Actually Costs
Most people gloss over zoning because it feels like paperwork. It’s not. Zoning determines whether your conversion becomes an illegal structure or an accessory dwelling unit, and that difference is worth thirty to eighty thousand dollars in resale or demolition liability. Check your local setback requirements, lot coverage limits, and whether accessory structures count against them. Many jurisdictions prohibit permanent habitation of structures under a certain square footage, regardless of how well you built it.
Resale value depends on documentation, not finish quality. A converted shed with permitted drawings and certificate of occupancy adds value. The same shed without permits becomes a liability that kills deals or tanks appraisals. Get the conversion officially approved before you wire it up. Insurance companies won’t cover unpermitted structures, and lenders won’t finance property with undisclosed illegal dwellings. Document every material, every system, and every inspection in writing before closing the walls.
Avoiding The Shed Conversion Trap: Building What Lasts
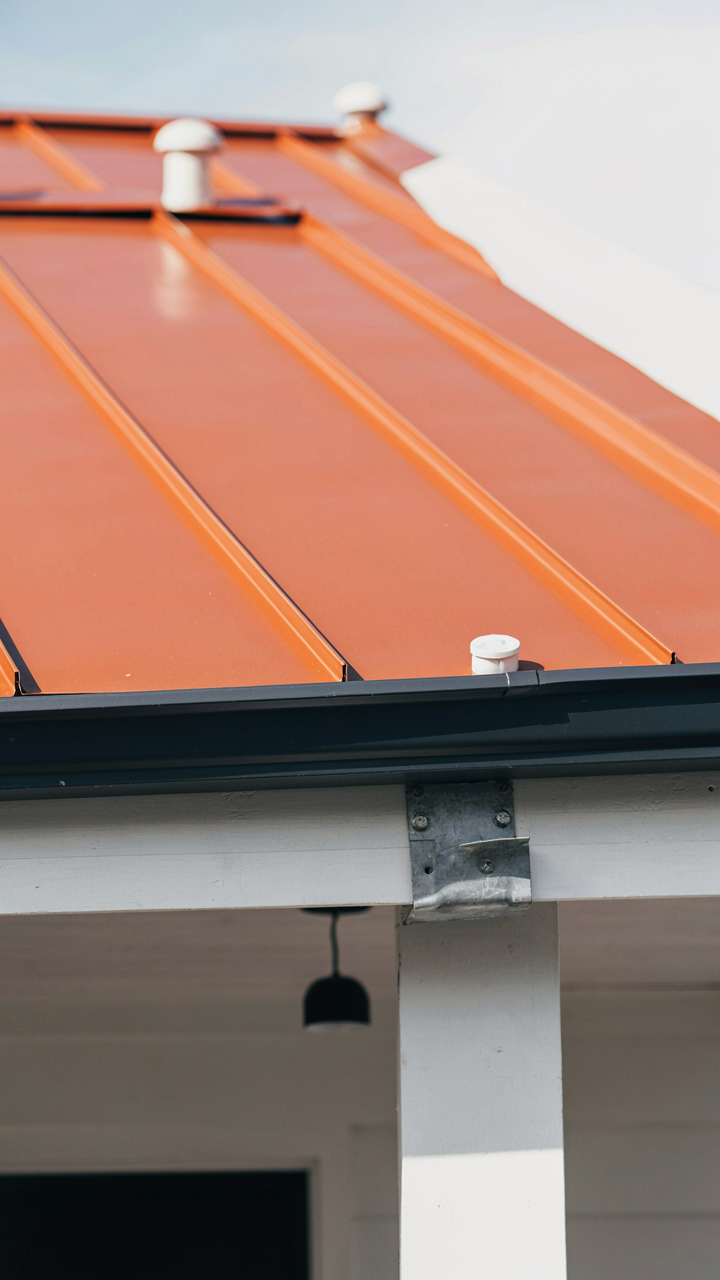
Materials That Don’t Betray You
You’re afraid you’ll waste money on something that falls apart in five years. The real mechanism is this: trendy finishes fail faster than structural decisions, and most people reverse those priorities. Reclaimed barn wood looks exceptional but moves unpredictably with humidity swings. Vinyl plank flooring hides moisture damage until the subfloor rots. Cheap drywall absorbs water like a sponge. The conversions that last use dimensional lumber framing, concrete or gravel foundations that drain, metal roofing or asphalt shingles rated for 25+ years, and plywood subfloors that tolerate seasonal swings. Install a proper vapor barrier before any finish layer touches the walls.
Real durability means choosing materials with a 30-year performance history, not a three-year trend cycle. Steel beams don’t warp. Pressure-treated posts resist rot. Double-layer roofing adds cost upfront but eliminates rework in year seven. Concrete floors in sheds perform better than wood because they handle the wet-dry cycle without structural failure. Spend the markup on materials with proven track records in similar climates. The conversion fails when you prioritize how it photographs now over how it performs in ten years.
Regulations Shift Faster Than You Build
Building codes change every three to five years in most jurisdictions, and zoning boards rewrite habitability rules when enough people do what you’re doing. Shed-to-cabin conversions started as a gray-zone workaround in rural areas. Now municipalities actively restrict them or demand full residential permitting that makes conversion uneconomical. Most people ignore this entirely until they need to sell or apply for a mortgage. The mechanism from real estate economics applies here: zoning code compliance is like inventory risk. You can build outside the rules and hope enforcement doesn’t come, or you can front-load the work and own the asset cleanly.
Check your county’s current setback requirements, foundation specifications, ceiling height minimums, and egress window codes before any construction. Many jurisdictions now require full insulation R-values for structures over 400 square feet, even on seasonal use buildings. Some counties demand structural engineering stamps for any conversion over 200 square feet. A few states classify permanent structures above 500 square feet as secondary dwellings, triggering septic and utility rules. Call your local building department, get their shed conversion policy in writing, and budget for whatever compliance costs they name. Skipping this step creates a structure you cannot legally sell, finance, or occupy year-round without expensive remediation.
Your Real Obstacle Isn’t The Shed; It’s The Belief That Transformation Happens Without Ruthless Execution

Most people will read this and do nothing. They’ll bookmark it, share it, maybe even daydream about their perfect weekend escape. But a shed to cabin conversion demands something uglier than inspiration: it demands you pick up the phone today and get a contractor quote. Not next month. Not when you “have more time.” Right now. The gap between dreamers and people who actually own converted cabins isn’t talent or money. It’s the willingness to move when movement feels premature. Stop waiting for the perfect plan and start with one imperfect action.