
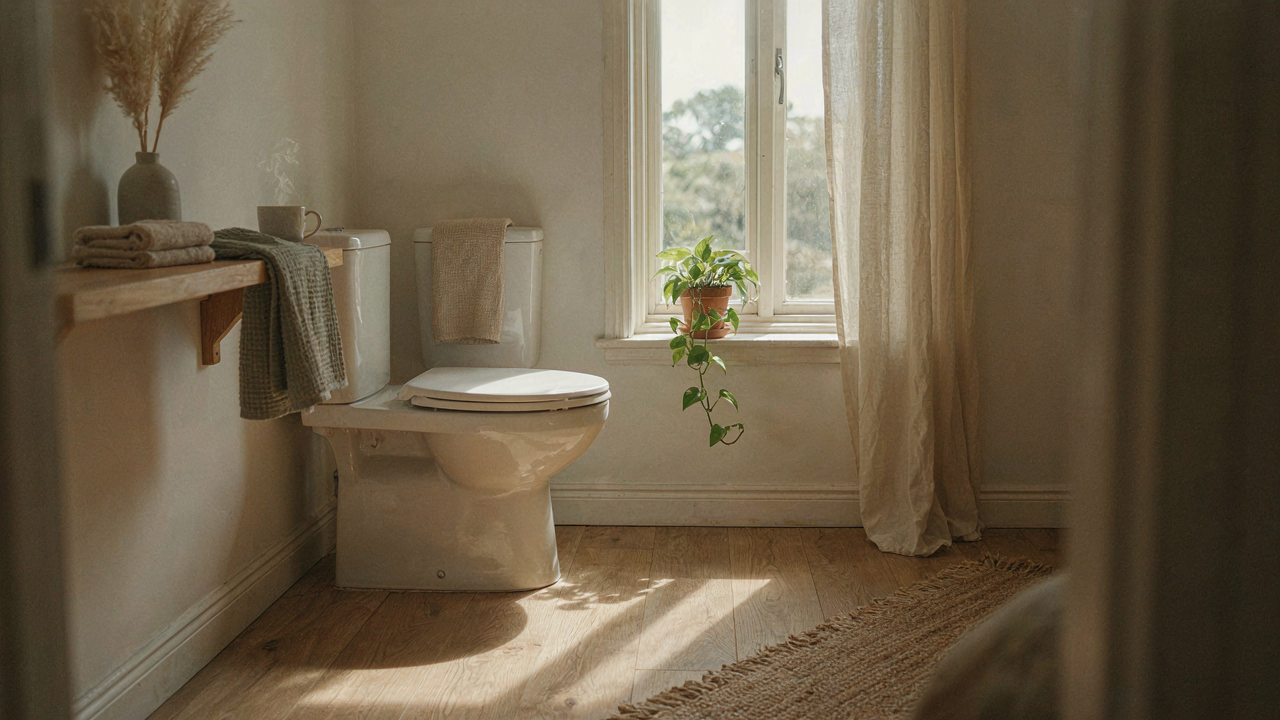
Beyond Shrinking: The “Core Utility First” Protocol For Tiny Cabin Bathroom Design

What Your Body Actually Needs
You want a tiny cabin bathroom to feel luxurious without admitting you’re afraid of wasting money on dead space. The mechanism is simple: luxury in constraint comes from removing friction between you and the functions that matter, not from cramming amenities. A tiny bathroom that works beats a cramped one that pretends to be complete.
Start by naming the three core utilities. Waste removal, water access, and hand washing happen every single day. Everything else is negotiable. A toilet that flushes reliably, water that flows hot or cold on demand, and a sink deep enough to splash in without flooding the floor. These aren’t negotiable because they’re frequent, because they’re health-critical, and because failure forces you into the cabin’s main living space to solve them.
Habits Masquerading As Requirements
Most cabin bathroom designs fail because people confuse their primary residence rituals with actual needs. You don’t need a separate shower stall if a tub drains properly and a curtain rod functions. You don’t need a vanity with storage if you store toiletries elsewhere in the cabin. You don’t need mood lighting, exhaust fans that run for thirty minutes, or a medicine cabinet that doubles as a mirror.
The edit happens here: write down every fixture and feature you’re considering, then ask which ones serve the three core utilities. Everything else is clutter wearing a different name. A pedestal sink with zero storage beats a vanity that eats floor space and creates dead zones under the counter. Removing what doesn’t work frees you to invest in what does.
The Minimalist Matrix: Unlocking Space With Multi Functional Cabin Bathrooms
Going Vertical When Square Footage Doesn’t Exist
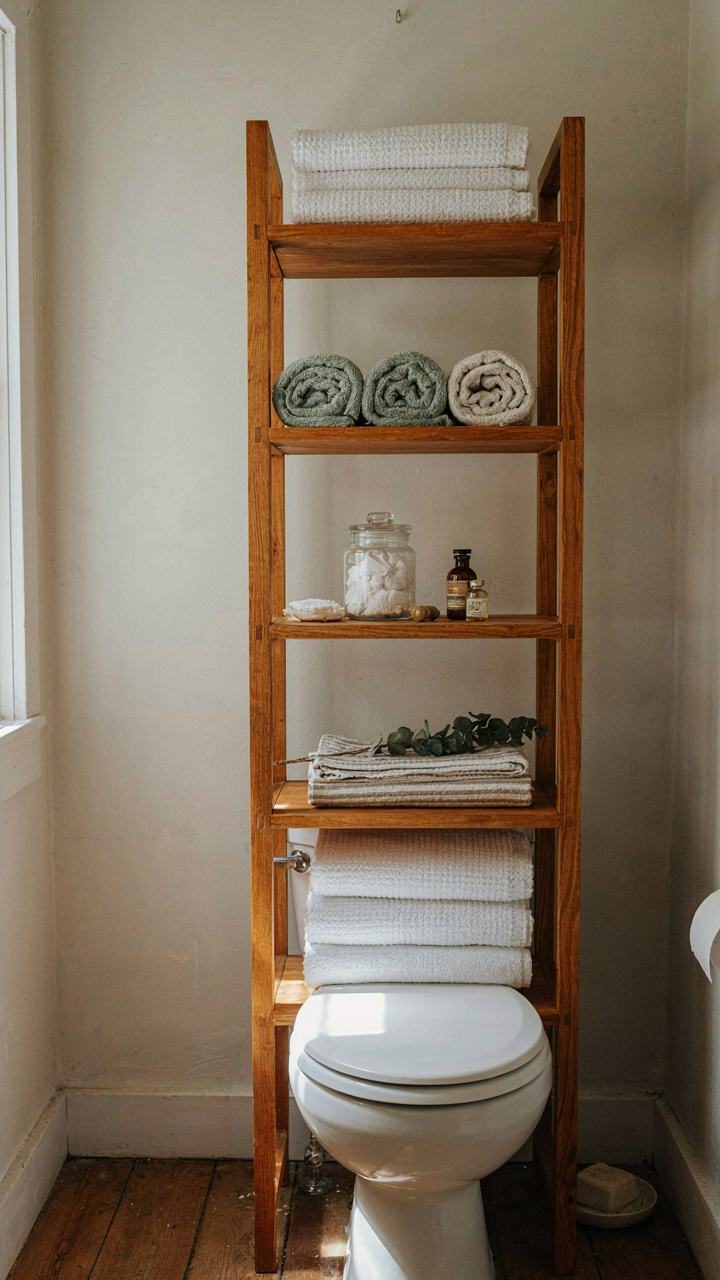
You want to feel like you have more space without admitting you chose a tiny cabin. Vertical deployment is the mechanic. Every inch of wall real estate between floor and ceiling becomes usable surface. Recessed medicine cabinets sit flush inside wall cavities, stealing nothing from the room. Open shelving mounted 6 to 8 inches below the ceiling holds towels and toiletries without eating floor space where you actually stand and move.

Corner shelving units are the standard move, but wall-mounted towers above the toilet are where the real capacity lives. Install a 12 to 18-inch-deep shelf system on the wall behind or beside the toilet. This zone typically goes unused. Recessed niches built during construction offer the best integration, but surface-mounted steel brackets and wood shelves deliver nearly identical function in an existing cabin. Height matters: stack your storage up, not out.
Dynamic Fixtures That Disappear When You Need Floor Space
The consensus on tiny bathroom fixtures is to buy smaller versions of normal things. That’s incomplete. Real space efficiency comes from fixtures that move, fold, or occupy dual states. A wall-mounted sink with collapsible legs folds flat when not in use. A drop-leaf vanity mirrors the principle cabinet makers have used for centuries: reduce footprint by changing configuration.
- Fold Down Sink Benches: Hinged vanities mount to studs and lower for use, then swing flush against the wall to expose floor space for cleaning or movement.
- Retractable Shower Doors: Pocket doors slide into wall cavities or fold accordion style instead of swinging outward and consuming clearance you don’t have.
- Wall Mounted Toilet Seats With Storage: Elongated seats sit above wall-mounted tanks that hide plumbing and double as enclosed storage shelves for cleaning supplies.
- Removable Vanity Tops: Lightweight surfaces lift off permanently mounted bases, letting you access underneath plumbing without demolition and create open counter space on demand.
- Pedestal Sinks With Pull Out Drawers: Slim drawer units integrate beneath traditional pedestal bases, capturing dead space that normally sits empty.
Convertible bathrooms succeed because they stop treating the space as static. The mechanism is behavioral: you configure the room for the task at hand, not for all possible tasks simultaneously. Mount your shower curtain rod on a sliding track system instead of fixed brackets so you can angle it to maximize floor clearance when showering, then reset it for other uses.
Shower House Plans: The “Wet Room” Advantage For True Compact Comfort
Seamless Design Eliminates Visual Clutter
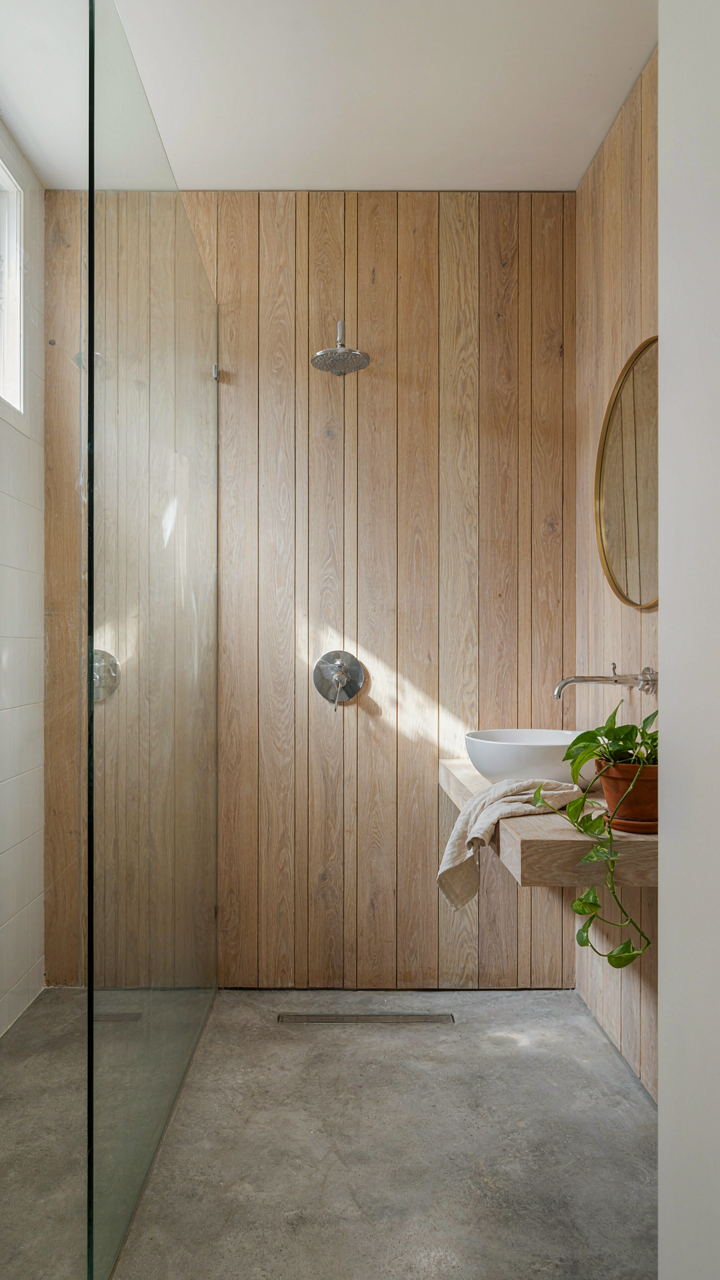
You want the bathroom to feel bigger because a cramped shower stall makes you feel trapped. The mechanism is perceptual: your brain calculates available space through visual continuity. A curbless wet room removes the psychological barrier a threshold creates. The floor slopes imperceptibly toward a central drain, so water moves without pooling. No frame, no lip, no visual interruption—just continuous surface. This costs more upfront but trades expensive square footage for the illusion of it.

The real advantage emerges during daily use. A borderless design lets you mop the entire bathroom as one zone, not around fixtures. Guests see open space instead of cramped quarters. You actually use the full footprint instead of mentally writing off the shower corner as dead. In tiny cabins, this psychological shift matters more than the physical inches saved.
Drainage And Waterproofing System Design
Engineering drainage properly is the difference between a working wet room and mold behind your walls within two years. Borrow a term from civil engineering: gradient. Your floor must maintain consistent slope toward the drain—typically one-eighth inch per linear foot minimum. Most DIYers skip this or guess, then watch water pool in corners. The drain sits lowest, and every point on the floor tilts toward it. You need a pre-slope layer under your waterproofing membrane, or water wicks into framing.
Waterproofing isn’t optional here—it’s structural integrity. Use a full-coverage membrane system rated for wet rooms, not standard shower pan liner. Schluter, Wedi, or equivalent products handle the geometry correctly. The membrane extends up walls at least 60 inches from the floor and seals every penetration. Install the drain first, then build the slope around it. Without this sequencing, water finds gaps. A qualified tile setter or waterproofing contractor runs this phase correctly the first time, which costs less than removing mold and replacing subfloors later.
Cabin Inspired Bathroom Lighting: The Illusion Of Grandeur In Small Spaces
Where You Place Light Matters More Than How Much
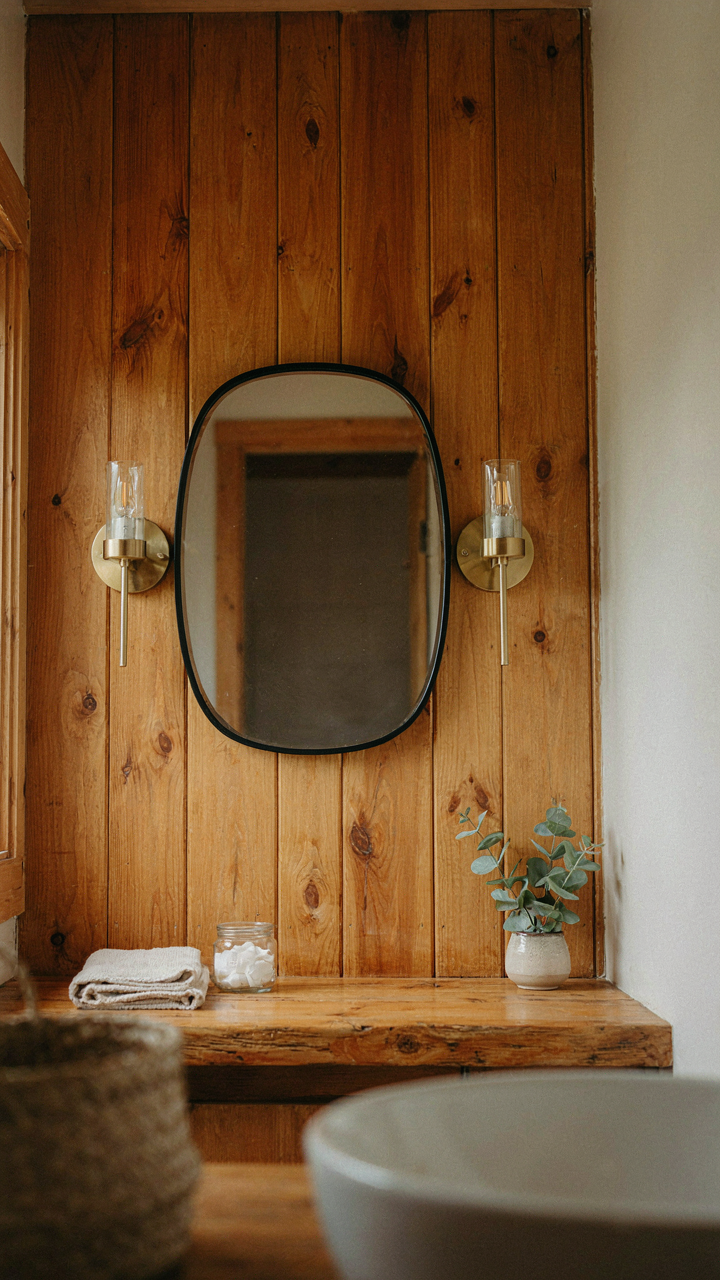
You want people to think your bathroom is bigger than it is. That’s the real reason lighting placement matters in a tiny cabin bathroom. Psychology calls this depth perception. Light behaves like space itself in enclosed areas. When you position fixtures strategically, you force the eye to travel, which registers as distance. A single overhead fixture compresses the room. Angled wall sconces and corner accent lights create shadow play that suggests dimension you don’t actually have.

Mirror placement amplifies this effect because reflected light travels twice through the space. Position your primary task lighting above or beside mirrors, not directly overhead. Ambient light from recessed fixtures near walls pushes the boundaries outward mentally. Corner lighting especially works because the eye assumes something exists beyond what it can see. The mechanism is simple: light draws attention to what’s illuminated and creates perceived space around it.
Layering Light For Function Without Bulk
The standard advice tells you to add three types of lighting and call it done. That misses the point. Task lighting must be efficient because a tiny cabin bathroom has nowhere to hide fixture hardware. Ambient lighting should come from indirect sources like LED strips behind trim or inside cabinet toe kicks. Accent lighting works as visual anchors that break up visual monotony without adding clutter.
Install one strong overhead fixture for task work near the mirror. Use recessed lights spaced evenly along walls for ambient coverage. A single warm accent light in a corner or above a window frame creates visual interest without competing for attention. The protocol is ruthless: every fixture must serve dual purpose or it gets removed. Mount nothing that you can’t justify functionally and aesthetically.
Cabin Bathroom Tile Ideas: Durability, Aesthetics, And Optical Deception
Larger Tiles Compress Visual Noise
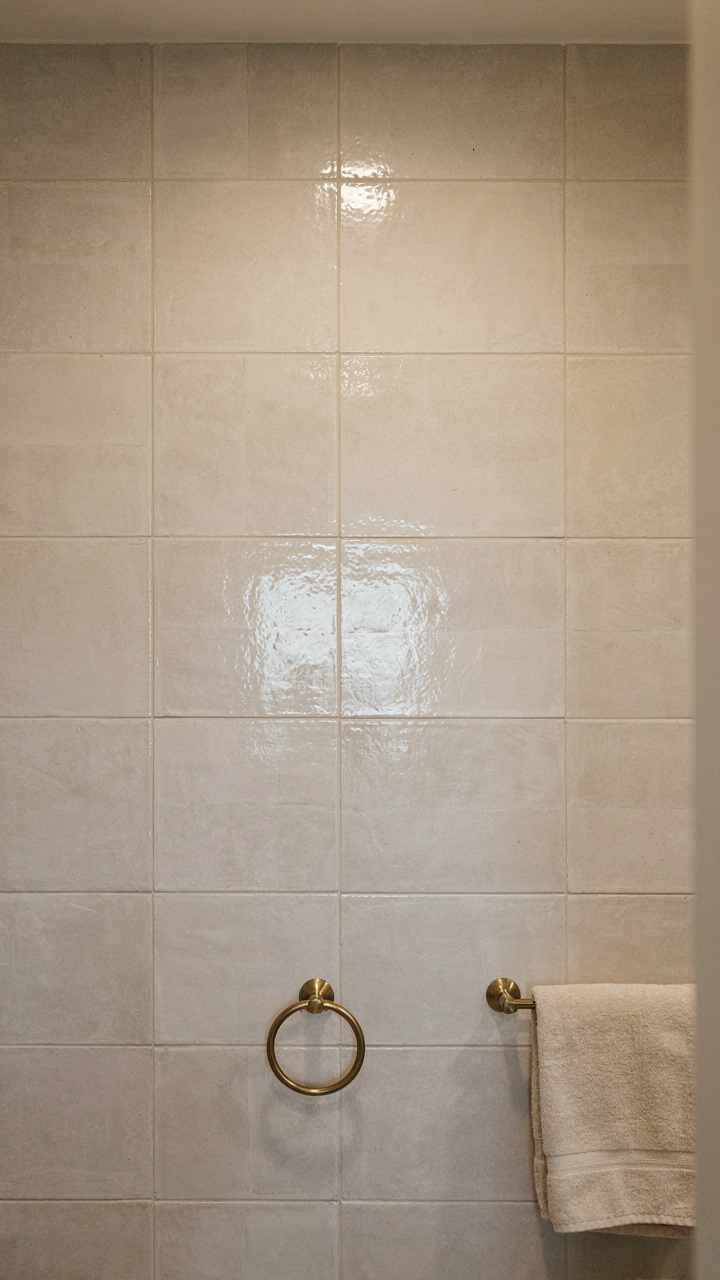
You want the bathroom to feel bigger because you’re uncomfortable admitting space constraints affect your mood. Here’s the mechanism: grout lines are visual interruptions. Optics work like information density. More lines equal more breaks in the visual field, which signals crowding to your brain before you consciously register why. Large format tiles (12×24 inches or bigger) reduce grout line count by roughly 75 percent compared to small subway tiles. Fewer interruptions mean your eye travels farther before stopping, which creates perceived depth in four square feet.

The practical trade is installation cost and skill. Large tiles demand flat substrate and precision layout. Mistakes become obvious because there’s nowhere to hide misalignment. In a cabin bathroom, substrate preparation matters more than tile size itself. If your walls aren’t flat, large tiles will telegraph every bump. Small tiles forgive imperfect walls through grout line variation. Choose large format only if your cabin framing is actually square, which most aren’t.
Light Tiles And Reflective Surfaces Magnify Available Light
Reflectance is a physics principle. Darker surfaces absorb light wavelengths; lighter surfaces bounce them back into the room. A matte cream tile reflects roughly 40 to 50 percent of incident light, while glossy white ceramic or glazed porcelain reflects 60 to 75 percent. In a cabin bathroom with one or two windows, this difference is measurable. Reflective finishes don’t create light they amplify existing light by bouncing it across walls and into darker corners before it dissipates.
But here’s what gets missed: matte finishes hide water spots and soap residue far better than glossy ones. In a tiny cabin bathroom where everything sits inches apart, visible grime compounds the cramped feeling. The tactical choice is glossy tile on walls (for light amplification) and matte on floors (for maintenance and slip safety). Install glossy tiles only in zones where water spray is direct—the shower surround. Use matte in the rest of the bathroom. This hybrid approach gains light benefits without the maintenance burden of a fully reflective interior.
The “Cabin Core Bathroom” Aesthetic: Raw Simplicity Over Rustic Clutter
Materials That Actually Age Well
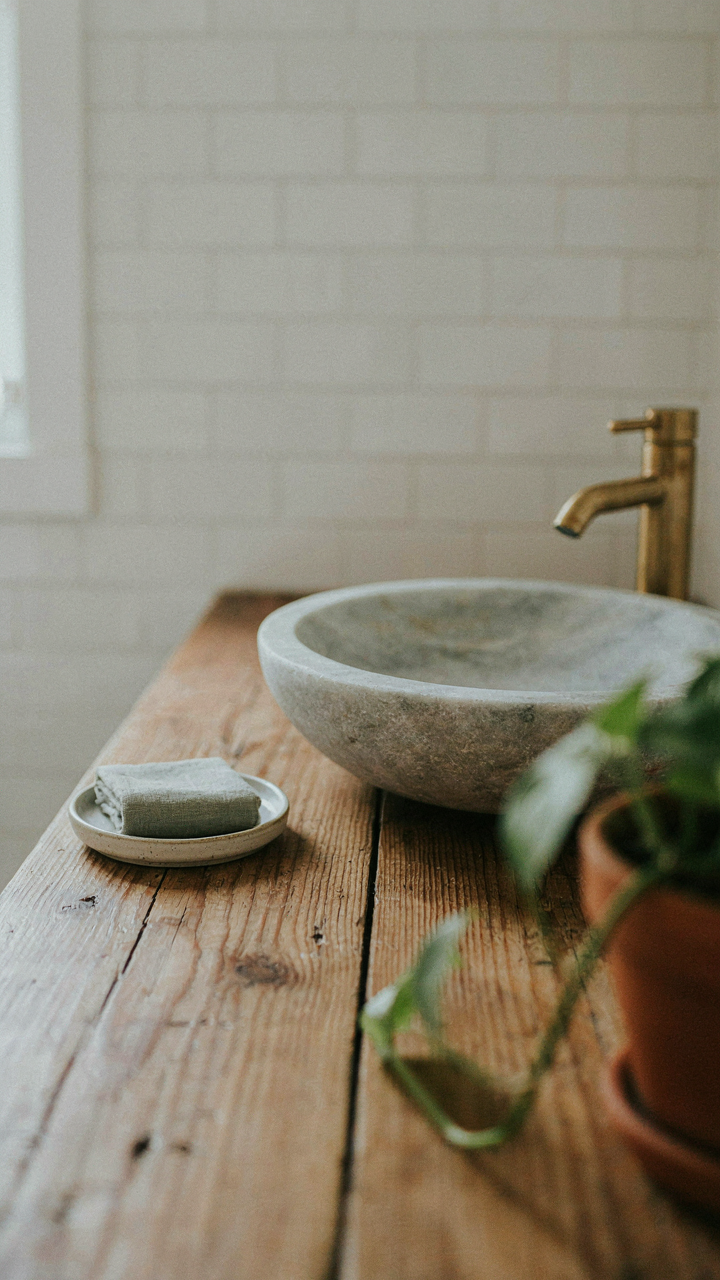
You want permission to skip the design magazines. That’s the real reason this section matters. Here’s the mechanism: in thermodynamics, entropy increases over time. Your tiny cabin bathroom operates the same way. Everything degrades. So choose materials that degrade into character instead of into garbage. Wood, stone, and metal don’t fight time—they surrender to it visibly, which makes degradation look intentional.

Reclaimed wood holds up differently than new stock because it’s already weathered. Stone doesn’t rot or warp. Bare metal oxidizes predictably. None of these materials require you to refinish, repaint, or replace them constantly to maintain the illusion of newness. A weathered wood vanity looks better at year five than year one. Stone floors show water marks and footprints but won’t crumble. This is not nostalgia—it’s material physics applied to maintenance cost.
Texture Over Finish
The common advice says “go rustic.” That’s lazy. Rustic usually means fake distressing, too many decorative elements, and visual noise that shrinks your actual space. Intentional imperfection is different. It means choosing surfaces and materials that develop character through use rather than through artificial treatment. Rough stone, hand-planed wood, exposed fasteners. These aren’t decorative choices—they’re honest statements about what the material is.
When a surface is actually textured (not painted to look textured), it absorbs light instead of reflecting it, making tight bathrooms feel less claustrophobic. Rough plaster, natural stone, unfinished wood trim—these reduce glare and visual stimulation. Texture that develops naturally through exposure to water and humidity becomes documentation of how the space actually functions. Start with one raw-finish wall or vanity surround. Let it show the progression.
Smart Storage Systems: Applying Military Strategy To Tiny Cabin Bathrooms
Eliminate Visual Noise First
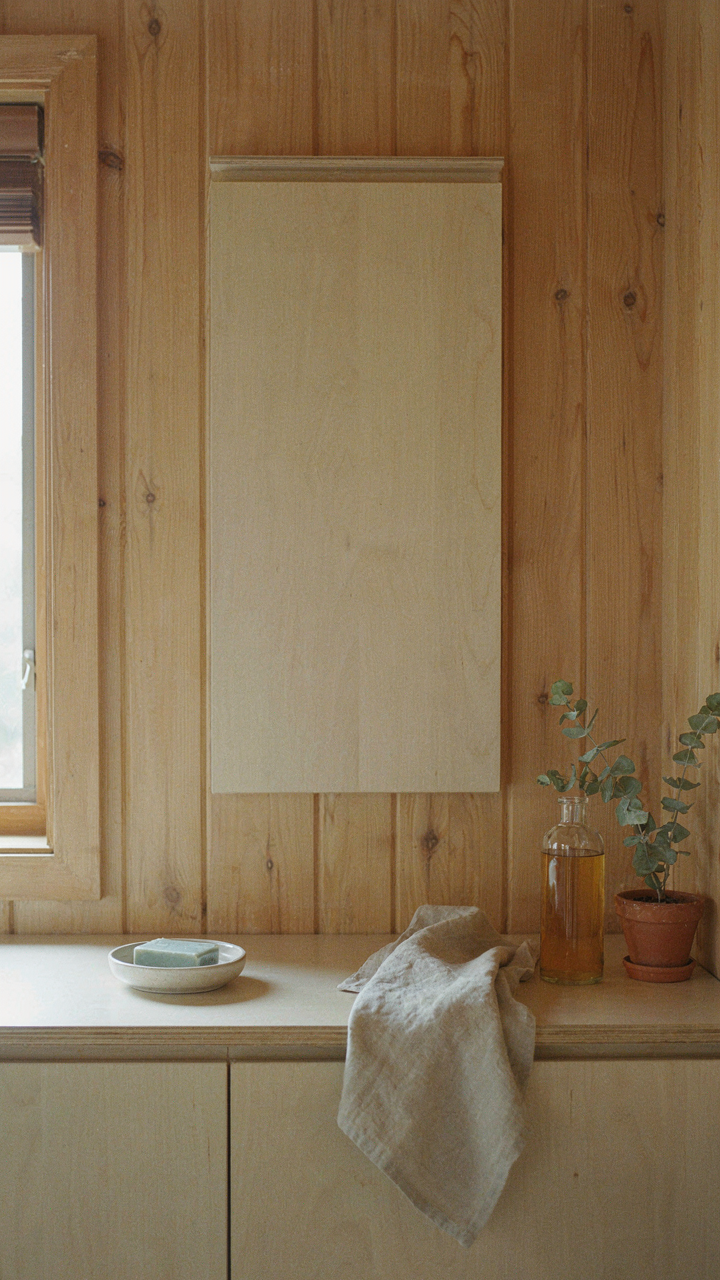
You want your tiny cabin bathroom to feel bigger because clutter makes you feel poor. That’s the real mechanism at work. Military logistics uses the principle of “supply concentration”—positioning every resource where it’s needed, nothing visible otherwise. In a tiny bathroom, this means every item gets a designated location, and nothing sits on counters or shelves as decoration or “just temporarily.” Visual calm is functional, not aesthetic. When your eye doesn’t track fifteen objects, your brain perceives more space.

The common advice here is wrong: organizing what you have doesn’t fix the problem if you’re storing too much. First, audit ruthlessly. A tiny cabin bathroom needs half the products most people keep. Toothbrush, toothpaste, soap, towel, basic medications—that’s the working set. Everything else either leaves or lives behind a closed door. Once you know what stays, assign each item a specific container or shelf position. No floating bottles. No stacks. One place per object, always.
Modular Units Beat Built Ins
Modular storage works in tiny cabins because you can reconfigure it as needs change without permanent commitment. Stackable containers, wall-mounted shelves, and magnetic strips are tools—not decoration—that adapt faster than custom built-ins. A tiny cabin bathroom often serves multiple seasons or users. Fixed solutions lock you into one layout permanently. Modular systems stay flexible.
Concealed storage eliminates the visual weight that crushes small spaces. Use cabinet doors, drawer dividers, or cloth bins to hide categories: medications, first aid, cleaning supplies, extra paper goods. The rule is simple: if it doesn’t need to be visible daily, it doesn’t belong visible. Mount a narrow cabinet above the toilet, add vertical shelving on one wall, or use pull-out drawers under the sink. Stack and conceal rather than spread and display.
Simple Cabin Bathroom Fixtures: When Less Mass Equals More Impact
Wall Mounted Toilets And Sinks
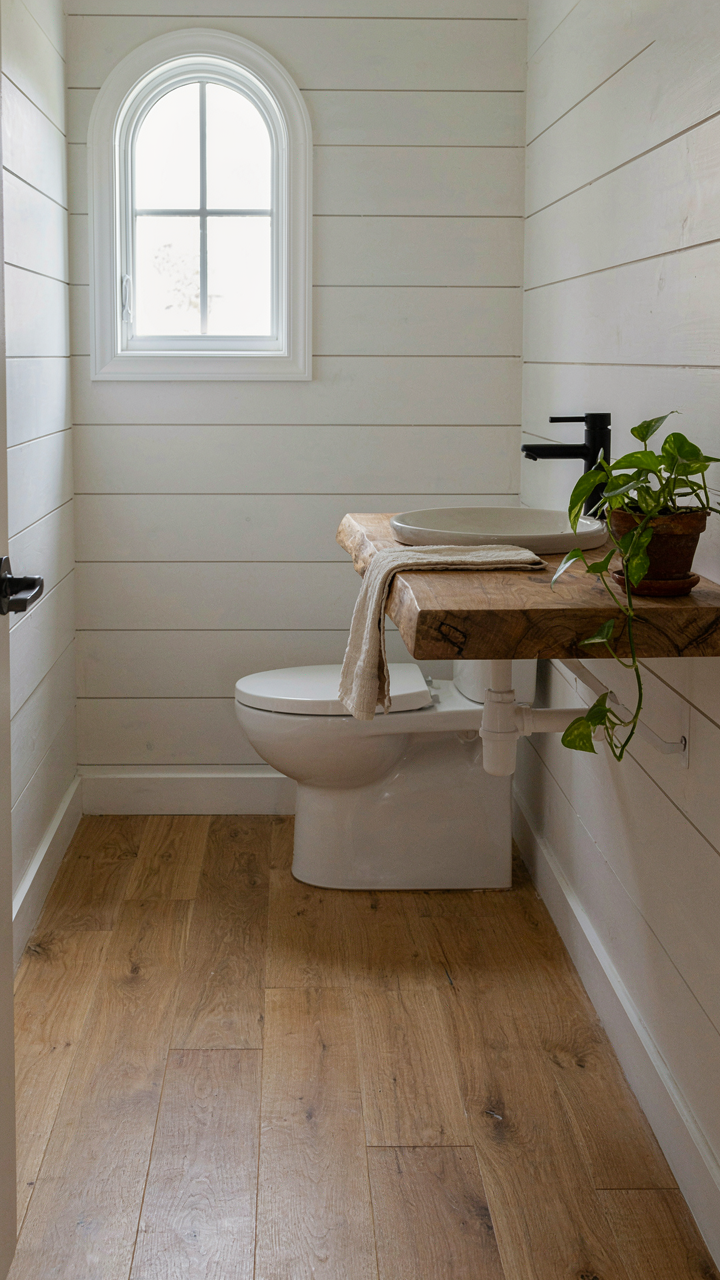
You want floor space back because you’re tired of feeling cramped, and that feeling compounds every time you move through the room. Wall-mounted fixtures operate on the principle of visual load reduction from architecture and design: removing visual mass from the floor plane makes a space feel larger than its actual dimensions. A wall-hung toilet eliminates the pedestal base that typically occupies eight to twelve inches of floor real estate. The same applies to wall-mounted sinks, which expose the floor underneath and create a continuous sight line.

The engineering here matters. Wall-mounted systems require framing inspection before installation to confirm the wall can handle the load. Modern wall-hung toilets use concealed tanks installed inside the wall cavity, pushing the mechanical footprint out of sight entirely. When you remove that visual anchor point from the floor, the room’s functional square footage doesn’t change, but your brain registers more usable space. Install wall-mounted fixtures first before finishing walls to avoid expensive retrofit work later.
Compact Low Profile Designs
The advice to “go minimal” is incomplete without naming what minimal actually does: it reduces decision fatigue and maintenance burden. A low-profile vanity with a single compact sink occupies three to four linear feet instead of six, and it eliminates the wasted vertical real estate above standard vanities. Corner pedestal sinks take advantage of dead space that most bathrooms ignore. Corner toilet designs exist but are rare because they limit plumbing access, so skip those and focus on standard toilet placement with a narrower tank depth.
Small fixtures force intentional storage solutions instead of hiding clutter behind false abundance. A wall-mounted medicine cabinet becomes your only option, which means you keep only what you use. Low-profile faucets that extend six inches into the sink instead of ten reduce splashing onto counter space and make the sink usable without bumping your elbows. Measure your actual reach and movement patterns before selecting fixture dimensions, then buy what physically works in your space, not what looks good in a showroom.
Ventilation & Humidity Control: The Unseen Foundation Of Tiny Cabin Bathroom Longevity
Powerful Exhaust Fans: Sizing For Rapid Moisture Extraction
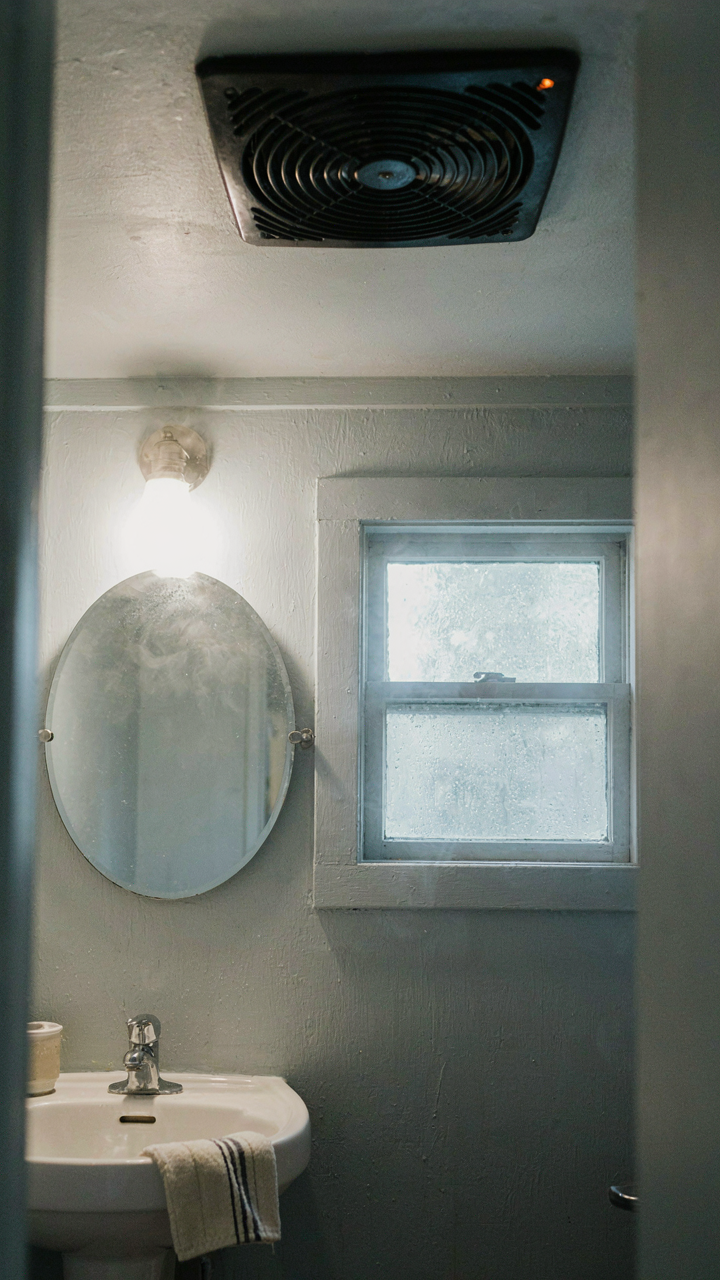
You’re worried about mold because you’ve heard the horror stories, but you’re really worried about the repair bill. Here’s the mechanism: moisture trapped in a tiny enclosed space doesn’t disperse naturally. It condenses on surfaces, feeds mold and rot, and demolishes framing from inside walls where you can’t see it. Physics calls this “vapor pressure differential”—the gap between where moisture wants to go and where it actually goes. In a tiny cabin bathroom, an undersized fan means humidity stays trapped. The solution is simple: your exhaust fan must move air volume fast enough to clear the space multiple times per hour. Most cabins use undersized fans rated for bathrooms twice their size. You need a fan rated for at least 1.5 times your actual bathroom volume per minute. A 50-square-foot bathroom needs a minimum 75 CFM fan. Run it during showers and for 20 minutes after. Install it with the shortest, straightest duct run possible to the exterior. Bends and long runs kill performance regardless of CFM rating.
Passive Ventilation Strategies: Cross Breeze And Window Placement
The common advice here is incomplete: people tell you to “open a window” without explaining why some placements work and others fail entirely. Cross ventilation requires understanding air pressure zones. You need one window or vent where air enters and another where it exits on the opposite side of the space. In a tiny cabin bathroom, this means an operable window on one wall paired with your exhaust fan placement on an adjacent or opposite wall. Air moves from high pressure to low pressure, so your exhaust fan creates the low-pressure zone that pulls fresh air through the window. Without this opposing placement, you get stagnant pockets where humidity settles. Position windows away from prevailing wind blocks like trees or adjoining structures. Even small 8-by-10-inch awning windows create functional cross-breeze when placed strategically. Install them near the top of walls when possible—hot, moist air rises and exits naturally through upper vents. On humid days when the outside air is already saturated, your exhaust fan becomes the only moisture removal tool that works. Run it continuously during occupation in these conditions.

Water Management In Cabin Bathrooms: The “Resource Scarcity” Mindset
Low Flow Fixtures Stop Water Waste Before It Starts
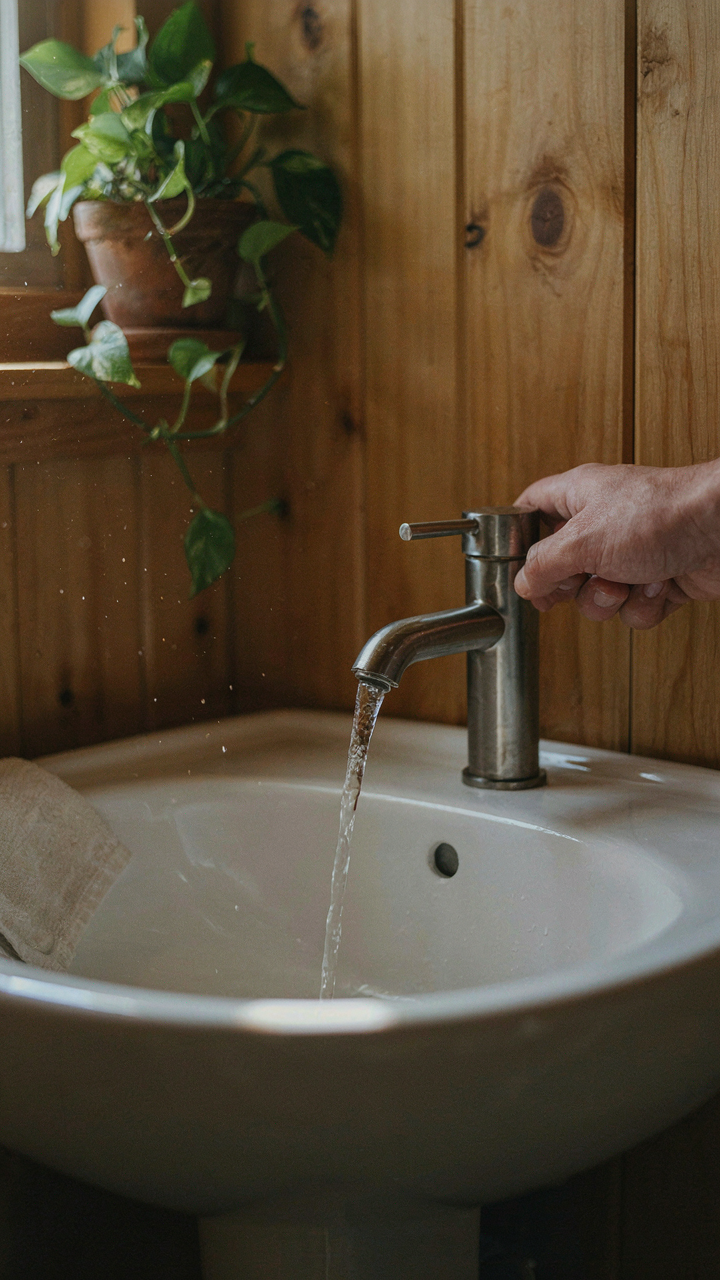
You want this section because you’re either broke, guilty, or afraid of running out. The real mechanism is simple: low-flow fixtures reduce consumption at the source, which means fewer gallons leaving your tank, fewer demands on your well or municipal line, and lower strain on septic systems. A standard toilet uses 3.5 to 7 gallons per flush. Low-flow models use 1.28 gallons or less. That’s not marketing—that’s physics working against waste.
Install low-flow showerheads rated 2.0 gallons per minute or lower. Pair them with faucet aerators that cut sink flow from 2.2 to 0.5 gallons per minute. These aren’t downgrades. They’re constraints that force efficiency into your design. Most cabin bathrooms have limited water reserves, so every gallon you save is a gallon you don’t have to haul, pump, or filter. The payoff compounds over months.
Greywater Systems Redirect What Most People Dump
Greywater systems capture water from sinks, showers, and washing machines—anything that isn’t black water from toilets. You’re essentially treating your cabin bathroom as part of a closed-loop circuit. The captured water irrigates landscaping, refills toilet tanks, or feeds outdoor washing stations. Most jurisdictions allow this without permits if you follow basic filtration rules.
A basic system requires a collection tank with a settling chamber to separate solids, a filter stage to catch particles, and distribution lines to point-of-use. For cabins, simple gravity-fed systems work better than pumped ones. Divert greywater through sand and gravel filters before it reaches storage. Run maintenance every month: inspect filters, check for clogs, drain sediment. This turns your bathroom into a water asset instead of a resource sink.
The Real Obstacle: Your Imagination, Not Your Square Footage

Most people design tiny cabin bathrooms the way they’d design a normal one, then get frustrated when it doesn’t fit. That’s backwards. Start today by spending thirty minutes in your actual bathroom space with zero preconceptions. Measure the walls. Look at the light. Feel the air. Your constraints aren’t problems to solve around. They’re instructions for what this room actually wants to become. Stop fighting your space and start listening to it.