

The Myth Of The Cozy Bungalow Interior
What Comfort Actually Requires
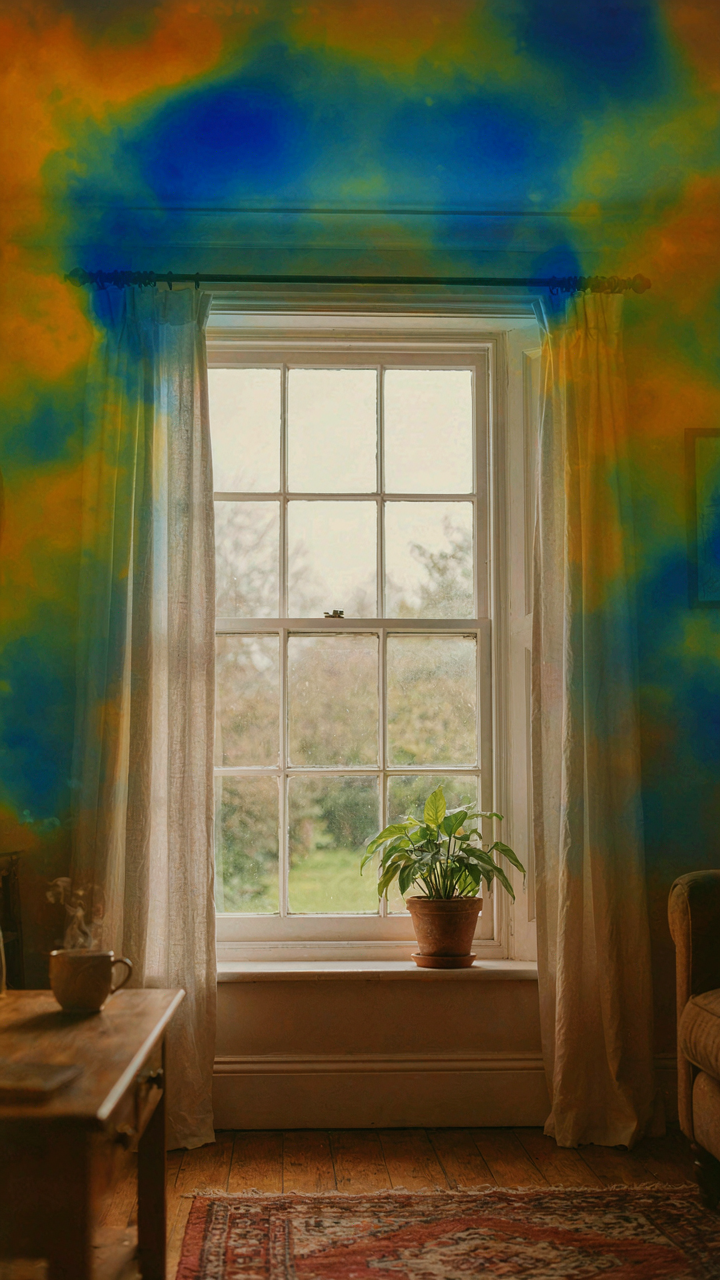
You want to believe that throwing warm colors and soft textures into a bungalow makes it feel like home, when really you’re just avoiding the work of fixing what’s actually broken. The mechanism is simple: comfort in a bungalow interior relies on thermal performance and air movement, not decoration. A poorly insulated bungalow with drafts will feel cold no matter how much ochre you paint the walls. Decoration addresses psychology. Thermal design addresses physics.
The bungalow’s low ceiling and compact footprint create thermal stratification problems that most interior choices ignore entirely. Warm air rises and concentrates near the ceiling while floor level stays cold. You can’t decorate your way out of this. Surface finishes and color palettes sit on top of a broken system. The real work happens behind walls and under floors, where insulation and ventilation strategy determine whether a room actually feels warm or just looks warm.
The Hidden Cost Of Forced Warmth
Layering rugs, heavy fabrics, and dark finishes to create false warmth burns money every winter because you’re compensating for thermal loss instead of preventing it. Think of it in thermodynamic terms: every BTU lost through walls, windows, and floors is energy you must replace with heating systems that run harder and longer. A bungalow with poor envelope performance demands constant energy input to maintain perceived comfort. That cost compounds monthly.
Forced warmth also limits flexibility in a bungalow’s already tight square footage. Heavy furniture placement becomes fixed. Dark wall colors absorb light and shrink perceived space. You trade functional room for the feeling of warmth. The arithmetic here is brutal: inefficient thermal design plus compensatory interior elements equals higher utility bills and a smaller usable interior. Start with the envelope before you touch a paint can.
The Thermal Envelope Protocol For Bungalow Homes Interior
Where Heat Actually Leaves Your Bungalow
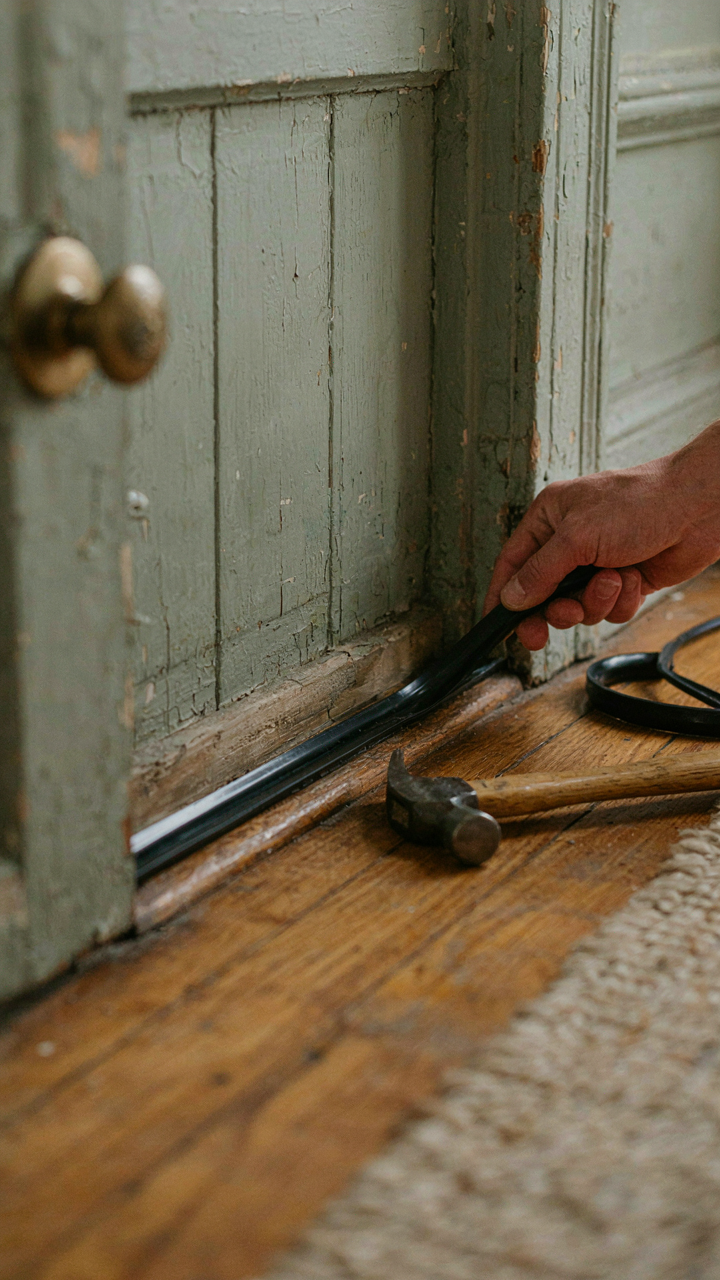
You want warm rooms without the heating bill spike. The real issue: you’re thinking about insulation when you should be thinking about air movement. Bungalows leak because they were built when energy cost nothing and builders didn’t seal joints. Air infiltration moves heat out faster than conduction through walls. Find where outside air enters your interior, and you’ve found your actual problem. Unsealed windows, door frames, rim joists, and foundation plates account for most heat loss in bungalows. Thermal imaging exposes these paths instantly.

The mechanism is simple physics. Air moves from high pressure to low pressure. Your heating system creates positive pressure indoors. Outside wind and temperature differentials create negative pressure. These forces push conditioned air through every gap. Weatherstripping, caulk, and foam seal these points mechanically. Start at the foundation line where the sill plate meets concrete. Move up through window frames, around electrical outlets, and along the ceiling perimeter. This isn’t optional cosmetic work. Unsealed bungalows waste thirty to forty percent of heating energy through air leaks alone.
Insulation Works As A Continuous Barrier
Everyone thinks insulation is about batts and blankets stuffed into cavities. Wrong. Insulation only functions as a thermal break when it blocks all pathways simultaneously. Bungalows demand systems thinking. You need continuous coverage with no gaps, voids, or thermal bridging where studs and joists conduct cold directly inward. A single exposed stud or missing cavity fill defeats the entire wall assembly. The R-value number means nothing if air can bypass it.
Layer insulation deliberately from outside to inside. Rigid foam on the exterior blocks thermal bridging and air movement at the source. Cavity insulation handles the middle section. Interior air barriers prevent moisture migration and seal remaining paths. This stacked approach is how new construction codes work. Bungalows never had this. Retrofit systematically: seal the rim joist first, then crawlspace or basement band, then cavities, then interior air barriers. Stop treating insulation as something you do once. Treat it as a continuous envelope protocol with each layer locked to the next.
Strategic Light: Beyond Brightness In Bungalow Decorating Ideas
Window Placement Controls Temperature And Mood
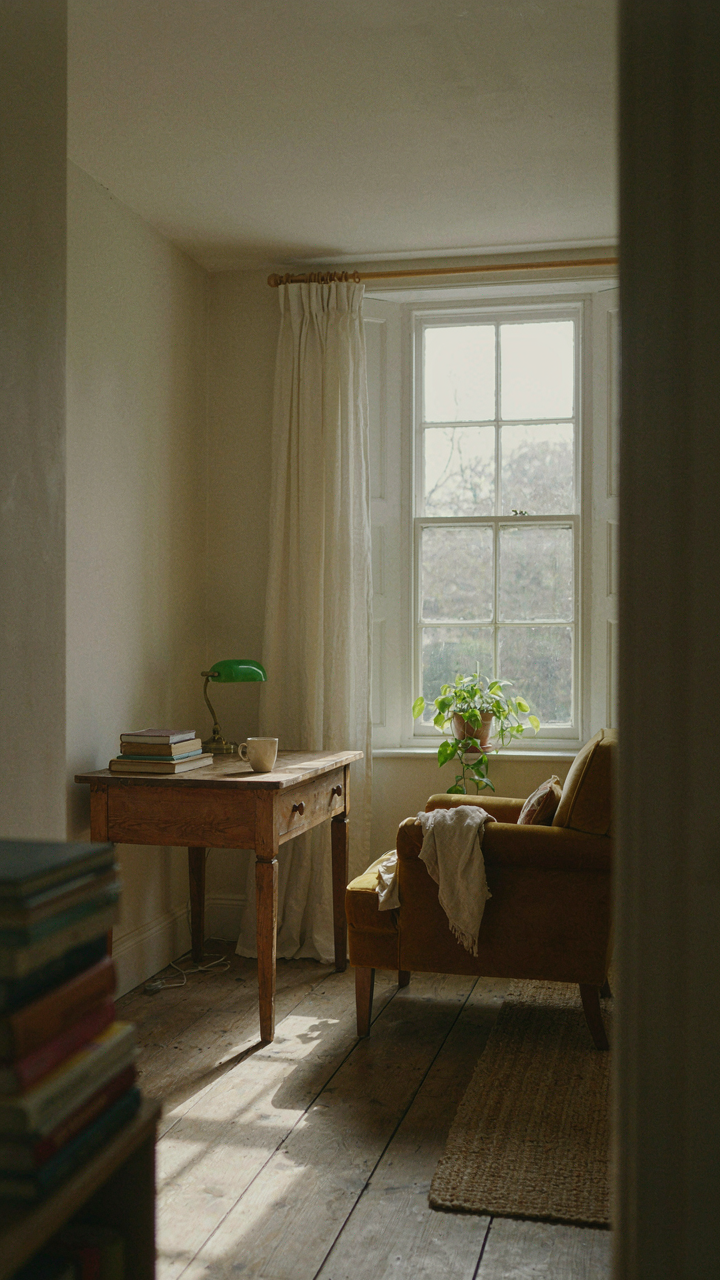
You want natural light to feel effortless, but you’re really after thermal efficiency without admitting it costs money to heat and cool a room poorly lit. Light behaves like thermal mass in architecture: it enters, transfers energy, then radiates. In bungalows, south-facing windows capture winter sun that heats interior walls. North-facing windows provide consistent, shadowless light without heat gain. East and west exposures create morning and afternoon warmth spikes that force air conditioning work.

Position primary living areas to catch morning east light and afternoon south light. This reduces artificial lighting demand during peak occupancy hours. Bungalows built before 1950 often have shallow floor plans, which means most rooms sit within fifteen feet of external walls. Use this geometry. Place task areas, desks, and seating near windows during daylight design. Windows without thermal resistance waste the benefit, so verify single-pane glass isn’t blocking your strategy with poor insulation properties.
Layered Fixtures Beat Single Ceiling Dominance
Most bungalow interiors fail because one overhead fixture tries to do everything, creating glare, wasting energy, and making rooms feel institutional. Task lighting, ambient lighting, and accent lighting are borrowed terms from theatrical lighting design, where each layer serves a distinct function. A single ceiling fixture is not ambient lighting. It’s lazy lighting that forces you to choose between too bright or too dark.
Break bungalow rooms into zones: work zones need directed task light at 30 to 50 foot-candles, living zones need softer ambient around 10 to 20 foot-candles. Place table lamps on side tables near seating. Install wall sconces at eye level near mirrors or artwork. Recessed fixtures work only if you space them correctly—typically 4 to 6 feet apart for even coverage without pools and shadows. Dimmer switches cut energy use and let one room serve multiple purposes without rewiring.
The “Energy Flow” Mental Model: Re Envisioning Small Bungalow Interior Ideas
How Layout Controls Heat Movement
You want your bungalow interior to feel effortless to heat and cool—really you want to stop paying attention to it and stop feeling like your comfort depends on fighting physics. Bungalows expose this truth faster than any other home type because they’re small enough that one poor layout decision kills the whole space. Think of cybernetics: the study of control systems and feedback. Your bungalow interior layout is a control system. The position of walls, doors, windows, and zones either amplifies or dampens heat movement. A central hallway that connects all rooms acts as a thermal pathway. Exterior walls that dominate one side of the house create zones that heat and cool at different rates. The mechanism is airflow routing—warm air rises and seeks the path of least resistance, which your layout either facilitates or blocks.

Bungalows built before 1950 used deep eaves and single-story mass to their advantage: they cooled slower in summer and retained heat efficiently in winter because thermal mass moved predictably through a constrained vertical space. Modern bungalow interiors often sacrifice this by opening walls and removing obstacles, which sounds efficient but actually destabilizes temperature zones. The fix isn’t aesthetic—it’s structural. You control heat flow by controlling the physical path it takes. Place dense furniture, storage, or partial dividers to break direct sight lines between hot exterior walls and living zones. Insulate interior walls separating heated from unheated spaces. Position sleeping areas away from east-facing glass. The layout dictates whether your heating or cooling system works with physics or against it.
Feedback Loops That Stabilize Room Temperature
Most people think temperature control is about cranking a thermostat higher or lower—that’s not how it works in a bungalow interior. The real system is feedback. Your thermostat reads air temperature at one point, triggers heating or cooling, and the system responds. But in a small bungalow, the physical design either creates stable feedback loops or chaotic ones. A room with poor air circulation creates dead zones where temperature sensors read accurate data, but actual comfort varies by 5-10 degrees depending on where you stand. That’s unstable feedback—the system can’t correct what it can’t see. A well-designed bungalow interior spaces furniture, returns, and vents so air moves in predictable patterns that the thermostat can actually regulate.
Window placement creates the most powerful feedback loop in a bungalow interior. South-facing windows in winter load thermal energy into the space during the day, which reduces heating demand at night. But without thermal mass or shading strategy, that same window creates overshoot in summer—rooms overheat, the AC runs harder, and the system hunts for equilibrium. The solution is placing thermal mass (concrete floor, masonry wall, water feature) between the window and the living space so heat absorption and release happen gradually. This stabilizes the feedback loop by slowing the rate of temperature change. The thermostat no longer sees wild swings. It sees gradual transitions, which means less system cycling and lower total energy use. Specify interior finishes that absorb and release heat slowly: polished concrete, exposed brick, or tile over wood to anchor the feedback mechanism in physical material.
Material Science For Lasting Warmth: Bungalow Interior Design
Thermal Mass And Floor Selection
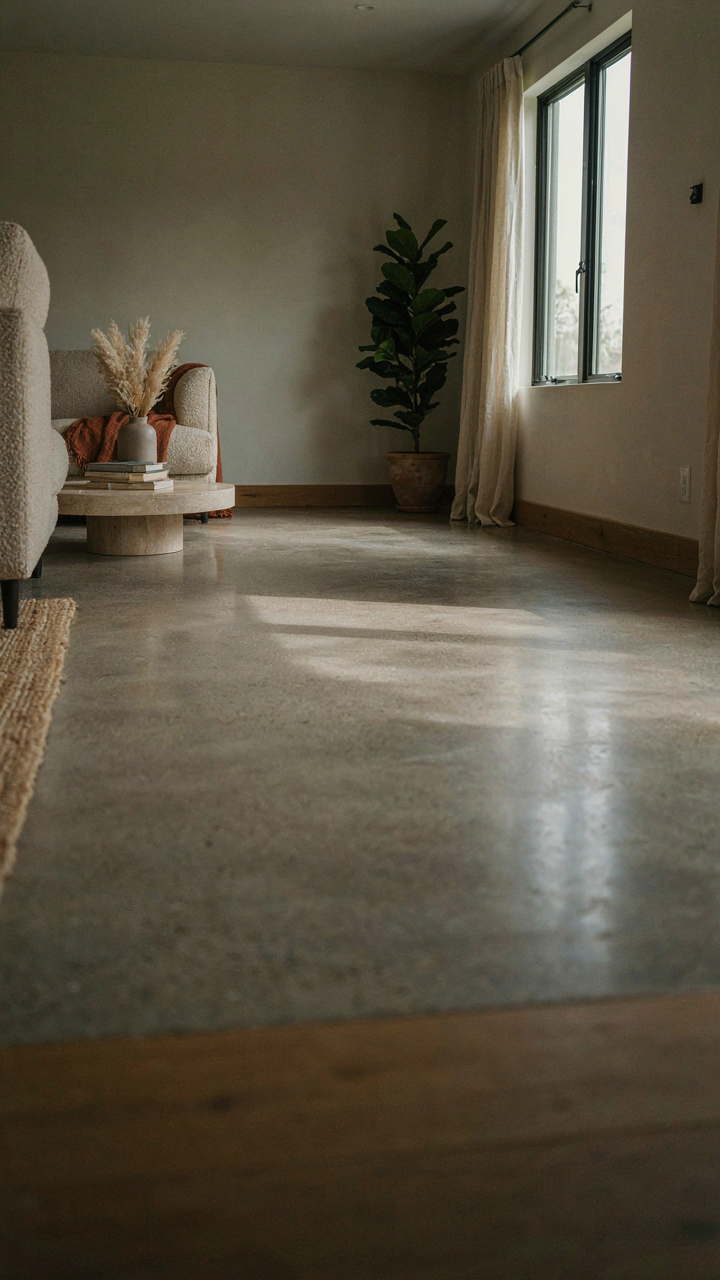
You want your bungalow to feel warm without cranking the heating bill. The real mechanism is thermal mass, a physics term meaning a material’s capacity to absorb and release heat over time. Concrete, tile, and stone absorb daytime warmth and radiate it back at night, stabilizing room temperature. Wood floors perform worse at this task but offer comfort underfoot and work well in climate zones with moderate temperature swings. The bungalow’s low ceiling height means whatever you put on the floor dominates the room’s thermal behavior.

Polished concrete or poured epoxy floors have become standard in bungalows built after 1960, particularly in warmer regions. They retain heat efficiently and require minimal maintenance. Avoid highly reflective glossy finishes that amplify light but do nothing for warmth retention. If you need softness, cork or engineered wood over concrete subfloors offers a middle ground. The subfloor matters more than the finish layer. Install a vapor barrier and insulation below before laying anything on top, or you’re wasting the thermal mass you’re trying to build.
Fabric As Thermal Regulation
Most advice on bungalow textiles focuses on decoration. That’s incomplete. Textiles control air stratification and humidity, which directly affect how warm a room feels and how efficiently heat moves through it. Heavy curtains trap a still-air layer against exterior walls, reducing convective heat loss. Rugs anchor heat near living zones instead of letting it drift upward into unused ceiling space. Upholstered furniture acts as both a heat sink and a buffer against drafts.
Linen and wool outperform synthetic fabrics because they regulate moisture without trapping it, keeping air quality stable in small bungalow rooms where stagnation happens fast. Layer your textiles by weight and placement. Floor rugs go down first, then wall hangings or heavier curtain panels on north-facing windows. Upholstered pieces belong in the center of the room where you sit, not pushed against exterior walls. This arrangement creates thermal zones that your heating system doesn’t have to work as hard to maintain.
Craftsman Bungalow Interior Design: Function Over Form Fallacy
How Bungalows Actually Moved Heat
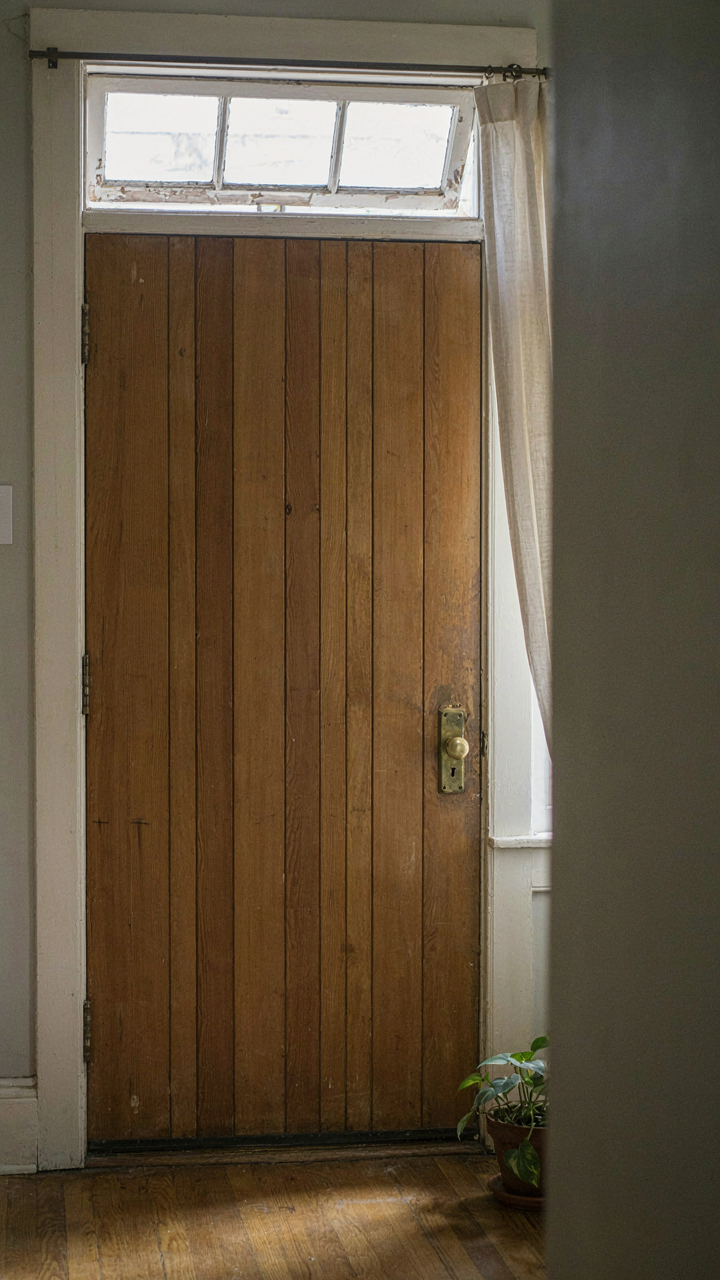
You want to know this because you’re tired of paying for heating and cooling that doesn’t work. Here’s what actually happened: early craftsman bungalows used thermodynamics like a load-bearing wall. Heat rises, so designers stacked rooms vertically and used low ceilings to trap warm air near living zones. They positioned windows on opposing walls to create cross-ventilation channels, not for aesthetics. Operable transom windows above doorways let hot air escape upward without opening main living spaces.

The real mechanism was mass and time lag. Thick plaster walls, exposed wood beams, and clay tile absorbed heat slowly during the day and released it at night. This buffered temperature swings. Nobody talks about this because it’s invisible and requires understanding material science, but it’s why old bungalows feel stable temperature-wise compared to modern drywall boxes that spike and crash throughout the day.
Working With Existing Systems, Not Against Them
The common advice here is wrong: you don’t modernize a bungalow by ripping out old systems and replacing them with new technology. That’s waste disguised as progress.
- Ceiling heights and air flow: Keep original 8 to 9 foot ceilings intact. They work with natural convection. Lowering them traps dead air and kills the thermal management that craftsmen designed in.
- Thermal mass upgrades: Add concrete floors or slate in high-sun rooms. They amplify the original heat-storage principle without altering structure. Match the material weight to the room’s solar exposure.
- Window retrofit strategy: Replace single-pane glass with period-appropriate double-hung frames and modern sealed glazing. The operable feature stays functional for manual ventilation control during moderate weather.
- Interior finishing materials: Choose lime-based plaster over drywall on original walls. It breathes and absorbs moisture swings, replicating the original thermal regulation. Drywall creates vapor barriers that trap condensation.
- Open floor plans with zones: If you must open rooms, use half-walls, sliding barn doors, or archways instead of full demolition. This maintains air stratification while keeping visual connection.
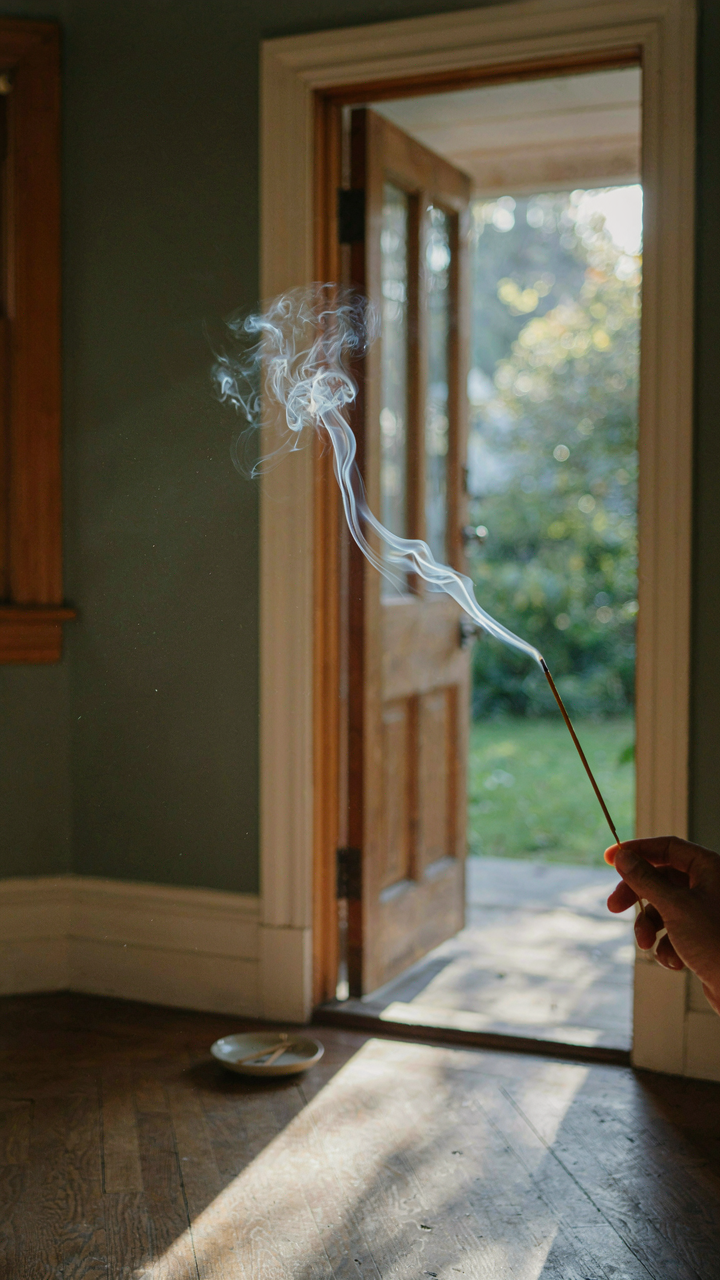
The protocol is simple: measure which walls carry loads before changing anything. Test air flow patterns with a smoke stick before adding insulation. Retrofit in layers rather than gut renovations. This preserves the efficiency logic the original design embedded.
Bungalow Kitchen Ideas: The Heat Sink Solution
Where Your Appliances Actually Live
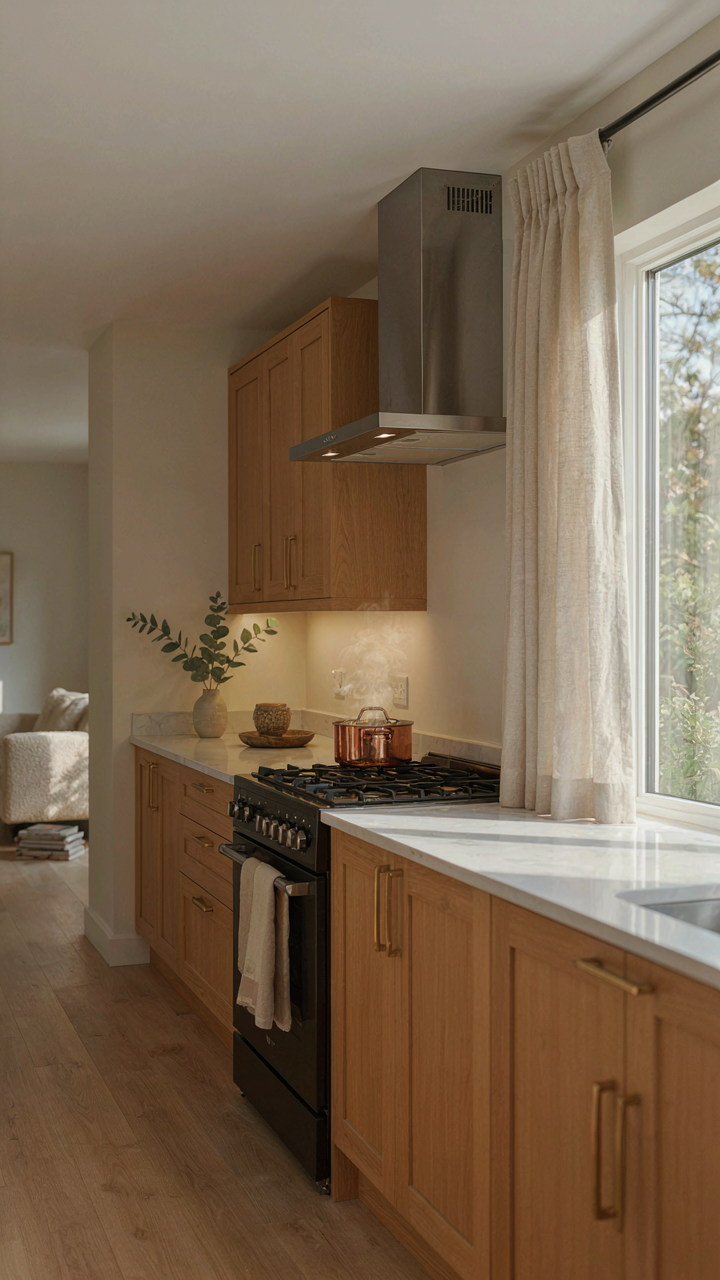
You want your kitchen to feel efficient because you’re tired of wasting money and energy, but you’re placing your heat sources wrong. Think of thermodynamics here: in physics, a heat sink absorbs and disperses thermal energy to prevent buildup. Your kitchen appliances are heat sources, and most bungalow layouts treat them as decorative objects instead of thermal loads that demand strategic placement. The stove, refrigerator, and dishwasher generate continuous heat—and in a bungalow with limited square footage and poor air circulation, that heat concentrates and makes the whole space uncomfortable.

Appliance placement determines whether heat dissipates or traps. Position your stove away from the refrigerator and dishwasher to prevent them fighting each other thermally. Keep the stove on an exterior wall when possible—heat can escape outward instead of radiating inward. Old bungalows often put kitchens on the north or shaded side of the home. If yours does, that placement is an asset for cooling, not a liability. Work with the existing wall orientation rather than fighting it with poor appliance sequencing.
Airflow Beats Fans Every Time
The common advice about kitchen ventilation is incomplete: adding a hood fan doesn’t solve the problem if air has nowhere to escape. Ventilation works through pressure differential, not just suction power. Your hood needs a clear path to the outside, and more importantly, your kitchen needs makeup air to replace what leaves. A bungalow kitchen that pulls air out without replacement creates a vacuum that pulls warm air from adjacent rooms instead of actually cooling the cooking zone.
Size your exhaust hood correctly for the space and cooking method. A 100 to 150 CFM hood works for most bungalow kitchens; oversizing wastes energy and creates drafts. Ensure ducting runs straight to the exterior with minimal bends, and seal all gaps where warm air leaks around the duct. If your bungalow has low ceilings, position vents to move hot air horizontally first before directing it upward—this prevents heat from settling at head level while you cook.
Small Bungalow: Maximizing Volume, Minimizing Waste
Go Vertical Before You Sprawl
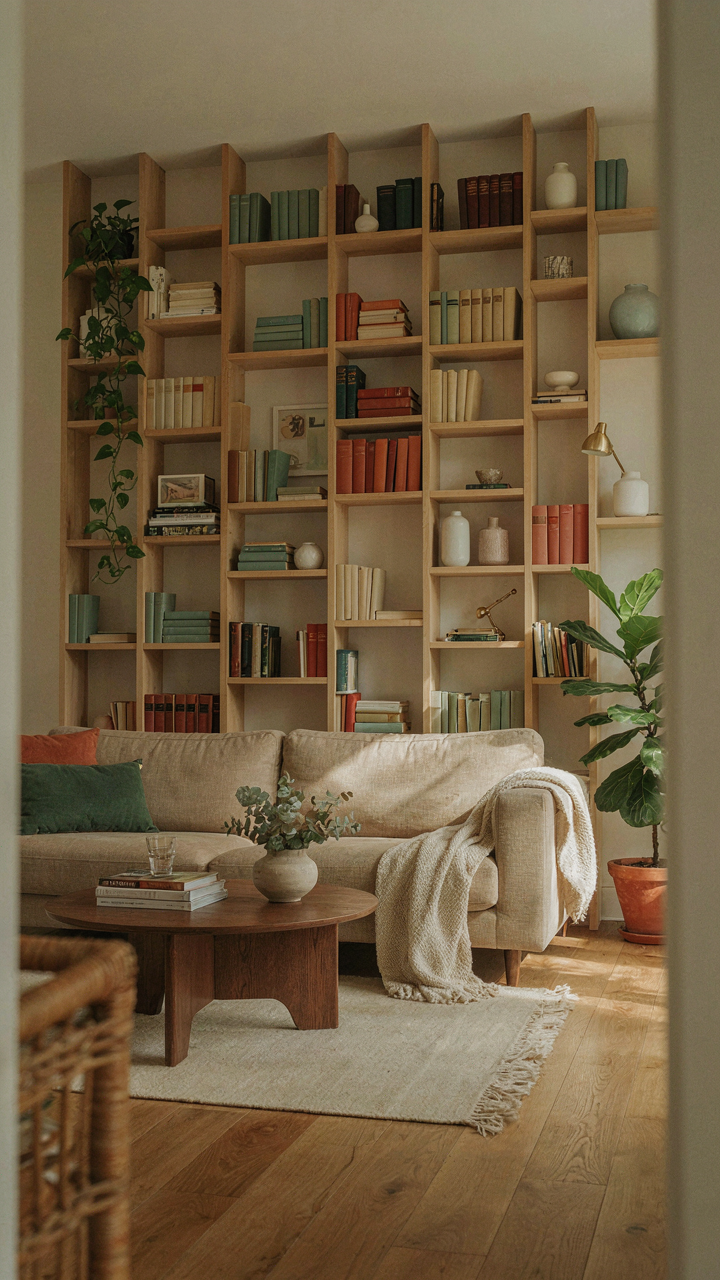
You want your small bungalow to feel bigger without moving walls or spending money you don’t have. The real mechanism is architectural: bungalows have low ceilings by design, which kills vertical real estate most owners ignore. That wasted airspace above eye level is where you reclaim the square footage you think doesn’t exist.

Wall-mounted shelving, tall narrow cabinets, and overhead storage transform a cramped room into one that functions at multiple levels. Install floating shelves at 72 inches and above to store items you access seasonally. Use the vertical band between your standard furniture height and ceiling as an inventory system, not decoration. This isn’t about stacking clutter. It’s about stopping the horizontal sprawl that makes small rooms feel smaller.
Furniture That Earns Its Space
The common advice is to buy smaller furniture. That’s incomplete. Small furniture in a small room just creates more dead zones and more visual clutter. The real constraint is functional density: one piece must solve two problems or it doesn’t justify its footprint.
- Storage ottomans: Seating that holds blankets, remotes, and seasonal items inside the base, eliminating a separate storage piece.
- Nesting tables: Two tables that occupy the footprint of one when stacked, separating for use when you need surface area.
- Sofa beds: Primary seating that converts to guest sleeping without a dedicated bedroom or futon collecting dust in a corner.
- Wall-mounted desks: Work surface that folds flush when not in use, eliminating the need for a separate office or desk taking permanent real estate.
- Lift-top coffee tables: Storage base with a hinged top that rises to dining height, replacing both a traditional table and a storage trunk.
Measure before you buy. A piece solves the space problem only if it accomplishes two functions simultaneously and leaves circulation pathways clear. If furniture forces you to move around it, it’s too large.
Your Bungalow Isn’t Broken, Your Design Philosophy Is
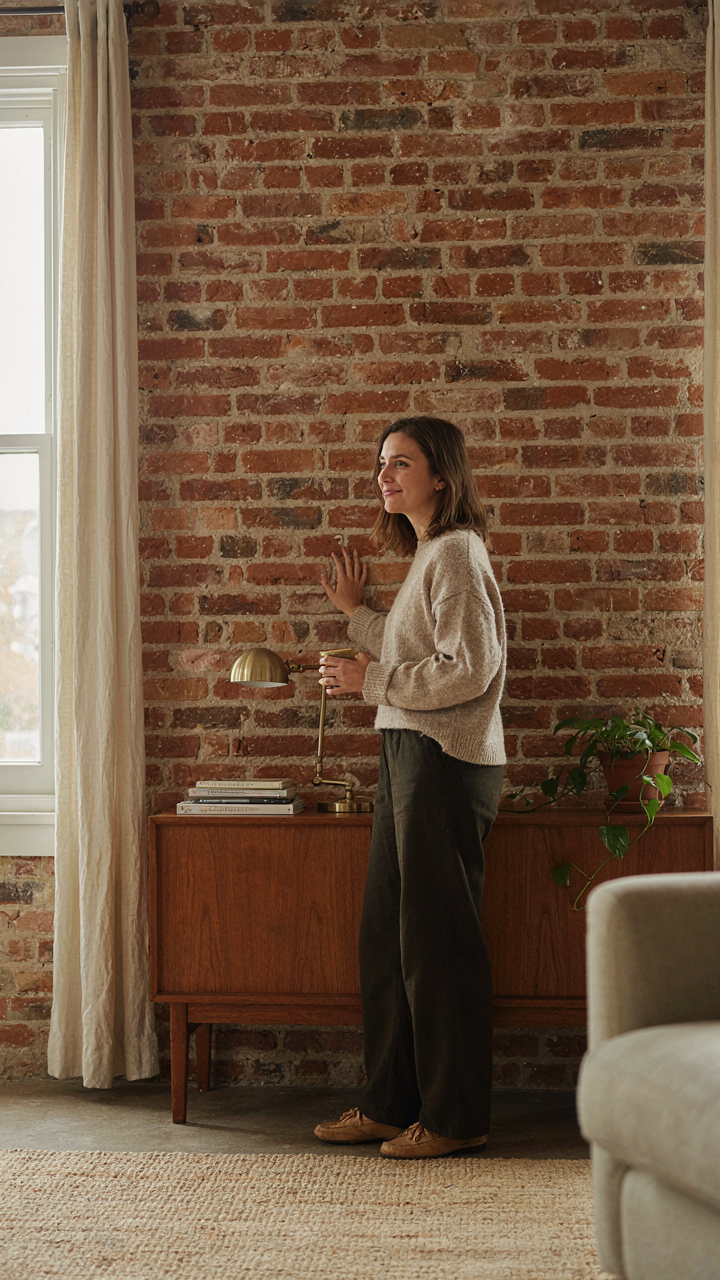
Most people treat bungalow interiors like a problem to solve instead of a constraint to exploit. You’re cramped, so you think minimalist. You have low ceilings, so you panic. Stop. The real issue is you’re copying suburban McMansion logic into a space that demands something different. Today, walk through your bungalow and identify one wall you’ve been apologizing for. That wall isn’t your enemy. It’s your starting point. Design wins happen when you stop fighting your space and start leveraging it.