

Beyond The Brochure: Deconstructing Craftsman Style Trim Door Casing Myths
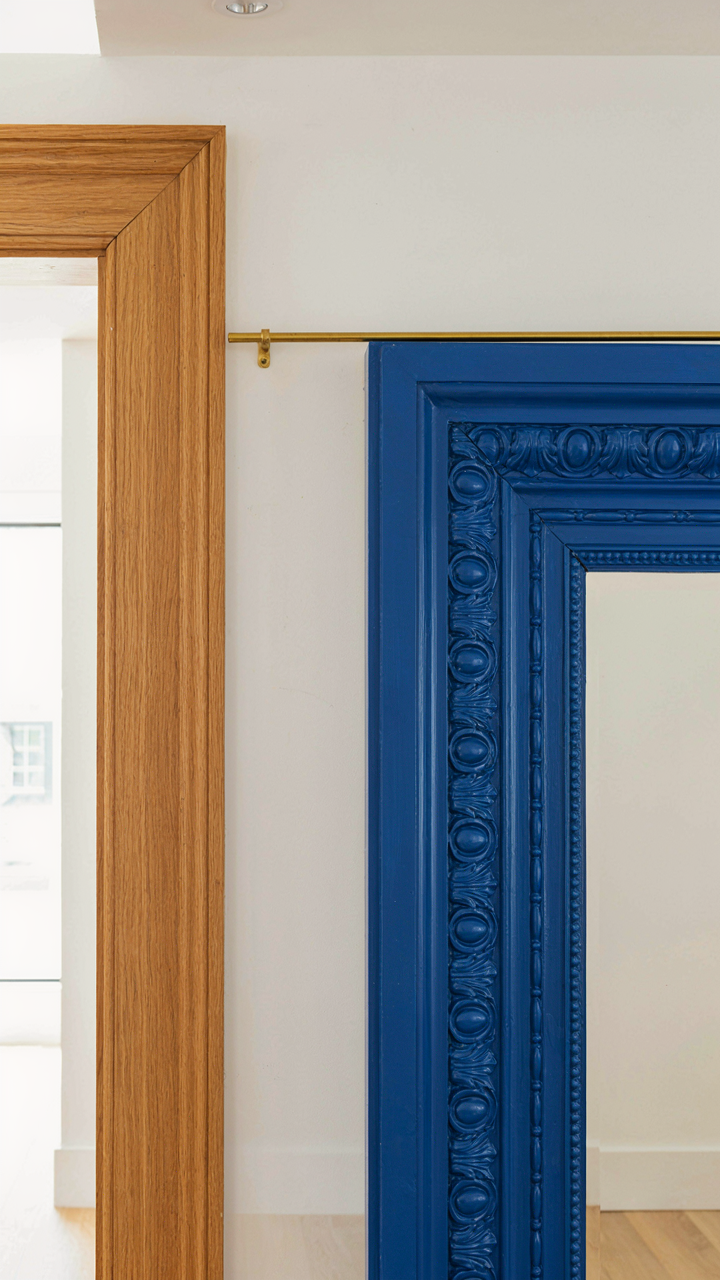
What Authenticity Actually Means
You want to know if your trim is “real” craftsman because you’re betting your home’s resale value and your taste on it. Here’s what nobody says plainly: authenticity in craftsman trim isn’t about copying a historical photo. It’s about proportional constraint. Craftsman design emerged between 1905 and 1930 as a direct reaction to mass production, favoring visible joinery, honest materials, and intentional proportion. The style prioritized what you could see and touch over what looked impressive from ten feet away.
Most people chase the wrong metric. They count trim boards, measure width, or hunt for specific wood species. The real marker is material honesty and the relationship between parts. A craftsman door casing reveals how it connects to the wall and to the door frame itself. It doesn’t hide fasteners under layers of caulk. It doesn’t pretend to be thicker than it is. If your trim requires sculpting with filler and paint to look acceptable, it’s not craftsman architecture. It’s a costume.
Why Stock Profiles Fail The Test
The mainstream advice says buy whatever matches your door frame and call it done. That’s incomplete because it ignores the core problem: most manufactured trim profiles abandon the proportional logic that made craftsman trim work. Modern stock trim often features over-scaled details, curves that don’t relate to each other, or flat panels that contradict the visible-structure principle. A factory profile might include a deep roundover and a sharp edge in the same piece, which reads as confused rather than intentional.
The mechanism is economics, not design. When you manufacture trim at volume, you optimize for fast tooling changeover and material waste reduction, not visual coherence. Craftsman trim required hand-fitting and site-specific proportioning. Stock trim requires none of that, so manufacturers stack details to make pieces look “decorated” without committing to any organizing principle. You end up with casing that looks busy but means nothing. The fix is simple: choose profiles where every element serves a structural or visual transition purpose, then proportion the layers to the scale of your door opening itself.
The Craftsman Code: Interior Window Trim Principles, Not Prescriptions
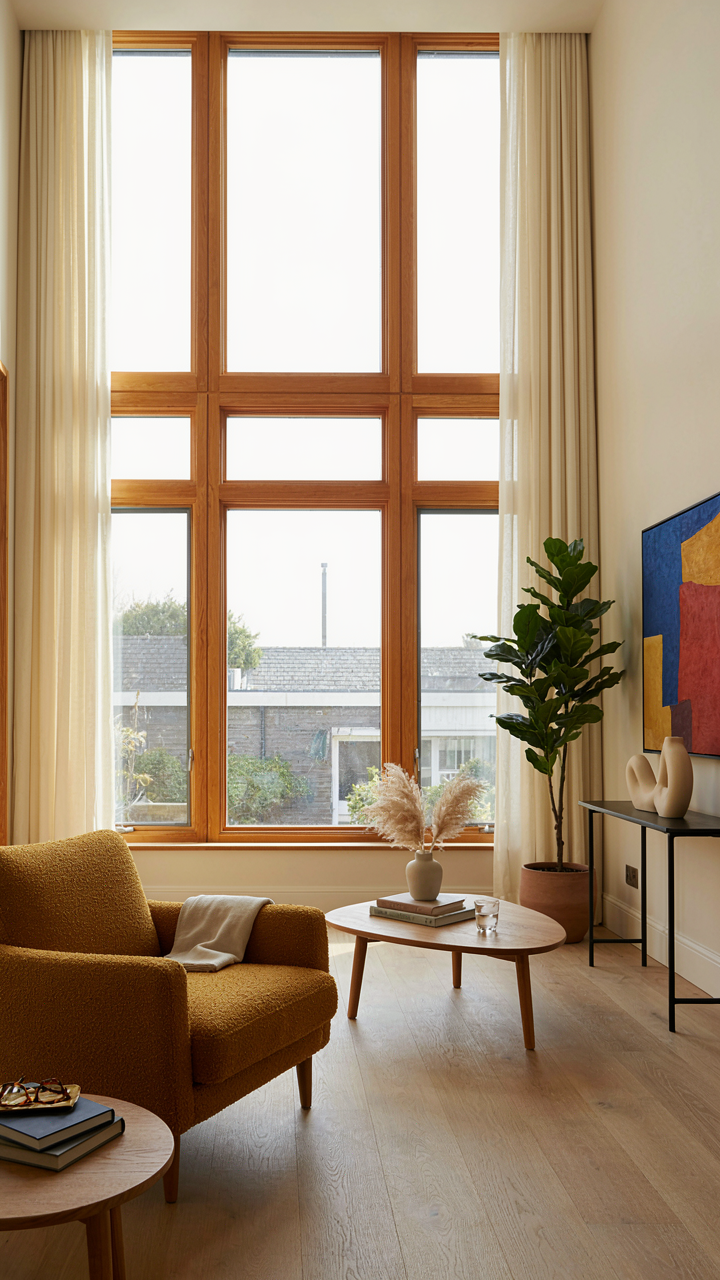
Proportion And Scale Win Every Time
You want trim that looks expensive because you think it signals taste. The real mechanism is proportion. Craftsman design borrowed from classical architecture a concept: the golden ratio governs what feels intentional versus random. Apply it here: your trim width should relate predictably to your wall height, window size, and door opening. A 3.25-inch casing works on an 8-foot wall. On a 10-foot wall, it reads thin. This isn’t opinion. It’s geometry.

The mistake most people make is copying trim dimensions from Pinterest without measuring their actual space. Craftsman trim scales with the room, not with a trend. If your interior walls run 9 feet, your base trim lands between 4 and 6 inches. Your window casing lands between 2.5 and 4 inches. Door casings typically run wider than window casings because doors anchor the eye and demand visual weight. The principle: trim thickness increases as opening size increases.
Material Speaks Before Installation Does
Craftsman trim works because it told the truth about wood. Douglas fir, clear pine, and oak weren’t expensive choices back then, they were available choices. Today, material selection signals restraint or excess. Stain hides grain. Paint flattens hierarchy. The Craftsman movement rejected veneer and varnish excess specifically because visible wood grain proved authenticity. Your material choice predetermines what the trim communicates before a single nail drives.
Common advice says paint hides mistakes. True. But craftsman trim doesn’t hide, it reveals. If you’re using softwood, accept its straightness, knots, and character or choose hardwood. If you paint, commit to paint. If you stain, choose a species whose grain justifies visibility. The installation protocol: select material first, then design around it. Never retrofit material to a design that demands something it cannot deliver.
The “Visual Weight” System For Craftsman Window Trim Details
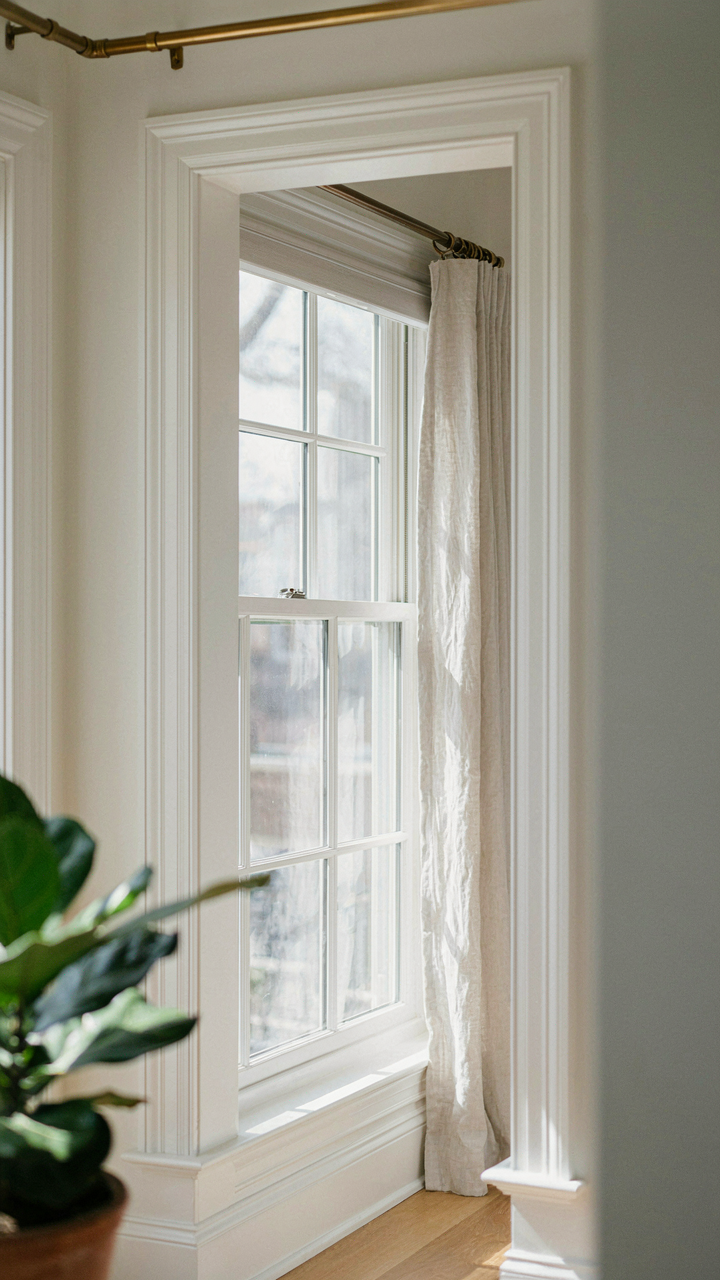
How Mass Creates Proportion In Trim
You want trim that looks intentional, not cheap, and you’re hoping some formula exists so you don’t have to think. Physics calls this concept “mass,” and in trim design it means the thickness, depth, and visual density of material relative to the openings it frames. Craftsman trim works because it violates modern minimalism by adding material where most contemporary design strips it away. The heavier the trim profile, the more authority it claims over the wall surface around it.

A window or door isn’t an isolated element. It competes with every other surface in the room for visual attention. When you use thin stock trim on a large opening, the eye dismisses it as filler. When you layer multiple pieces of craftsman trim stock, you create dimensional depth that reads as intentional from across the room. The frame becomes a tectonic feature, not an afterthought. This is why 1.25-inch casings feel insubstantial on 3-foot-wide windows but 2-inch or 2.5-inch casings feel architecturally grounded.
Scaling Trim To The Opening Size
Most advice says to use thicker trim on bigger openings. That’s incomplete. The real mechanism is ratio, not absolute dimension. A 2-inch craftsman casing looks proportional on a 2-foot-wide window because the visual weight stays in balance with the glass area. Scale that same trim to a 6-foot-wide opening and it reads thin and inadequate. Craftsman homes typically used casings between 2.5 and 4 inches wide because Victorian and Arts and Crafts-era windows averaged 3 to 4 feet across.
Calculate trim width as roughly 1 to 1.5 percent of the opening width. For a 4-foot window, use 4.8 to 7.2 inches of total visual frame depth including the casing and any applied reveals. You stack multiple trim pieces to hit this depth without requiring custom-milled boards. Use a 1×6 or 1×8 casing as your base, then apply a smaller reveal piece or apron underneath to build visual weight without exceeding the opening’s visual proportion. This stacking method lets you hit the right visual load without ordering expensive stock.
Craftsman Style Homes Interior Door Trims Window Casing: The Simplicity Paradox
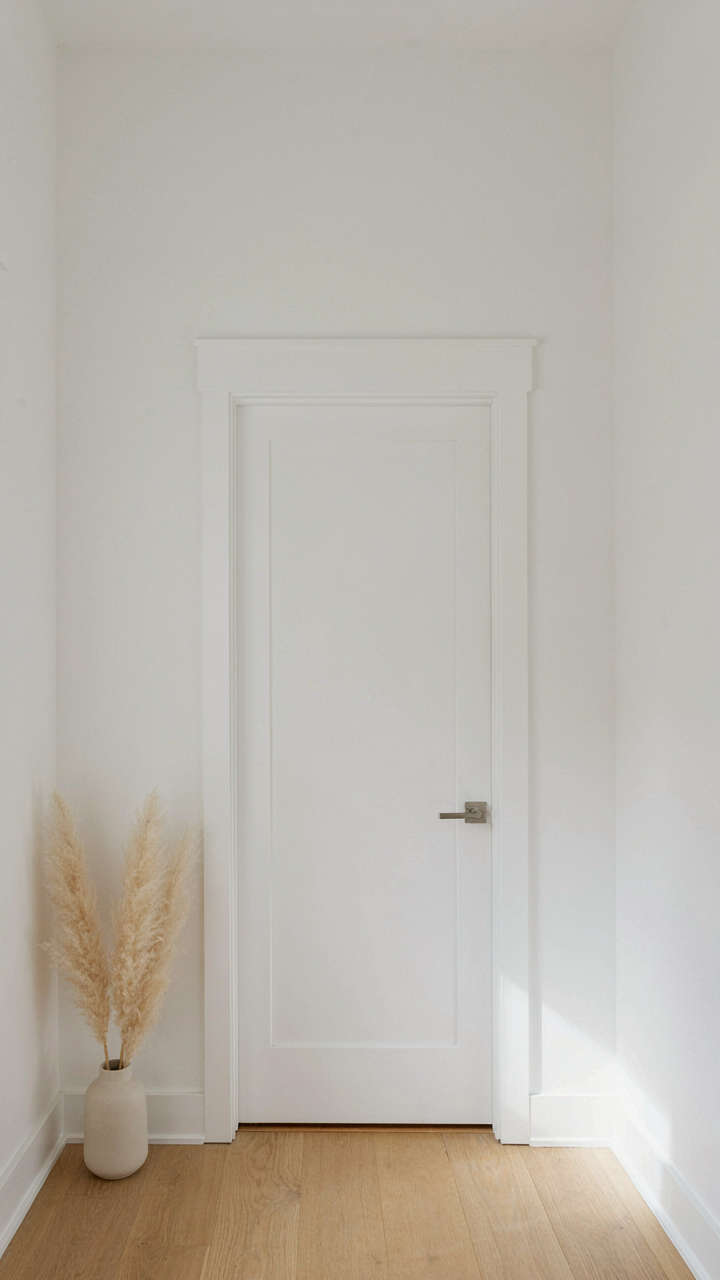
Restraint As The Core Design Principle
You want craftsman trim because you think adding more detail signals quality. It doesn’t. The mechanism at work here is signal-to-noise ratio from information design: craftsman trim communicates through elimination, not accumulation. Arts and Crafts movement designers rejected Victorian ornament specifically because they understood that every element must justify its existence or it weakens the whole message. A room with three purposeful trim details reads as intentional. A room buried in molding reads as confused.

Craftsman restraint works because your eye moves only where it matters. Interior door casings stay simple: typically a single reveal, a fillet, a larger outer molding. Window casings follow the same logic. The trim frames the opening without competing with it. This is the opposite of what mass production taught us. Most builders add trim layers until something looks “finished.” Craftsman design knows it’s finished when removing one more element would break it.
Negative Space Does The Heavy Lifting
The common advice says craftsman trim looks good because of the wood species or the paint color. Wrong. The work happens in what you leave empty. In visual hierarchy, negative space functions like silence in music. One substantial trim element surrounded by wall creates focus. That element becomes architectural. Without the space around it, it becomes decoration.
Interior door openings demonstrate this clearly. A single five-quarter casing with a modest backband around a plain door frame reads as permanent and considered. The same door buried under multiple molding layers and corner blocks reads as decorated. The door itself disappears into the noise. The protocol is simple: establish your primary trim profile first, then ask if any secondary element serves a function beyond filling space. If it doesn’t, remove it.
Craftsman Door Trim DIY: The 3 Step Execution Protocol

Material Selection And Site Prep
You want to do this yourself because you don’t trust contractors to understand proportions. Here’s the mechanism: material quality determines whether your trim reads as intentional or cheap. Craftsman trim demands wood that won’t move. Use quarter sawn oak, Douglas fir, or poplar depending on your stain preference. Quarter sawn resists cupping. Acclimate lumber to the room for two weeks before cutting. Humidity swings cause seasonal expansion that ruins tight joinery. Measure twice, buy once, waste nothing.

The site itself matters as much as the wood. Remove old trim carefully. Inspect the door frame for square using a 4-foot level on both verticals and the head. Shim rough openings to true before you install new trim. This step prevents gaps that scream amateur work and stops doors from binding years later.
Precision Layout And Cut Execution
Craftsman trim failure is a supply chain problem: bad measurements upstream destroy perfect execution downstream. Mark your stile and rail widths before any saw runs. Typical craftsman door trim uses 1×6 or 1×8 stiles with a 1×4 or 1×6 head casing above, but verify your design first. Use a miter saw for all crosscuts. Cut the head casing at 45 degrees on both ends. Assemble the frame on a flat surface before installation. Square it with a speed square at all corners.
Install the assembled frame plumb and level first. Nail through the stiles into the king studs with 2.5-inch finish nails, 16 inches apart. The head casing sits last, nailed through the trim into the header above. Use a nail gun only if you’re confident with pressure settings; hand nailing gives you feel for when you’ve hit solid wood versus backing that’s undersized. Tight joints require zero caulk.
Unlocking The Architecture Of How To Make Craftsman Door Trim

The Real Structure Beneath Surface Detail
You want craftsman trim because it signals competence. Here’s what actually happens: authentic craftsman door trim isn’t decoration bolted onto a door frame. It’s a system of stacked profiles that create shadow lines and visual weight through layering, not through ornament alone. Early 1900s craftsman design rejected Victorian excess by using geometry and proportion instead. The trim reads as substantial because each layer sits proud of the one behind it, casting real shadows that break the visual plane.

The core anatomy consists of four working parts: the backband (the outermost frame), the main trim profile (usually a combination edge like ogee or cove), the filler or spacer strip that creates depth between layers, and the casing that wraps the actual door opening. Wood species matters less than profile selection and assembly order. Most builders get this wrong by treating each piece as independent instead of as a coordinated stack.
Building Depth Through Layered Profiles
Lighting is the mechanism here, borrowed directly from how shadow works in architecture. Craftsman trim uses shadow depth the way a lighting designer uses contrast to create dimension. Stacking profiles at different reveal distances means light hits each layer separately, creating distinct shadow lines rather than one flat shadow. A single miter joint reads as thin and cheap. A three-part layered system with a filler strip between the main casing and backband reads expensive because the shadow gap proves actual depth exists.
Start with the innermost reveal first, then work outward. Most trim installations reverse this and fail because the visual hierarchy collapses. The standard craftsman door trim build runs roughly one and a half inches of total projection from the wall plane. That depth comes from deliberately spacing each profile layer approximately one quarter inch apart. Execute the assembly in sequence: casing first, filler strip second, main profile third, backband fourth. This order ensures each shadow line lands where the eye expects it.
Craftsman Door Trim Details: The Devil In The (Unseen) Details
Joinery That Compounds Over Time
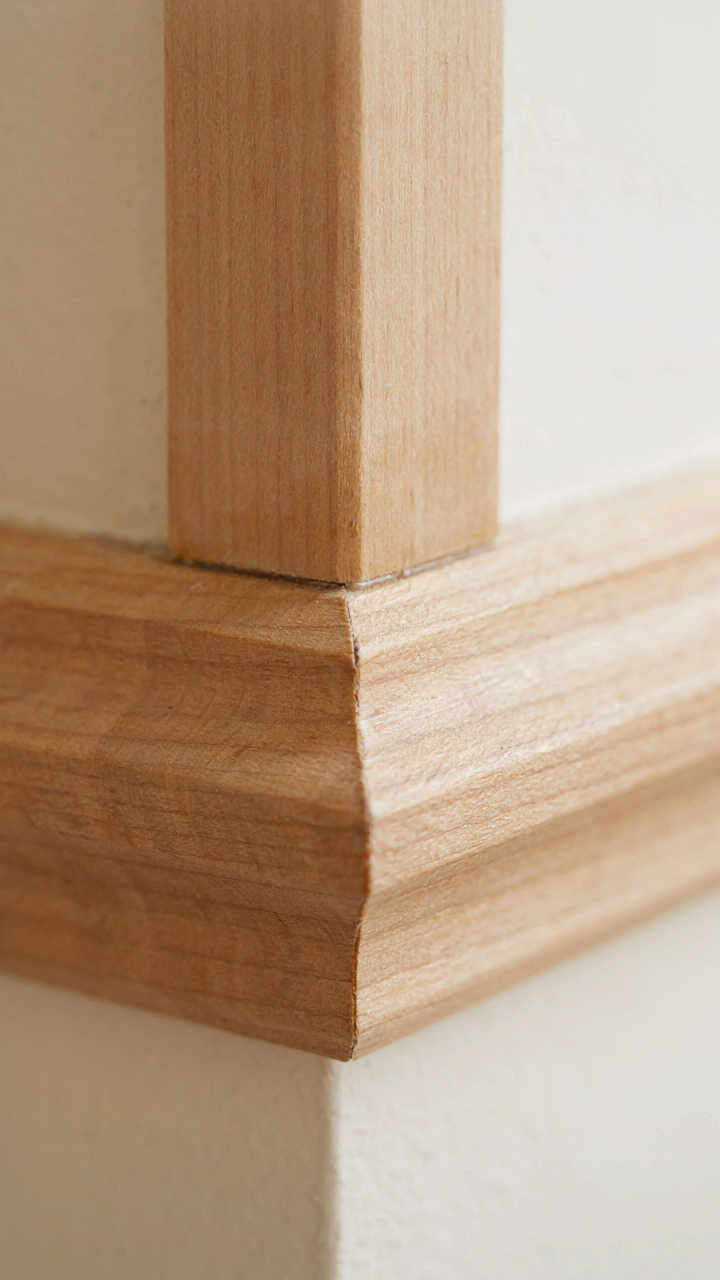
You want people to know you paid attention to the details nobody sees. Here’s the real mechanism: joinery is load-bearing proof of intention. In structural engineering, stress concentration occurs at joints—the weakest points fail first. Craftsman trim works the same way. Poor joints telegraph that shortcuts were taken. Quality joinery distributes visual and structural integrity across the entire assembly, making the trim read as deliberate rather than installed.

The difference lives in how pieces connect at transitions and corners. Butt joints fail fast, both structurally and aesthetically. Mortise and tenon, half-lap, and miter joints require setup and precision, which means they cost more labor. Door frames that use mortise and tenon at the head-to-side connection hold their geometry. They don’t rack or twist. The grain lines align predictably. Finish stays consistent because the wood underneath isn’t moving.
- Mortise and Tenon at Head Assembly: The horizontal head piece slots into vertical stiles with a protruding tongue locked inside. This prevents racking under door weight and seasonal wood movement. Standard in period-correct work from 1900-1930.
- Half-Lap Corner Joints: Each piece is routed halfway through its thickness, then interlocked. This doubles glue surface area and keeps miter lines tight. Better than miters alone for load-bearing trim.
- Through Tenons (Visible): The tenon passes completely through the receiving piece and shows on the exterior face. Intentional detail that signals mastery. Requires exact measurement and square cutting.
- Grain Direction Matching: All pieces oriented so grain runs consistent direction through the assembly. Prevents differential wood movement that causes joint separation and finish cracking.
- Pocket Hole Reinforcement (Contemporary Hybrid): Hidden angle-drilled fasteners from behind, combined with traditional joinery. Adds insurance without compromising the visual line or traditional method.
Assembly order matters more than most builders admit. Install the mortise and tenon components first, let glue cure fully, then add surface trim or casing. Rushing this sequence collapses all the precision work underneath. Measure door openings before you build. Even slight variations compound through multiple joints and ruin the final fit.
Surface Preparation And Stain Lock
The usual advice says “sand, stain, seal.” That’s incomplete. Surface preparation determines whether finish lasts or fails. The real work happens before stain touches the wood.
Raise the grain on all surfaces with water or damp sponge, let dry, then sand with 150-grit. This removes mill fuzz that stain catches and creates texture. Sand final surfaces with 180-220 grit. Most builders skip this step because it adds time. Then the stain applies unevenly and the finish reads as rushed. Stain requires a sealed substrate on some woods to block blotching. Poplar and pine need pre-stain conditioner or you get darker streaks where grain is open. Apply conditioner, wait the full recommended time, then stain. Block the conditioner step and you’re fighting wood chemistry instead of working with it.
Finish selection matters for door trim specifically because it takes physical contact and temperature swings. Polyurethane over stain creates a plastic look on traditional trim. Lacquer or conversion varnish absorbs into the grain slightly and lets wood color develop over time. Apply thin coats with 24-hour cure between coats. Three coats minimum on doors. The final coat gets light sanding with 320-grit to break gloss, then a tack cloth before the next layer. This mechanical lock between coats makes the finish durable instead of surface-thin. Don’t apply the final coat and call it done. Final cure takes weeks before the trim handles contact without marking.

Craftsman Style Trim Moldings: Escaping The Catalog Trap

When Stock Profiles Betray Your Intentions
You want your trim to signal that you know something others don’t. That’s the real reason you’re reading this section. Here’s what stops most people: they believe the manufacturer’s catalog contains every profile worth installing. It doesn’t. Stock moldings are designed for volume production and liability reduction, not architectural coherence. They’re built to fit 90 percent of houses adequately, which means they fit zero percent of houses perfectly.
Craftsman trim works backward from this logic. Instead of choosing a profile first and adapting your design to it, you define what your window or door needs structurally and aesthetically, then source or mill the profile to match. This shift in sequence is everything. A custom profile might cost 40 to 60 percent more than stock, but it eliminates the visual compromise that reveals you didn’t think about this. The mechanism is simple: constraint breeds mediocrity. Remove the constraint.
Molding Profiles Built For Your Specific Geometry
Design integrity requires that trim proportions respond to the actual dimensions of the opening, not a predetermined template. The depth of a craftsman casing should reflect the wall thickness and window recess depth. The profile’s reveal should match the scale of surrounding architectural elements. Off-the-shelf guidance is incomplete here because it treats every opening as interchangeable. They are not.
Start by measuring three things: the wall thickness at the opening, the depth of the window or door frame pocket, and the scale of other trim elements in the room. From there, you sketch a profile that acknowledges all three variables simultaneously. A milling shop can then produce custom knives to cut that exact profile from your chosen wood species. This is how you escape matching a generic catalog photo to a space it was never designed for. The output is trim that looks intentional because it is.

The Investment Fallacy: Why “Cheap” Craftsman Trim Costs More
Quality Craftsmanship Compounds Over Time
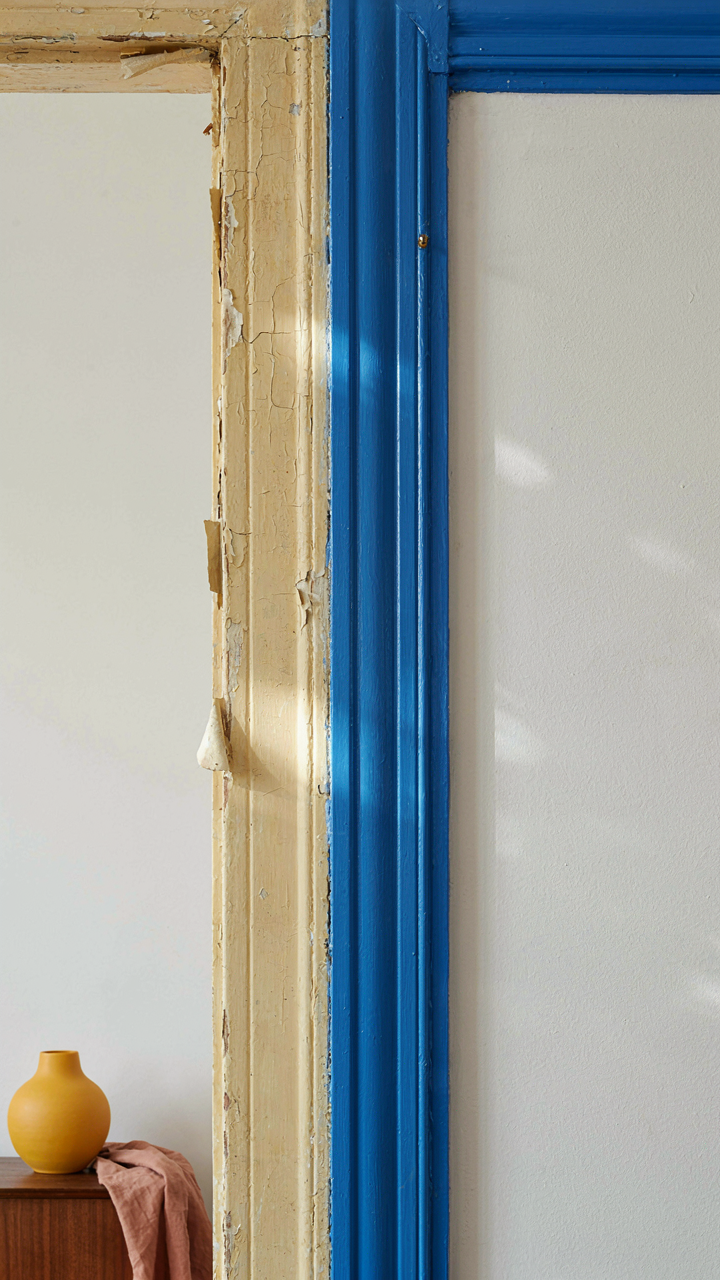
You’re reading this because you want to know if you can save money without looking cheap. Here’s the mechanism: craftsman trim operates like compound interest in reverse when you cut corners. Poor-quality trim absorbs moisture, warps, and fails faster than quality stock. A $2,000 trim installation done wrong costs $8,000 to replace in eight years. Quality materials and joinery don’t degrade at the same rate. They hold their value because they resist the actual forces acting on them: seasonal humidity swings, temperature changes, and structural settling.
The real cost isn’t the upfront expense. It’s the replacement cycle you trigger by choosing material that can’t handle its job. Craftsman trim from the early 1900s still exists in homes today because the wood species, joinery methods, and proportions were engineered to last. Modern cheap trim uses finger joints, particle board cores, and paint-grade materials designed for ten-year lifecycles. You’re not buying trim. You’re buying a subscription to future replacements.
The True Price Of Cutting Corners
Everyone knows cheap costs more eventually, but they don’t know what actually breaks. Hollow finger-jointed trim around doors and windows expands and contracts differently than solid wood. Paint cracks. Joints separate. Water gets in. Now your wall is rotting. A $400 trim job becomes a $3,000 drywall repair. The mechanism is thermal cycling. Solid wood moves uniformly. Engineered alternatives with mixed materials move in different directions at different rates, stressing the joints first.
Installation quality multiplies this problem. Poor mitering, inadequate backing, and weak fastening mean craftsman trim can’t perform even if the material is acceptable. Caulk fails. Gaps open. Moisture wins. The hidden expense isn’t material cost. It’s the structural damage that compounds while you ignore the trim because it’s “just cosmetic.” When you price a job, demand specifications, not estimates. Specify wood species, joinery type, fastening method, and finish protocol. This forces contractors to cost materials honestly instead of hiding failure modes in vague labor estimates.
Beyond Aesthetics: Craftsman Trim As A Statement Of Intent

What Your Trim Says About You
You want people to know you didn’t cut corners. That’s the real reason this matters. Craftsman trim reflects design philosophy because it’s the opposite of expedience. Early 1900s craftsmen rejected industrial mass production by hand-detailing every joint, every profile, every reveal. Your trim choice signals whether you value substance or appearance. The depth of a reveal, the complexity of a molding profile, the honest joinery at corners all communicate a single message: this space was built to last, not to impress quickly.
This isn’t snobbery. It’s signal. Craftsman trim uses material honestly. You see wood grain, real joints, proportions that follow the Golden Ratio and human scale rather than budget constraints. A tapered leg on a built-in differs visually from a flat edge because it respects how eyes actually perceive proportion. When you choose craftsman detailing over flat stock, you’re choosing a philosophy that says materials matter and assembly method matters. That philosophy either runs through your whole space or it doesn’t.
The Narrative Your Building Tells
Architecture functions like language, and trim is syntax. It tells readers how the building thinks about itself. Craftsman trim emerged as a direct counter-narrative to the Industrial Revolution’s efficiency obsession. Arts and Crafts designers rejected the notion that faster and cheaper equaled progress. Your window and door trim becomes part of this ongoing conversation between authenticity and expedience.
The real mechanism is contextual credibility. A space with honest craftsman details around every opening feels intentional because the eye catches evidence of that intention repeatedly. You’re not arguing for quality verbally. The trim argues for it architecturally. When someone enters a room where reveals are proportional, joinery is visible and clean, and profiles echo period-accurate details, their brain registers restraint and care. That registration happens beneath conscious thought. The narrative completes itself through accumulated detail, not through a single statement.
The Real Obstacle Isn’t The Trim; It’s Your Willingness To Break Free From Predictable Mediocrity
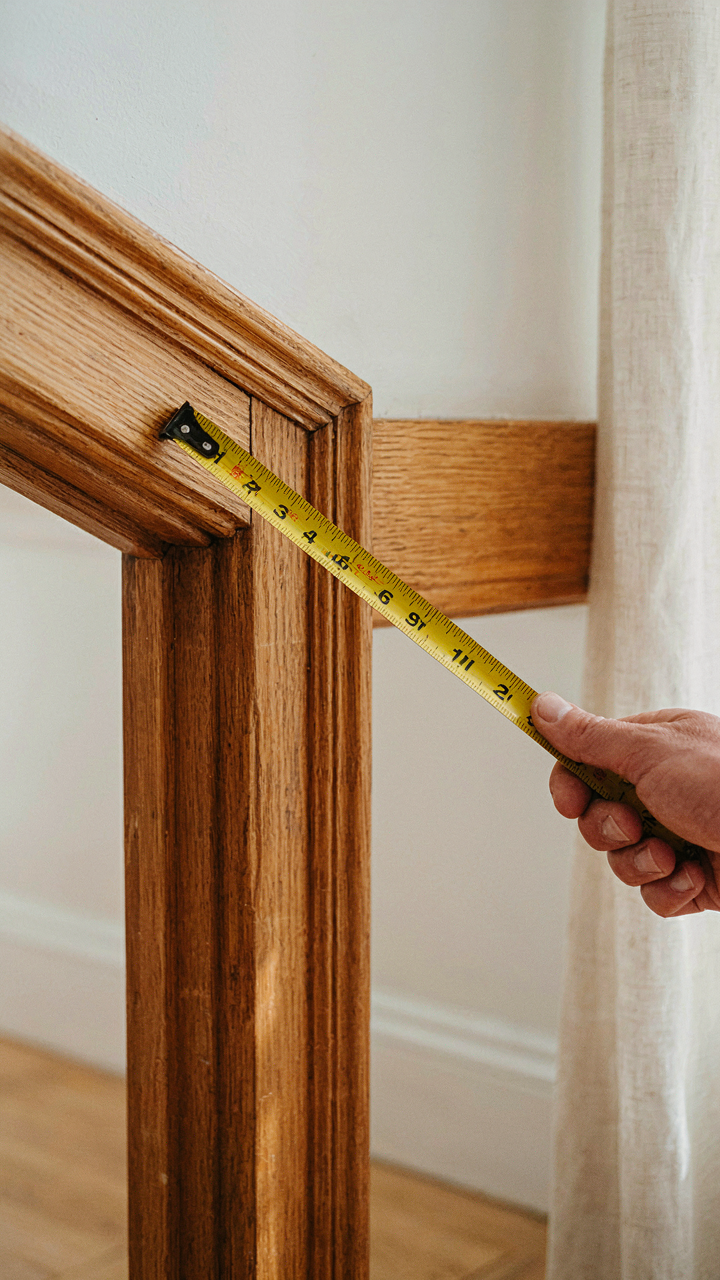
Most people choose craftsman trim because it looks safe. They copy what they’ve seen before. But craftsman trim only works when you actually commit to the proportions and details that make it distinctive. Stop designing for approval. Stop mimicking. Go measure the original craftsman homes in your town. Study what made those details matter. Then build something that reflects your space, not your fear. Your home’s character depends on whether you’re willing to own your choices.