
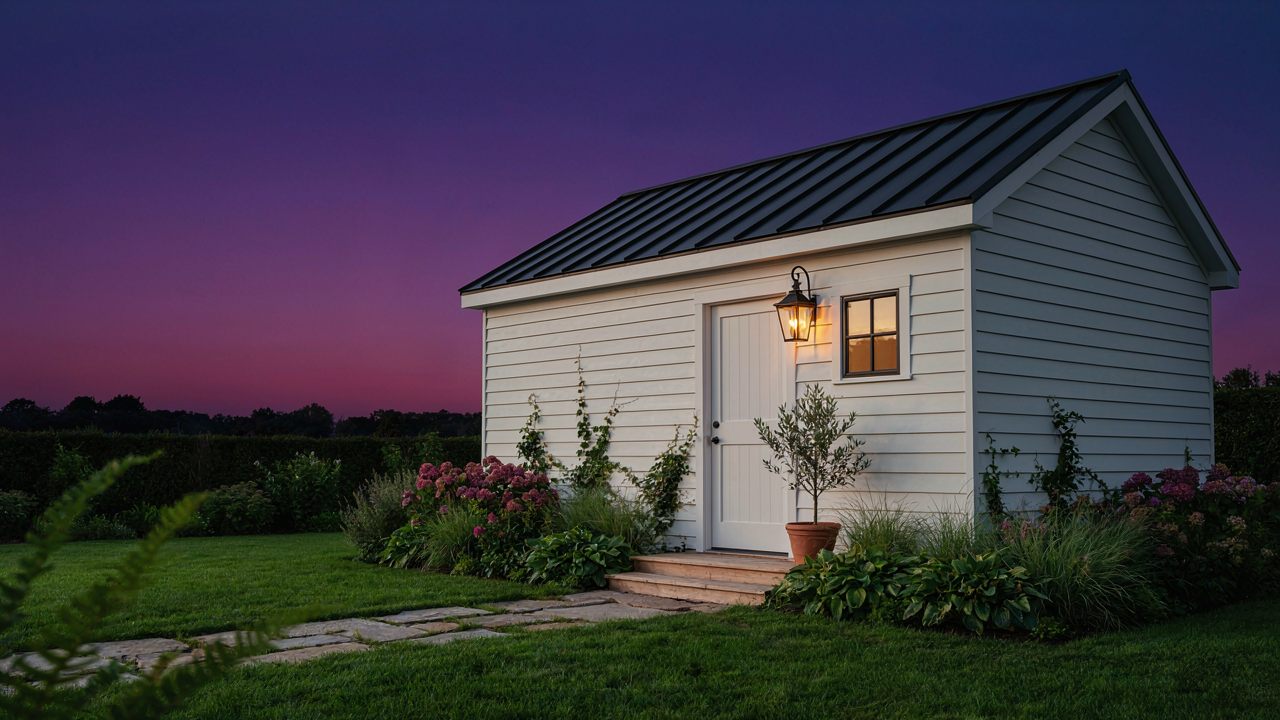
The Illusion Of Illumination: Why More Light Isn’t Better For Garden Shed Lighting

The Utility Trap Only Sees Function
You want to prove your shed matters by flooding it with light. The real mechanism is simpler: most people treat sheds as storage boxes, not spaces, so they default to industrial brightness and call it done. That’s backwards. A shed lit like a warehouse tells your brain nothing lives there—it’s temporary, transactional, disposable. The moment you treat lighting as a design choice instead of a checkbox, the space stops feeling like an afterthought.
Functionality without intentionality wastes both electricity and atmosphere. You need enough light to work safely—around 50 foot-candles for detail tasks—but you don’t need enough to read a newspaper at midnight. The gap between “I can see” and “this feels like a parking garage” is where most garden sheds fail. Overpowered, cold-spectrum bulbs make the space feel clinical and unwelcoming. The work gets done, but the shed remains unloved, unused for anything beyond storage.
Warmth Over Harshness Shapes Space Psychology
Color temperature operates like contrast in photography: it controls how a viewer reads the entire composition. A 2700K warm bulb doesn’t just add coziness as decoration—it signals habitability to your nervous system. Cold 5000K and above mimics outdoor daylight and tells your brain to stay alert and leave. Your shed’s aesthetic isn’t luxury. It’s the difference between a place you linger and a place you escape from. Warmth creates permission to stay. Your shed transforms from a location you tolerate into a space you actually enter by choice when the light matches the mood you want there to exist.
The material choice reinforces this. Exposed bulbs create glare and fatigue. Diffusers, frosted globes, and warm metal fixtures absorb and distribute light evenly. Lantern-style fixtures—whether electric or decorative—communicate intentionality. You chose this specific look, which means you chose to value how the space feels, not just how bright it gets. That shift alone changes behavior. People work longer, organize better, and return to sheds lit for comfort instead of compliance.
Beyond The Bulb: Crafting Atmosphere For Your Shed Interior
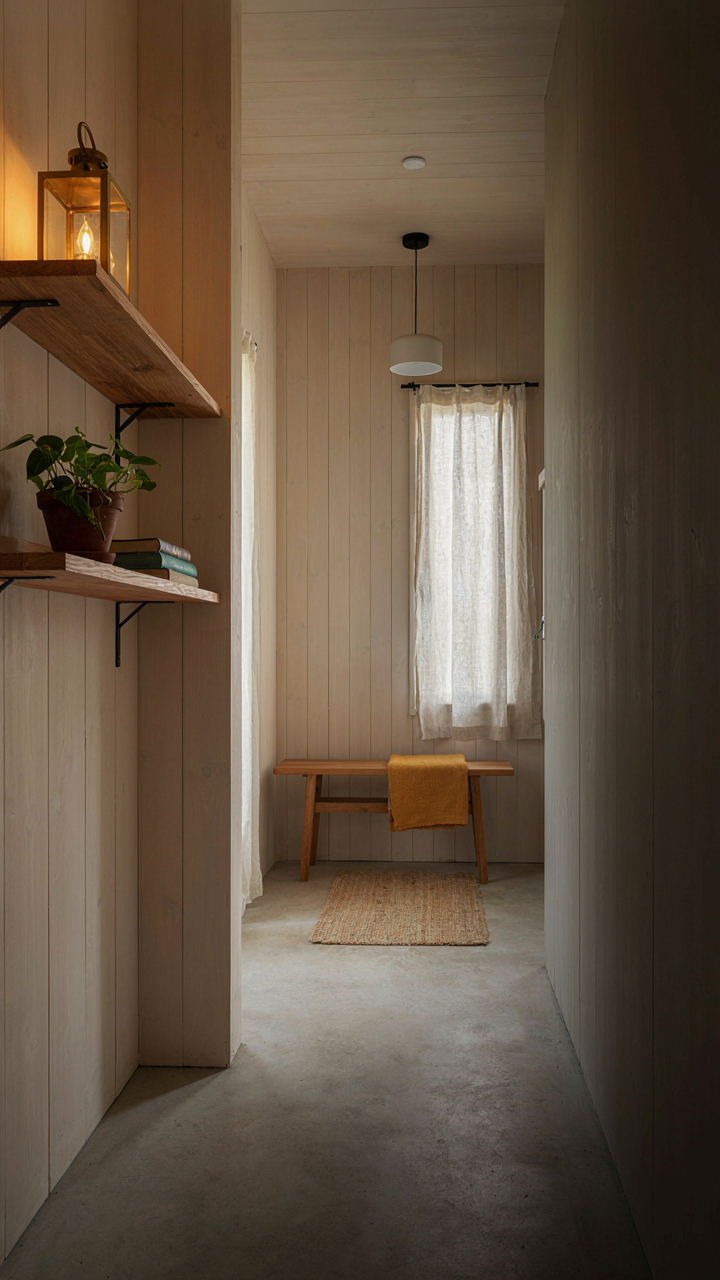
The Three Light Layers That Actually Work
You want your shed to feel intentional, not like a garage. That’s the real driver here. Layered lighting works because it mirrors how our eyes naturally navigate space. Task lighting handles specifics. Ambient lighting fills voids. Accent lighting creates depth. Most people skip this framework and dump one bright fixture overhead, which flattens everything and kills the reason you wanted warmth in the first place.

Deploy task lighting where you do precision work. Position ambient lighting to eliminate harsh shadows across the floor and walls. Accent lighting, typically lower wattage and warmer color temperature, goes on shelves or corners to guide the eye without creating glare. The key mechanism: each layer operates at different brightness levels and angles, so they layer without competing. Start with ambient as your baseline, then add task and accent as needed for the specific zone.
Darkness Has A Job
The common advice treats shadows like mistakes to eliminate. Wrong. In visual design, negative space defines positive space, and darkness defines light the same way. A shed lit uniformly at 500 lumens everywhere creates visual fatigue and costs more energy. Strategic shadow creates contrast, which makes warm light feel warmer by comparison.
Place your warmest fixtures where you want attention. Let the corners and upper walls fade into shadow. This contrast teaches the eye where to land. The practical move: use a lower wattage lantern or warm bulb in one corner, leave the opposite corner unlit or barely lit, and watch how that darkness amplifies the glow of the lantern. Measure this with your phone’s camera in night mode, not your eyes, since perception lies under fatigue.
The Lantern Logic Protocol For Outdoor Sheds

Guiding Movement Without Broadcasting Location
You want people to find your shed at night without announcing to everyone within a mile that something valuable sits back there. That’s the real tension. Military operations call this “signature management”—controlling what you reveal about your position. Garden shed lighting works the same way. A lantern placed at ground level near the path does the job: it illuminates the walking surface without throwing light upward or sideways where it broadcasts your shed’s presence to the entire neighborhood.

The mechanism is simple physics. Light drops off at the inverse square of distance. A lantern positioned low and close to the path delivers usable illumination where it matters—on the ground—while leaving the shed itself in relative shadow. This eliminates the common mistake of mounting lights high on the shed wall, which floods the entire property with light and defeats the purpose. Use warm-toned lanterns (2700K or lower) along the approach route, spaced 8 to 10 feet apart, so your eye has clear sight lines without harsh transitions between lit and dark zones.
Deterring Without Drawing Attention
The consensus says bright lights stop intruders. That’s incomplete. Harsh, obvious security lighting actually signals that something worth protecting lives inside. The real mechanism comes from access control theory: deny approach by making the path itself risky, not by spotlighting the target. A lantern-based system using layered, moderate illumination lets you watch your shed without advertising it.
Place warm lanterns to reveal obstacles and uneven ground—forcing anyone approaching to move slowly and deliberately, where they’re visible to you if you glance outside. Motion-activated warm lights at entry points work, but only if they trigger at the approach, not at the shed door itself. This creates a psychological delay: an intruder encounters illumination before reaching the shed, not after committing. Install a lantern or two on the perimeter path, set them to activate only on motion, and you’ve created friction in the intrusion sequence without the aggressive glare of typical security setups.
Kinetic Lighting: Applying Fluid Dynamics To Garden Shed Glow
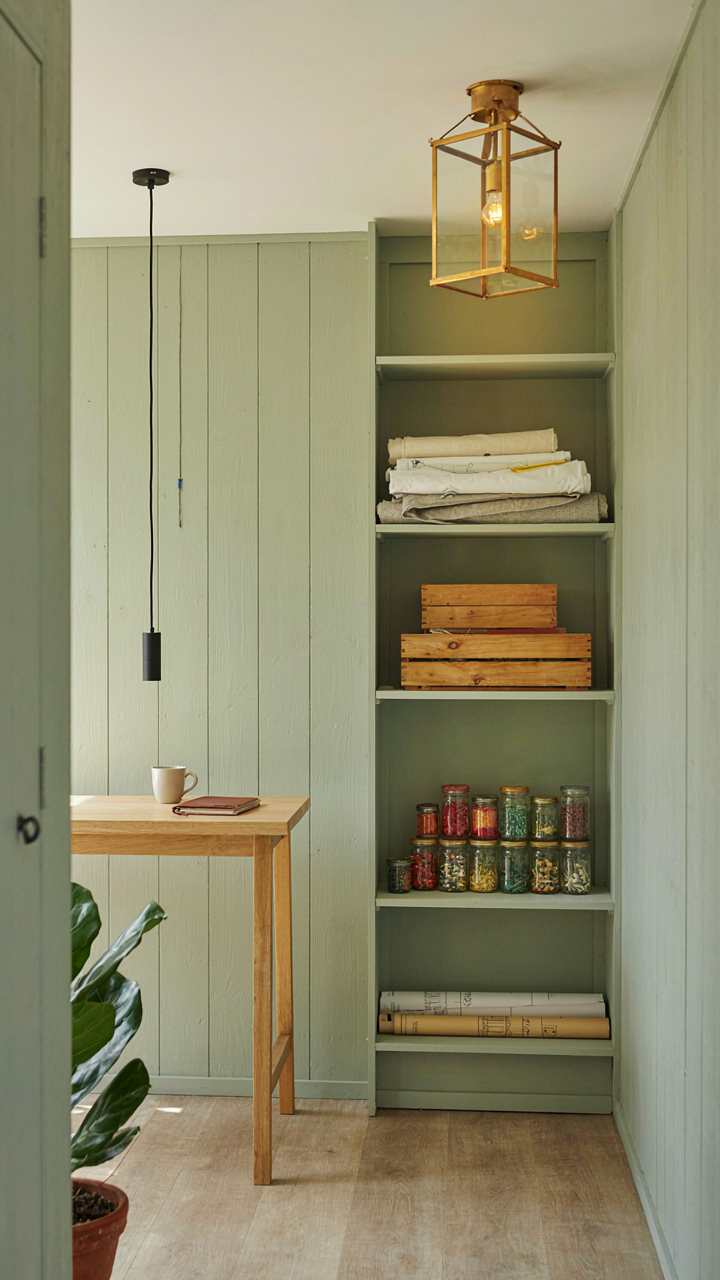
How Light Moves Through Space
You want this section to make your shed look intentional. That requires understanding the actual mechanism of how light propagates, not just where you point it. Fluid dynamics teaches us that flow follows the path of least resistance, and light behaves identically. In a confined space like a shed, light doesn’t spread evenly. It pools where barriers stop it, gets absorbed by dark surfaces, and skips over reflective ones entirely. The medium matters more than the source.

Most shed lighting advice ignores this and just says “add more bulbs.” Wrong. A single well-positioned fixture with correct beam angle and surface reflection controls light movement better than scattered sources fighting each other. Warm lantern light works because its lower color temperature scatters less efficiently than cool white, forcing it to concentrate rather than diffuse. Place a warm lantern 6 to 8 feet high on a shed wall and it funnels downward along vertical surfaces. Add a second fixture only after observing where the first one’s light actually dies.
Directing Attention Like Water In A Channel
Light channels attention the same way water channels force flow. You build walls to direct the current. In shed lighting, those walls are contrast and placement. The common mistake: treating the whole shed as equally important to light. Reality: your eye moves toward the brightest point first, then follows secondary brightness gradients. If you light everything evenly, you direct nothing.
Lanterns mounted at head height on opposite walls create a visual corridor. Low-angle wall-mounted sources throw sharp shadows that define work surfaces and storage areas without flattening the space. Aim warm light horizontally across vertical storage, not down onto floors. This creates distinction between zones. A workbench gets its own task light on a dimmer switch, separate from ambient shed lighting. The dimmer lets you control whether attention pools there or stays distributed. This separation mechanism determines whether your shed feels like a workshop or a storage dumping ground.
Solar Smarts: Unlocking True Independence For Backyard Sheds
The Real Solar System You Actually Need
You want solar because it sounds free and you won’t need to run electrical wire. But the mechanism that matters is this: a solar shed system is a battery bank with a charger attached, not a panel attached to a light. Most people buy panels first and wonder why their shed goes dark at 6 PM. The panel is just the input device. The battery is the actual power source. Without proper battery capacity and charge controller integration, you’re buying expensive security theater.

A real integrated system stacks three layers in sequence: the panel, a charge controller that regulates voltage and prevents overcharge, and a battery bank sized to your actual nightly load. The charge controller is the piece everyone skips because it’s not as visible as the panel. It’s the difference between a battery that lasts three years and one that dies in one. Most shed systems fail because people treat the battery as an afterthought instead of the foundation.
Seasonal Charge Tracking Shifts Output
Charging behavior in solar systems works like thermodynamics: input energy changes with environmental conditions, and you must actively adjust your expectations and infrastructure to maintain consistent output. Winter panels produce 30 to 50 percent less power than summer panels because of lower sun angle and shorter daylight hours. This isn’t a problem you solve once in spring. It’s a seasonal recalibration you execute on a schedule, the same way you adjust irrigation or heating systems.
Document your shed’s power draw in winter and summer. If your 100-watt panel charges your battery fully by 2 PM in June, it won’t finish charging until 4 or 5 PM in December, if it finishes at all. Adjust your winter usage downward or add battery capacity before November. Check charge controller output monthly during short-day months. The goal is predictable light availability, not guessing whether your shed will work on a cloudy Tuesday.
The 3 Tier Luminescence Method For Garden Sheds
What Ambient Light Actually Does
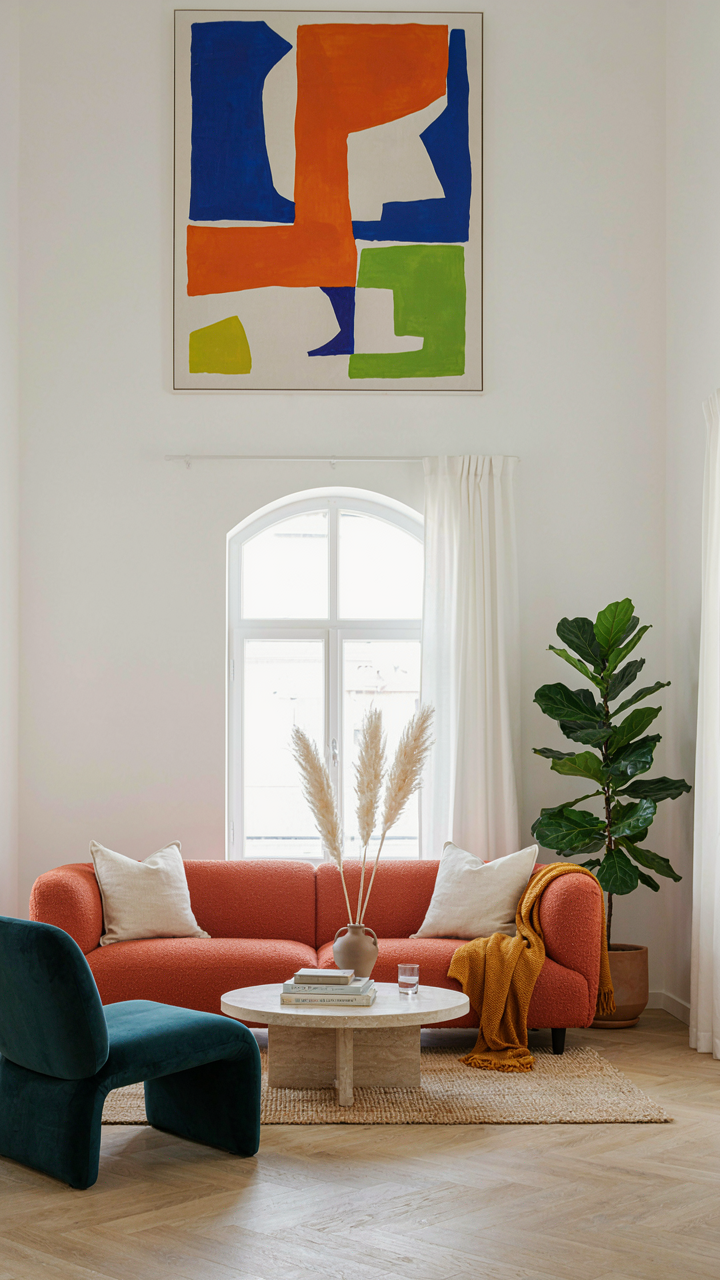
You want your shed to feel intentional, not like a garage. That requires understanding how light layers work. In architectural lighting design, “ambient” means the base illumination that eliminates shadows and makes a space navigable. For your shed, ambient light is the foundation that prevents you from stumbling over tools or straining to see workbenches. It’s not about brightness for its own sake—it’s about creating a baseline where human eyes function without effort.

Most people flood their sheds with a single overhead source and call it done. Wrong move. Ambient light should feel even across the floor and work surfaces, hitting roughly 50 to 100 lux depending on task intensity. This is where warm lantern glow enters the picture. A warm ambient layer (2700K color temperature) bounces off walls and ceiling, reducing contrast and eye fatigue. It also masks the industrial feel that makes sheds depressing. The mechanism is simple: distributed, diffused warmth reads as intentional and livable rather than utilitarian.
Task And Accent Light Separation
Task lighting concentrates brightness where work happens. Accent lighting draws attention to specific objects or zones without serving a practical function. These two operate on completely different wattage and placement logic, yet standard advice treats them as interchangeable. They aren’t. Task light needs directional intensity (500 to 1000 lux on a work surface), while accent light performs at 10 to 20 percent of that intensity. Confusing them wastes energy and creates harsh shadows that wreck the warm lantern aesthetic you’re after.
Place task lighting directly over benches, storage areas, or equipment repair zones. Use spotlights or directional fixtures with minimal spread. Accent lighting sits lower and softer, highlighting a planted corner, a tool wall display, or architectural details. Warm lantern glow works best as accent—think 2200K to 2700K, positioned to cast gentle halos without washing out the ambient layer beneath it. The result: your shed serves function and mood simultaneously, not one at the expense of the other.
Layering Sources For Real Depth
Multiple light sources create dynamic range that single fixtures can’t touch. Combine overhead ambient (flush-mount or panel style), directed task sources (pendant or track), and low-level accent pieces (lanterns, string lights, pathway markers). Each layer operates at its own intensity and color temperature, but they must sync strategically or you’ll create visual chaos. The principle mirrors landscape design: foreground, middle ground, background. Shed lighting works the same way.
- Overhead ambient panels: 4000K to 5000K color in enclosed fixtures diffuses evenly across floor and walls without glare spots. Mount centered or in pairs for balance.
- Pendant or track task lights: 3000K directional sources position above work zones. Adjustable arms let you aim intensity where tools demand it.
- Lantern accent pieces: 2200K to 2700K warm sources placed at 3 to 5 feet height create the visual anchor. Position in corners or along edges.
- Low-level perimeter lighting: LED strip or small path fixtures at baseboard height soften shadows and guide movement without competing for attention.
- Wall washers or uplighting: 2700K sources angled up bounce warmth off vertical surfaces, expanding perceived space and reinforcing the lantern glow effect.
Testing the combination reveals what works. Turn on ambient alone first. Layer in task. Then add accent one piece at a time, adjusting position and wattage until the space reads warm, functional, and visually coherent. The goal is balance where no single source dominates—you’re calibrating brightness ratios so your eyes move naturally through the space without strain. Install dimmers on ambient and accent circuits. Dial task light on or off based on what you’re doing. This is your control mechanism.

Weathering The Storm: Durable Fixtures For Outdoor Shed Lighting Ideas
What IP Ratings Actually Protect
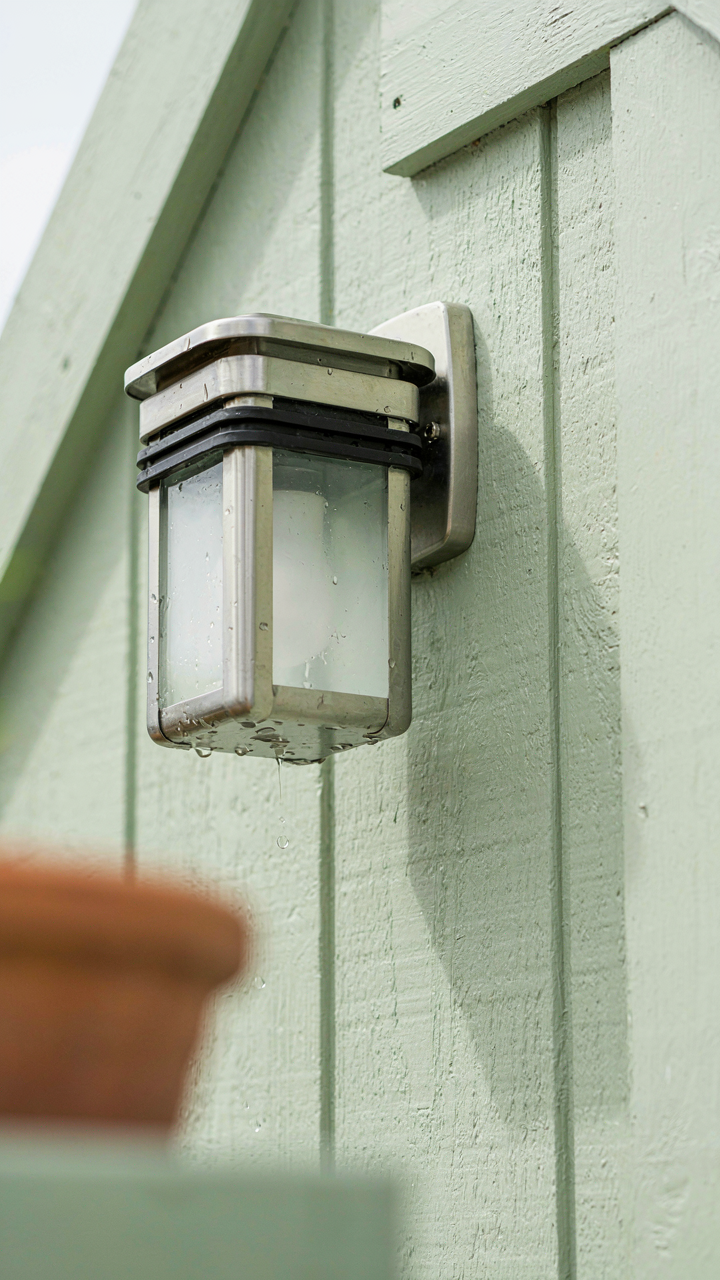
You want the reassurance that your fixture won’t fail the first time it rains. That’s not the real problem. The real problem is you don’t know what “waterproof” means, so you’ll buy something labeled that way and it’ll corrode in two seasons anyway. IP ratings come from electrical engineering and describe two specific threats: solids and liquids. The first digit rates solid intrusion (dust, debris). The second rates liquid intrusion (water spray, submersion). For shed lighting, IP54 blocks dust and water spray from any angle. IP65 stops dust entirely and handles low-pressure jets. Most outdoor fixtures sit at IP54 or IP65. Anything below IP44 has no business near a shed exterior.
The mechanism is pressure and pathway. Water doesn’t need a hole to damage a fixture. It needs a pressure gradient and a conductive path to the electrical components. IP ratings measure whether gaskets, seals, and enclosure geometry stop both. A fixture rated IP54 survived a lab test where they sprayed it with 12.5 liters per minute from a 2.5-millimeter nozzle at distances down to one meter. That’s not casual rain. But it’s not submersion either. You read the rating, match it to your shed’s exposure (how much wind-driven rain it takes), and move forward. Don’t overthink the gap between IP54 and IP65. Both work for sheds. The difference is maintenance frequency and longevity under extreme conditions.
Metal Versus Plastic In Real Durability Terms
Everyone defaults to metal because it sounds stronger. It isn’t. Aluminum oxidizes into white powder that looks like failure but rarely is. Stainless steel costs triple and doesn’t oxidize at all, but most “stainless” fixtures use 304 grade, which corrodes in salt-air environments. Plastic (UV-stabilized polycarbonate or PMMA acrylic) doesn’t rust or corrode. It degrades under UV exposure instead, turning brittle over ten to fifteen years depending on intensity and quality. The cost difference matters more than the material choice. A fifty-dollar aluminum fixture with proper gaskets outlasts a thirty-dollar plastic one. A one-hundred-fifty-dollar stainless fixture outlasts both by decades but delivers identical light output.
Real cost isn’t the purchase price. It’s replacement frequency plus labor. A shed fixture you replace every four years costs more over twenty years than one you replace once. Aluminum requires annual washdowns to prevent oxide buildup from blocking light and corroding through weak seals. Stainless needs nothing. Plastic needs nothing except UV-resistant coatings reapplied every five years if you want to avoid brittleness. The protocol: buy IP65-rated stainless steel or high-quality aluminum with marine-grade gaskets. Check the gasket material (EPDM rubber lasts longer than silicone). Assume replacement will happen, then choose based on how many times you’re willing to do it.

The Art Of Subtlety: Integrating Garden Shed Lighting Ideas Into Landscape
Fixtures That Disappear Into Context
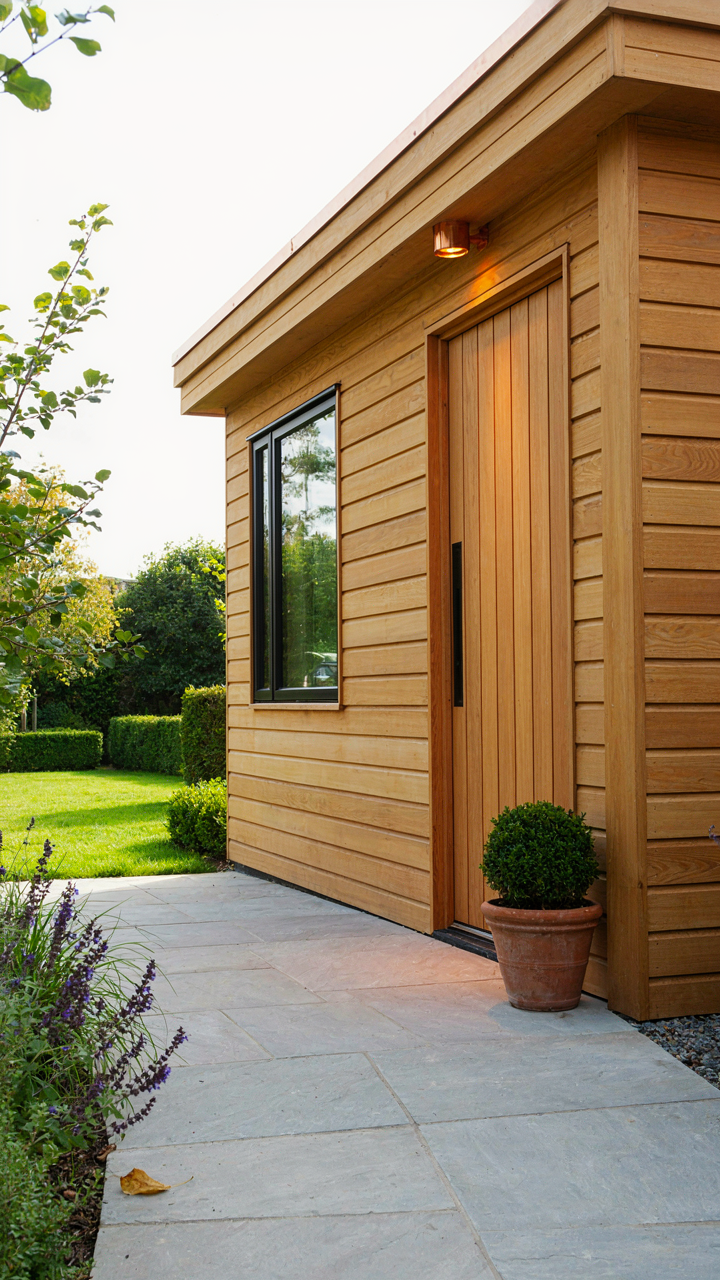
You want your shed to look intentional, not like you’re running a construction site in your backyard. The mechanism is scale matching: your lighting hardware must proportion to its surroundings, not dominate them. A 500-lumen floodlight mounted on a residential shed reads as security theater. A recessed soffit fixture or a path light tucked into landscaping reads as design.
Material integration matters more than fixture style. Copper and bronze fixtures age into their environment within two seasons. Matte finishes beat glossy ones because they don’t catch and reflect light back at the viewer, announcing themselves. Mount fixtures low and tight to the shed structure rather than extending them outward. The fixture itself should occupy less visual real estate than the light it produces.
Respecting The Boundary Line
Light trespassing onto a neighbor’s property isn’t a courtesy issue, it’s a liability and legal one depending on jurisdiction. The physics term is luminous intensity, measured in candelas, and it determines how far your light beam travels before falling below perceptible levels. Most residential disputes stem from uncontrolled spill, not from brightness alone.
Install shields or louvers on any fixture pointing toward property lines. Warm color temperature bulbs scatter less aggressively than cool ones because longer wavelengths disperse more gradually. Aim all directional lights downward or toward your own structure, never horizontally or upward. A simple protocol: if you can see the light source from your neighbor’s yard without looking directly at your shed, you’ve got a spill problem that needs correction through positioning or shielding.

Smart Sheds, Smarter Lights: Automation For Modern Garden Sheds
When Motion Triggers The Lights
You want this because you’re tired of fumbling for a switch in the dark while holding tools. Motion sensors work on a simple principle borrowed from security systems: they detect infrared radiation changes when a body moves through space, then close a circuit to power the light. No complicated thinking required from you.
Most motion sensors for sheds use passive infrared technology, meaning they measure heat signatures, not movement itself. Mount one 4 to 6 feet high on a wall near your shed door. Set the sensitivity low enough to ignore animals but high enough to catch you entering. The mechanism is binary: heat detected above threshold triggers relay, relay energizes light circuit, light stays on for a duration you preset, usually 30 seconds to 5 minutes.
Timers, Remote Controls, And Real Control
Timers and remotes solve the actual problem nobody names: sheds aren’t just work spaces anymore, they’re ambiguous spaces you might visit at unpredictable hours. Here’s what changes when you add both:
- Mechanical timers: Set lights to turn on and off at fixed times daily. Useful for establishing routine visibility but inflexible if your schedule shifts. Install in a weatherproof enclosure near your main breaker or light switch.
- Digital programmable timers: Override daily patterns with weekly schedules. Program different on/off times for weekdays versus weekends. Battery backup maintains settings during power loss.
- RF remote controls: Wireless switches that work 30 to 100 feet away depending on obstacles. No wiring required beyond the receiver module mounted near your lights or at the breaker.
- Smart home integration: WiFi-enabled bulbs or switches let you control shed lights from your phone. Set automations based on time, geolocation, or manually override from anywhere.
- Dusk-to-dawn photocells: Automatically turn lights on at sunset and off at sunrise. No programming needed. Pair with timers for seasonal adjustments as daylight hours shift.
The real advantage is this: you separate the decision about light from the action of flipping a switch. Lights activate before you arrive, stay on the exact duration you need, and shut off without your input. Install your timer or remote receiver in a weatherproof box, run power from a dedicated circuit if possible, and test the range before committing to placement.
The Real Obstacle Isn’t Finding Light; It’s Failing To Define Your Shed’s Purpose Beyond Storage
Most people buy lights and wonder why their shed still feels like a storage graveyard. The problem isn’t the bulbs. You need to name what your shed actually is: a workshop, a studio, a retreat, a bar. That identity determines everything—bulb temperature, fixture placement, intensity. Stop treating lighting as decoration and start treating it as infrastructure for an intentional space. Walk outside today and spend ten minutes sitting in your shed with the door closed. What do you actually want to do there? Build that answer first, then build the light around it. Your shed’s purpose isn’t hidden in a catalog. It’s hiding in you.